Geometry Cleanup and Meshing of Three Sheet Metal Components According to the Specified Quality Criteria.
Objective:
To carry out the geometry cleanup operation on the given 3 files and ,mesh them according to the given quality criteria.
Procedure:
1. Open the hypermesh model.
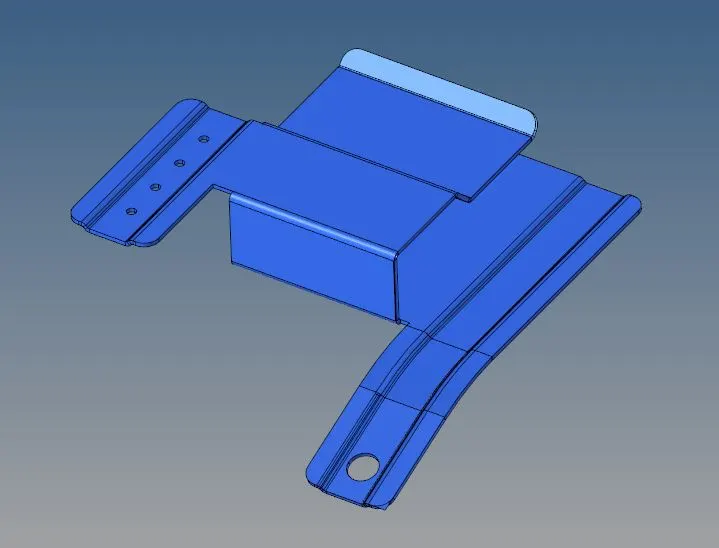
2. Next we proceed to a geometry cleanup.
3. Go to F11 (quick edit)- Filler surfaces to fill in surface gaps
Before: After:
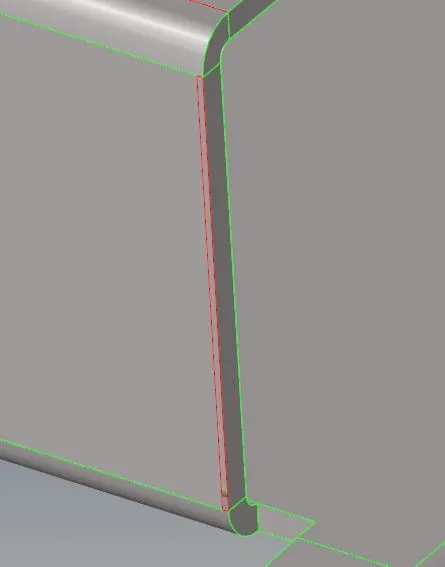
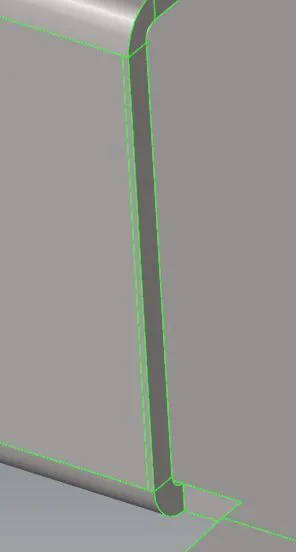
4. Use the option of toggle edges to toggle any edges that not in green colour.
5. A few duplicate surfaces can be found and are indicated by yellow lines. They can be deleted by going to F2 -> Surfaces. After deleting and toggling the surface will look like this:
Before:
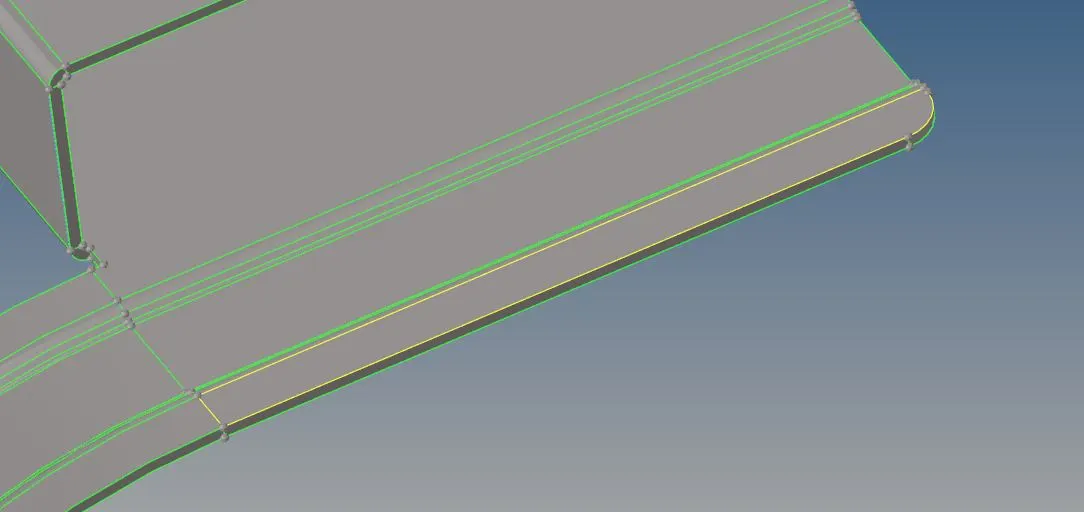
After:
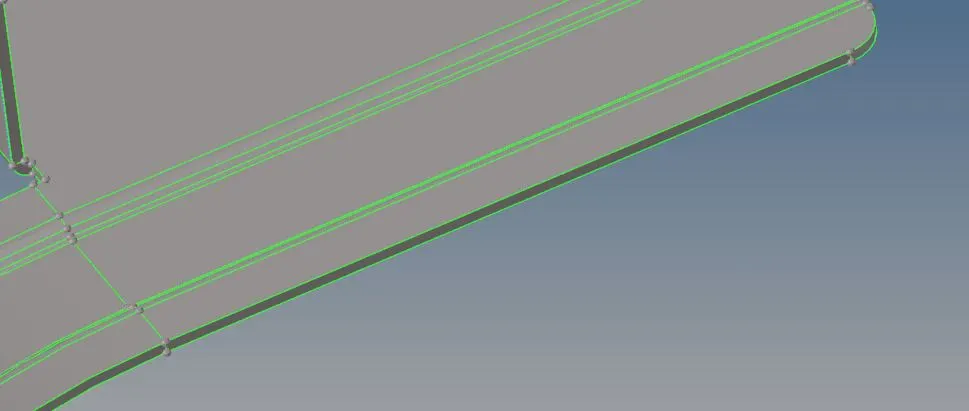
6. Go to Geometry -> Defeature and remove small fillets that go below the min length of 3.5 such that they dont fail for minimum quality.
7. Since elements at the fillets were failing for minimum quality, the lines were toggled.
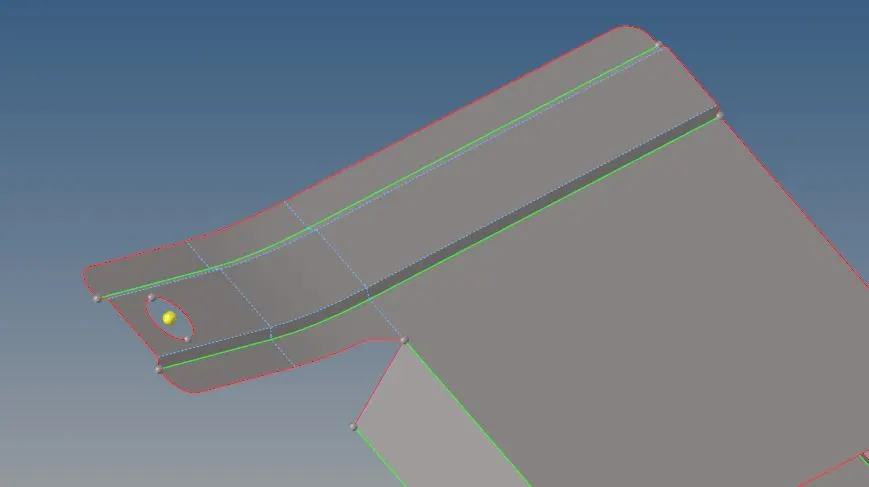
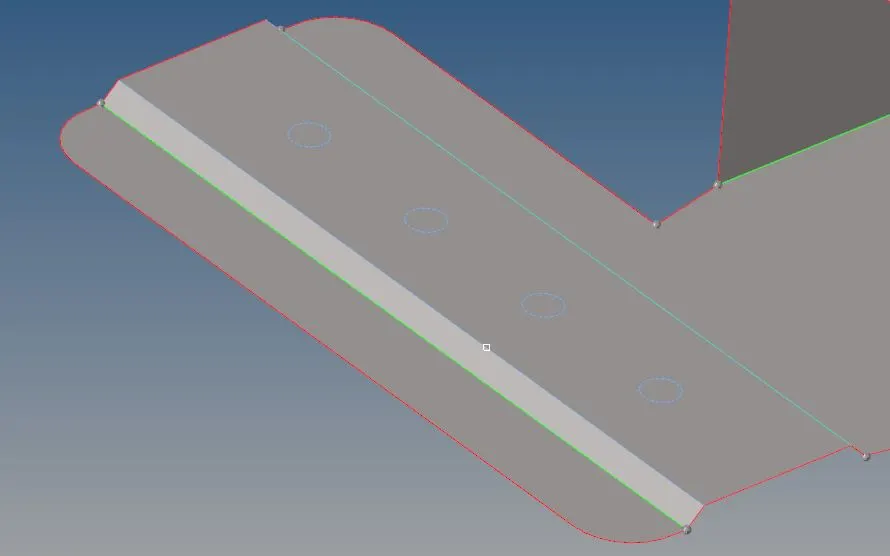
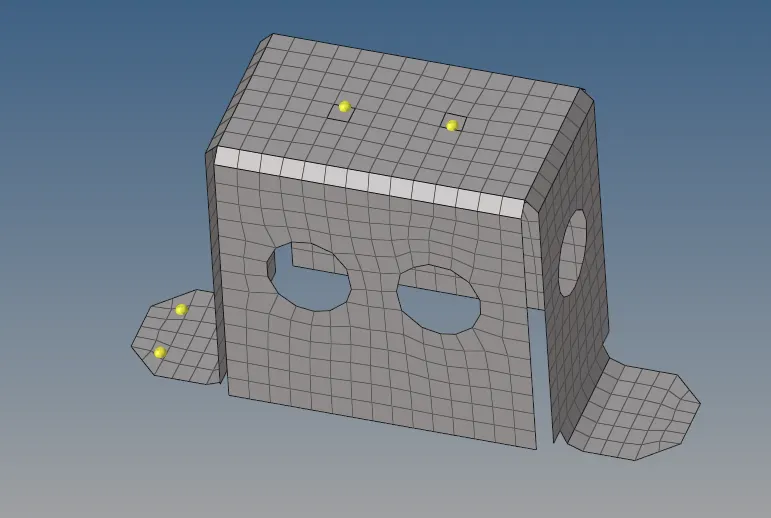
8. Go to F12 -> Automesh and set the element size to 5, enable size and align, choose the surfaces and hit mesh.
9. Make sure there is proper mesh flow with minimal trias.
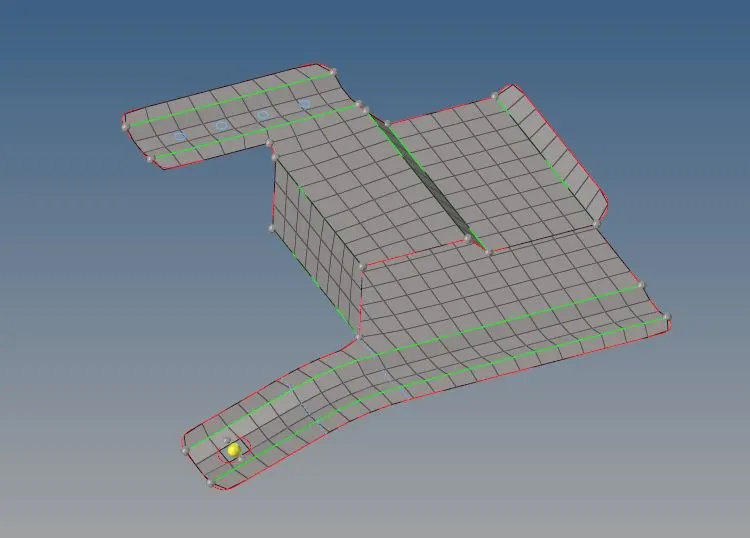
10. The next step is to check quality.
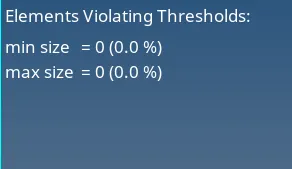
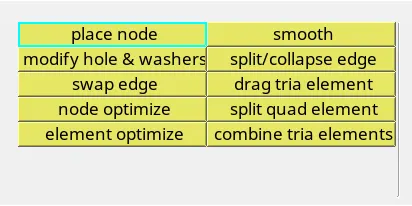
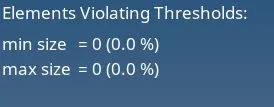
11. Go to 2D -> Quality Index and check for failed elements. If there are any, fix them using the tools that are provided like the element optimize, place node and drag tria.
12. The last step is to check for free edges. This needs to be done by going to shift+F3, selecting all the edges and hitting find edges.
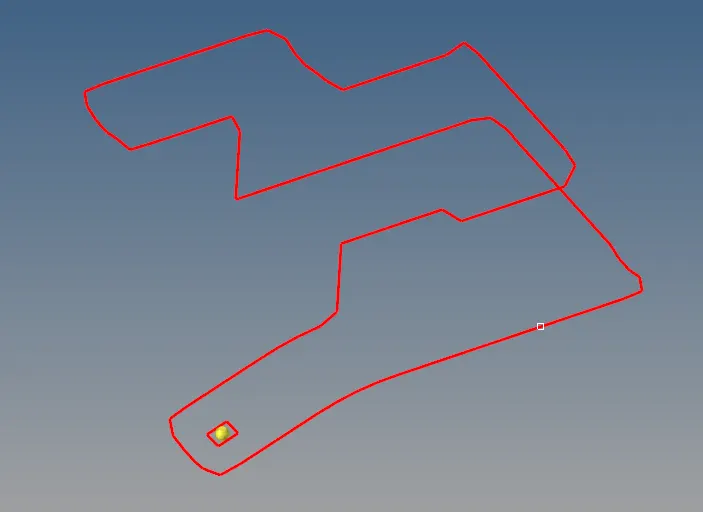
13. All free edges will be represented by a red colour and can be fixed using the replace node option (F3) or by equivalencing them.
A similar method needs to be followed for the next two models.
Model2:
1. The imported Model:
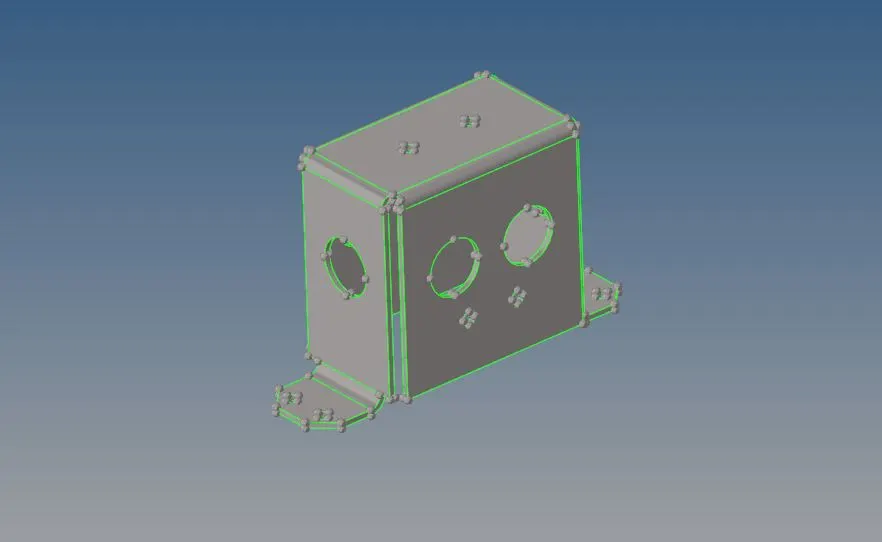
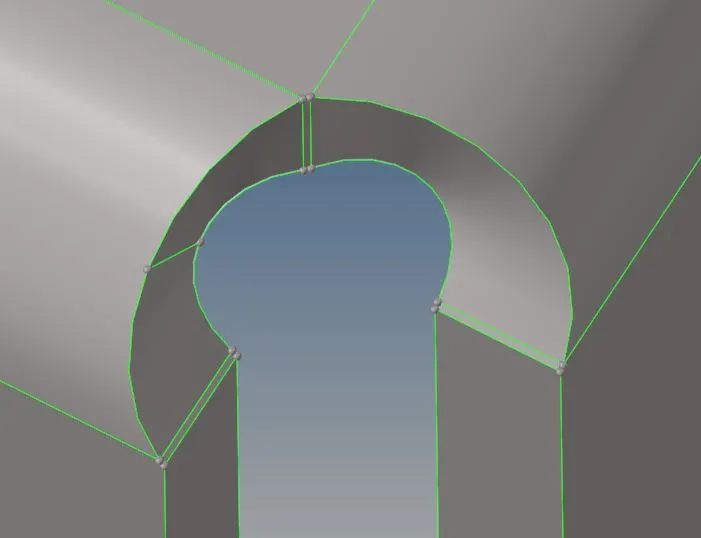
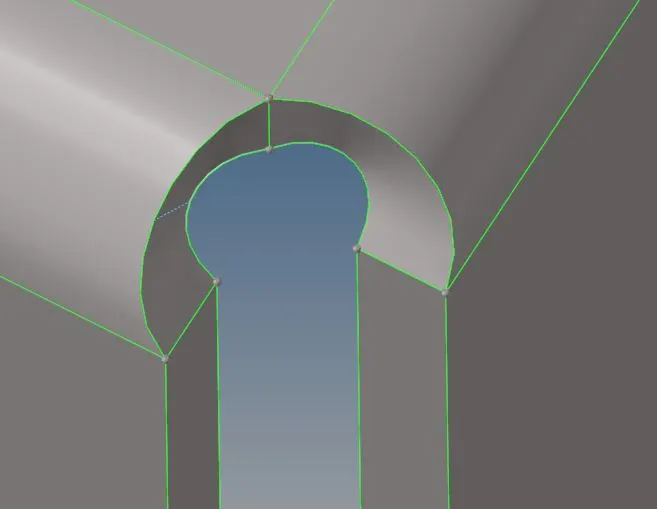
2. The geometry cleanup needs to be performed in regions as shown below:
Before:
After:
3. Quality Check:
4. The geometry after meshing:
5. Free Edges:
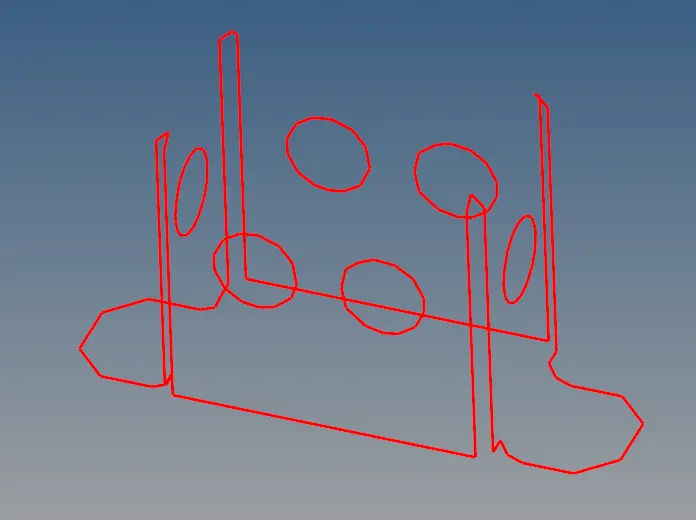
Model 3:
1. After geometry cleanup:
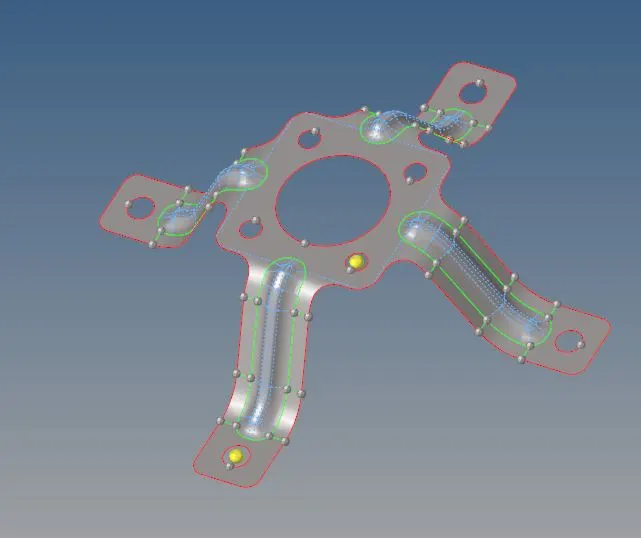
2. Meshed Model:
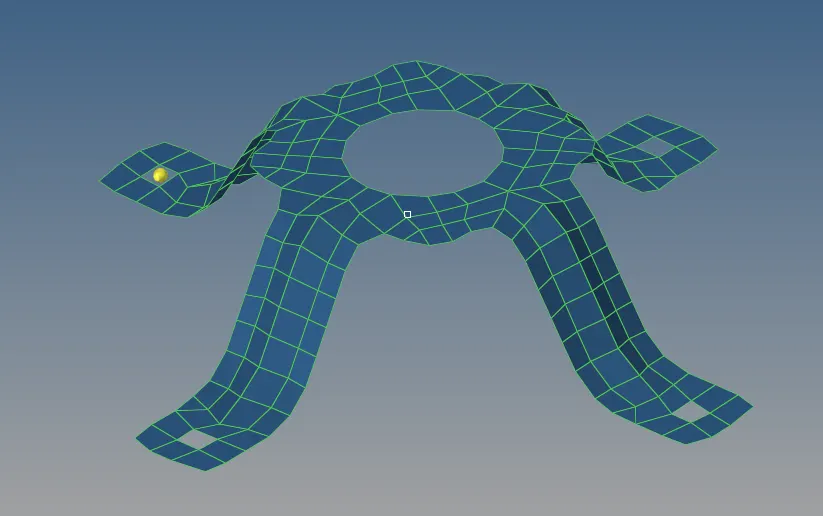
3. Quality:
3. Free lines:
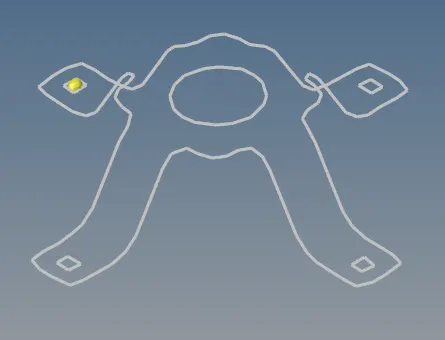
Assigning Thickness:
1. Go to the left tab and right click -> create -> Property.
2. In the Thickness parameter, set it to the thickness of the parent component.
3. Go to the Meshed component. -> Right click -> Assign -> Property -> Choose the property that was created.
4. To view this, Go to 2D detailed element representation and check if the thickness has been assigned correctly.
Result:
The three model geometries was cleaned up and meshed according to the quality criteria mentioned.