ANSA - CAD Cleanup of Mann & Hummel Automotive Filter
AIM :
To cleanup the geometry of the provided Mann & Hummel Automotive Air Filter.
OBJECTIVE :
- write a detailed report explaining your clean up process step by step
- what features you keep or delete along with proper reasoning, errors encountered how you fixed those errors.
- Snapshots must be included for each step.
Steps to cleanup the Geometry :
1)Check the resolution.by doing this we can see the perfect view of the geometry.
2)Orientation of the geometry it means we will have to keep the geometry color as grey where the fluid is interacted and keep yellow in the remaining area.
3)Create a property id for all the components in meaning full form.
4)Extract the fluid volume geometry from the original geometry and eleminate the intersecting objects from the component and delete the components where the fluuid is not interacting.
5)close the geomtry where the leakage happens.
Original geometry :
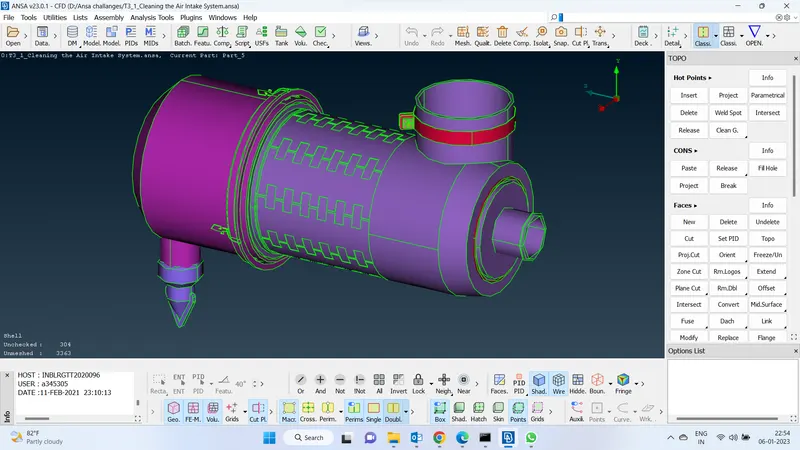
Resolution :
Mesh-perimeter-length-perimeter-select the object by using drag -length(1)
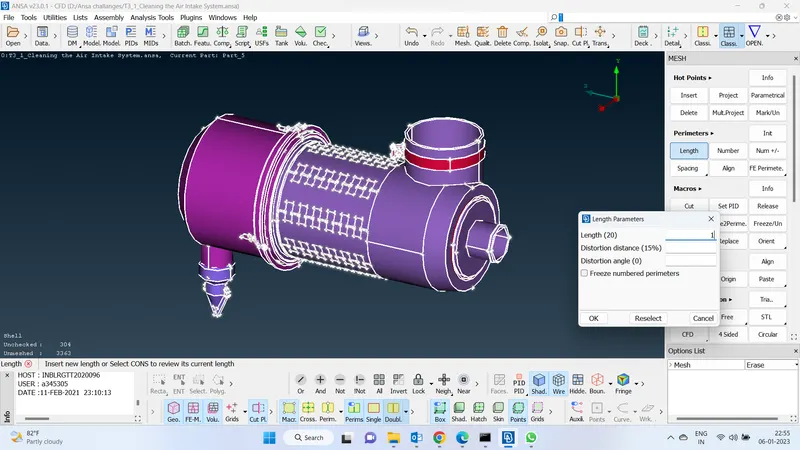
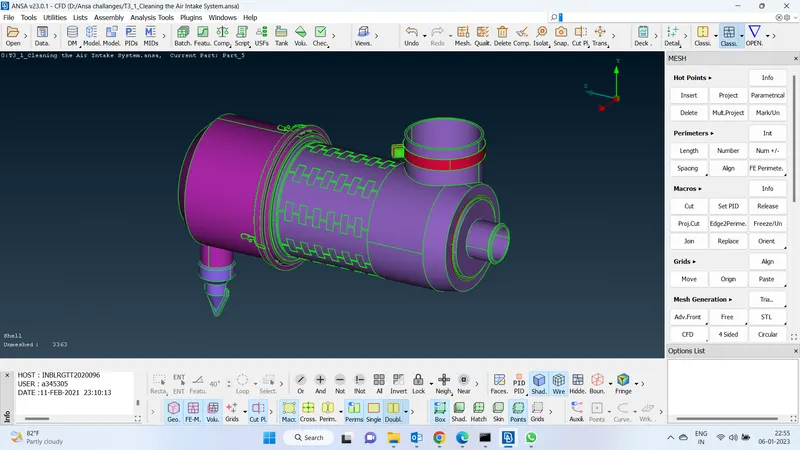
This is the the geometry after resolution.
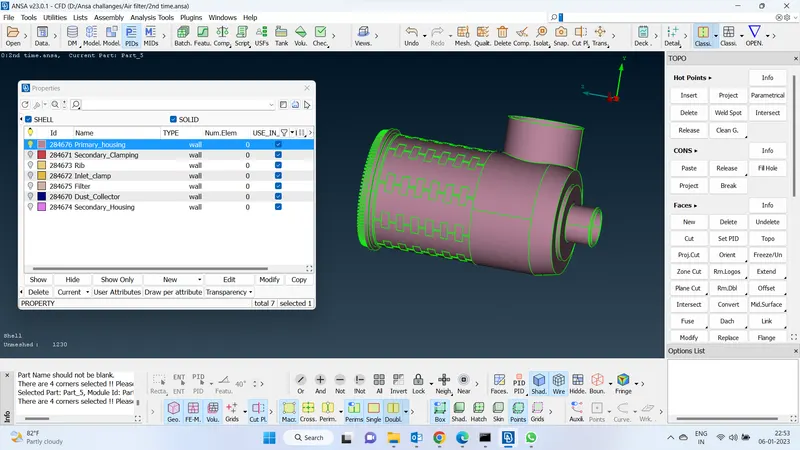
PID :
TOPO deck
faces-set pid-macro shell-drag and select the object - new- Set name-double click on the pid
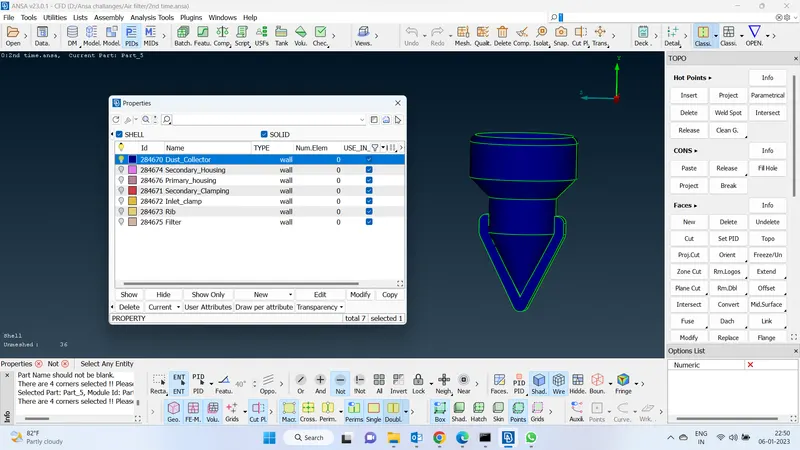
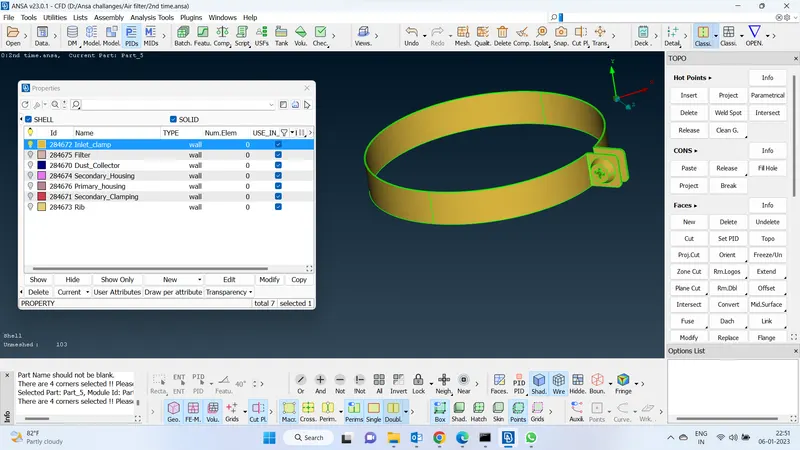
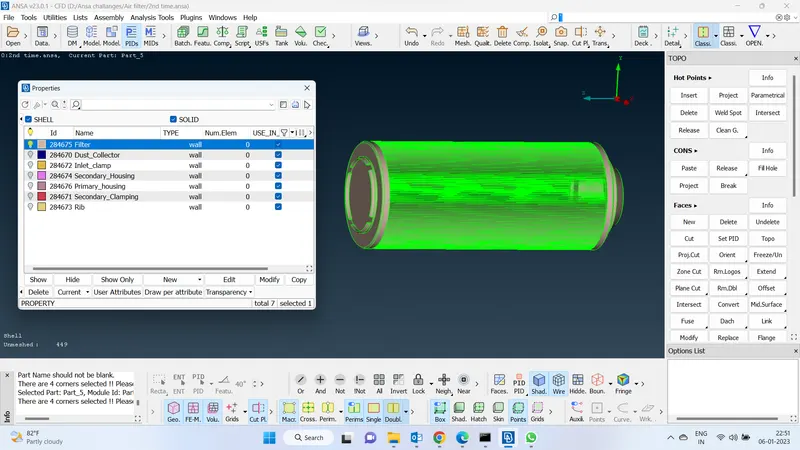
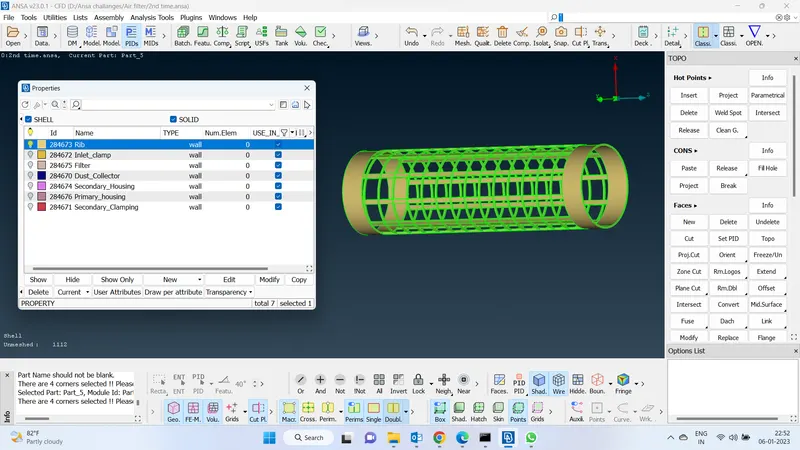
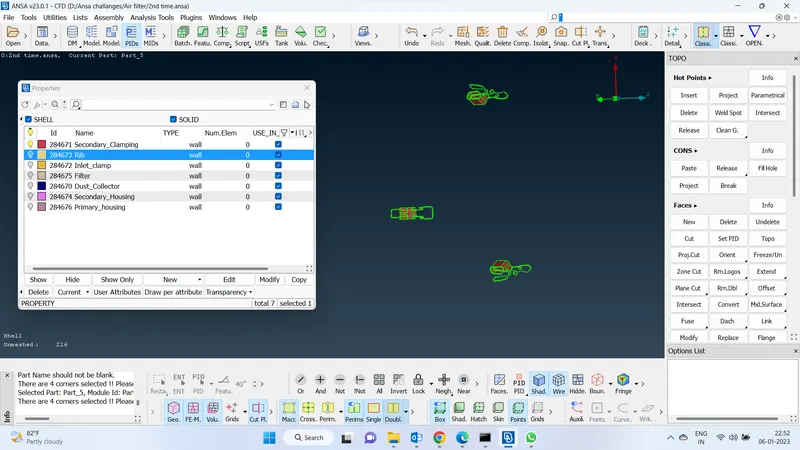
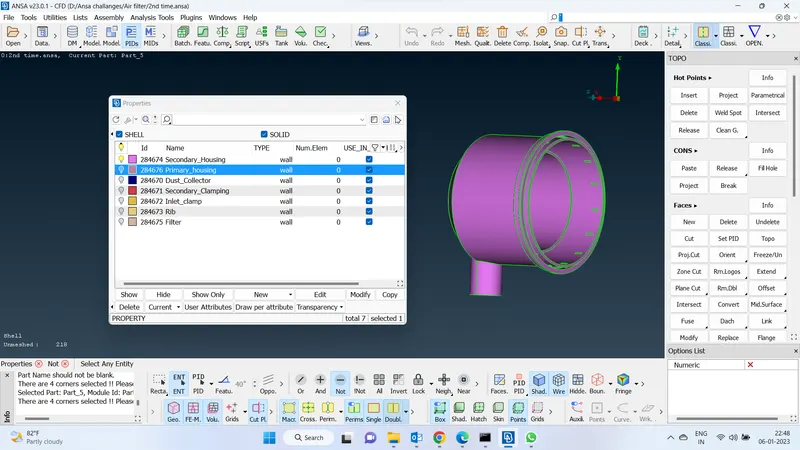
Extract the volume occupied space from the geometry :
Release cons of the inner region and select the pid region and delete the face
cons>release
Faces>delete
Select pid region - click on the region where to delete and medclick in mouse and delete
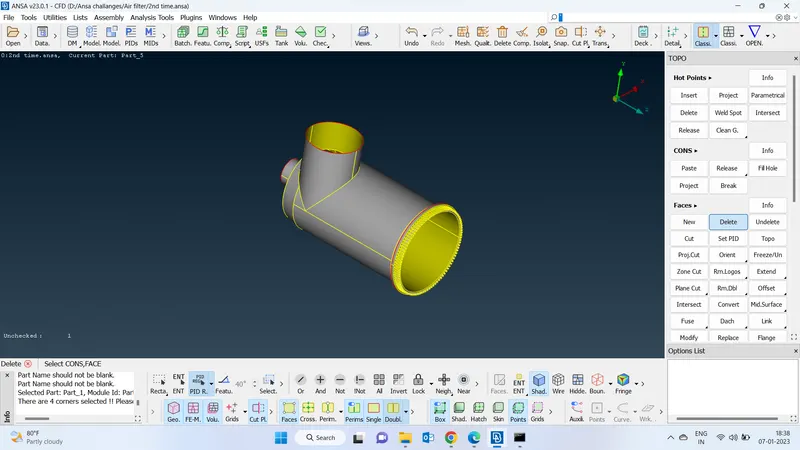
Volume extraction of Secondary housing :
Remove the unnecessary faces.
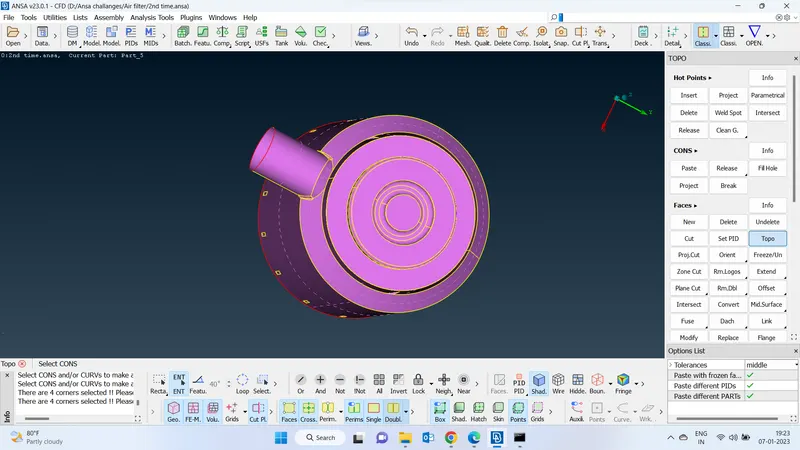
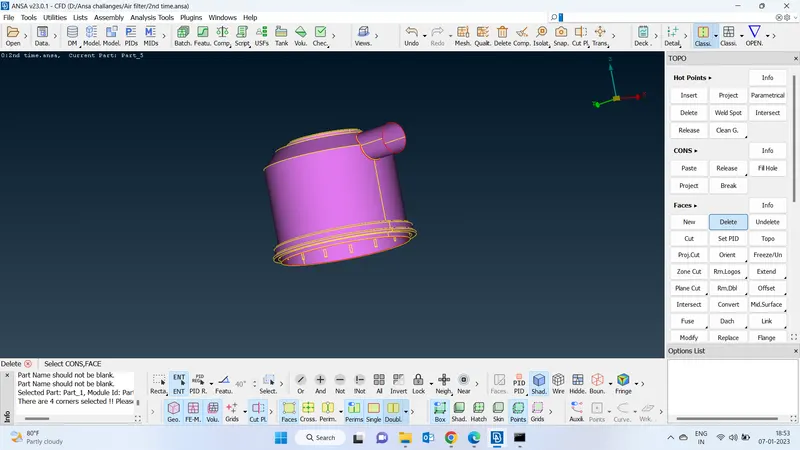
fill up the gaps by sing cons function and remove the sharp edges
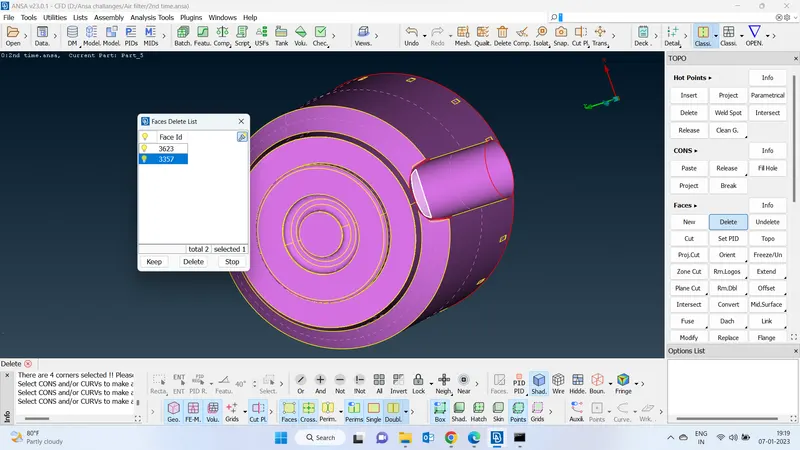
By using cut function we will have to join the smaller faces with the large faces so the we can get rid off with the sharp edges
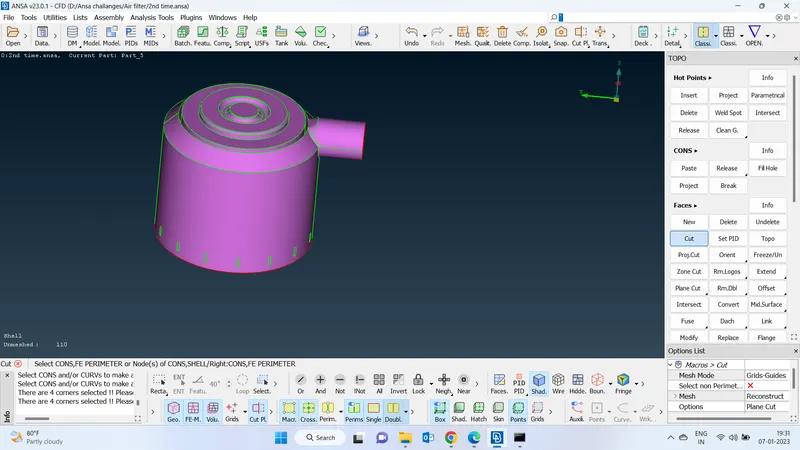
Remove the outer thickness from the geometry which will causes the unnecessary meshes which is not required
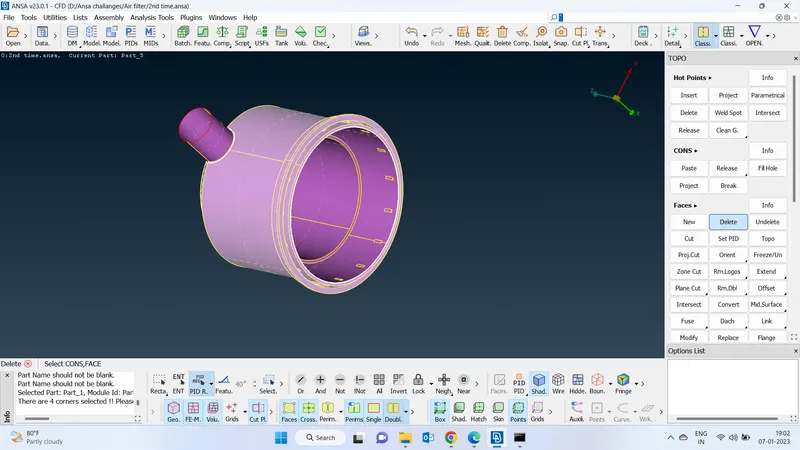
Final geometry after cleanup including the errors
create a surface or close the open area to prevent the fluid leakage
fill up the gaps
insert hotpints on both the cons
create circle by divding two semi circles by doing this we will be able to create a surface in a proper way.
go to the faces-new-cons and midlle click of the mouse and it will create a surface.where it ecaxtly requires to fill up the gap.
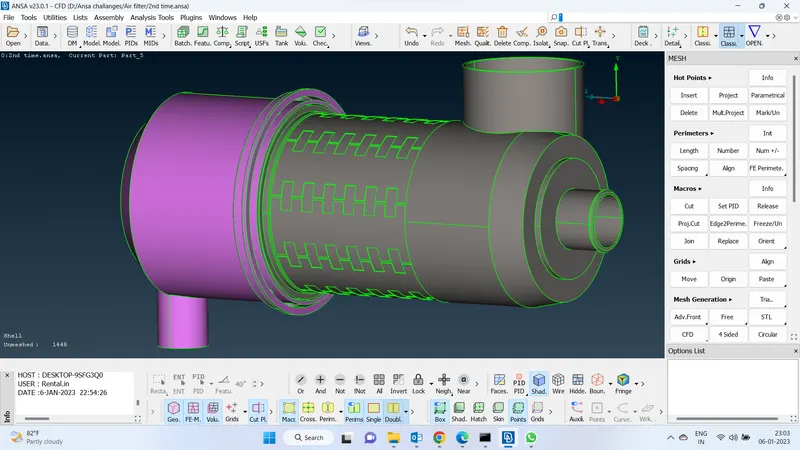
this is how the final geometry looks like
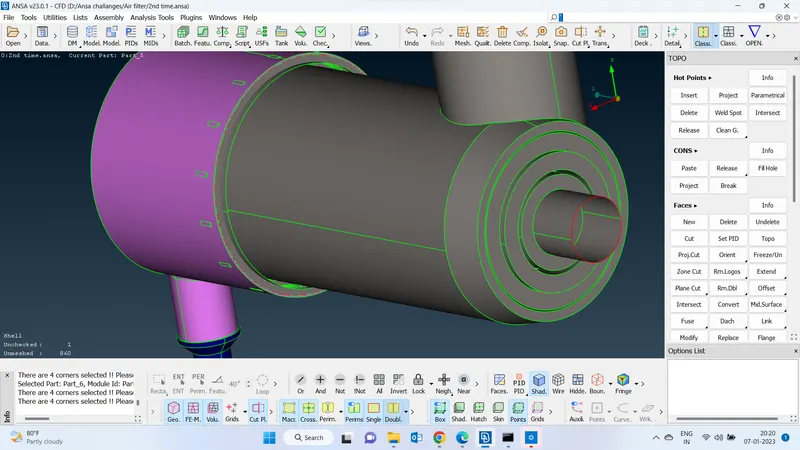
Secondary housing and Dust collector project cons with surface :
Remove the unnecessary faces and project the cons of the faces with the faces where the gap occurs
Create a surface between the secondary housing and the dust collector.
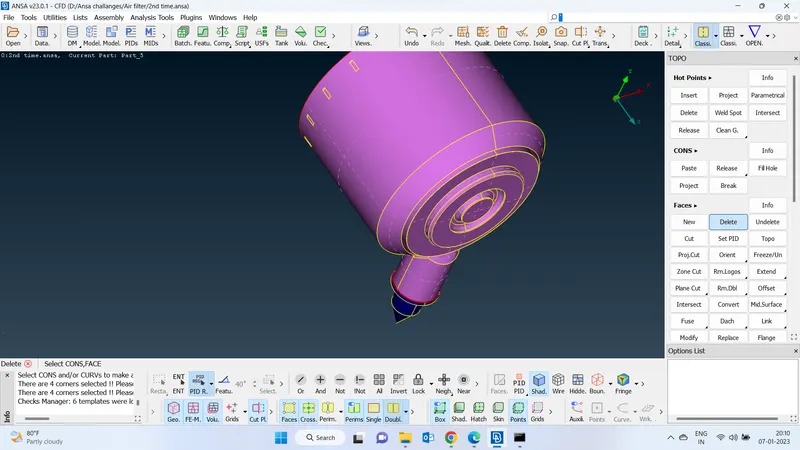
Finally remove the thickness of the dust collector
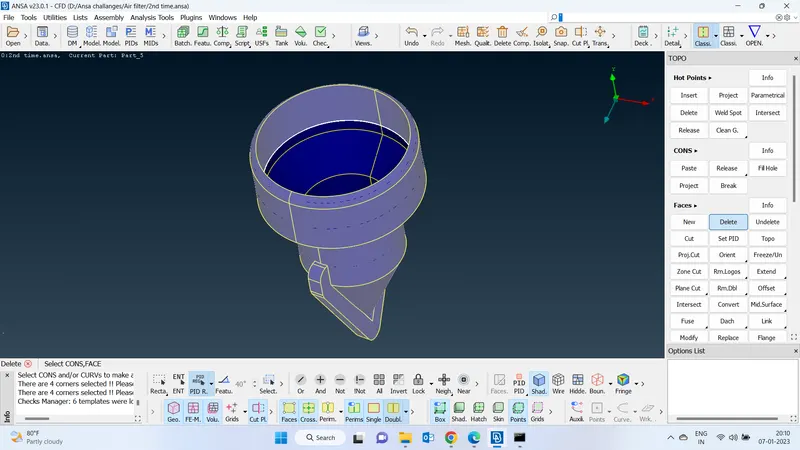
final geometry of the outer region after cleanup :
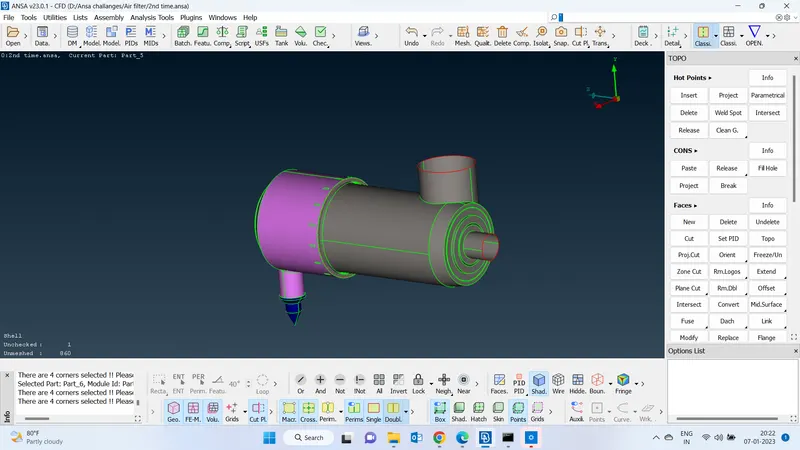
Clena up the inner geomtry nad remove the unnecessary intersections :
1)filter cleanup :
3 point circle :
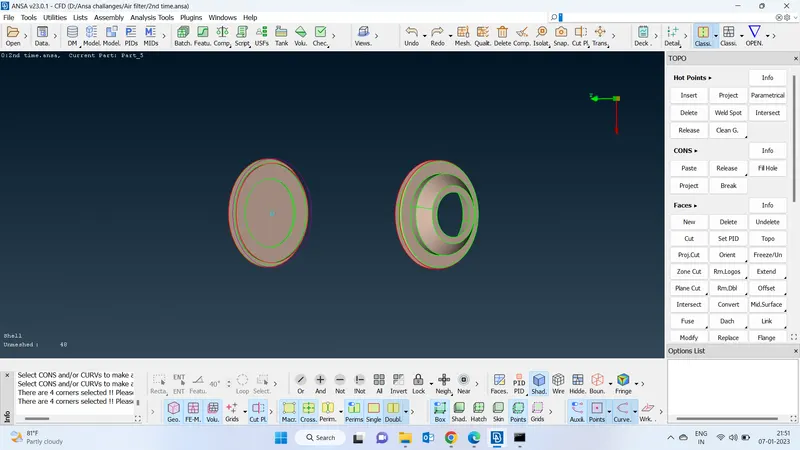
Creating surface on teeth
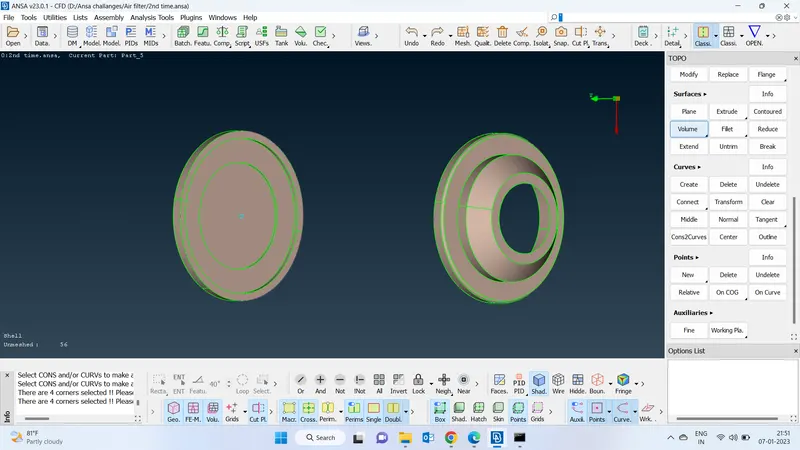
Creating surface on rib :
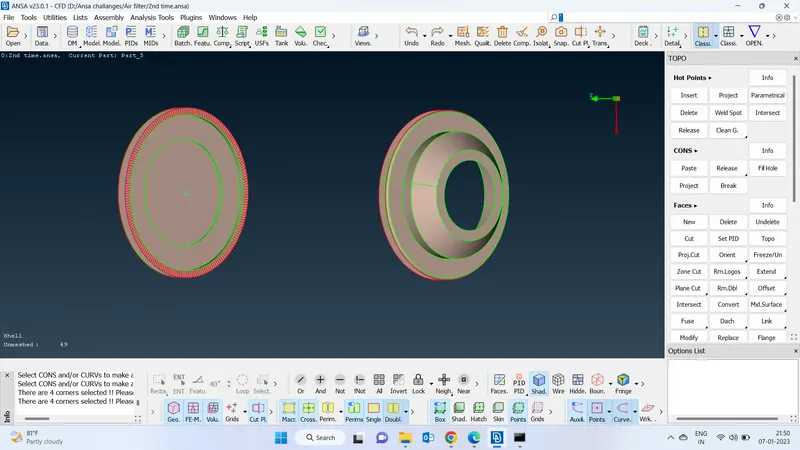
-Initially we will have to remove the filter region and create a surface over there by removing those to do that
face>delete>drag and select the surace where we want to delete>mid click of the mouse and delete
-remove the tooth inside the filter and replece witht the surface before removing the teeth face create a circle over the teeth so that it will help us to crate a proper surface to do that
go to the curves>circle(3point circle)>select any 3 points ove the tooth>increase the resolution of the 3point circle. and delete the teeth face.
-Create a surface where we deleted the teeth to do that
go to hot points >insert hot points>click on the cons where we want to create a surface >it will create a hot points for us
follow the above step on the opposite side once after crateing the hot points We will be able to create a surface by using those
-Always recommend to create a surface (if we have a circle)split up into two semi circles and create a surface into two halfs
-Finally create a face by selecting cons on the top of the filter region
Topo :
Once after completing the cleanup finally we will have to perform the topo to remove the single cons which is used to intersecting the faces or used to share the flow information smoothlu from ne fave to another face
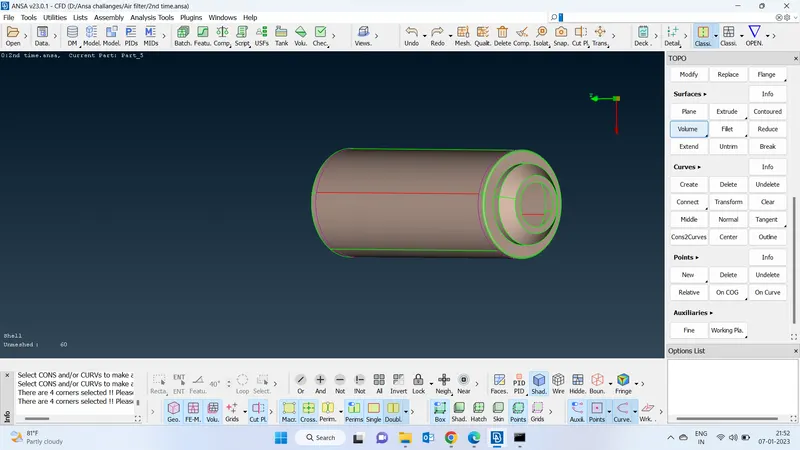
Final filter :
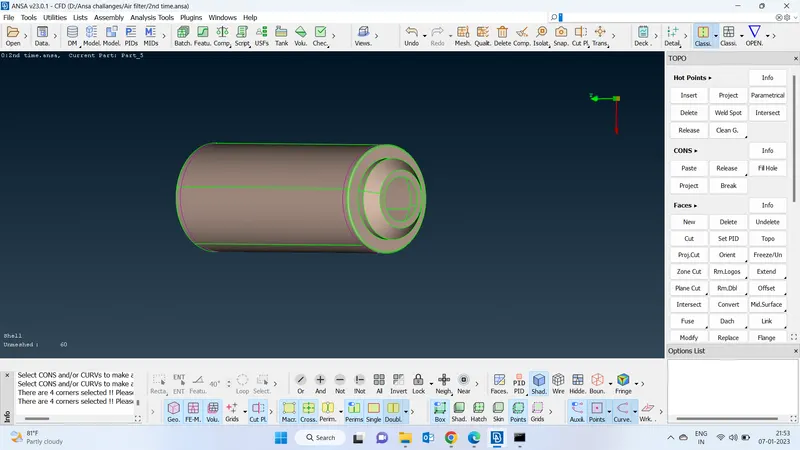
Intersect primary housing and filter :
By intersecting the two components we will be able to remove the unnecessary intersection betwwen the components
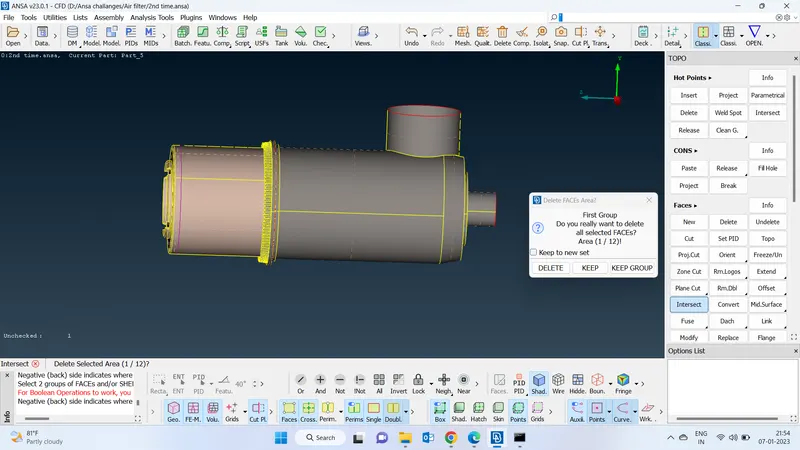
For this go to faces >intersect >select the first component and then select thr second component and middle click of the mouse.The intersection will get highlighted and remove the faces where the fluid is not going to intersect.
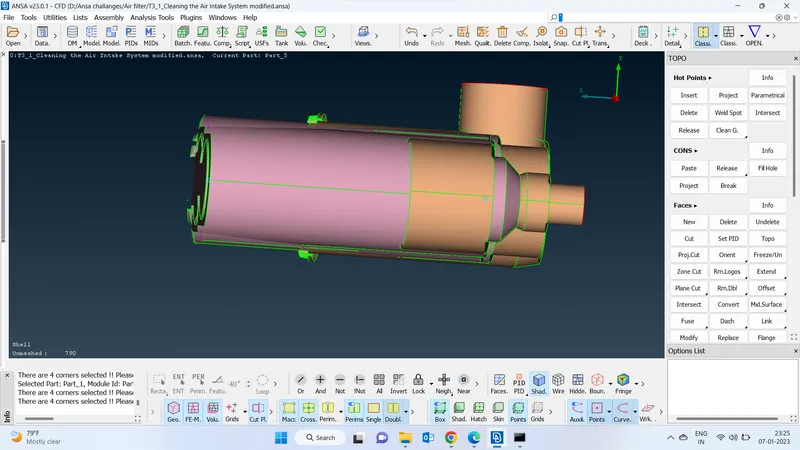
Fill up the fluid leakage area by creating a new face
Intersecting filter and the secondary housing :
Same as what we did in the previous stage
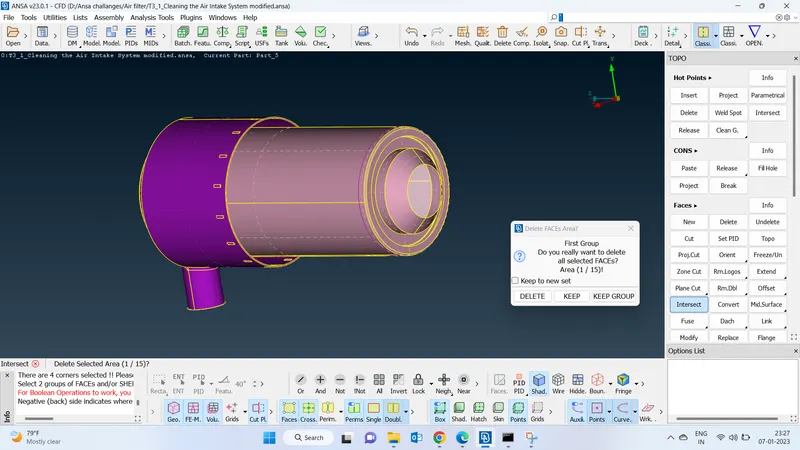
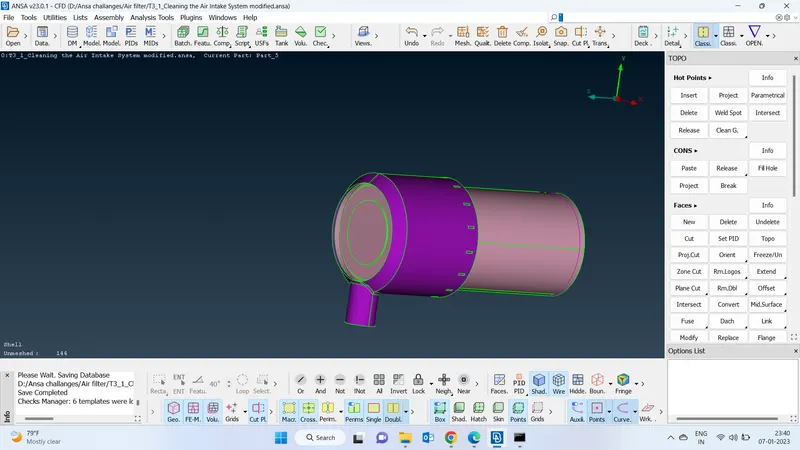
RIB and the filter intersection :
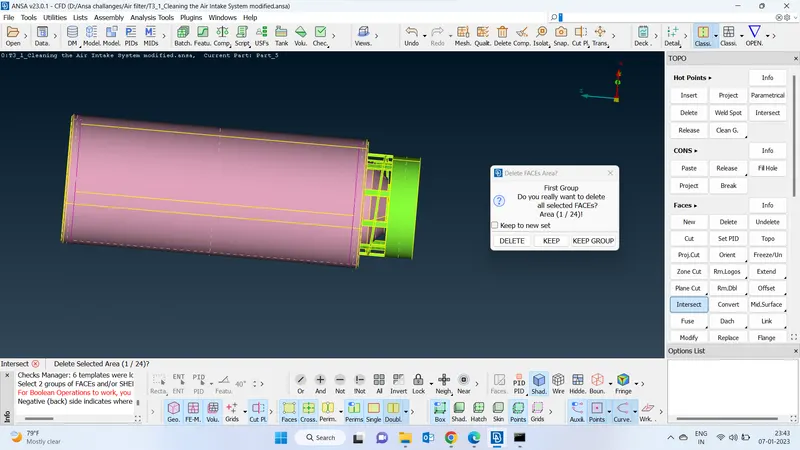
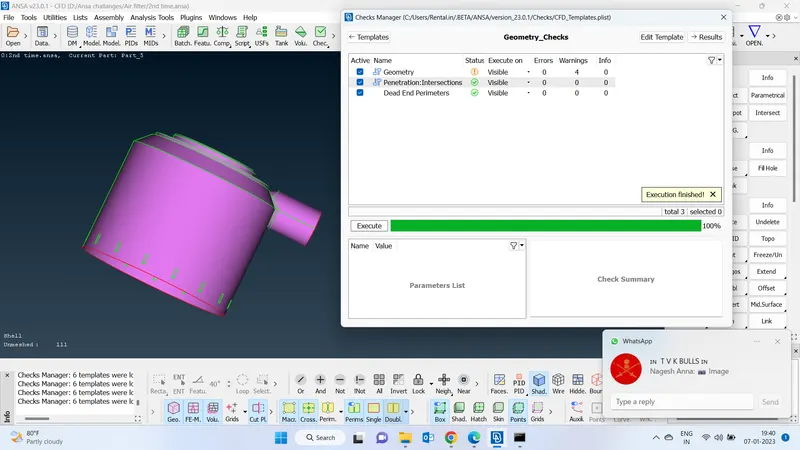
Warnings that has been raised while solving :
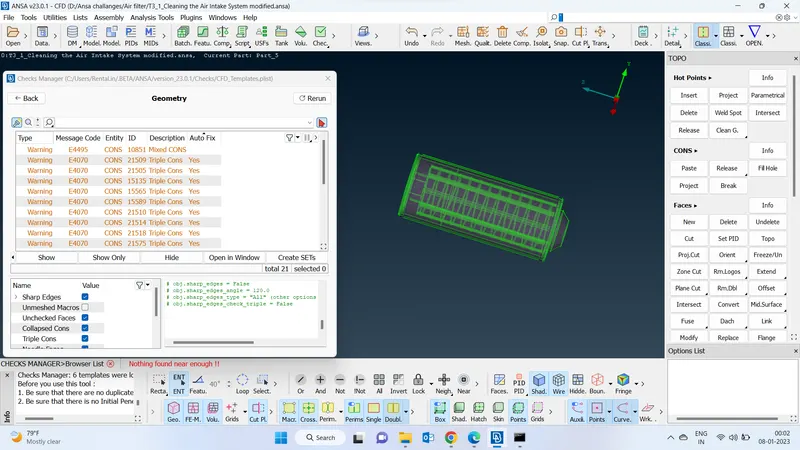
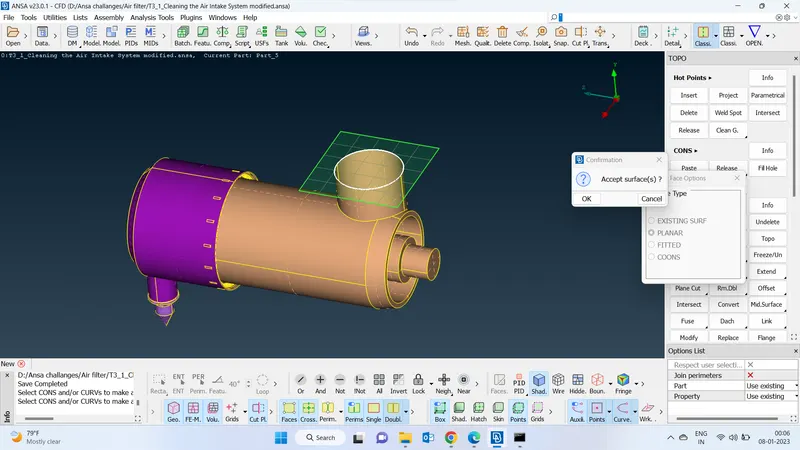
By closing all the open faces to create a water tight object
We will have to crate a surface by crating a surface
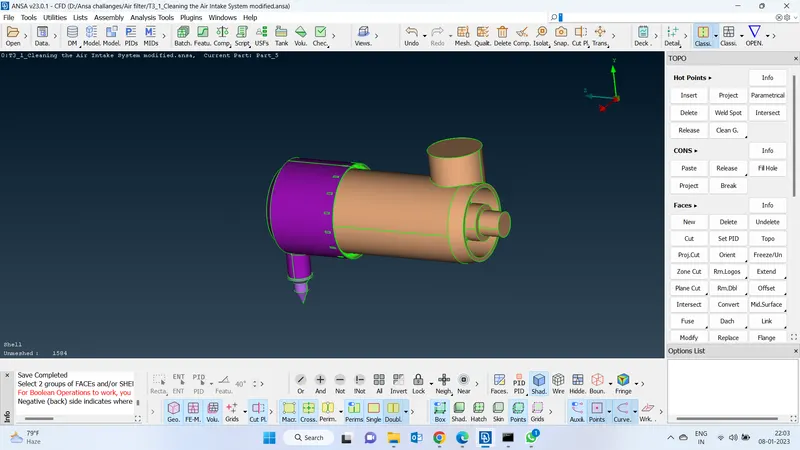
Finak object :
This is how the finla fluid volume extraction volume looks llike.
Google drive link for final geometry
https://drive.google.com/file/d/1K7AL8qusw6ykQXE37XM_jPeQe4Ure9NF/view?usp=share_link