Advanced Sheet Metal Design Using NX Cad Challenge_2_Box Assembly
SHEET METAL BOX ASSEMBLY USING ADVANCED SHEET METAL
Objective:
To design the box assembly using the advanced sheet metal in Siemens NX Sheet Metal application.
Introduction:
Sheet metal work involves handling sheet metal 3.5 mm or less in thickness, primarily using hand or portable tools to make a variety of products. Sheet metal is a metal formed by an industrial process into thin and flat parts. It is one of the basic forms used in metalworking, and it can be cut and bent into a variety of forms. Countless everyday objects are made of sheet metal.
In this project, sheet metal box assembly was designed to understand the basic operations done in Siemens NX Sheet metal application. Various commands like Hem flange, dimple, and bead are used to model the box assembly. Such boxes can be used for storing tools on the shop floor and for other storage purposes.
Design Methodology:
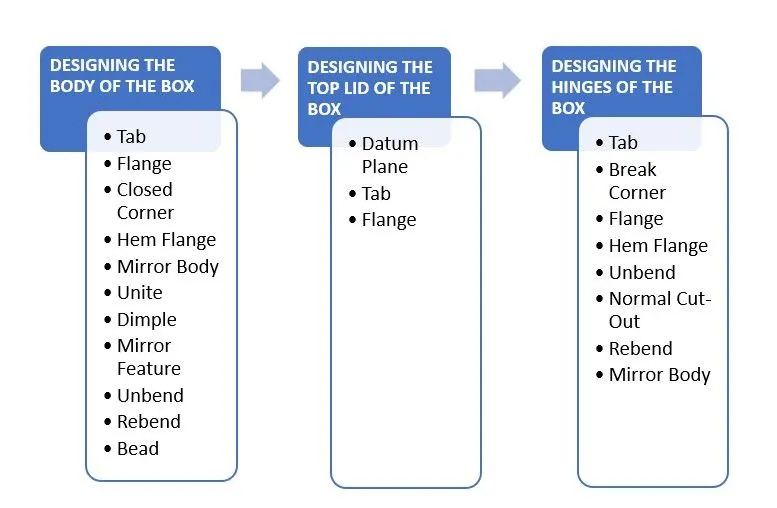
The design methodology used in this project is summarized in the following flow chart.
- Designing the Body of the box
The commands used to design the body of the box is given below:
- Tab: Before tab creation, the base sketch was drawn and parameters, characteristics for sheet metal commands were set with required material thickness, bend radius, relief width and depth. A tab is a feature that creates a base feature by extruding a sketch along a vector by a thickness value or adds material to a planar face.
- Flange: This feature adds a flat flange at an angle to a planar face and adds a bend between the two.
- Closed corner: This feature closes a corner where two adjacent flanges meet by extending the bends and flanges.
- Hem Flange: This command modifies the model by folding the edge of the sheet metal flange over onto itself for the purpose of safe handling or to increase the edge stiffness. There are various types of hem flanges such as open, closed, s-type, open-loop, closed-loop and so on.
- Mirror body: It copies the body and mirrors it across a plane.
- Unite: It combines the volume of two or more solid bodies into a single body.
- Dimple: This feature lifts an area of the model inside a sketch that simulates a stamping tool.
- Mirror feature: Similar to mirror body, it copies the feature and mirrors it across a plane.
- Unbend: It flattens a bend and the material adjacent to the bend. To achieve the flat configuration of the sheet metal as per the design intent, have to choose the bend in an order. In box selection of bend also possible.
- Re-bend: This feature restores an unbend feature to its previous bent state, along with any features added after the unbend feature.
- Bead: This feature restores an unbend feature to its previous bent state, along with any features added after the unbend feature.
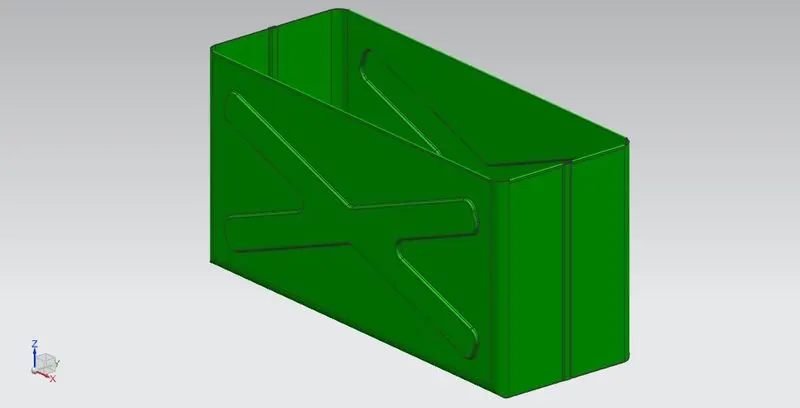
The following are the procedures of designing the body of the box:
- A base sketch of the rectangle was drawn for Base Tab with the required dimensions.
- The first half of the box was made using flanges, hem flanges and neatly closed by using closed corner commands.
- Then the first half of the box was mirrored about the YZ plane and the two bodies combined using unite command.
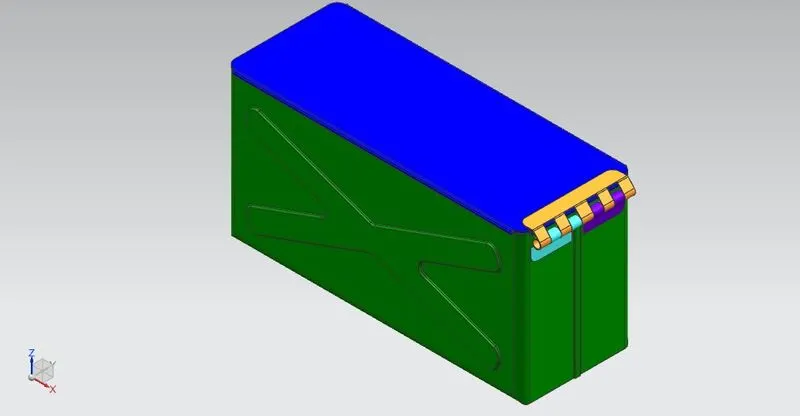
- Dimples were made on the two sides and bottom side of the box with the required depth as shown in the figure below with help of the mirror feature.
- Then the whole body was unbent and re-bent to its original form.
- A circle was drawn with the required dimension on the bottom side of the box and a bead was created, then beads are mirrored about XZ and YZ planes.
- Some of the sharp open edges of the box were slightly bent with the help of hem flanges, which acts as the fillets feature in the solid modelling.
- Designing the top lid of the Box
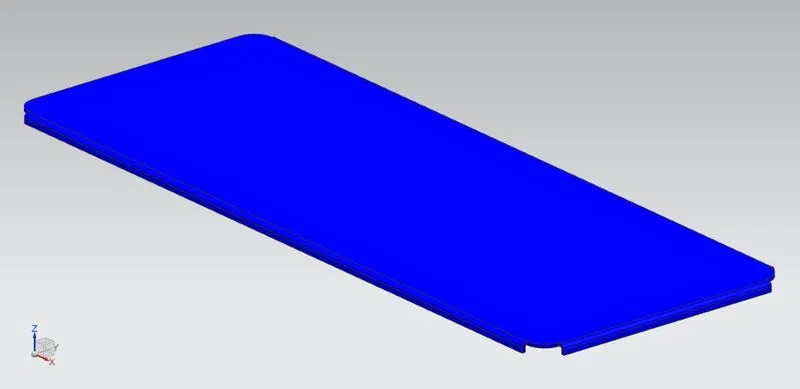
The lid of the box serves as the cover of the box and helps to store things safely. The commands used to design the top lid of the box is given below:
- Datum Plane: It creates the datum plane used to construct other features. The datum plane can be parallel to exist datum plane or face.
- Tab
- Flange
The following are the procedures for designing the top lid of the box:
- A datum plane was created to design the lid of the box.
- Then the base sketch with proper dimensions is drawn on the new datum plane to create the base Tab.
- Flanges were added to the edges with the required dimensions.
- Designing the hinges of the box
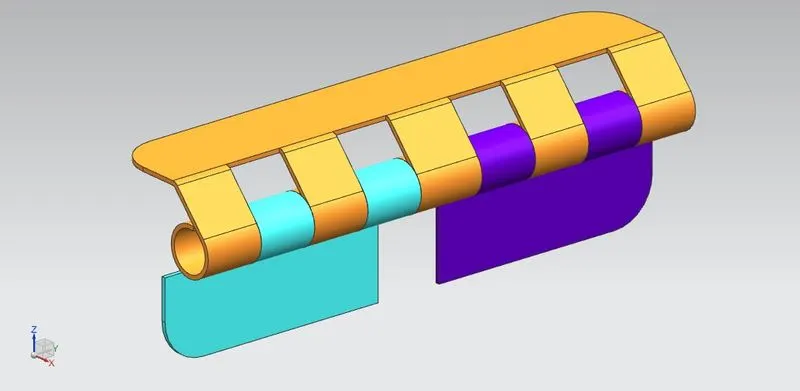
The hinges are the part that connects the body to the lid. This helps to open and closing of the lid. The commands used to design the hinges of the box is given below:
- Tab
- Break corner
- Flange
- Hem Flange
- Unbend
- Normal cut out: This feature cuts the material by projecting a sketch onto the model and then cutting perpendicular to the faces intersected by the projection.
- Re-bend
- Mirror body
The following are the procedures of designing hinges of the box:
- A base sketch was drawn on the face of the box to create the tab and break corner was applied to round its one of the edges.
- Two more flanges were created and a hem flange with an open-loop was created to form a circular section of the hinge.
- This sheet metal body was unbent to create the normal cut out at required locations with suitable dimensions.
- Now the sheet metal part was mirrored about the XZ plane.
- Similarly, hinges were also created on the top face of the lid.
- The required colours were added to all parts in the assembly and saved.
- A new draft file was created with the required dimensions and orientation views.
Drafting:
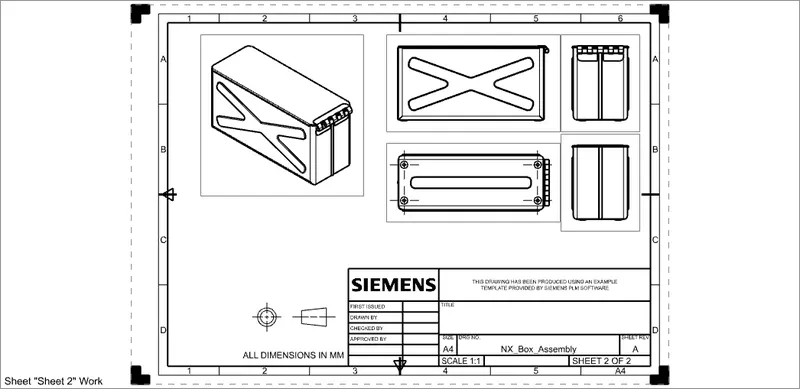
Different views of the model:
1) Front View
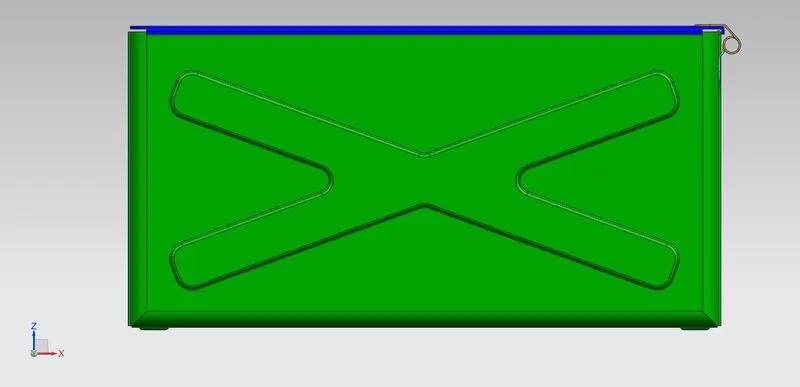
2) Top View
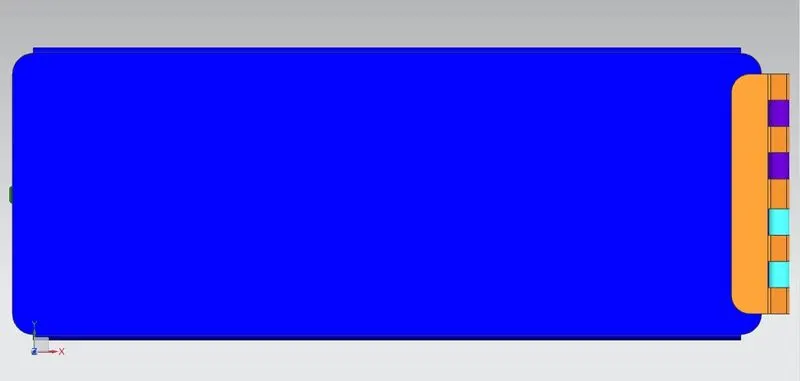
3) Side View
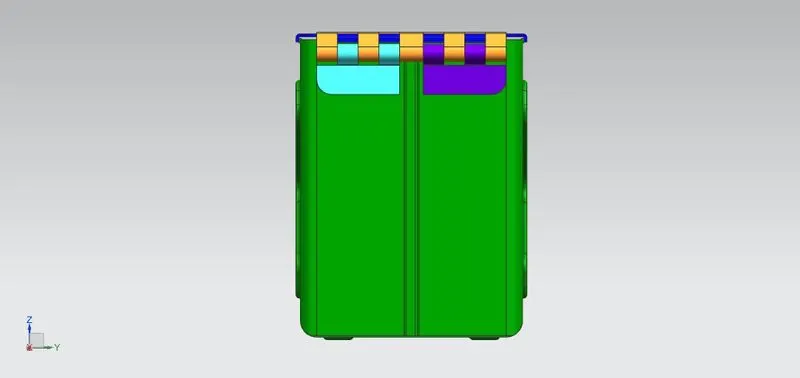
4) Bottom View
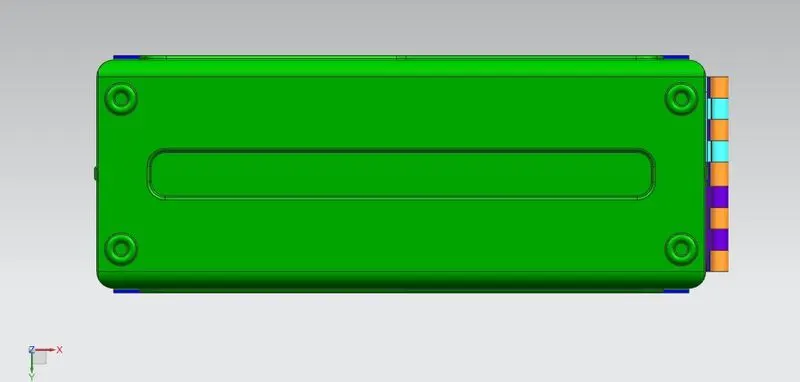
5) Isometric View
Conclusion:
Thus the sheet metal box assembly using Siemens NX sheet metal application was designed and drafted.