Modelling and Realistic Rendering of American Chopper (SolidWorks)
INTRODUCTION:-
American Chopper is a cruiser bike having a very long wheel base and has retro look to it. We are using SolidWorks to design and model each part and do the assembly.
OBJECTIVE:-
- To learn and apply all solid and surface modeling techniques and mastering some very important tools such as projected curve, surface loft etc.
- Model Chain, Chassis, Engine, Front Fender, Front Fork, Front Wheel, Fuel Tank, Kickstand, Oil Tank, Pedal, Rear Tank and Rear Wheel.
- Do the Assembly.
- Get rendered images of American Chopper.
ENGINE:-
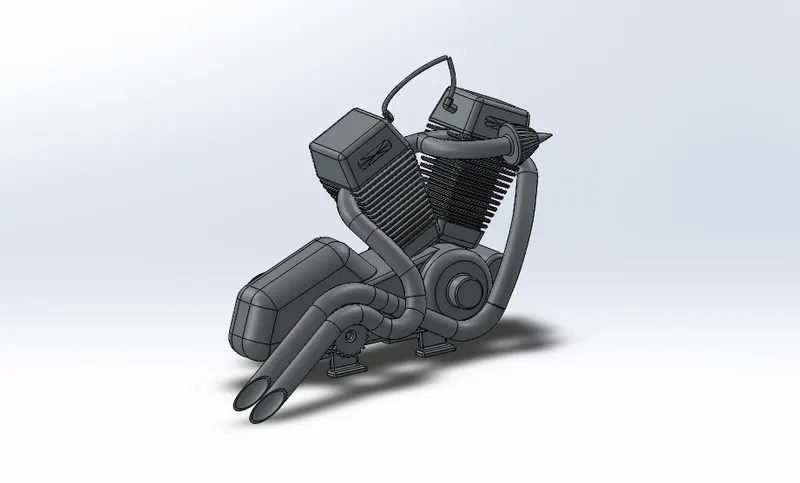
Fig 1:- Engine
Engine powers the Chopper. This chopper has 4 stroke V Twin engine.
CHAIN:-
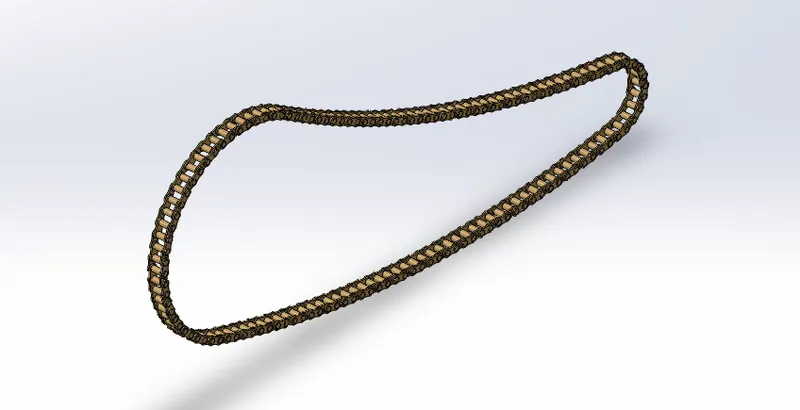
Fig 2:- Chain
Chains transmits power from drivetrain to real wheel of the Chopper.
CHASSIS:-
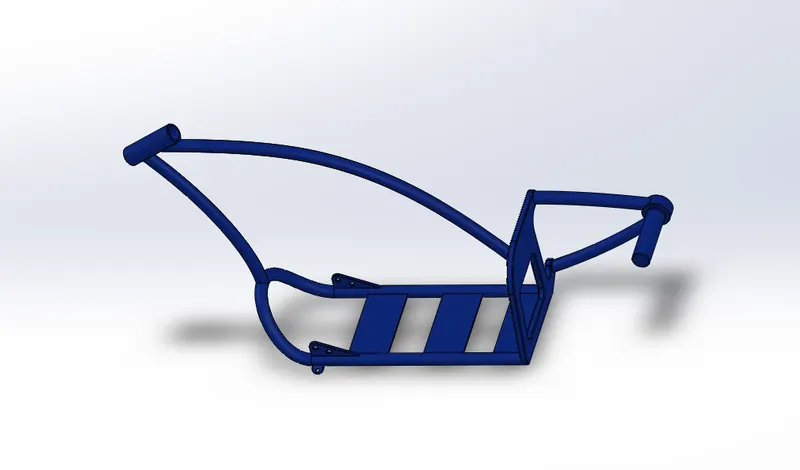
Fig 3:- Chassis
Almost all parts of a bike are mounted on its Chassis. This is Single Cradle frame. It is mostly used in commuter bikes and curuiser bikes like this one. It is simple and cost effective, but has less rigidity.
FRONT FENDER:-
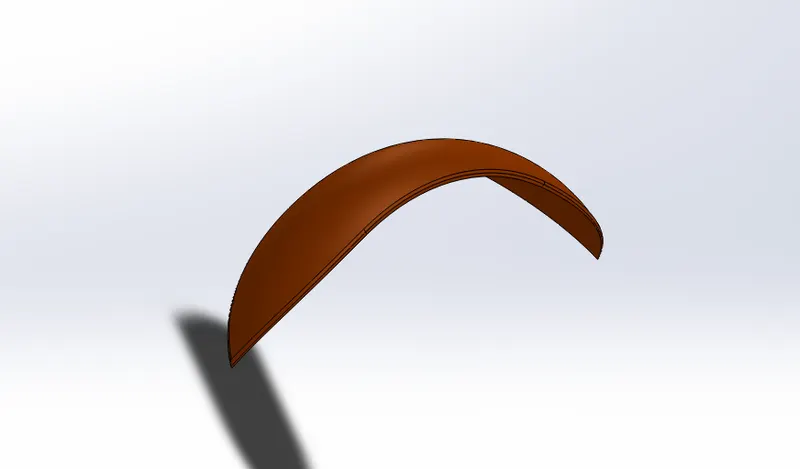
Fig 4:- Front Fender
It is a covering for the front wheel. It protects the rider and components of the bike from mud, liquid splash, stones and debris.
REAR FENDER:-
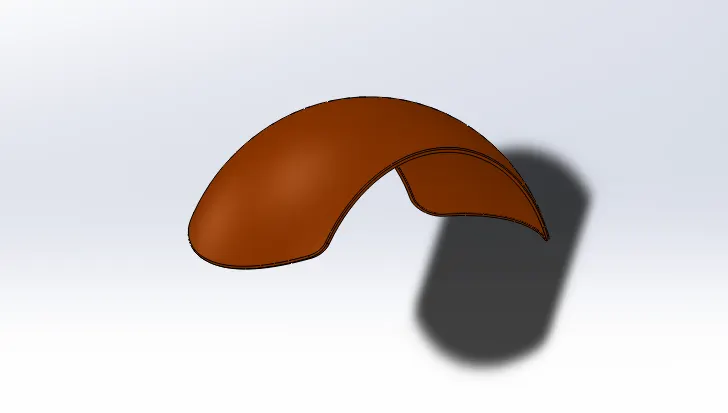
Fig 5:- Rear Fender
It is a covering for the rear wheel. It protects the rider and components of the bike from mud, liquid splash, stones and debris.
FRONT FORK:-
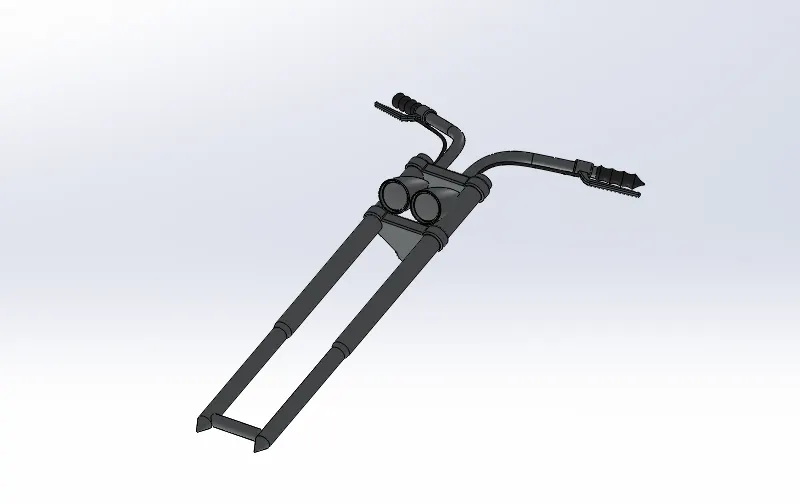
Fig 6:- Front Fork
It is a unit that houses front suspensions, headlight and handle.
FRONT WHEEL:-
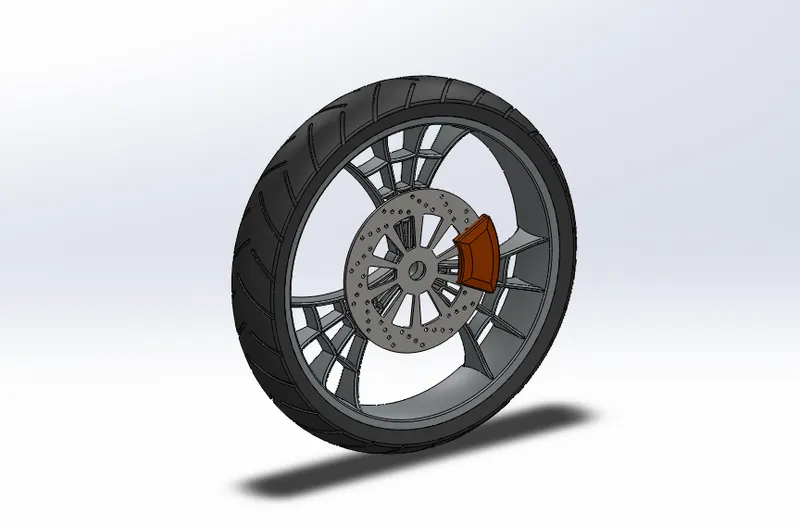
Fig 7:- Front Wheel
It is the front wheel of the chopper. It consists rim, Brake rotor disc, Brake callipers and tyre. It is smaller in diameter than real wheel but requires more braking power than rear wheel.
REAR WHEEL:-
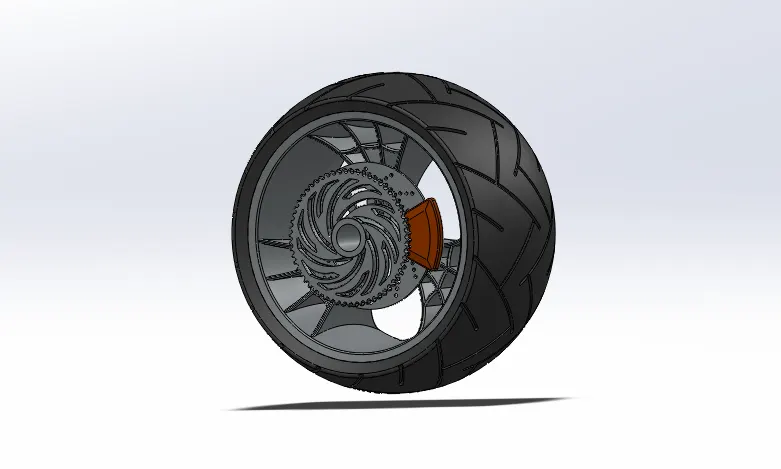
Fig 8:- Rear Wheel
It is the rear wheel of the chopper. It consists rim, Brake rotor disc, Brake callipers, rear sprocket and tyre. It is larger in diameter than front wheel but requires less braking power than front wheel.
GAS TANK:-
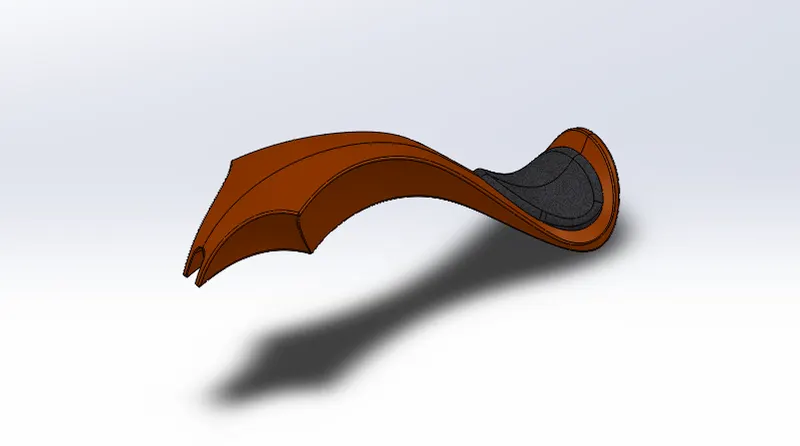
Fig 9:- Gas Tank
It is the container for the fuel. Fuel is sucked in the engine from tank due to piston action. It also contributes significantly as the styling component for any bike. In this chopper, this tank houses also the rider seat.
KICKSTAND:-
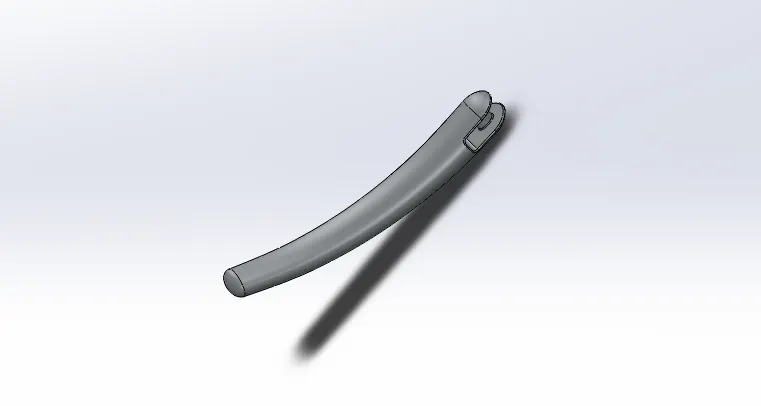
Fig 10:- Kickstand
It is the sidestand, used to support the bike in stationary position.
OIL TANK:-
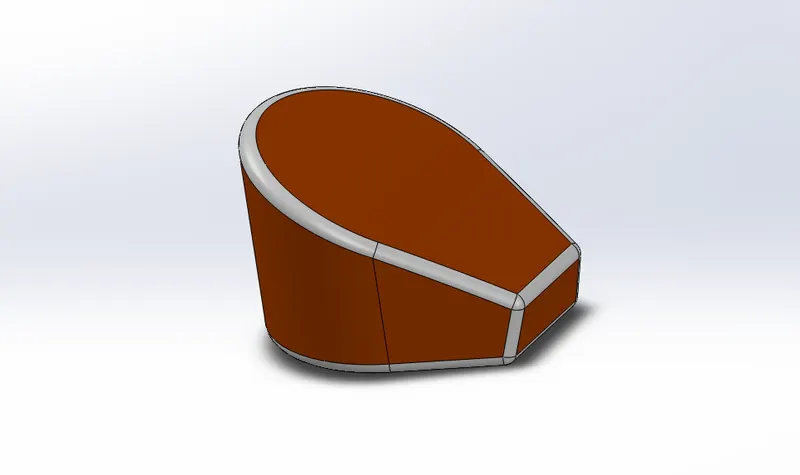
Fig 11:- Oil Tank
It is the container for engine oil.
PEDAL:-
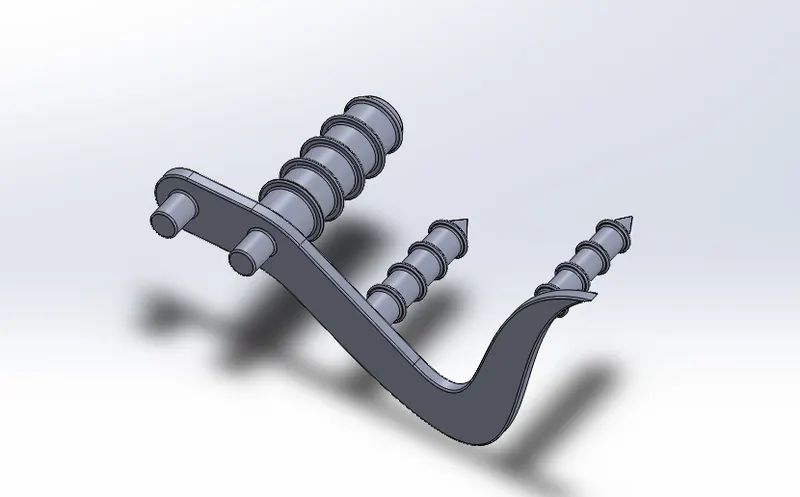
Fig 12:- Pedal
This part serves as foot rest while riding. Gear lever is connected to it at the Left Hand Side and Brake lever is connected to it at the Right Hand Side.
TRANSMISSION:-
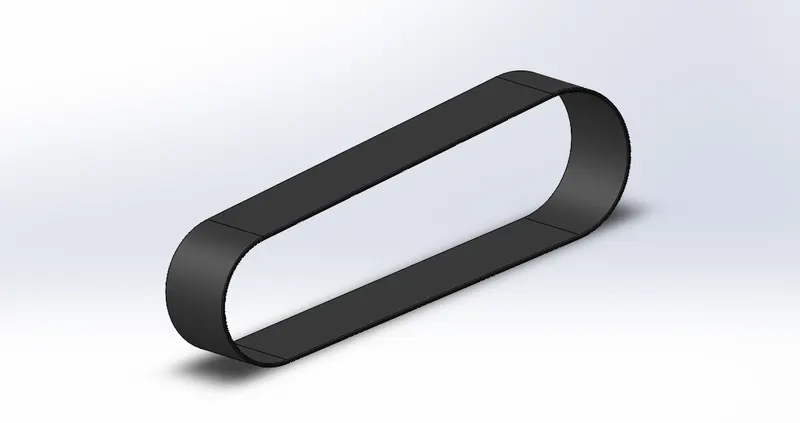
Fig 13:- Transmission belt
Transmission belt tranfers power from Engine output shaft to Gearbox input shaft. It is made up of hard rubber, requires less maintenance and transfers power efficiently.
TOOLS USED FOR YACHT MODELLING:-
- Plane
- Sketch
- Offset Entities
- Extrude
- Fillet
- Appearances
- Spline
- Loft
- Dome
- Cut-Extrude
- Split
- Revolve
- Shell
- Combine
- Straight Slot
- Curve Pattern
- Mirror
- Body-Delete/Keep
- Chamfer
- Linear Pattern
- Cut-Revolve
- Circular Pattern
- Sweep
- Project Curve
- Body-Move/Copy
- Composite Curve
- Surface-Sweep
- Surface-Trim
- Surface-Loft
- Boundary-Surface
- Surface-Knit
- Surface-Extrude
- Split Line
- Cut-Sweep
ASSEMBLY OF CHOPPER:-
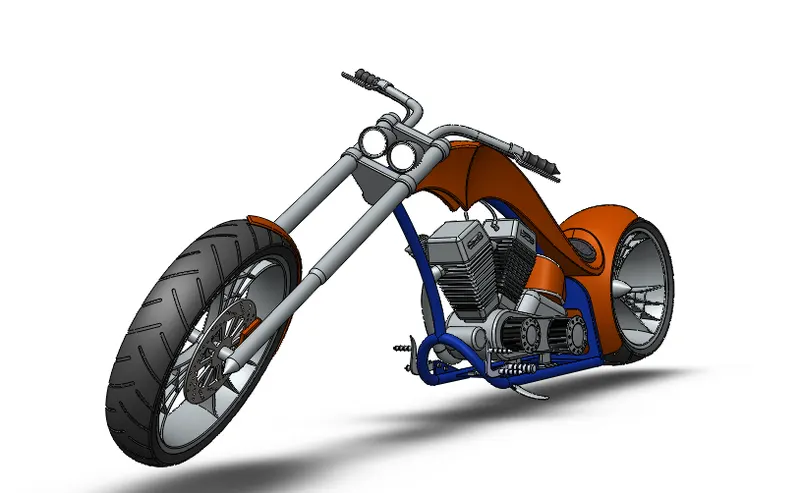
Fig 14:- Isometric View Assembly
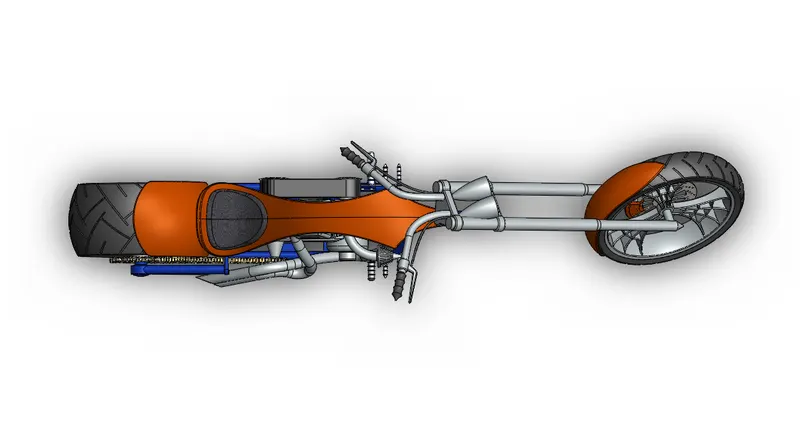
Fig 15:- Top View Assembly
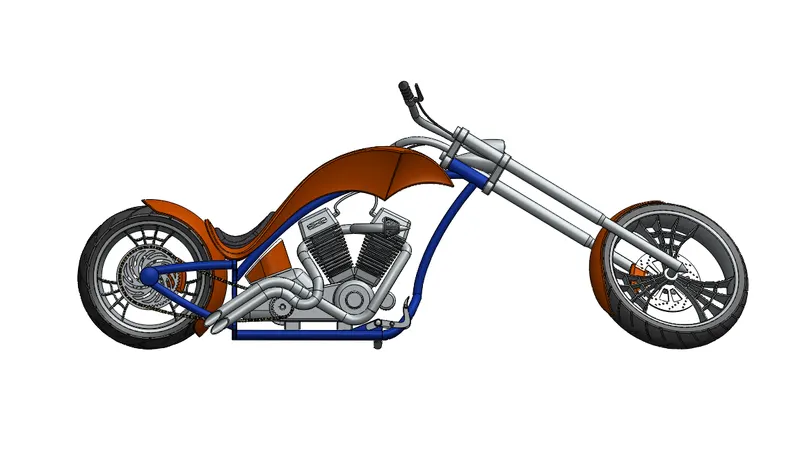
Fig 16:- Side View Assembly
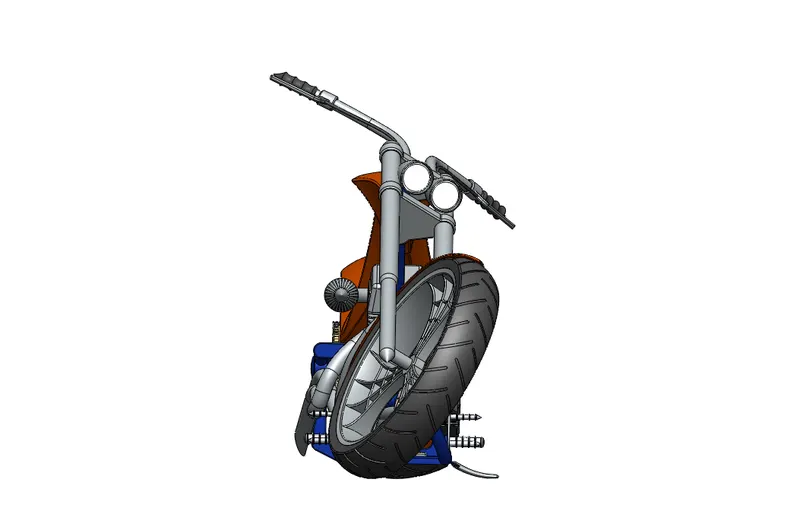
Fig 17:- Front View Assembly
Assembly in SolidWorks is done in Assembly environment. We use different constrains to fit the parts desirably. Mate Command is the most important tools inside Assembly. Under mate command, we use coincident, parallel, perpendicular, tangent, concentric, lock etc. to mate two parts successfully as per the design requirements.
RENDERED IMAGES:-
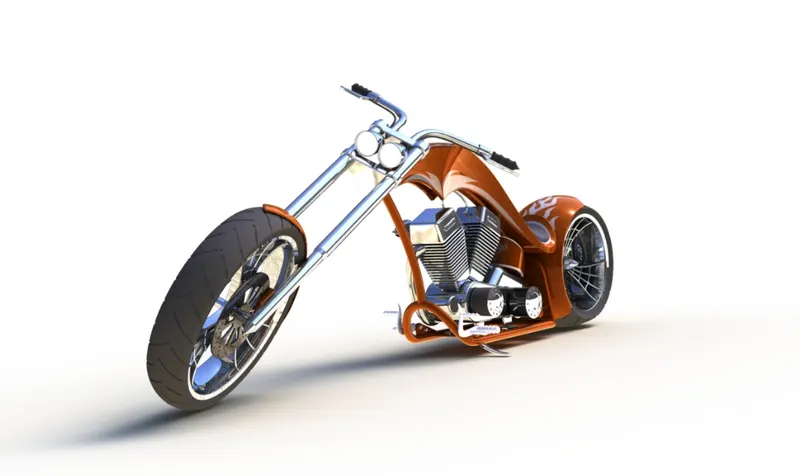
Fig 18:- Isometric View Render
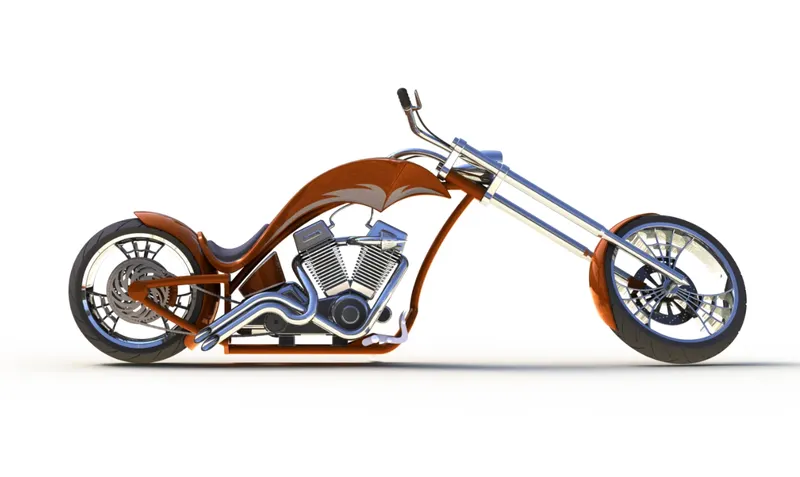
Fig 19:- Side View Render
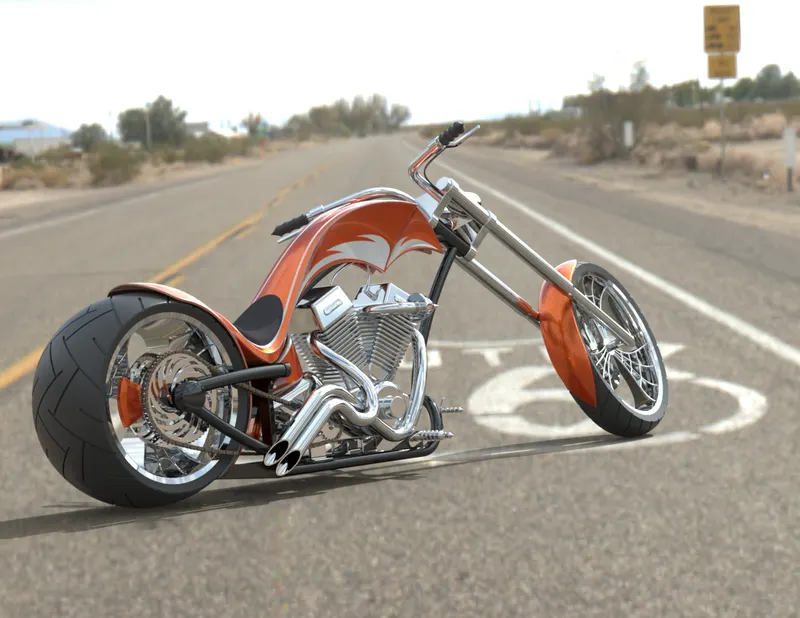
Fig 20:- Route 66 Render
CONCLUSION:-
Before real life prototyping of any product, the product is designed, tested and validated on a product design software first. This technology has made testing and manufacturing much easier and cheaper when we compare this with traditional hand drafting and prototype testing.
SolidWorks provides an easy to use modeling environment which encourages the creativity of a Design aspirant. We learned how important Blueprints are as it made whole modeling easy to follow and confusion free. We learned the importance of proper arrangement of feature tree so that the other person won’t have any difficulty in understanding our model. We learned no matter how complex something is, it can designed easily in a simple manner. After realistic rendering of our model, we get the feel of completeness of the Project.