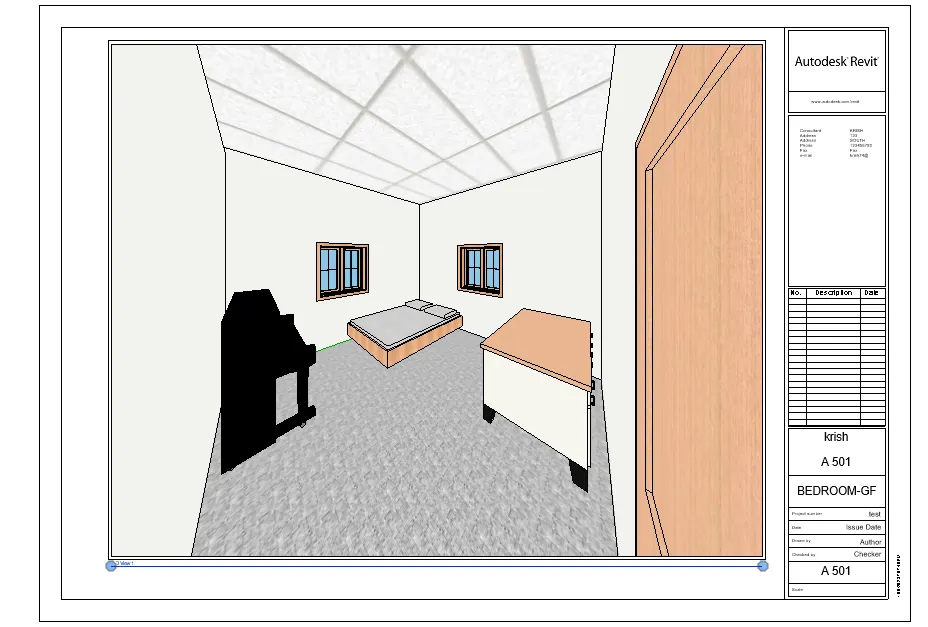
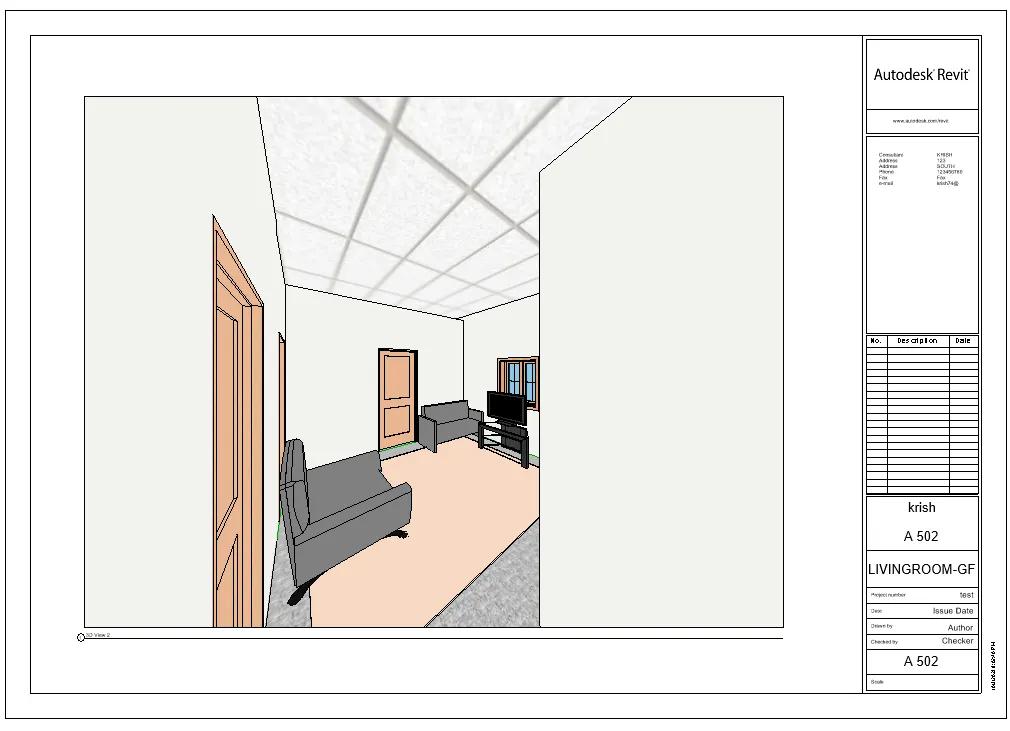
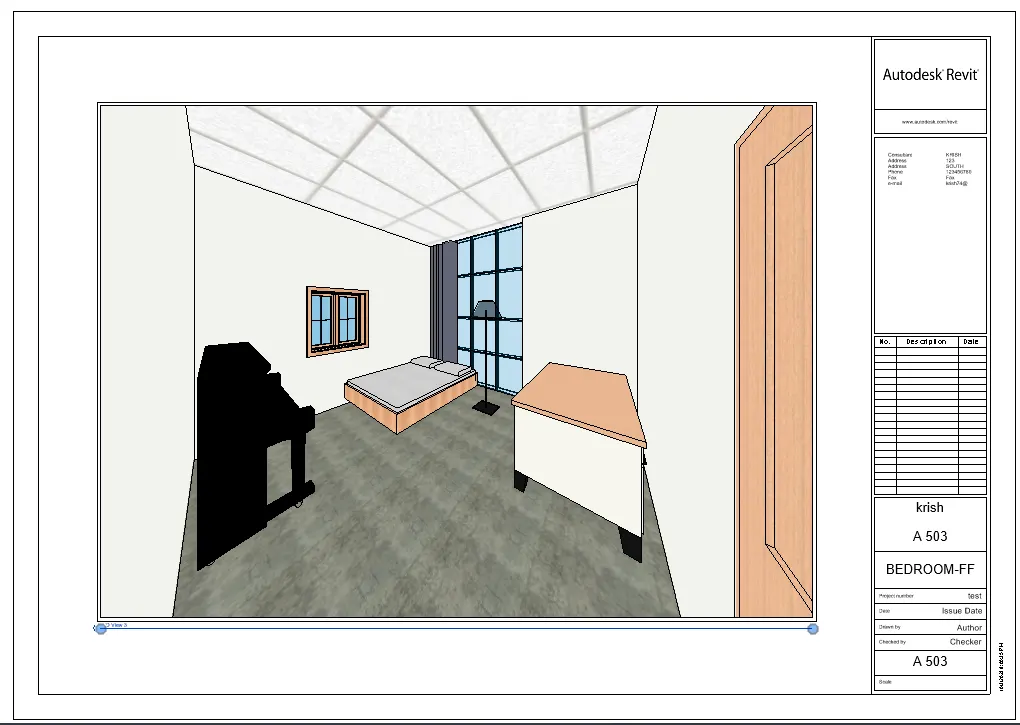
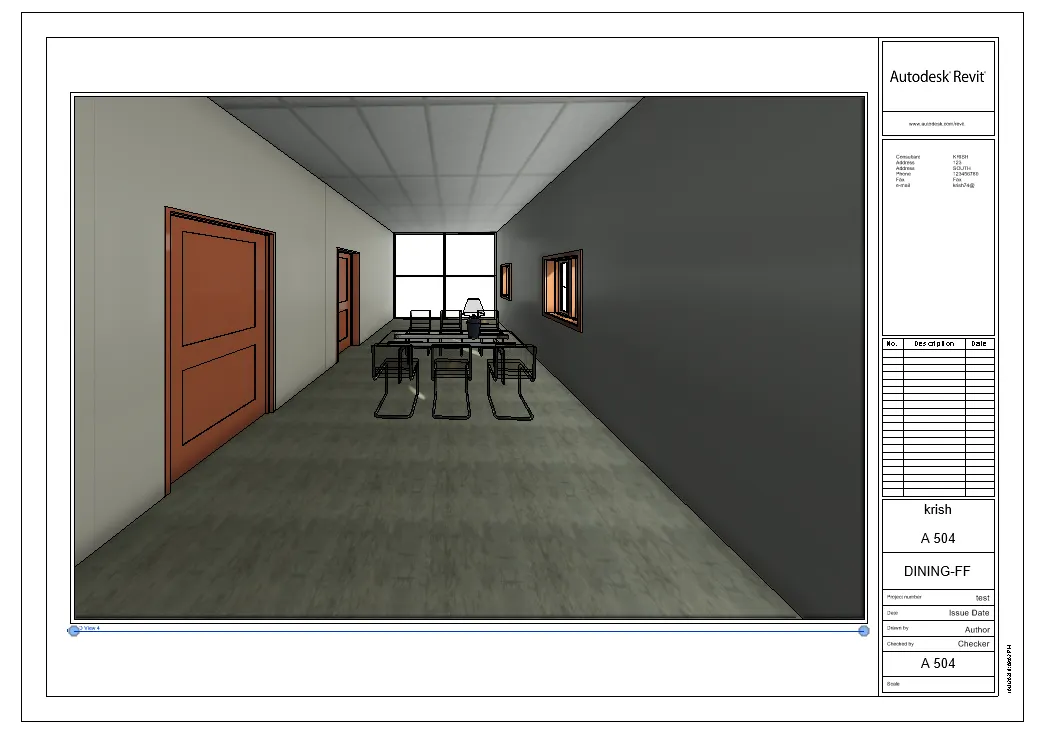
3D house plan using REVIT.
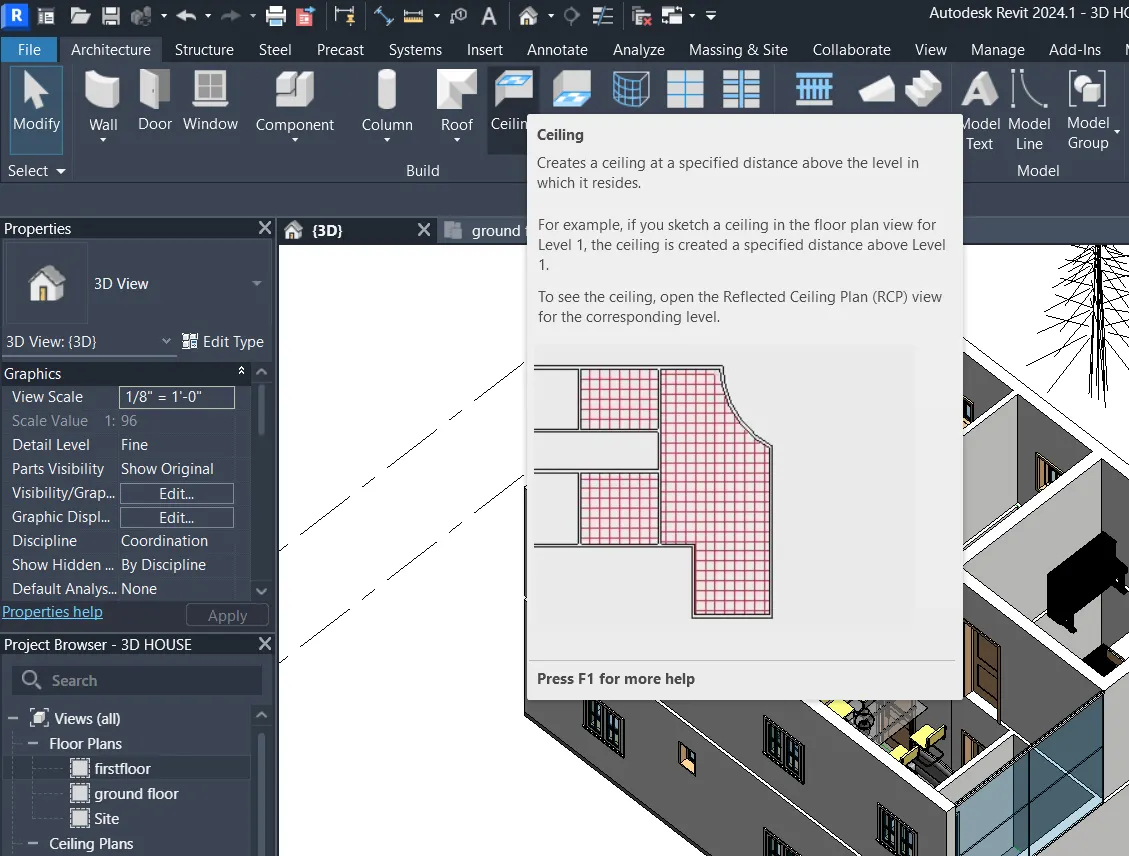
1) Based on the project saved from Week 3, proceed from the First Floor Level. Model a Ceiling from the architecture tab above the walls at the first-floor level
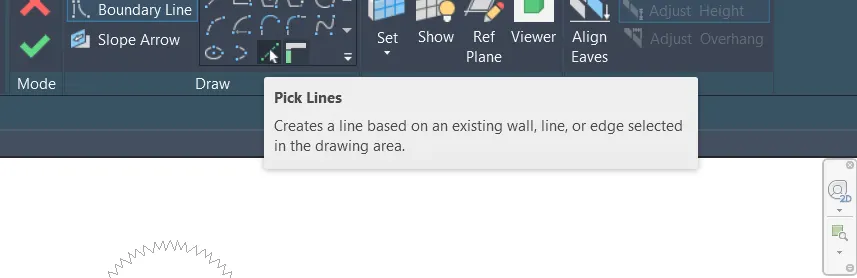
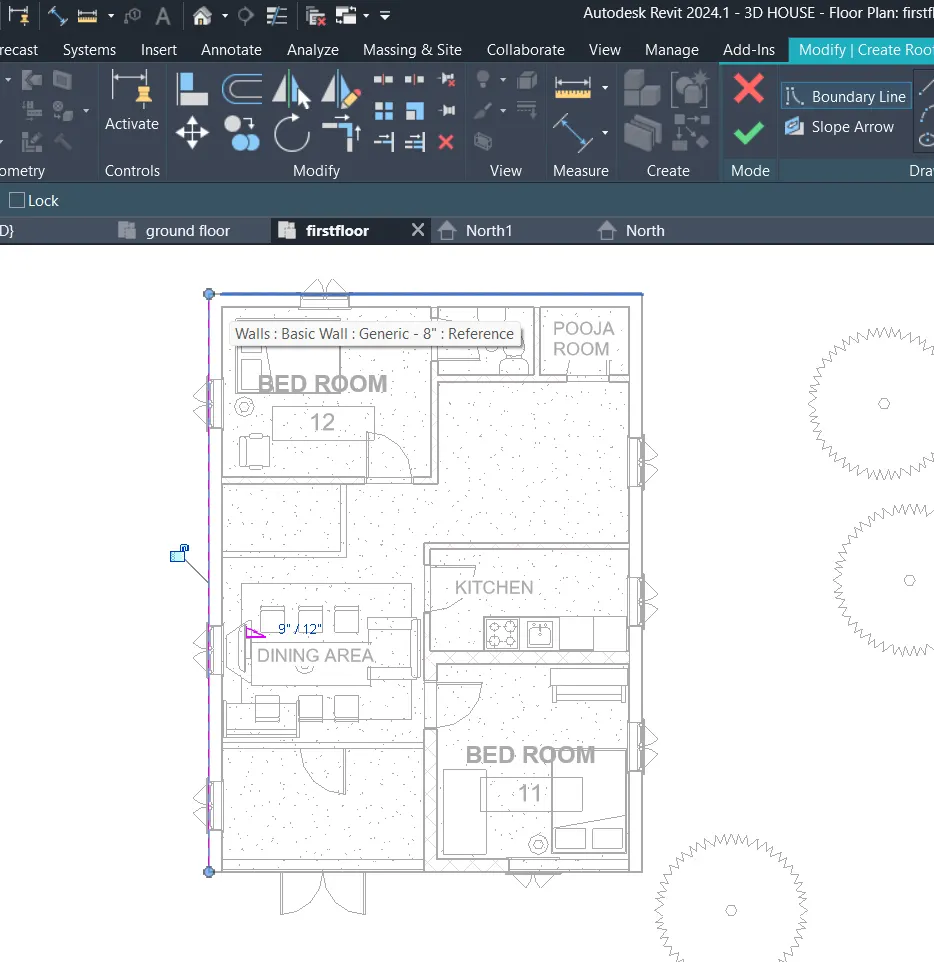
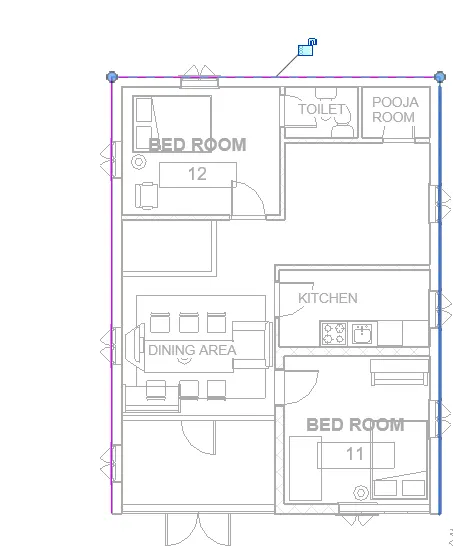
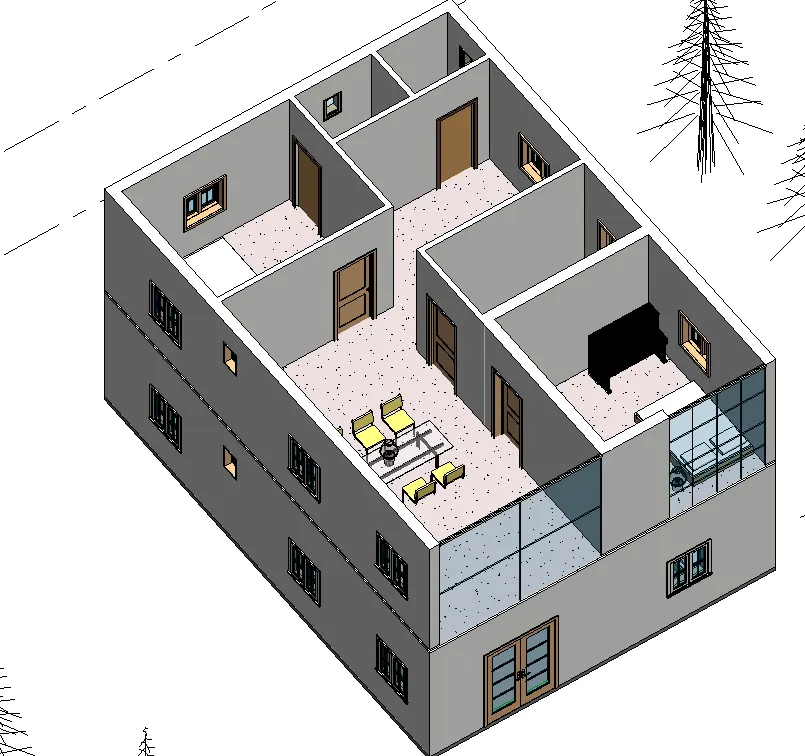
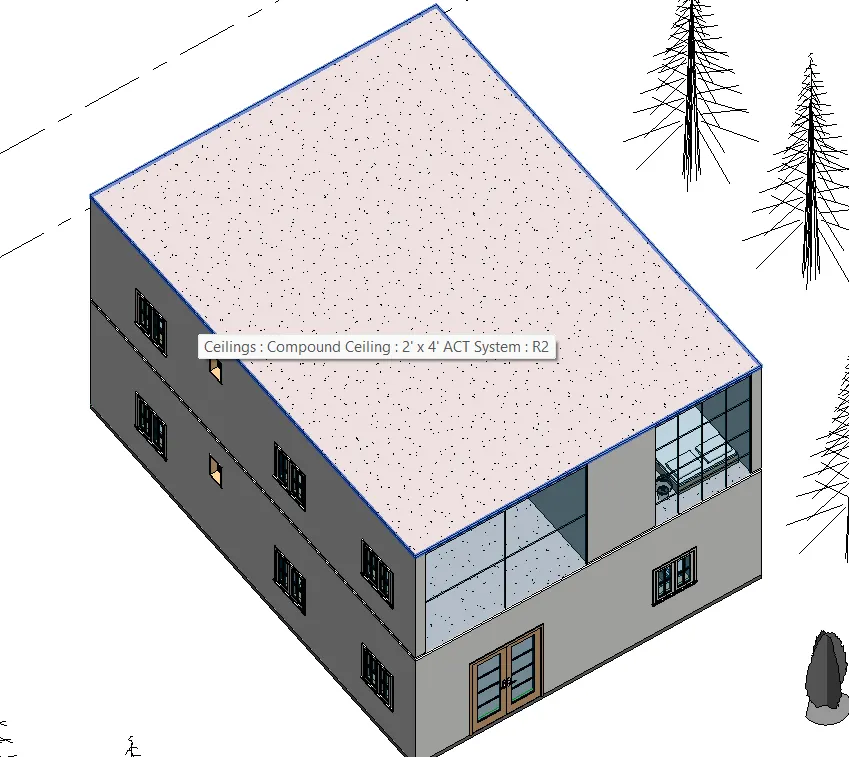
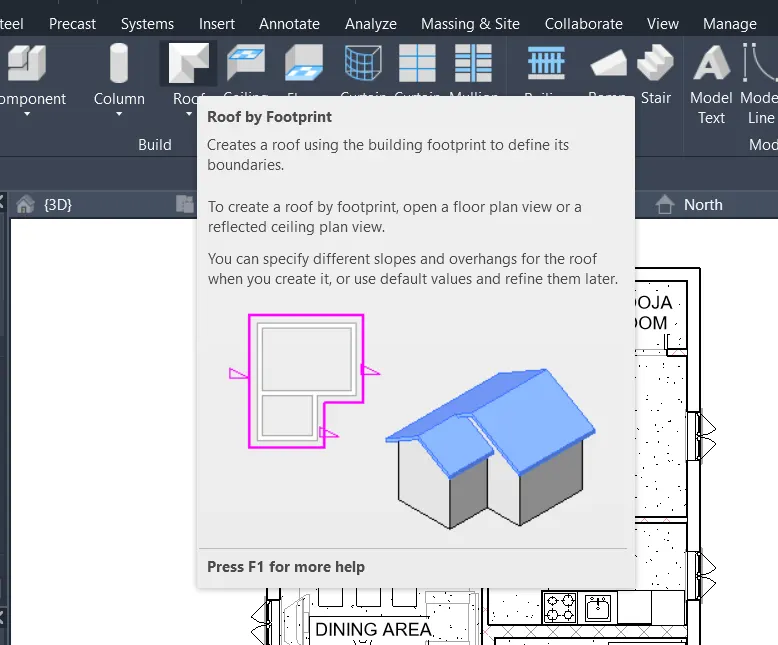
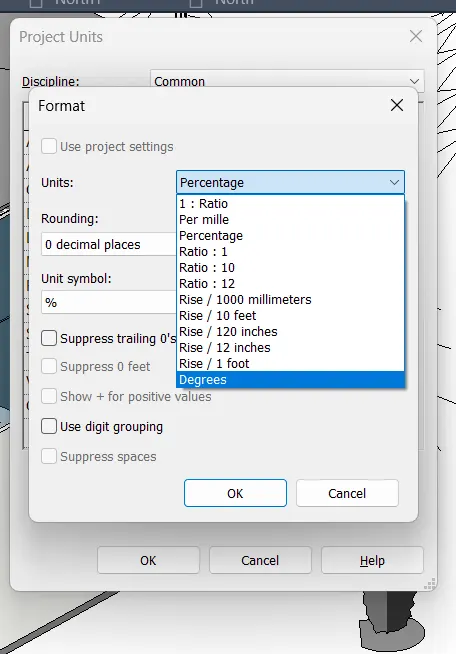
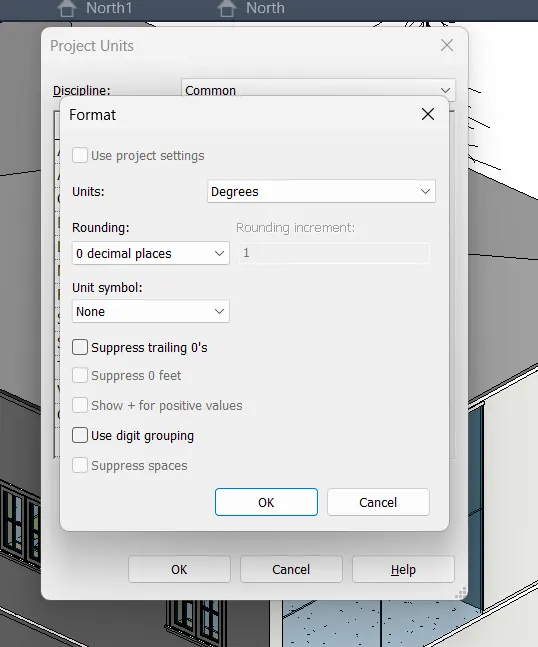
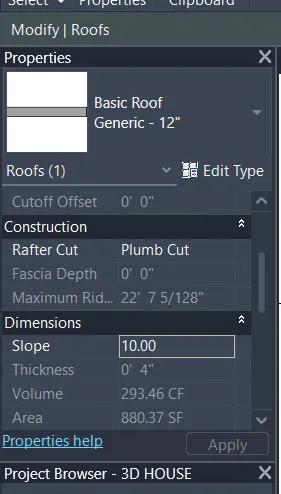
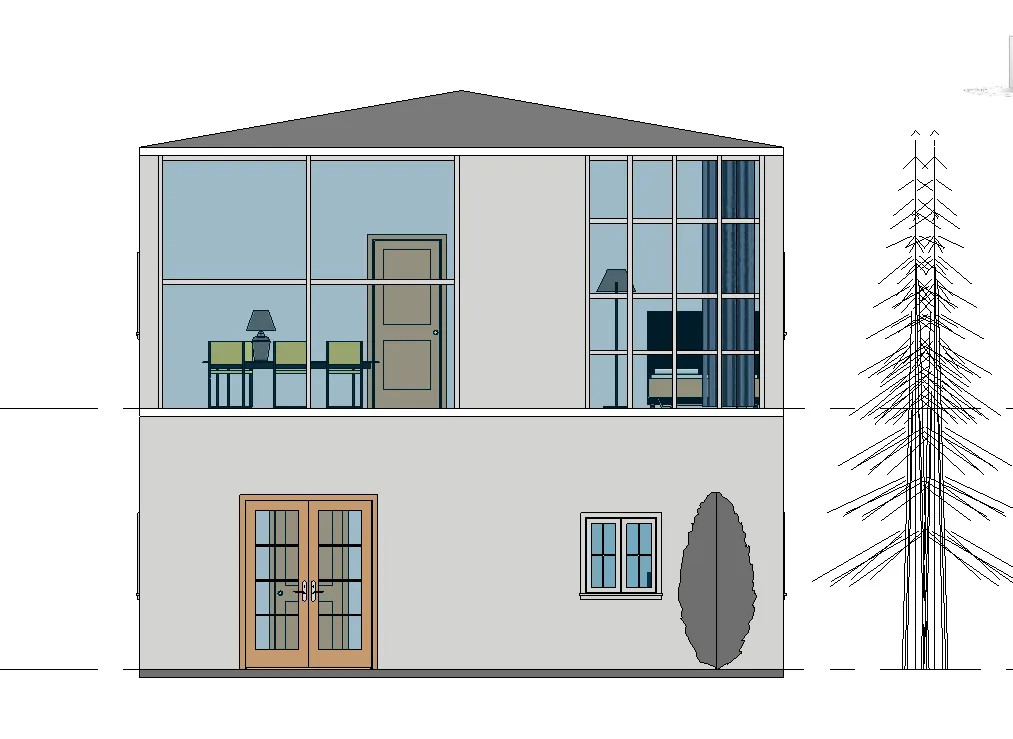
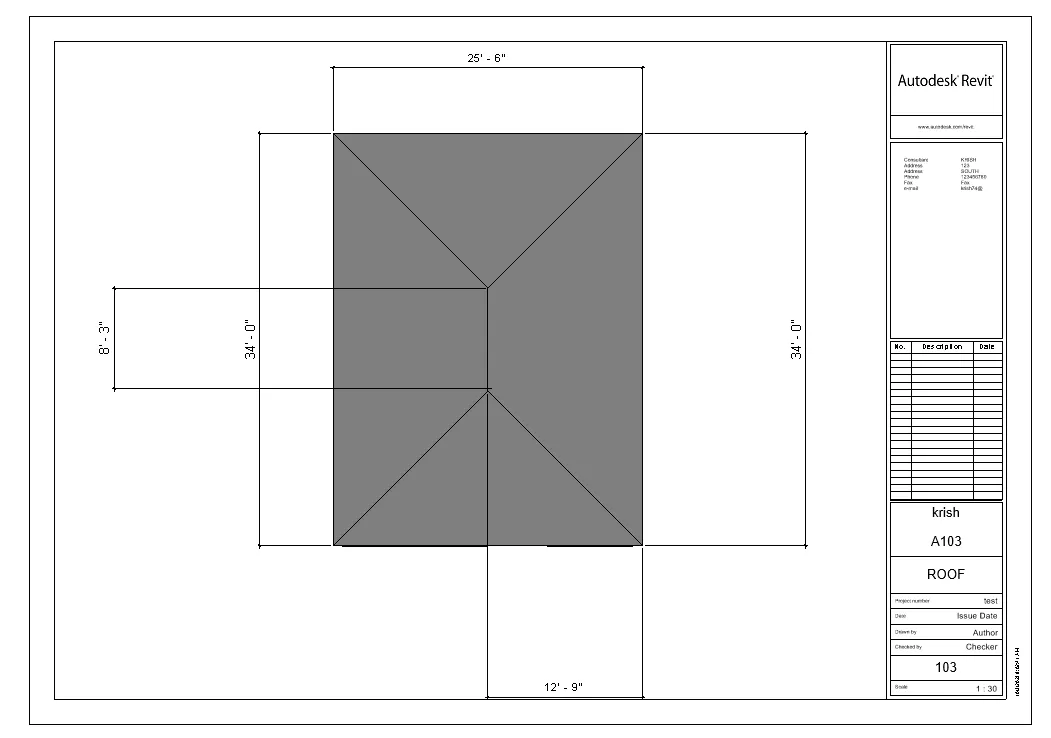
2) Model a roof above the ceiling by selecting the footprints of the ceiling. Using the adjustment toolbars appearing on-screen adjust the roof slope to 10 degrees
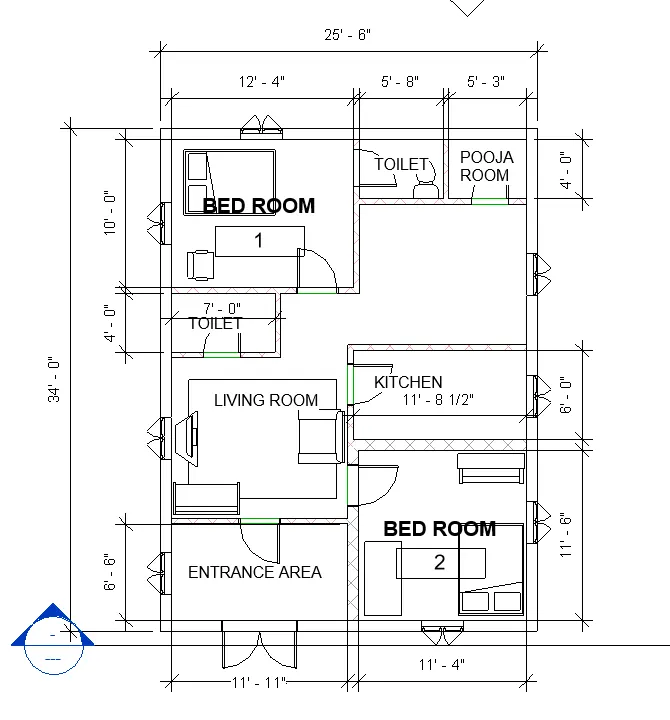
3) Using the file saved from weeks 2 to 4, create plan views for ground floor level and first-floor level including all the walls, floors, and components. Separate them to
architecture and structural plans
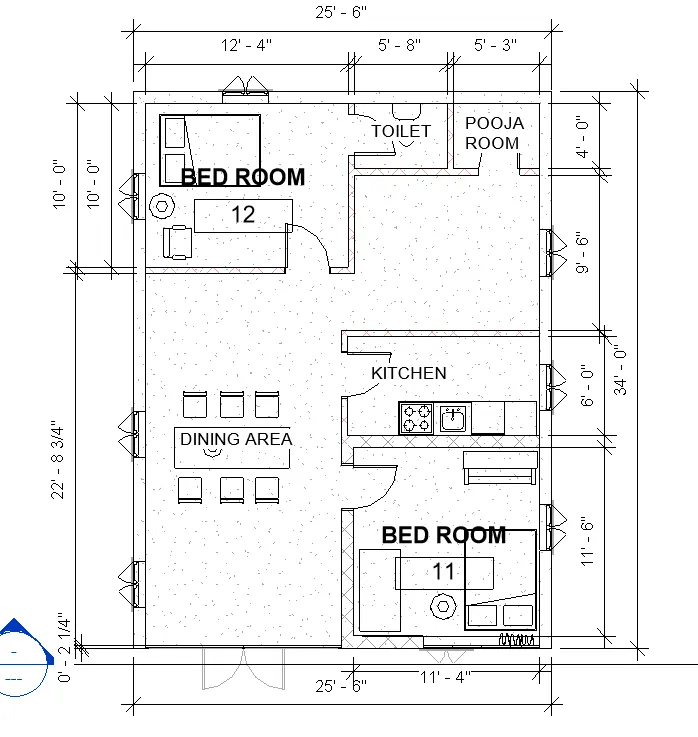
FLOOR VIEW
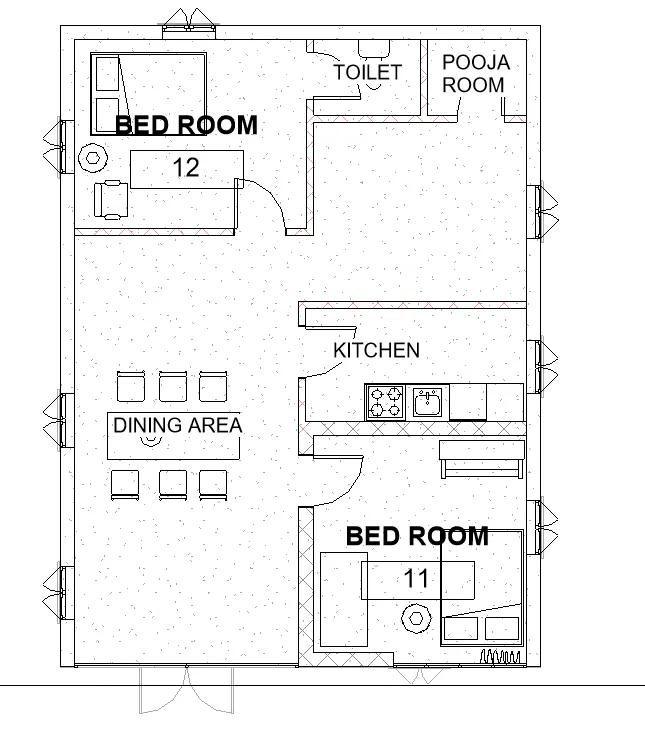
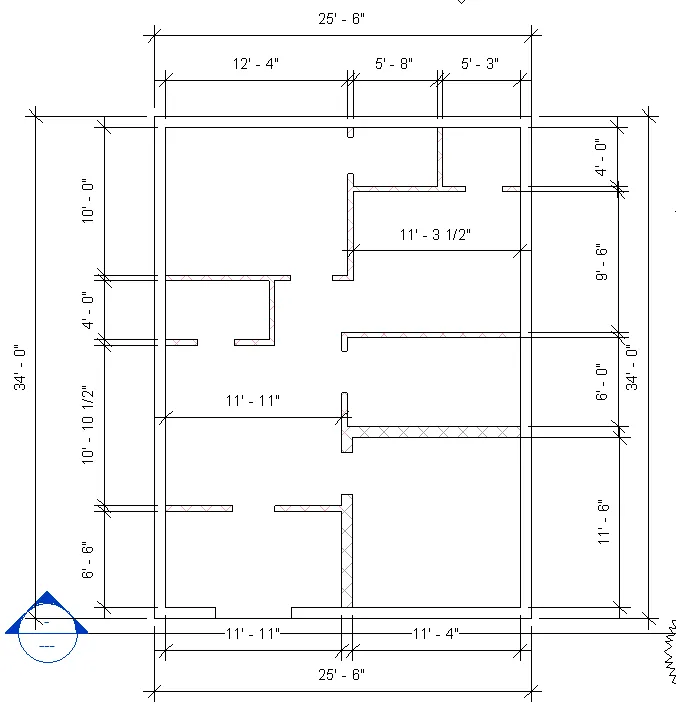
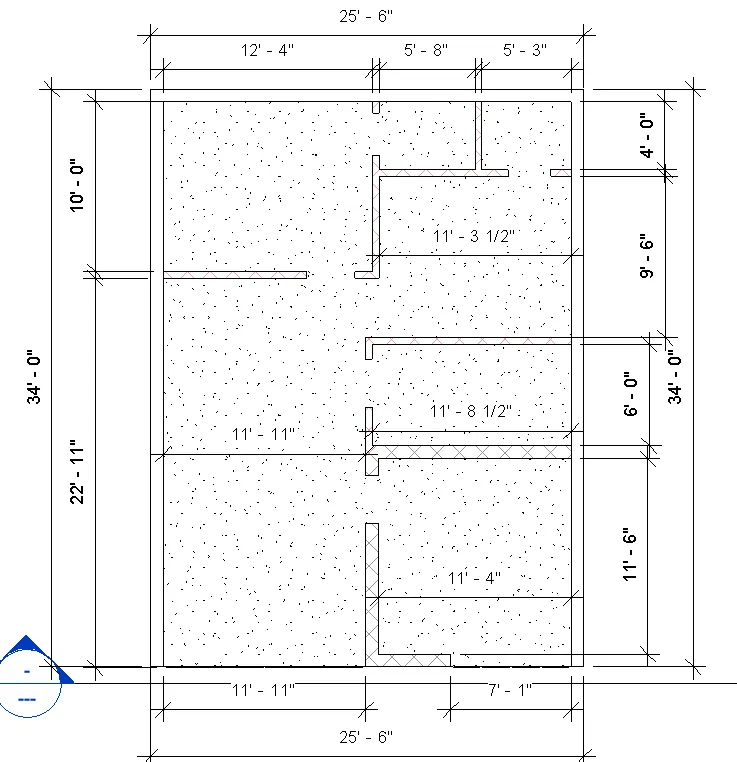
STRUCTURAL VIEW
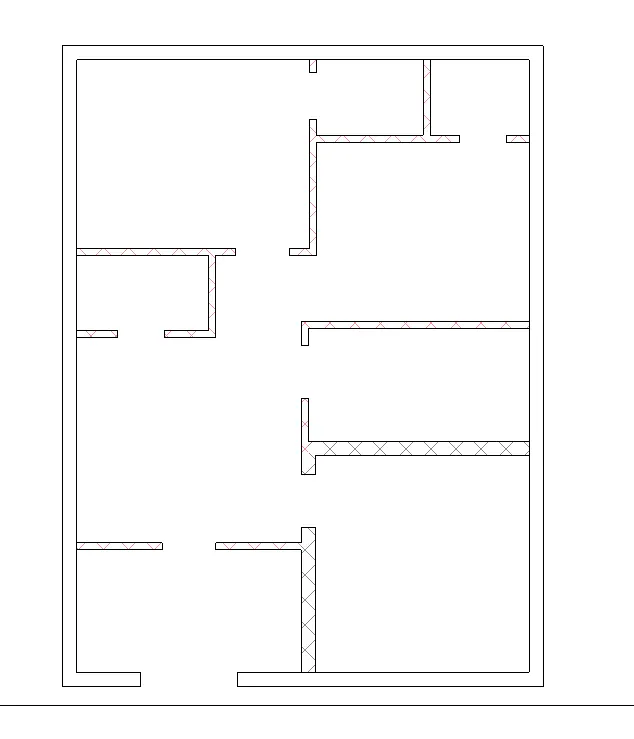
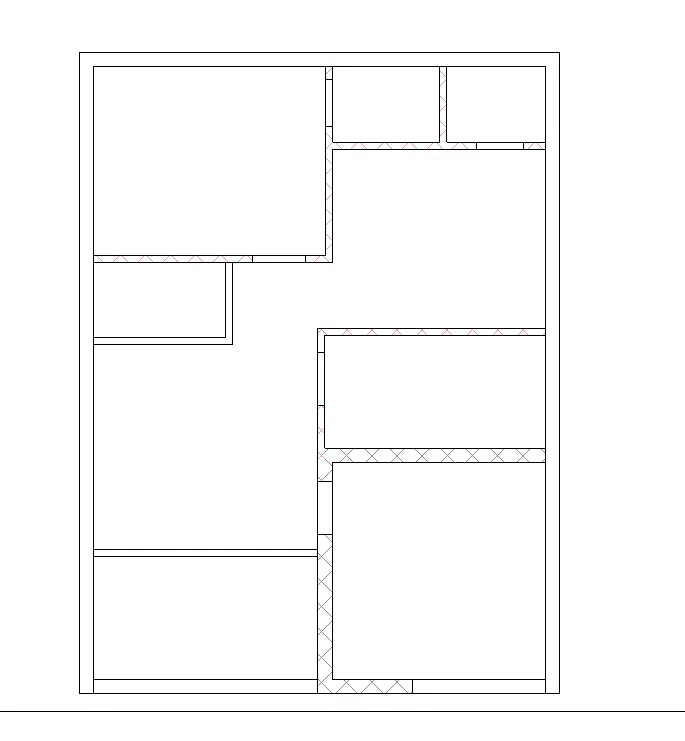
4) Using annotate toolbar add dimensions to all the walls and floors with reference to the longitudinal and transverse grids created in the project file
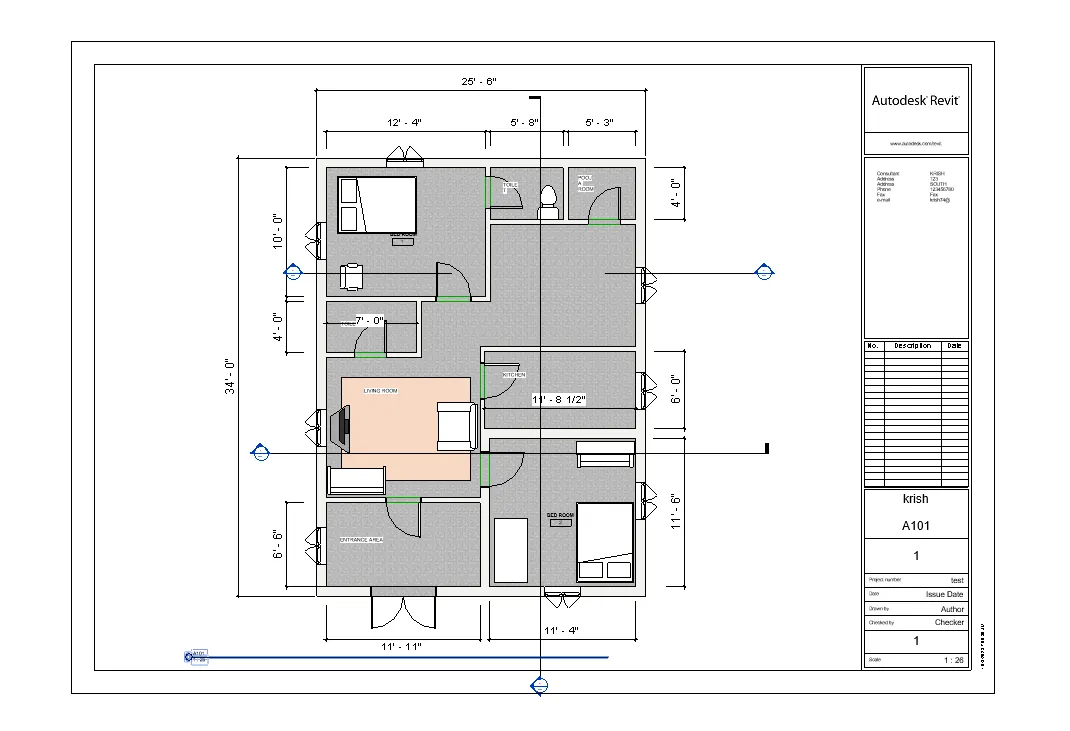
Architectural plan dimensions.(ground floor,first floor)
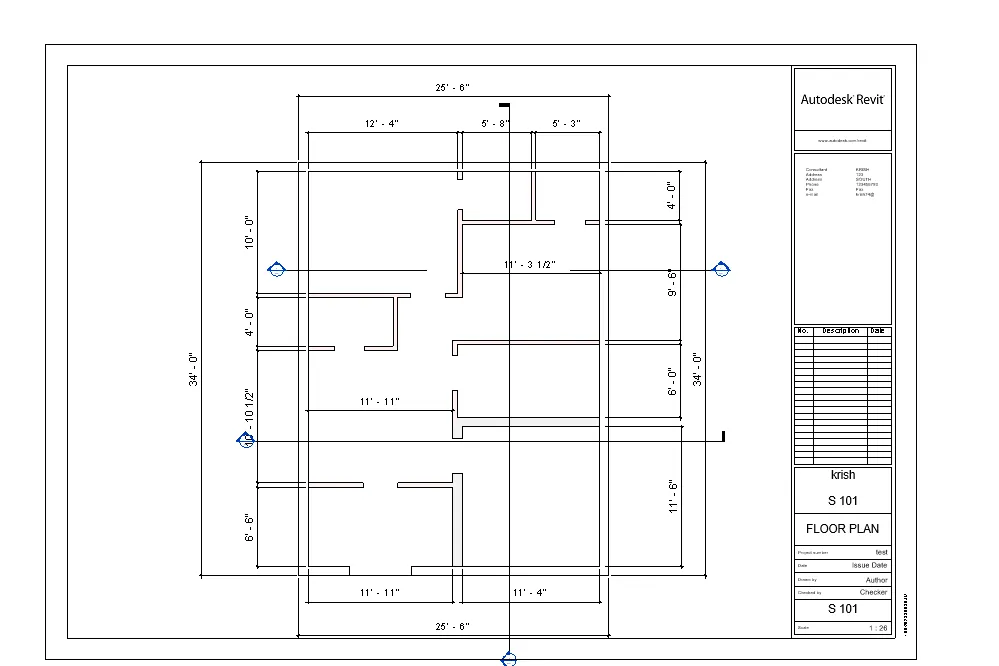
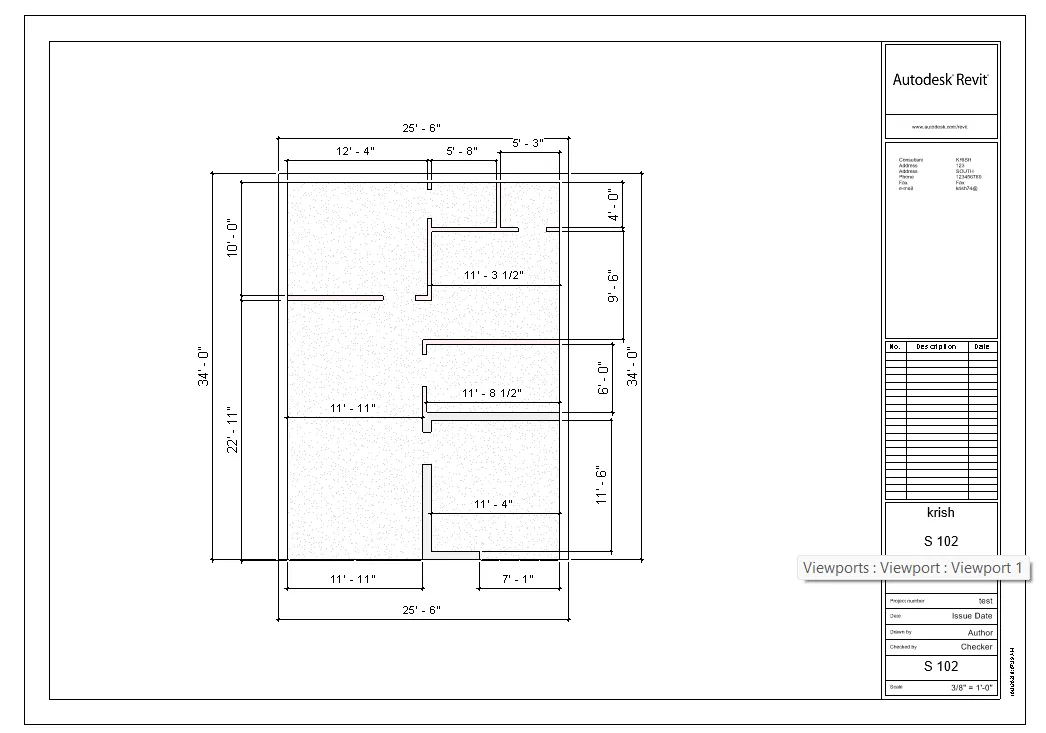
structural floor plan dimensions (ground floor,first floor)
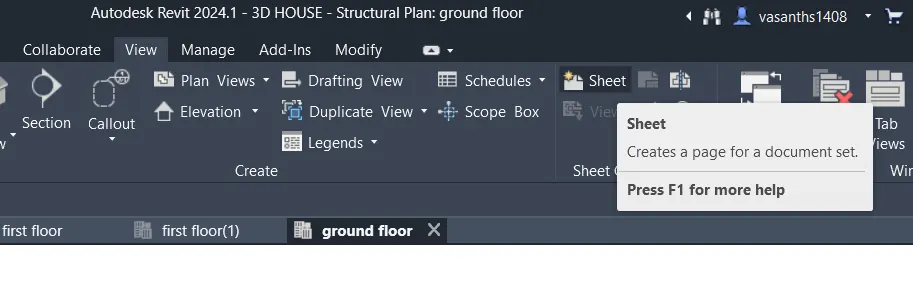
5) Create a sheet template from the view tab and adjust the parameters on the sheet to add appropriate views
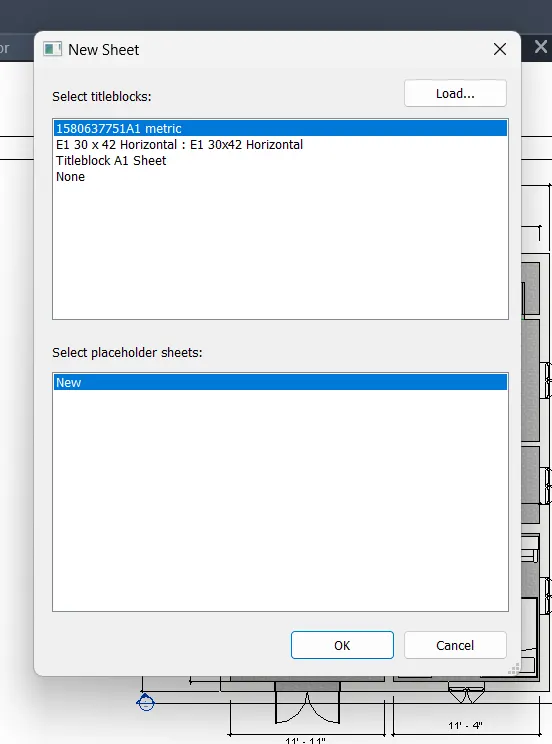
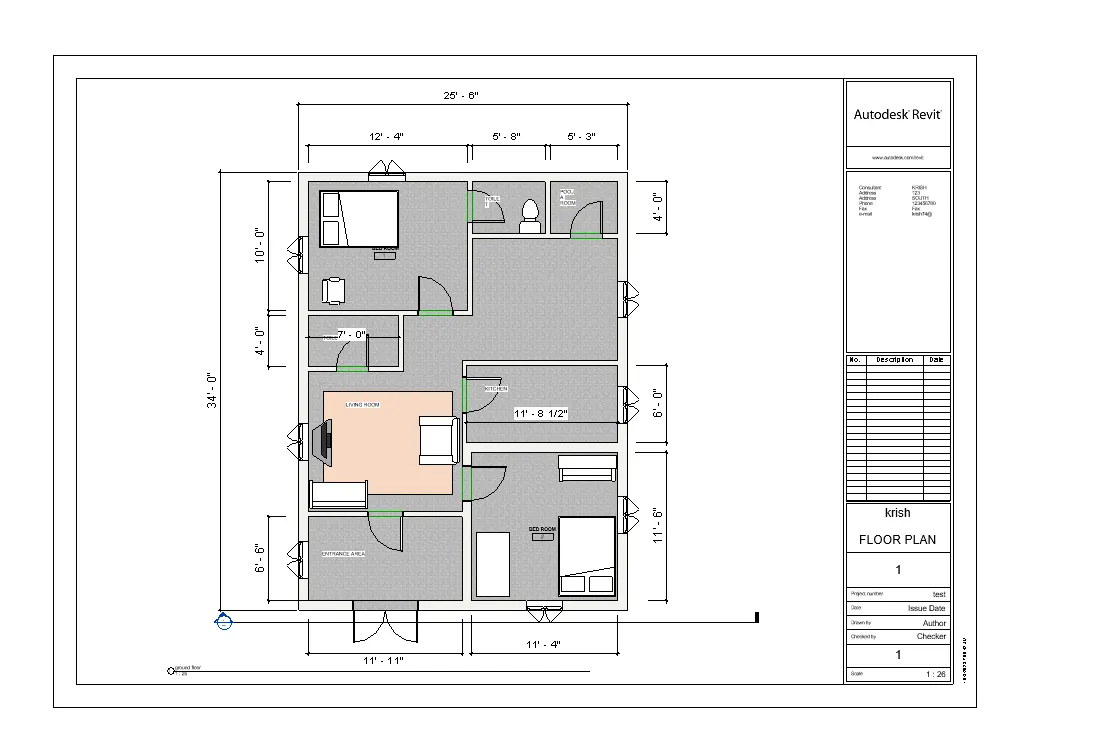
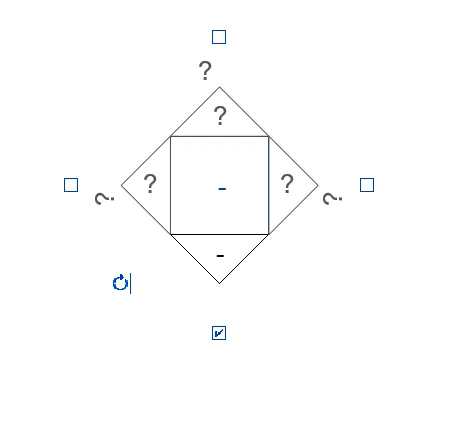
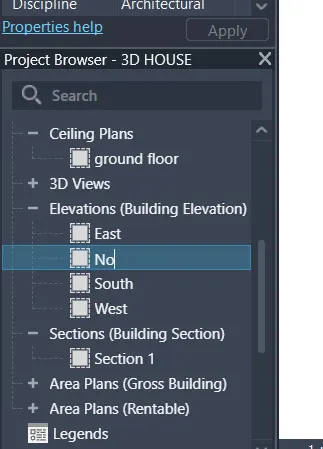
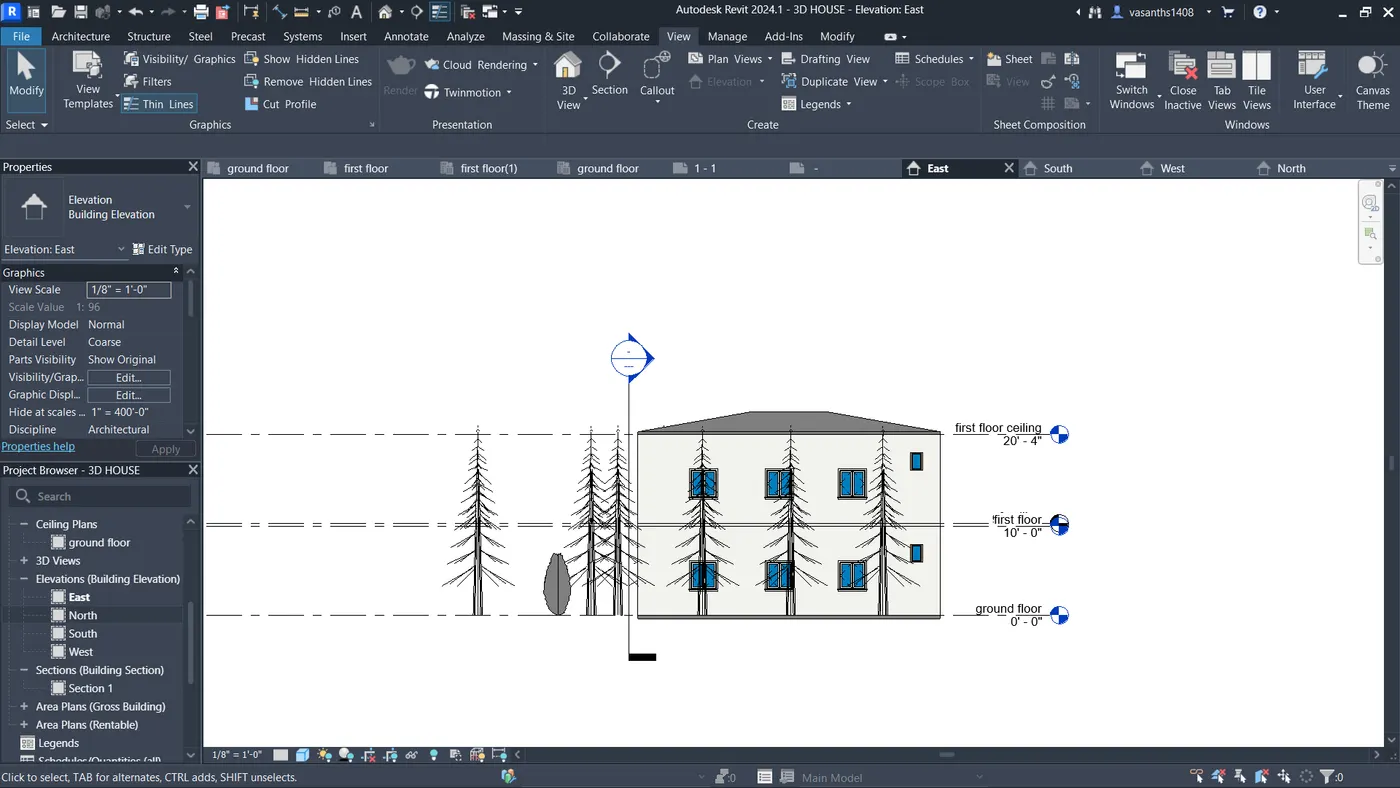
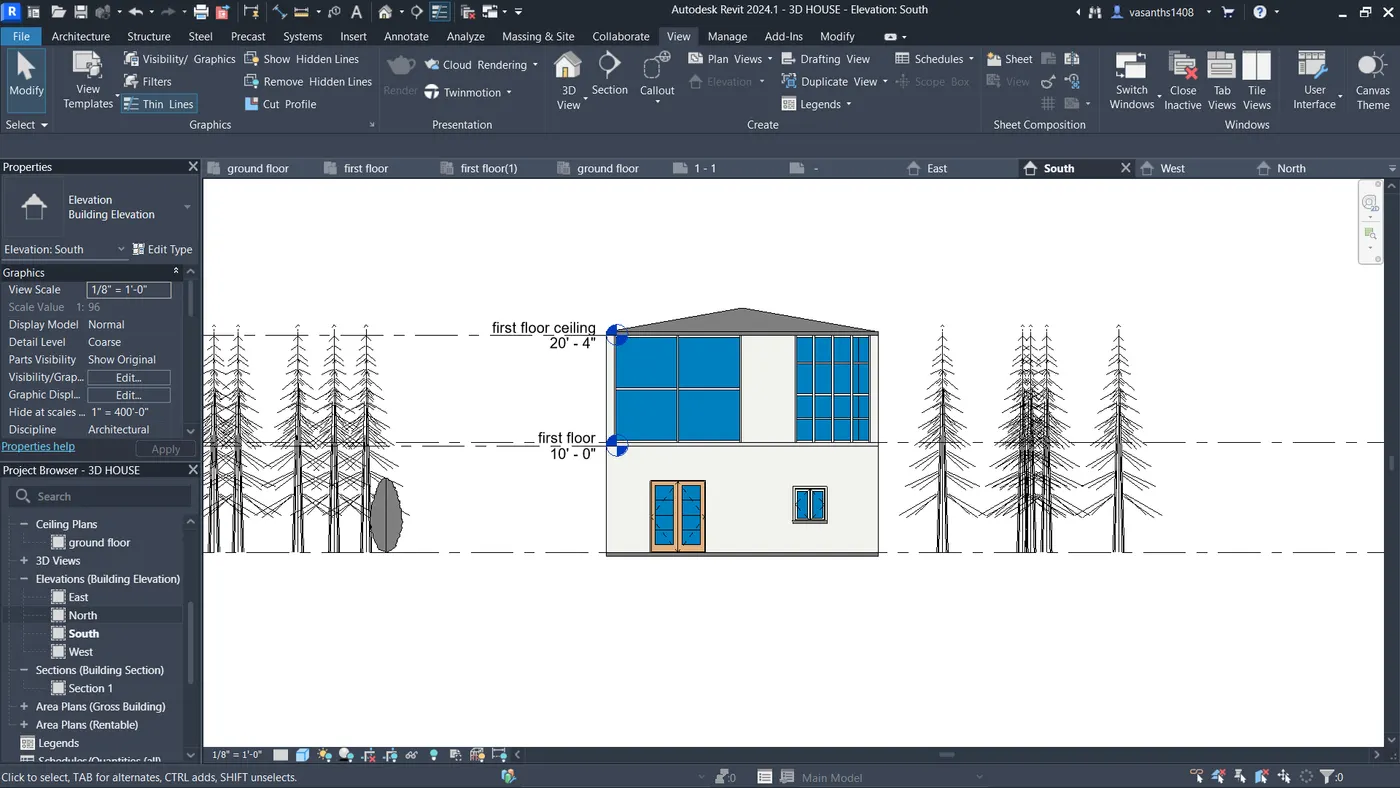
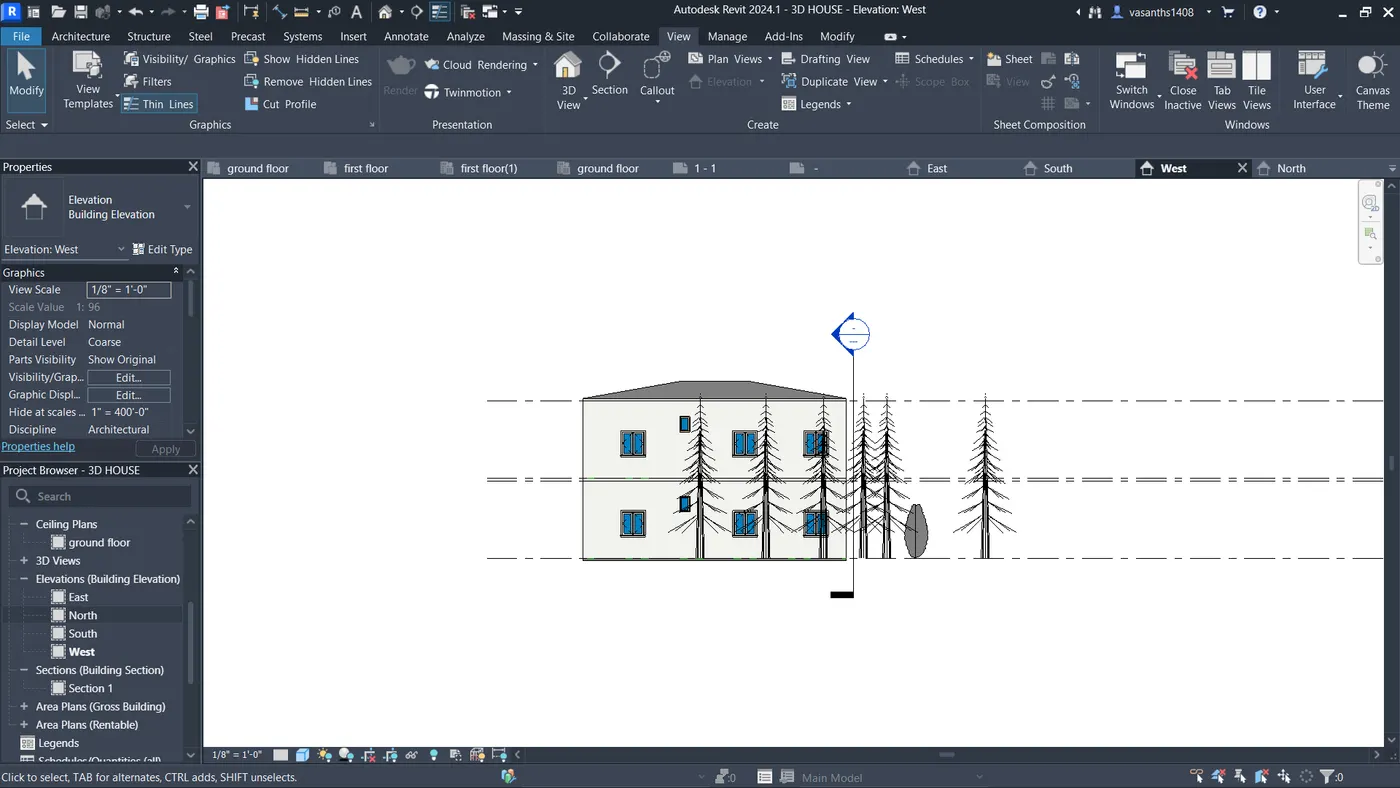
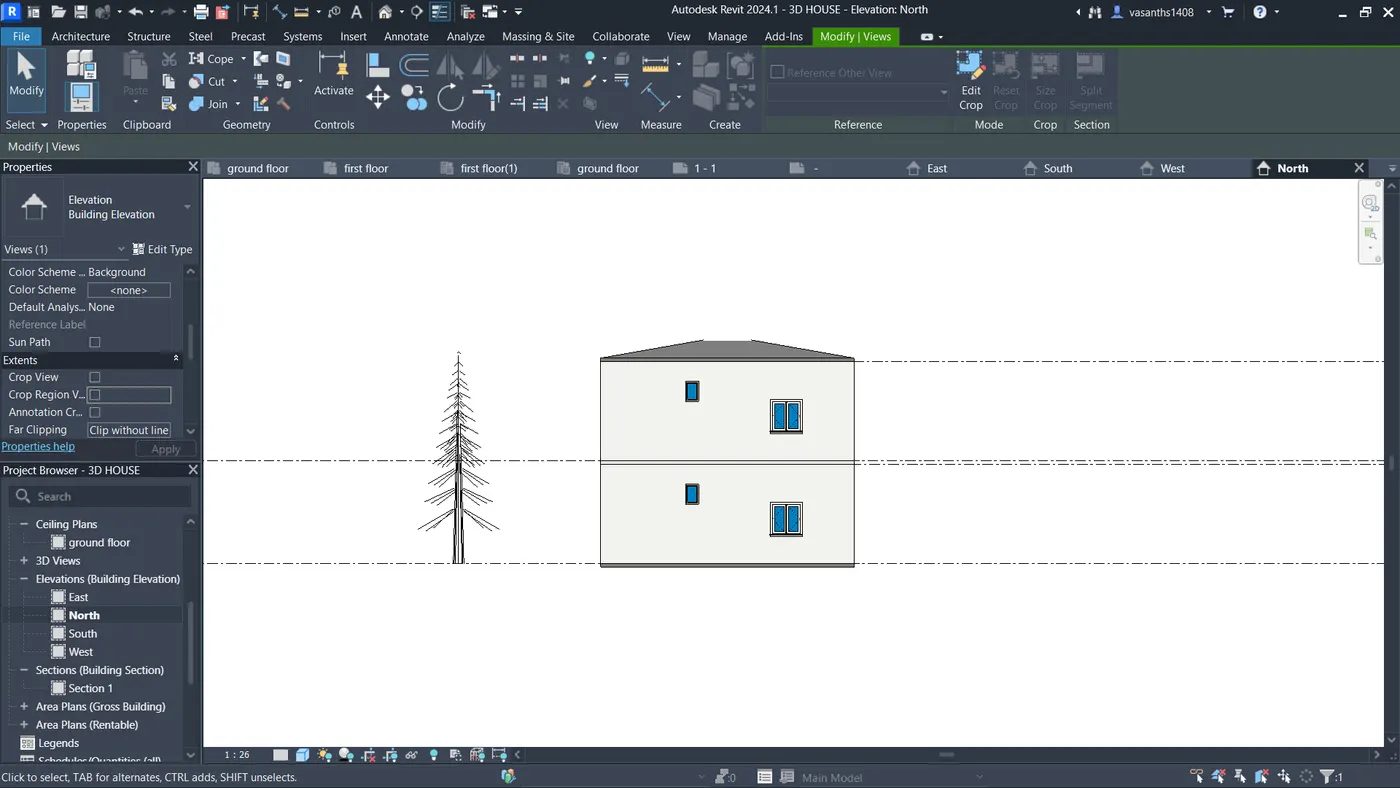
6) Using the elevation tab create the elevation views, looking at your building from East, North, South, and West
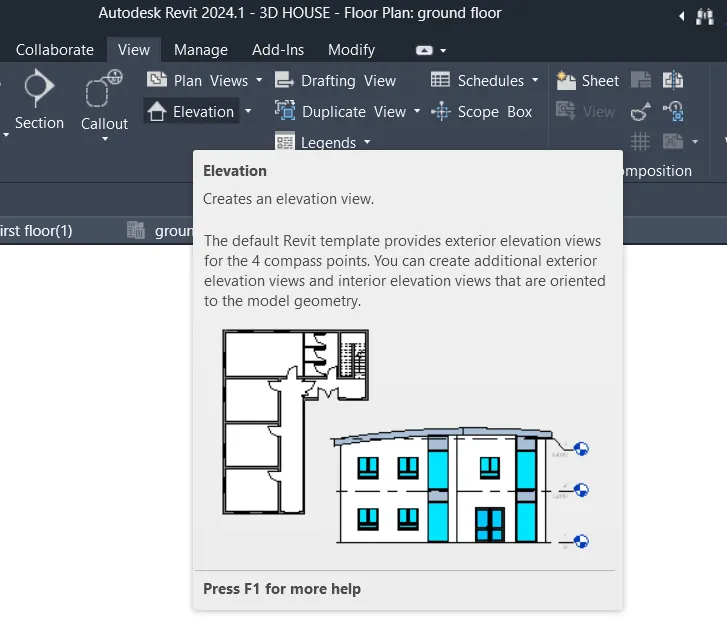
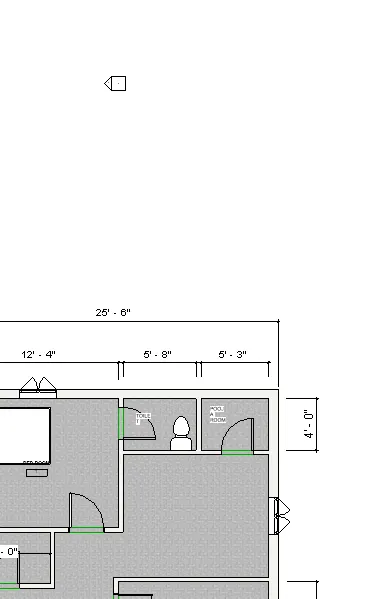
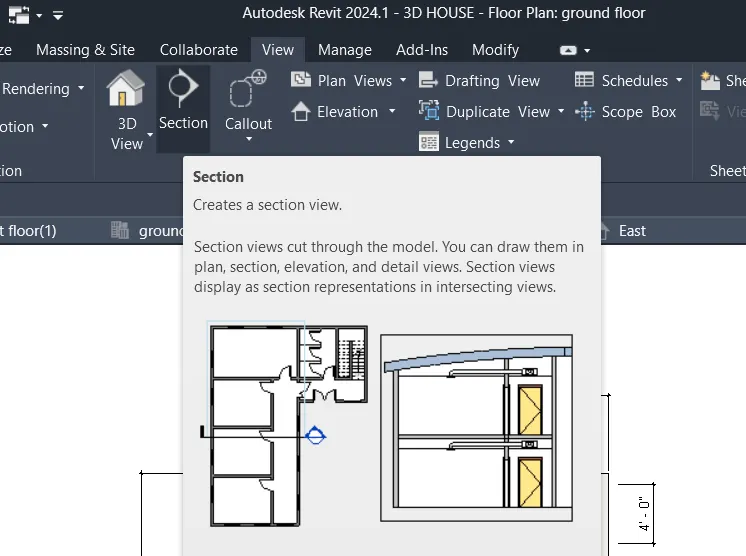
7) Produce section cut through each room either cutting across longitudinally or in a transverse direction
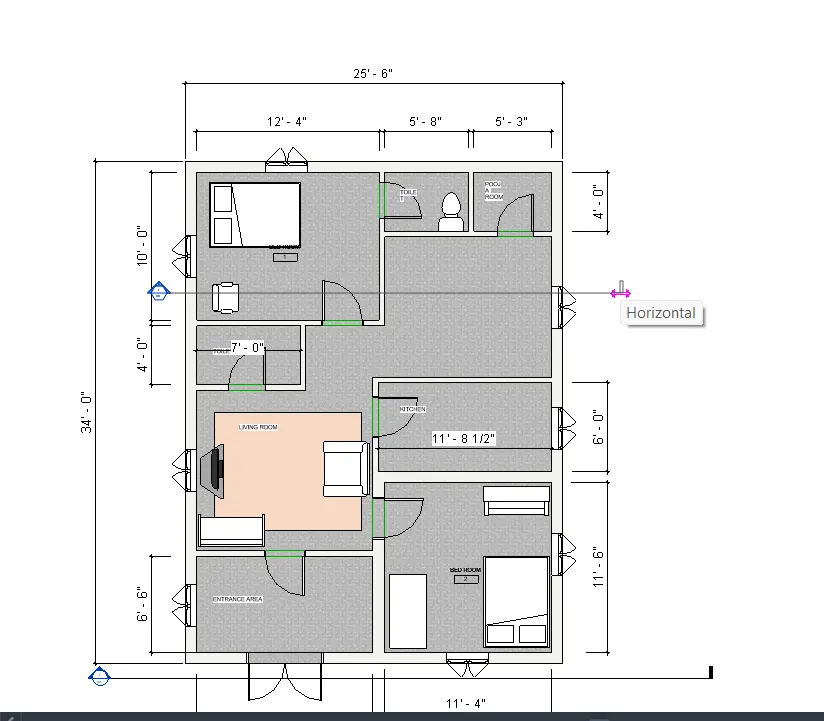
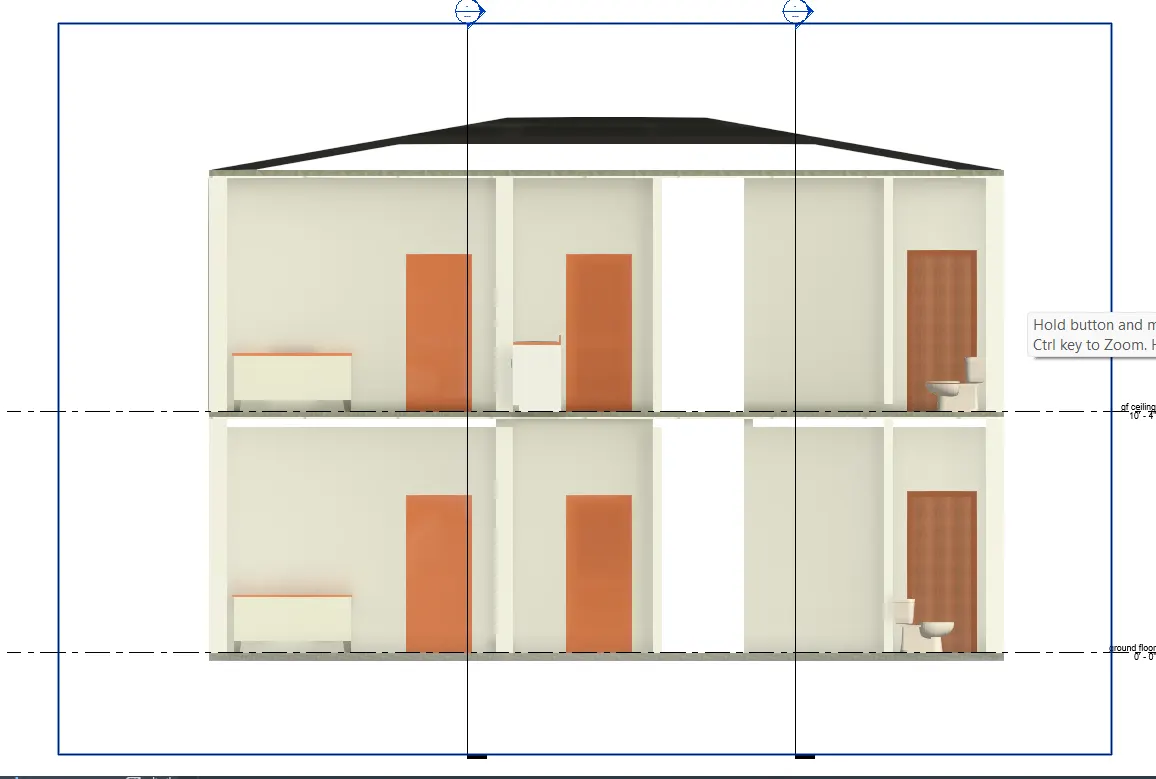
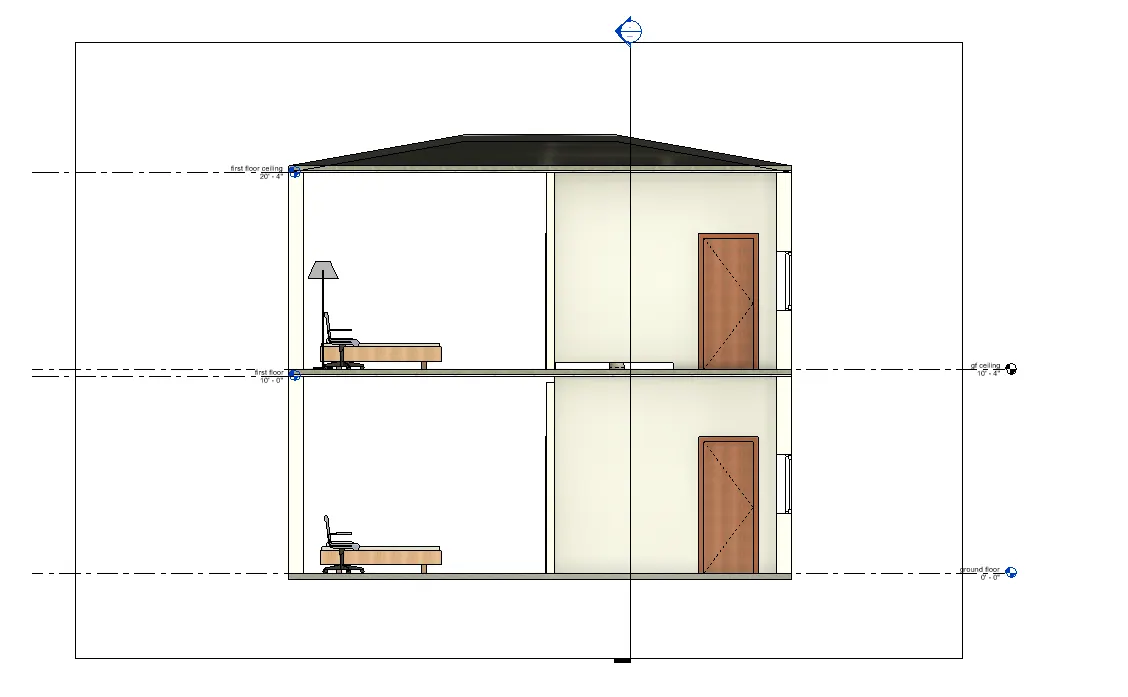
8) Classify the views, Plan Views, Section Views, and Elevation views to either Design or Documentation category using Properties browser.
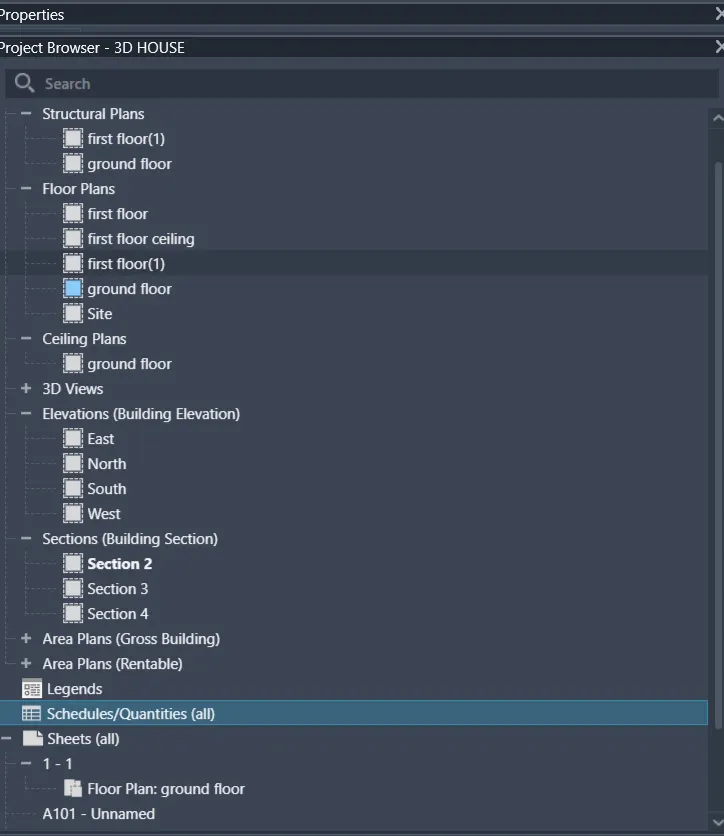
9) Using the sheet template produced create multiple sheets as follows
a. A 101- Ground Floor Architecture Plan
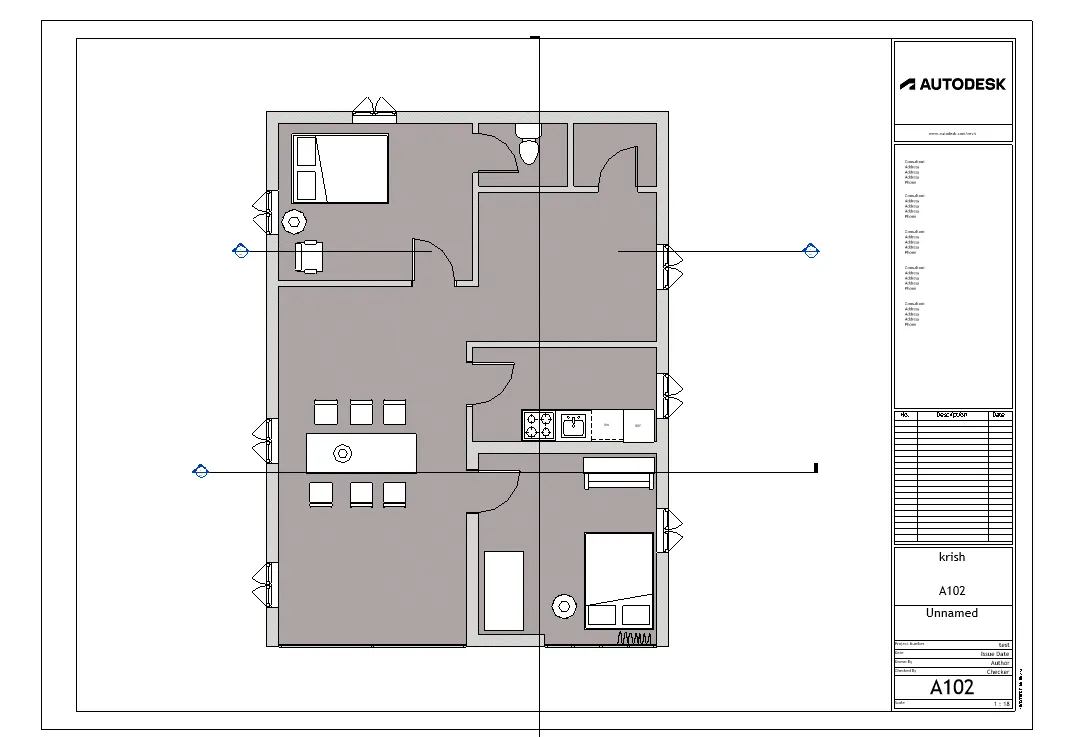
b. A 102- First Floor Architecture Plan
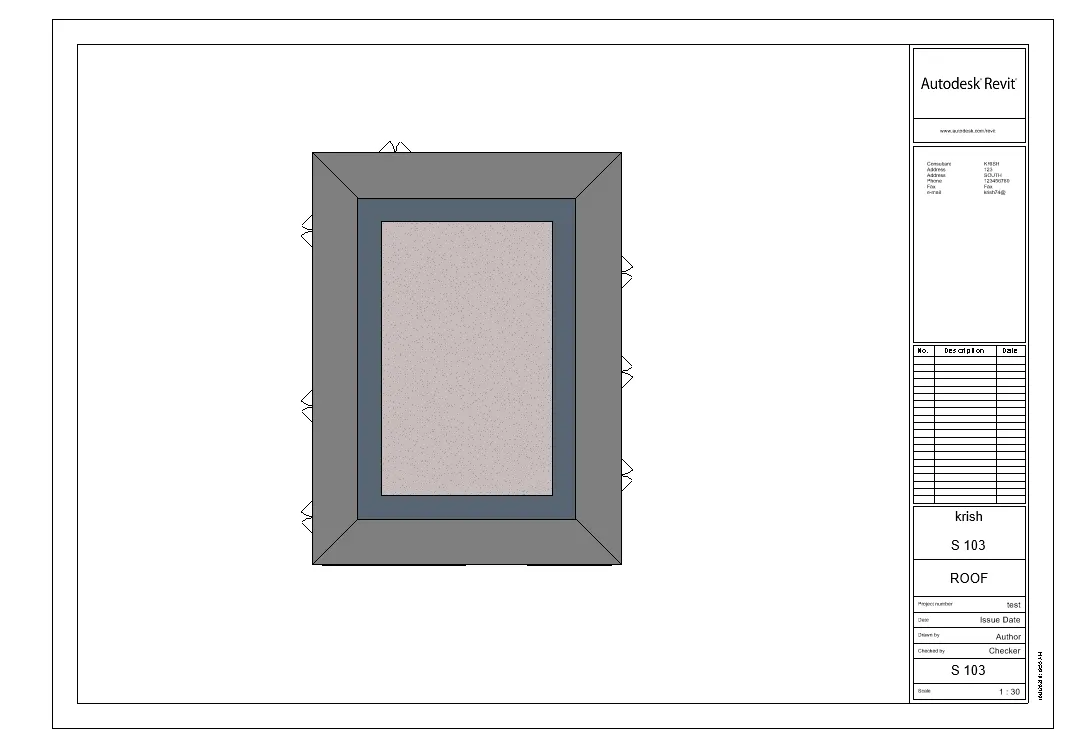
c. A 103- Roof Plan
d. S 101- Ground Floor Structural Plan
e. S 102- First Floor Structural Plan
f. S 103- Roof Framing Plan
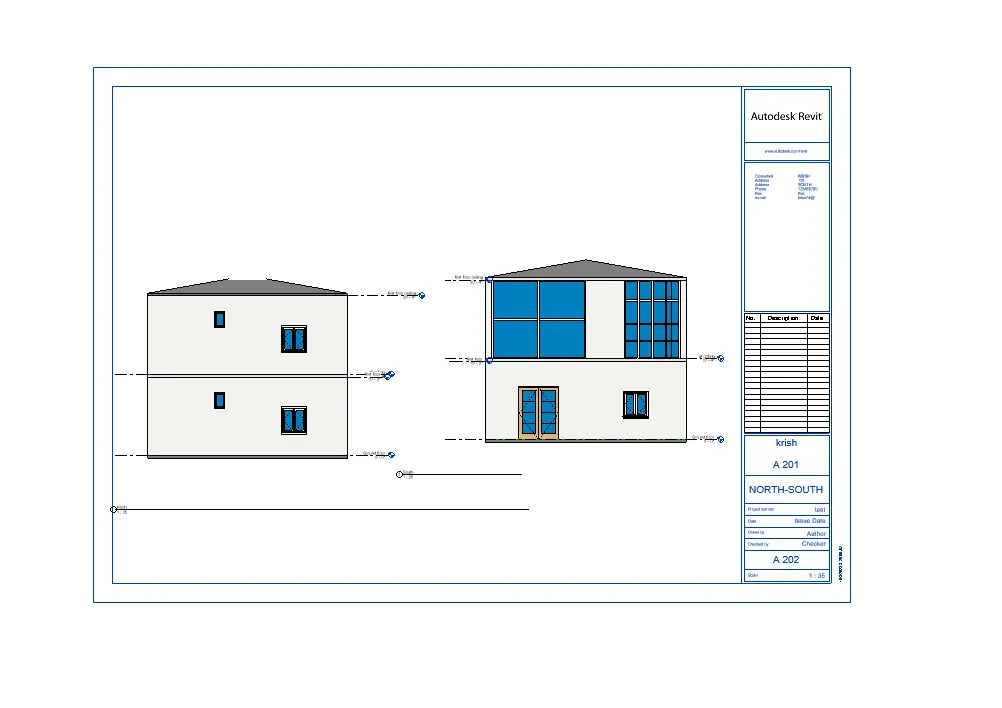
g. A-201- North-South Elevations
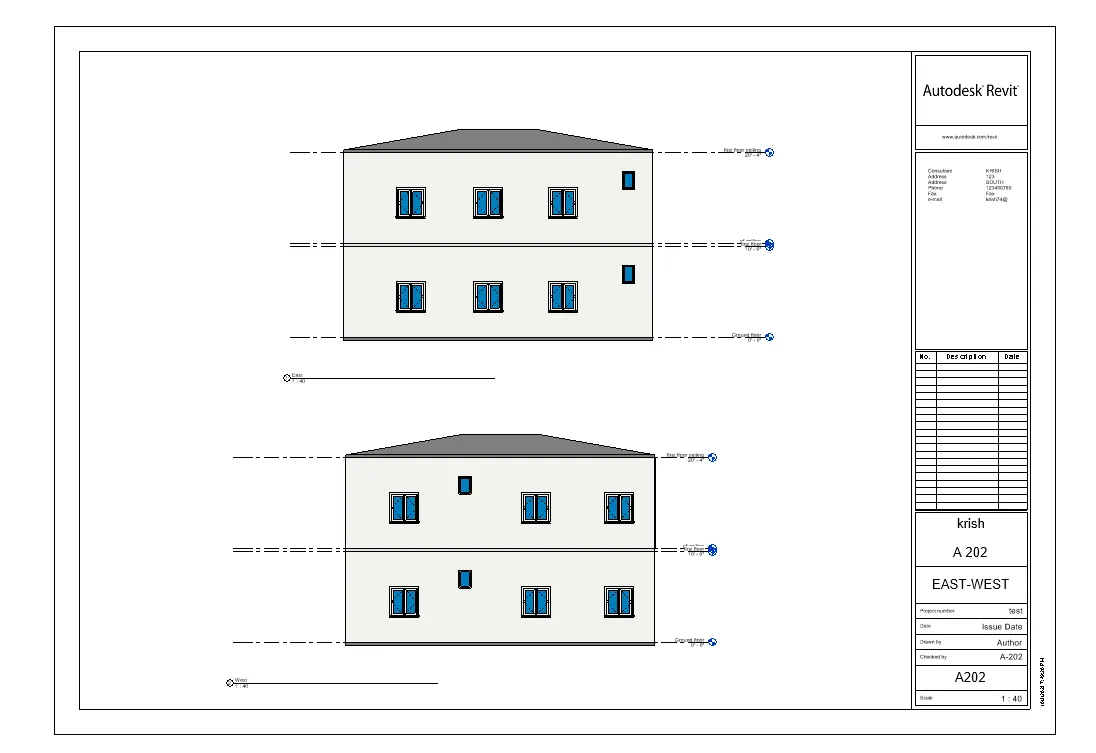
h. A-202- East-West Elevations
Add additional sheets based on the sections created in your Revit file
a. A 101- Ground Floor Architecture Plan
b. A 102- First Floor Architecture Plan
c. A 103- Roof Plan
d. S 101- Ground Floor Structural Plan
e. S 102- First Floor Structural Plan
f. S 103- Roof Framing Plan
g. A-201- North-South Elevations
h. A-202- East-West Elevations
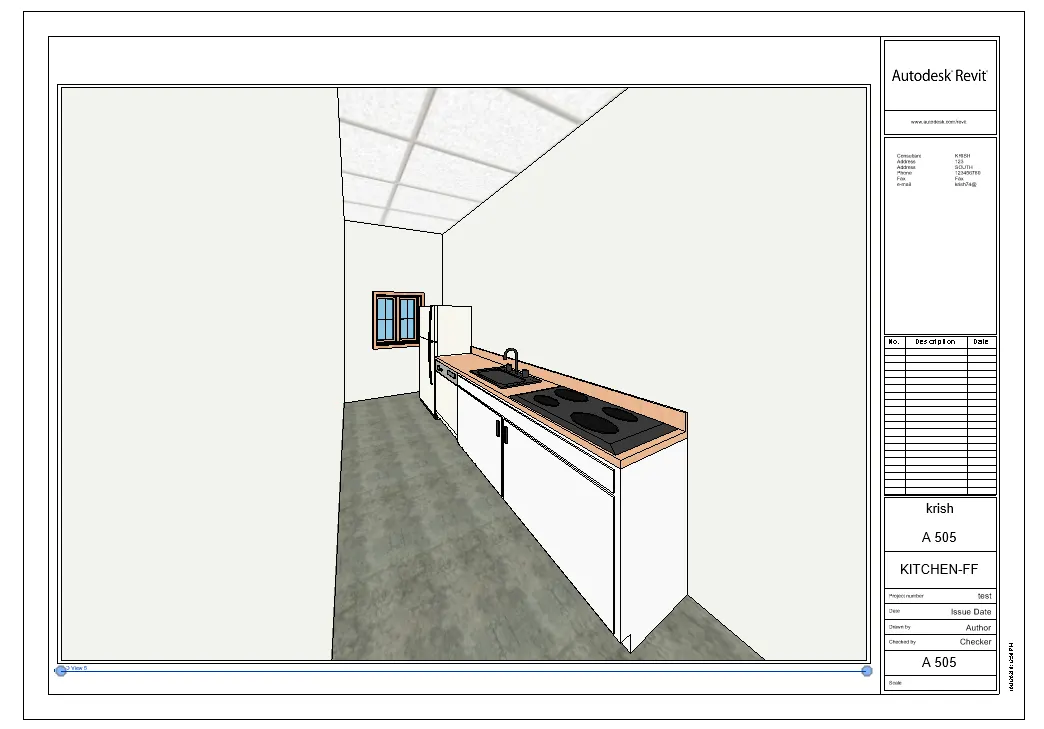
10) Create a camera-specific view or a 3D view in each room ( living, dining, bedroom). Based on the views create a new set of sheets starting A-501 (you can add as many sheets after, 502, 503.. n)to place the 3D view images. Produce the sheets as a part of project drafting.