3D Creation of Celing, Roof, Architectural plan, Structural plan, Sectional view, Elevation view and Camera specific view for a house plan using REVIT
1)
AIM - To model a ceiling from the architecture tab above the walls at the first floor level
PROCEDURE -
Step 1 -
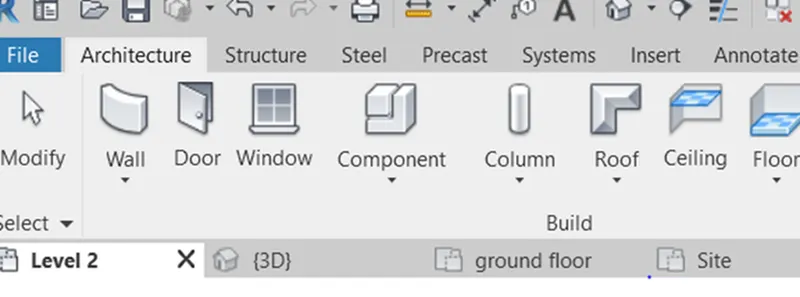
- First we open the Revit software and select the ceiling option from the architecture toolbar
Step 2 -
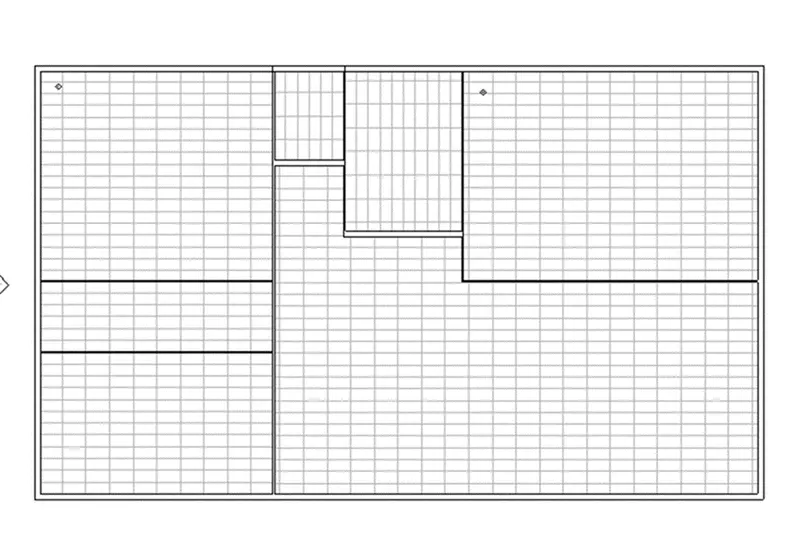
- After selecting the ceiling option,then select each room one by one
- Then the ceiling will be created,as shown below
Step 3 -
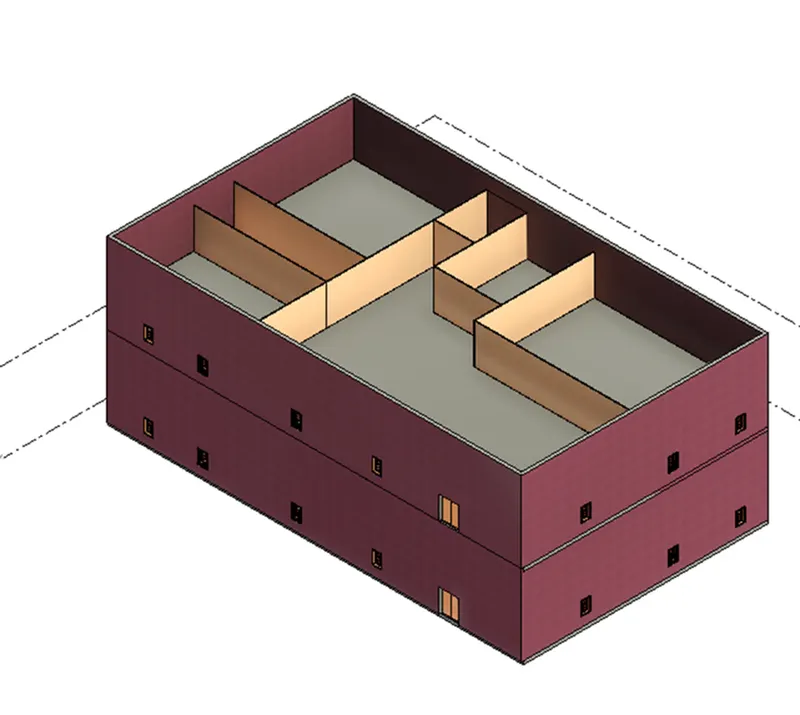
- Here we created ceiling in three dimensional view as shown below
Result -
- The ceiling has been modeled successfully from the architecture tab above the walls at first floor level
2)
AIM - To model a roof above the ceiling by selecting the footprints of the ceiling
PROCEDURE -
Step 1 -
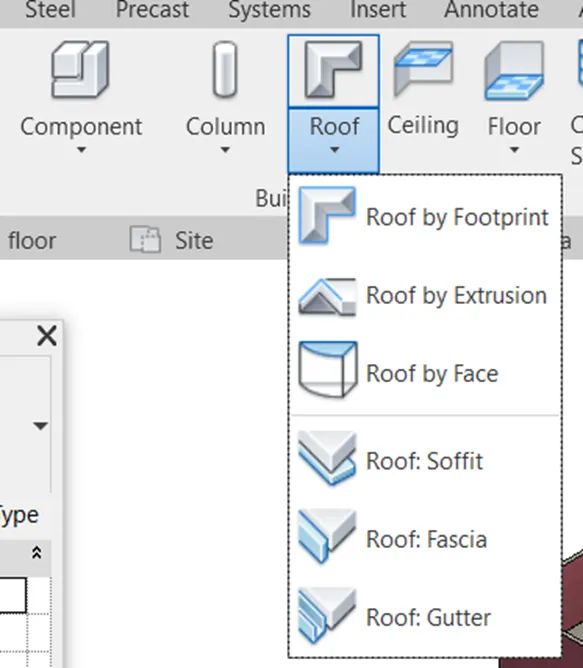
- Open the architecture toolbar,and select the Roof by Footprint option as shown below figure
Step 2 -
- Next we select the roof and adjust the roof to 10 degree by selecting it,as shown below figure
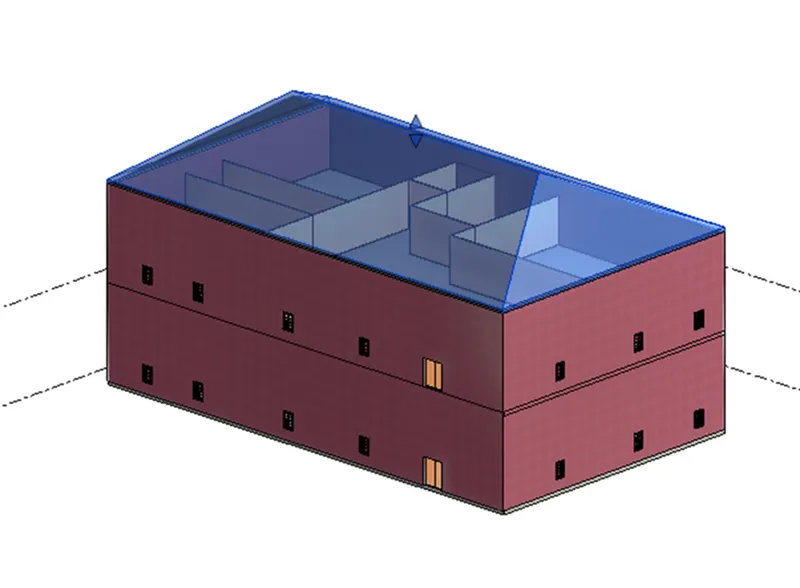
Step 3 -
- The Roof has been created,as shown below
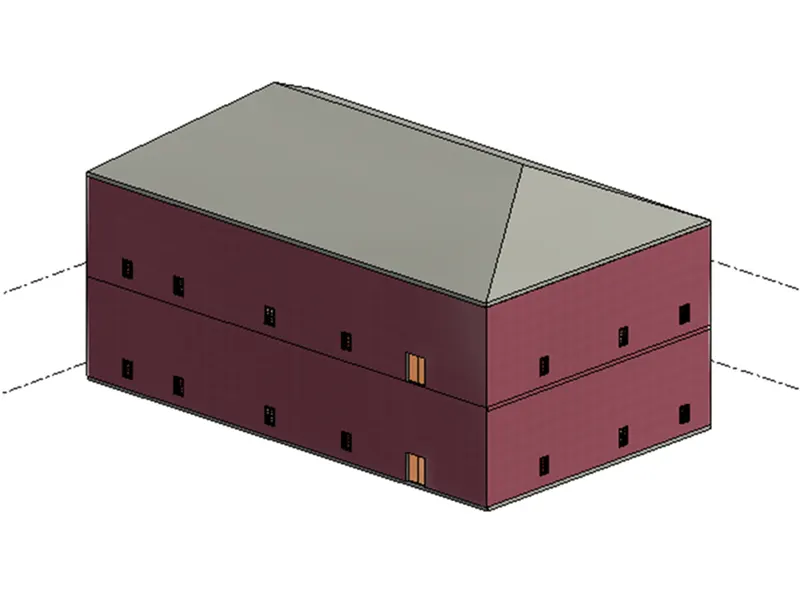
Result -
- The Roof has been created successfully to the model in the revit in detailed manner
3)
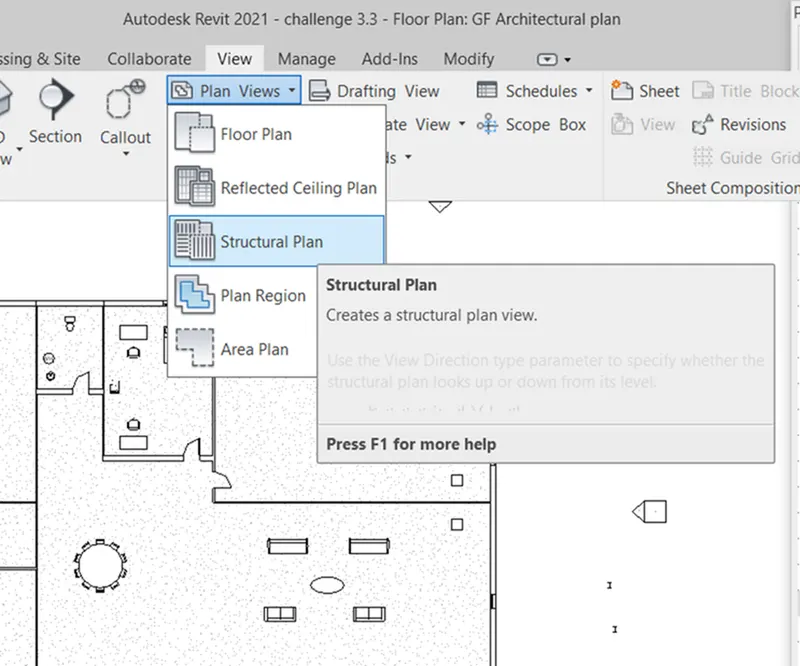
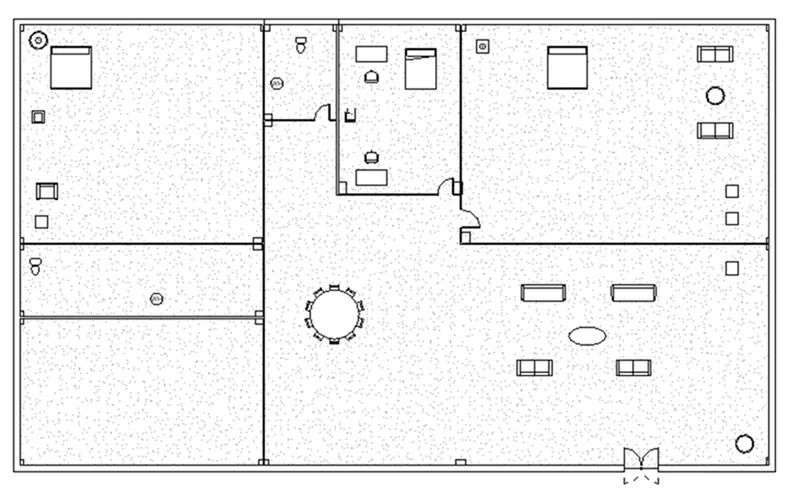
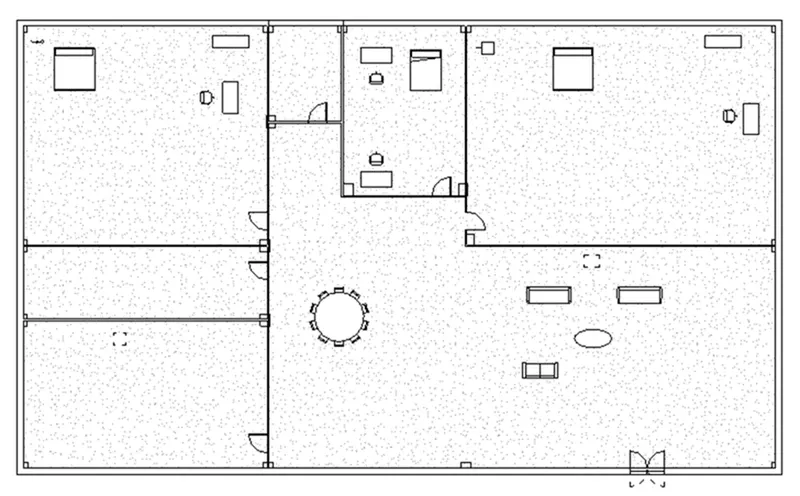
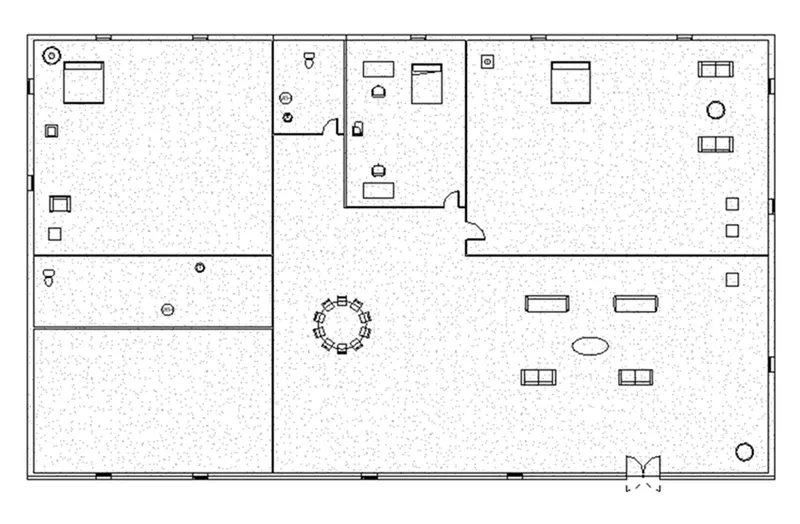
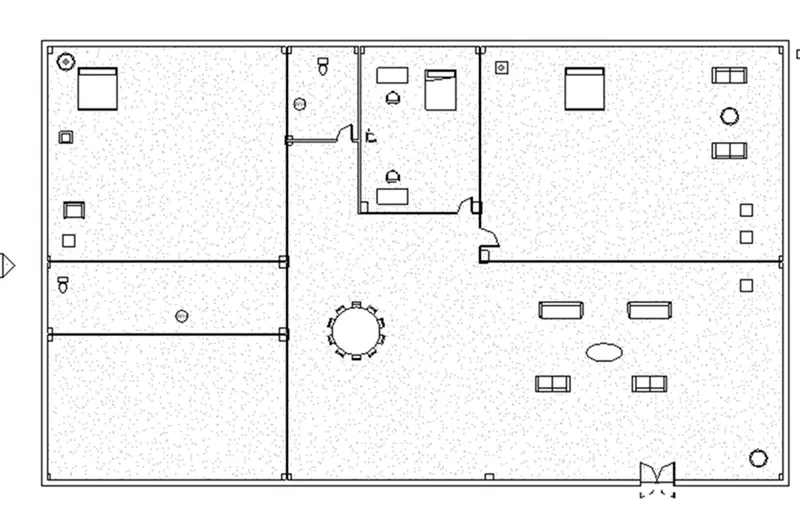
AIM - To create plan view for ground floor level and first floor level including all the walls,floors and components and To separate them to architecture and structural plans
PROCEDURE -
Step 1 -
- First we draw the architectural plan of first floor and second floor as shown below
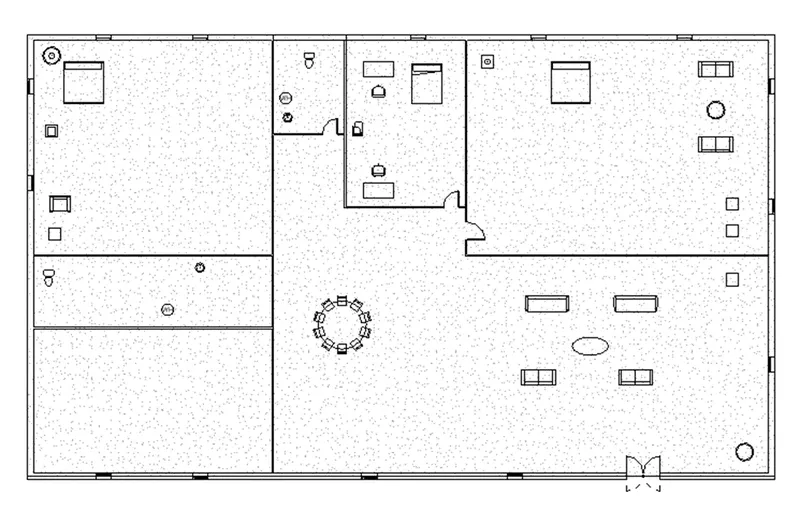
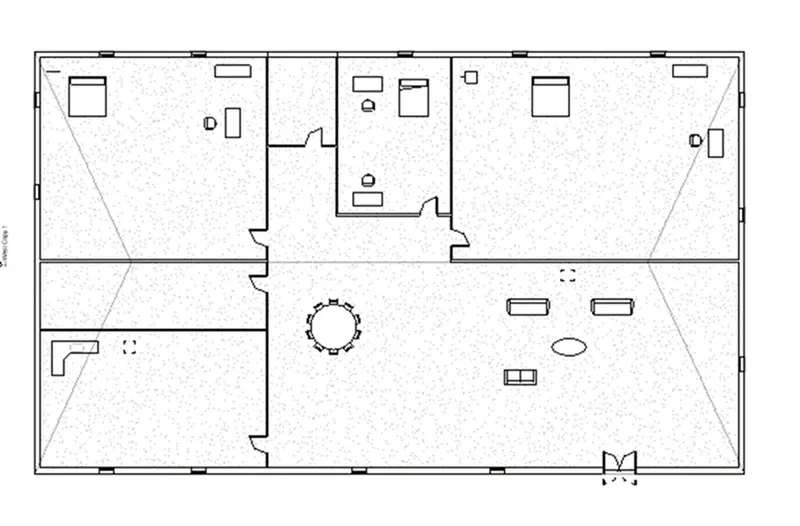
Step 2 -
- Next we draw the structural plan of first floor and second floor as shown below
Result -
- Created plan view for ground floor level and first floor level including all the walls,floors and components
- And separate them to architecture and structural plan
4)
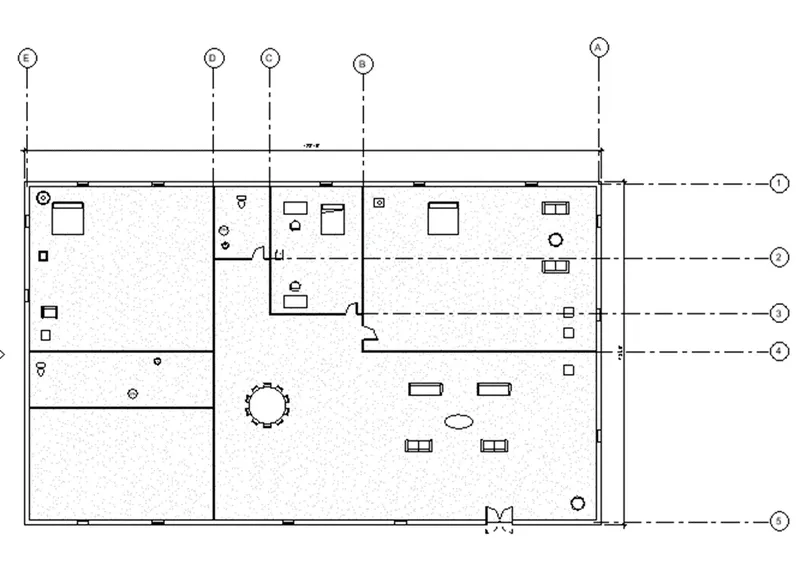
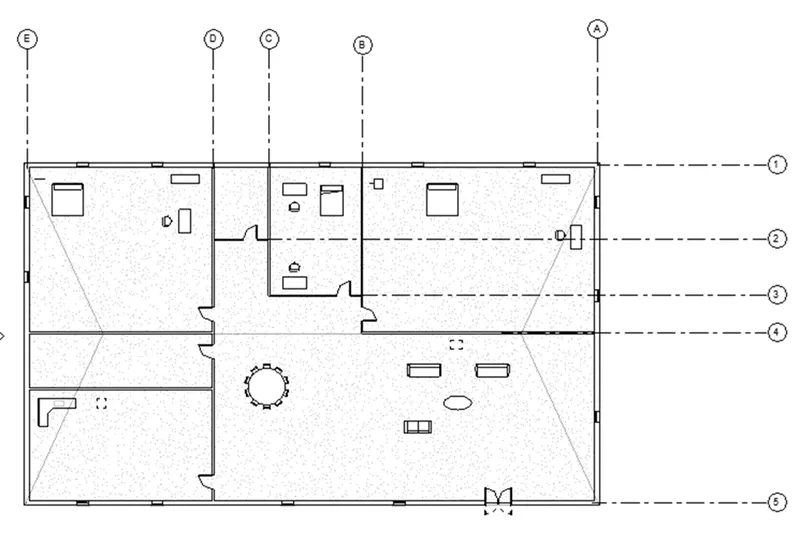
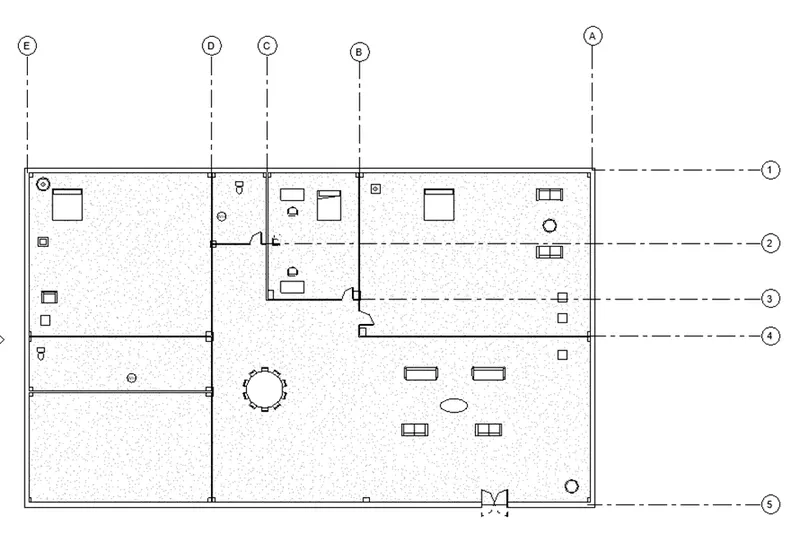
AIM - To add dimensions to all the walls and floors with reference to the longitudinal and transverse grids created in the project file
PROCEDURE -
Steps 1 -
- Here we drawn the longitudinal and transverse grids to the architectural floor plans as shown below
- And add the dimensions to the architectural plans as shown below
Step 2 -
- Next we draw the longitudinal and transverse grids to the structural floor plans as shown below
- And add the dimensions to the structural plan as shown below
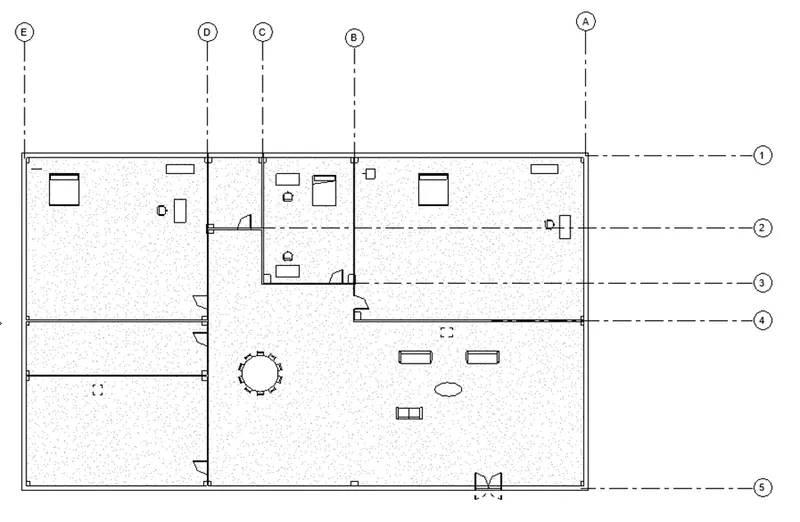
Result -
- The dimensions are added to the structural floor plan and the architectural floor plan
- And the longitudinal and transverse grids are also created in the project file
5)
AIM - To create a sheet template from the view tab and adjust the parameters on the sheet to add appropriate views
PROCEDURE -
Step 1 -
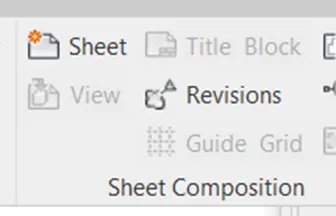
- First we click on sheet option from the view toolbar,as shown below
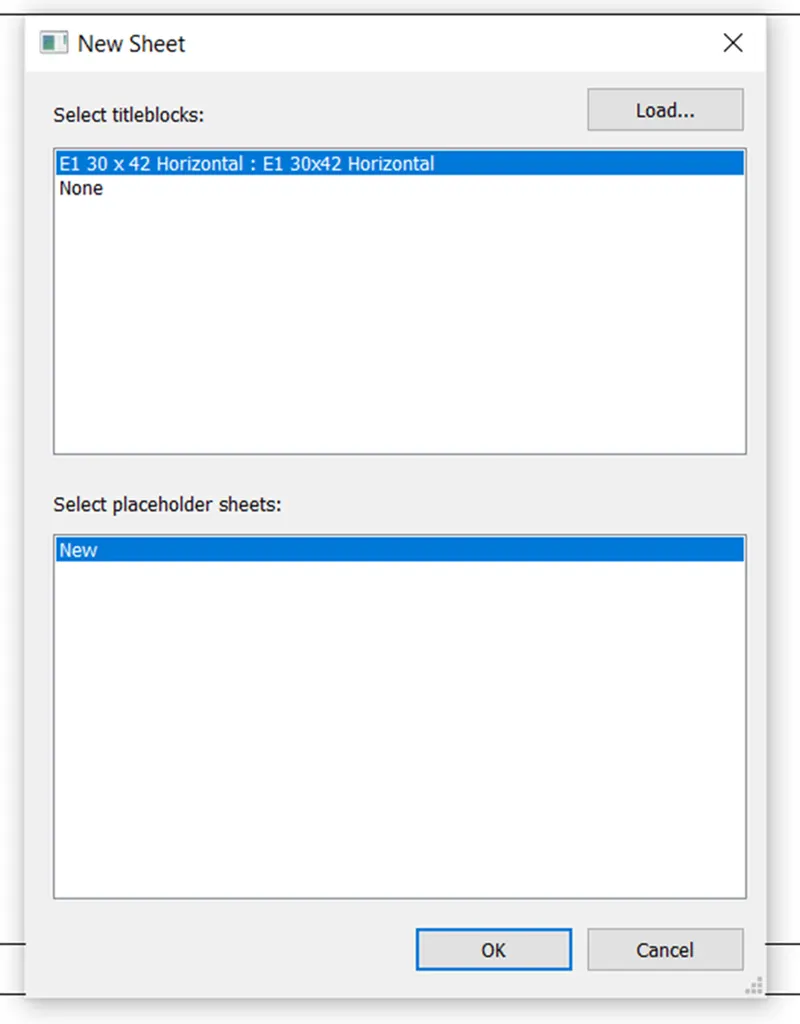
- After clicking the sheet,the new tab will be visible on the screen
Step 2 -
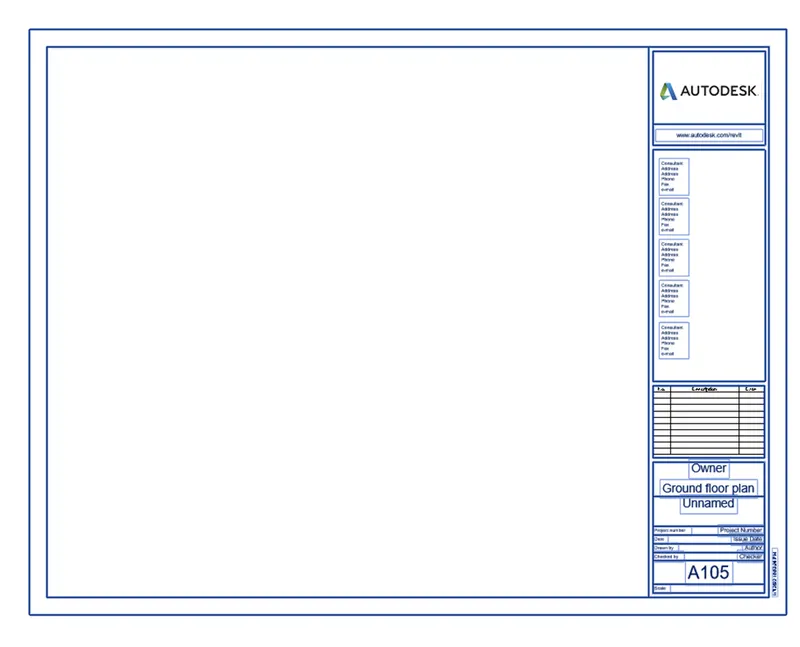
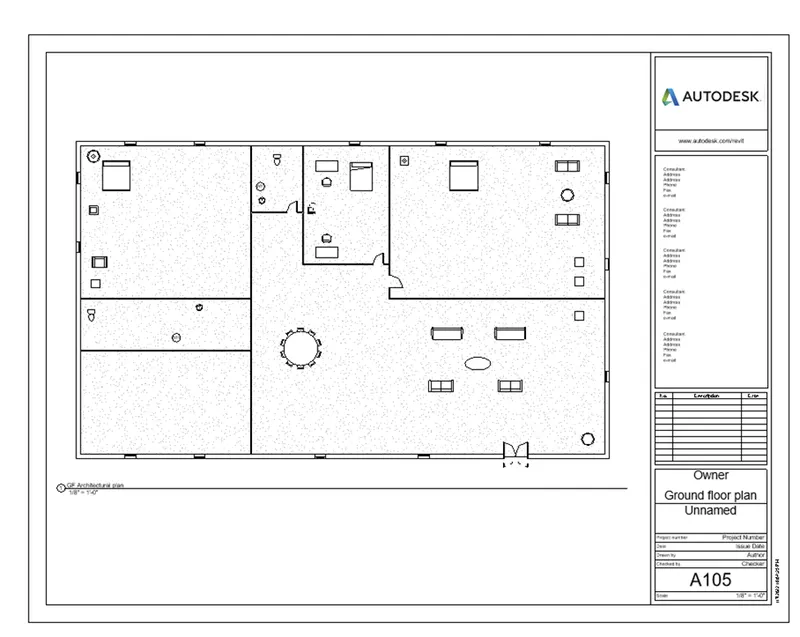
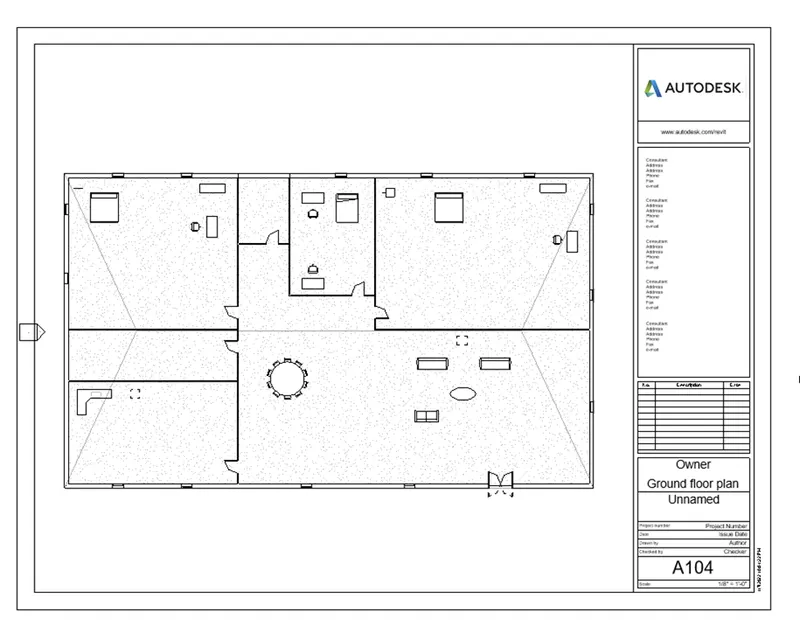
- In the sheet template we insert the first floor plan and second floor plan separately as shown below
- Next edit the project name and sheet number as shown in below figure
Result -
- Created a sheet template from the view tab and adjusted the parameters on the sheet for adding appropriate views
6)
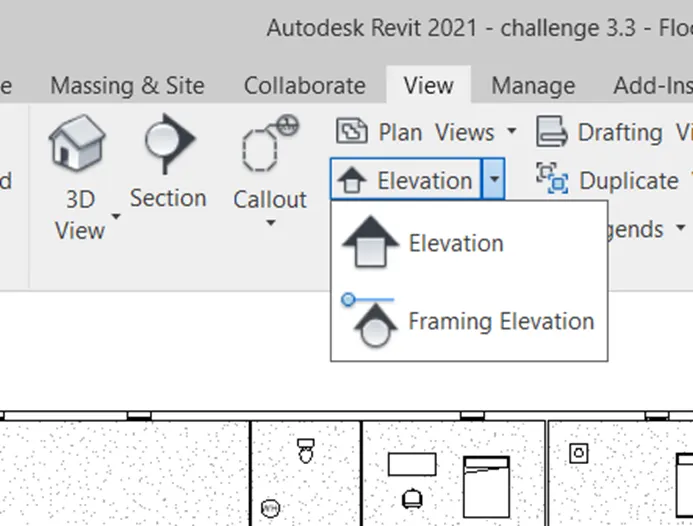
AIM - To create the elevation views,looking at your building from East,South, and West using the elevation tab
PROCEDURE -
Step 1 -
- First we click on the elevation option from the view toolbar,as shown below
Step 2 -
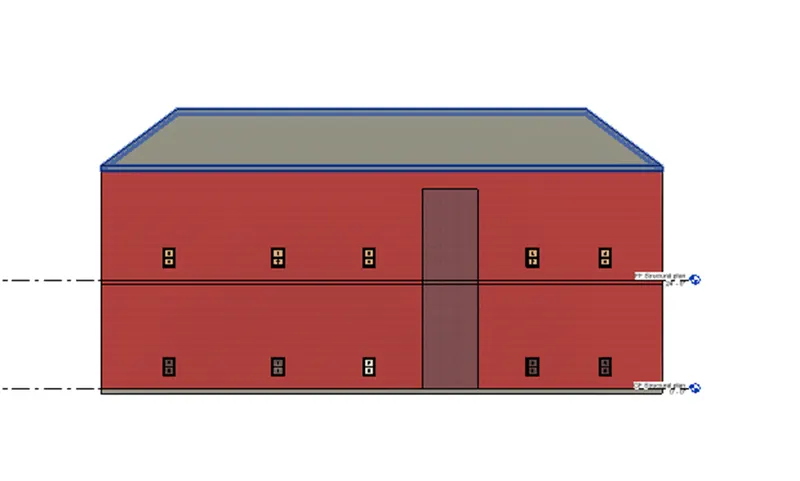
- Next the elevation from the North will be visible,as shown below
Step 3 -
- Next the elevation from the East will be visible,as shown below
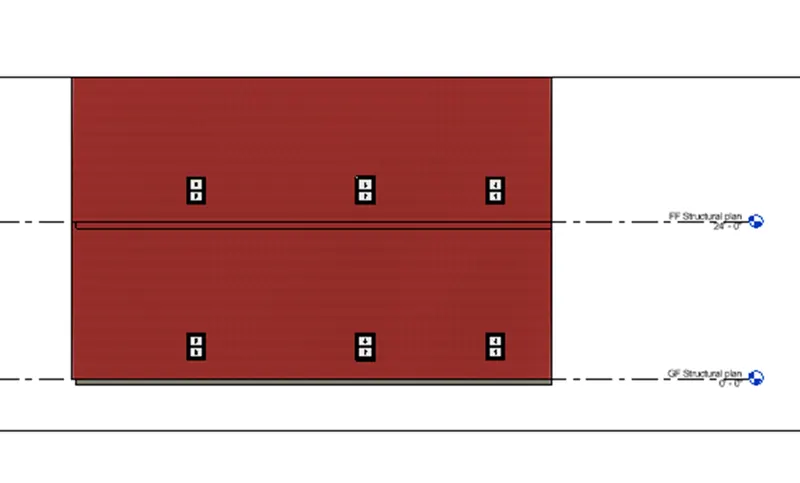
Step 4 -
- Next the elevation from the West will be visible,as shown below
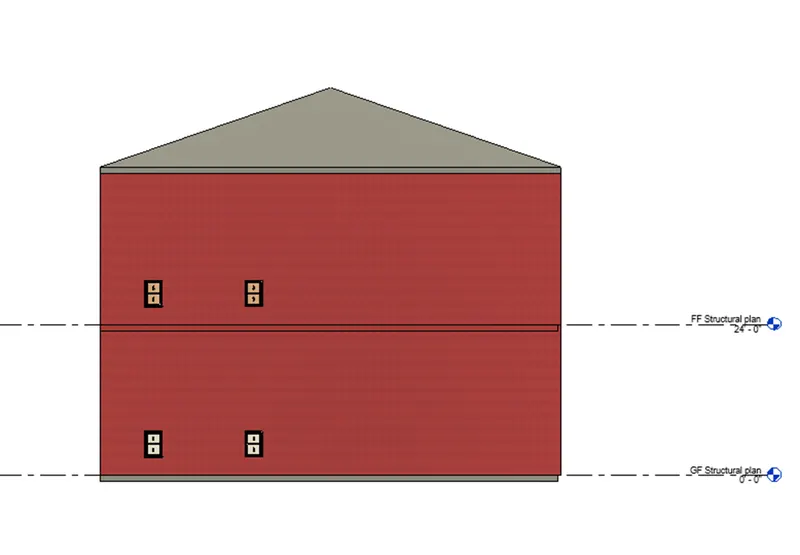
Step 5 -
- Next the elevation from the South will be visible,as shown below
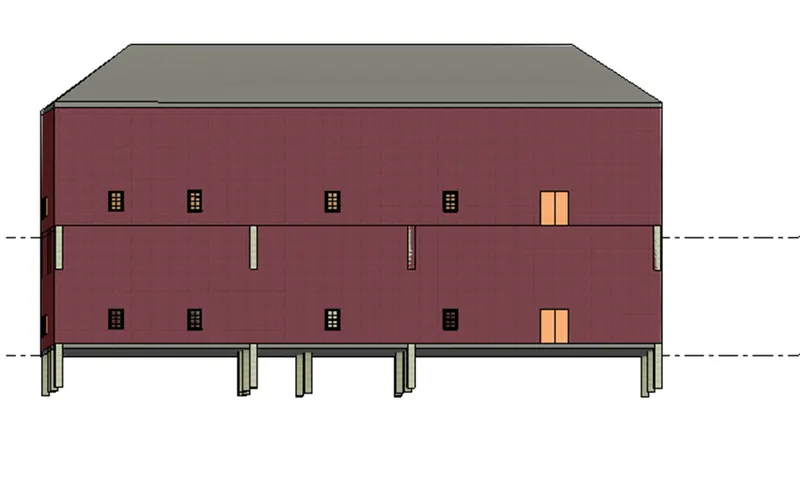
7)
AIM - To produce section cut through each room either cutting across longitudinally or in a transverse direction
PROCEDURE -
Step 1 -
- First we click on section option from the view toolbar,as shown below
- Next we produce the section view of the Bed Room-1 and Bed Room-2 ,as shown in the below figure
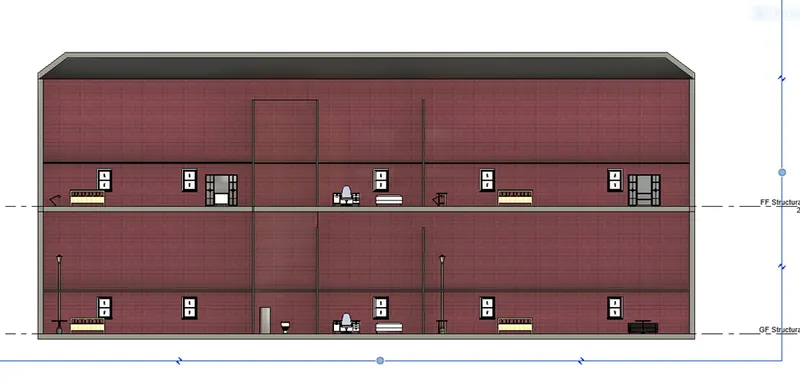
Step 2 -
- Next we produce the section view of the Toilet as shown in the below figure
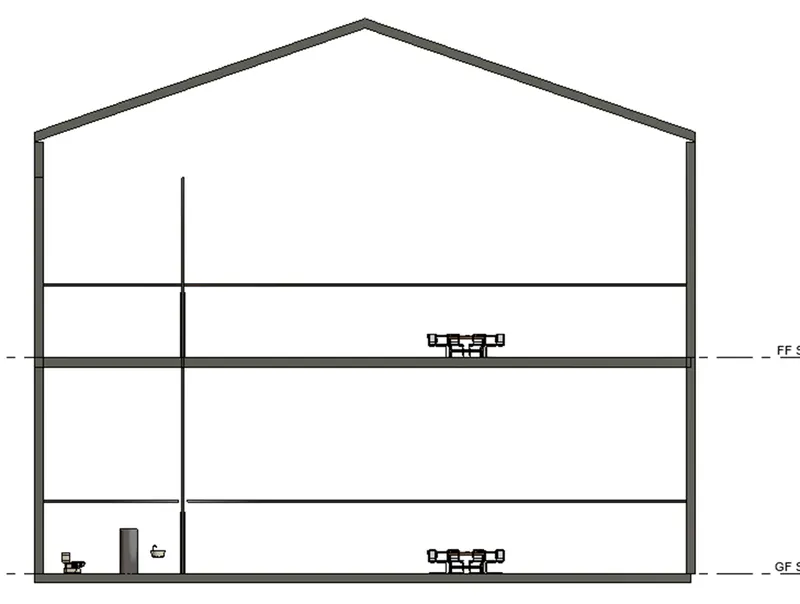
Step 3 -
- Next we produce the section view of Kitchen Room as shown in the below figure
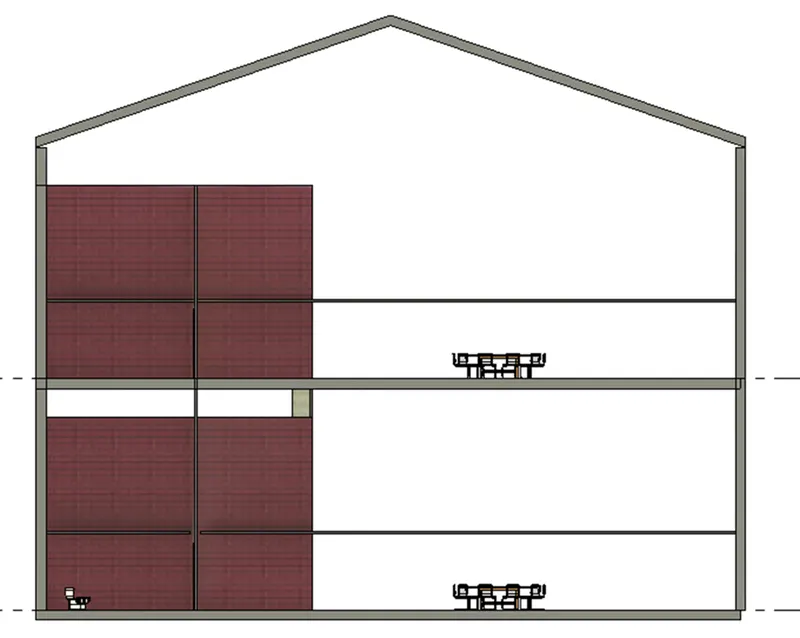
Step 4 -
- Next we produce the section view of the Living Room as shown in the below figure
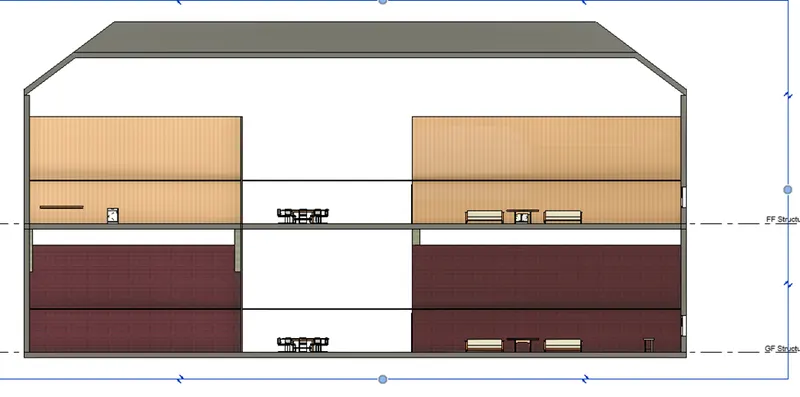
Step 5 -
- Next we produce the section view of Bed room 1, Bed room 2, and Study room
Result -
8)
AIM - To classify the views,Plan views,Section views,and Elevation views to either design or Documentation category using properties browser
PROCEDURE -
Step 1 -
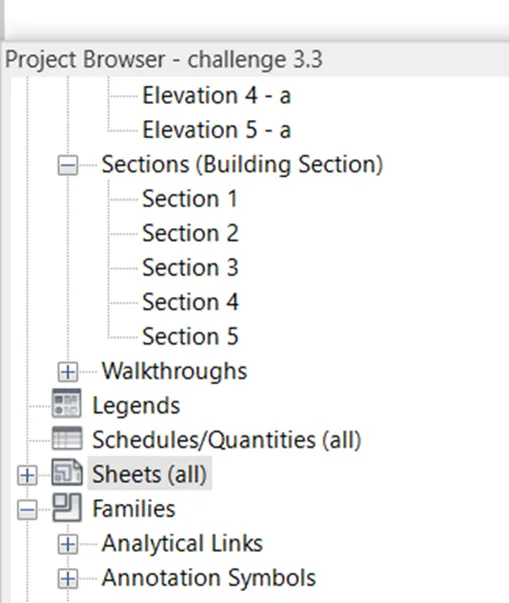
- First we open the project browser,the view,Plan view,Section view,Elevation view are visible in that project browser as shown below
- Next we insert these plans one by one in the sheet separately
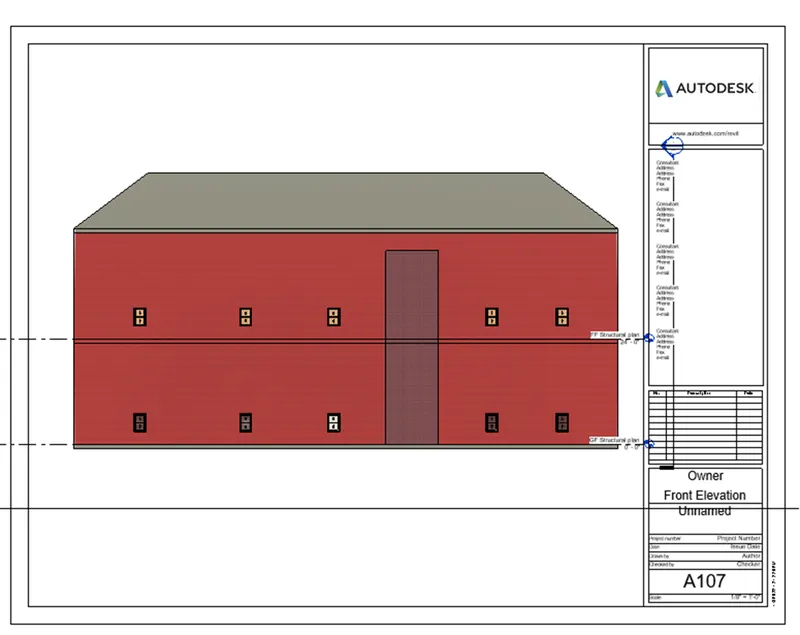
Step 2 -
- First we insert the Front Elevation in the sheet template,as shown in the below figure
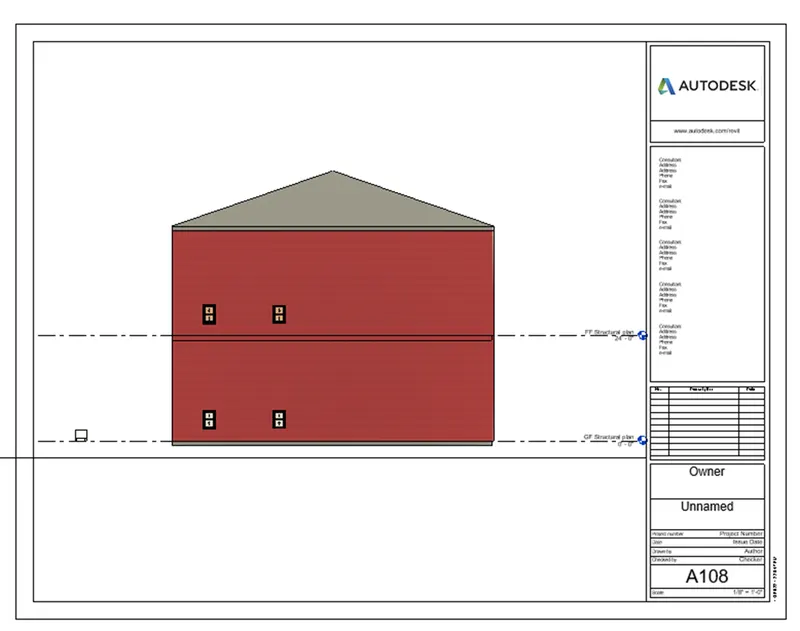
Step 3 -
- Next we insert the Left side elevation in the sheet template,as shown in the below figure
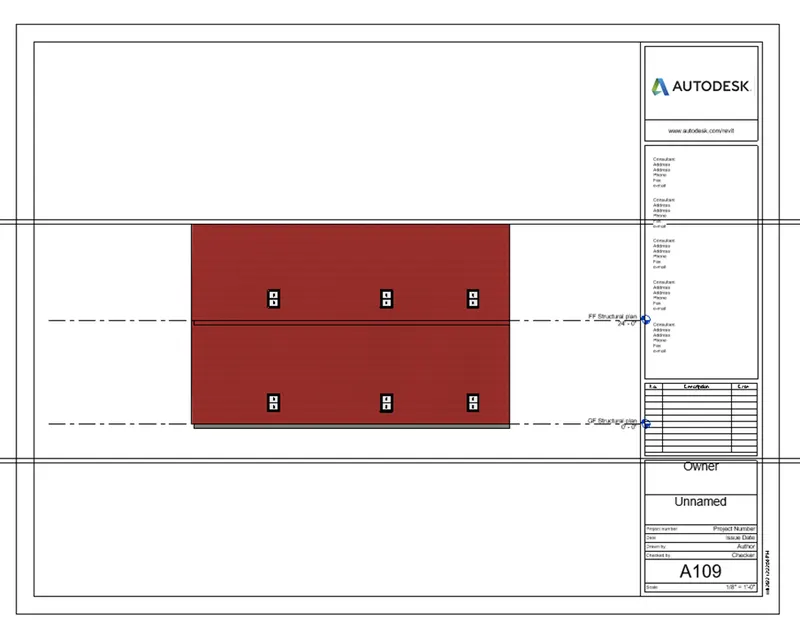
Step 4 -
- Next we insert the Right side elevation in the sheet template,as shown in the below figure
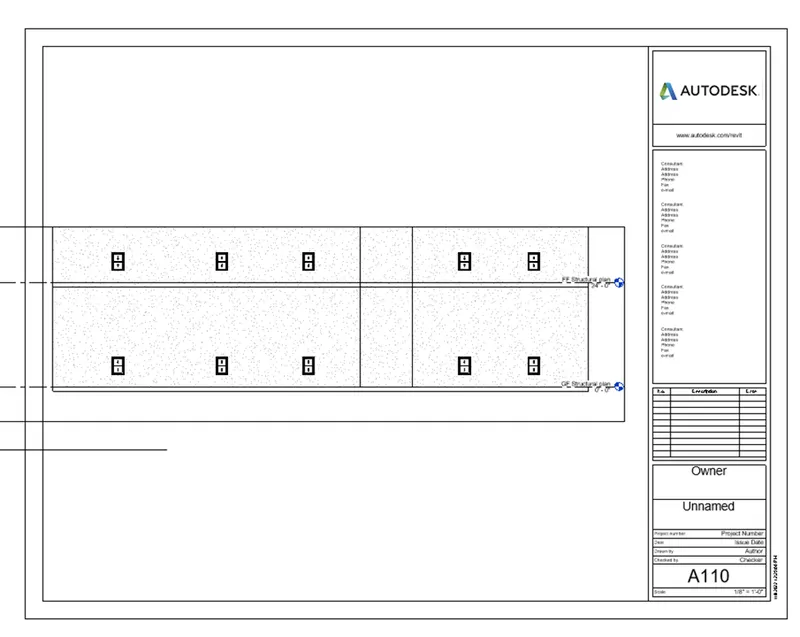
Step 5 -
- Next we insert Back side elevtaion in the sheet template,as shown in the below figure
Step 6 -
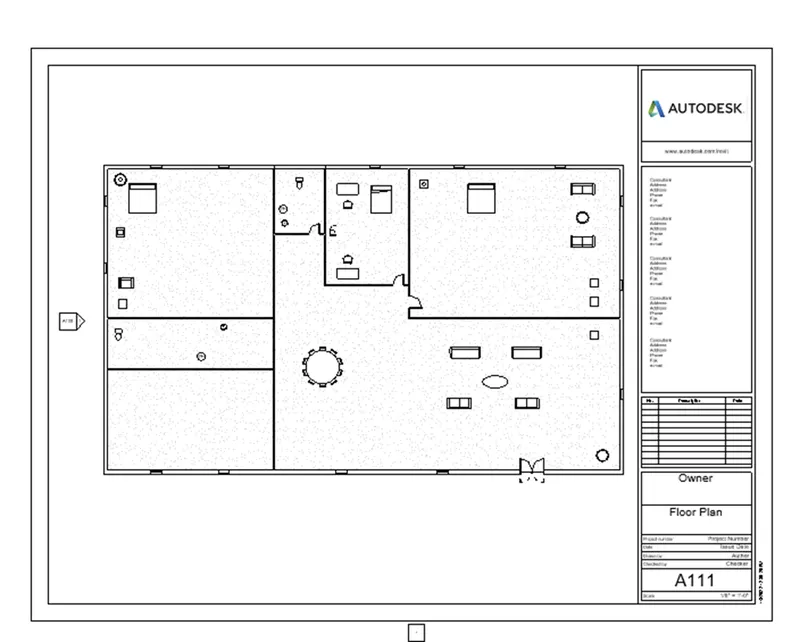
- Next we insert the Ground floor plan in the sheet template,as shown in the below figure
Step 7 -
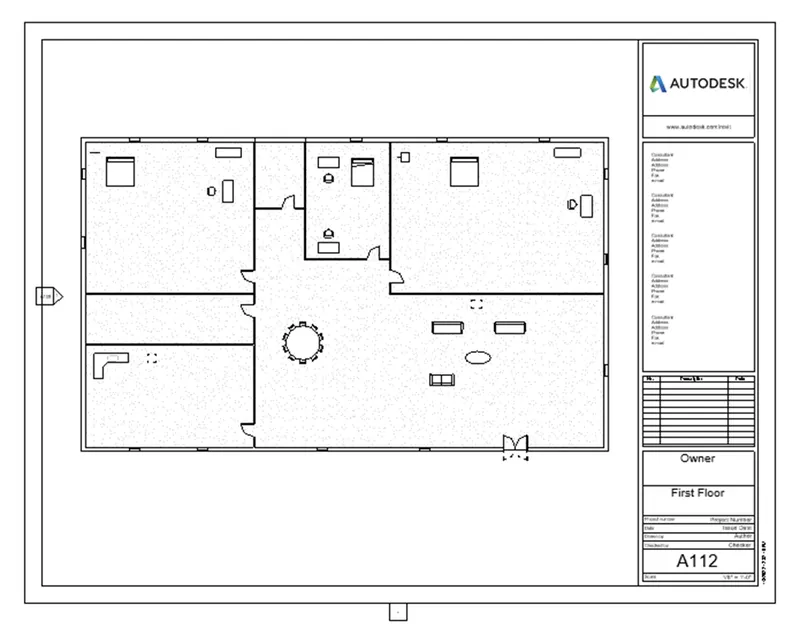
- Next we insert the First floor plan in the sheet template.as shown in the below figure
Step 8 -
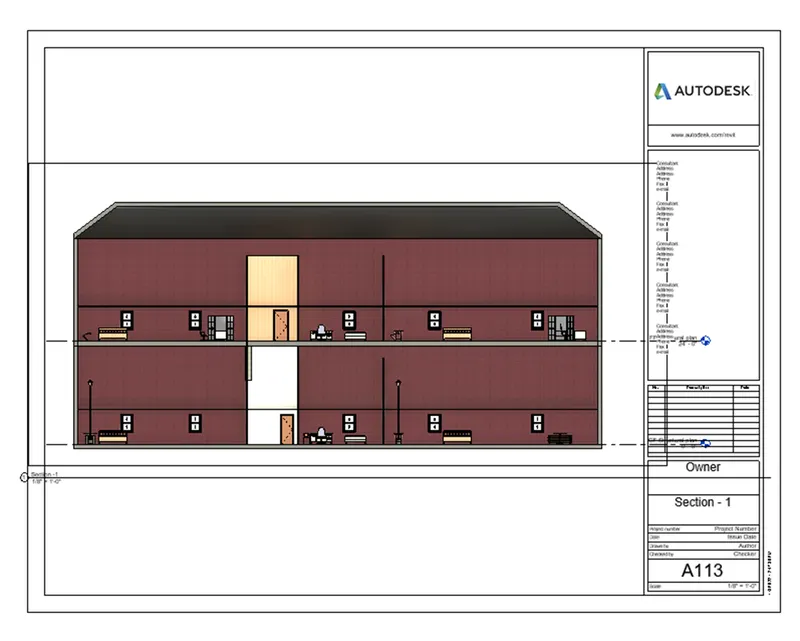
- Next we insert the Section-1 in sheet template,as shown in the below figure
Step 9 -
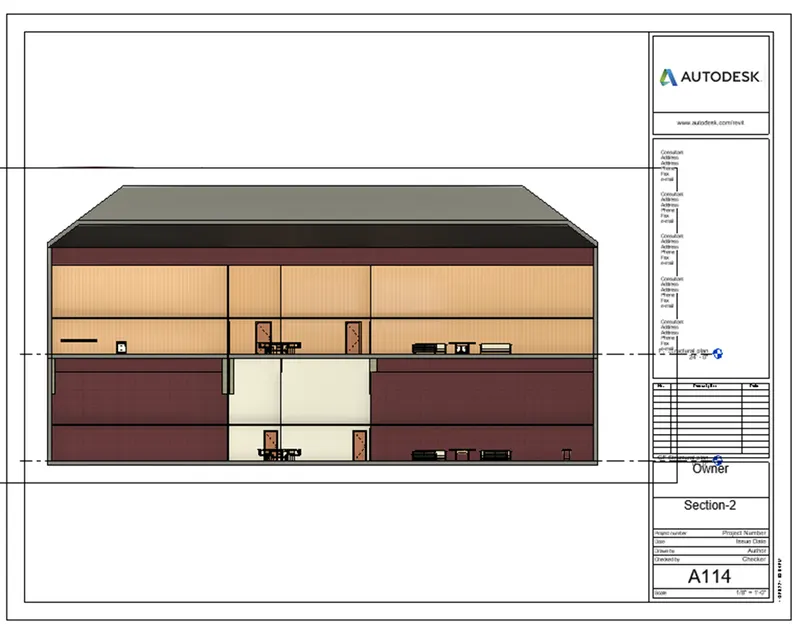
- Next we insert the Section-2 in the sheet template,as shown in the below figure
Step 10 -
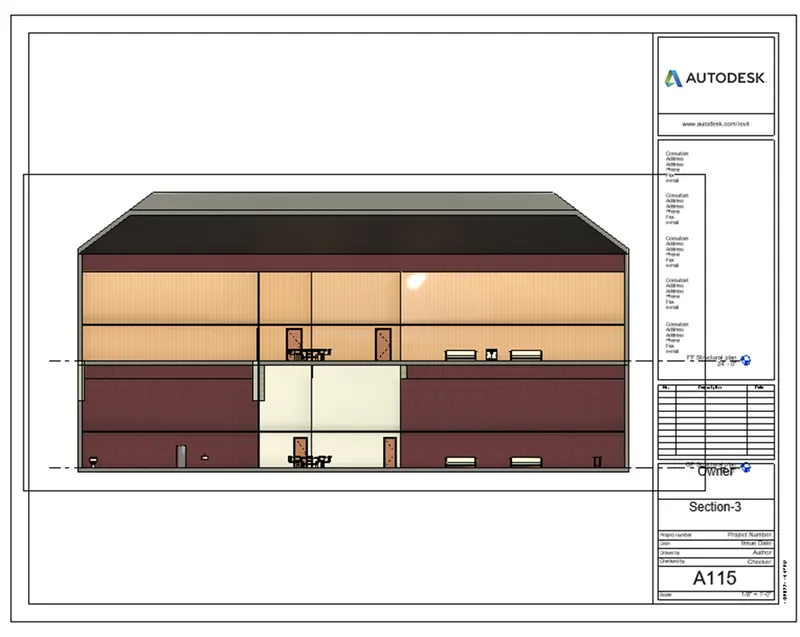
- Next we insert the Section-3 in the sheet template,as shown in the below figure
Result -
- Views,Plan views,Section view,and Elevation views are classified to design category using properties browser
9)
AIM - To create the multiple sheets and produce the drawings in the sheets,from the given drawing list
PROCEDURE -
Step 1 -
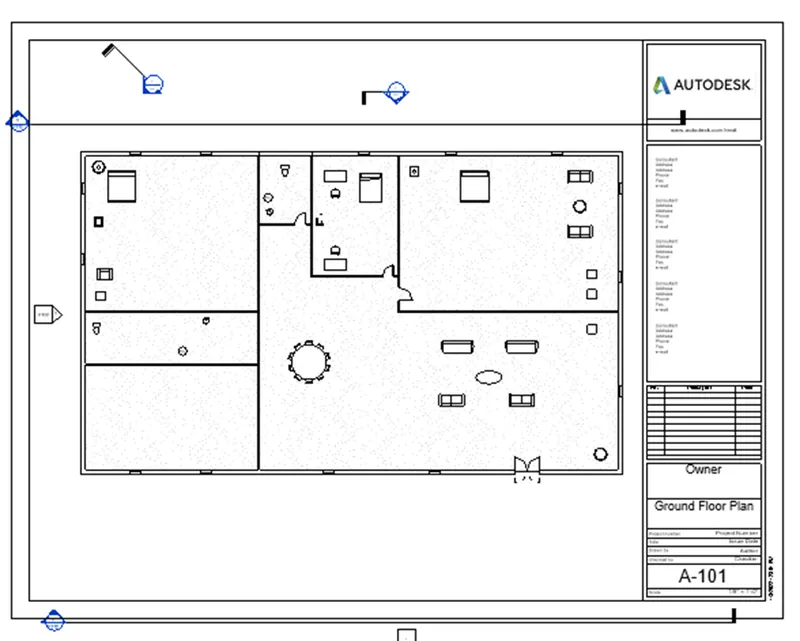
- First we produce the Ground Floor architectural plan in the sheet template A-101, as shown in the below figure
Step 2 -
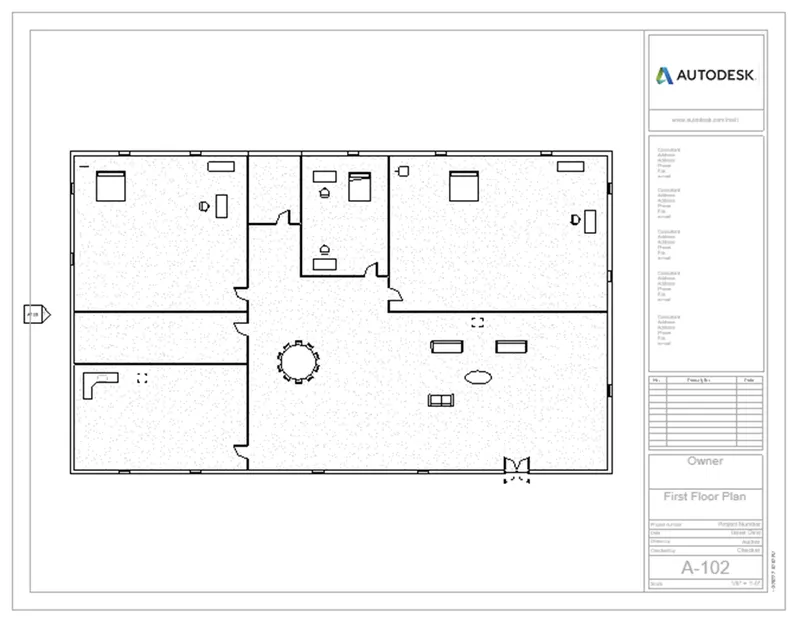
- Next we produce the First Floor architectural plan in the sheet template A-102,as shown in the below figure
Step 3 -
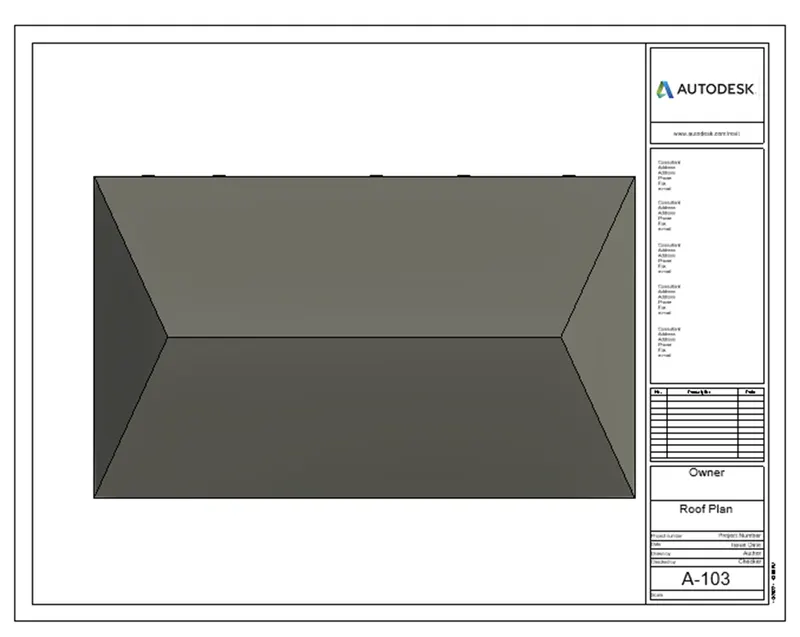
- Next we produce the Roof Plan in the sheet template A-103,as shown in the below figure
Step 4 -
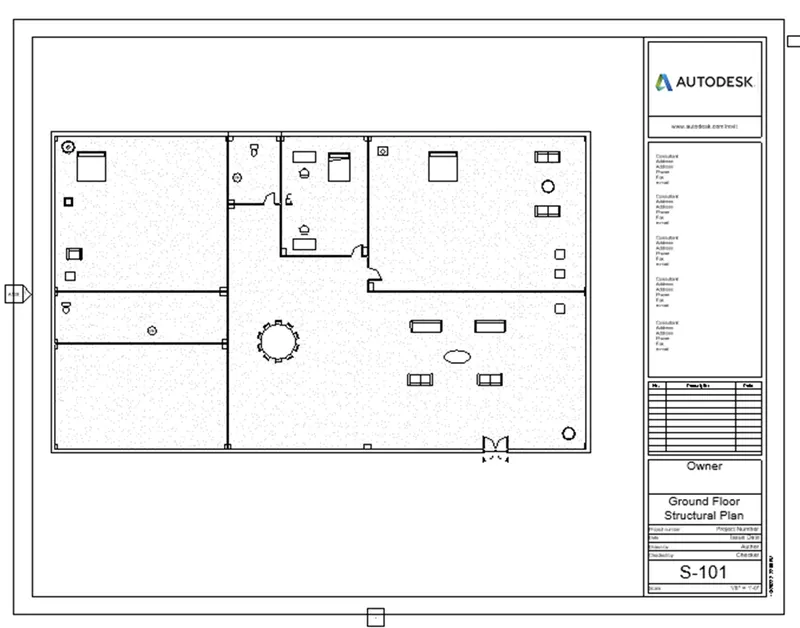
- Next we produce the Ground Floor structural plan in the sheet template S-101,as shown in the below figure
Step 5 -
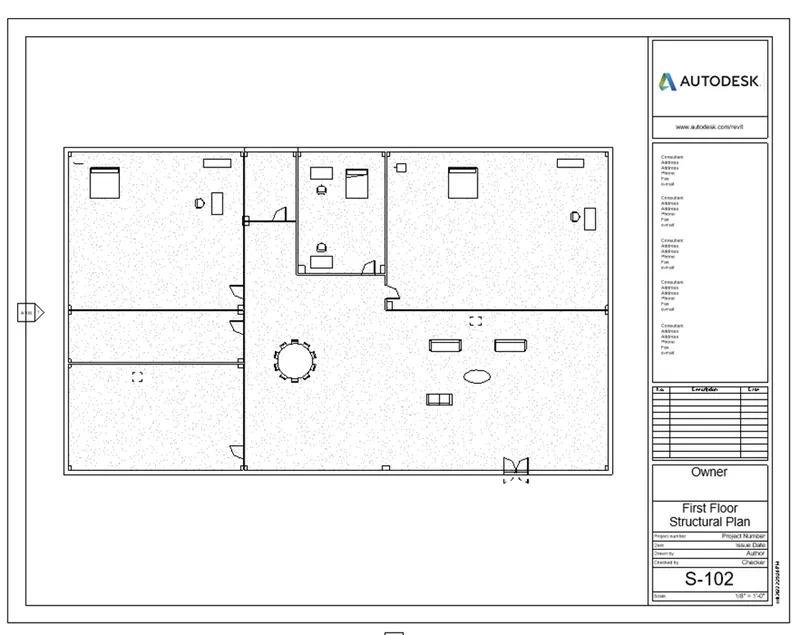
- Next we produce the First Floor structural plan in the sheet template S-102,as shown in the below figure
Step 6 -
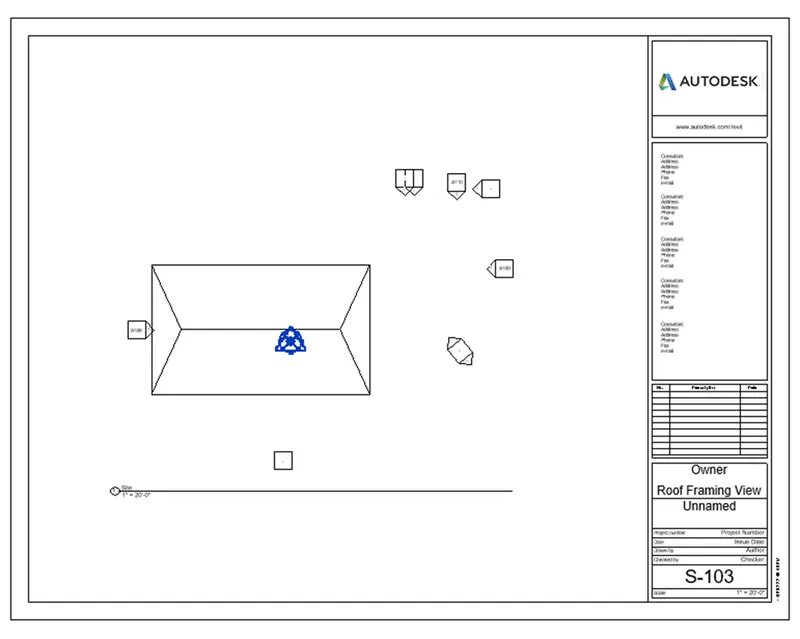
- Next we produce the Roof Framing plan in the sheet template S-103,as shown in the below figure
Step 7 -
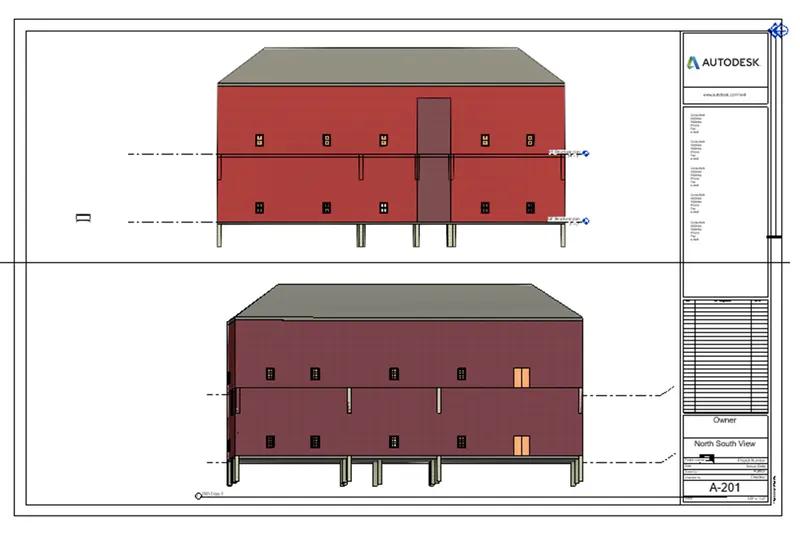
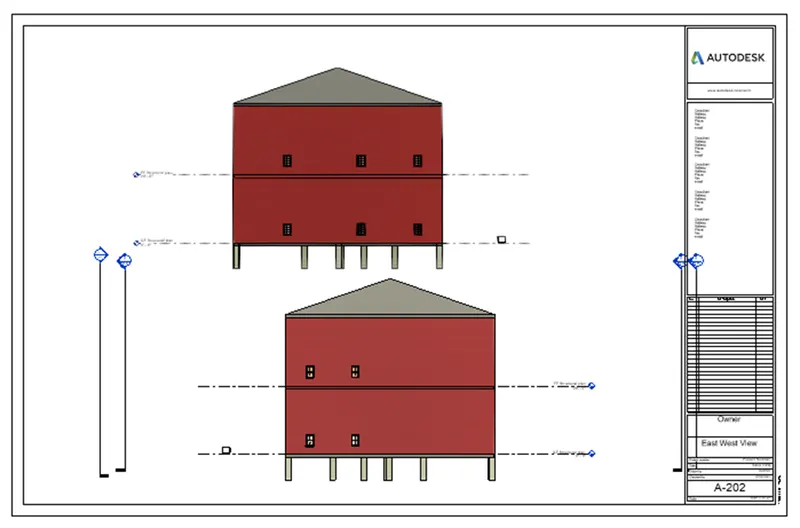
- Next we produce the North and South elevation views in the sheet template A-201,as shown in the below figure
Step 8 -
- Next we produce the East and West elevation views in the sheet template A-202,as shown in the below figure
Result -
10)
AIM - To create a Camera specific view or 3D view in Living Room,Dining Room,Bed Room in the sheets separately
PROCEDURE -
Step 1 -
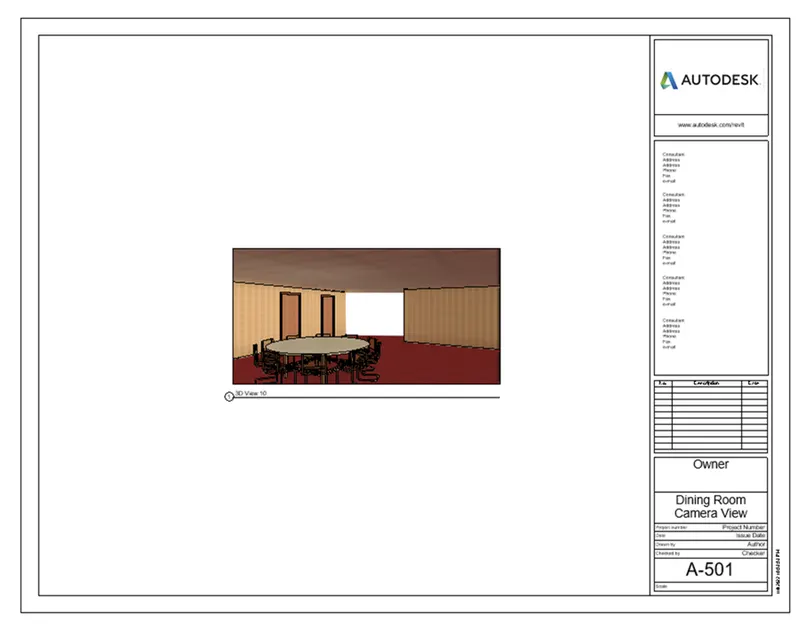
- First we take sheet and name it as A-501
- Next go to the floor plan and place camera in the Dining Room,and the camera view of dining room will be shown below
Step 2 -
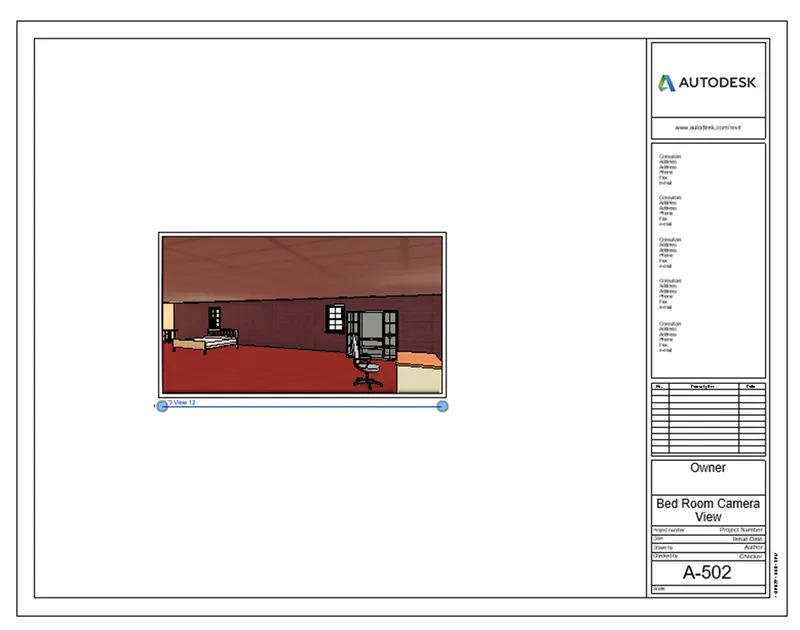
- Next we take the sheet and name it as A-502
- Next go to floor plan and place camear in Bed Room 1,and the camera view of Bed room 1 will be shown below
Step 3 -
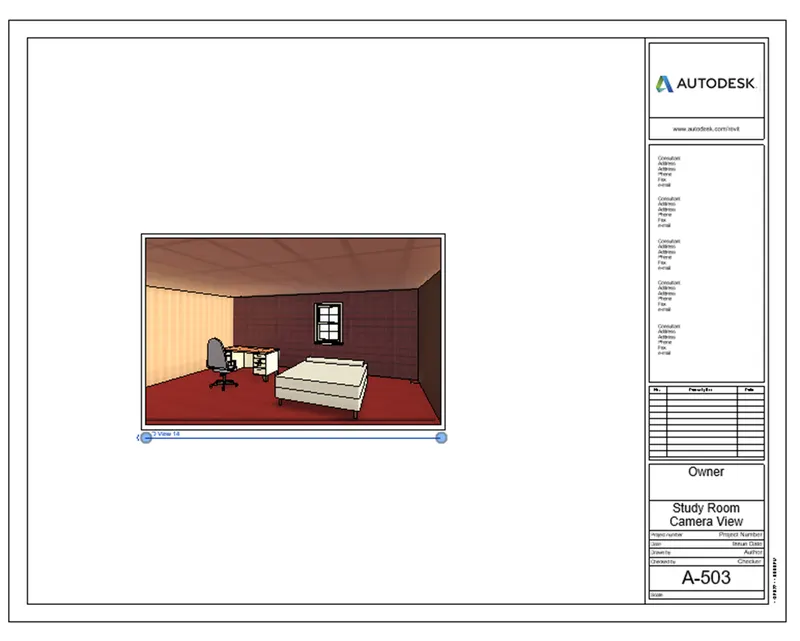
- Next we take the sheet and name it as A-503
- Next go to floor plan and place camera in Study room,and the camera view of Study Room will be shown below
Step 4 -
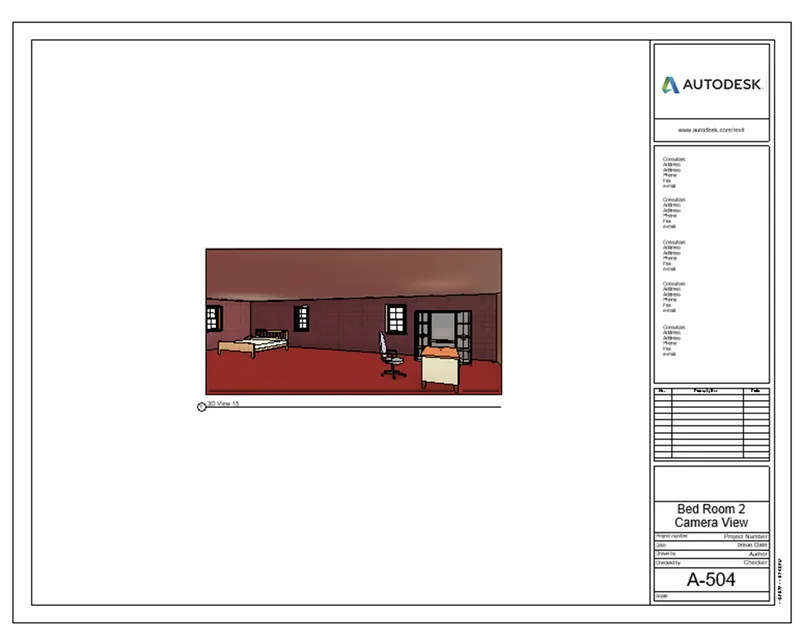
- Next we take sheet and name it as A-504
- Next go to floor plan and place the camera in Bed Room 2,and the camera view of Bedb Room will be shown below
Step 5 -
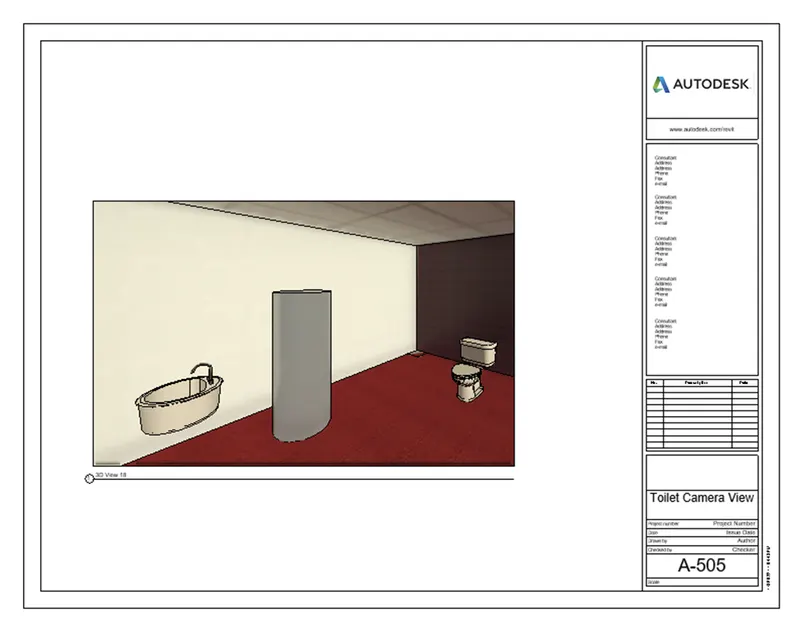
- Next we taek sheet and name it as A-505
- Next go to floor plan and place the camera in Toilet,and the camera view of Toilet will be shown below
Result -
- Created a camera specific view or a 3D view in Living room,Dining room ,Bed room and Toilet in the sheet separately