3D Creation of Celing, Roof, Architectural plan, Structural plan, Sectional view, Elevation view and Camera specific view for a house plan using REVIT
1. Aim :
Provide ceiling over the First Floor level.
Procedure :
- Double click on the Revit application icon and opens the app.
- Click on "Open" in the Home page.
- Open the saved "week 3 project" file.
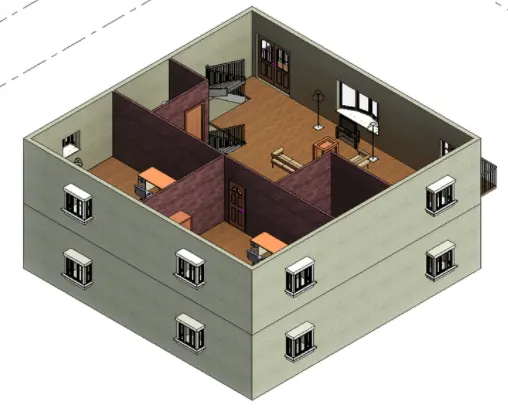
Creating Ceiling :
- From the Project Browser click and open the First-Floor plan view.
- Go to Architectural Tab.
- Click on Ceiling.
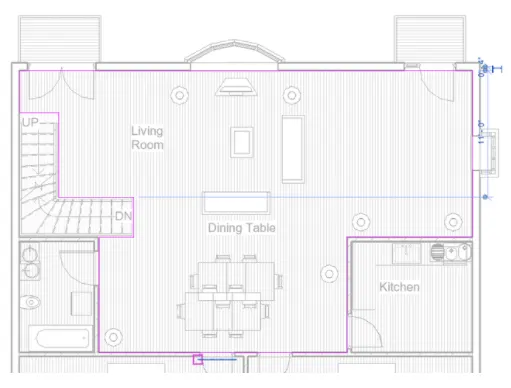
- Create the ceiling for the first floor.
- Select the type as 2'X4' ACT System.
- Choose between Automatic Ceiling or Sketch Ceiling and make as per requirement.
Result :
3D view of ceiling
2. Aim :
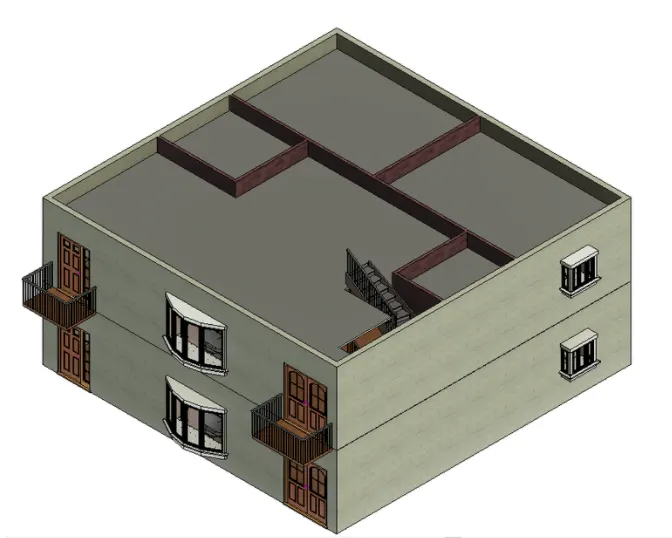
Roof modelling over the ceiling of the existing structure.
Procedure :
- Double click on the Revit application icon and opens the app.
- Click on "Open" in the Home page.
- Open the Last Question file.
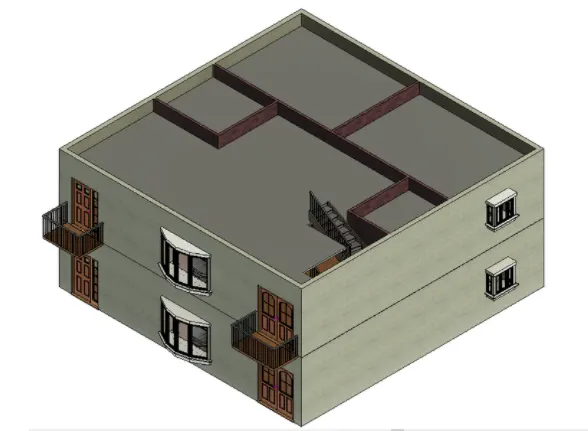
Creating Roof :
- From the Project Browser click and open the First-Floor plan view.
- Go to Architectural Tab.
- Click on "Roof" Tool.
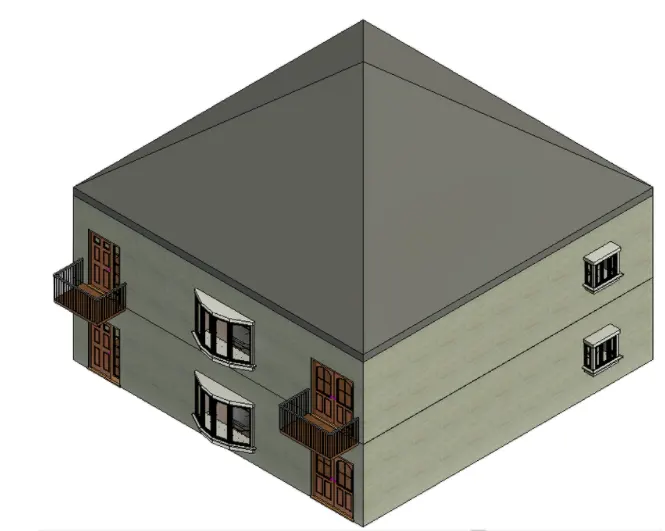
- Create the Roof above the first floor.
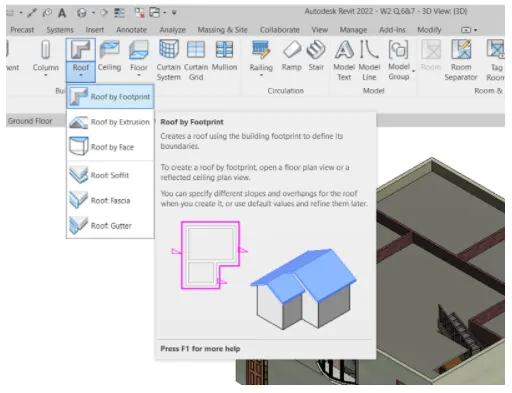
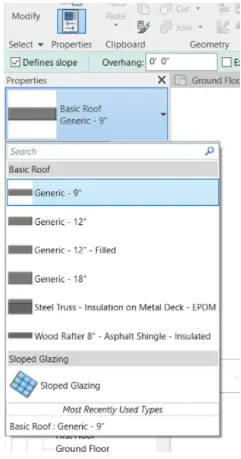
- Select the roof type as generic 9"roof
- Select / draw a closed area fir the roof as per requirement
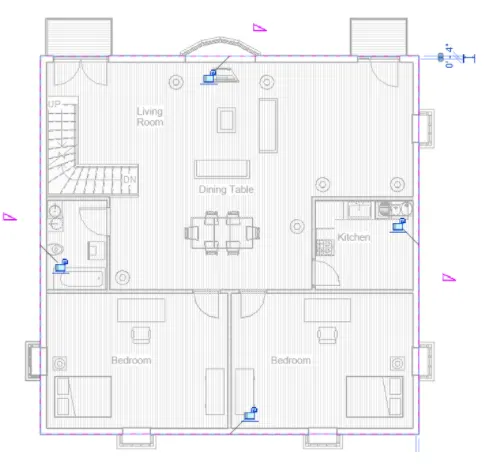
Result :
3D view of roof :
3. Aim :
To prepare the architectural and structural plans of the structure.
Procedure :
- Double click on the Revit application icon and opens the app.
- Click on "Open" in the Home page.
- Open the Last Question file.
Creating Architectural Ground Floor Plan :
- Go to Properties browser and open Floor Plans.
- Click on Ground Floor Plan.
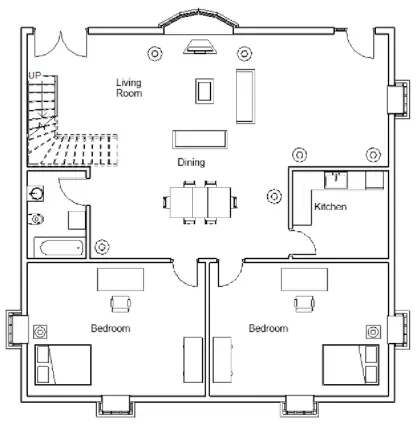
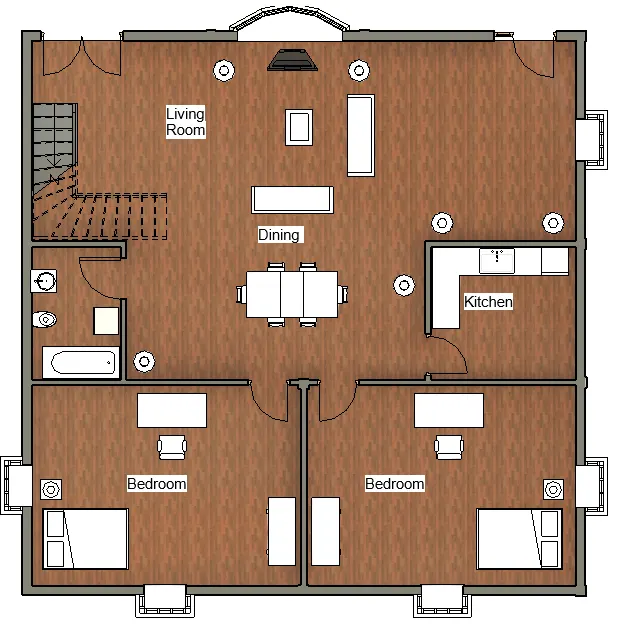
- The Architectural Plan of the ground floor consists of walls, stairs, windows, doors and Components of kitchen, living room, bedroom, toilet, storeroom
Creating Architectural First Floor Plan :
- Go to Properties browser and open Floor Plans.
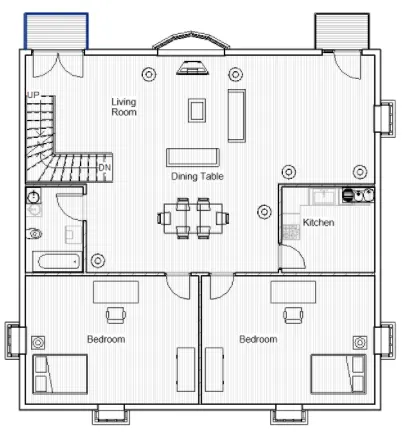
- Click on First Floor Plan.
Creating Structural Ground Floor Plan :
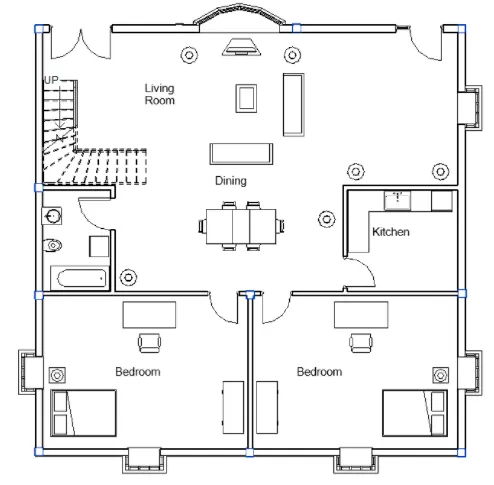
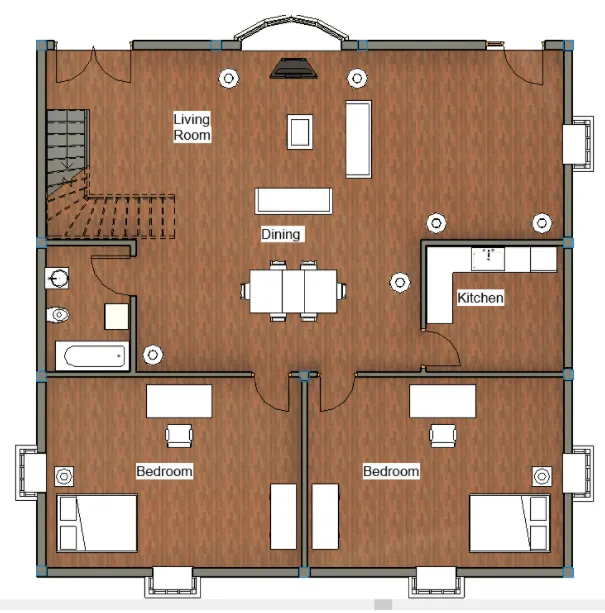
- As structure plan must have details of only walls, floors, and columns.
- Go to Properties browser and open Floor Plans.
- Click on Ground Floor Plan.
- Go to structural tab and click on "Column" tool.
- Select the column Type as per requirement.
- Select base level as "Ground Floor" and Top Level as "Roof".
- Provide columns as per the requirement.
Creating Structural Ground Floor Plan :
- Go to Properties browser and open Floor Plans.
- Click on First Floor Plan.
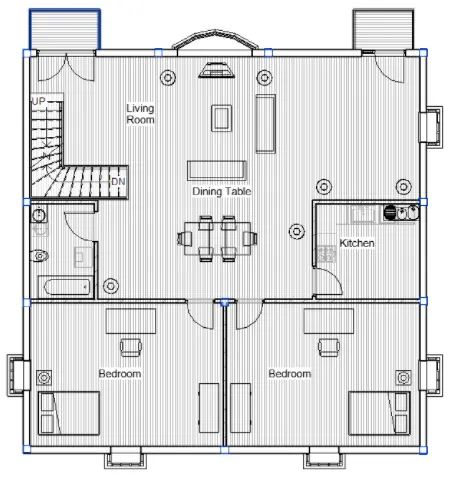
Result :
Architectural ground floor view :
Structural Ground Floor view :
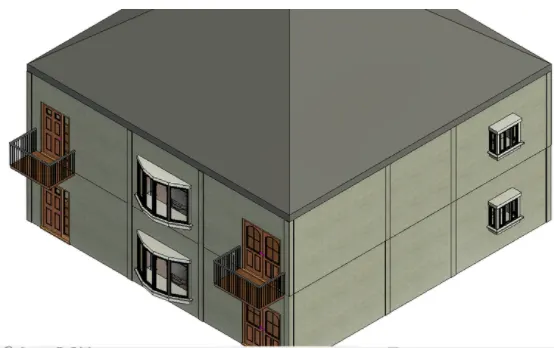
3D structural view with column :
4. Aim :
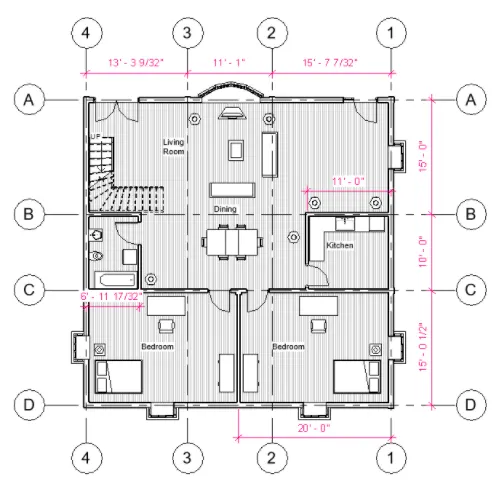
Using annotate toolbar add dimensions to the walls and floor with reference to the longitudinal and transverse grids created in the project file.
Procedure :
- Double click on the Revit application icon and opens the app.
- Click on "Open" in the Home page.
- Open the Last Question file.
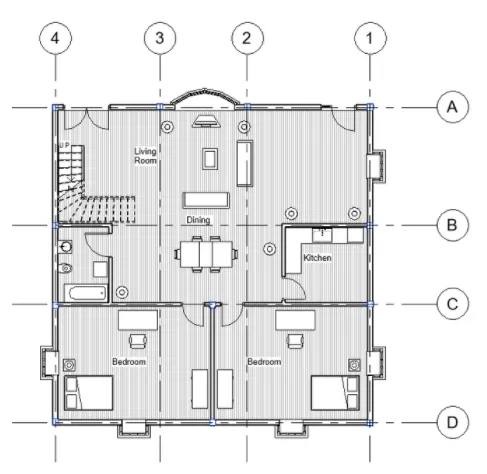
Creating Grids :
- Go to Properties browser and open Floor Plans.
- Click on Ground Floor Plan.
- Go to Architectural Tab, Click on "Grids".
- Create the Grids alog the walls.
- Name horizontal grids as A, B, C, D.
- Name vertical grids as 1, 2, 3, 4.
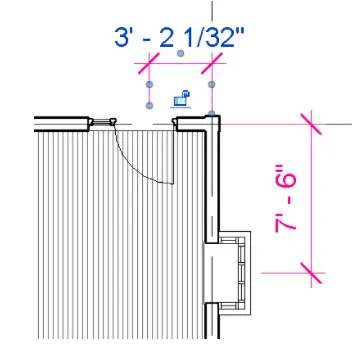
Architectural Annotations :
- In architecture plan, dimensions include details on where the components are placed within the buildings with relation to grids.
- For example :
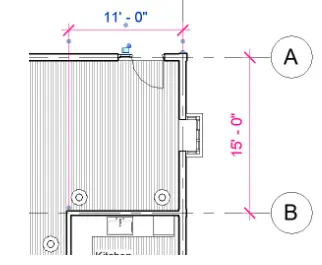
Structural Annotations :
- In Structure plan, dimensions must include details on the position of all the walls and interior walls with reference to grids.
- For example :
Result :
Architectural Annotations:
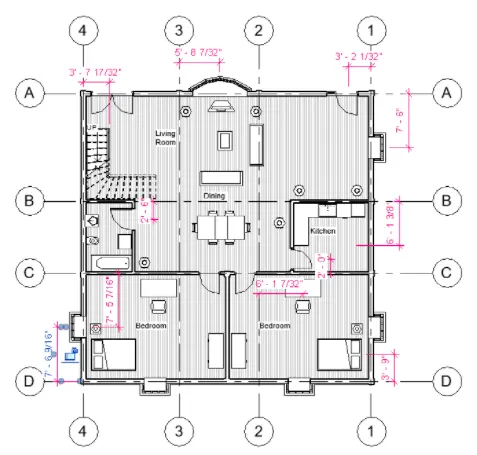
Structural annotations :
5. Aim :
To create sheet template from the tab view and adjust the parameters on the sheet to add appropriate views.
Procedure :
- Double click on the Revit application icon and opens the app.
- Click on "Open" in the Home page.
- Open the Last Question file.
Creating a sheet template :
- Go to "Insert" tab and click on "Load Family".
- Click the "Titleblock" and then select the "Template" as per requirement and then click "open".
- Now go to the "Project Browser" and right click on "Sheet".
- Click on "Add New Sheet" option.
- Select the Title block of choice and then click "OK".
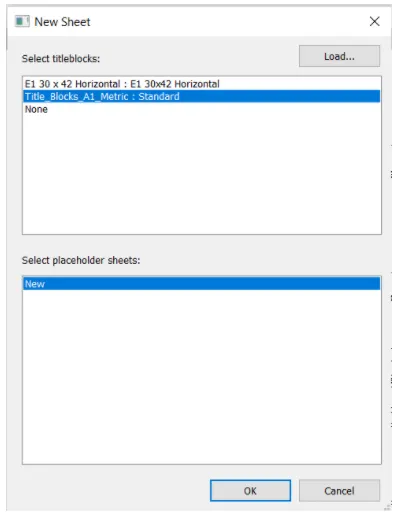
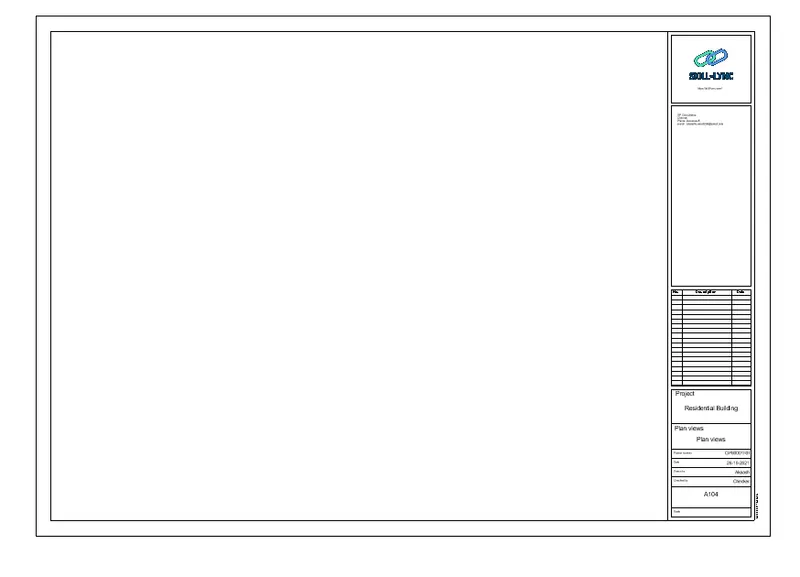
A new sheet is opened as :
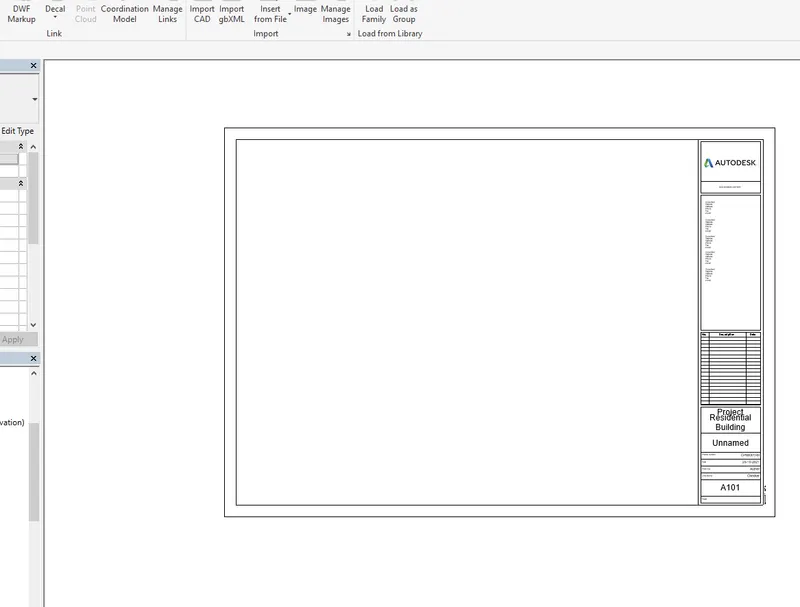
Changing Parameters :
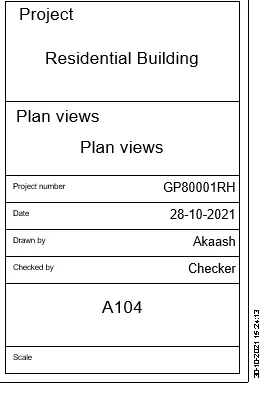
- Change the parameter of the template sheet as per choice.
- Add the text from the Annotation tab if required
Adding Views :
- To add view on the sheet, go to the "Properties Browser".
- Click on "Sheet" and the right click on the respective sheet and click on "Add Views".
- A dialog box will open.
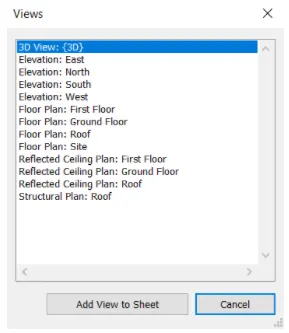
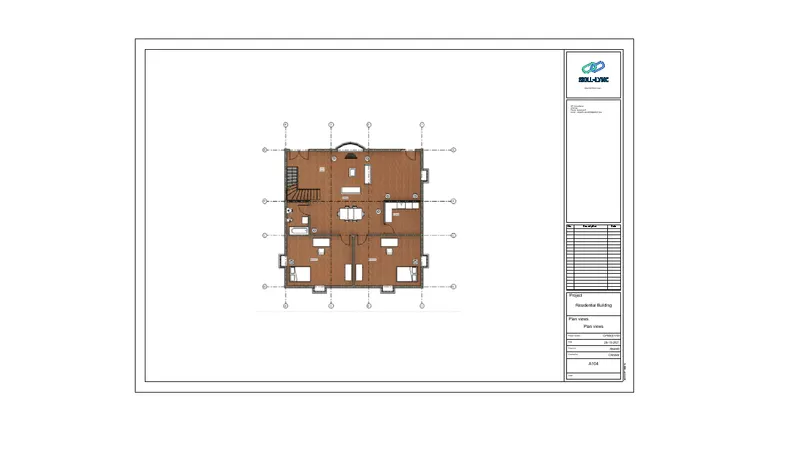
- Select any view as per choice, for example:- "Ground Floor View".
- Click on "Add View to Sheet".
Result :
6. Aim :
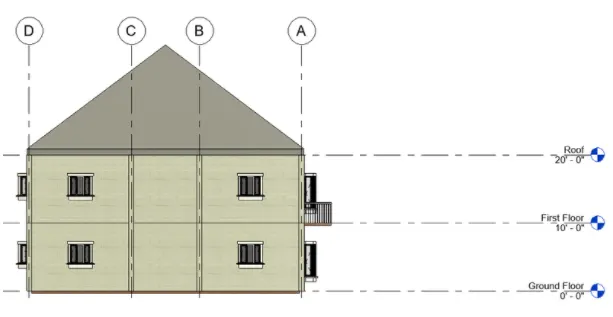
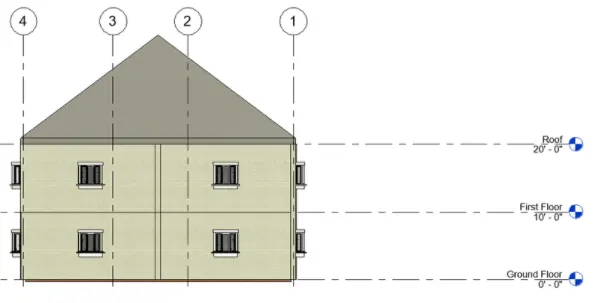
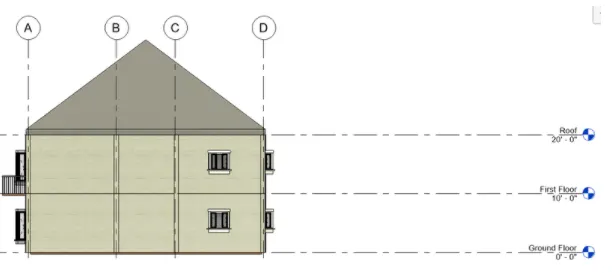
Using the elevation tab create the elevation view, looking at your building from east west north south.
Procedure :
- Double click on the Revit application icon and opens the app.
- Click on "Open" in the Home page.
- Open the Last Question file.
Creating Views :
- Go to the "View" Tab and click on "Elevation" Tool.
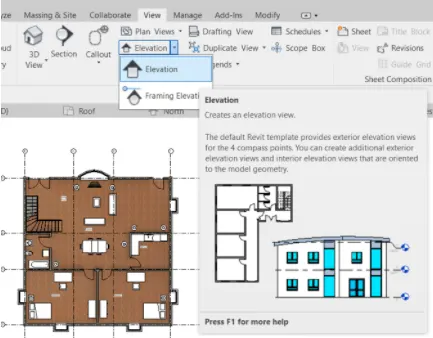
- Go to the "Floor Plan View" from project browser.
- Place the elevation marker point in the specified Location.
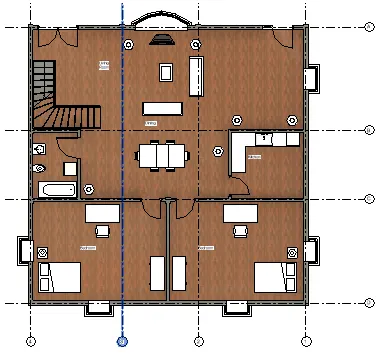
- Go to project browser and click on "+" icon of "Elevation" to see all the elevation view and on any view to open it.
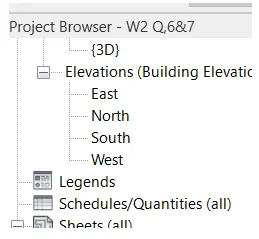
Result :
North :
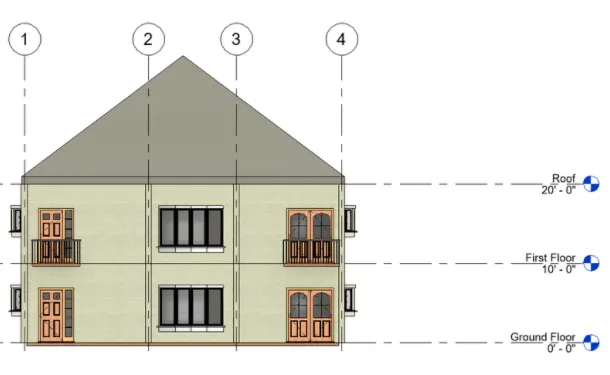
East :
South :
West :
7. Aim :
To produce section cut through each room either cutting across longitudinally or in a transverse direction.
Procedure :
- Double click on the Revit application icon and opens
- Click on "Open" in the Home page.
- Open the Last Question file.
Creating Section Line :
- Go to the "View" Tab and click on "Section" Tool
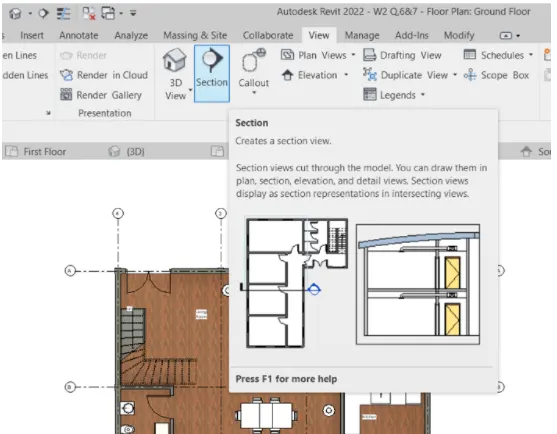
- Cut the section as per the requirement.
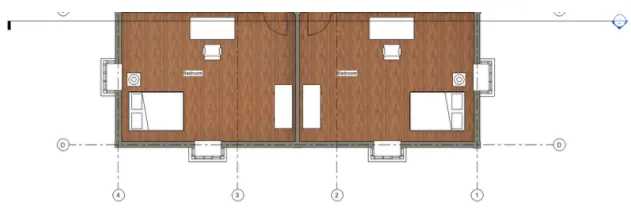
Result :
- The Section View of the section line created :
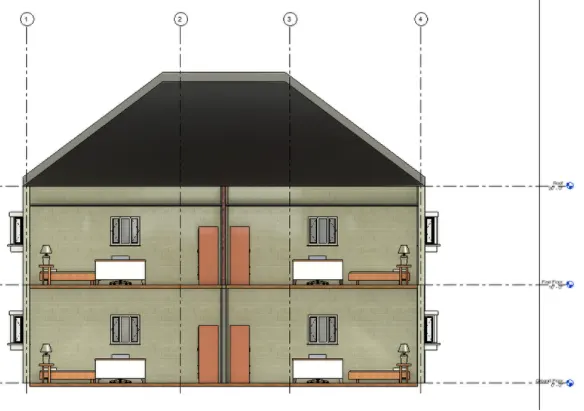
8. Aim :
Classify the views,plan views,section views and elevation views to either design or documentation category using property browser.
Procedure :
- Double click on the Revit application icon and opens the app.
- Click on "Open" in the Home page.
- Open the Last Question file.
Plan Views:
Floor Plans:
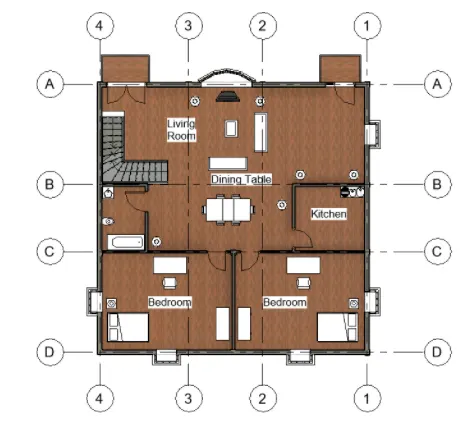
- Floor Plans are 2D view of the Residential Building showing the components of the house in the layout with dimensions and tags
- In our Residential Building Project, there are three Floor Plans:
- Ground Floor Plan
- First Floor Plan
- Roof Plan
Ceiling Plans:
- Ceiling of different floors are created just below the Roof/Slab.
- There are two Ceilings in our current project :
- Ground Floor Ceiling
- First Floor Ceiling
Elevation views :
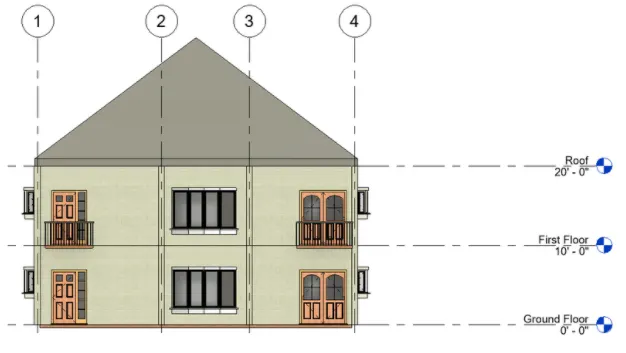
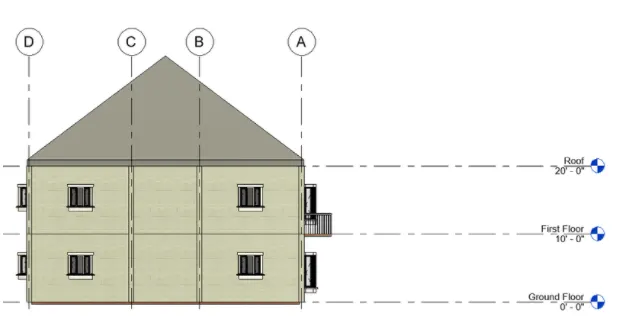
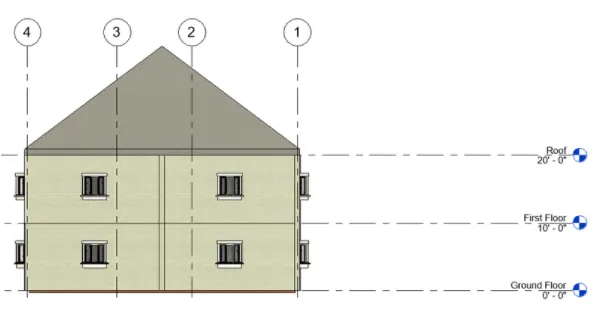
- These views are helpful in determining extract height components of the Residential Building and components location.
- There are following Elevation Views:
- East
- North
- West
- South
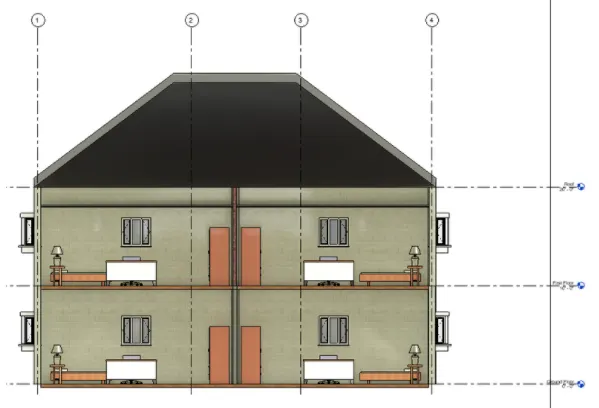
Section Views:
- This View shows interior configuration of the components such as walls, architectural features etc.
- There is only one section view in our project :
- Section 1
Result :
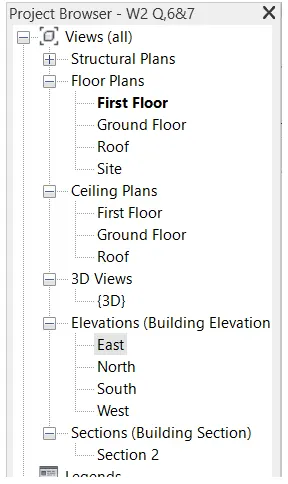
Plan views :
- Ground floor :
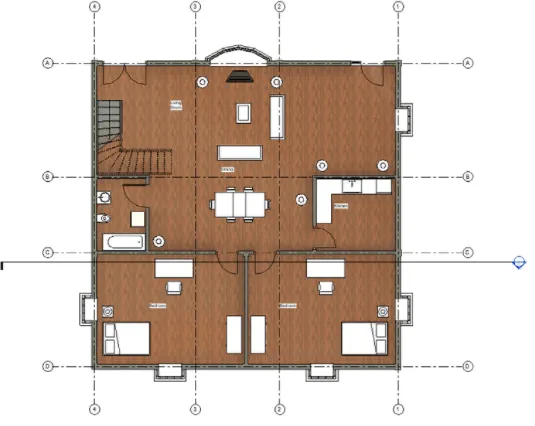
- First floor :
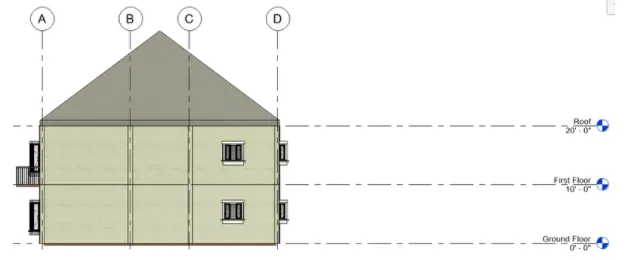
Elevation views :
- North :
- East :
- South :
- West :
Section view :
9. Aim :
Using the sheet template produced create multiple sheets as follows
a. A 101- Ground Floor Architecture Plan
b. A 102- First Floor Architecture Plan
c. A 103- Roof Plan
d. S 101- Ground Floor Structural Plan
e. S 102- First Floor Structural Plan
f. S 103- Roof Framing Plan
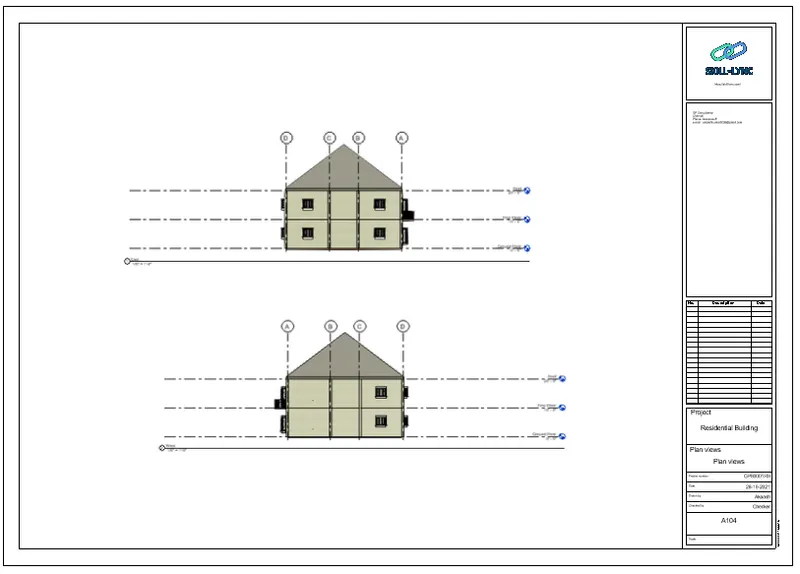
g. A-201- North-South Elevations
h. A-202- East-West Elevations
Procedure :
- Double click on the Revit application icon and opens the app.
- Click on "Open" in the Home page.
- Open the Last Question file.
Creating Sheet Templates :
- Go to Project Browser and find "Sheet".
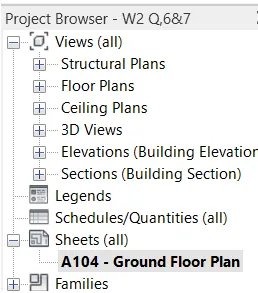
- Right click on "Sheet" and Click on "Add New Sheet" option.
- Select the Title block of choice and then click "OK".
- Change the parameter of the template sheet as per choice.
- Add the text from the Annotation tab if required.
- Right click on the newly created Sheet and Rename them as per the question requirements.
- To add view on the sheet, go to the "Properties Browser".
- Click on newly added sheet and the right click on the that sheet and click on "Add Views".
- A dialog box will open.
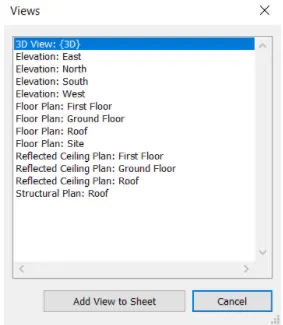
- Select any view as per choice, for example :- "Ground Floor View".
- Click on "Add View to Sheet". Similarly create all the Sheets and add views to them.
Results :
- A 101- Ground Floor Architecture Plan
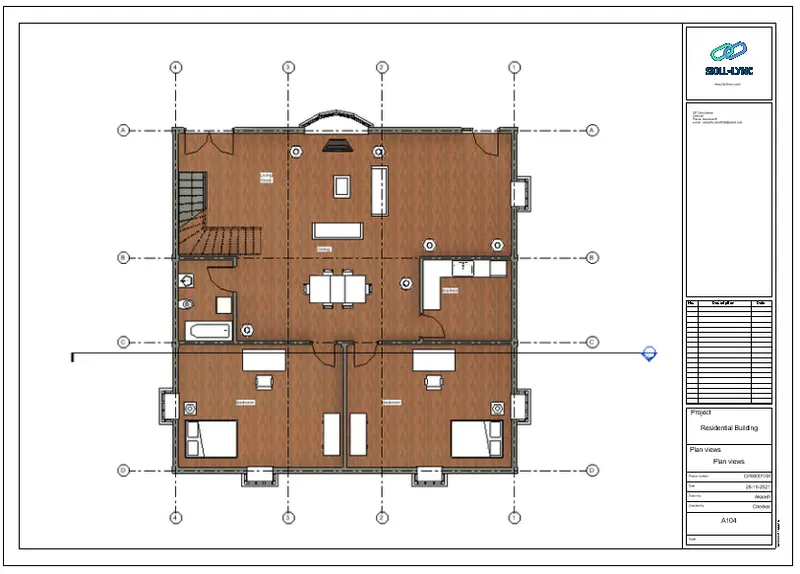
- A 102 first floor architectural plan
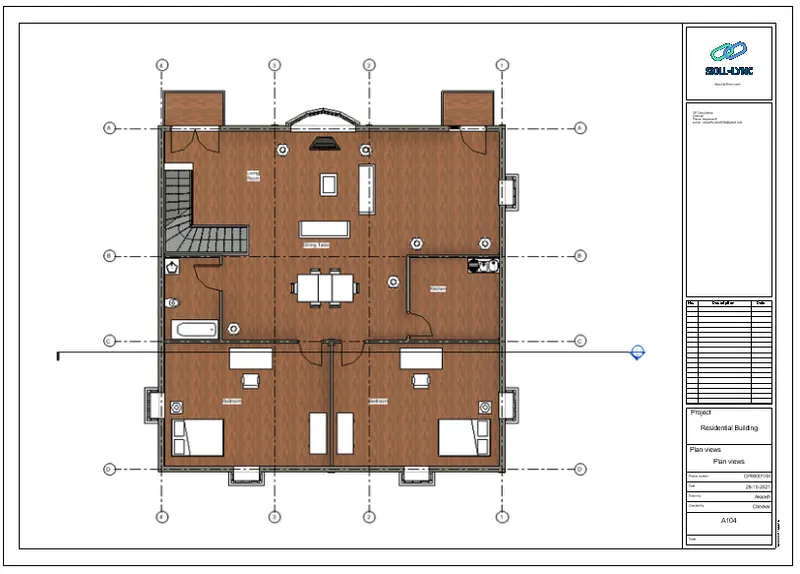
- A 103 - roof plan
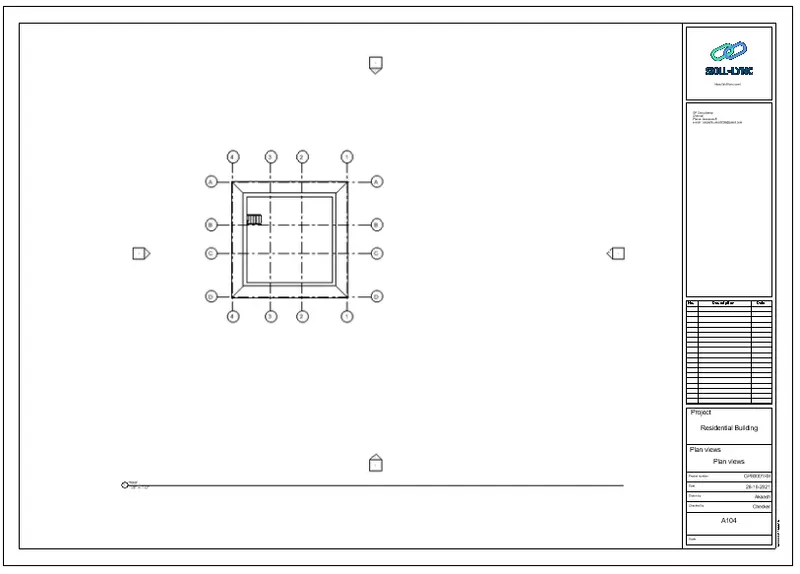
- A - 201 North-south elevations
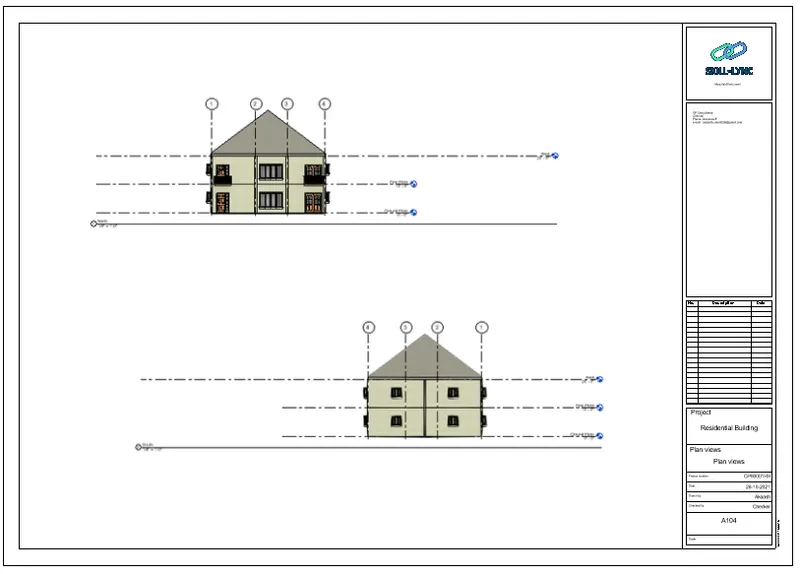
- A - 202 East -West Elevations
10. Aim :
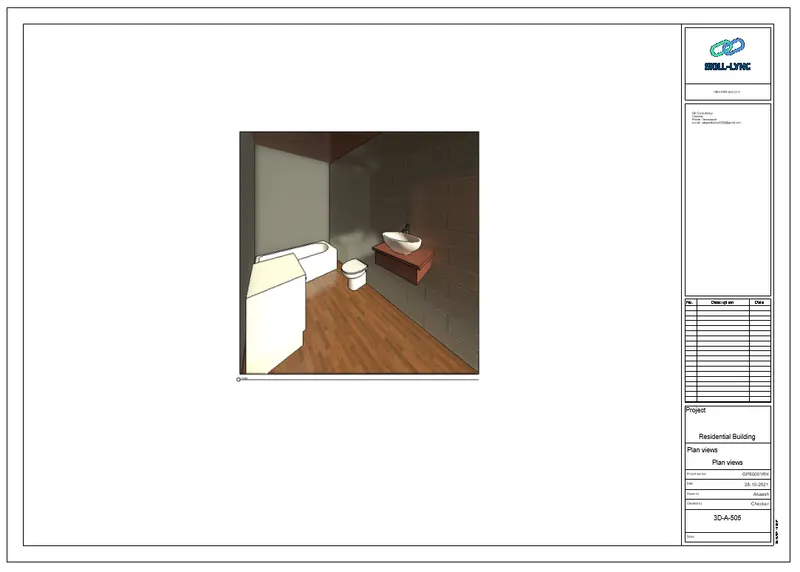
To create a camera-specific view or a 3D view in each room ( living, dining, bedroom). Based on the views create a new set of sheets starting A-501 (you can add as many sheets after, 502, 503.. n)to place the 3D view images and produce the sheets as a part of project drafting.
Procedure :
- Double click on the Revit application icon and opens the app.
- Click on "Open" in the Home page.
- Open the Last Question file.
Creating 3D Camera View :
- To set the camera view in any part to Layout.
- Go to "Create" panel in "View" Tab.
- Click on Dropdown of "3D View" Tool.
- Select "Camera" Tool.
- Put the camera at the different places to get the different views of the Layout.
- New window of Camera View will open.
- Rename the View accordingly and set the view style to "Realistic".
- Results are shared below.
- Creating Sheet Templates:
- Go to Project Browser and find "Sheet".
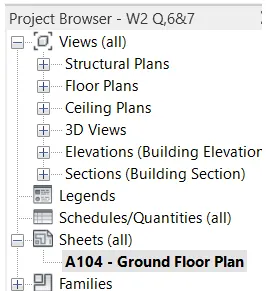
- Right click on "Sheet" and Click on "Add New Sheet" option.
- Select the Title block of choice and then click "OK".
- Change the parameter of the template sheet as per choice.
- Add the text from the Annotation tab if required.
- Right click on the newly created Sheet and Rename them as per the question requirements.
- To add view on the sheet, go to the "Properties Browser".
- Click on newly added sheet and the right click on the that sheet and click on "Add Views":
- A dialog box will open.
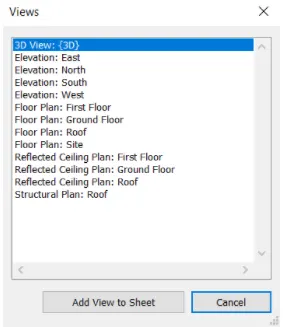
- Select any view as per choice, for example :- "Ground Floor View".
- Click on "Add View to Sheet".
- Similarly create all the Sheets and add views to them.
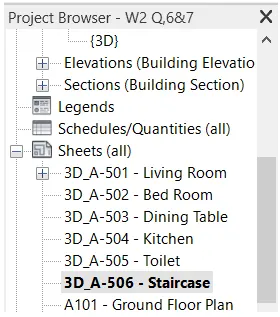
Results :
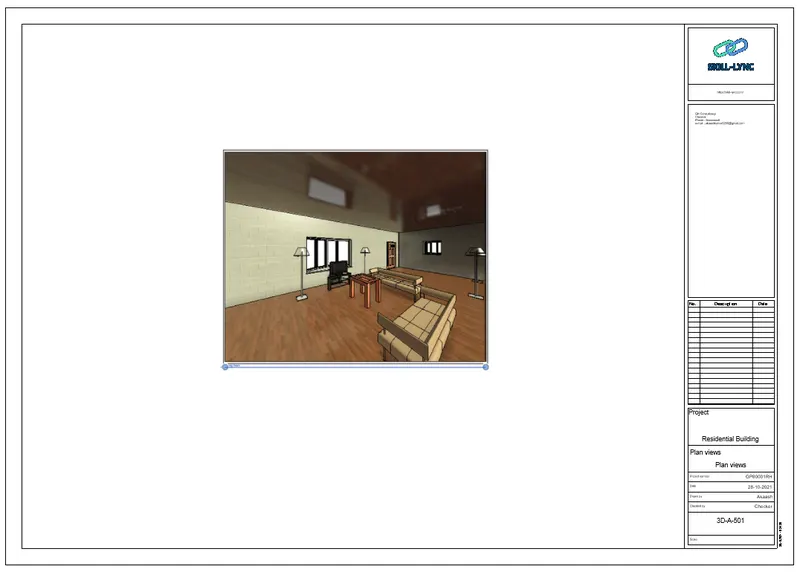
- 3D-A-501 Living Room
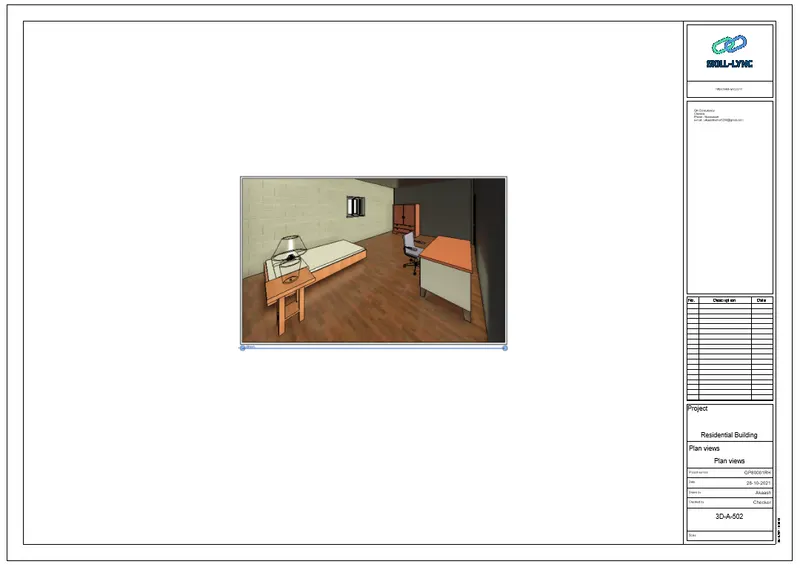
- 3D-A-502-Bed Room :
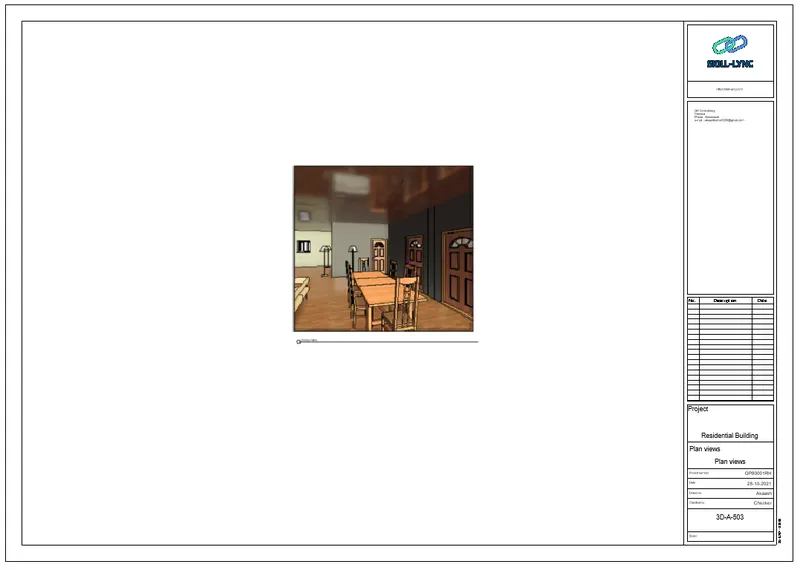
- 3D-A-503-Dining Table :
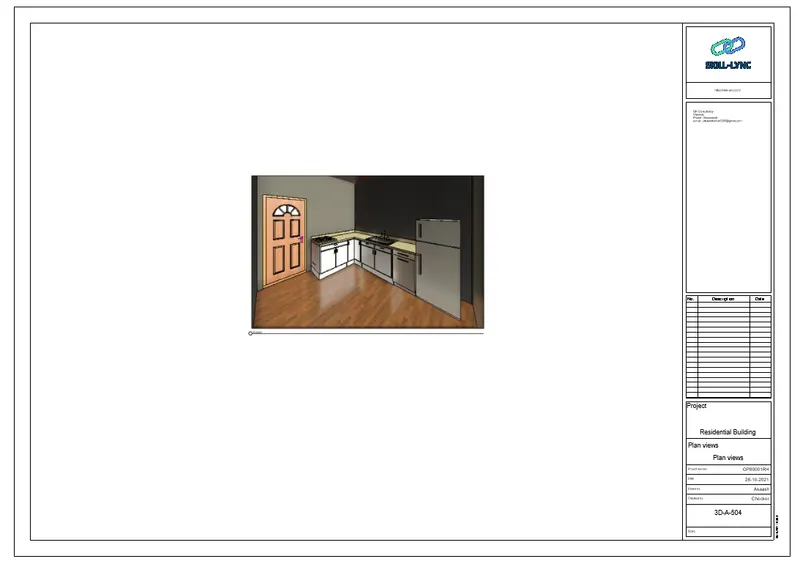
- 3D-A-504-Kitchen :
- 3D-A-505-Toilet :
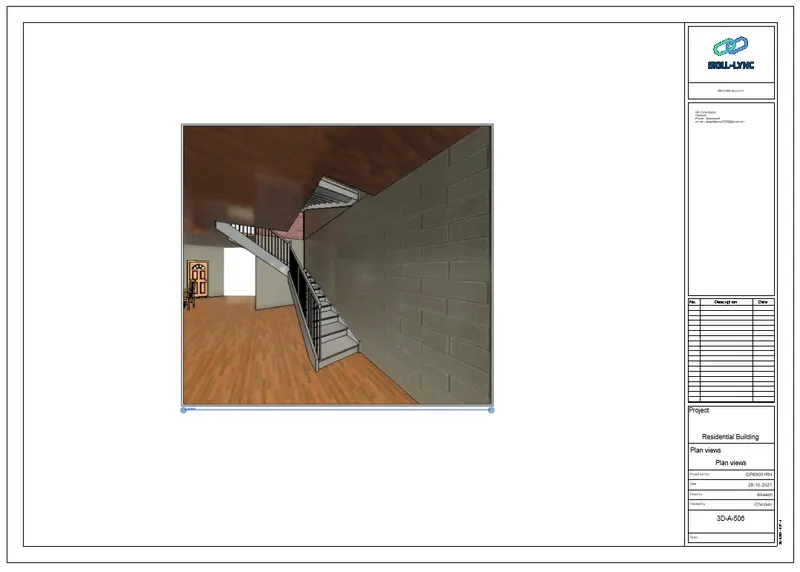
- 3D-A-506-Staircase :