3D Creation of Celing, Roof, Architectural plan, Structural plan, Sectional view, Elevation view and Camera specific view for a house plan using REVIT
1) AIM
To create a celing in the floor plan in the level 1 from the architectural tab.
INTRODUCTION
the ceilings are created using revit and the procedure are explained in model.
PROCEDURE
open the week 3 challenge plan.
select the architectural tab select the ceiling.
select the ceiling to draw automatin celing or sketch the ceiling.
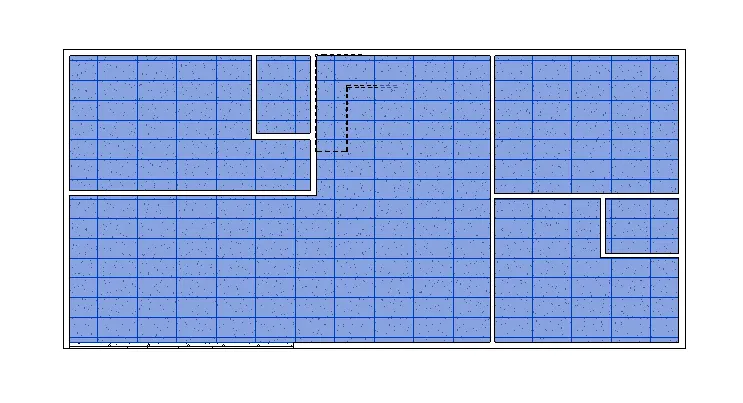
in this plan i have selected automatic ceiling.
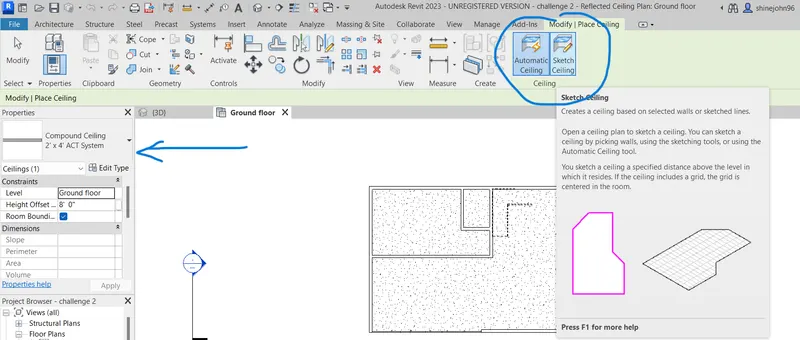
select the manual sketching in the level 1
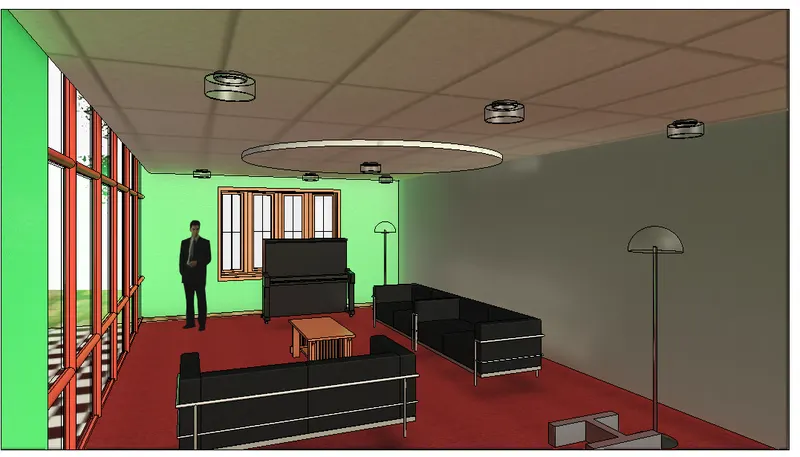
inside view of celing in the living room of the model.
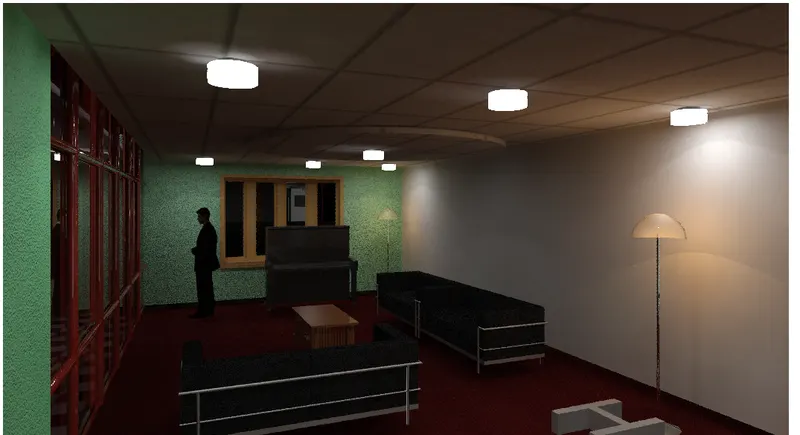
3D rendered view of the ceiling with artificial lighting.
RESULT: The following ceiling plan is complted in this model.
2)AIM
To create a model in the roof in the residential unit.
INTRODUCTION
the model roof is created using revit software and the procedure are explained in model.
PROCEDURE
select the roof in the architectural tab.
select the roof by footprints as shown in the fig below.
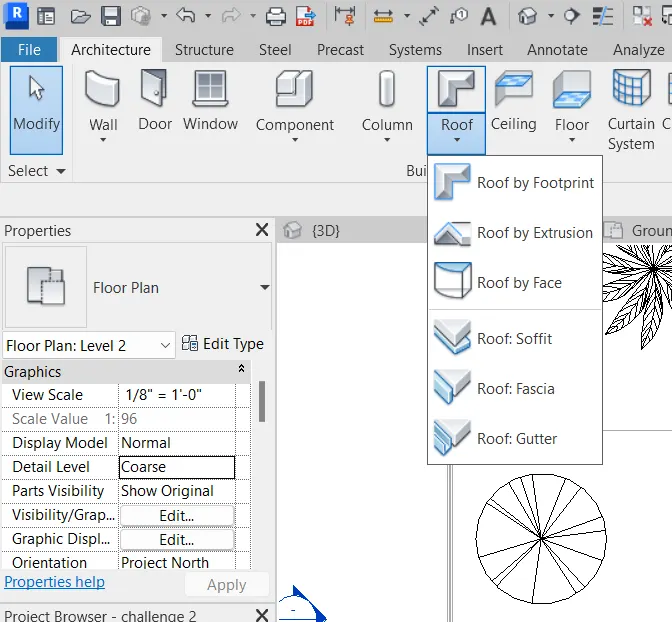
select the level 3 to draw the roof.
after selecting the roof a tab appears sketch the path of the roof.
as shown in the fig below.
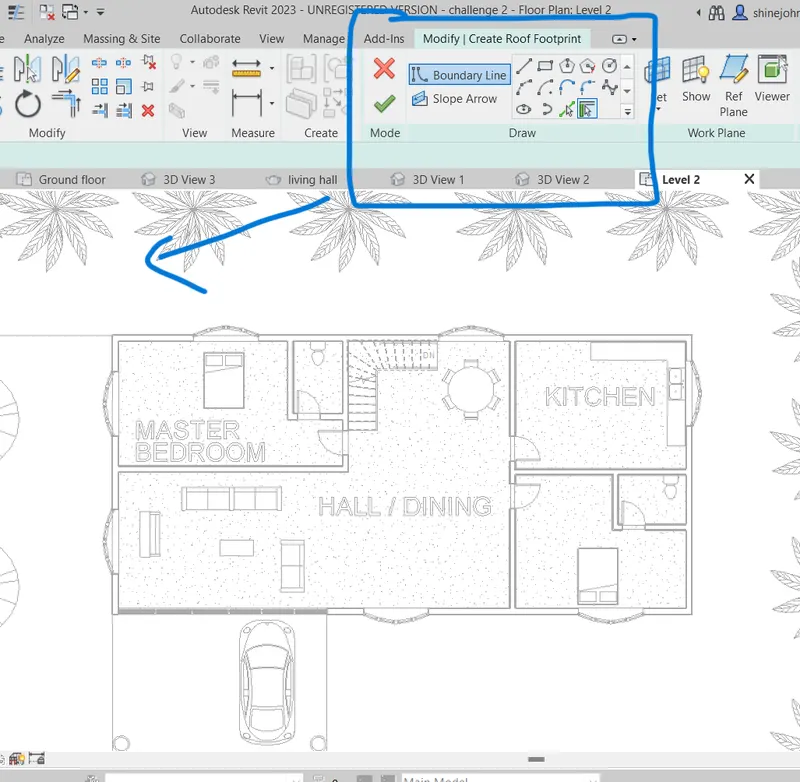
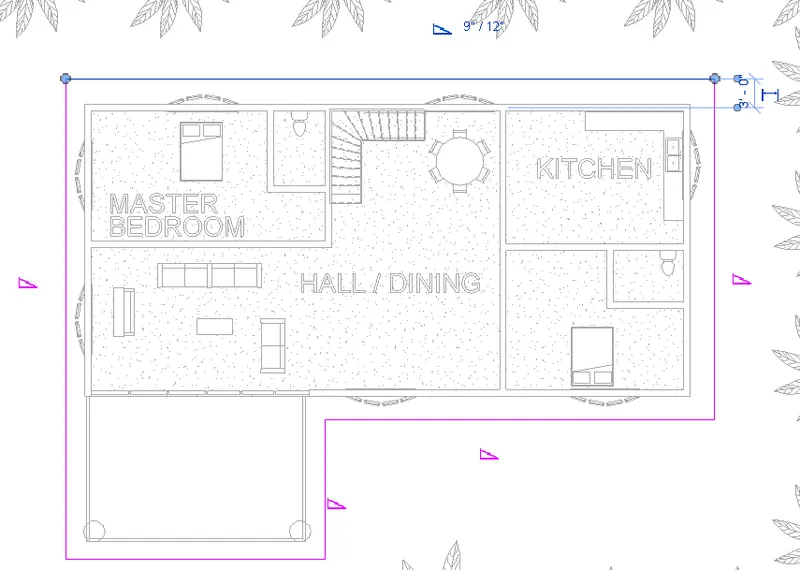
manual sketching is appears on the top as shown.
Realistic 3D view of the roof by footprint
assinging of materila to the roof.
select the slope to 10 degree in the level 3.
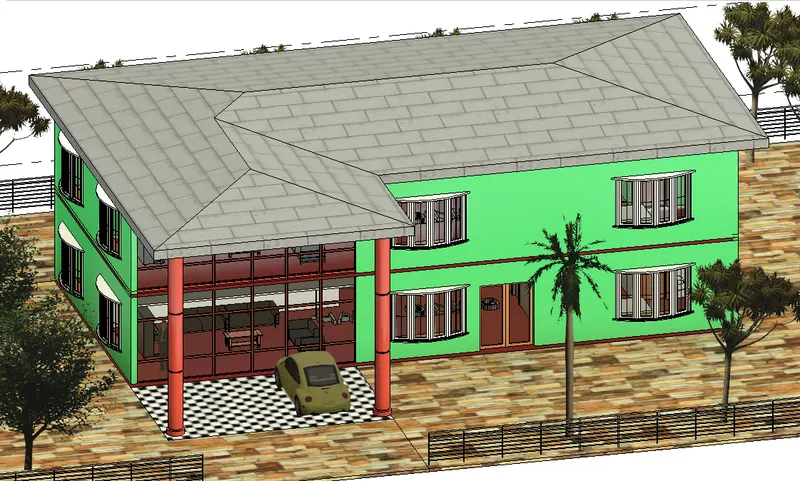
3D elevation view of the roof
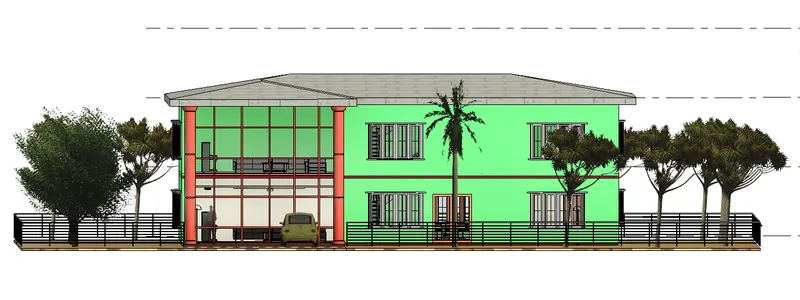
RESULT: The following roof in the architechtural tab is completed.
3)AIM
To create plan views for ground floor level and first-floor level including all the walls, floors, and components. Separate them to architecture and structural plans
INTRODUCTION
The architectural plan and structural elemnts are created using revit software and the details are explained in procedure.
PROCEDURE
open the existing plan in challenge 3.
slect the architectural tab.
slect view in the toolbar.
selct the floor plan in the plan view.
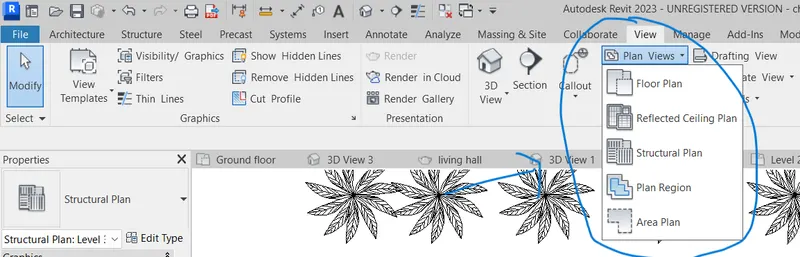
again select the structural plan. as shown in fig.
in structural plan the structural elements are shown.
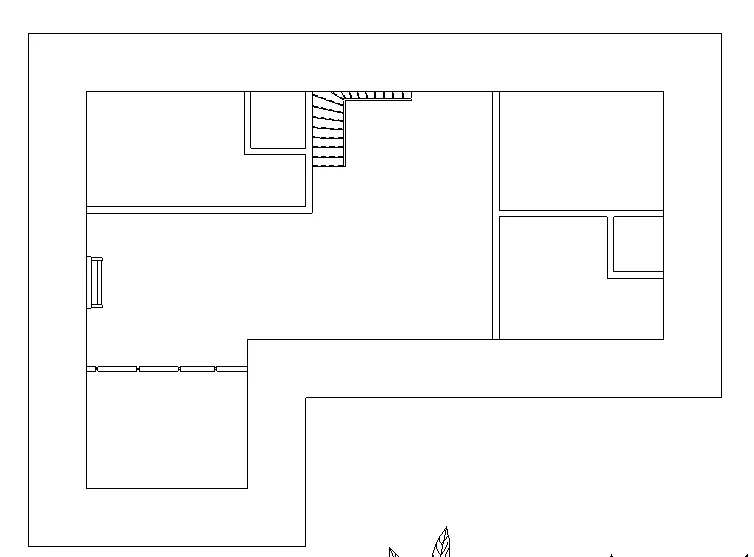
RESULT: The following plan and structural plan are created and completed.
4)
AIM
To create the dimensions to all the walls and floors with reference to the longitudinal and transverse grids created in the project file.
INTRODUCTION
The dimension are created using revit software and the procedure are explained in detail.
PROCEDURE
Open the existing drawing in the challenge 3.
Select the architectural tab in the toolbar.
select the annotate tab and modify.

select the linear and place the cursor on the wall and create the dimension.
select the architectural tab
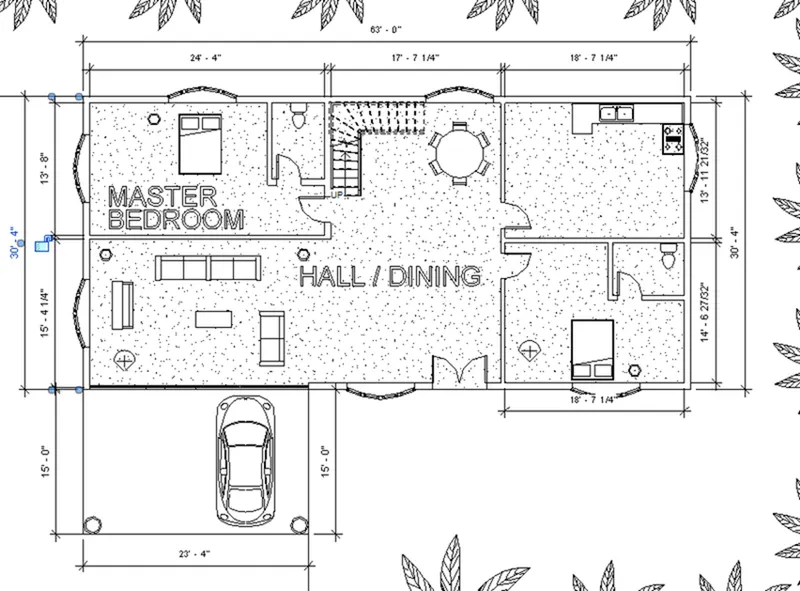
create the dimension.
and select the structural plan and draw the dimensions. as shown in fig below.
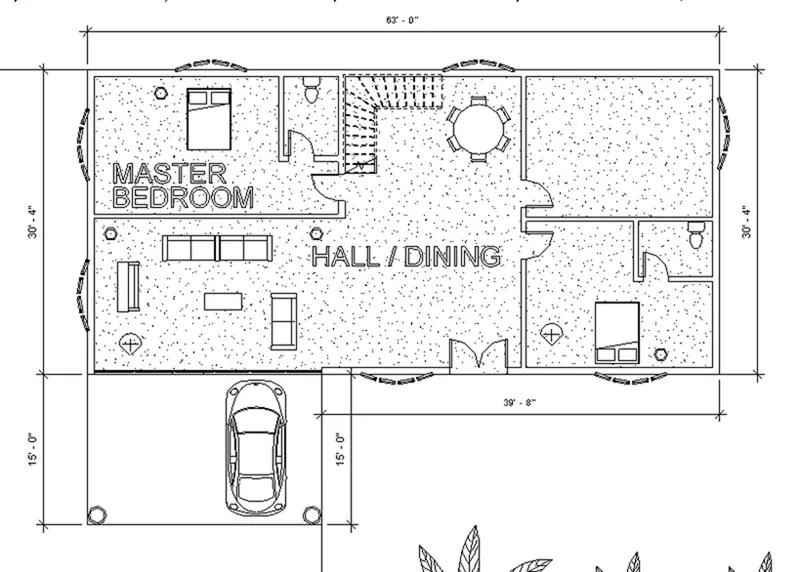
RESULT: The following architectural plan dimension and structural plan dimension is created and completed.
5)
AIM
To Create a sheet template from the view tab and adjust the parameters on the sheet to add appropriate views
INTRODUCTION
The sheet are created using revit software and adjust the parameters.
PROCEDURE
Open the existing drawing in the challenge 3.
Select the architectural tab in the toolbar.
Select the view in the toolbar
and select the sheets in the toolbar.

a tab appers on the sheet load the sheets in the title bar.
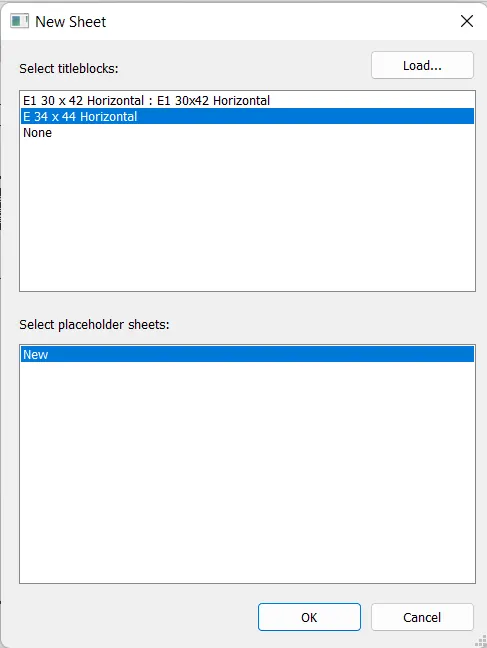
a titlle bar sheet appears on the screen
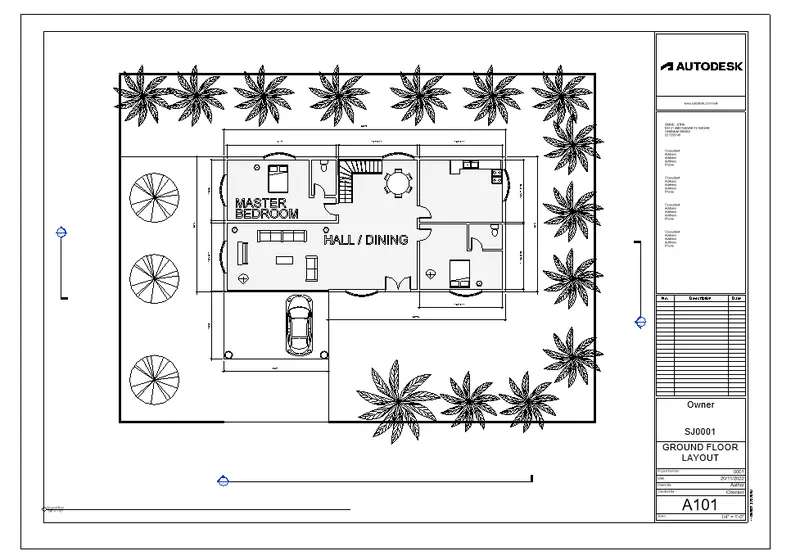
RESULT : The following sheet templates are loaded and adjust the parameters are completed.
6)
AIM
To Use the elevation tab create the elevation views, looking at your building from East, North, South, and West.
INTRODUCTION
The elevation are created using revit software and the details are explained.
PROCEDURE
open the architectural tab
select the view in the toolbar.
select the elevation in the tool bar.
elevation in the propert bar pops up on the side.
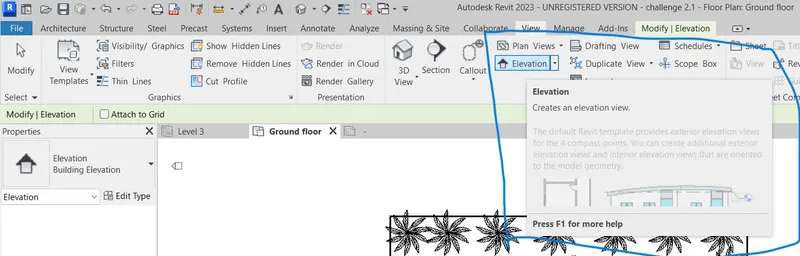
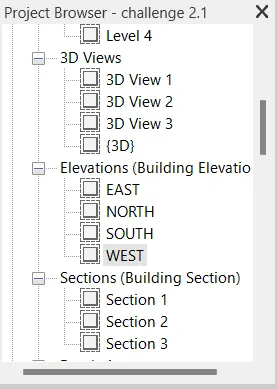
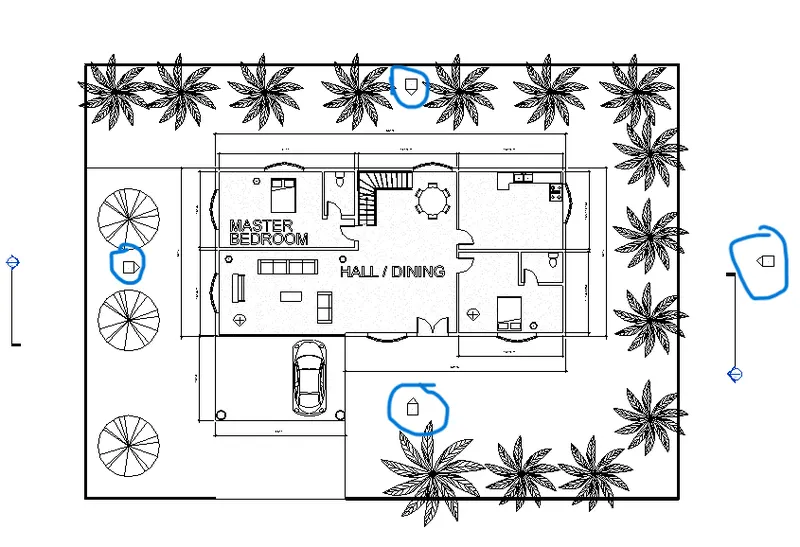
RESULT: The following elevation are created and renamed the elevation as north, south, east, west.
7)
AIM
To create section cut through each room either cutting across longitudinally or in a transverse direction.
INTRODUCTION
the section cut of each room is created using revit software and the procedure are explained in detail.
PROCEDURE
open view in the architectural tab in the ribbon tab.
in view select the section cut.
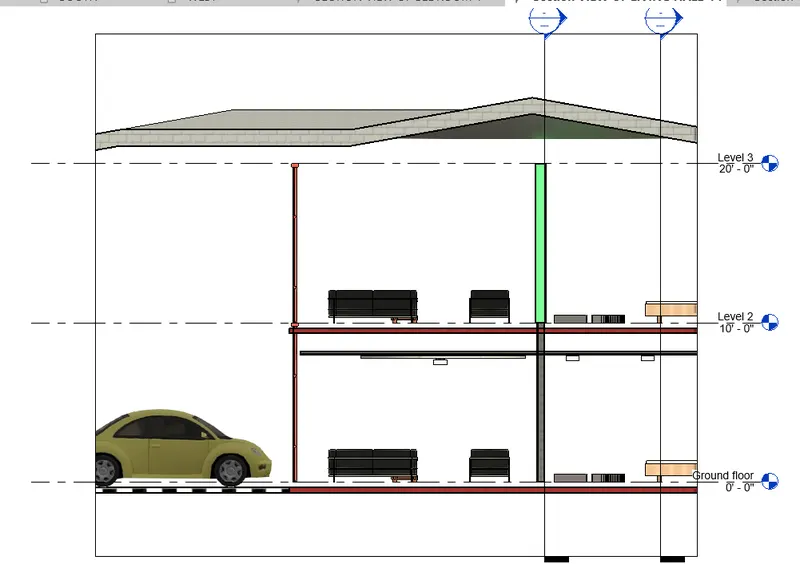
select the layer to see the section cut the bedroom,living hall,
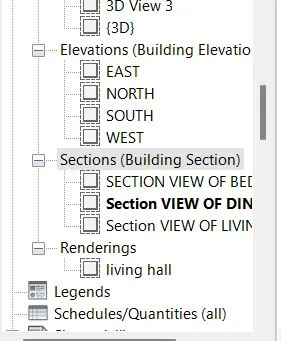
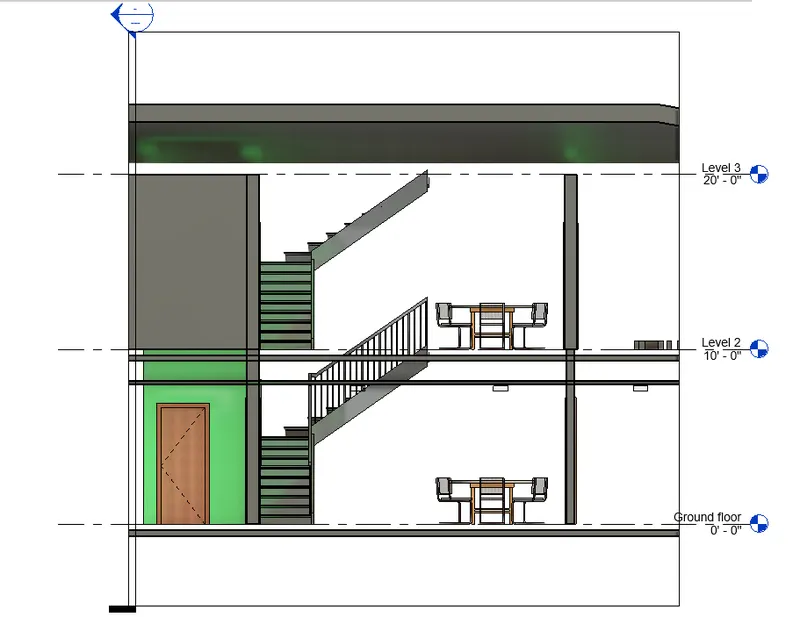
SECTION CUT OF A DINNING ROOM IN TWO LEVELS
SECTION CUT OF A BEDROOM AND BATHRROM IN TWO LEVELS
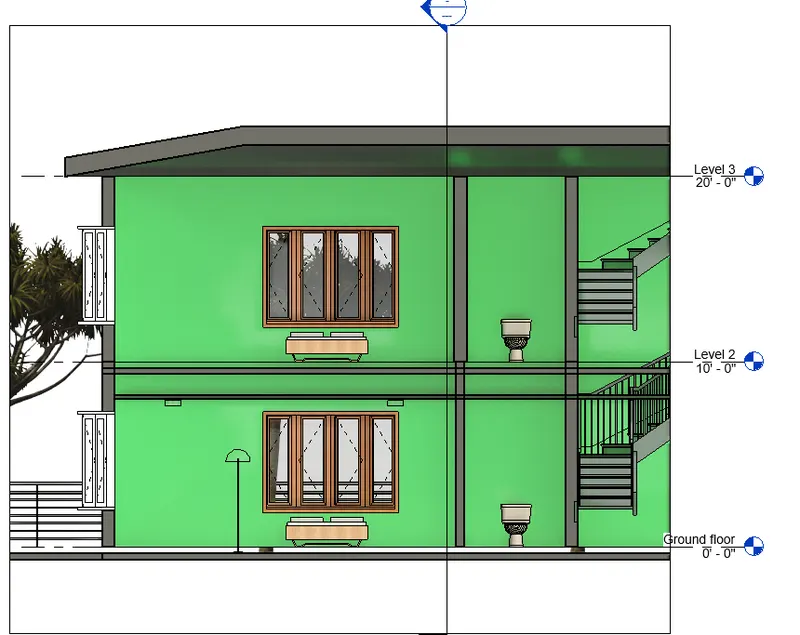
SECTION CUT OF A LIVING HALL IN TWO LEVELS
the section are placed in the plan as shown in the fig below.
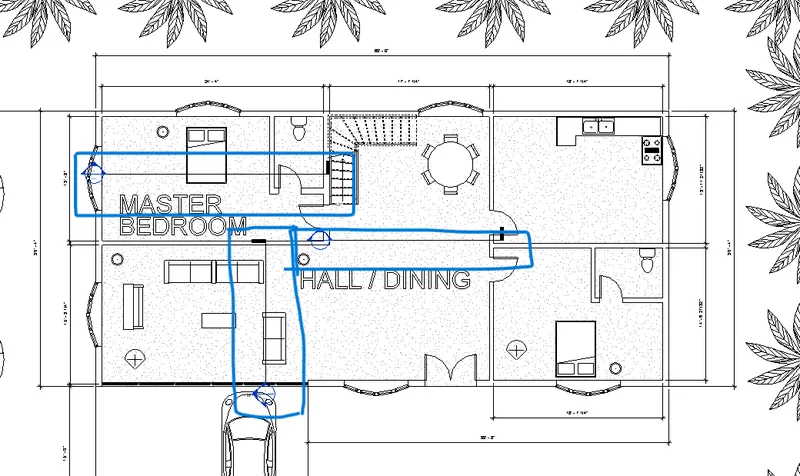
RESULT: The following section cut is created and completed.
8)
AIM
To create the views, Plan Views, Section Views, and Elevation views to either Design or Documentation category using Properties browser
INTRODUCTION
in the property browser the views are created using revit software.
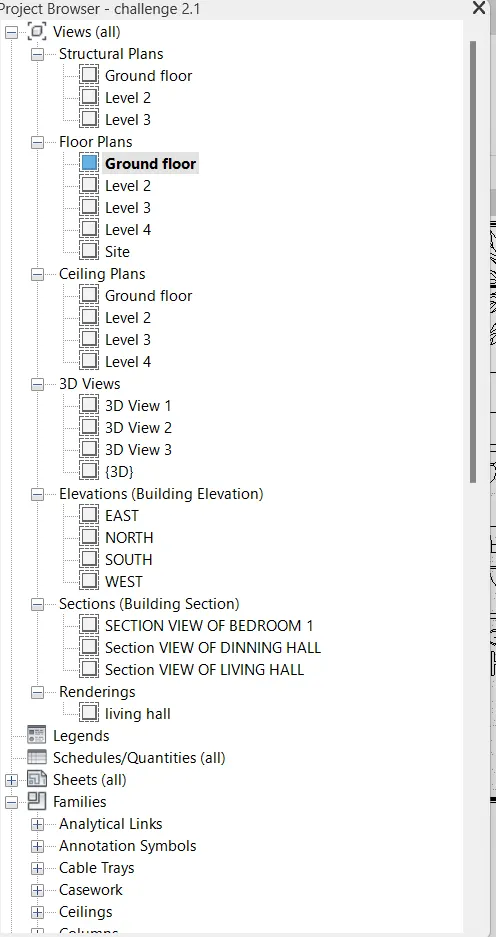
RESULT : The following views are created and completed.
9)
AIM
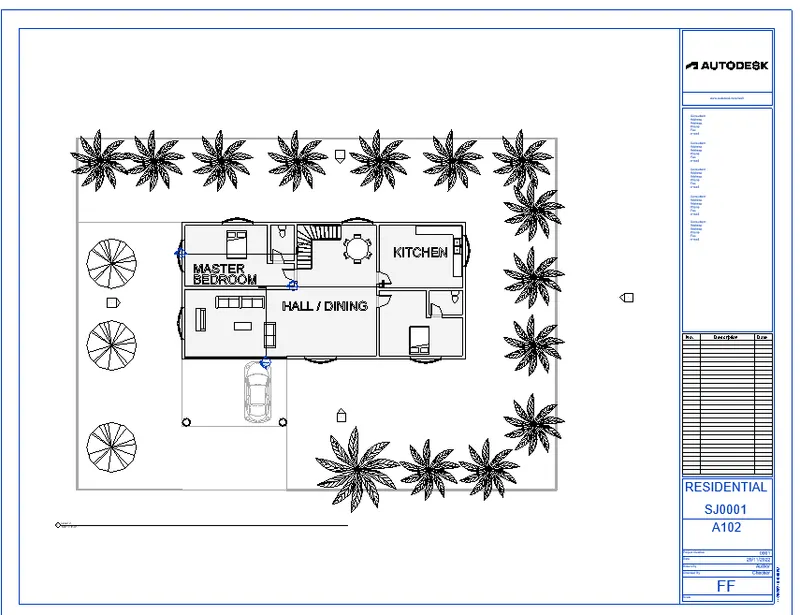
To create the sheet template produced create multiple sheets.
INTRODUCTION
The sheets are created using revit software.
PROCEDURE
open the view in the architectural tab.
select the sheets in the tab.
Select the size of the sheet
and drag the plan to the sheet
and set the scale.
A 101- Ground Floor Architecture Plan
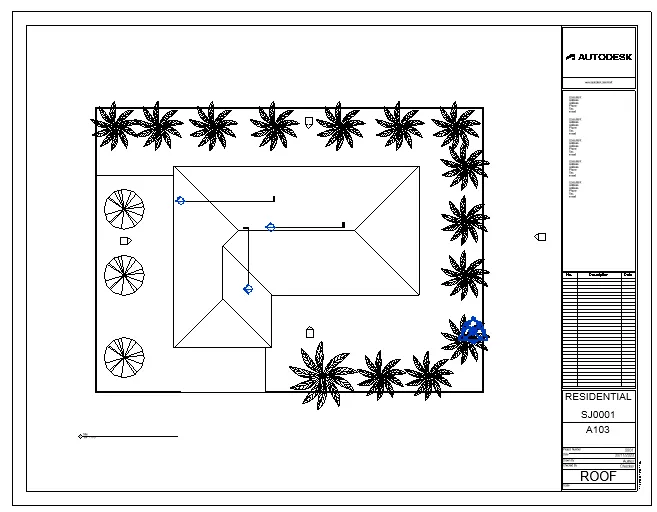
A 103- Roof Plan
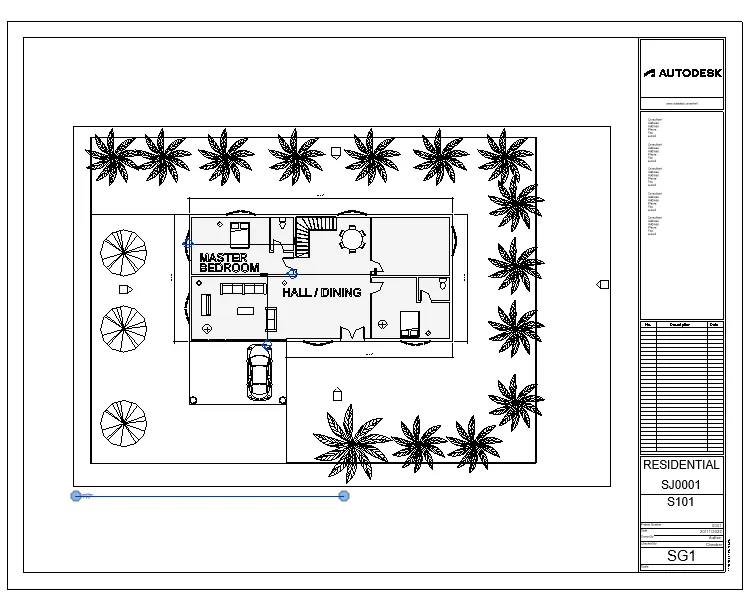
S 101- Ground Floor Structural Plan
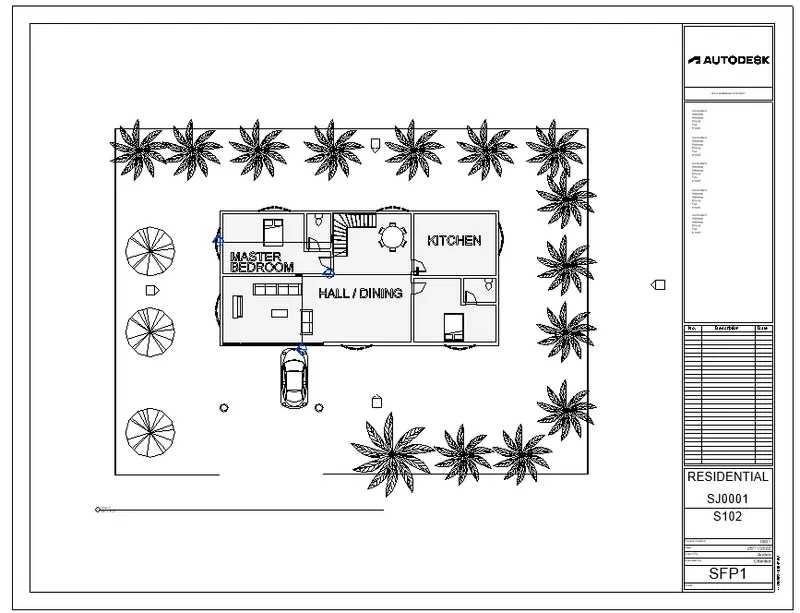
S 102- First Floor Structural Plan
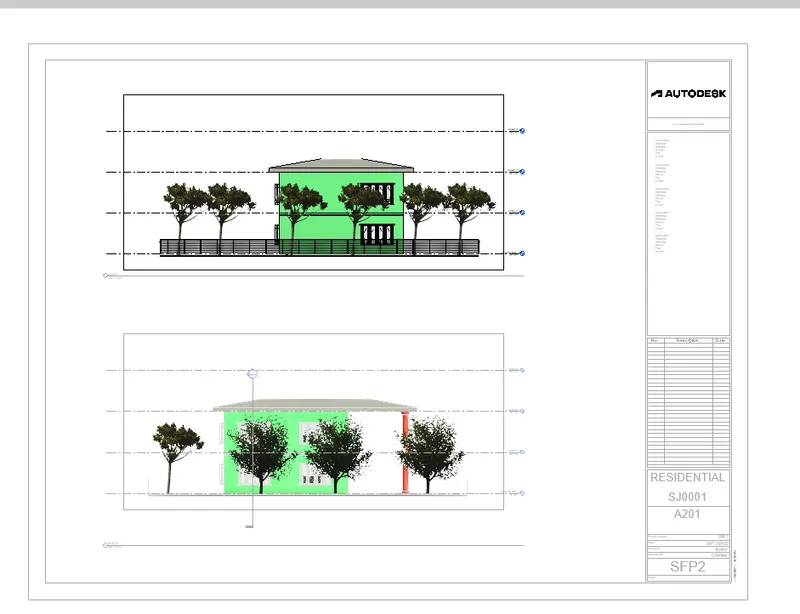
NORTH AND SOUTH ELEVATION_ A201
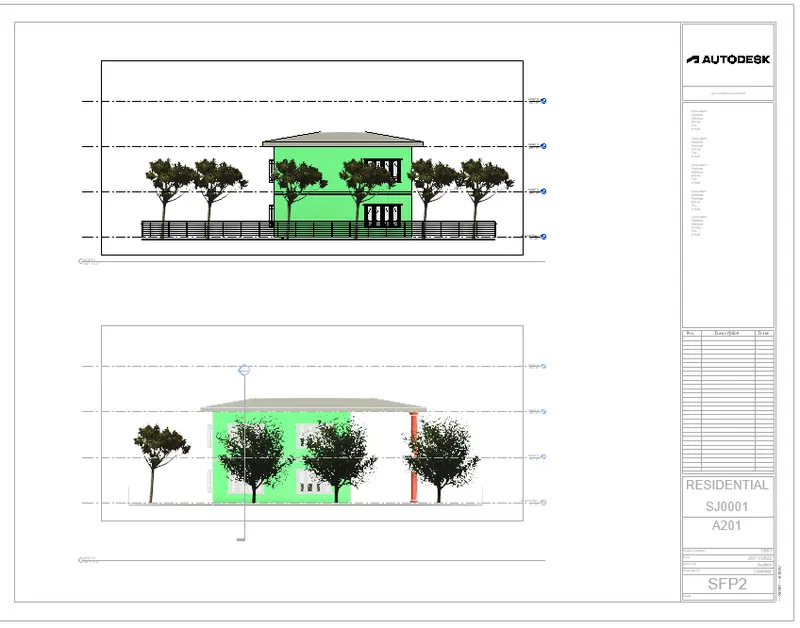
EAST AND WEST ELEVATION_ A202
RESULT : the following sheets are created as per follows is completed.
10)
AIM
To Create a camera-specific view or a 3D view in each room and adding of sheets.
INTRODUCTION
the camera view are created using revit software and explained in detail.
PROCEDURE
open the architectural ribbon bar
select the view tab select the 3D default view.
select the camera and place the camera under each room.
crop the size of each angle.
create a new sheet and rename as bedroom 1 as shown in the fig below.
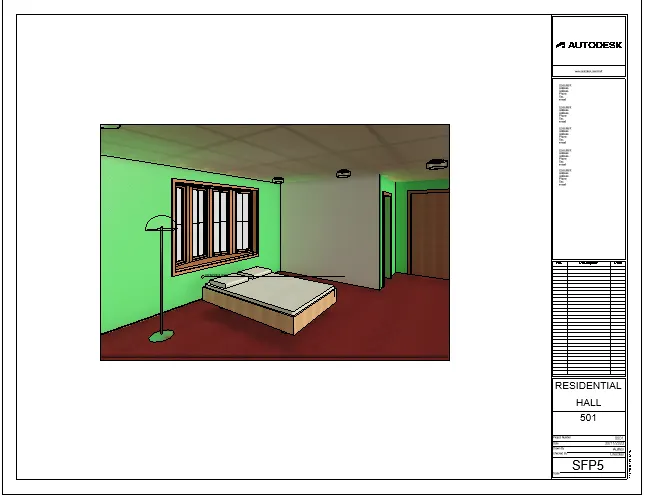
BEDROOM 1
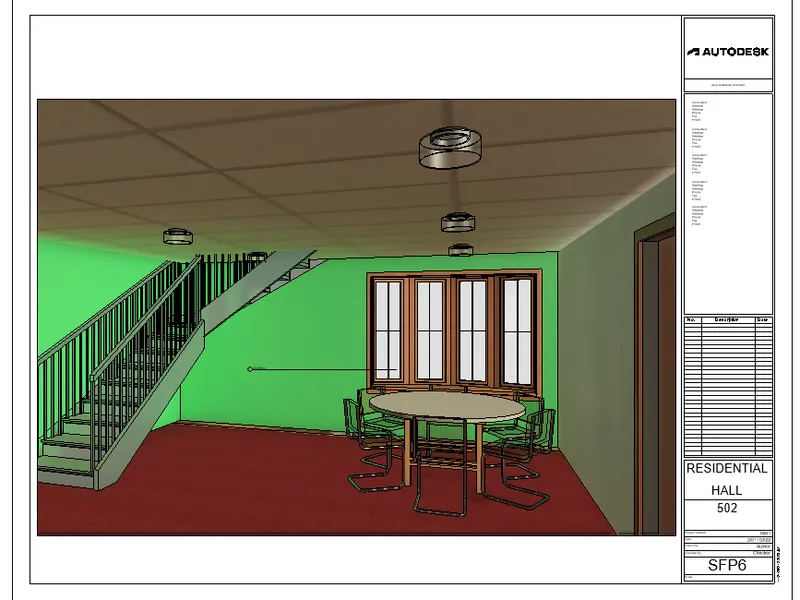
DINNING HALL
ENTRANCE VIEW
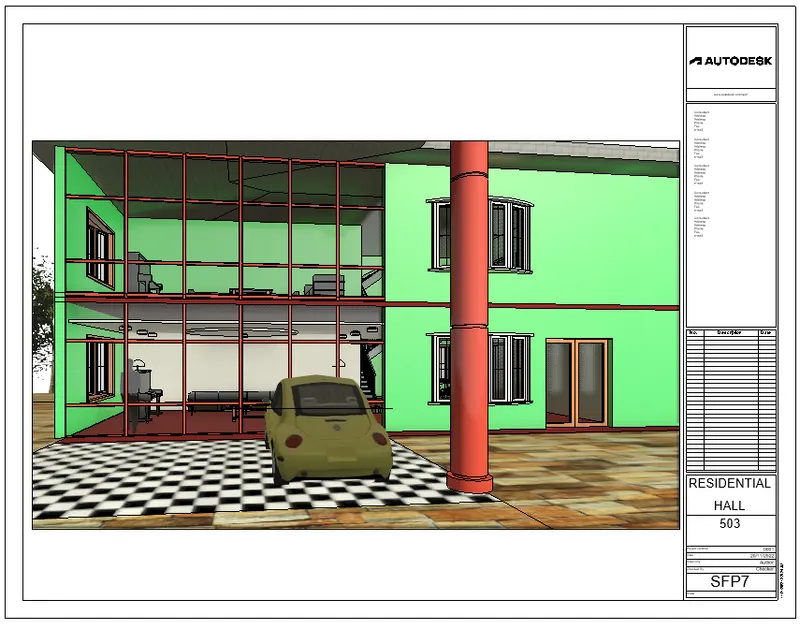
LIVING HALL VIEW
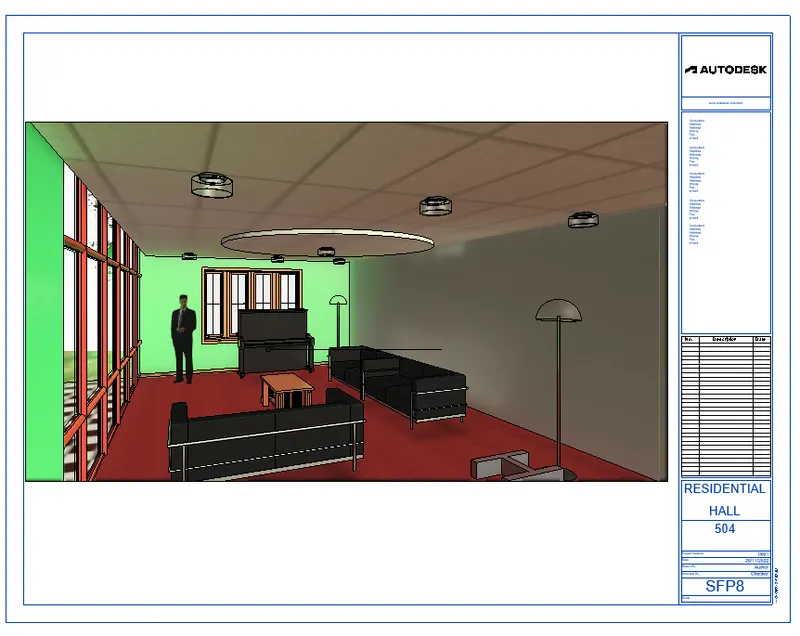 .
.
RESULT : the following camera is placed under each room and the parameters are edited and completed.