3D Creation of Celing, Roof, Architectural plan, Structural plan, Sectional view, Elevation view and Camera specific view for a house plan using REVIT
1.Aim:Created a ceiling from architecture tab above wall at first floor level
Introduction
From the architectural tab to model a ceiling at the first floor level on the saved week 3 project of the residential unit.
Procedure
1. Open revit module
Click on open and select week 3 created drawing
2) Create ceiling
Go to Project Browser expand Ceiling Plan, double click on First Floor
Go to Architecture tab, select Ceiling
Select sketch ceiling from Modify ,Place Ceiling and create boundry and select pick line tool from panel and click on right mark
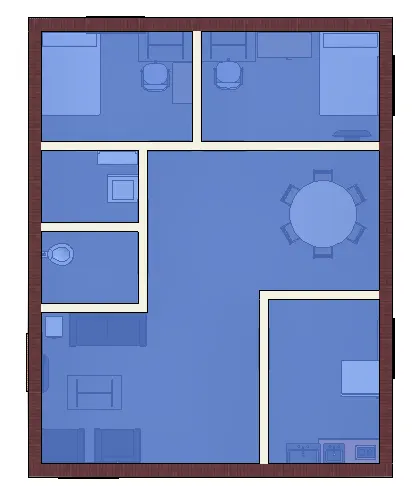
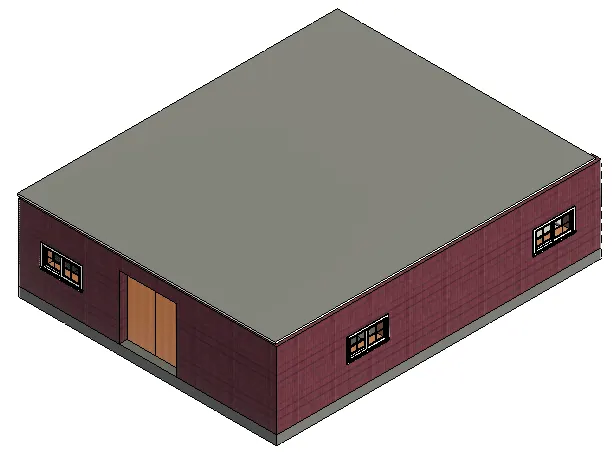
Ceiling is created on the first floor level
Result
We have created a ceiling at the first floor level
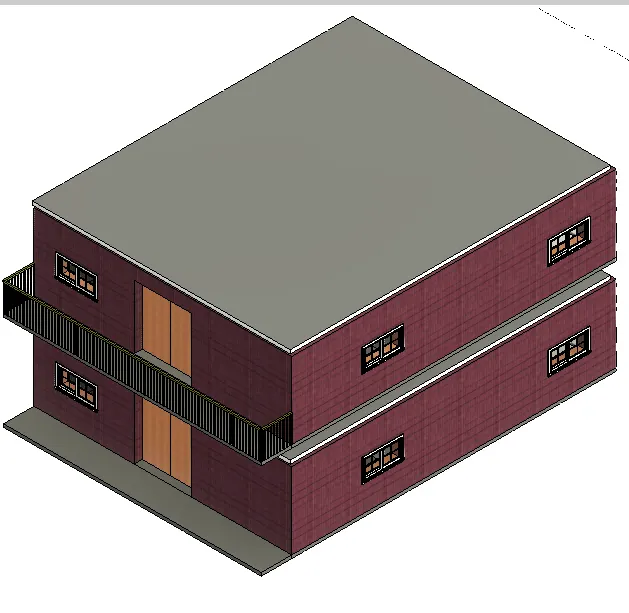
2.Aim: To Created a roof above the ceiling by selecting footfrint of celing and roof slope to 10 degree
Introduction
From the architectural tab to model a roof by footprint at 10-degree slope by using adjustment toolbar.
Procedure
1. Open revit, go to file Click on open and select previously created drawing
2 Create roof
Go to Project Browser in the Floor Plan double click on Roof
Go to Architecture tab , click on Roof and select Roof by Footprint
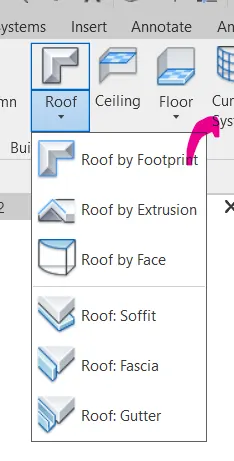
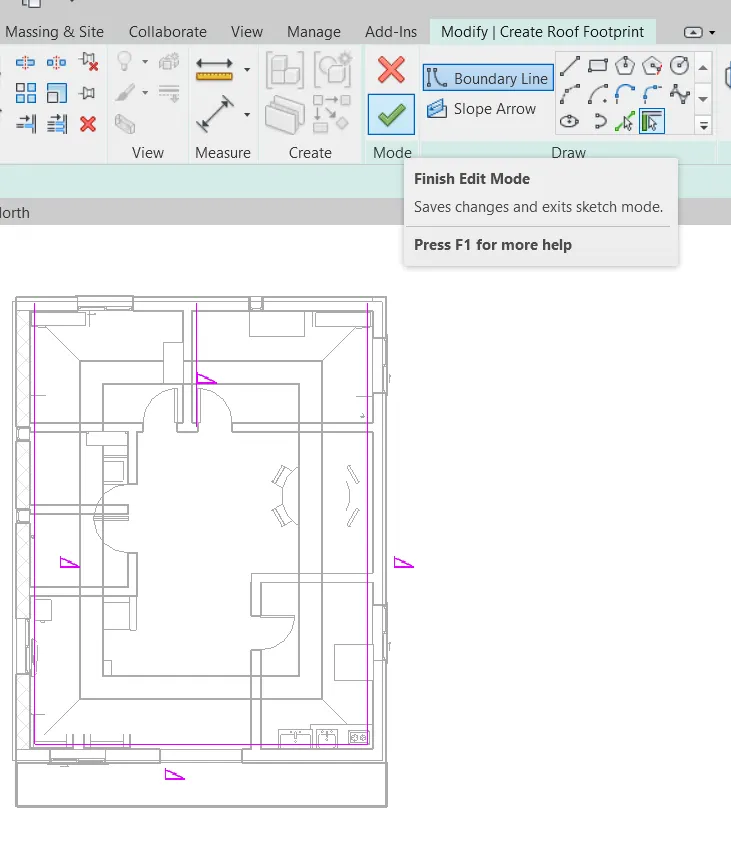
Create Roof Footprint tab is open, now select Pick Line tool from draw panel , finish it then Roof is created on the Roof level
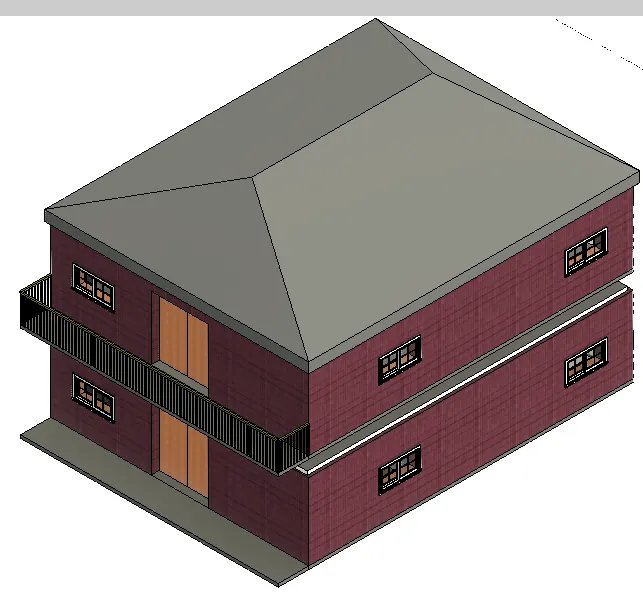
Result
Following the above procedure, we have created roof by footprint above the ceiling
3.Aim:Created architectural and structural plan based on previously saved project
Introduction
Architectural and structural plan shown separately with their component
Procedure:
1. Open revit, go to file and Click on open and select previously created drawing
2.Architectural plan
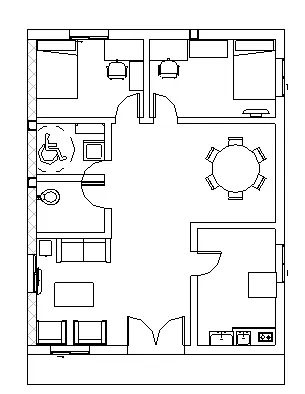
Go to Project Browser in the Floor Plan double click on Ground Floor
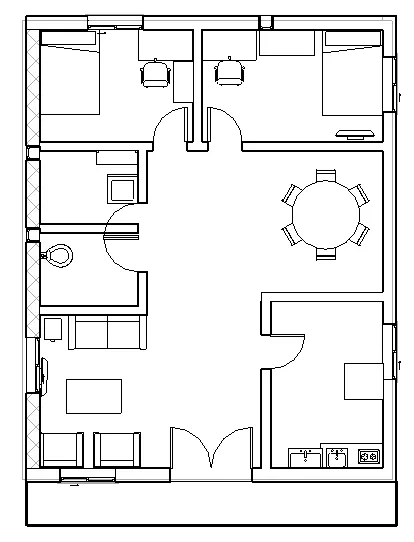
Similarly for First Floor Plan
1-level 1 (Ground floor)
2-level 2 (Firrst floor plan)
3) Structural plan
Go to view tab
Drop down the Plan Views from the create panel
Select Structure Plan
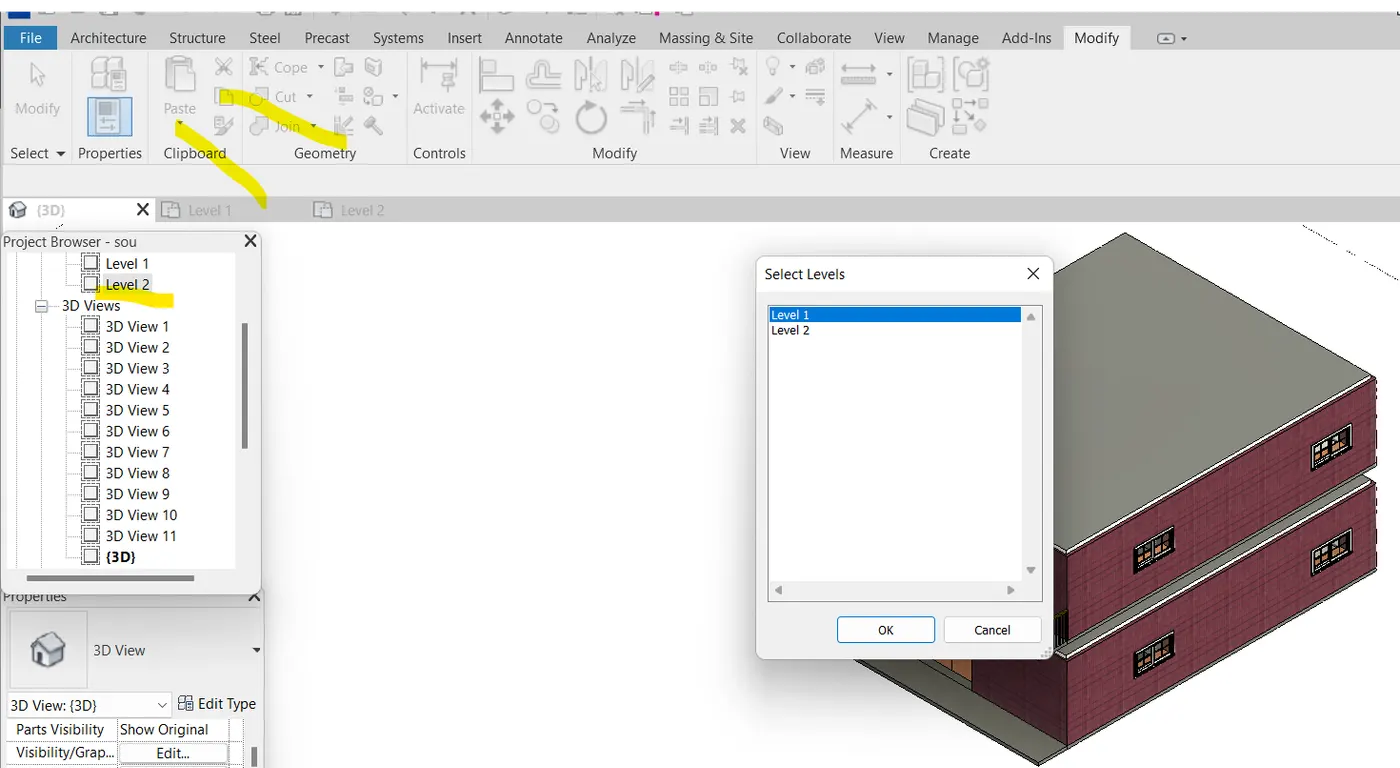
Dialog box will open for selecting levels
Choose ground floor then first floor
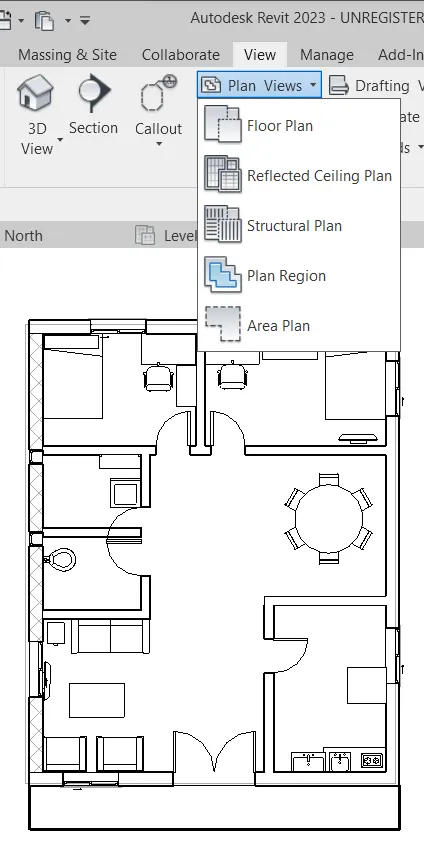
1.Ground floor structural plan
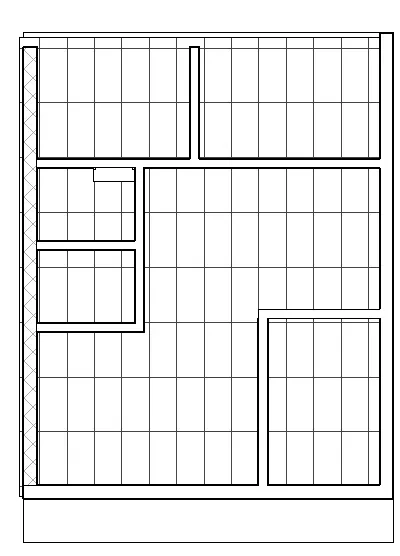
2.First floor structural plan
Result
Following the above procedure, we have created separately architectural and structural plan
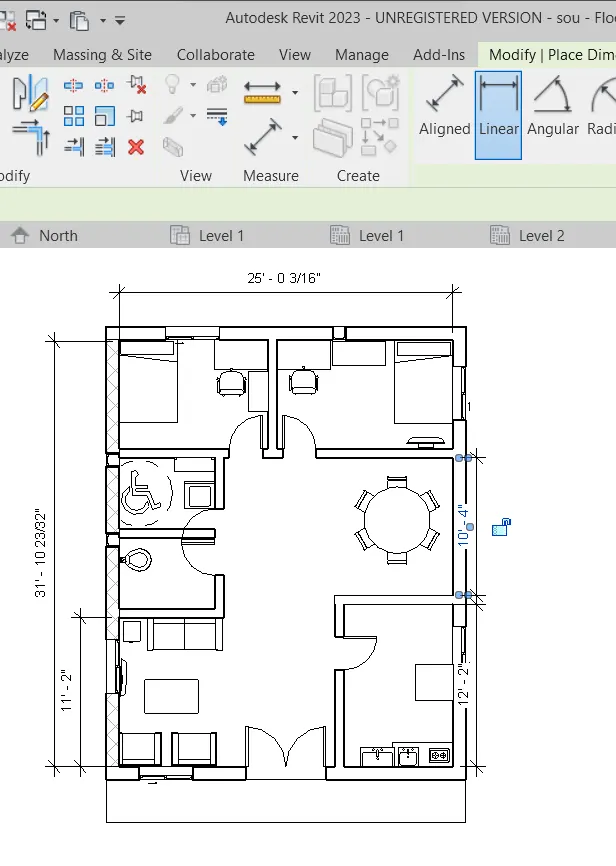
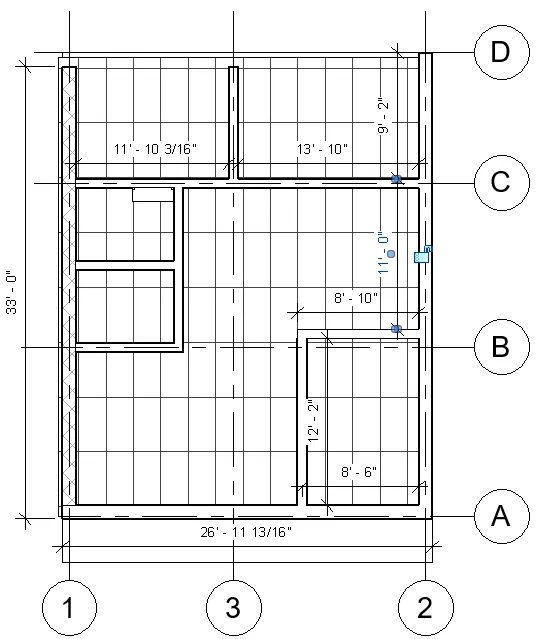
4.Aim:Added dimension in architectural and structural plan by using annotate toolbar
Introduction
In the architectural and structural plan added dimension with respect to grids
Procedure
1.OPEN revit software , go to file click on open ,select previously selected drawing
2. Add dimension
Go to Project Browser in the Floor Plan double click on Ground Floor
Open Annotate tab select Aligned tool
Create dimension to the component from grids
Similarly for the structural plan

1-Dimension with architecture member
2-Dimension with structural member
Result
Following the above procedure, we have added the dimension in the architecture and structure plan
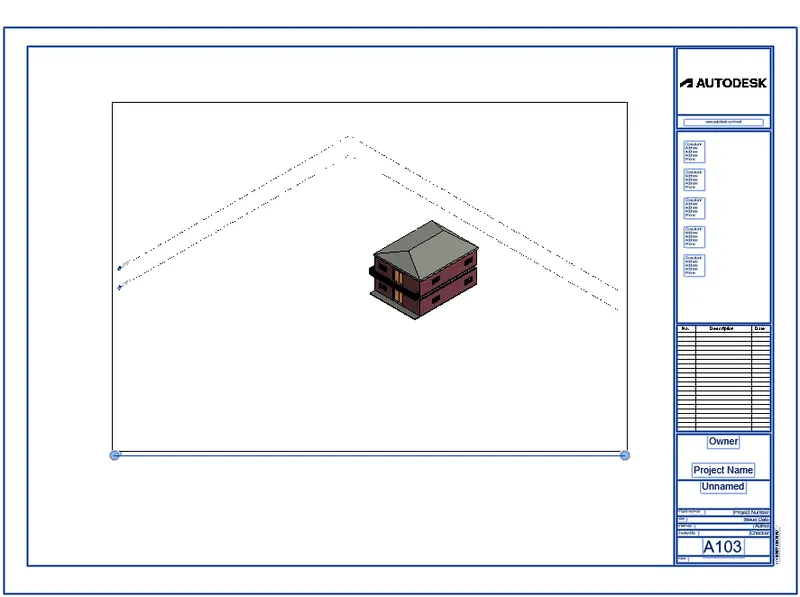
5.Aim:Sheet template created from view tab and adjust the parameter
Introduction
From the view tab to create a sheet template and adjust the parameter on the sheet to add the appropriate view
Procedure
1. Open revit software , go to file click on open ,select previously selected drawing
2.Create sheet templete
Go to View tab, Select Sheet from Sheet Composition panel
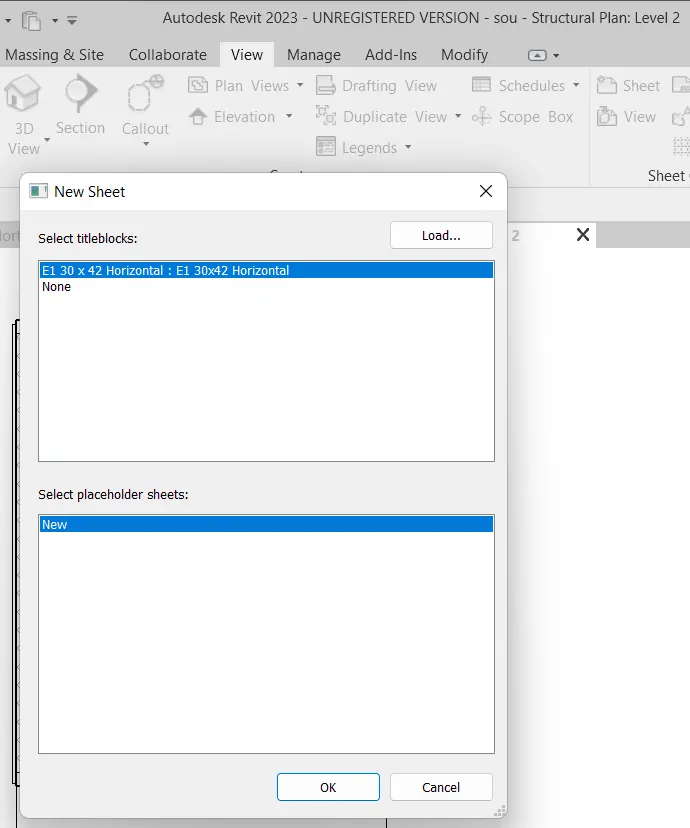
Open a new sheet dialog box click on Load
Open TITLEBLOCKS from library
Select appropriate sheet
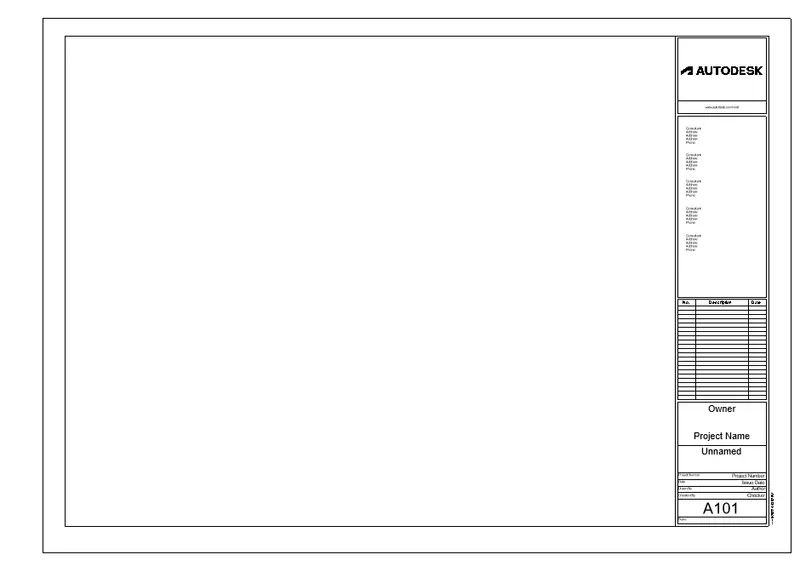
Edit sheet title block as per view
Drag to insert the plan from project browser in sheet
3.Add view in sheetFrom project browser select any view then drag to the sheet
after that from property browser change view scale to adjust the view
edit the parameter on the title block
Result
Following the above procedure, create a sheet template from the view tab and adjust the parameter
6. Aim:Created the elevation view of the building
Introduction
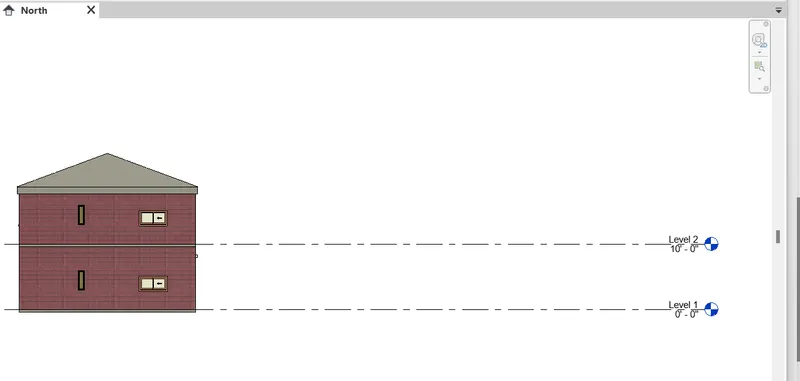
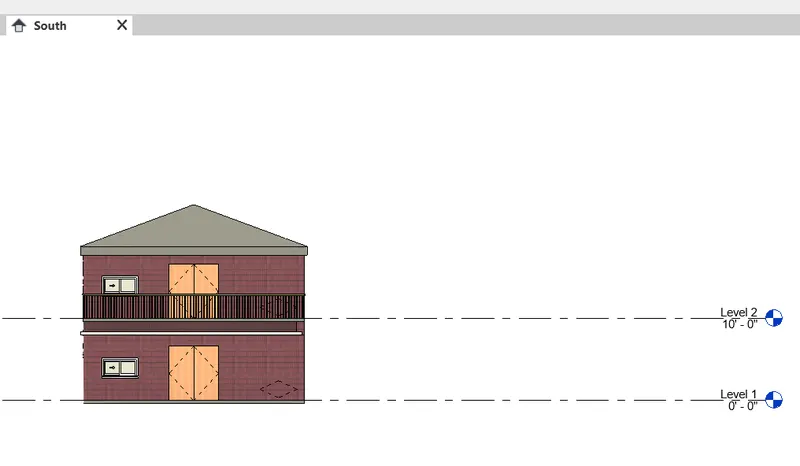
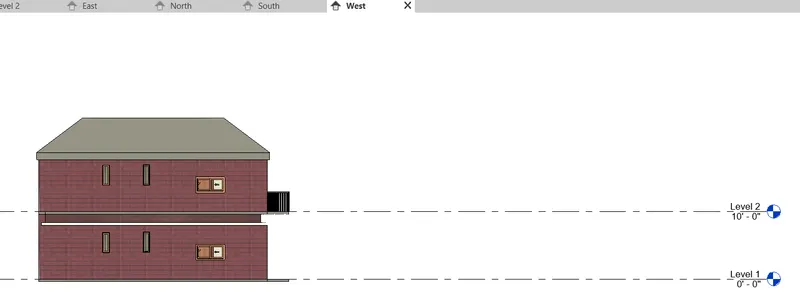
From the view tab to create elevation views, looking at my building from East, North, South and West
Procedure
1.Open revit software , go to file click on open ,select previously selected drawing
2.Create elevation view
Open Ground Floor Plan
Go to View tab
Drop down the Elevation from the create panel
Select Elevation
Create view from East North South West
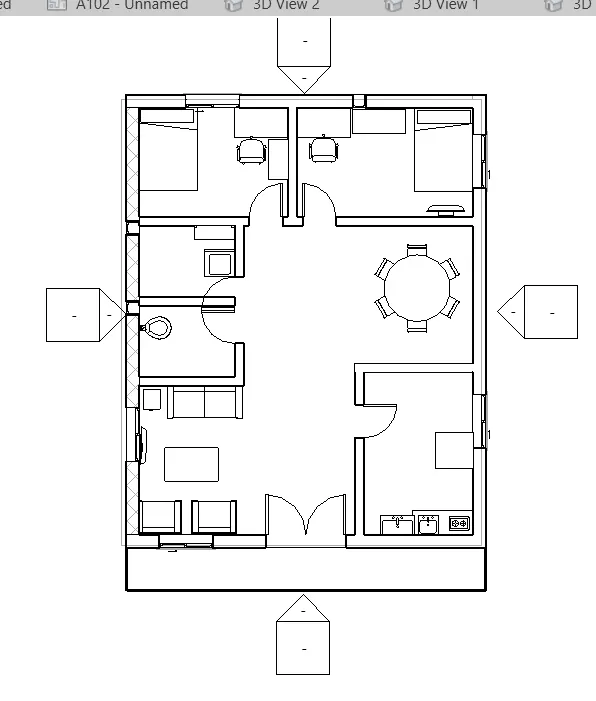
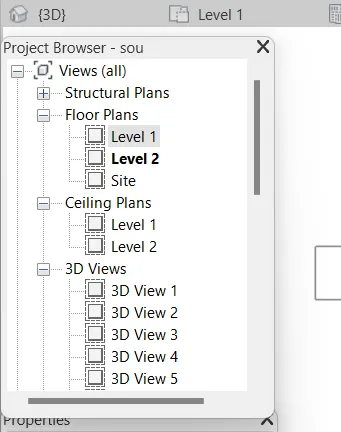
After set the views go to project browser
Expand elevation open East view
Similarly select one by one to open other views
Result
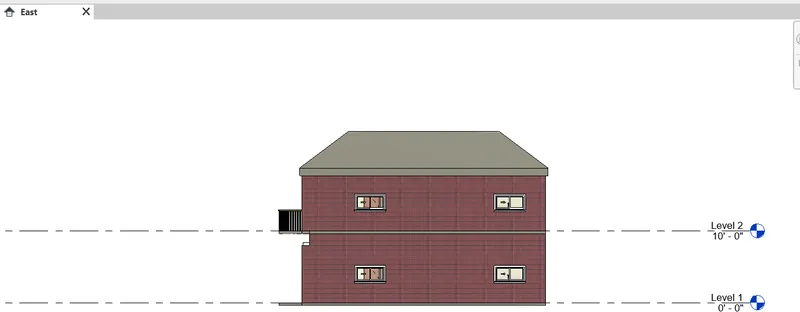
Following the above procedure, created elevation views such as East North South West
East view
North view
South view
West view
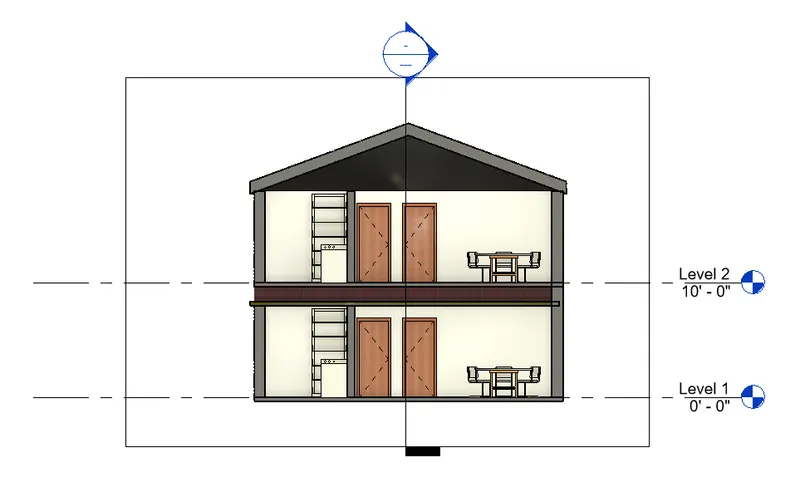
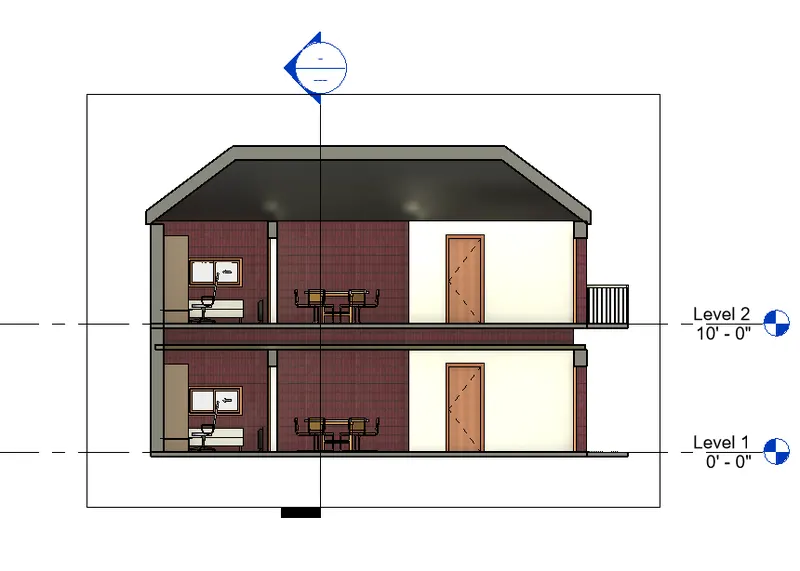
7. Aim:Created the section view of the building either longitudinal or transverse direction
Inroduction
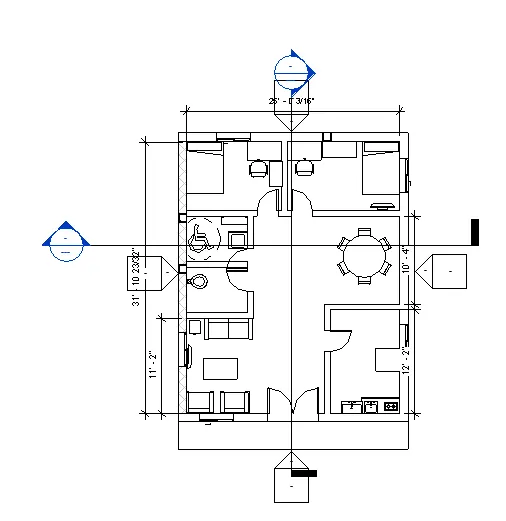
From the view tab to create sections cut through each room, cutting across longitudinally and transverse direction
Procedure
1.Open revit software , go to file click on open ,select previously selected drawing
2.Create section view
Open Ground Floor Plan,Go to View tab and Select Section, Cut longitudinal drawing across the plan and Similarly cut the plan across the transverse direction
Result
we have created section accros longitudinal and transverse direction
8) Classify the views, Plan Views, Section Views, and Elevation views to either Design or Documentation category using Properties browser
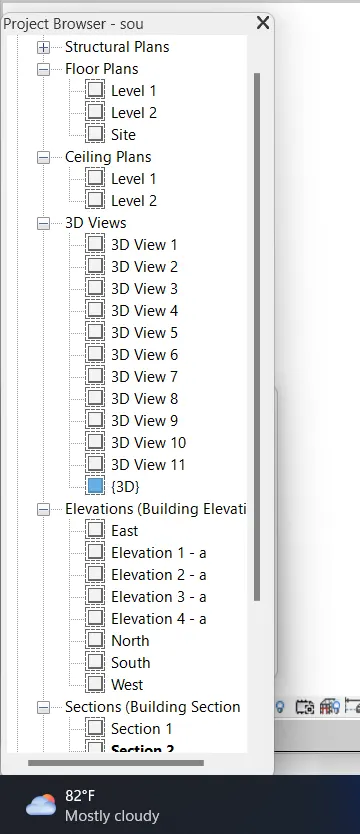
8.Aim:Classified the views, plan views, section views and elevation views of building the building
Introduction
From the project browser to classified the view in documentation category
Procedure
1.Open revit software , go to file click on open ,select previously selected drawing
2.Create all view
go to project see all view on property browser
Result
Following the above procedure to classify the view
9) Using the sheet template produced create multiple sheets as follows
a. A 101- Ground Floor Architecture Plan
b. A 102- First Floor Architecture Plan
c. A 103- Roof Plan
d. S 101- Ground Floor Structural Plan
e. S 102- First Floor Structural Plan
f. S 103- Roof Framing Plan
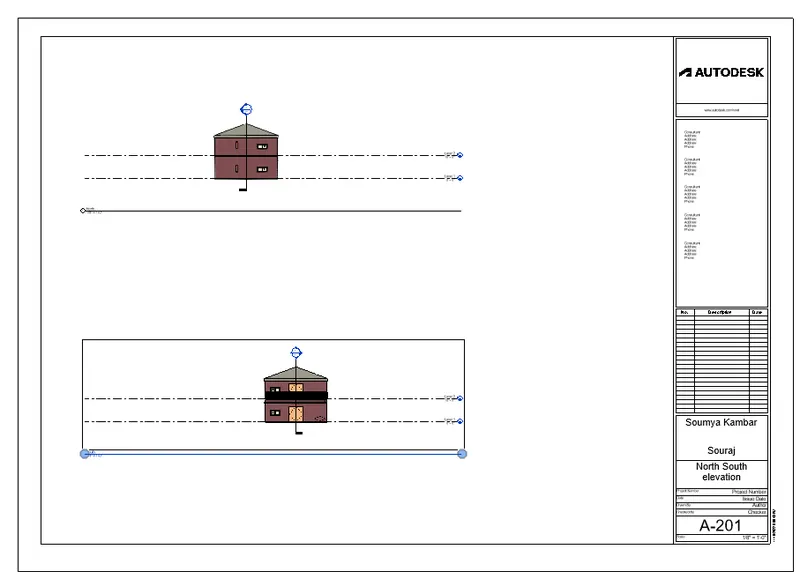
g. A-201- North-South Elevations
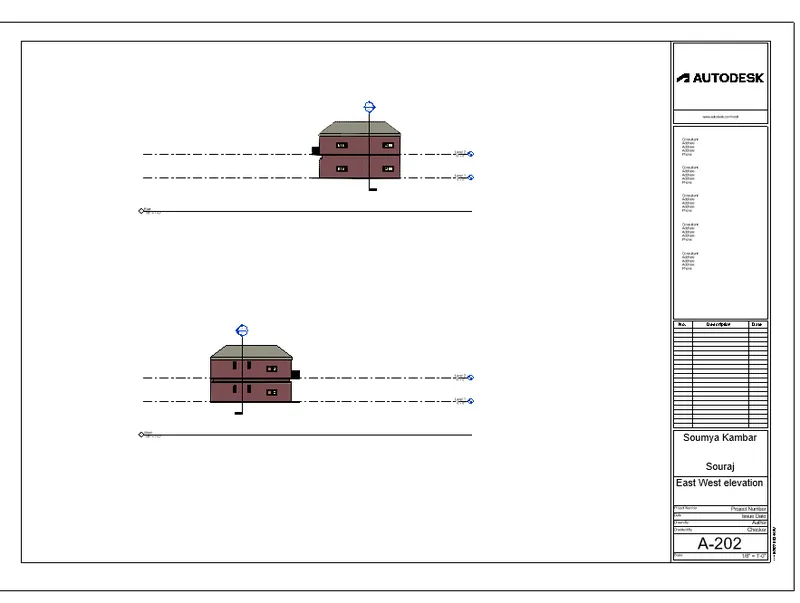
h. A-202- East-West Elevations
Add additional sheets based on the sections created in your Revit file
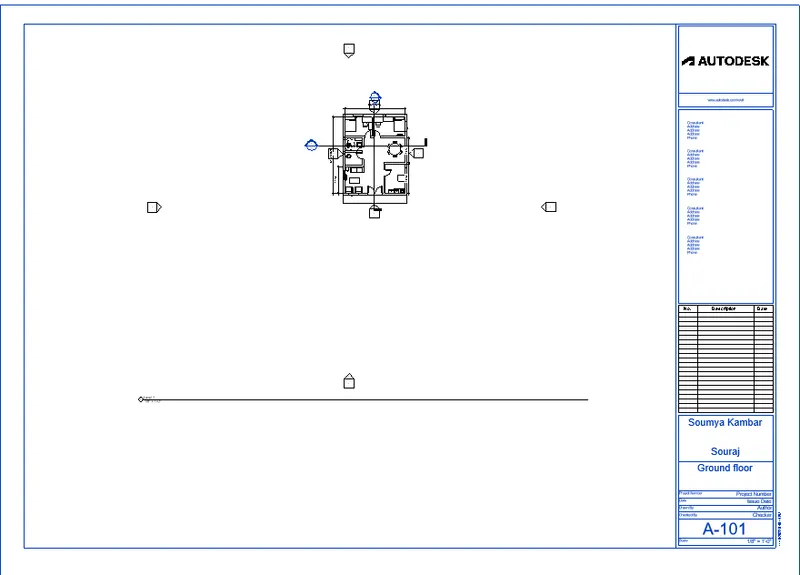
Aim:Created multiple sheet template
Introduction
Sheet template produce for architecture, structural, elevations and section’s view
Procedure
1.Open revit, go to file and click on open the previous saved file
2.Create sheet template
- Go to View tab, Select Sheet from Sheet Composition panel and Open a new sheet dialog box click on Load Open TITLEBLOCKS from library
- Select appropriate sheet for each plan ,Edit sheet title block as per view andDrag to insert the plan from project browser in sheet Similarly drag all the plan and view in the sheet
Result
We have created multiple sheets for each plan and view and result are shown in below
1. A101- Ground floor arcitecture plan
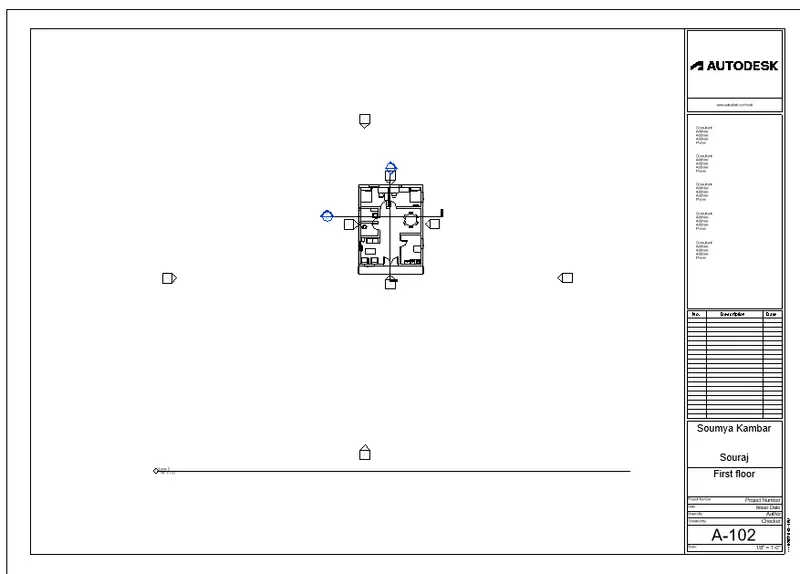
2. A102- First floor architecture plan
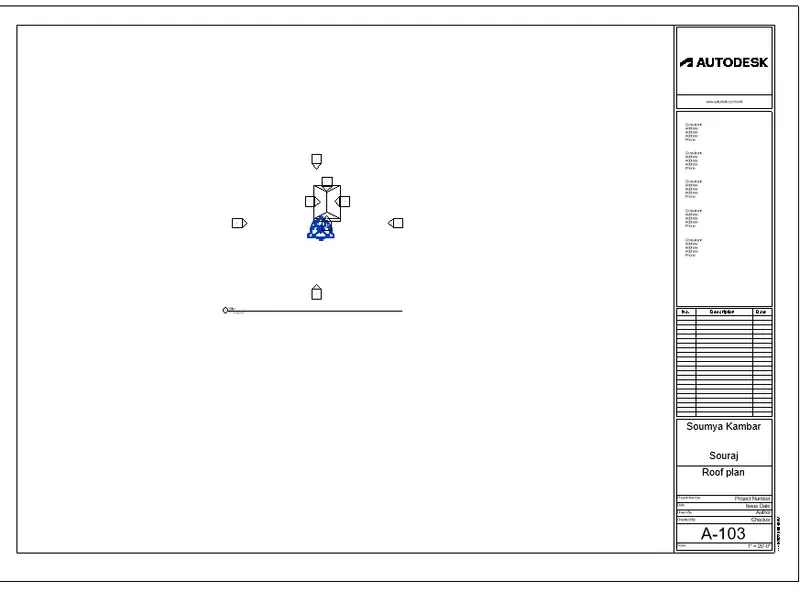
3. A103- Roof plan
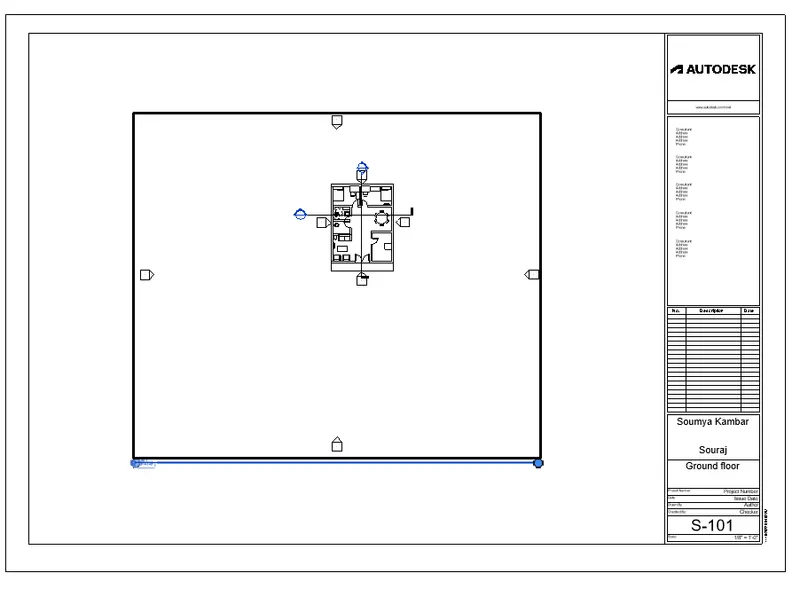
4. S101- Ground floor structural plan
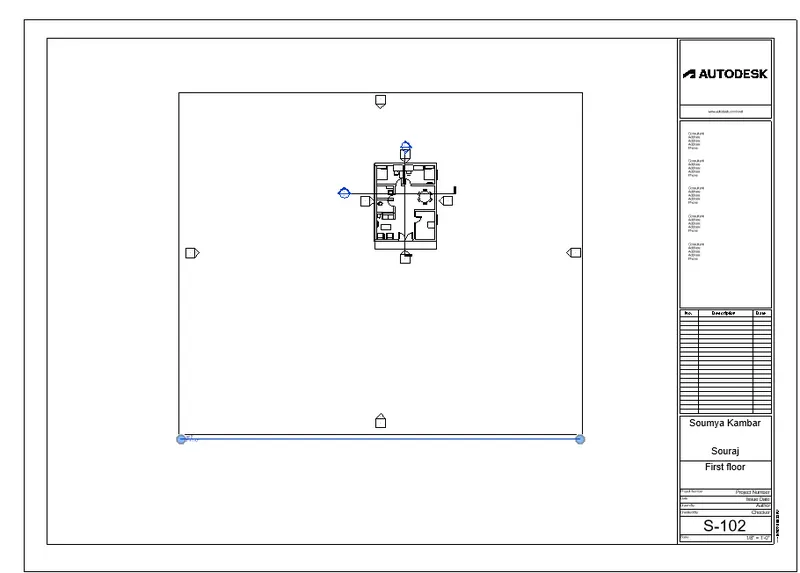
5. S102- First floor structural plan
6. A201 -North -South elevation
8. A202- East west elevation
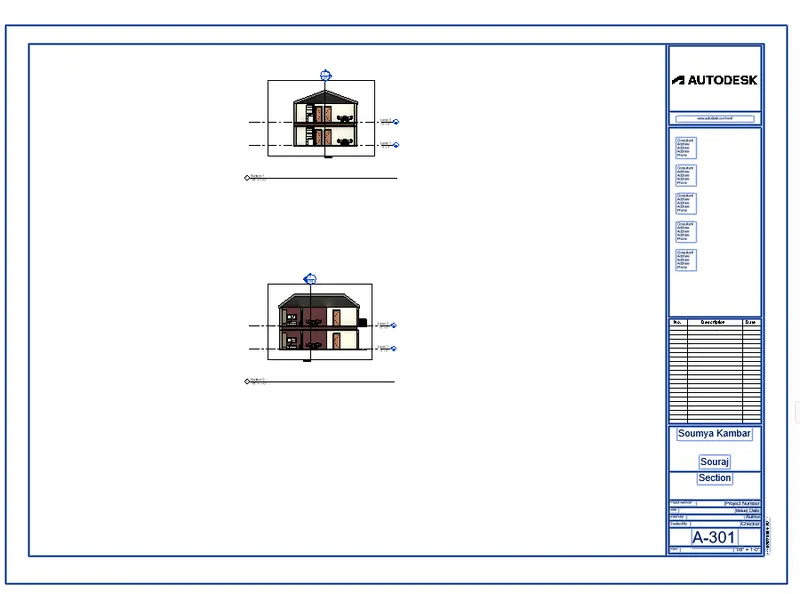
9. A301- Section
10.Aim:Created a 3D view in each room
Introduction
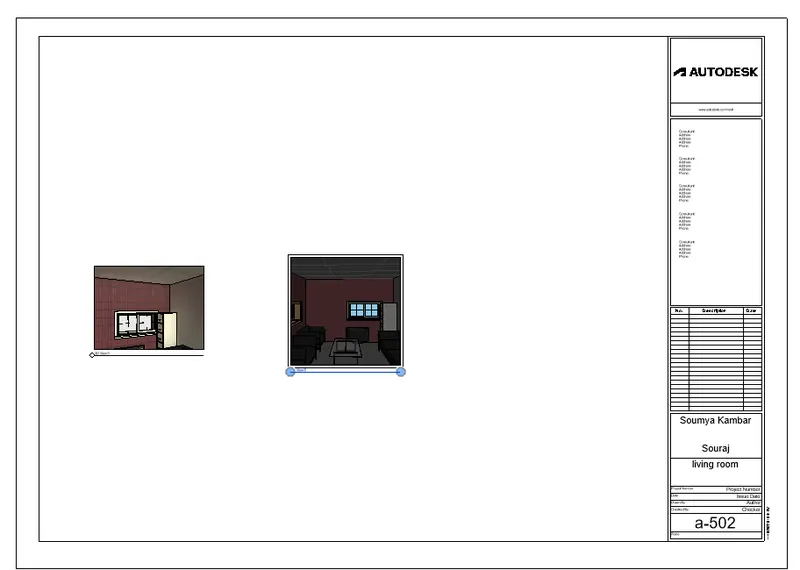
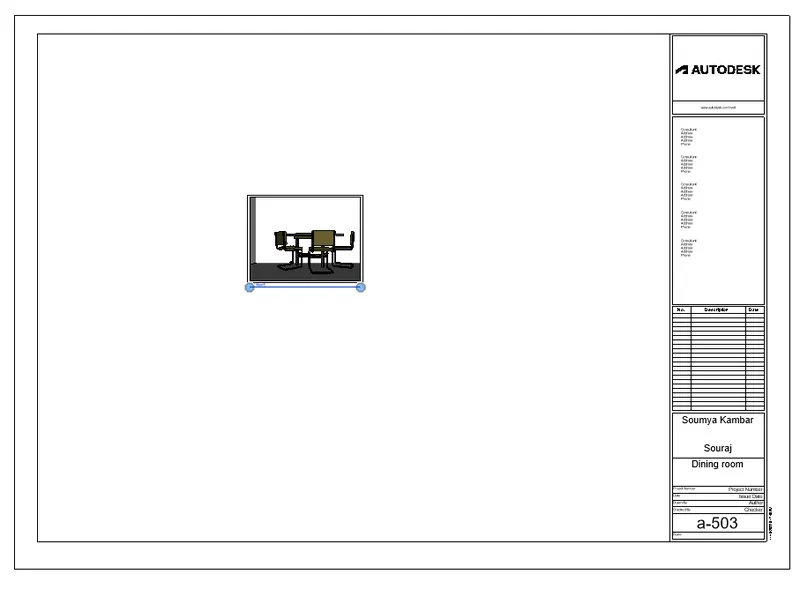
Sheet template produce for 3D view for each room such as living, dining, bedroom
Procedure
1.Open revit go to file , open the selected file
2.Create sheet templete
Go to View tab
Select Sheet from Sheet Composition panel
Open a new sheet dialog box click on Load
Open TITLEBLOCKS from library
Select appropriate sheet for each plan
Edit sheet title block as per view
Drag to insert the plan from project browser in sheet
Similarly drag all the plan and view in the sheet
Result
We have created multiple sheets for each plan and view and result are shown in below
1. Bed Room View
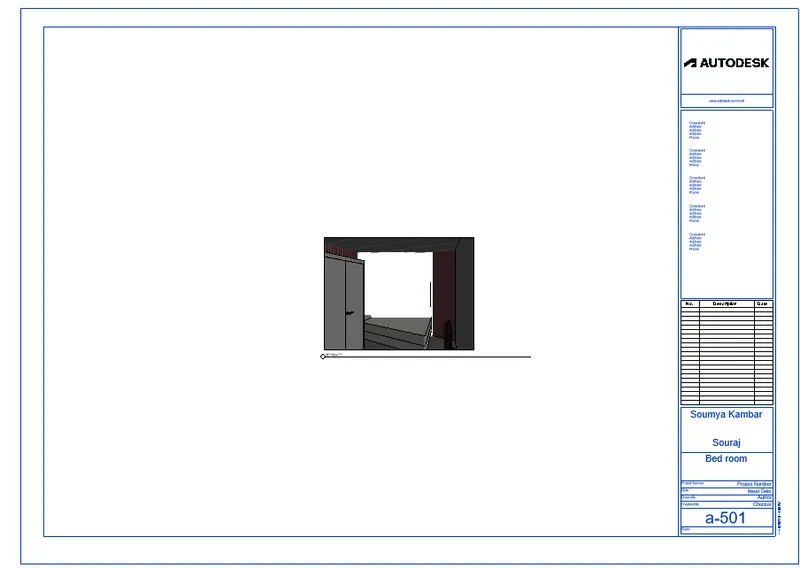
2. Living Room View
3. Dining Room
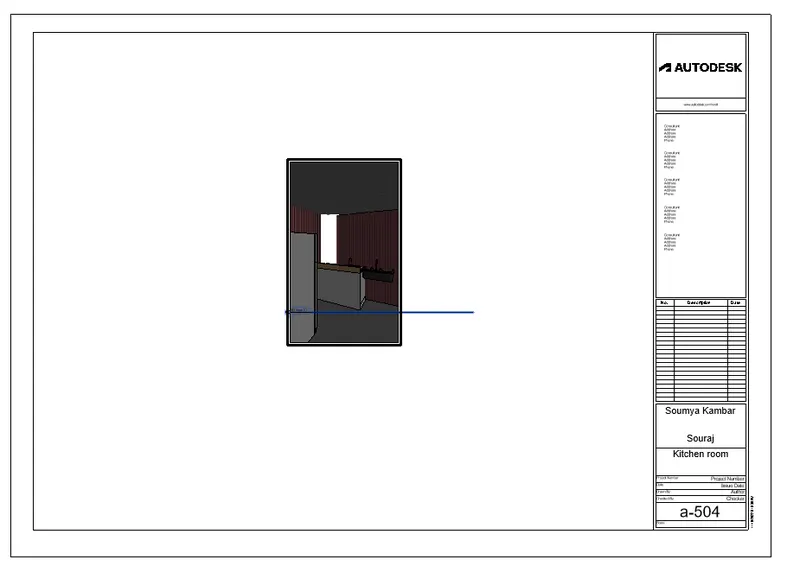
4. Kitchen View