3D Creation of Celing, Roof, Architectural plan, Structural plan, Sectional view, Elevation view and Camera specific view for a house plan using REVIT
ANSWER 1:
AIM:The purpose is to model a ceiling from the architecture tab above the walls at the first floor level
PROCEDURE:
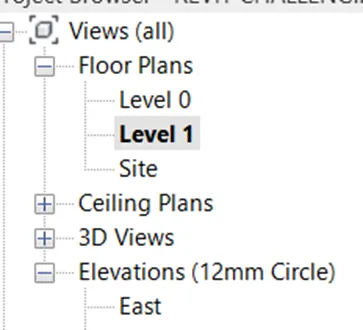
- Open week 3 challenge and go to level 1 from properties browser
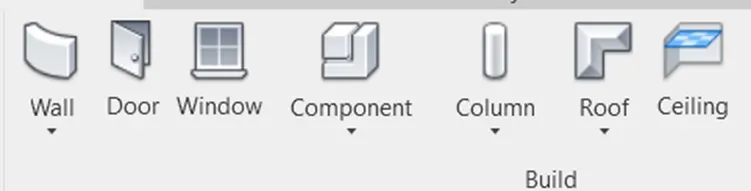
- now select ceiling from the menu bar
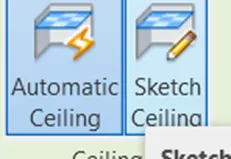
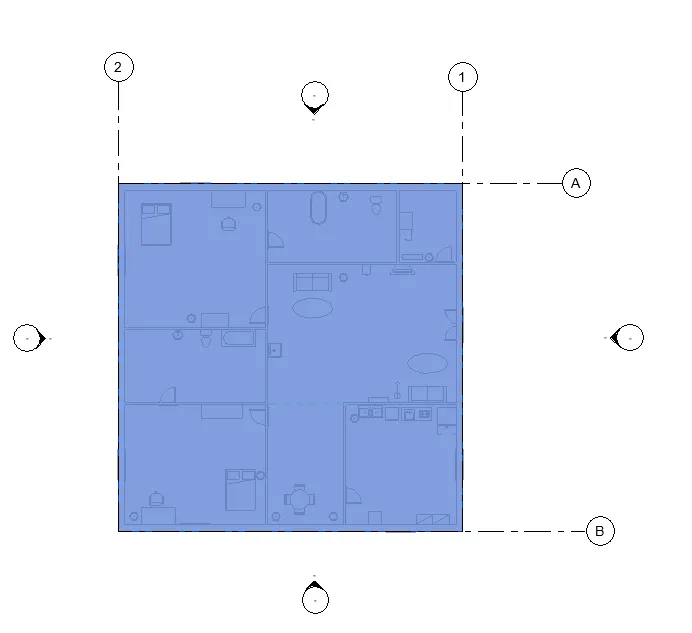
- then draw ceiling by selecting lines around the layout as shown
- click 3d view to see celiling
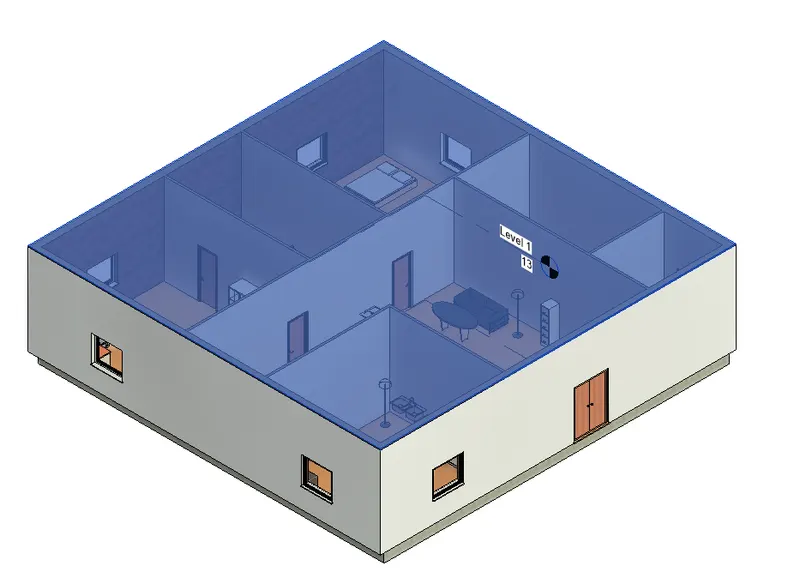
RESULT:Hence we modelled ceiling to our layout
ANSWER 2:
AIM:The purpose is to model a roof for our model and to adjust the roofs slope to 10 degrees
PROCEDURE:
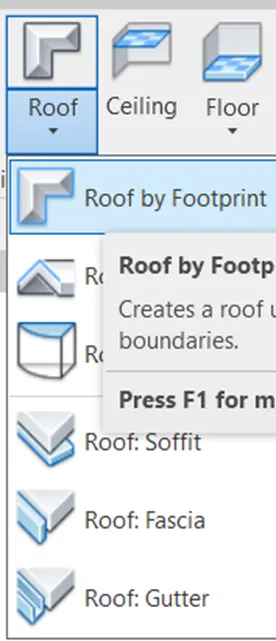
- Click on roof under architecture tab and then click on roof by foot print
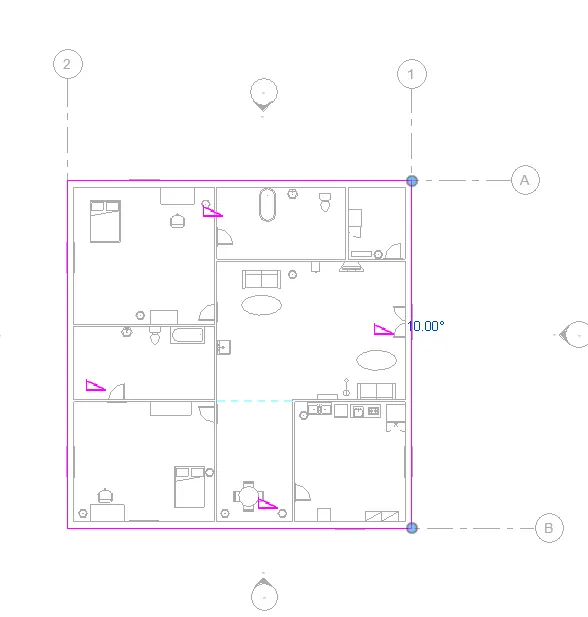
- Now sketch the roof and click finish
- Now to set the slope of the roof go to properties browser and scroll down and set the slope to 10 degress
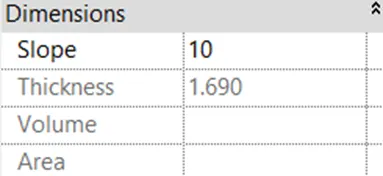
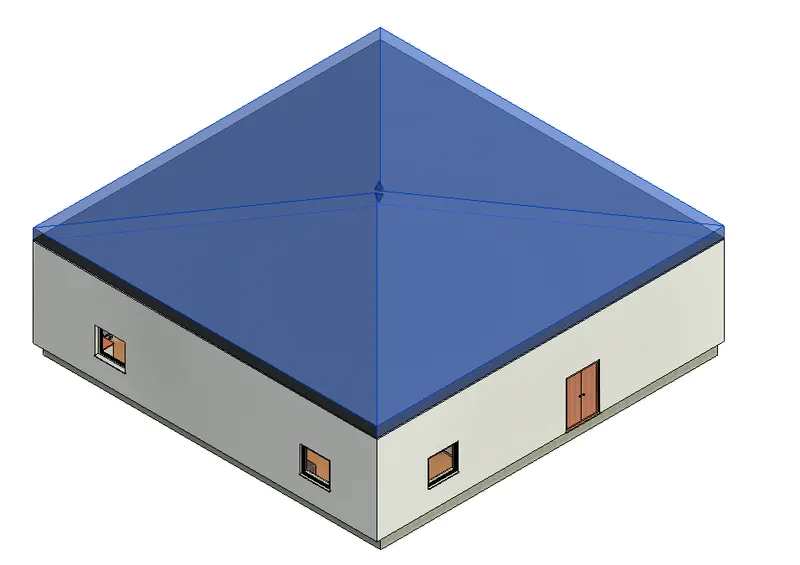
RESULT:Hence,the roof was modelled for the layout
ANSWER 3:
AIM: The purpose is to create plan views for ground floor level and first-floor level including all the walls, floors, and components.
PROCEDURE:
- Architectural plan of ground floor and first floor in the properties browser are already included in our model
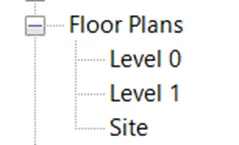
- Click on Level 0 to get ground floor plan
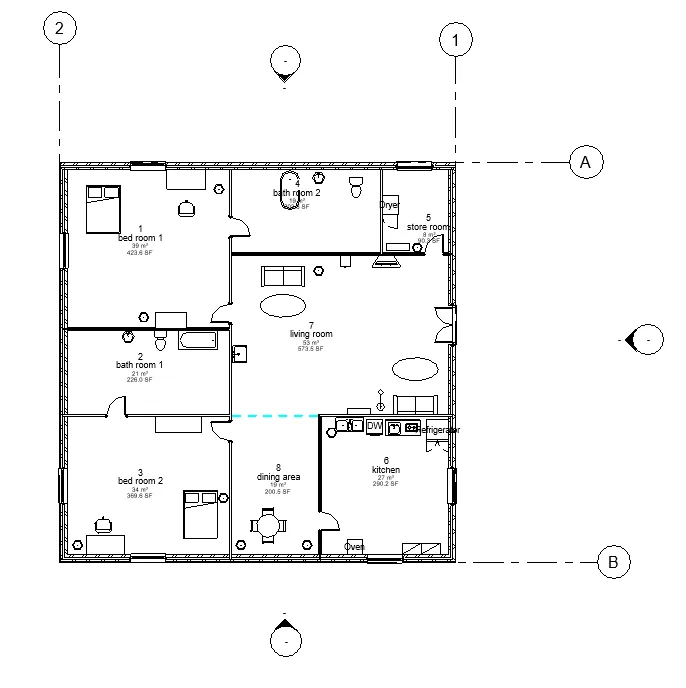
- Click on Level 1 to get first floor plan
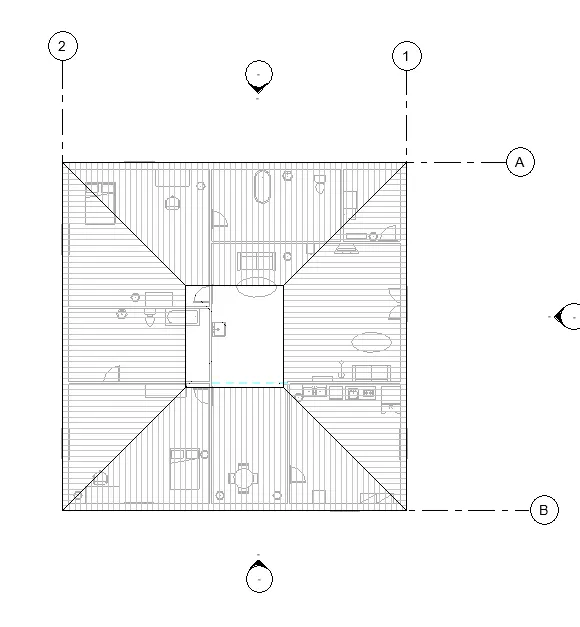
- then for the structural views ,Go to View tab and click on plan views
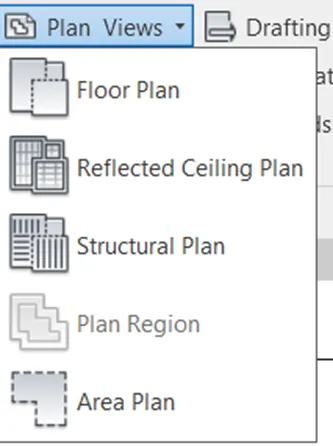
- Click on structural plan and select level 0 and level 1
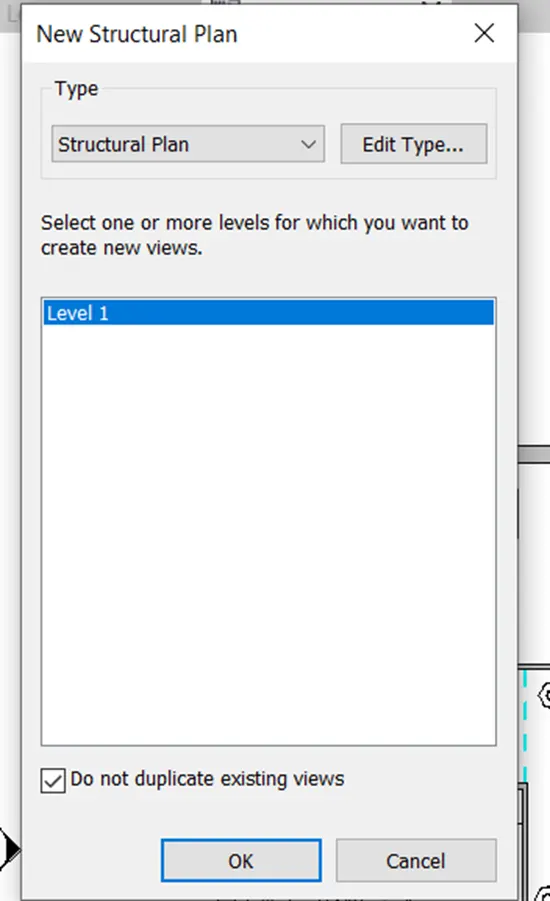
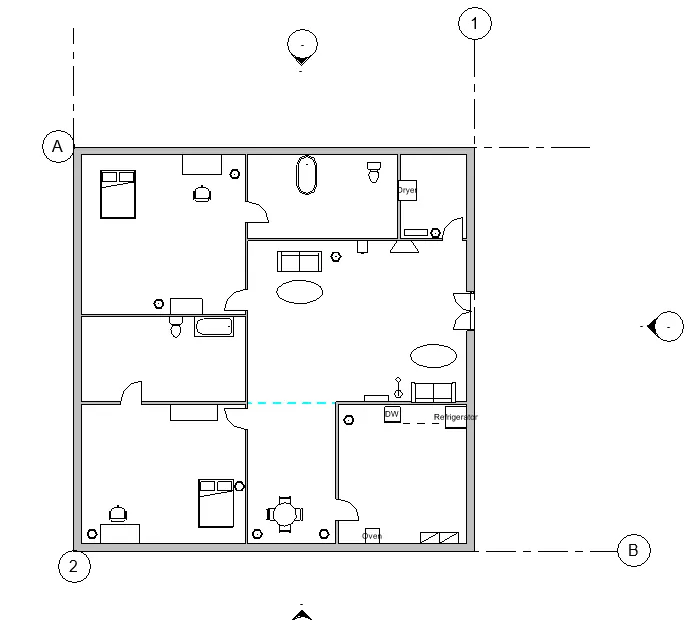
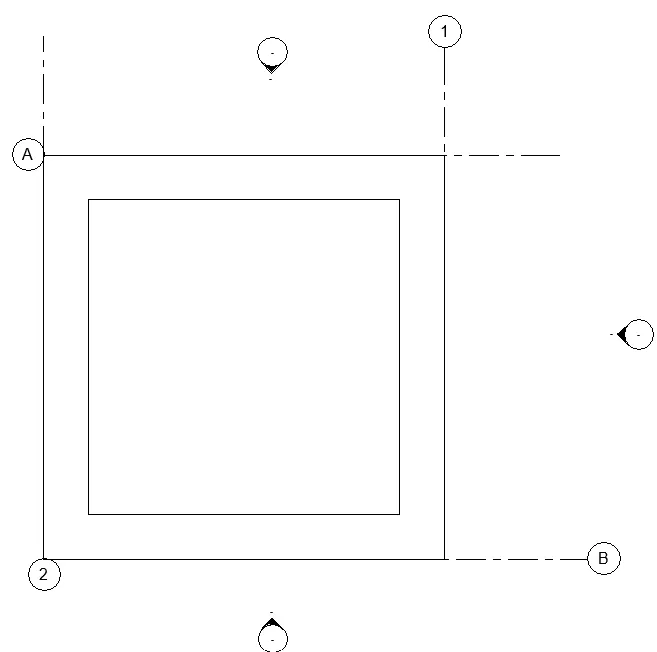
RESULT:Hence,Architectural and Structural Plan views for ground floor and first floor are created
ANSWER 4:
AIM:The purpose is to add dimensions to all the walls and floors with reference to the longitudinal and transverse grids created in the project file
PROCEDURE:
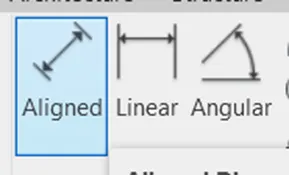
- Click on alighned dimensions under annotate tab
- Now add dimensions to your structural and architectural layouts with respect to the grids
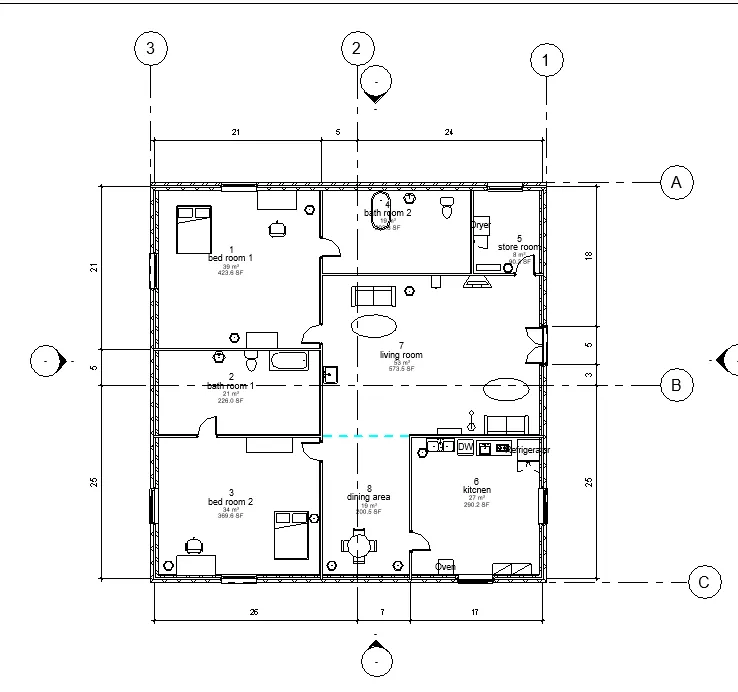
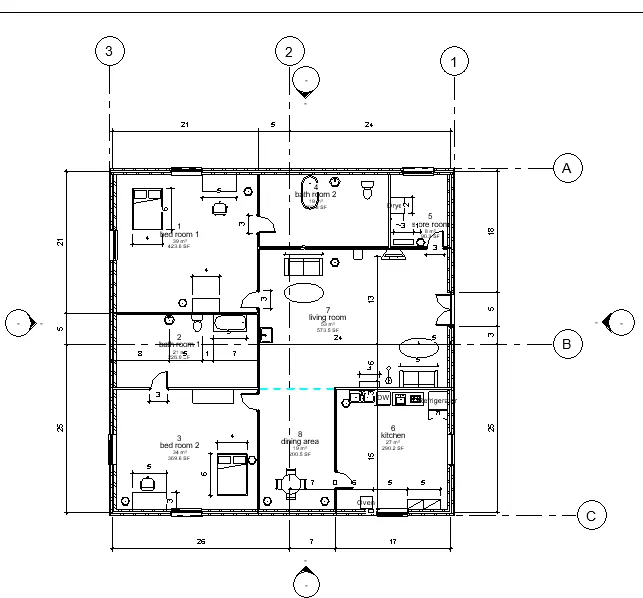
RESULT:Hence, dimensions to architectural and structural layouts with respect to grids are added
ANSWER 5:
AIM:The purpose is to create a sheet template from the view tab and adjust the parameters on the sheet to add appropriate views
PROCEDURE:
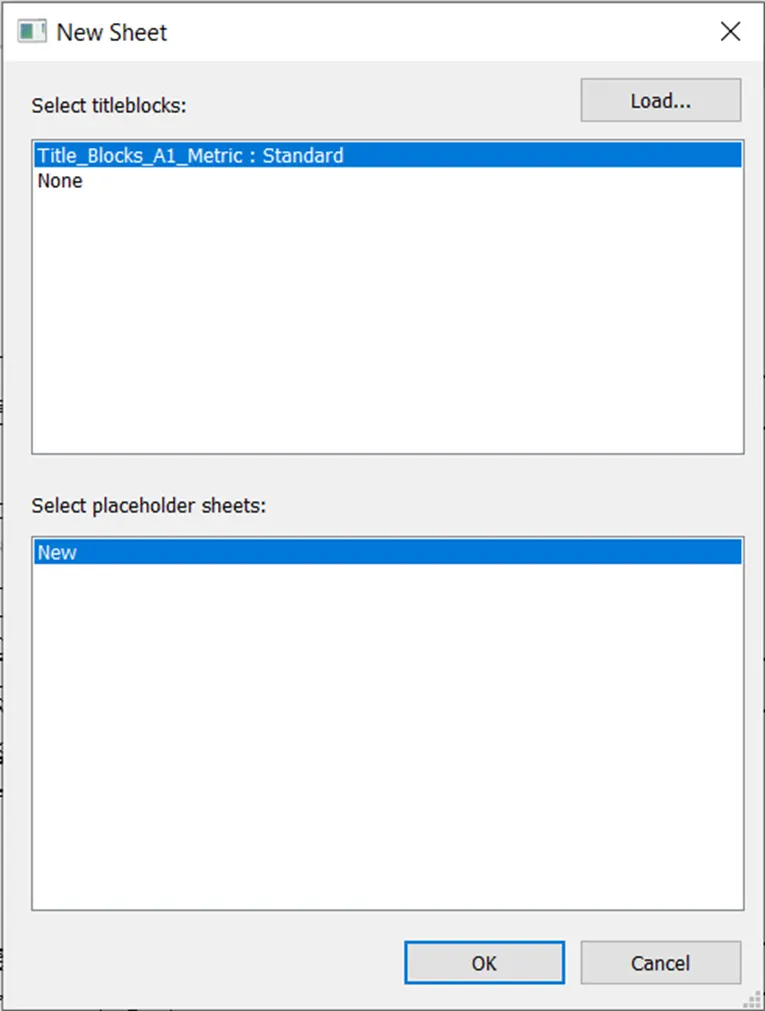
- Under view tab select Sheet and select a new sheet
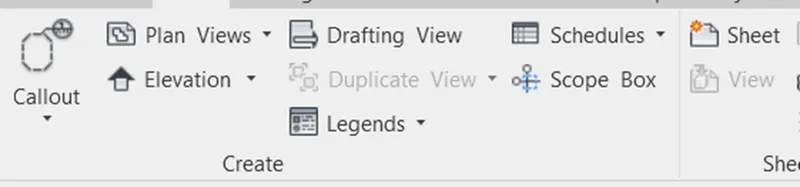
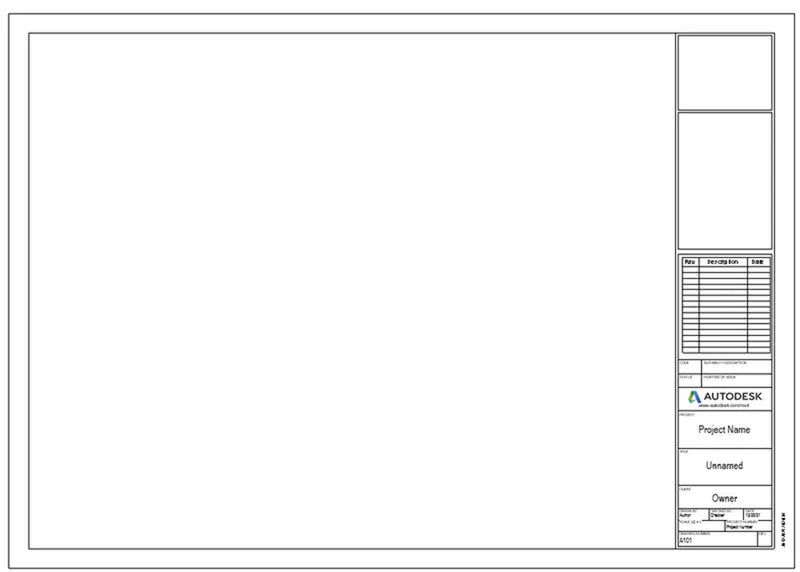
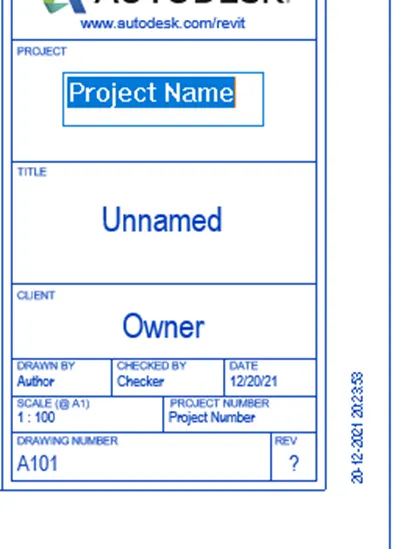
- To change the parameters of the sheet click on the parameters on rename them
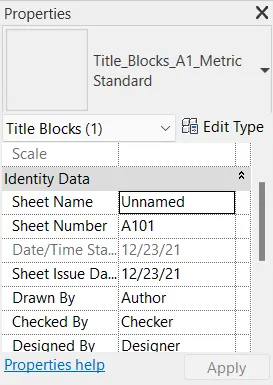
- parameters can also be changed from the properties browser
- To Add Views right click on sheet and click on add view and select the required views
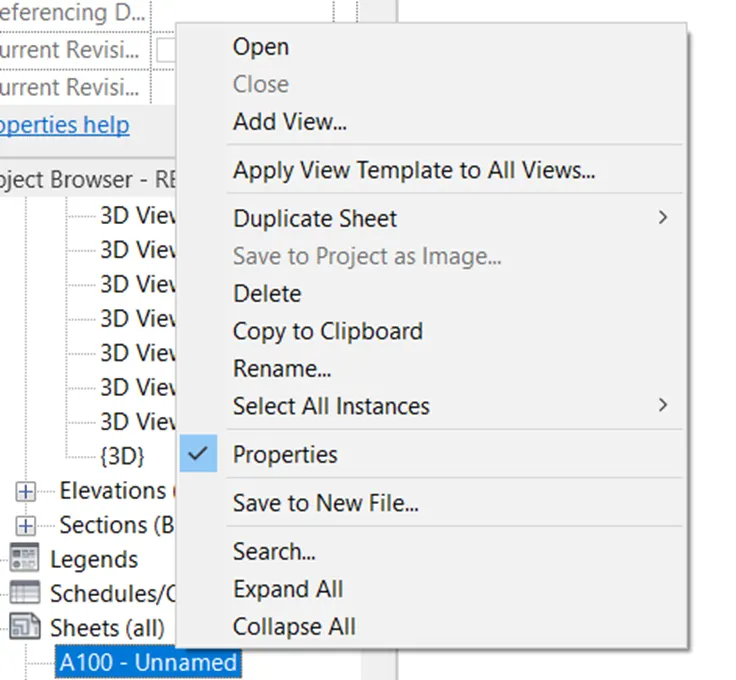
RESULT:Hence ,a sheet template is created and changed its parameter
ANSWER 6:
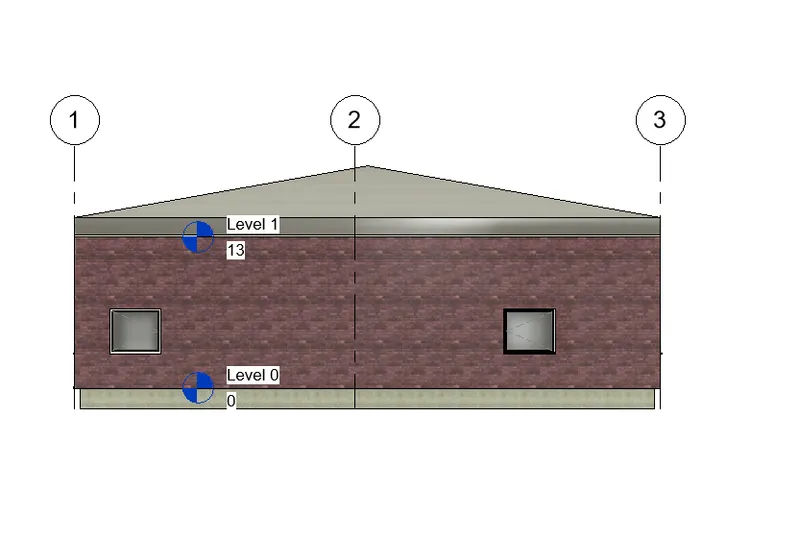
AIM:The purpose is to create the elevation views, looking at your building from East, North, South, and West
PROCEDURE:
- Click on elevation in properties browser ,then east ,west,north,south will be appeared
- double click on them to get respective views
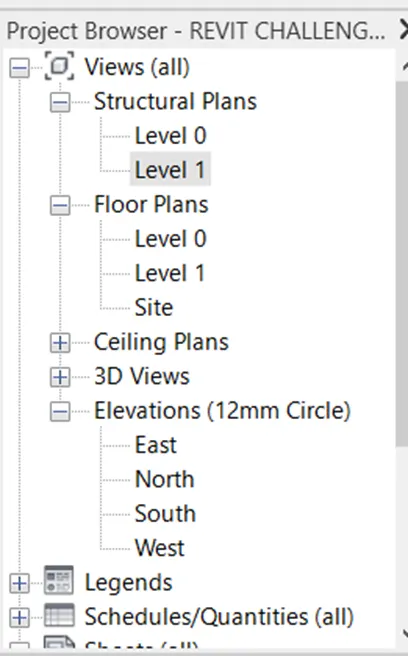
- EAST
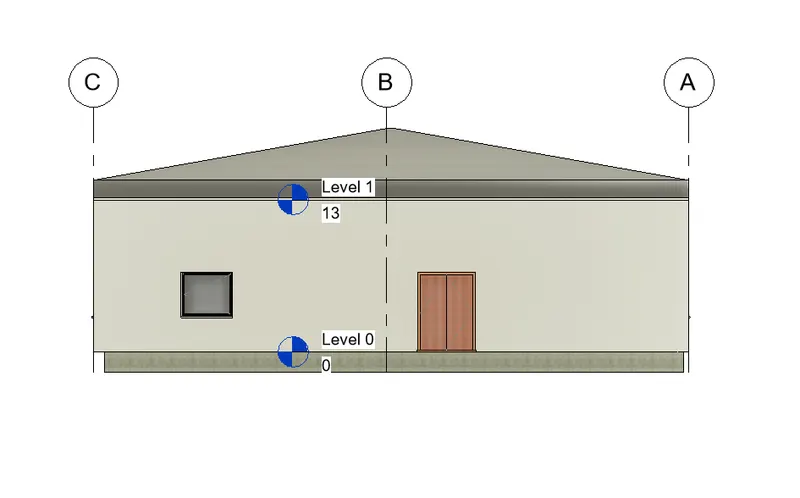
- WEST
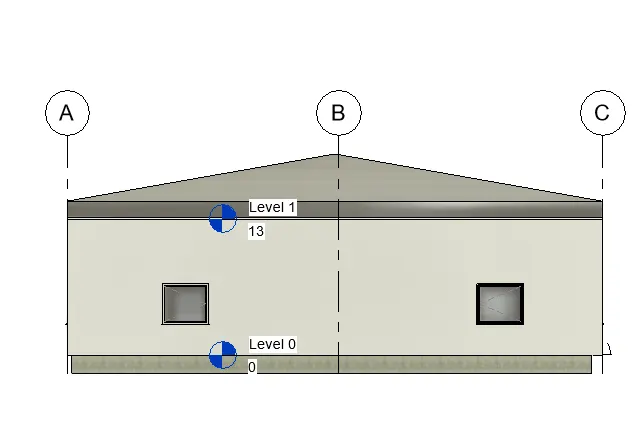
- NORTH
- SOUTH
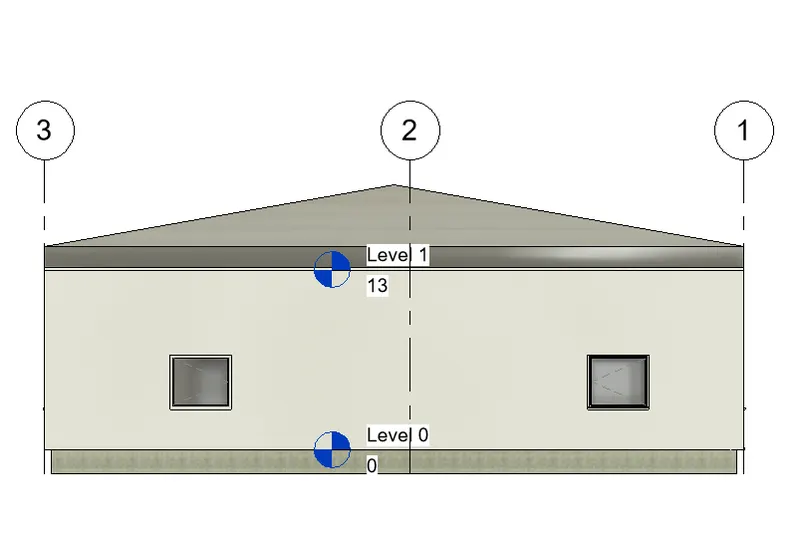
RESULT:Hence,elevation views are shown from our model
ANSWER 7:
AIM:To produce section cut through each room either cutting across longitudinally or in a transverse direction
PROCEDURE:
- Under view tab select section
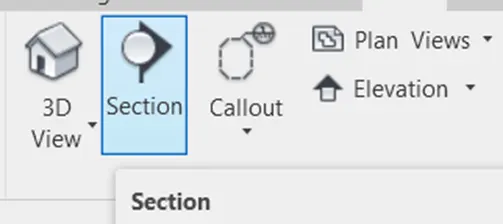
- Now,place the sections in different rooms to get the inside views of different rooms
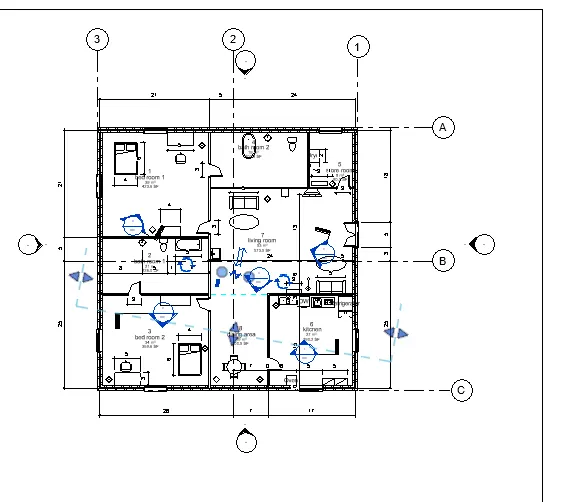
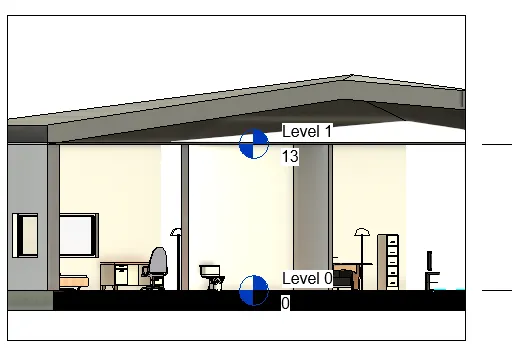
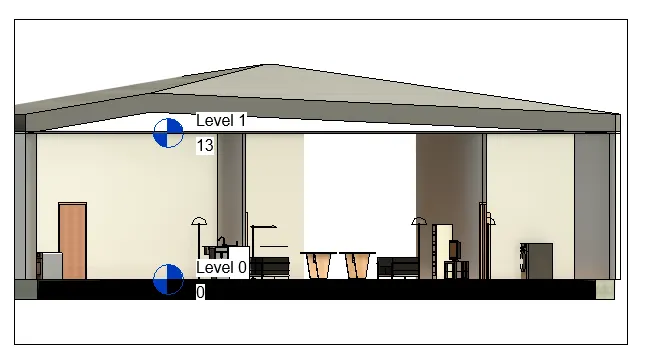
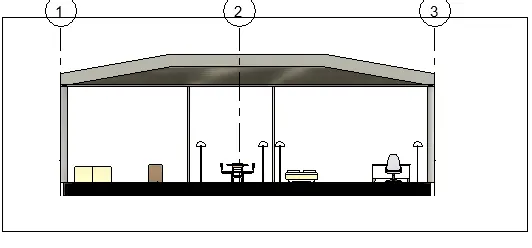
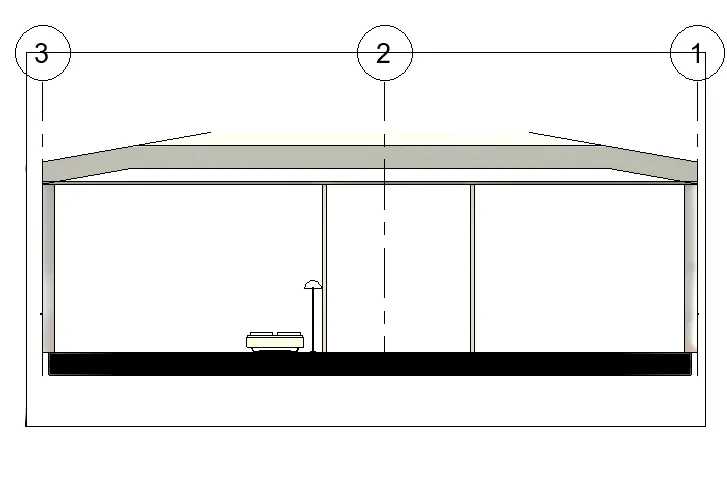
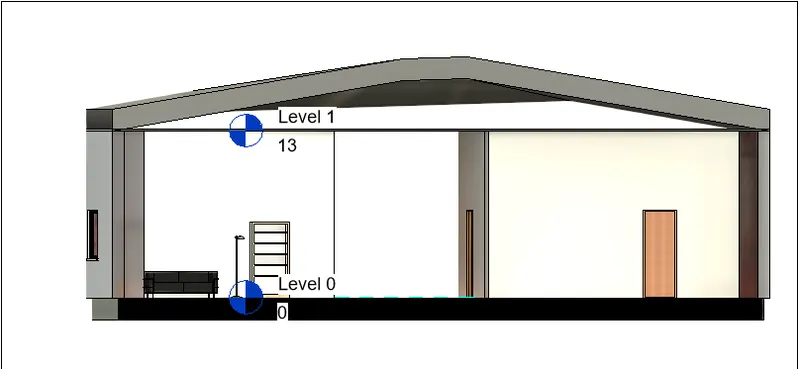
views can be viewed from the properties bar and be remaned accordingly
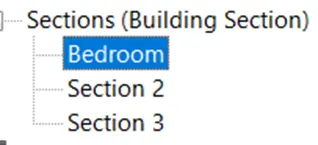
RESULT:Hence,sectional views are created for our model
ANSWER 8:
AIM:The purpose is to Classify the views, Plan Views, Section Views, and Elevation views to either Design or Documentation category using Properties browser
PROCEDURE:
- Elevation views ,sectional views and elevation views can be seen in properties browser
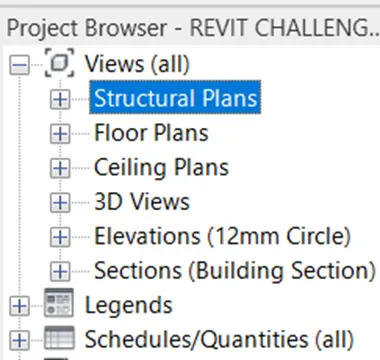
- They are classified in properties browser
- Double click on them to get the respective views
RESULT:Hence,all the views are classified from properties browser
ANSWER 9:
AIM:The purpose is to create sheet templates for the following views
1. A 101- Ground Floor Architecture Plan
2. A 102- First Floor Architecture Plan
3. A 103- Roof Plan
4. S 101- Ground Floor Structural Plan
5. S 102- First Floor Structural Plan
6. S 103- Roof Framing Plan
7. A-201- North-South Elevations
8. A-202- East-West Elevations
PROCEDURE:
- Select sheet under view tab and select a new sheet
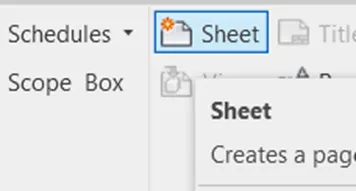
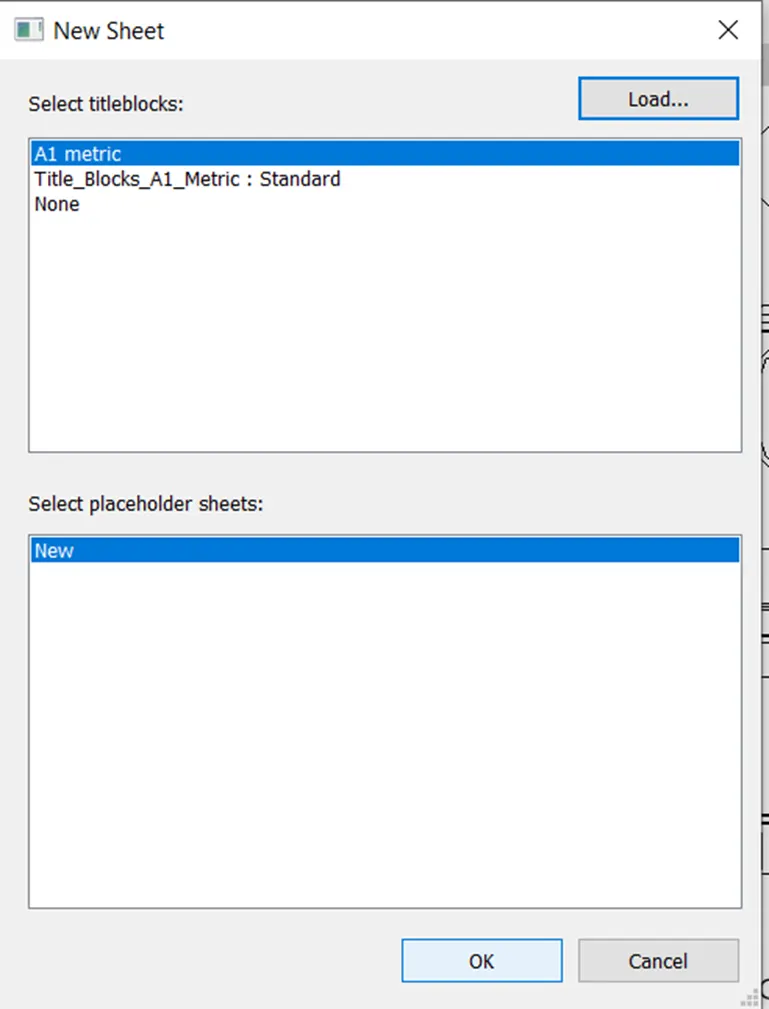
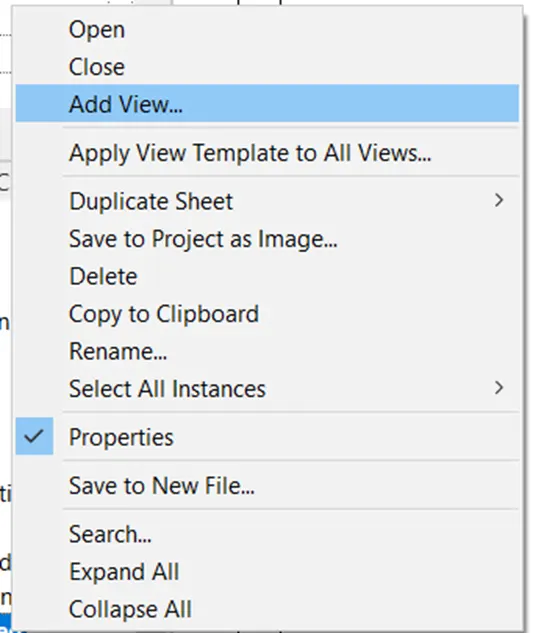
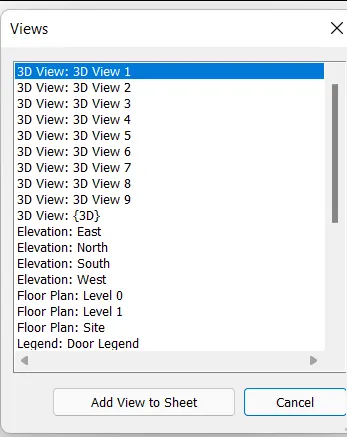
- Change the sheet name as given in question and the appropriate views by right clicking on sheet and selecting add view
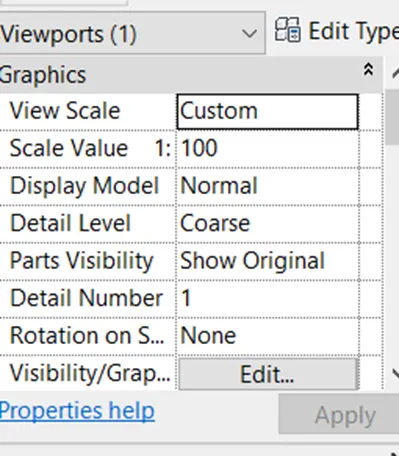
- the size of view can be changed by adjusting scale from properties browser
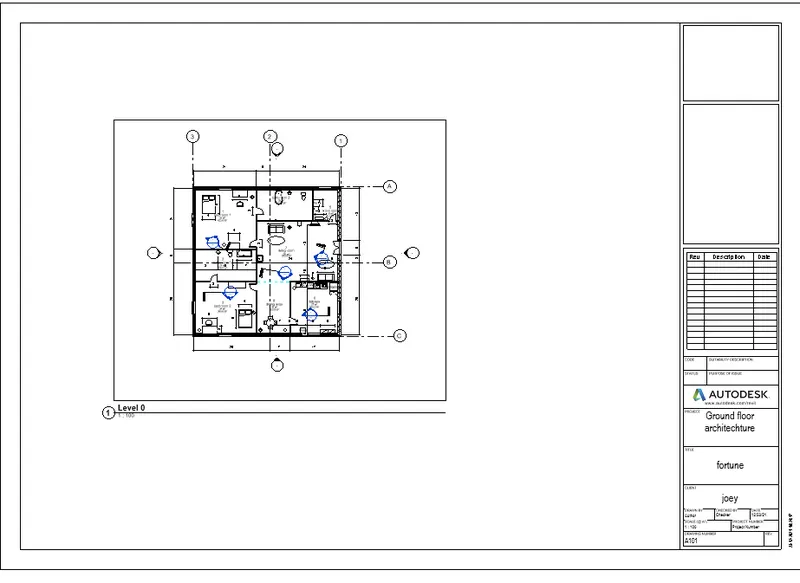
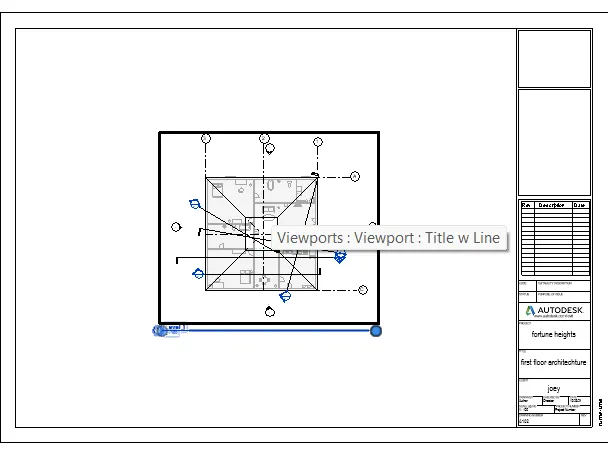
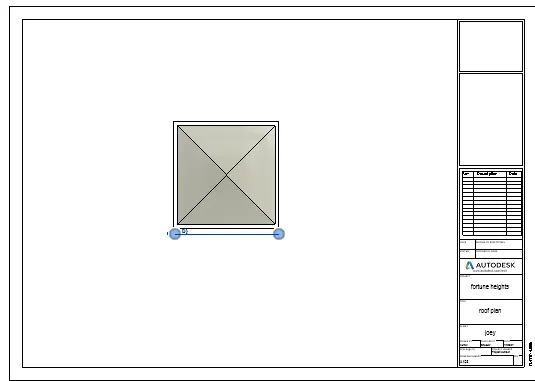
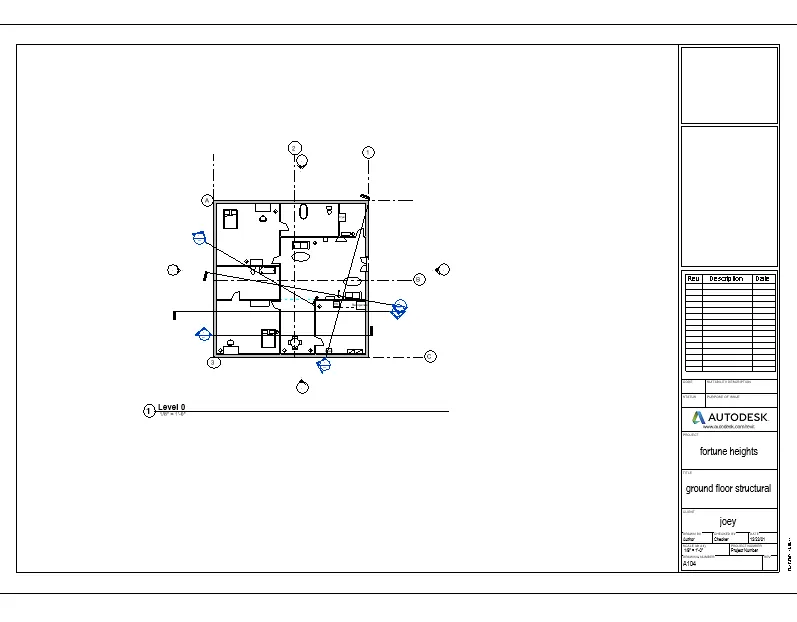
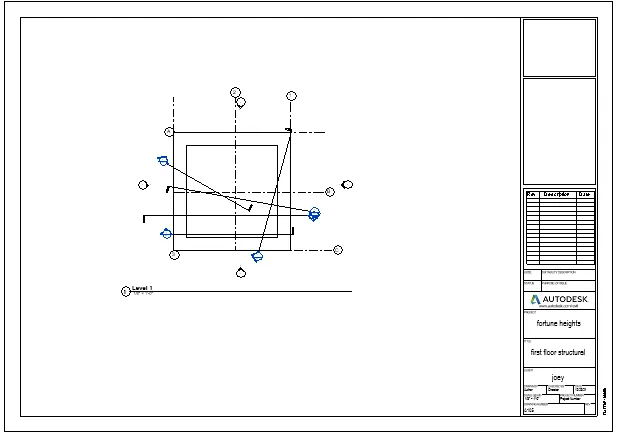
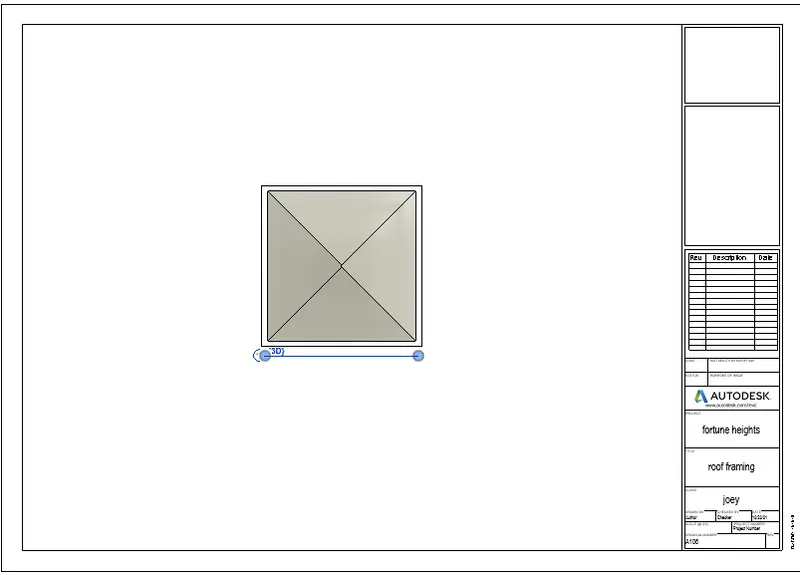
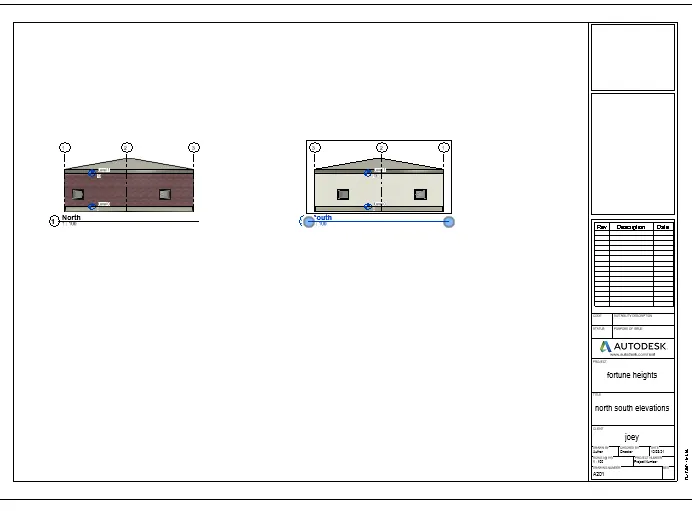
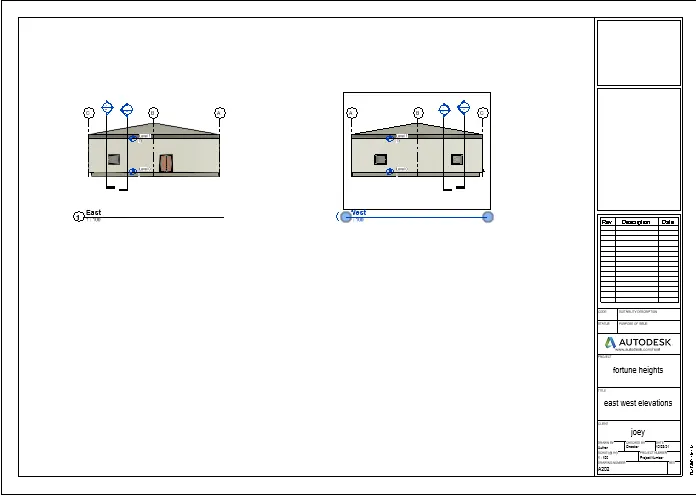
RESULT:Hence,different views are added to sheets as per given question
ANSWER 10:
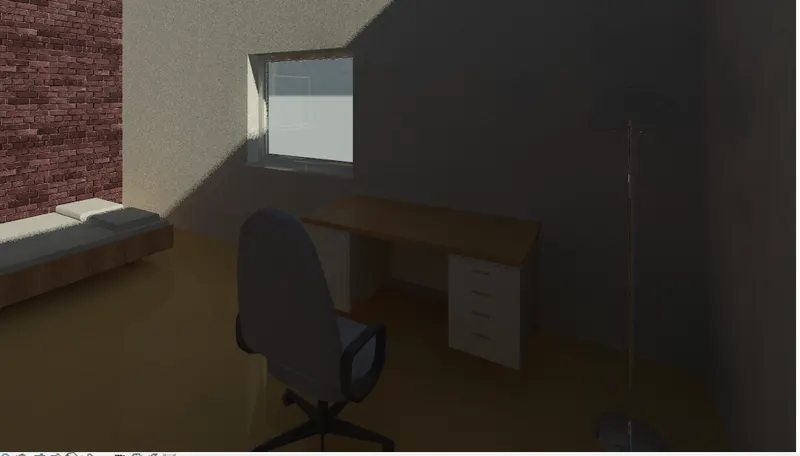
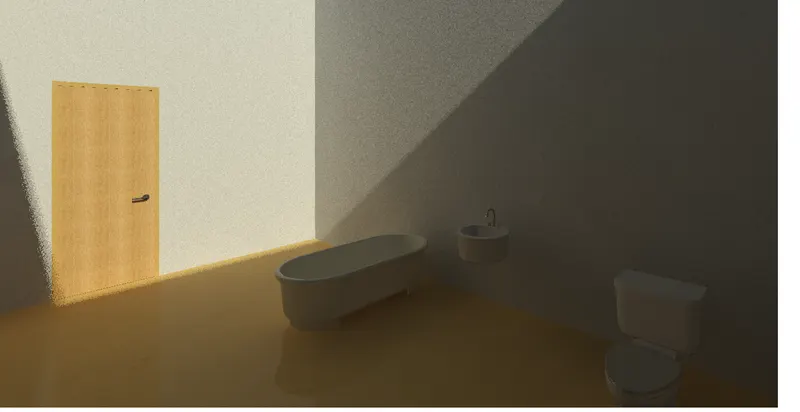
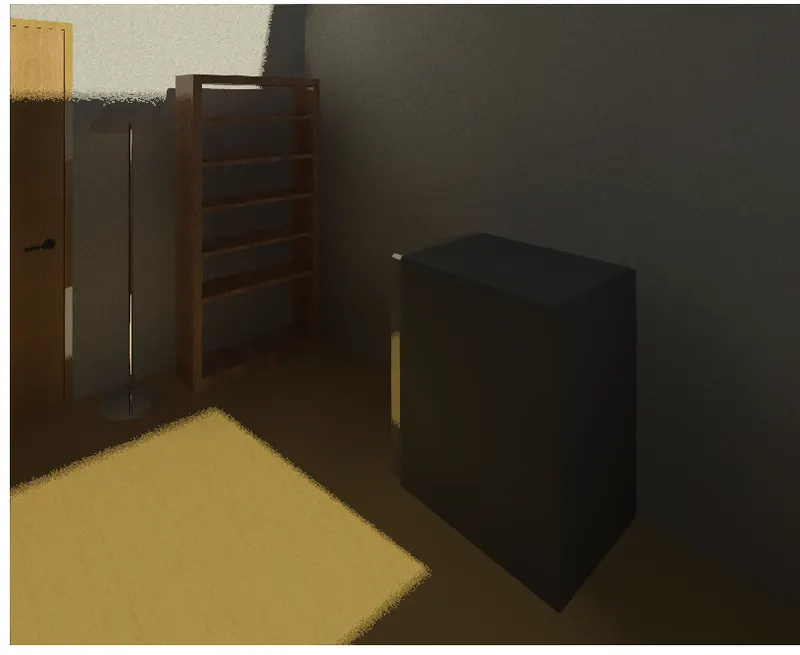
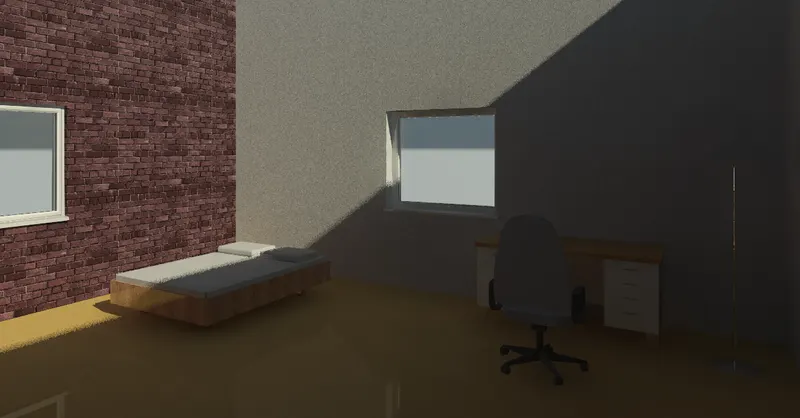
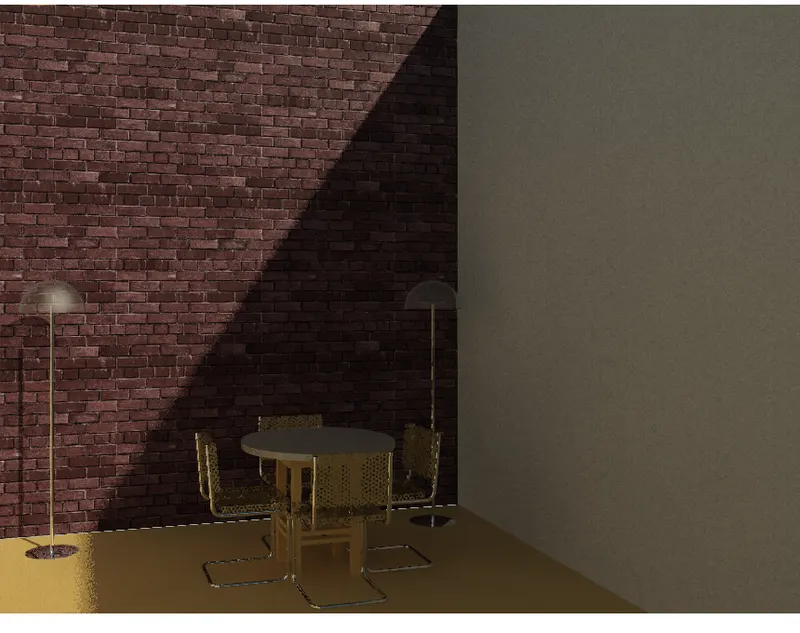
AIM:The purpose is to Create a camera-specific view or a 3D view in each room ( living room, dining room, bedroom).
PROCEDURE:
- Under view tab select 3d view and select camera in it
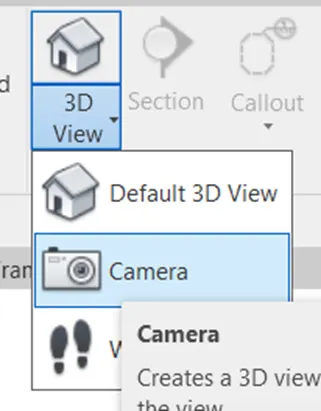
- Now place the camera in different rooms to get different views of them
- Navigate to these views from properties browser and can also rename them by single clicking on them
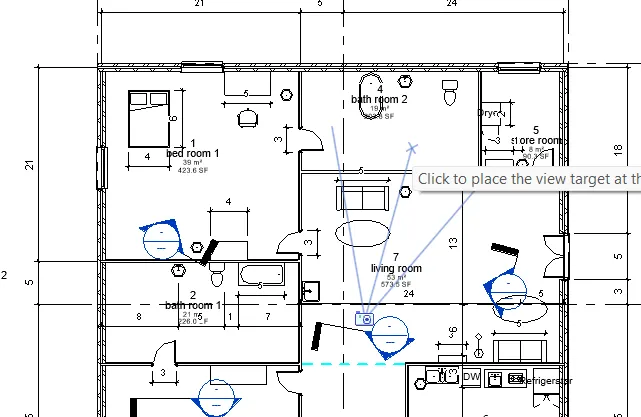
- living room
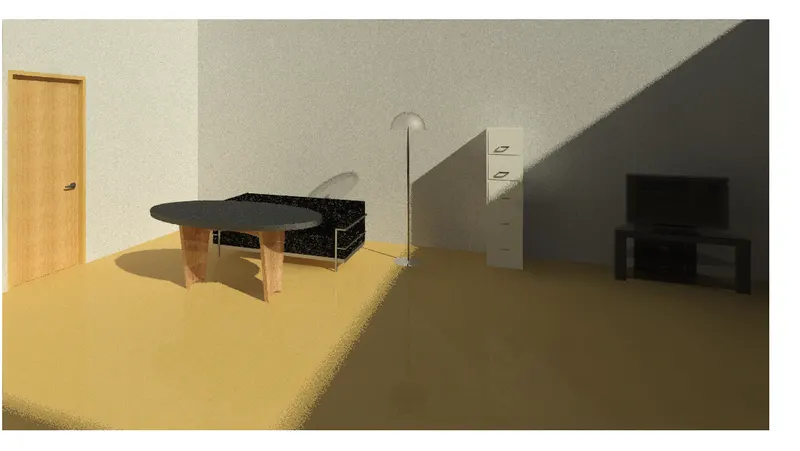
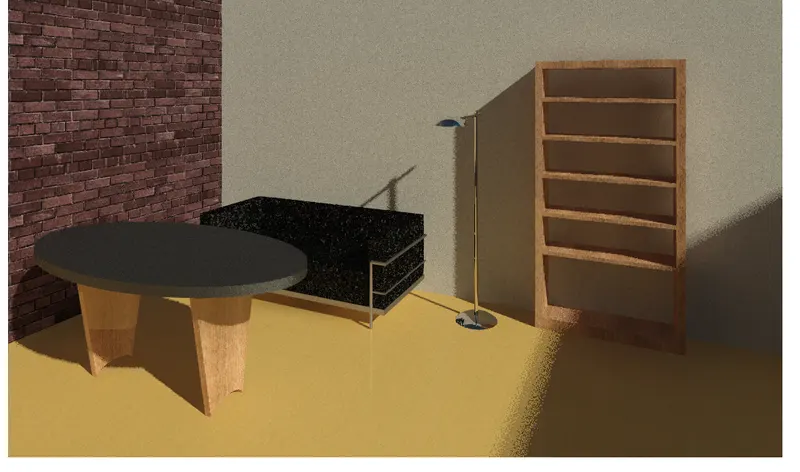
- bed room
- bathroom
- store room
- bed room
- kitchen
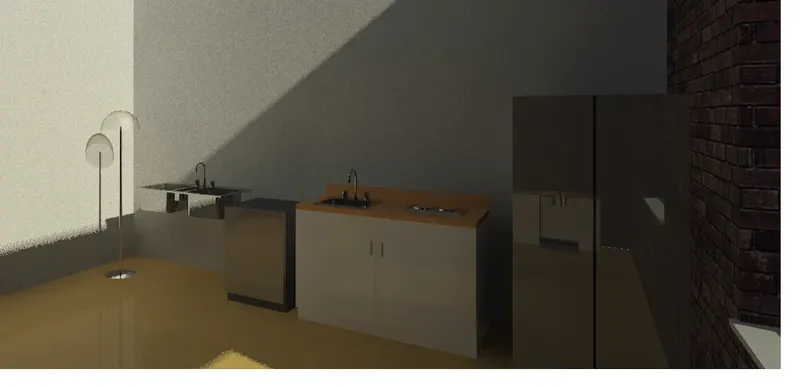
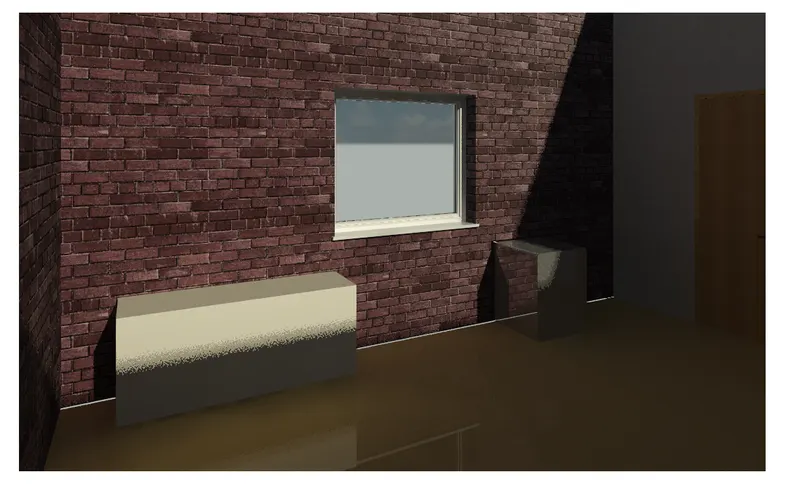
- dining room
- these views are added to sheets
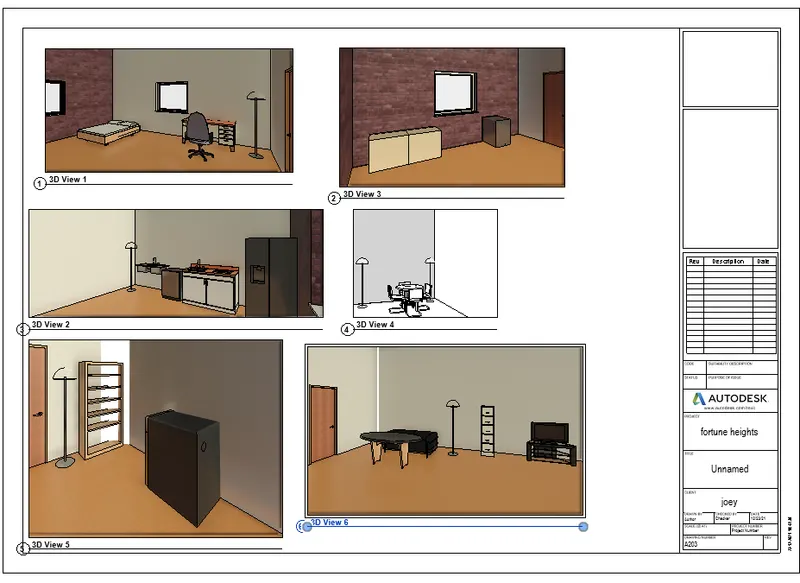
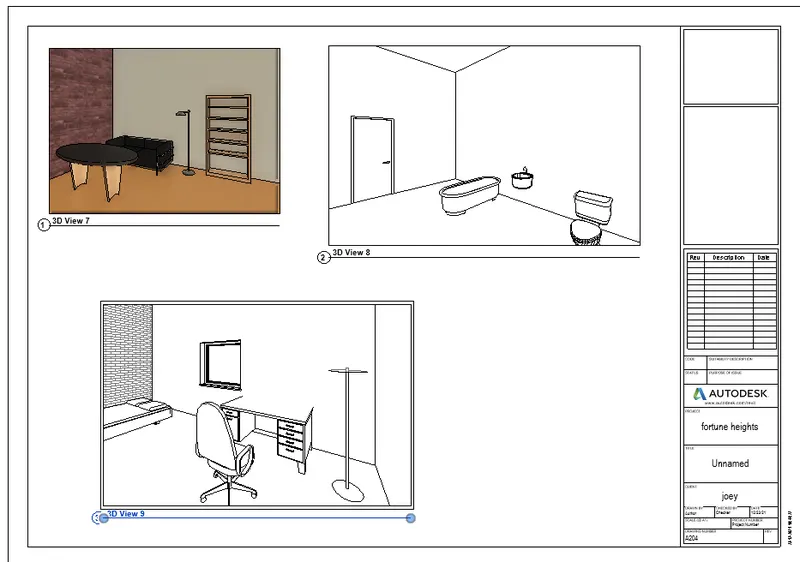
RESULT:Hence,room views using camera are created and added them to sheets