3D Creation of Ceiling, Roof, Architectural plan, Structural plan, Sectional view, Elevation view and Camera specific view for a house plan using REVIT
1. Answer:
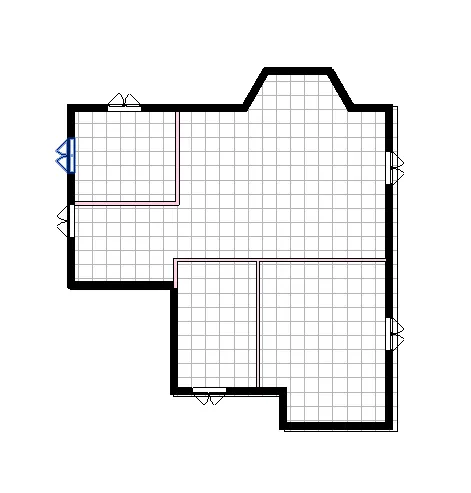
Aim: To place the ceiling in first floor using ceiling option from the Architecture tab.
Procedure: Go to the architecture tab -> Click on the ceiling -> select the sketch ceiling -> click on the pick line option -> start selecting external walls of the billding in 3D view -> click on the green right mark mode.
Result: The celing is place on the first floor and is shown below.
2. Answer:
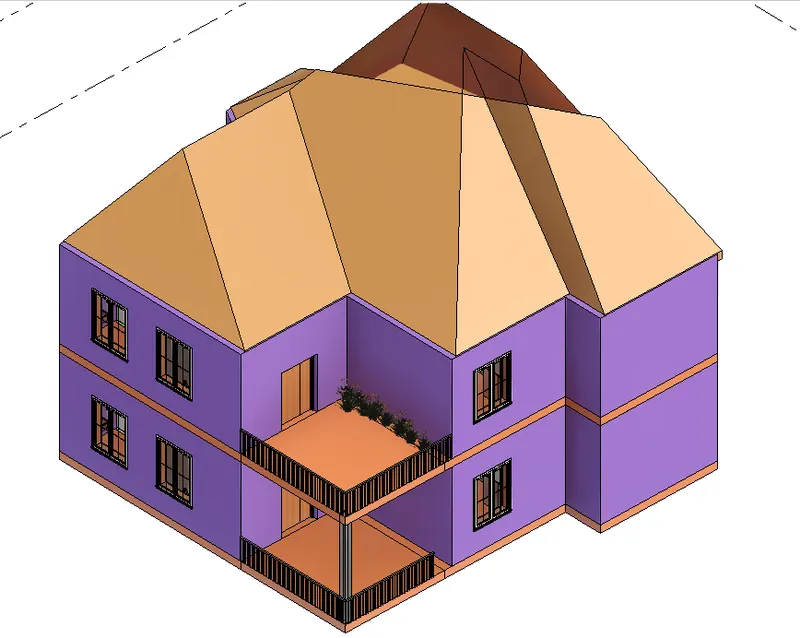
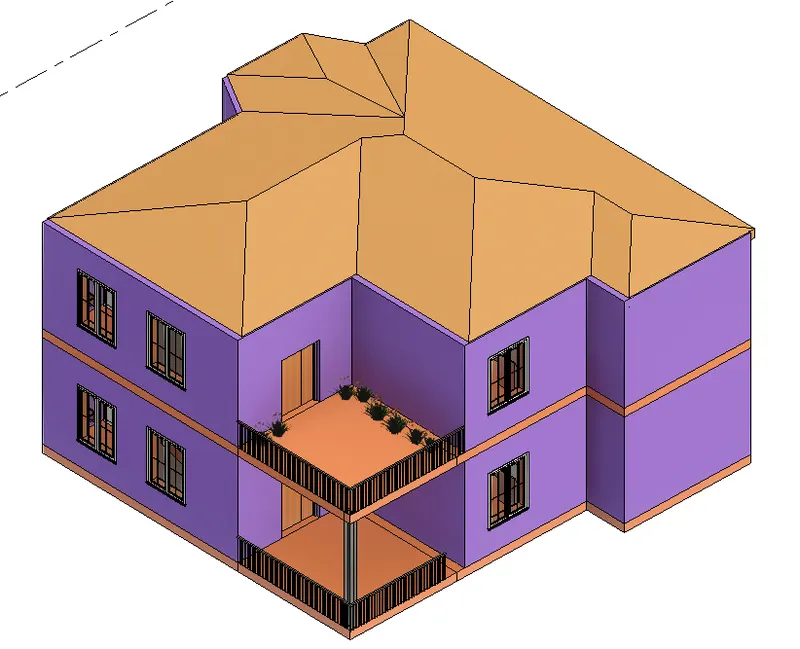
Aim: To create roof and change the slop to 10degree.
Procedure: Go to the first floor -> Click on the Architecture tab -> click on the roof drop down the roof option -> select roof for foorprint -> Pick lines -> select the external walls from the 3D view -> Click on the green right mark -> this created roof on the first floor level.
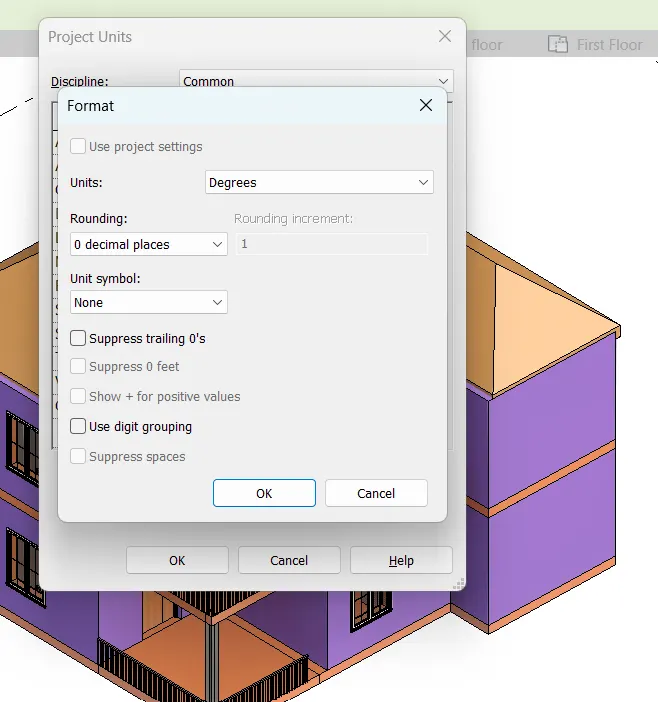
To change the slope of roof to 10 degree
Click on the rood -> go to the properties (when slope in feetsinches then) -> use UN command ->a dialog box will open -> click slope -> select the degree option ->(now in the properties the slopes changes to degree -> specify the 10degree slope -> click ok
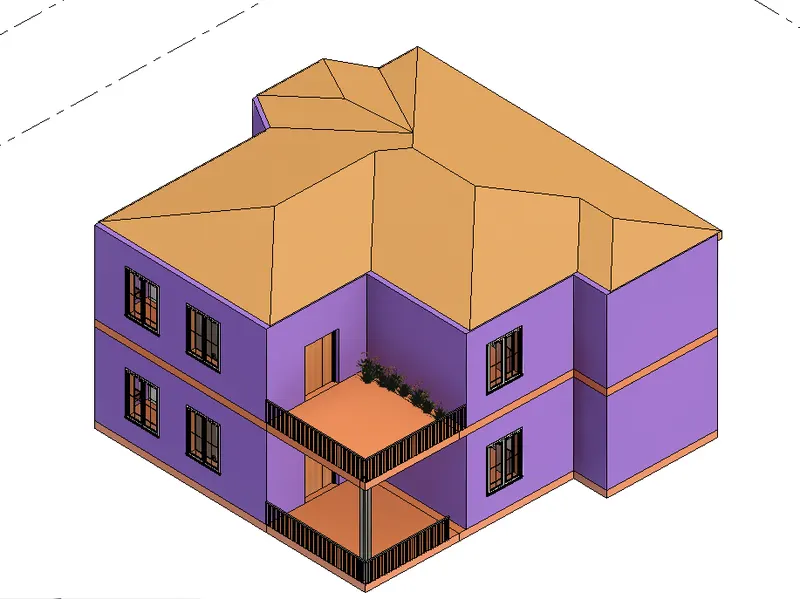
Now the slope of the roof is changed to 10degree.
Result: The roof is place on the top of first floor and is shown below.
3.Answer:
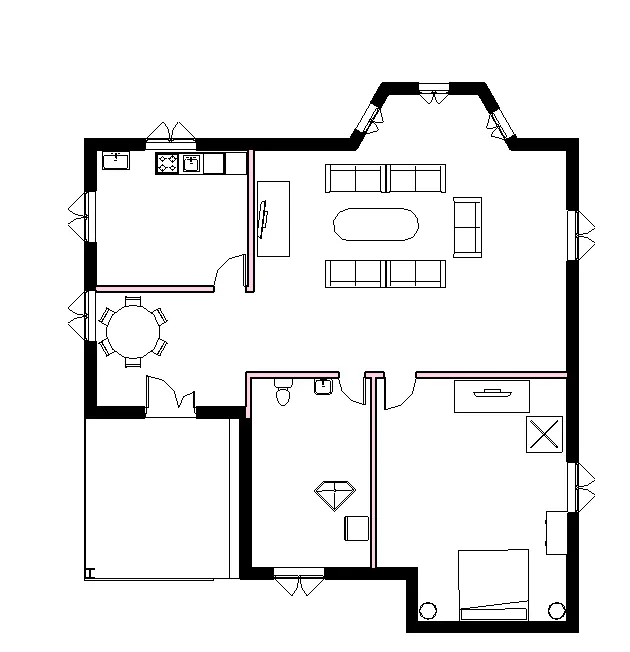
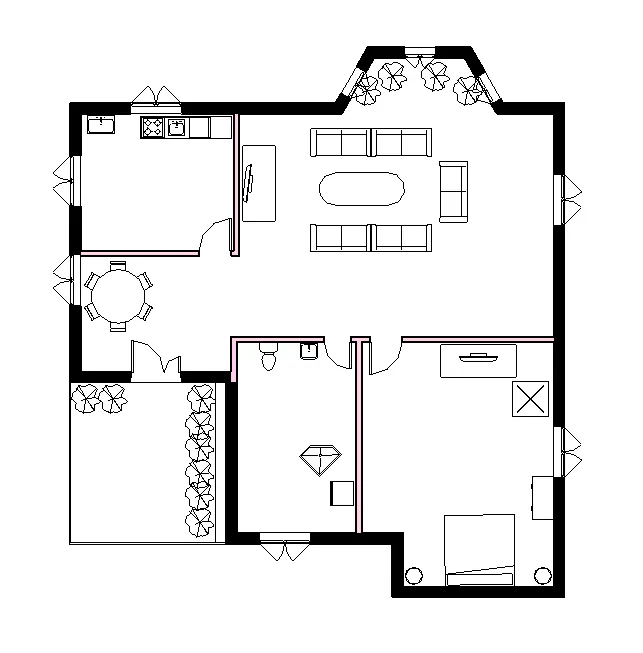
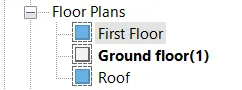
Aim: To create a floor plan by separating Architecture and Structural plan.
Procedure:
For Architectue Plan
Go to the view tab -> drop down the view tab -> click on floor plan -> click on edit type option -> click ok -> click ok.
For Structural Plan
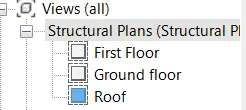
Go to the view tab -> drop down the view tab -> now click and select structural plan option -> click ok.
Result: The Architectural view and the structural view is created and as shown below.
4. Answer:
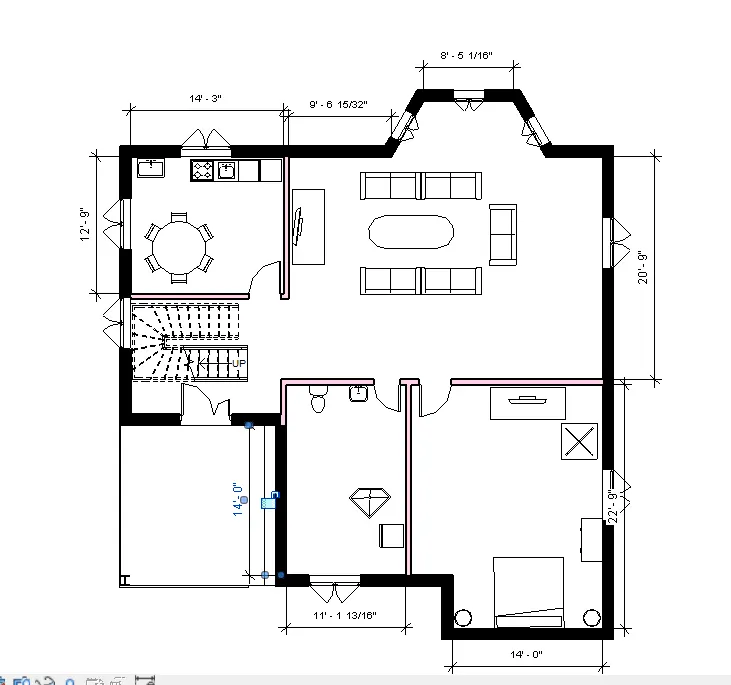
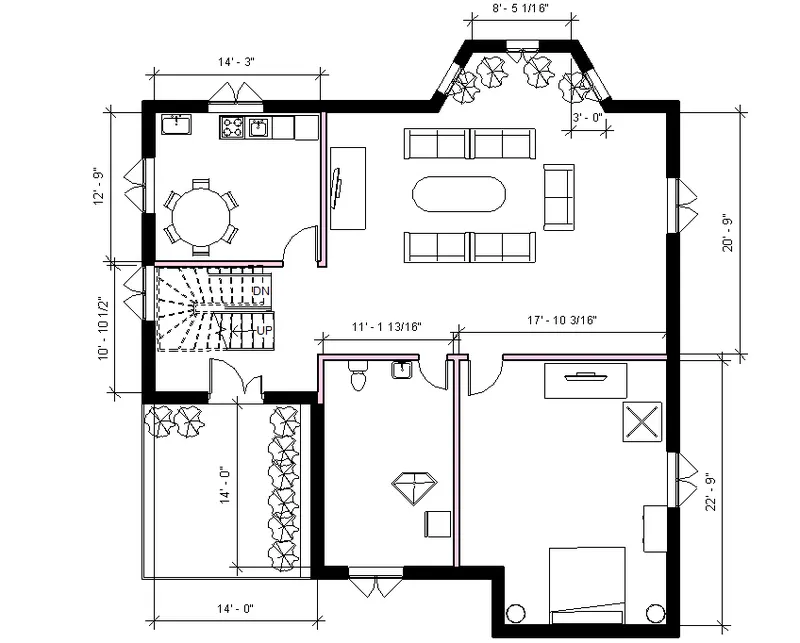
Aim: To add annotate for the created Architectural plan and structural plan
Procedure:
Go to the ground floor plan view -> Go to the annotate tab -> click on linear -> start the dimensions for all the room.
-> simillarly for the first floor -> go to the first floor plan -> click on the annotate tab -> click on linear -> specify all the dimensions of all the rooms.
Result: The dimensions for ground floor and first floor for architecture plan is specified using annotate tab as shown below.
5. Answer:
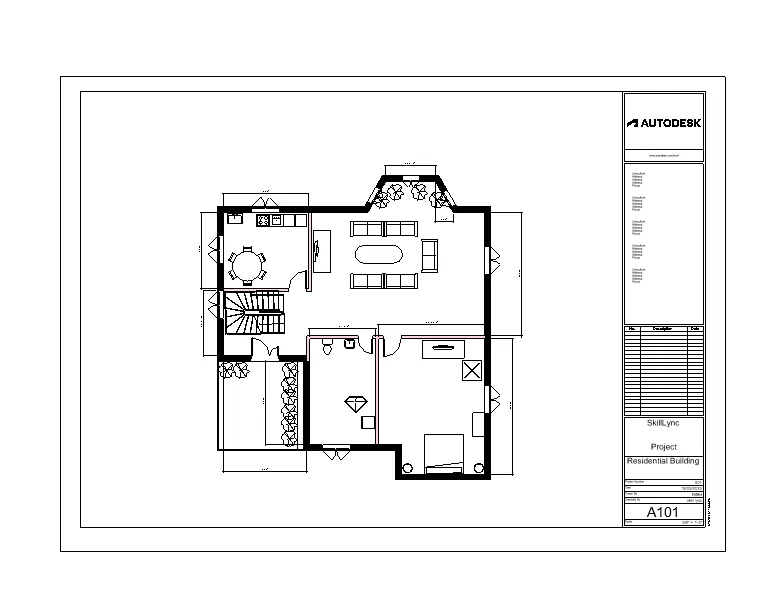
Aim: To create a sheet template using view tab and to add the views into the sheets.
Procedure:
Go to the ground floor plan view -> click on the view tab -> click on the sheet option -> a dialog box will open (which shows the paper sizes) -> click on the A1 metric
-> click OK -> then immediatly a sheet will created with the project information on the right side of the sheet for the documentation fillup all the details of the current project -> such as
- Project Number
- Date
- Drawn by
- Checked by etc.
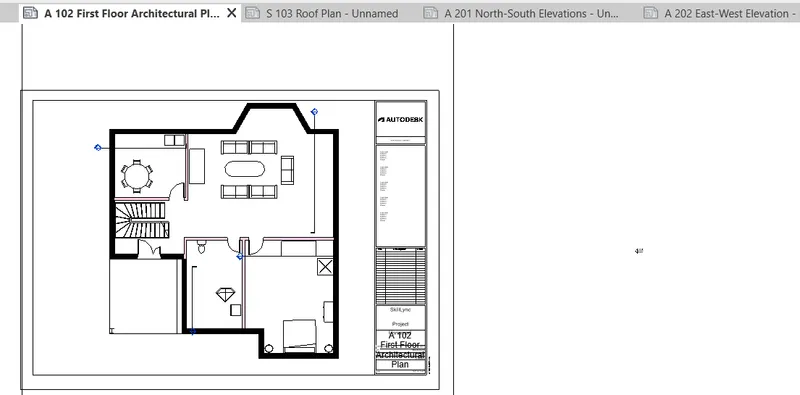
Taking First floor plan into a sheet
Go to the first floor plan view in the left side of the screen (properties browser) -> click on the first floor plan and drag it into the sheet -> press enter.
Result: The sheet template for first floor is created and as shown below.
6. Answer:
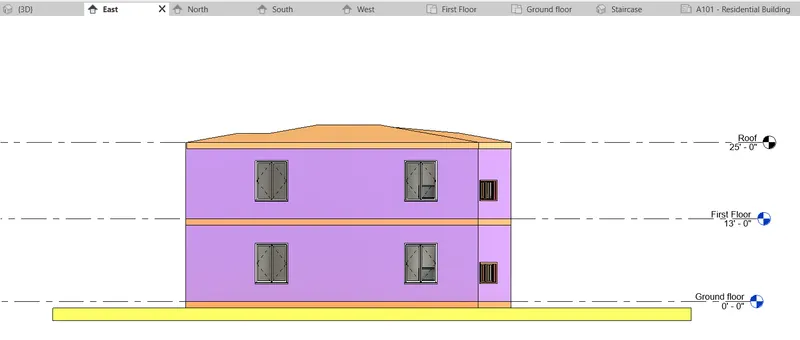
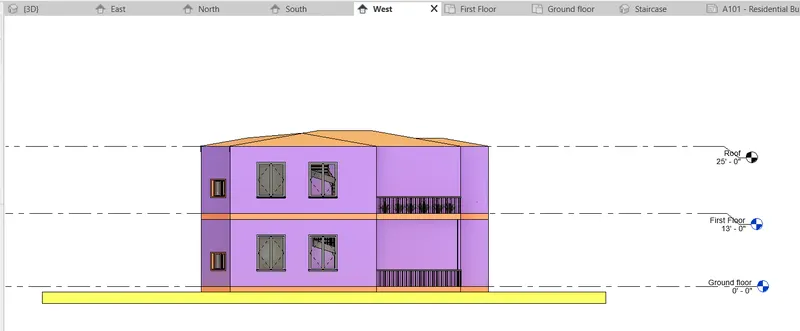
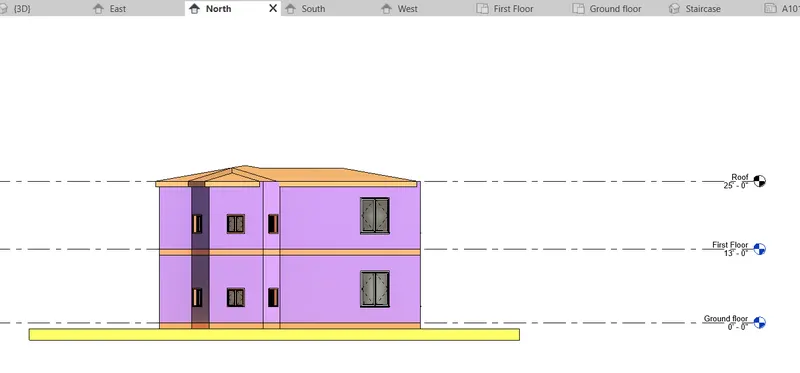
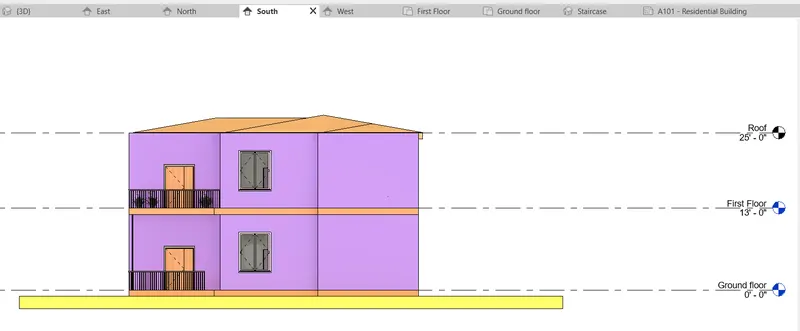
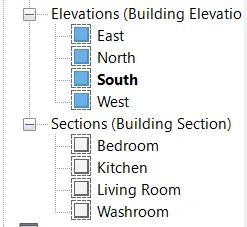
Aim: To create elevation views of four directions such as East view, West view, North view and South view.
Procedure:
Go to the view tab -> click on the elevation -> move the cursor to right side of the screen creating the east view simillary do it three types for rest of the three directions (Left side WEST) (Upside NORTH) and (downside SOUTH)
Result: The four different direction elevation view are created and as shown below.
7. Answer:
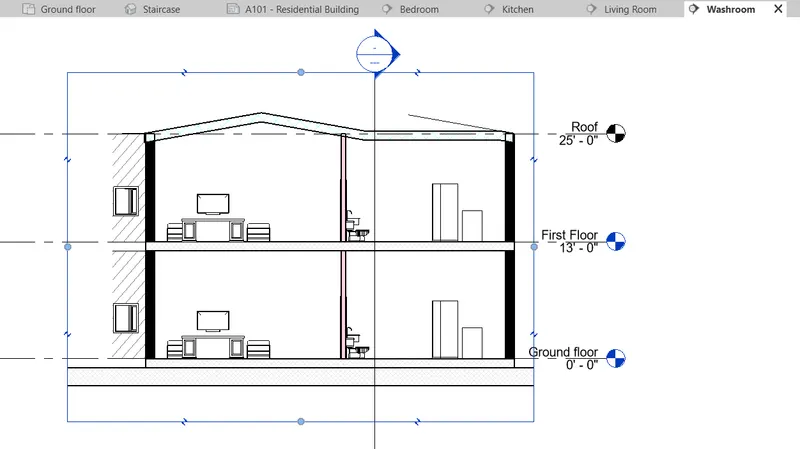
Aim: To create section cuts through each rooms either lonitudinal or transverse direction.
Procedure:
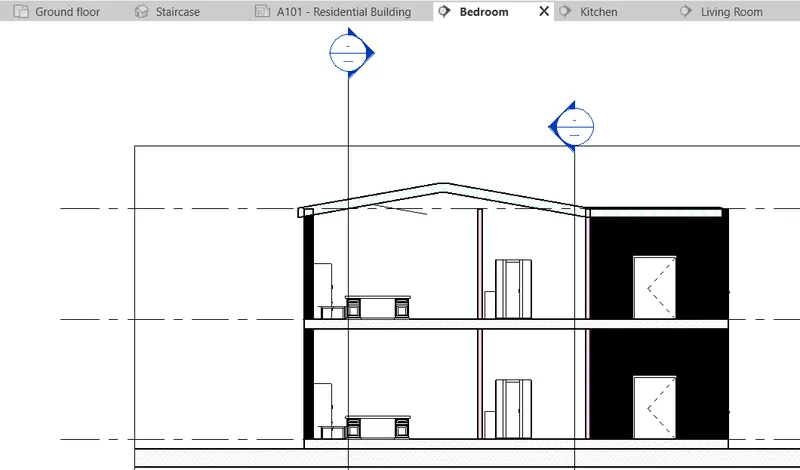
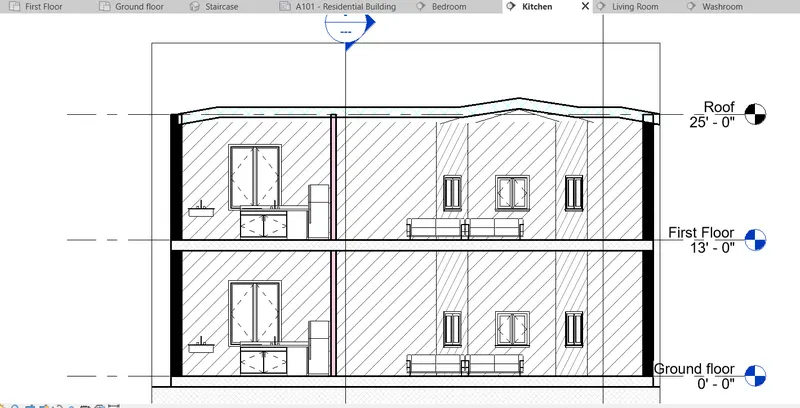
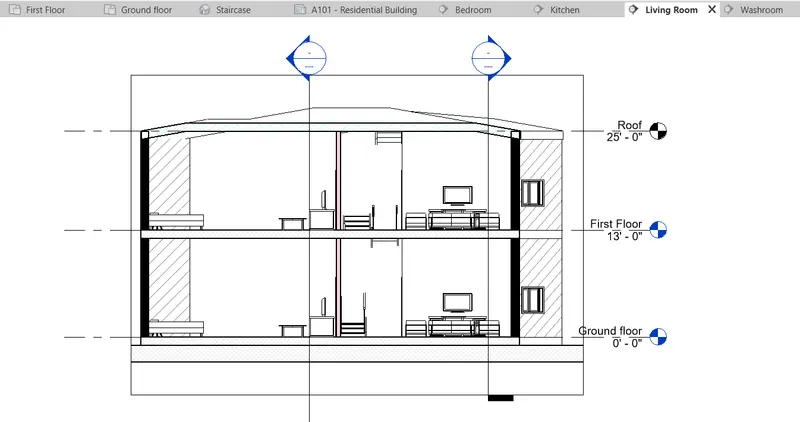
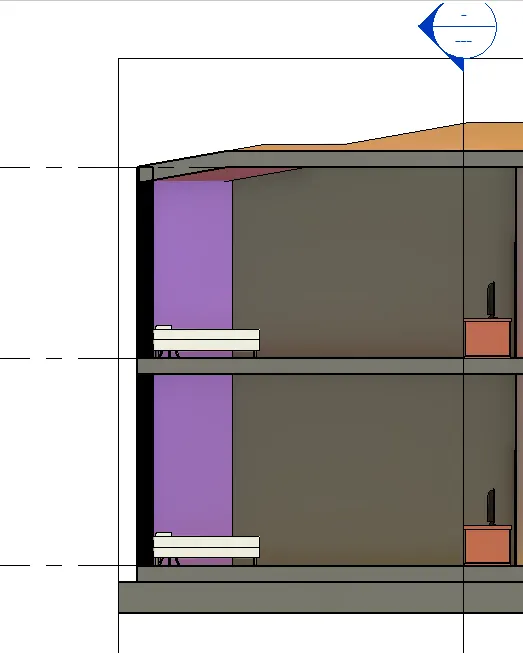
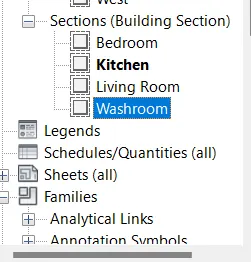
Go to the floor plan of ground floor -> click the view tab -> click on the section -> then move the cursor to cut the sections along the vertical and horizontal which ever is neccessary and rename the sections such as bedroom, livingroom, kitchen, washroom.
Result: The sections are created for bedroom, living room, kitchen and washroom and as shown below.
8. Answer:
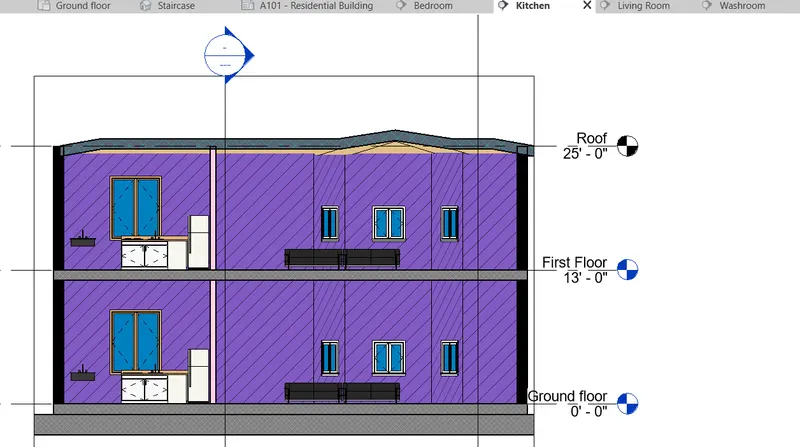
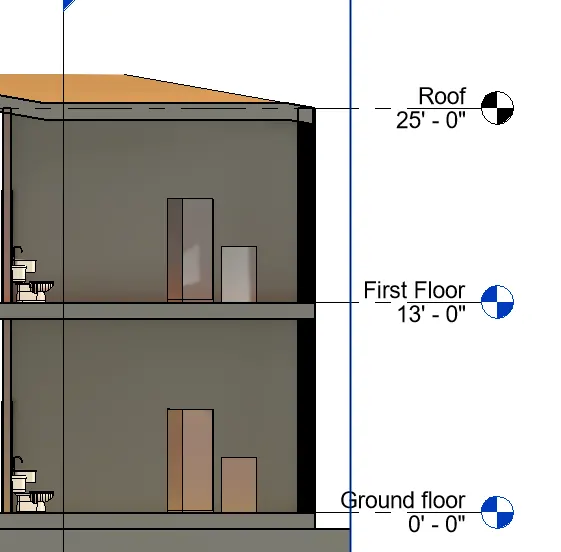
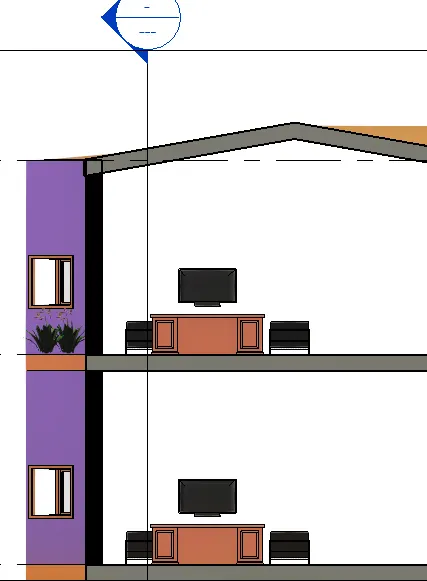
Aim: To take screenshots of the views of the created sections.
Procedure:
Go to the floor plan of ground floor -> click the view tab -> click on the section -> then move the cursor to cut the sections along the vertical and horizontal which ever is neccessary and rename the sections such as bedroom, livingroom, kitchen, washroom.
Result: The sections are created for bedroom, living room, kitchen and washroom and as shown below.
9. Answer:
Aim: To create representive sheets of the views and rename as gieven in the question.
Procedure:
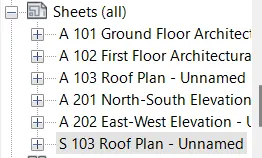
Go to the view tab -> click on sheet option -> immediatly a dialog box will open -> set the pagesize -> click OK
Drag the plans and sections into the sheets and create the multiple templates.
- A 101- Ground Floor Architecture Plan
- A 102- First Floor Architecture Plan
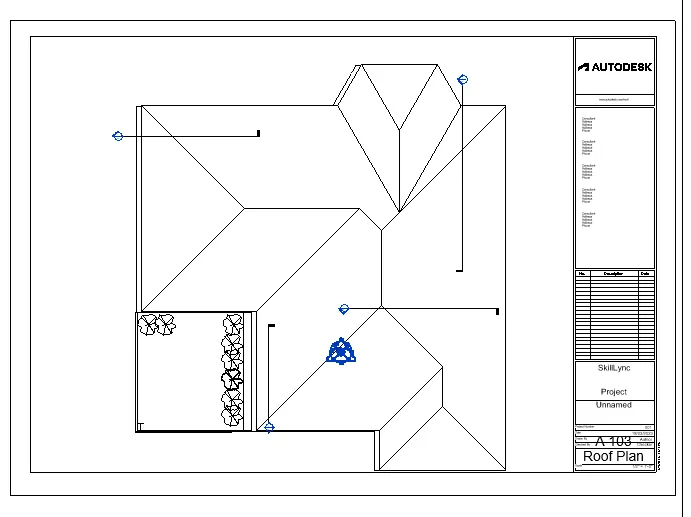
- A 103- Roof Plan
- S 101- Ground Floor Structural Plan
- S 102- First Floor Structural Plan
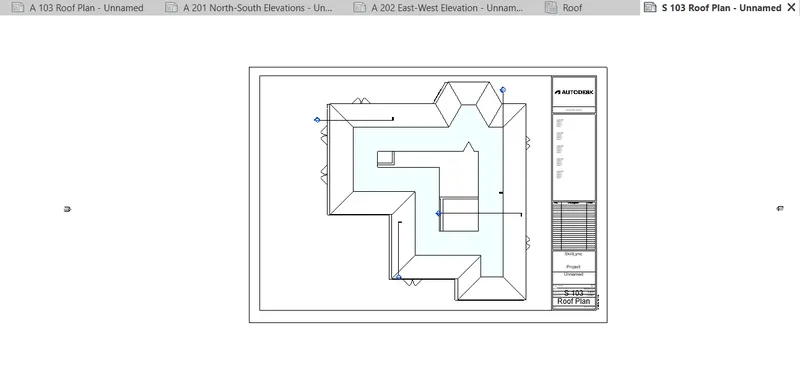
- S 103- Roof Framing Plan
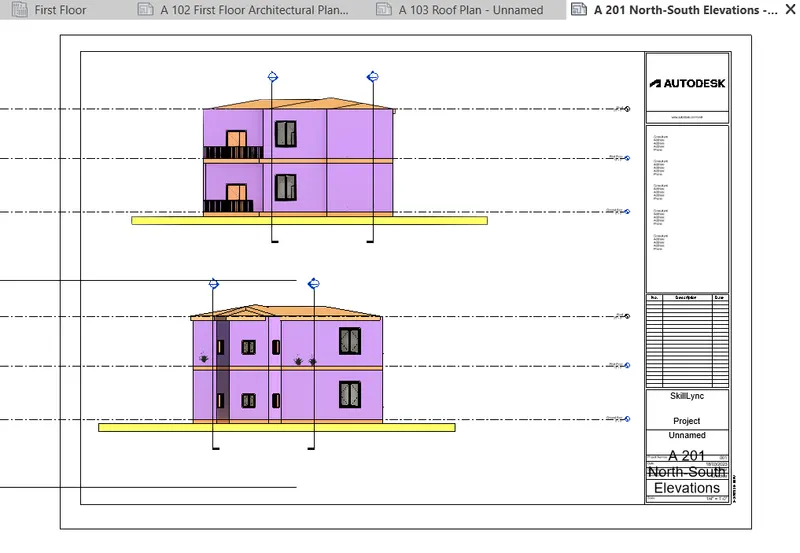
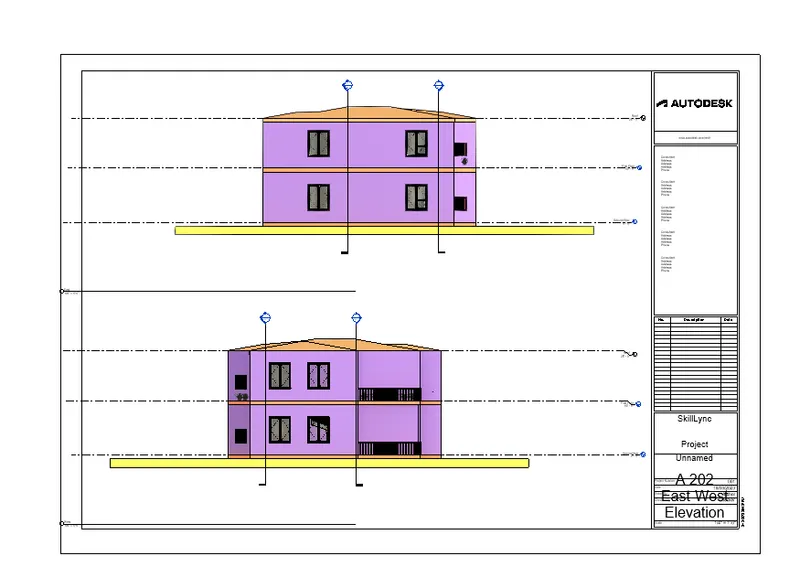
- A-201- North-South Elevations
- A-202- East-West Elevations
Result: The sheets of all the views is created and renamed as per specified.
10. Answer:
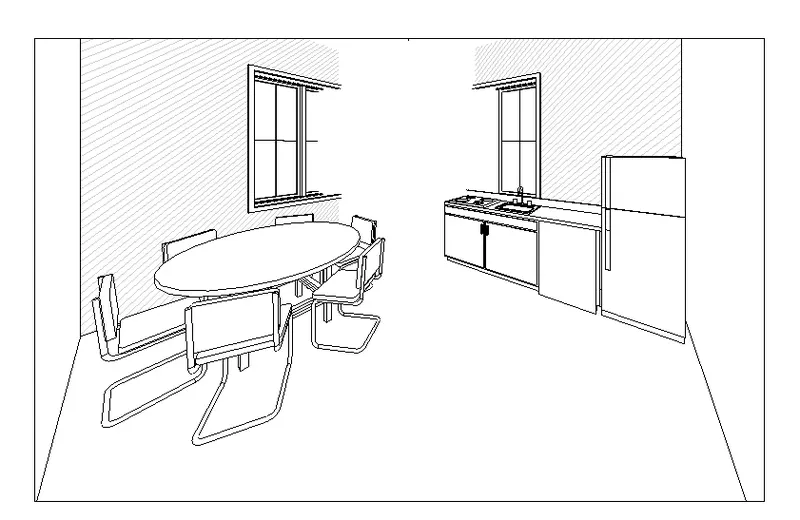
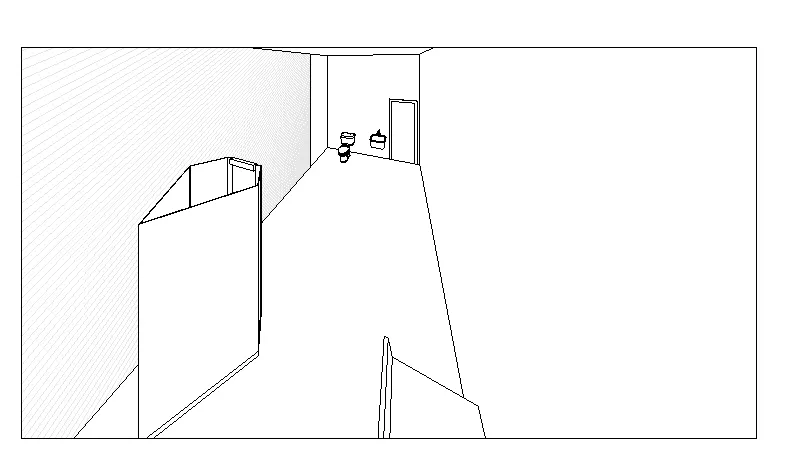
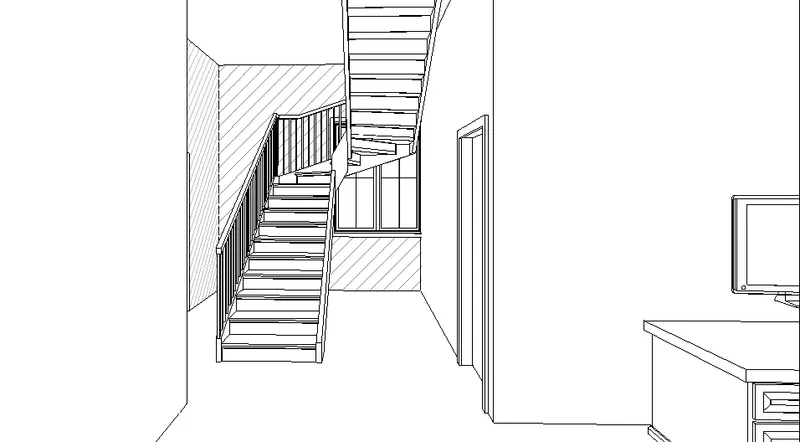
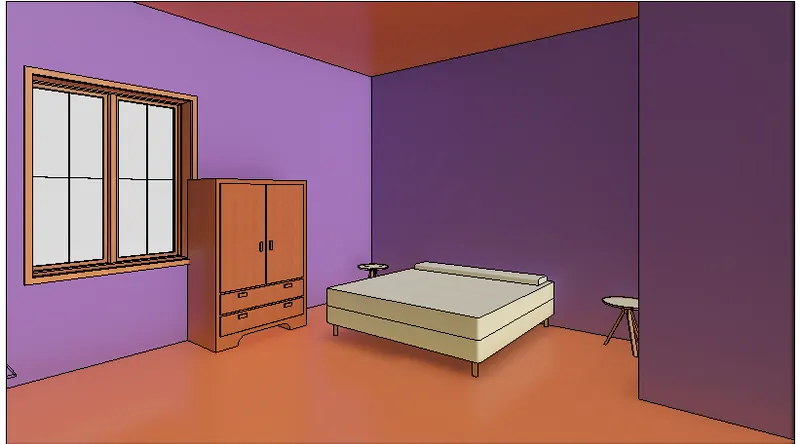
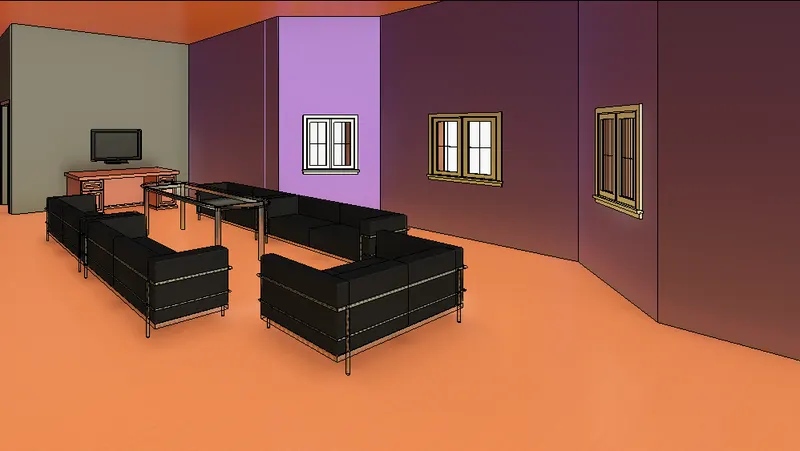
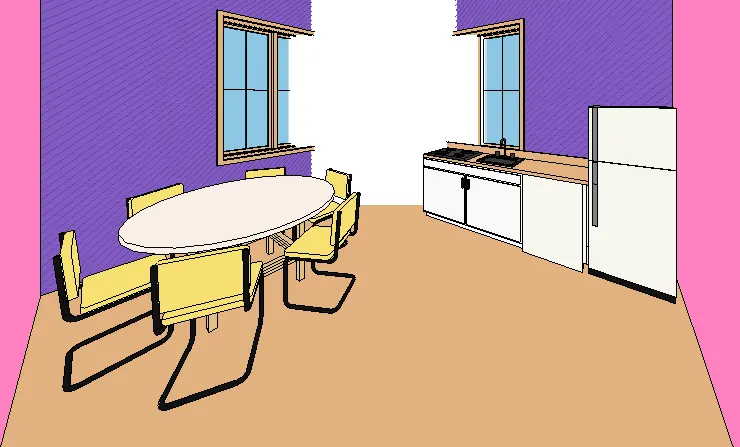
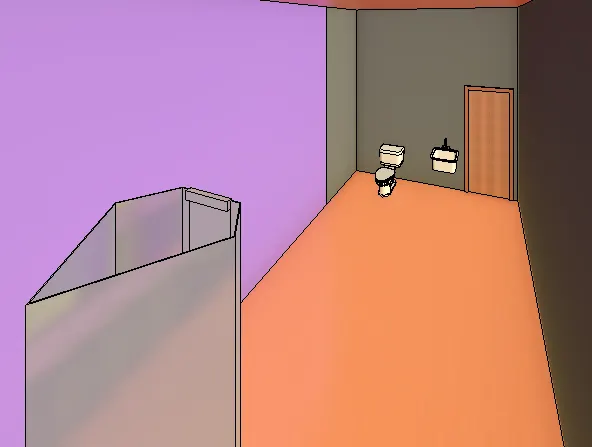
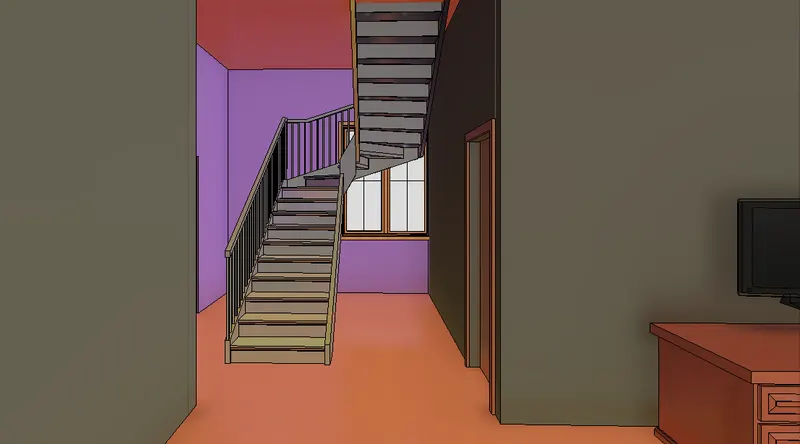
Aim: To create camera views for each rooms and to create sheets separately and to rename the sheets as specified in the question.
Procedure:
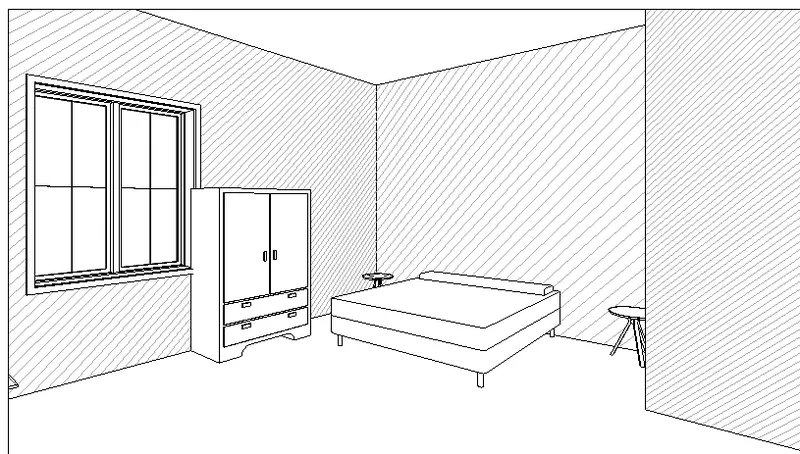
Go to the view tab -> Click on camera -> then place the camera in each rooms -> the camara ray will display and when double click the view is seen.
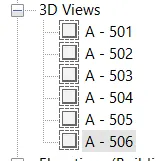
Rename the camera views as specifed in the questions as A-501, A-502, A-503, A-504, A-505.
For creating the sheets
Go to the view tab -> click on the sheet -> click Ok.
Result: The camera views are created and renamed to A-501, A-502, A-503, A-504, A-505.
--------------------------THANK YOU---------------------------