3D Creation of Ceiling, Roof, Architectural plan, Structural plan, Sectional view, Elevation view and Camera specific view for a house plan using REVIT
1.
Aim
To model a Ceiling from the architecture tab above the walls at the first-floor level
Procedure
1. Open the previous project from week 3
2. From the architectural tab select ceiling option
3. Open level 1 option from project browser
4. Select all rooms to create ceiling
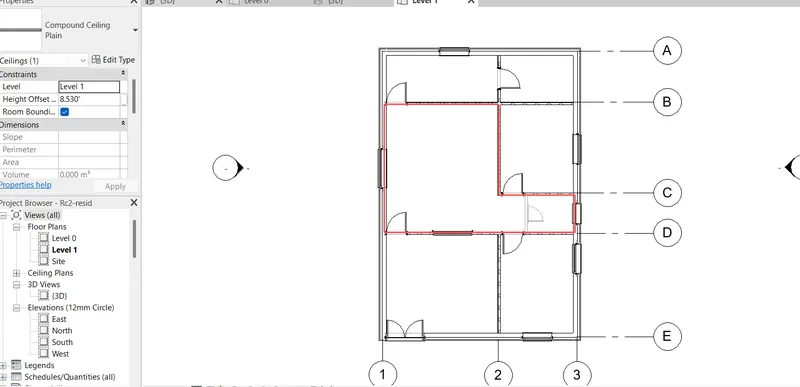
5. Now open the 3D view option to see the result
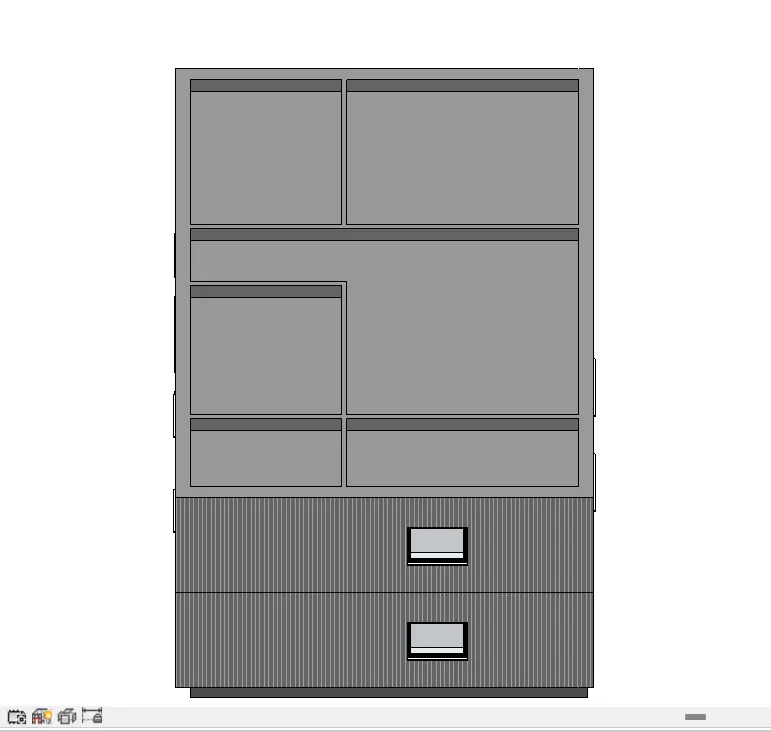
Result
Thus the ceiling is created to the model
2.
Aim
To model a roof to the model and adjusting the roof slope to 10 degree
Procedure
1. Open the previous project of residential model
2. Now open East or any direction from left project browser
3. Create another level at 20' for roof called Level 3
4. From architectural tab select roof br footprint
5. From toolbar at top select rectangle option
6. Draw rectangle outside the layout
7. From left properties browser change slope to 10 degree
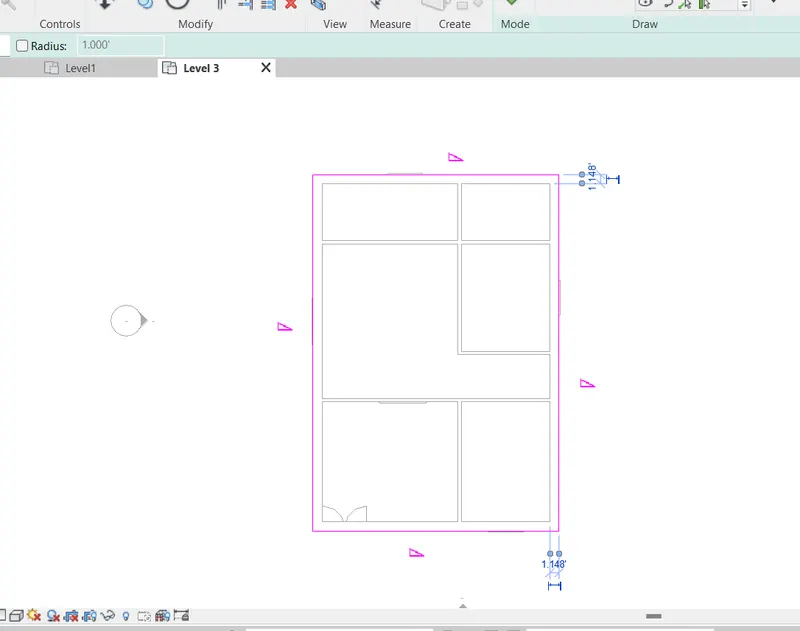
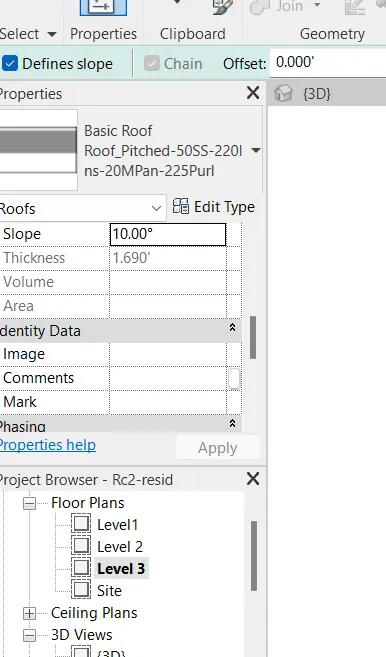
8. Now change the view to 3D to see the result
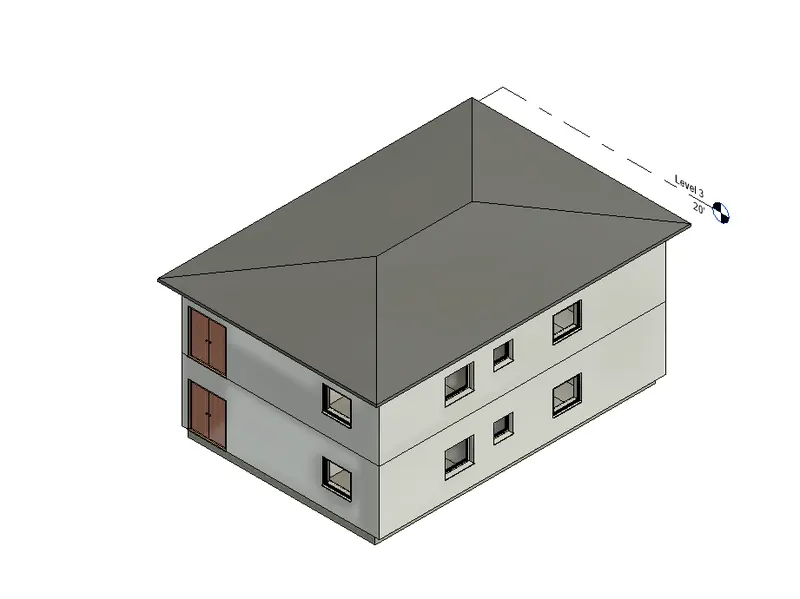
Result
Thus the roof is created to the model and slope 10 degree is also added
3.
Aim
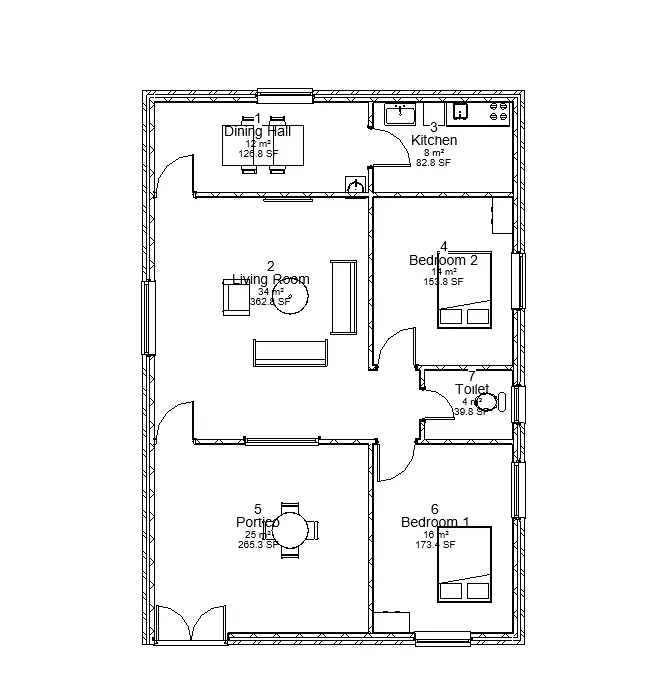
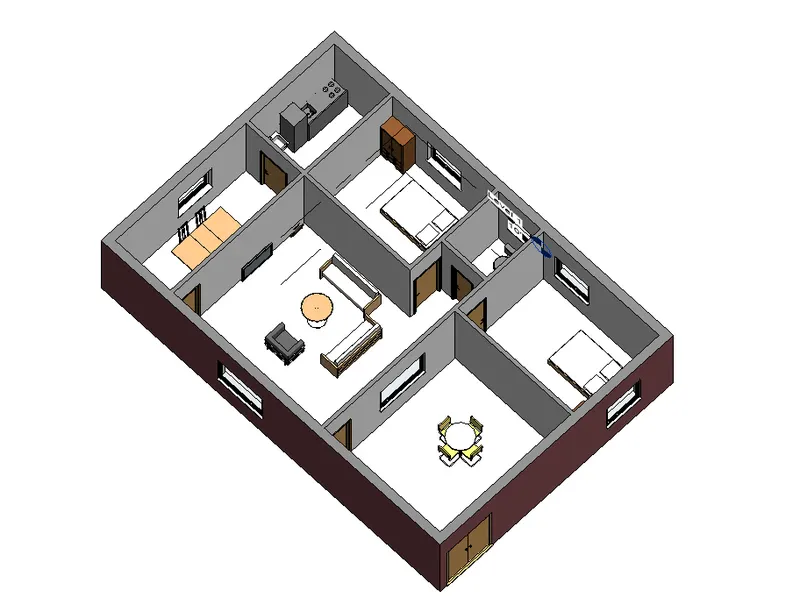
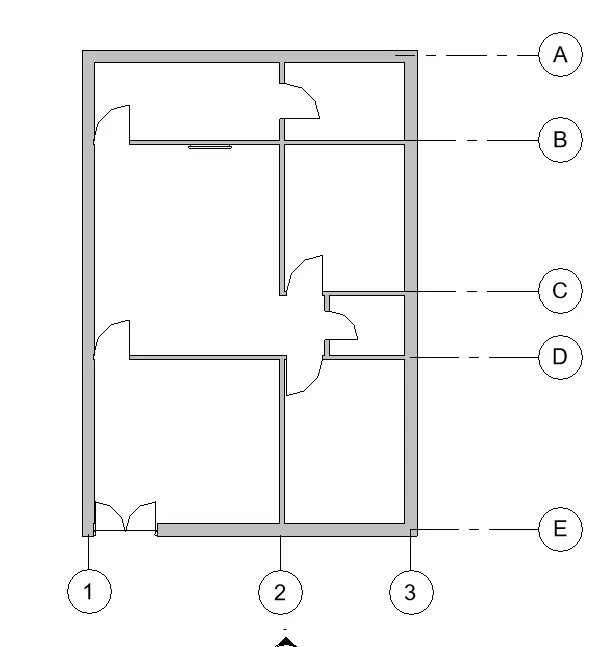
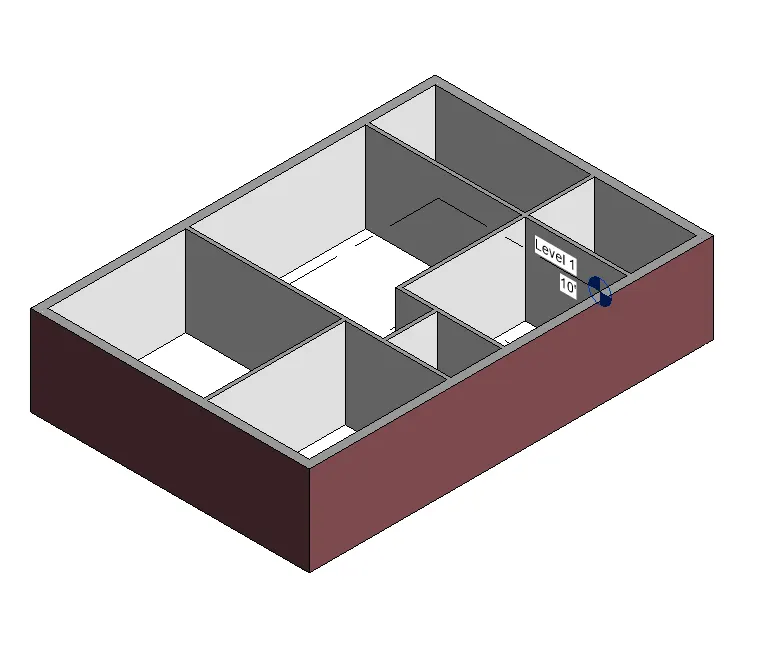
To create seperate architectural view and structural view of the model
Procedure
a)
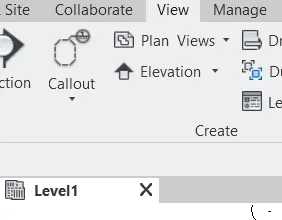
1. Open the view tab from toolbar
2. Under that select plan views
3. Select architectural plan view
b)
1. Open the view tab from toolbar
2. Under that select plan views
3. Select Structural plan view
Result
Thus the both architectural and structural pan views are created seperately
4.
Aim
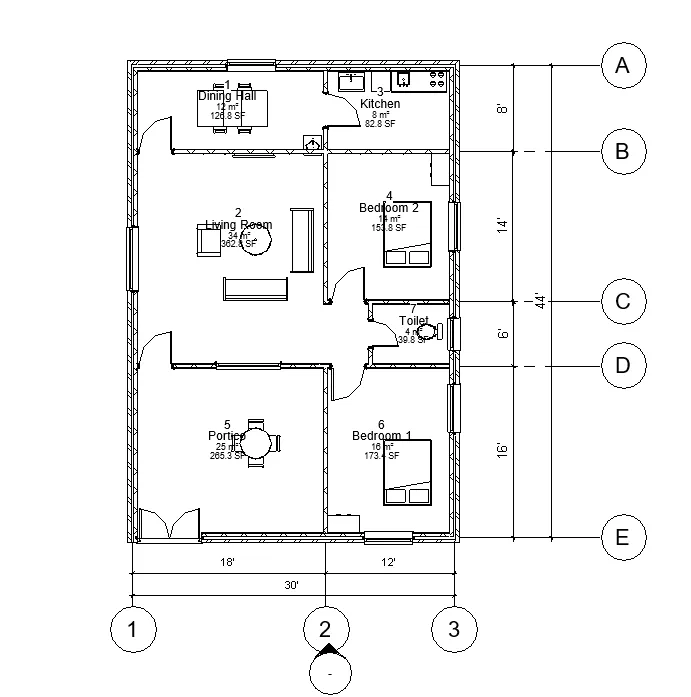
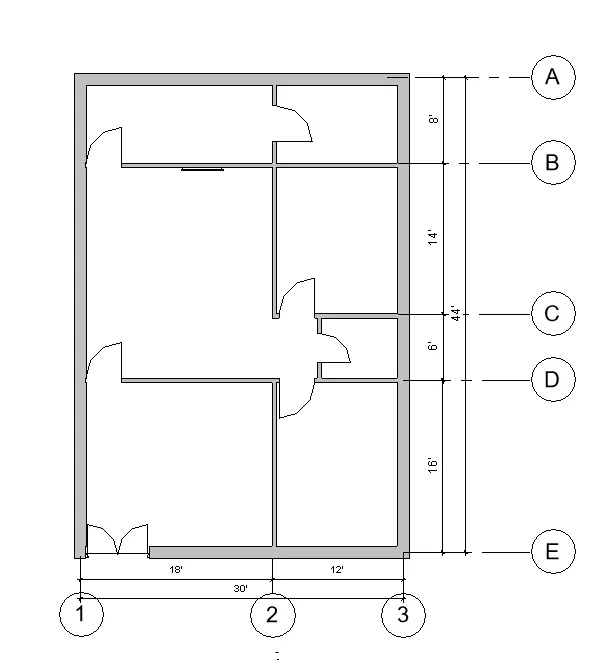
Using annotate toolbar we add dimensions to all the walls and floors with reference to the longitudinal and transverse grids created in the project file
Procedure
a.
1. Open the architectural view of the model
2. Select the grid from Architectural toolbar
3. Place the grids to the model
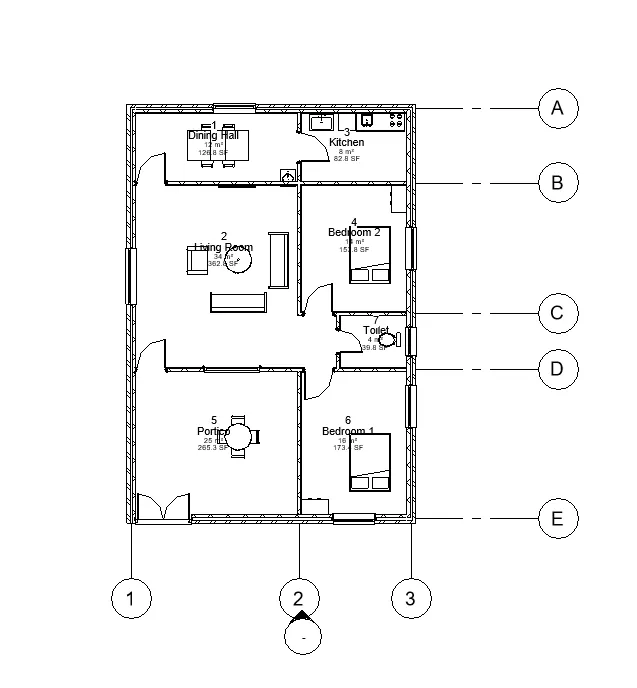
4. Now select Annotate option from toolbar
5. Select each spaces between the each grids to mark the dimensions
b.
1. Open the structural view of the model
2. Select grid option from Architecture toolbar
3. Place the grids to the model
4. Now select annotate option from toolbar
5. Select linear option
6. Select each space between each grids to mark the dimensions
Result
Using annotate toolbar we added dimensions to all the walls and floors with reference to the longitudinal and transverse grids created in the project file
5.
Aim
To create a sheet template from the view tab and adjust the parameters on the sheet to add appropriate views
Procedure
1. Open revit and open the previous model
2. Find view option from toolbar and select it
3. Under that select sheet option
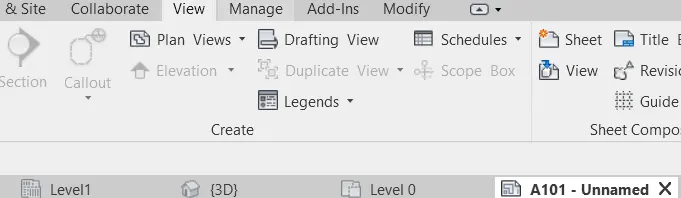
4. Click ok and open the default sheet template
5. After the sheet is opened, from properties browser
6. We can edit the identity data like approved by,designed by etc.
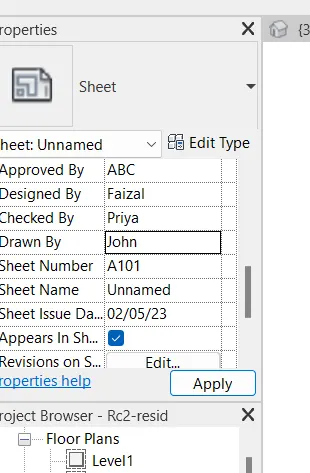
7. After editing that, from project browser
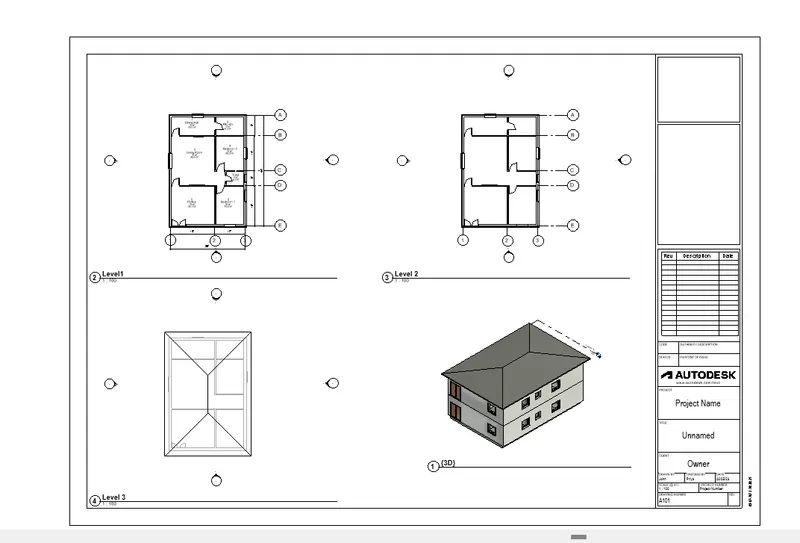
8. Select each view and drag it into the sheet
9. Select the appropriate views and drag it in
Result
We have created a sheet template from the view tab and adjusted the parameters on the sheet and added appropriate views.
6.
Aim
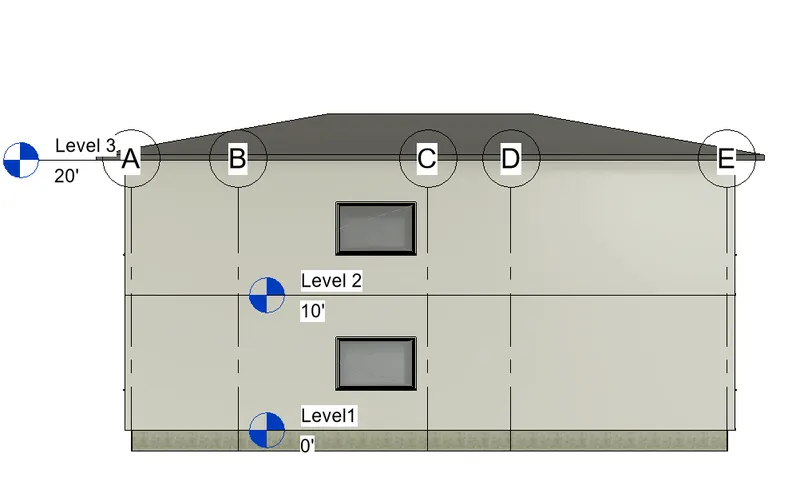
To create the elevation views from elevation tab in all direction
Procedure
1. Open the previous model in revit
2. From the left under project browser
3. Select elevations
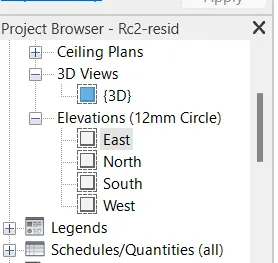
4. Open east elevation to view
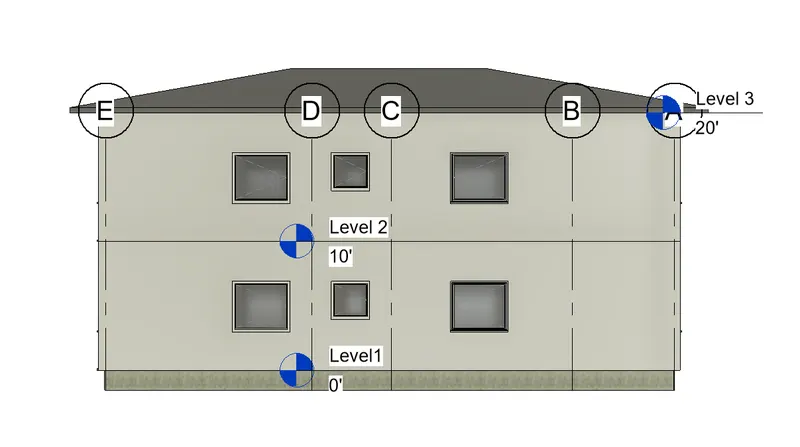
5. Open North elevation to view
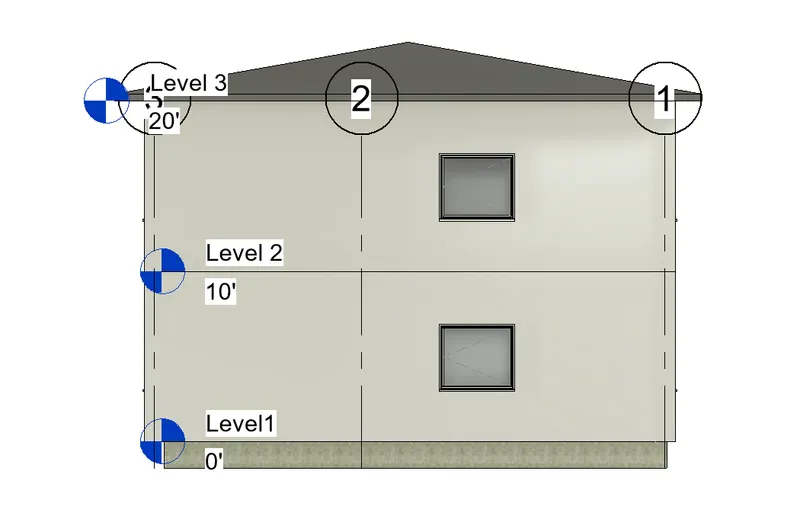
6. Open South elevation to view
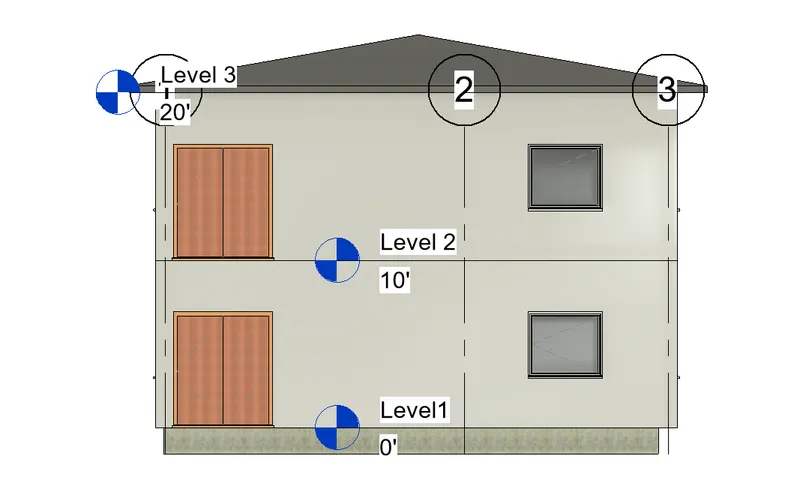
7. Open West elevation to view
Result
Using elevation tab all the views are created
7.
Aim
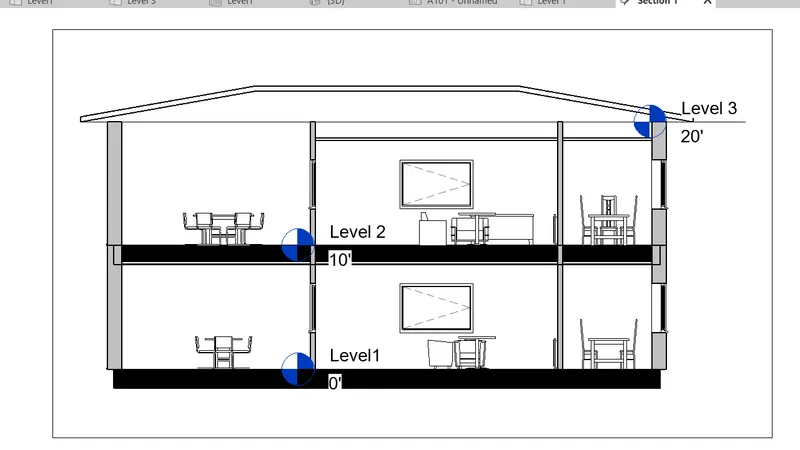
To produce section cut through the rooms
Procedure
1. Open the previous model in revit
2. Open level 1 view from the project browser
3. Select view tab from toolbar under that select section
4. Cut across through the model
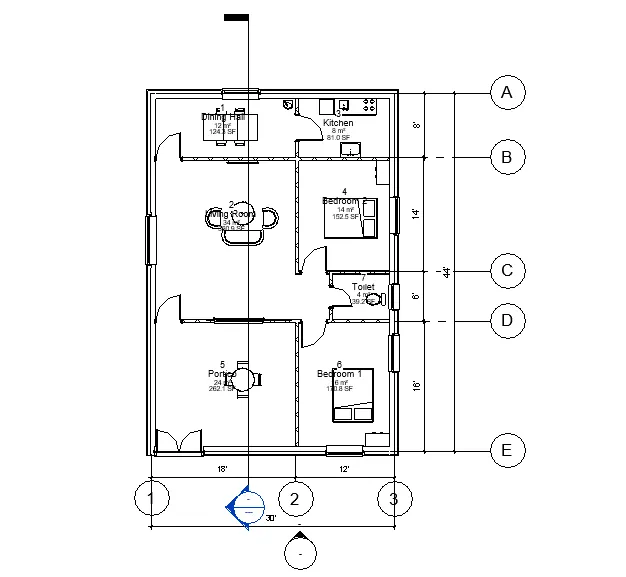
5. Right click the section cut and select go to view
Result
Thus the section cut through the model is created.
8.
Aim
To classify the views, Plan Views, Section Views, and Elevation views to either Design or Documentation category using properties browser
Procedure
1.Open the previous model in revit
2. From left project browser
3. We can access all the views from there
Plan view
Section view
Elevation view
Result
Thus all the Plan Views, Section Views, and Elevation views are classified
9.
Aim
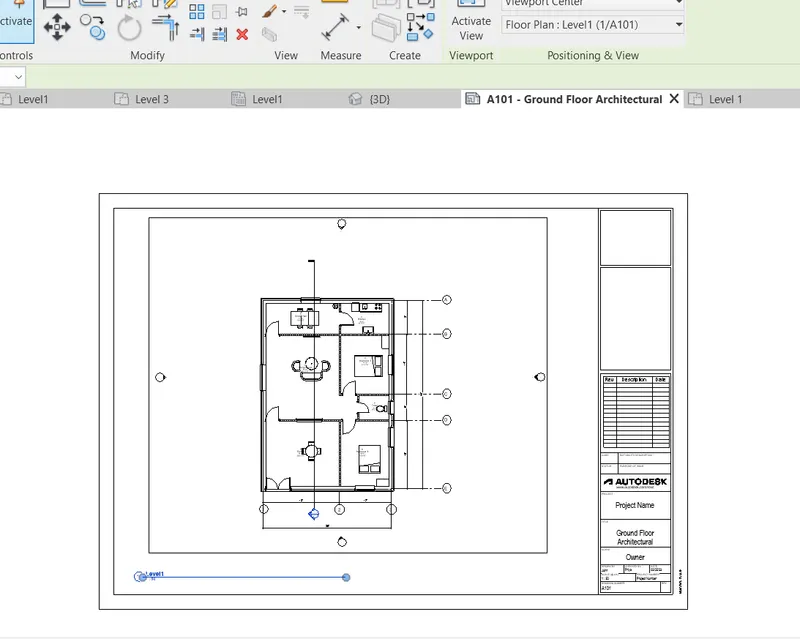
To create sheet template and create each given sheet for given views
Procedure
1. Open sheet from view toolbar
2. Name each sheet as given and drag the appropriate views to the sheet
a. A101- Ground Floor Architecture Plan
b. A102- First Floor Architecture Plan
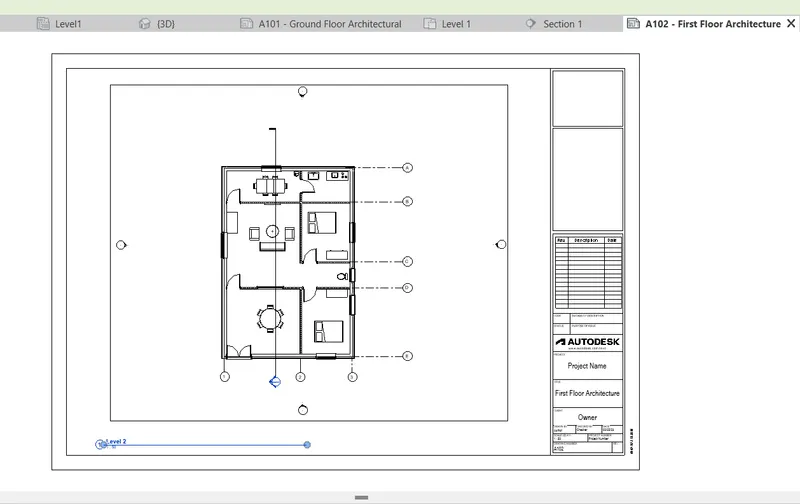
c. A103- Roof Plan
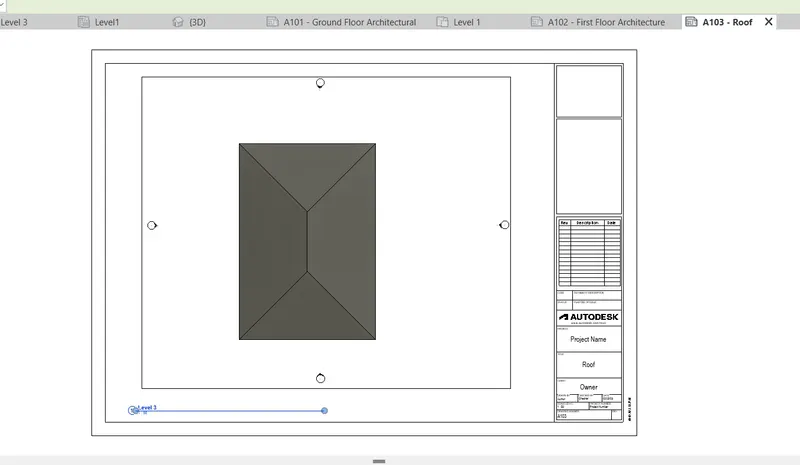
d. S101- Ground Floor Structural Plan
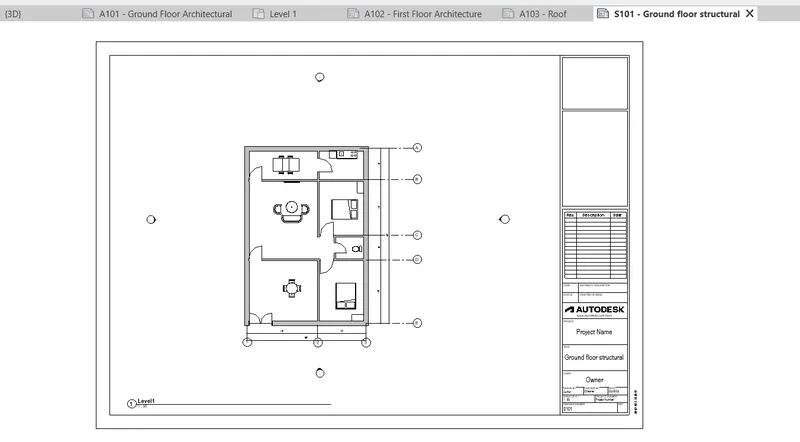
e. S102- First Floor Structural Plan
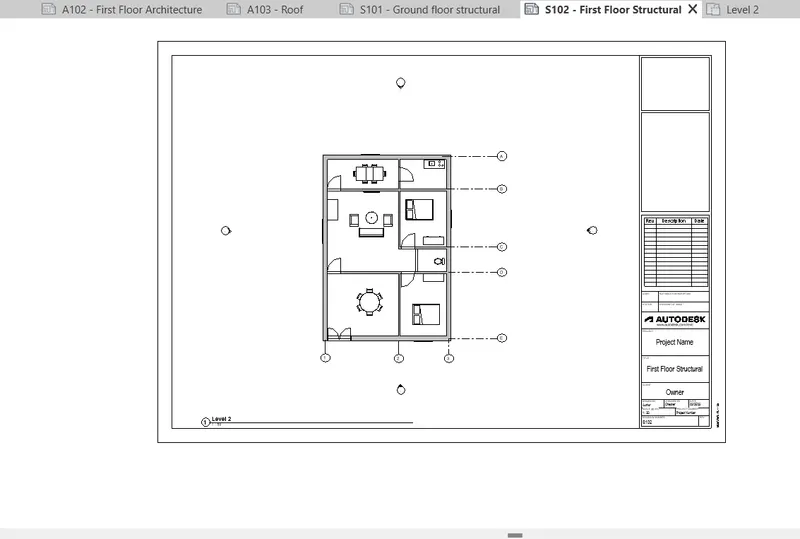
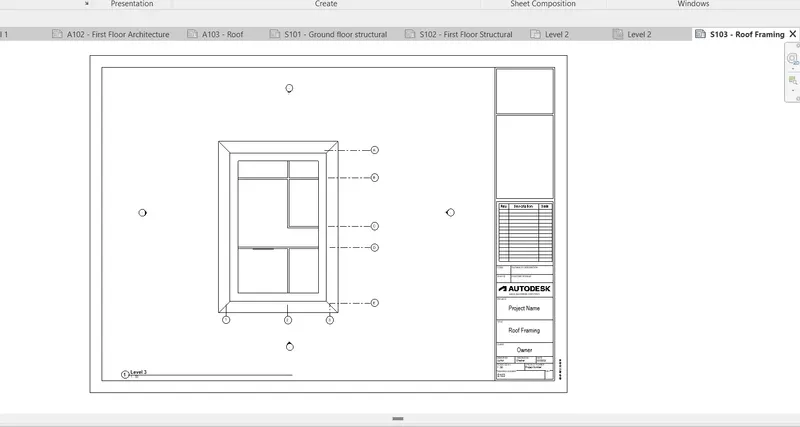
f. S103- Roof Framing Plan
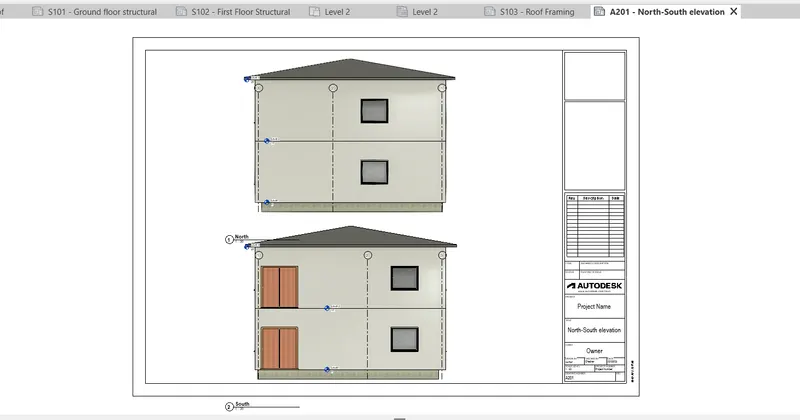
g. A201- North-South Elevations
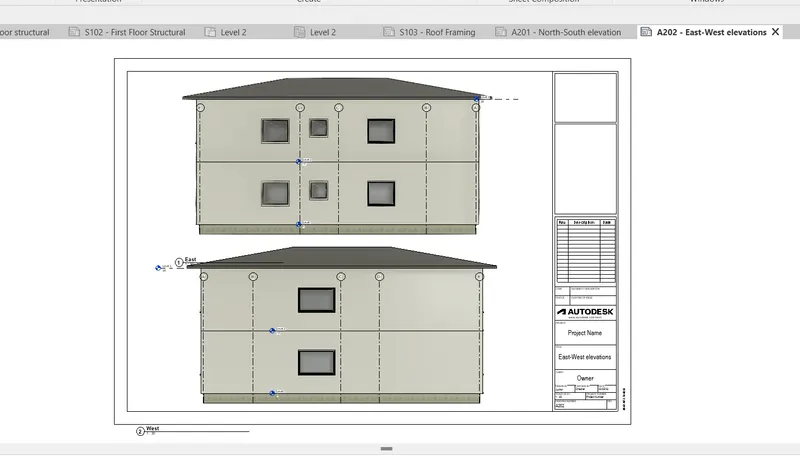
h. A202- East-West Elevations
Result
Thus all the given sheet templates are created
10.
Aim
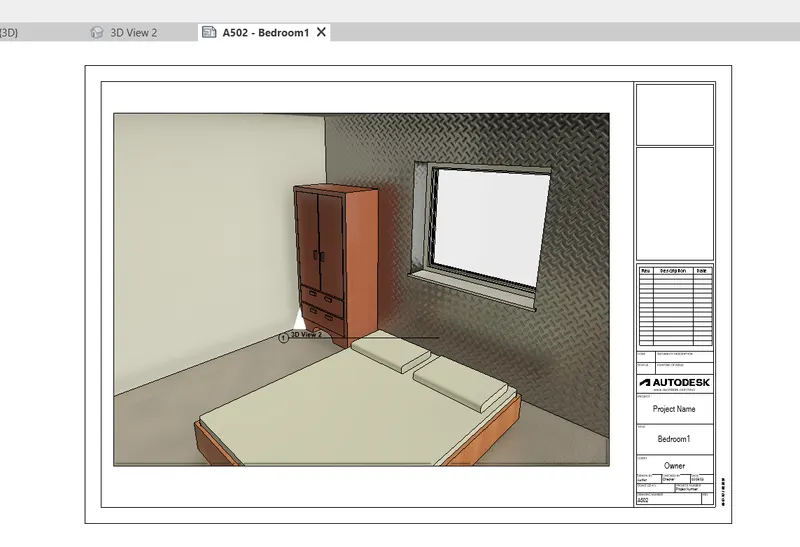
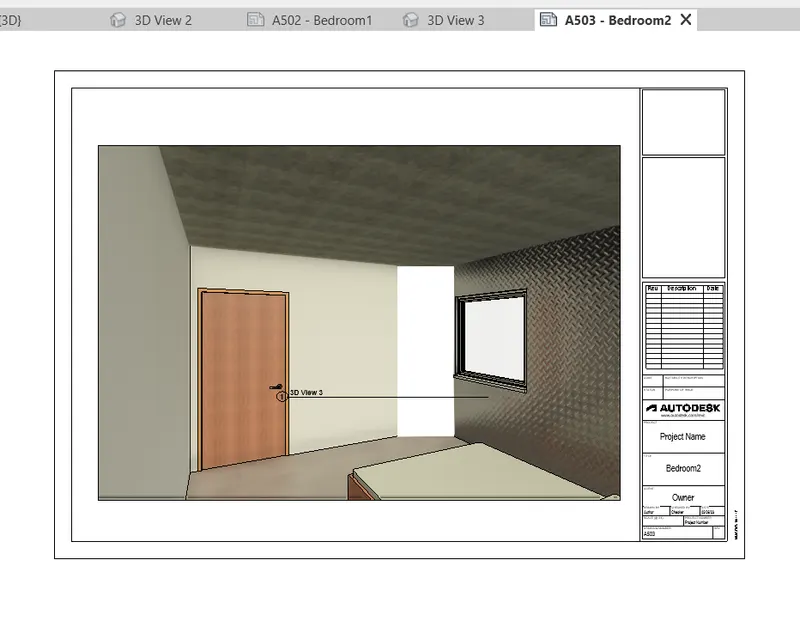
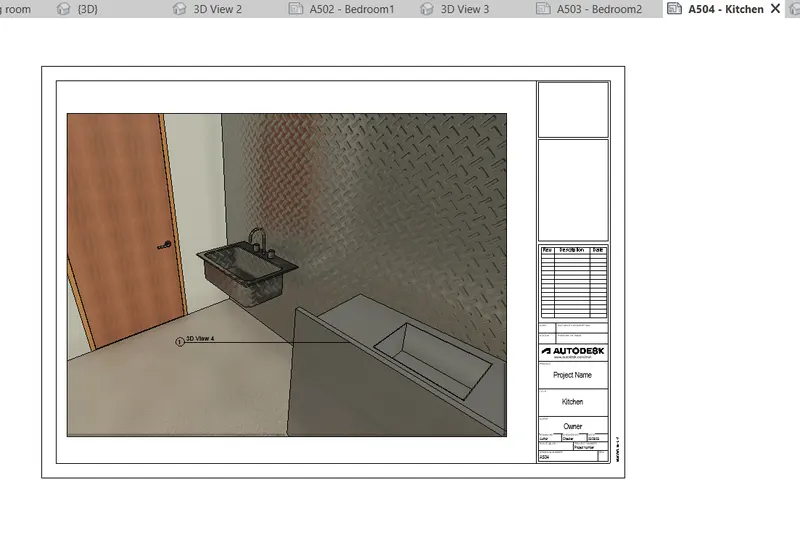
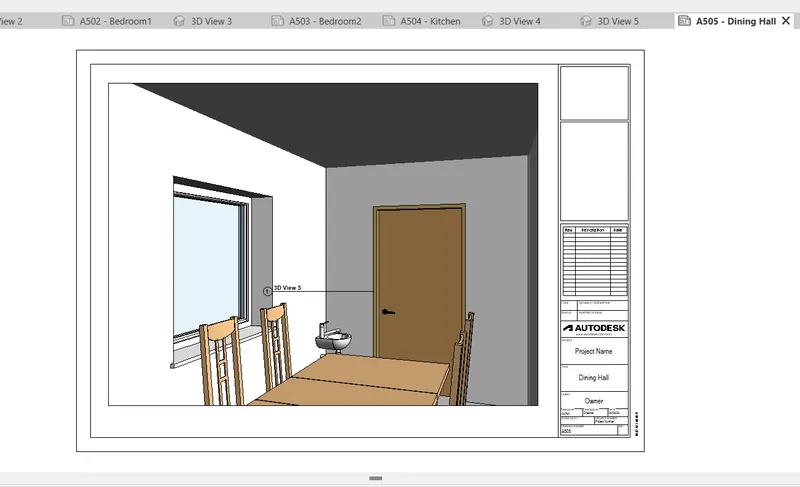
To add camera view in each room in sheet template
Procedure
1. Open the previous revit model
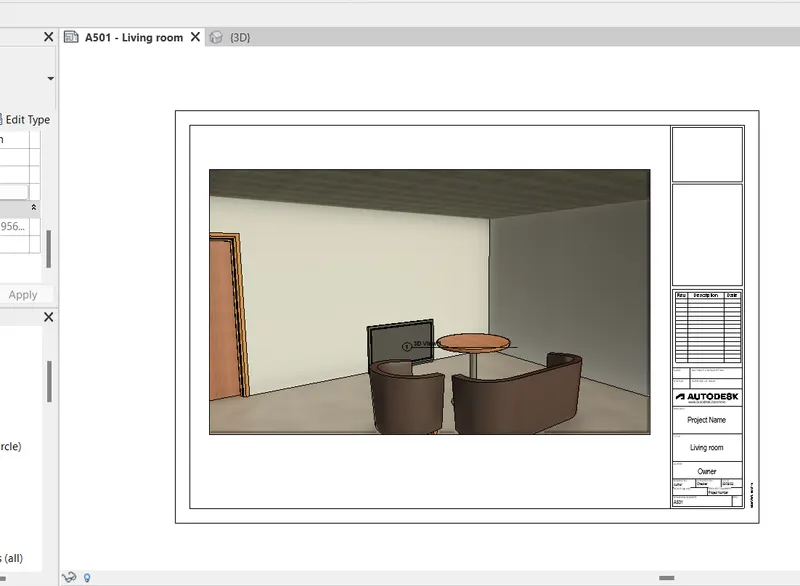
2. Open the 3d view and create camera walkthrough in each room
3. Create each sheet for each room and add
A501 Living room
A502 Bedroom 1
A503 Bedroom 2
A504 Kitchen
A505 Dining Hall
A506 Portico
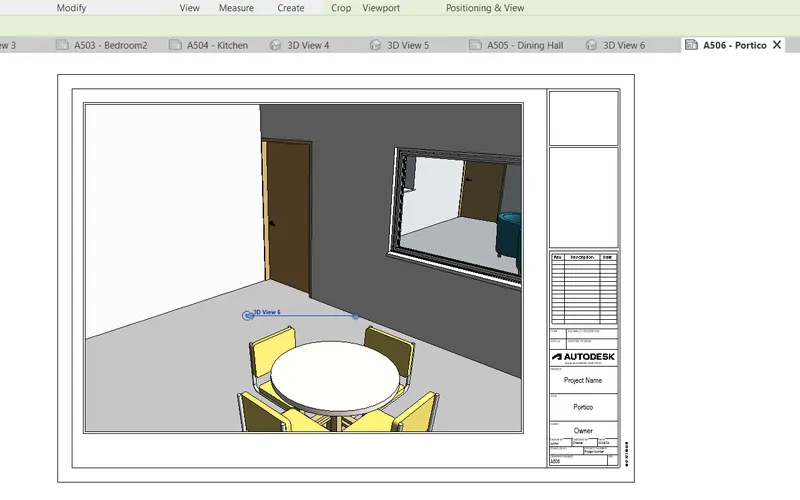
Result
Thus the all camera view in each room has been added to the sheet