3D Creation of Ceiling, Roof, Architectural plan, Structural plan, Sectional view, Elevation view and Camera specific view for a house plan using REVIT
1) Aim : model a ceiling above walls at first level
Introduction :Based on last week model, we should model a ceiling above walls in first floor using architectuarl tab.
Procedure: Open last week revit model and open first floor view.
From architecture tab select ceiling and then we should select sketch ceiling.
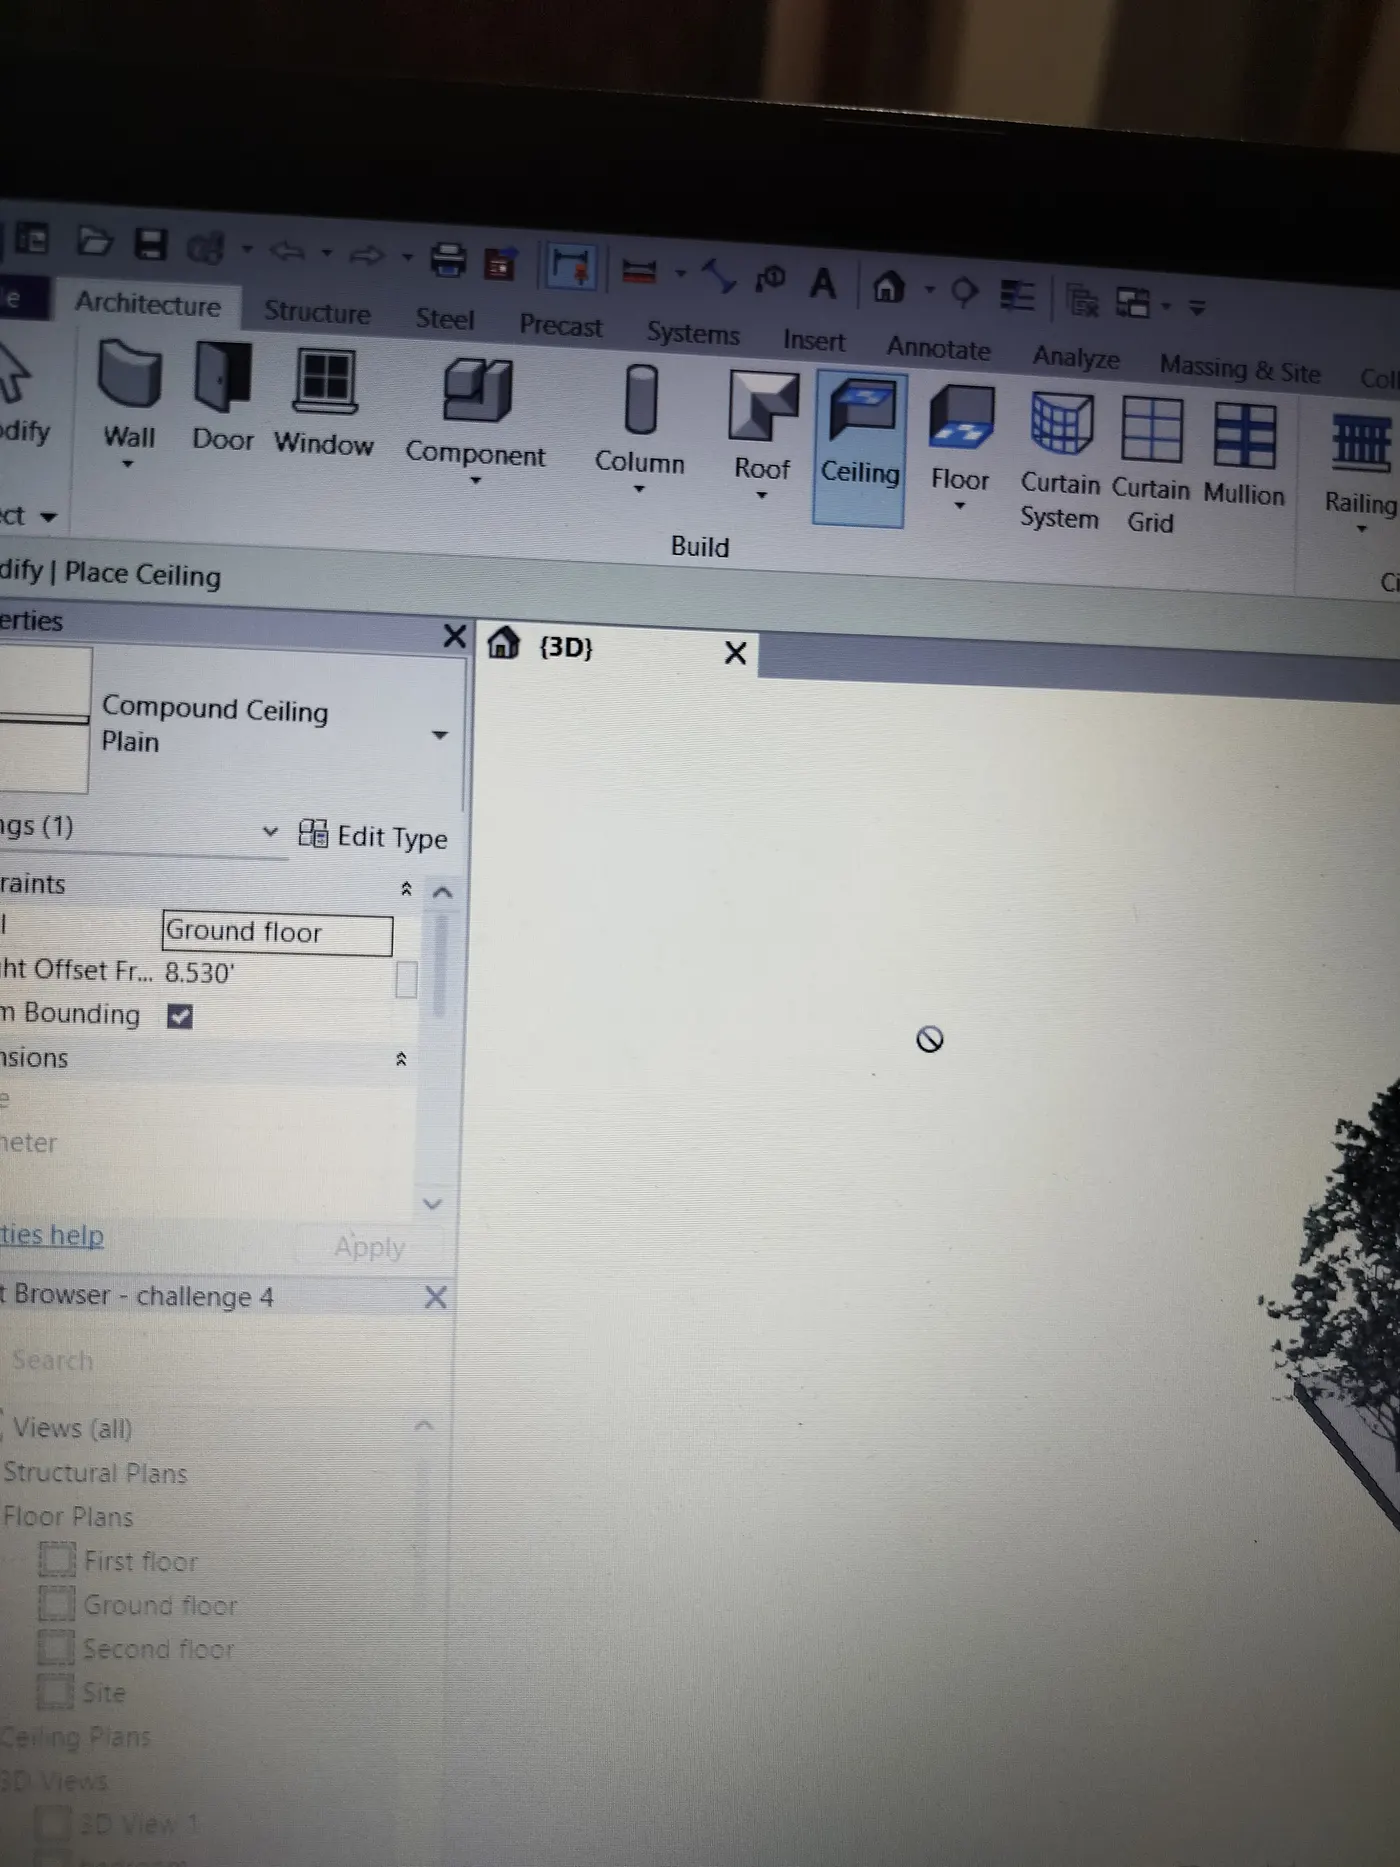
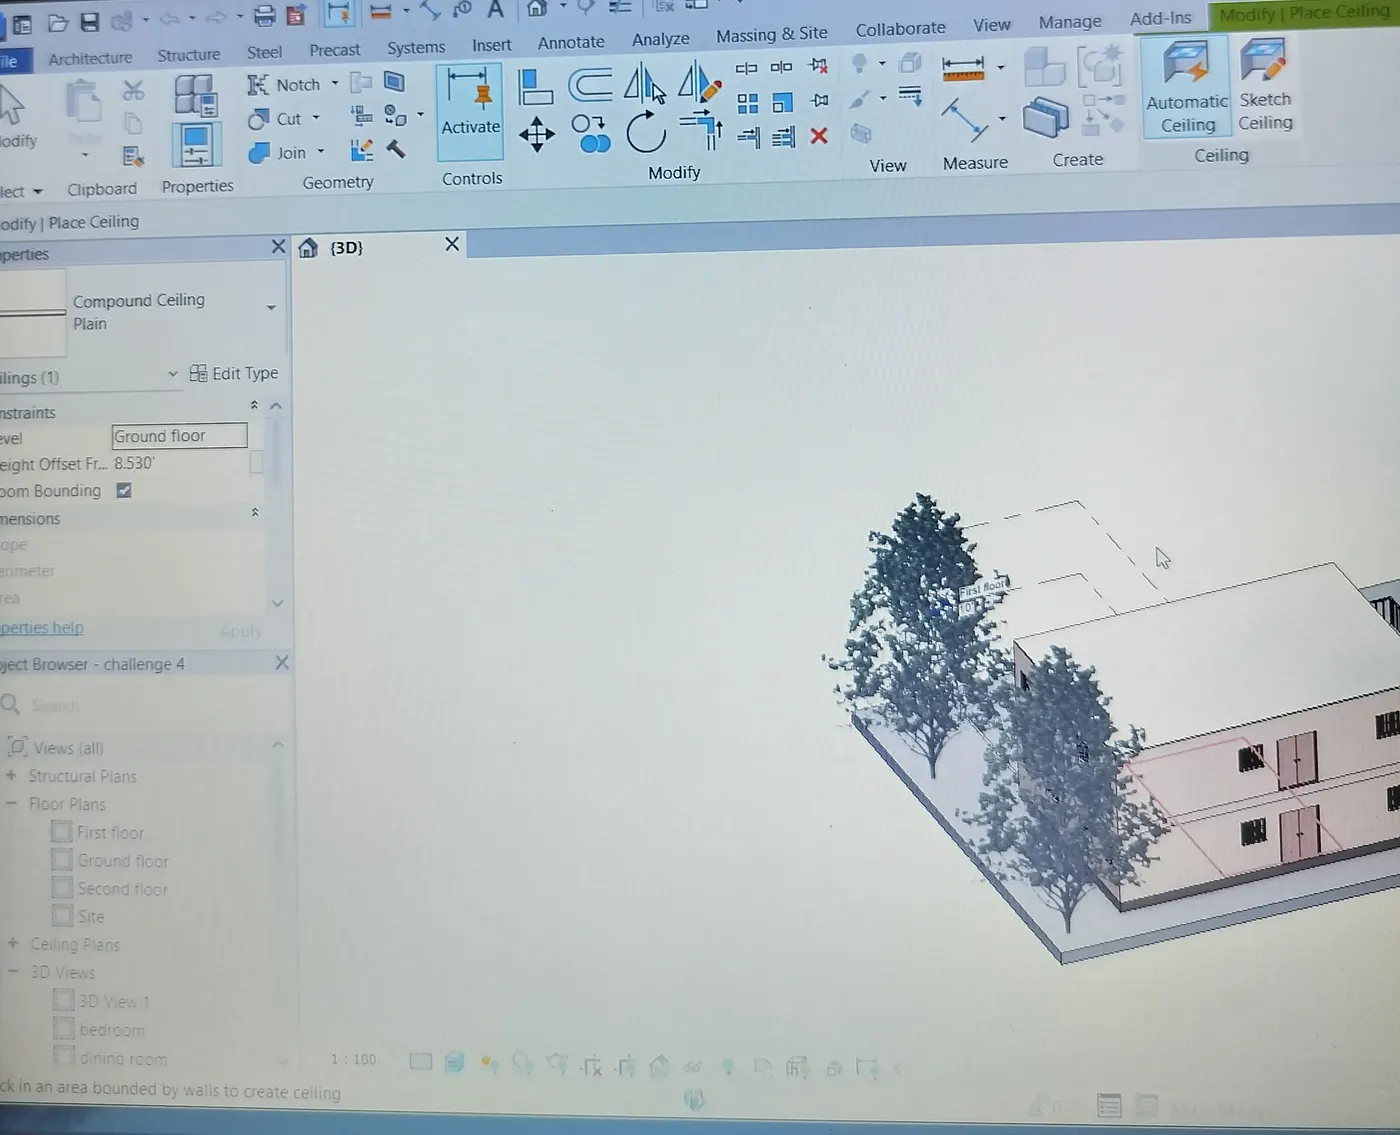
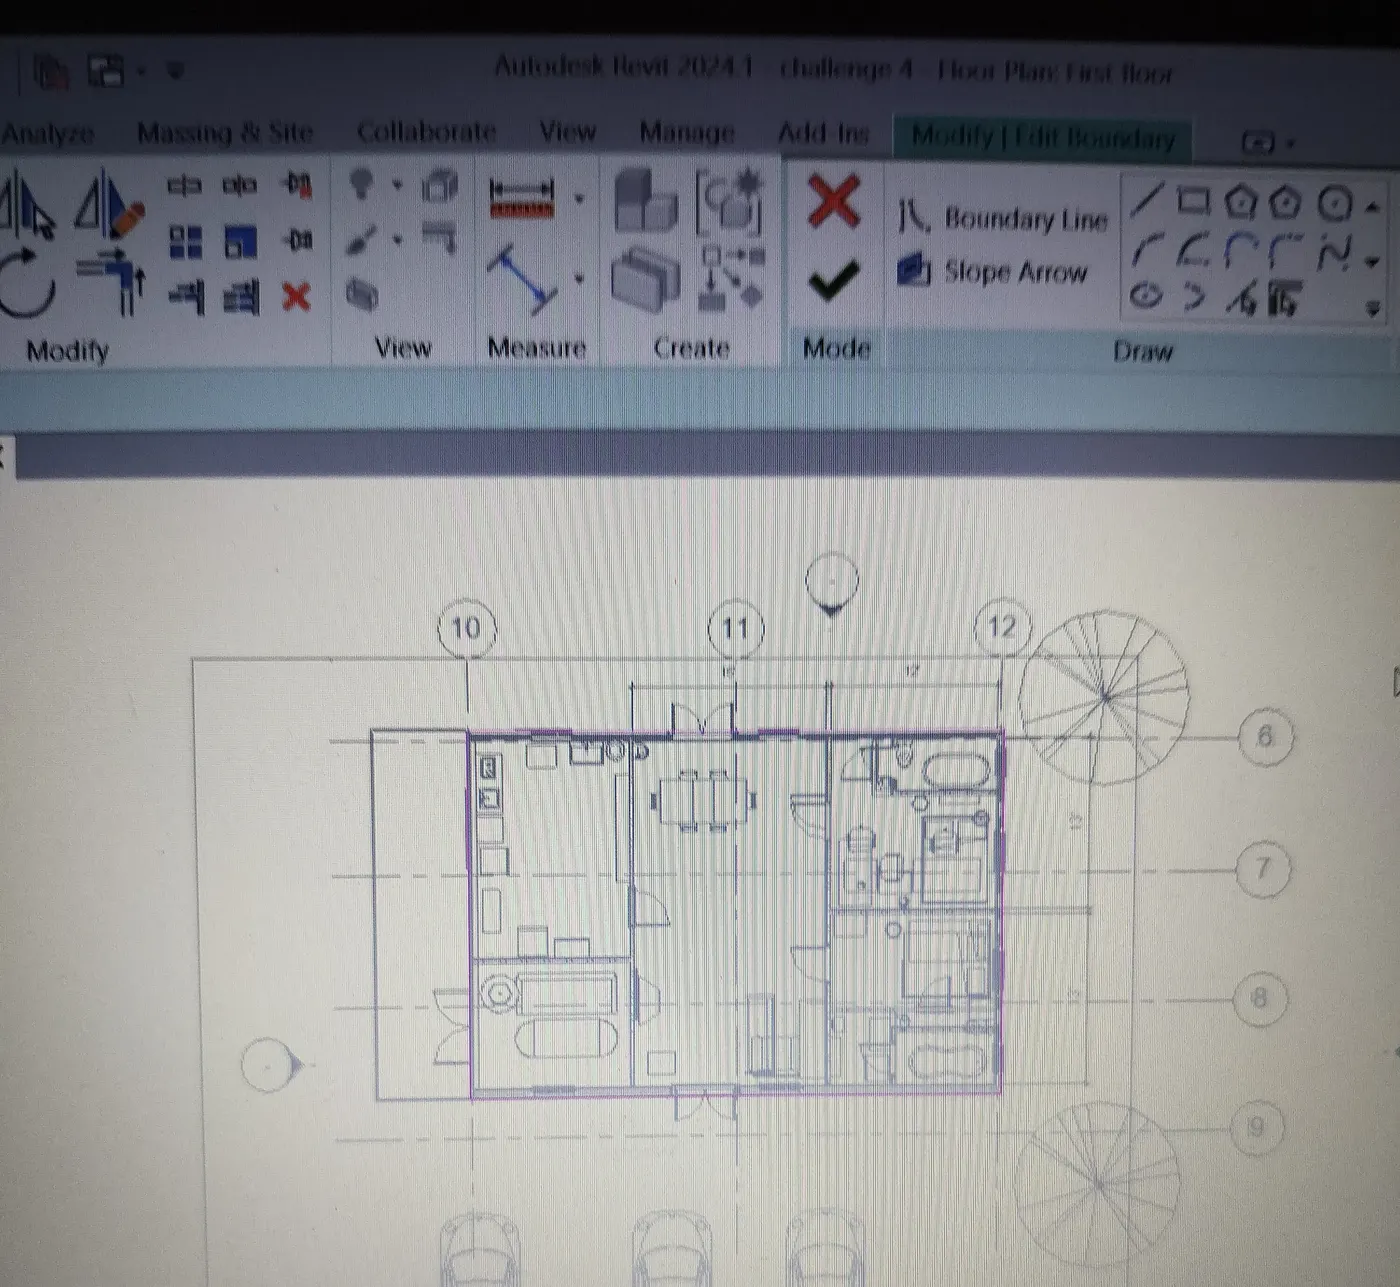
After selecting sketch ceiling we should draw boundary where we want ceiling and then we should finish edit mode.
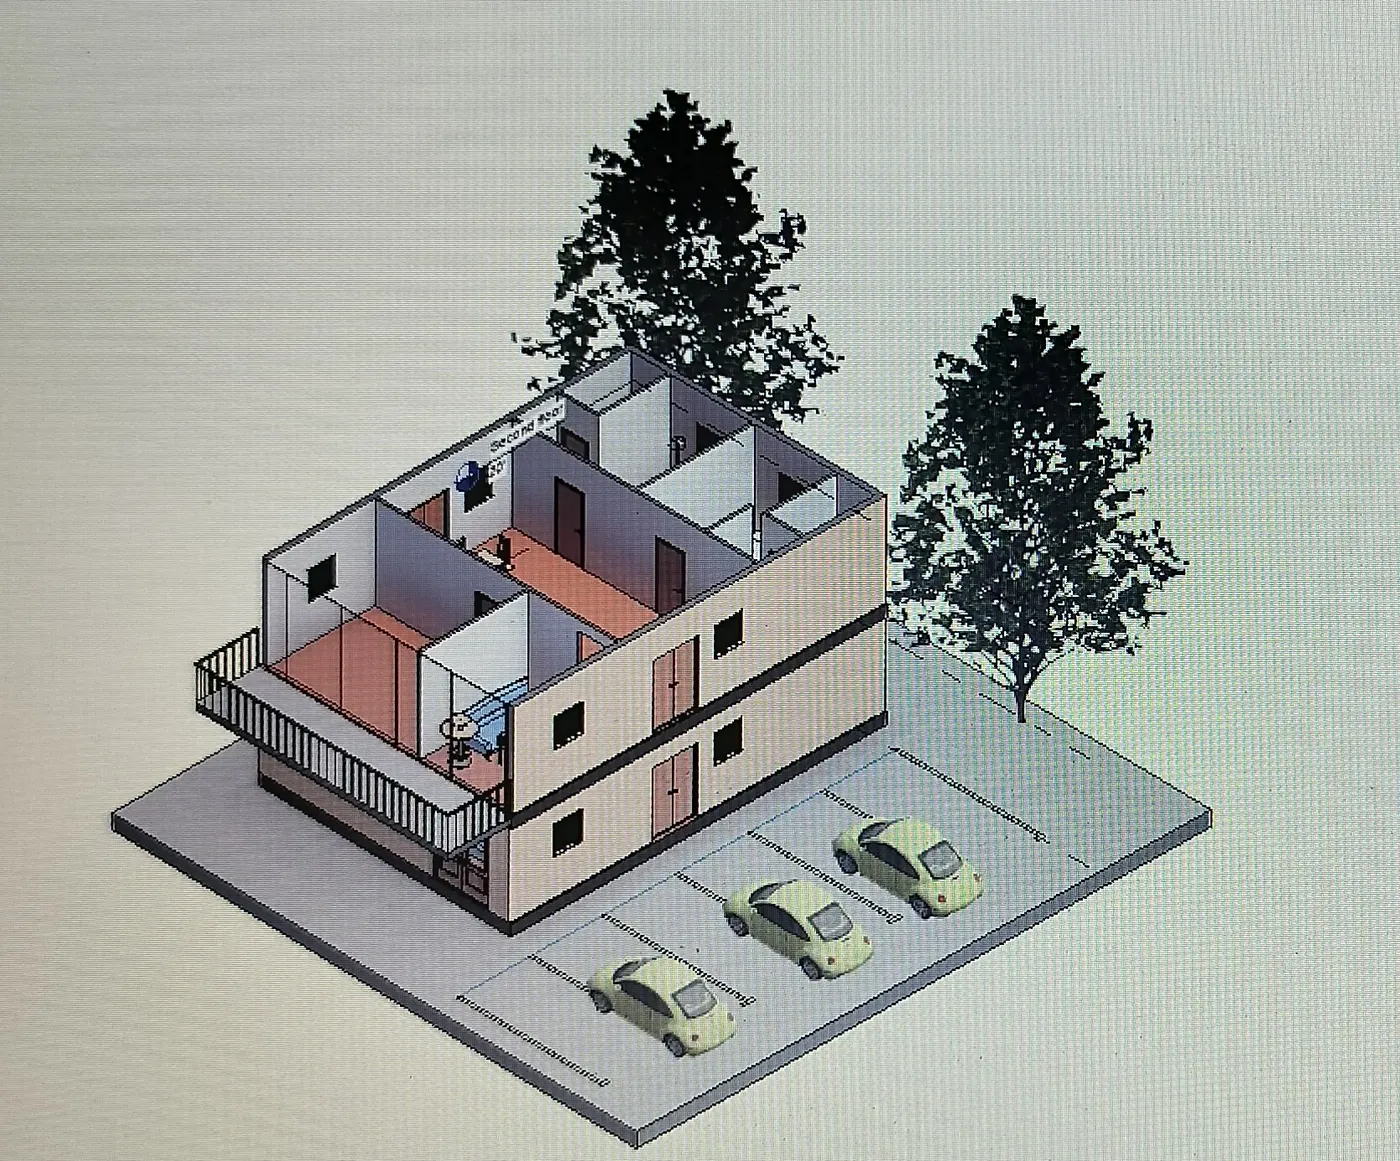
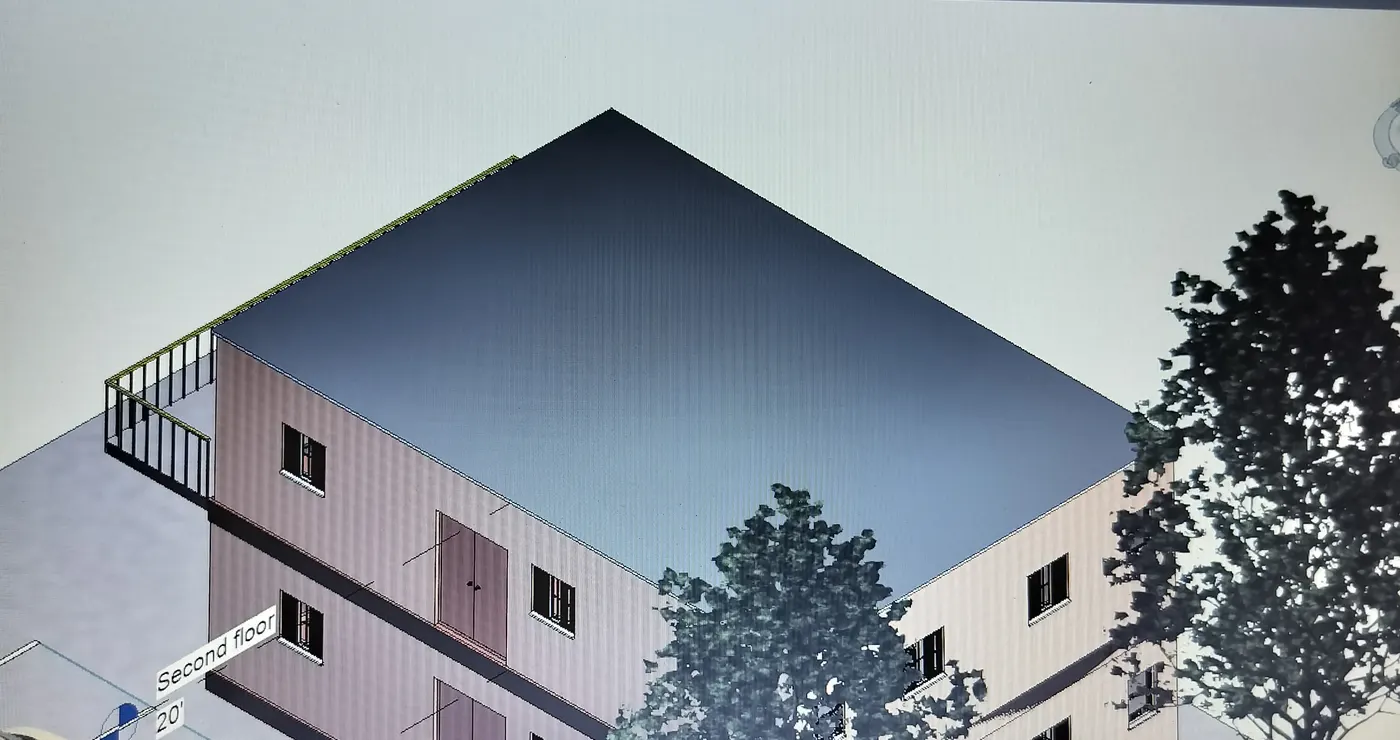
We can see ceiling in 3Dview.
2) Aim : to model a roof above the ceiling.
Introduction : To create a roof above the ceiling in the first floor by using roof by footprint.
Procedure:
From architectural tab select roof and in that select roof by footprint.
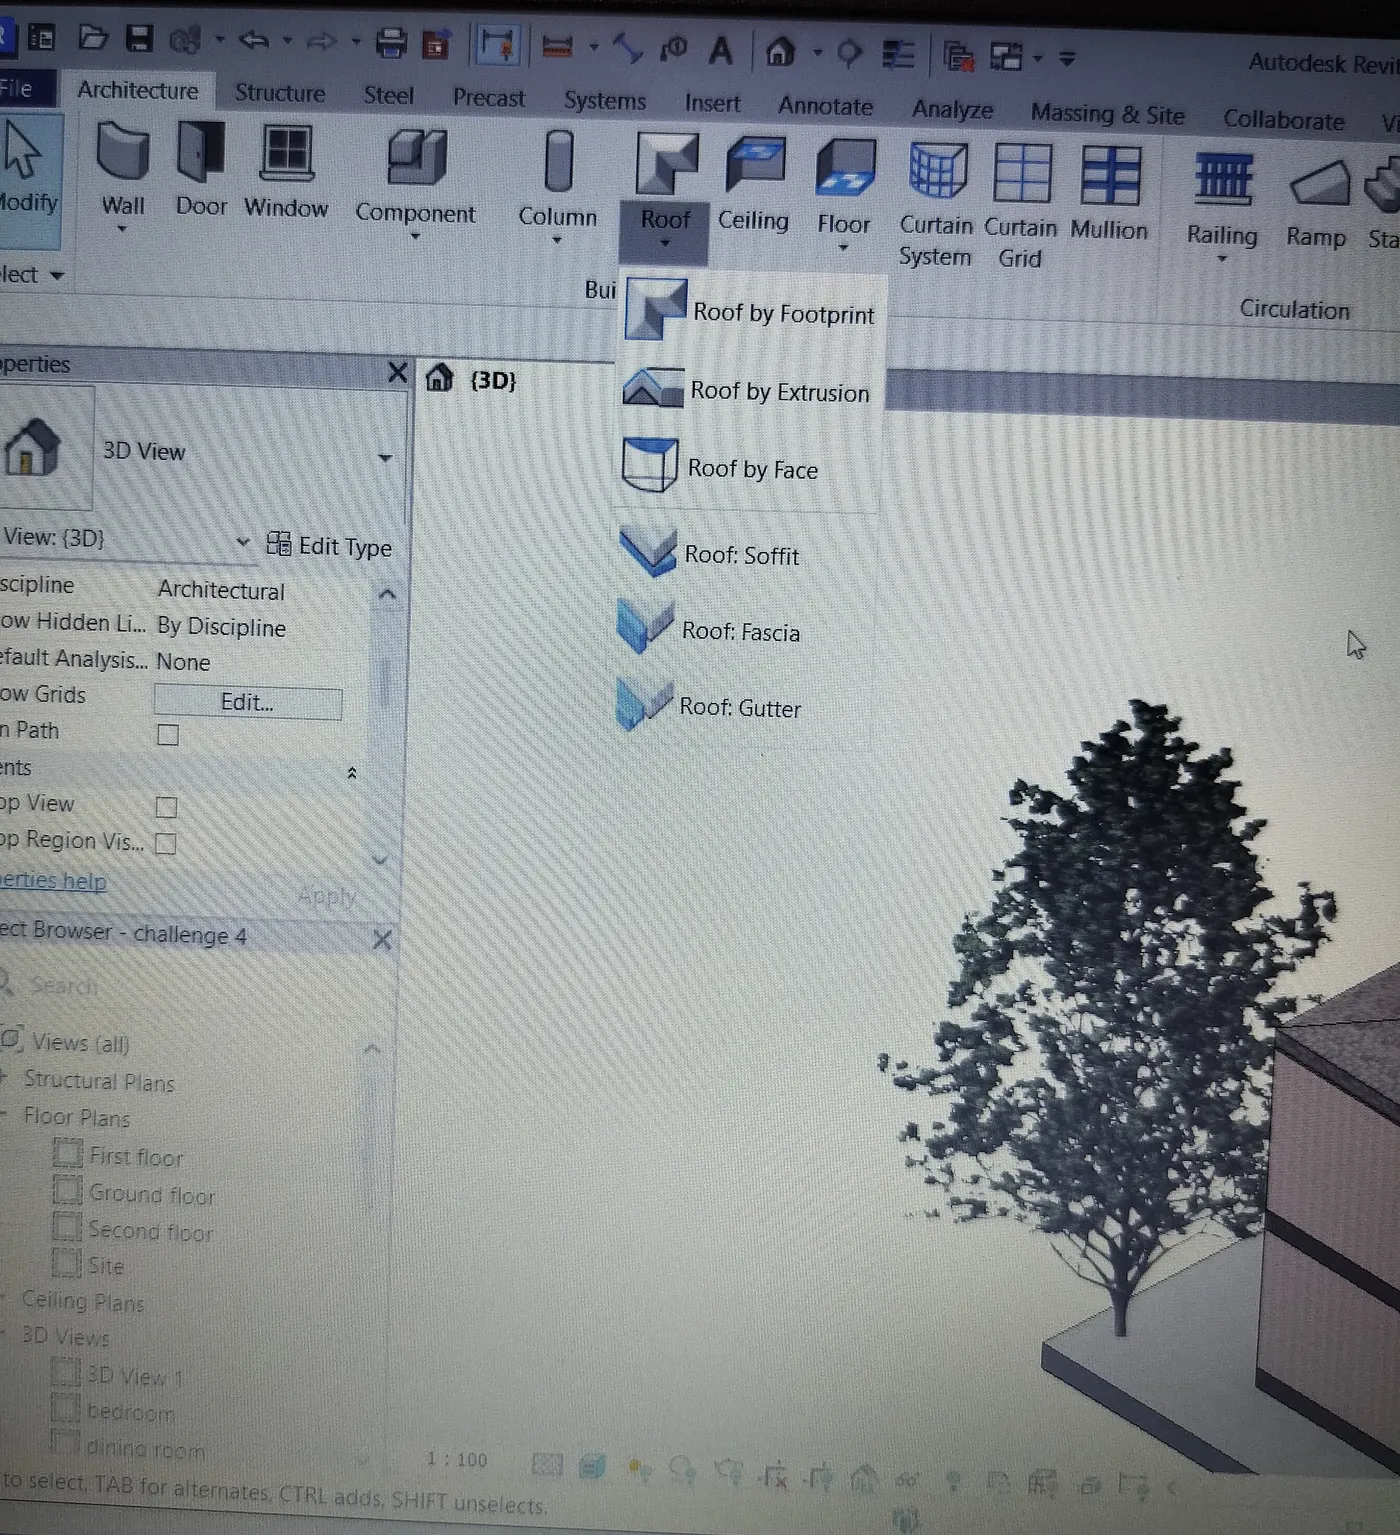
Draw boundary for the roof using pick a line option by selecting ceiling boundary as base and then finish edit mode.
We can see the roof formed in 3Dview.
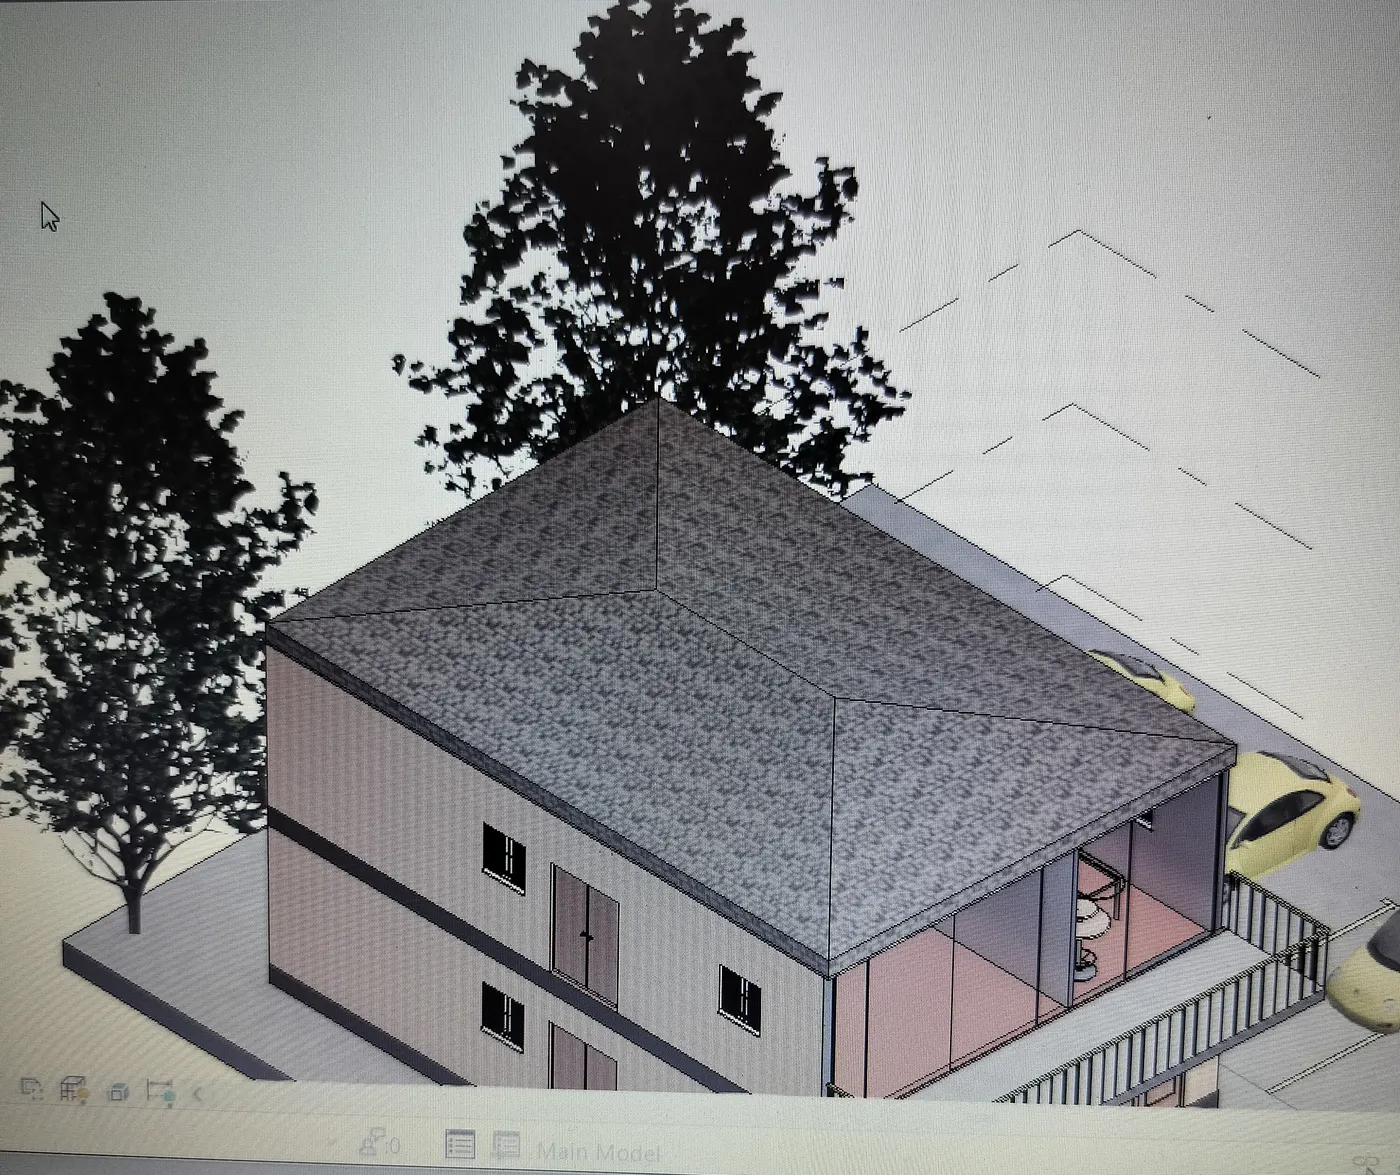
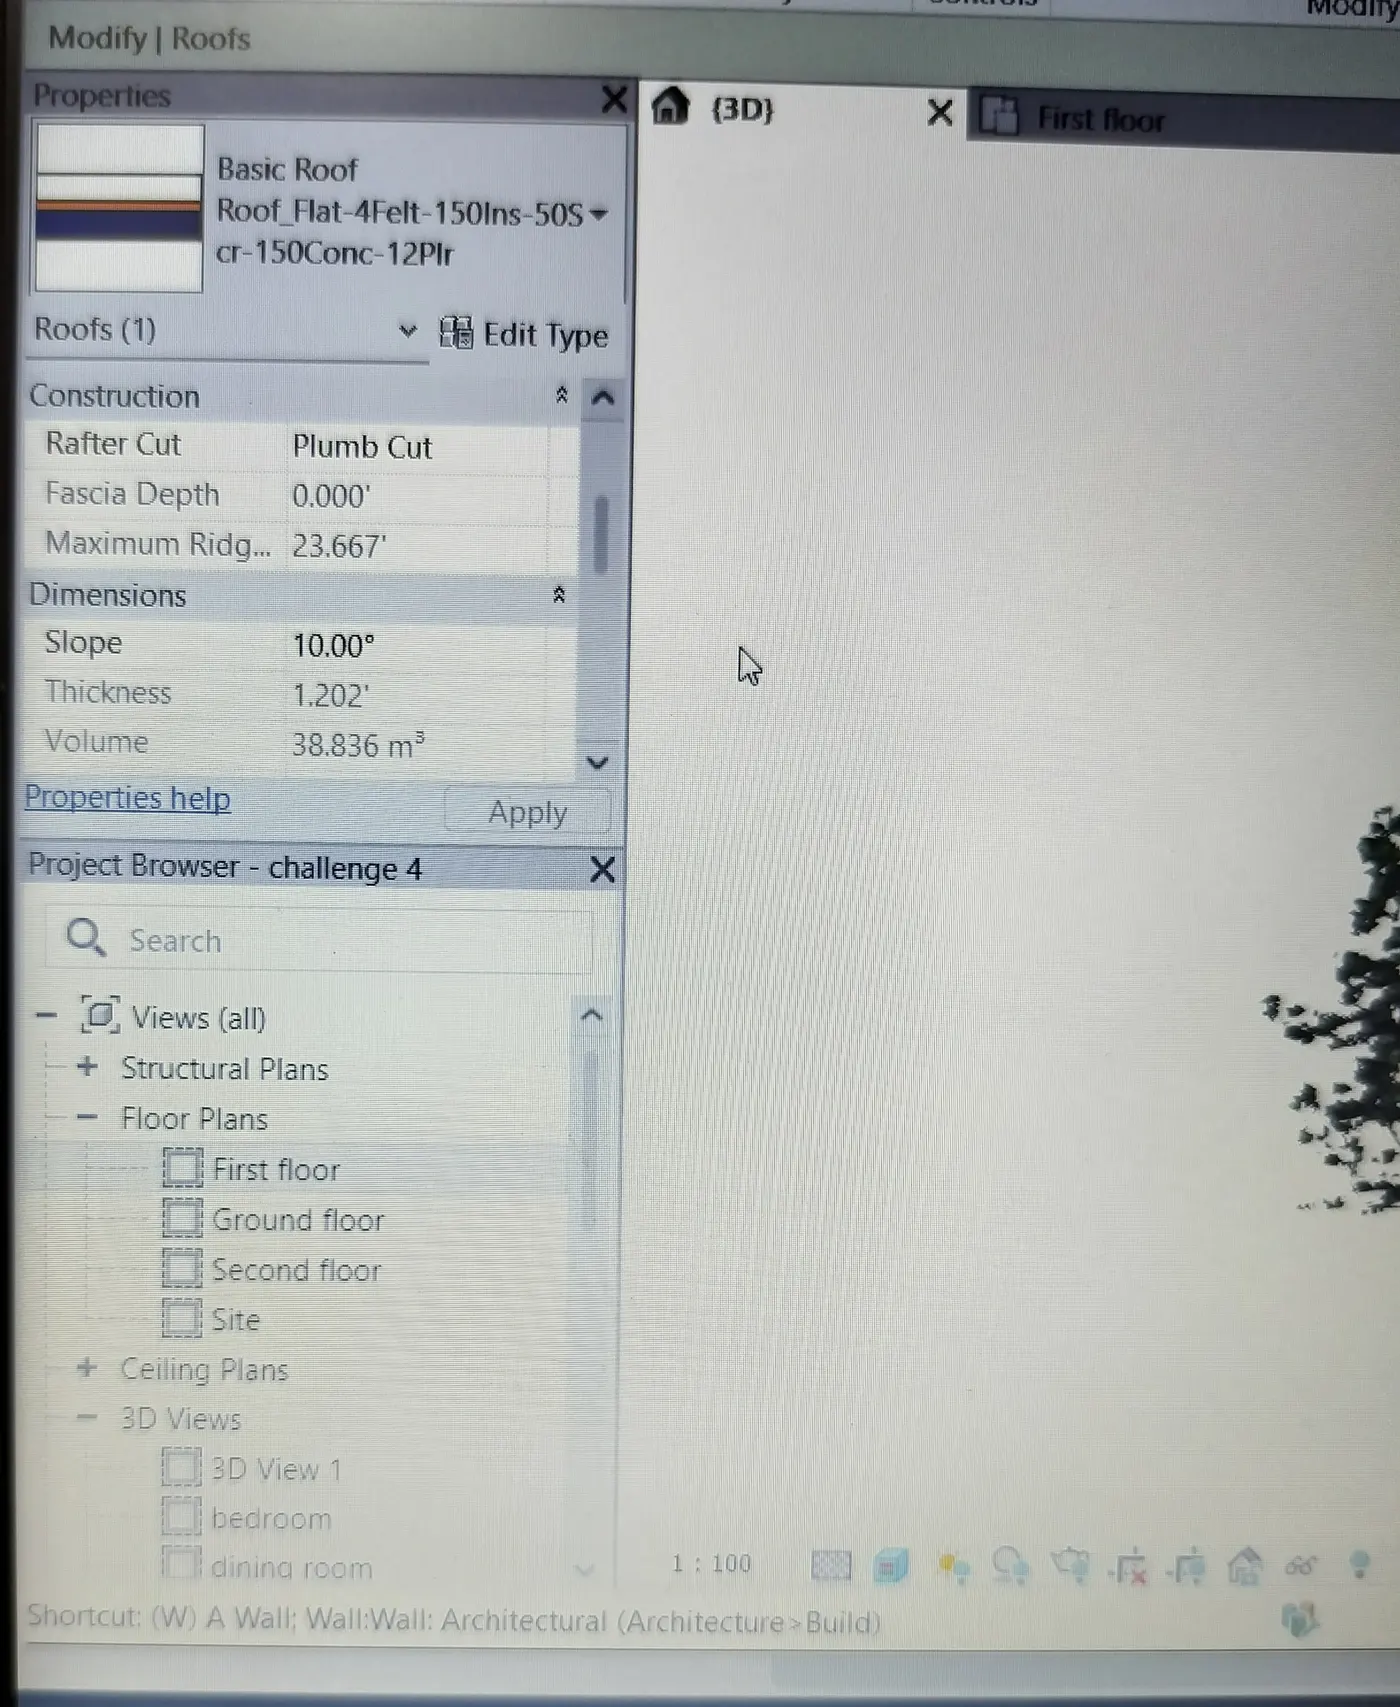
From properties bar after selecting the roof, change roof slope as 10 degrees.
3)Aim : to create structural and architectural plans.
Introduction : To create different plans with the help of views.
Procedure :
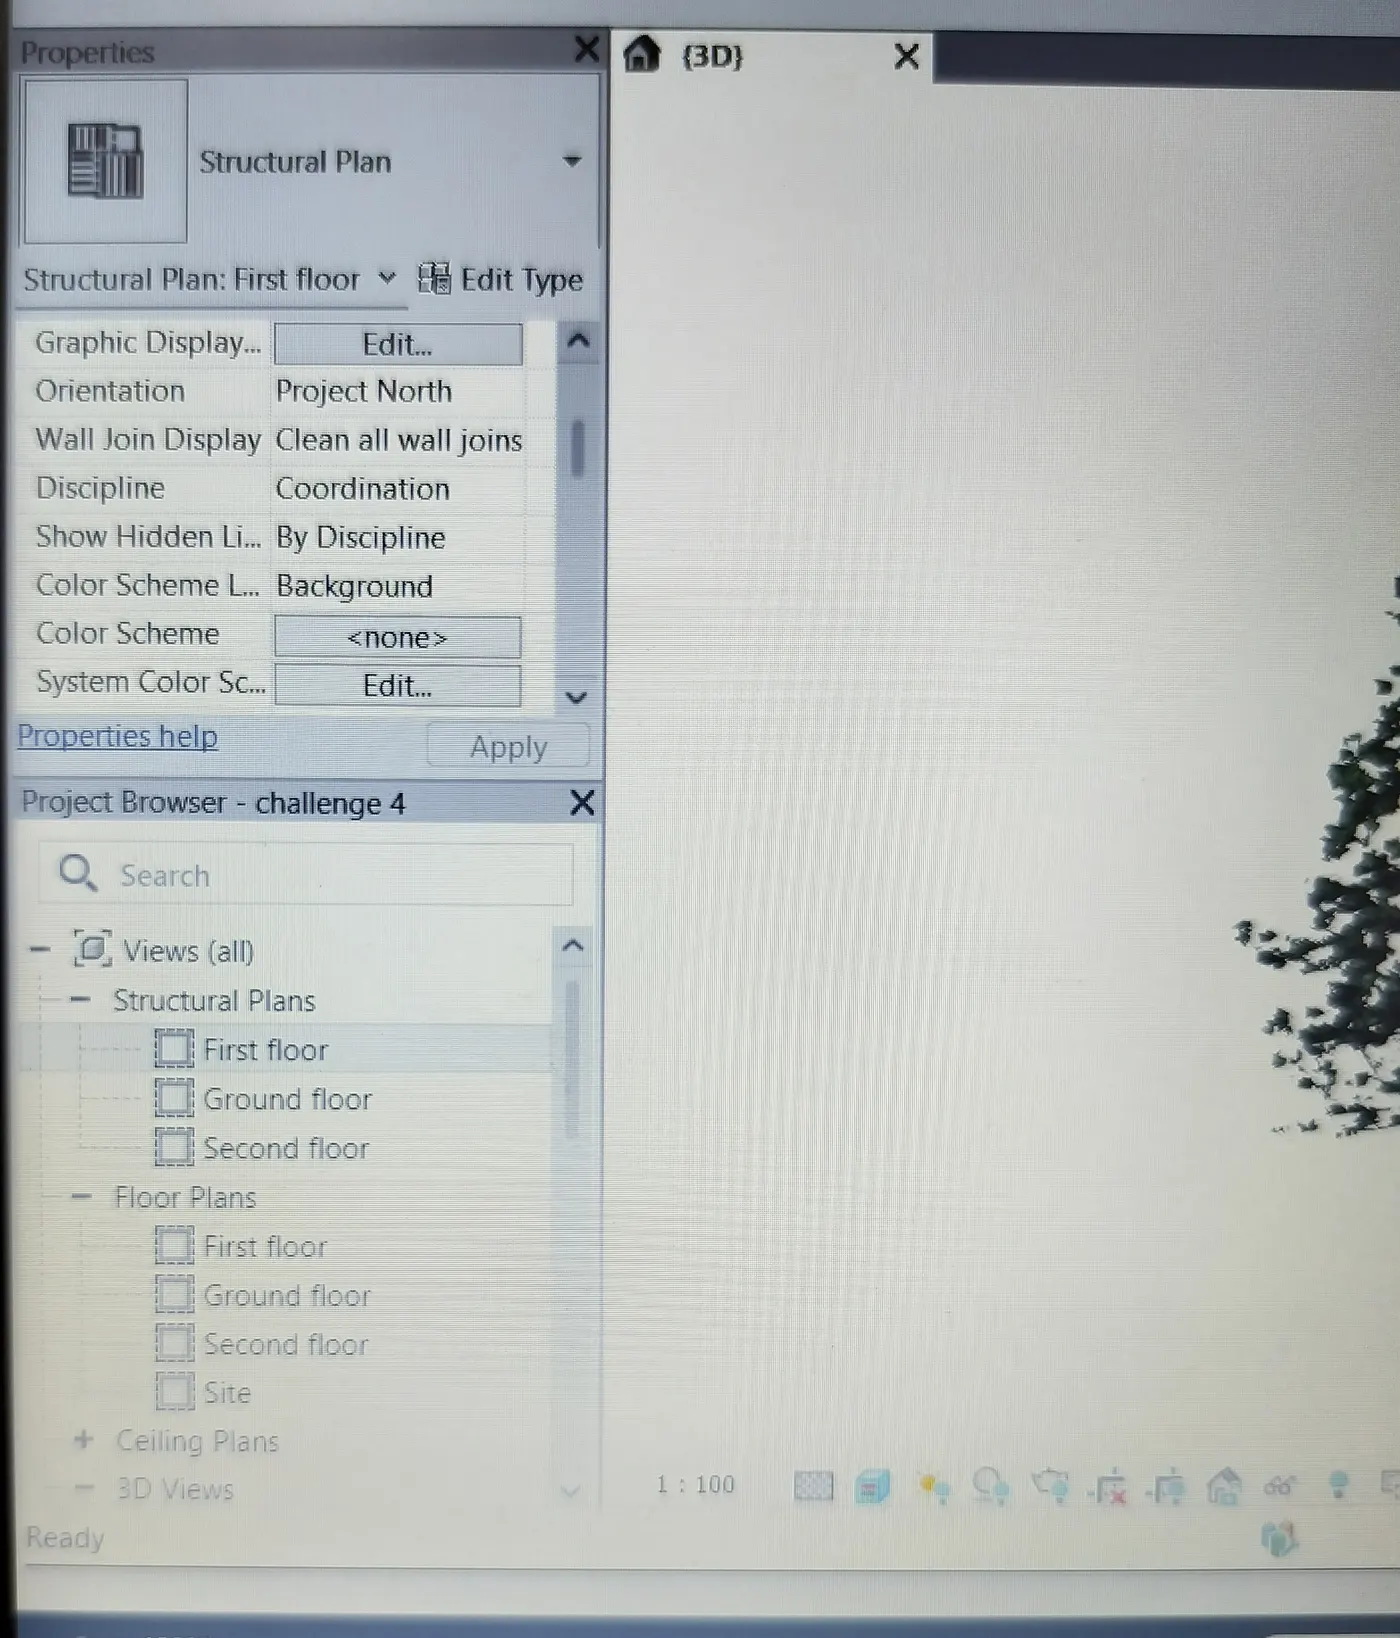
Open view tab. Select plain views and in which we have different options like floor plan , structural paln,etc.
By selecting floor plan , architectural plans are created with respect to different floors.
Similarly by selecting structural plan , structural plans of different floors can be created.
We can see both architectural plans(floor plans) and structural plans in project browser.
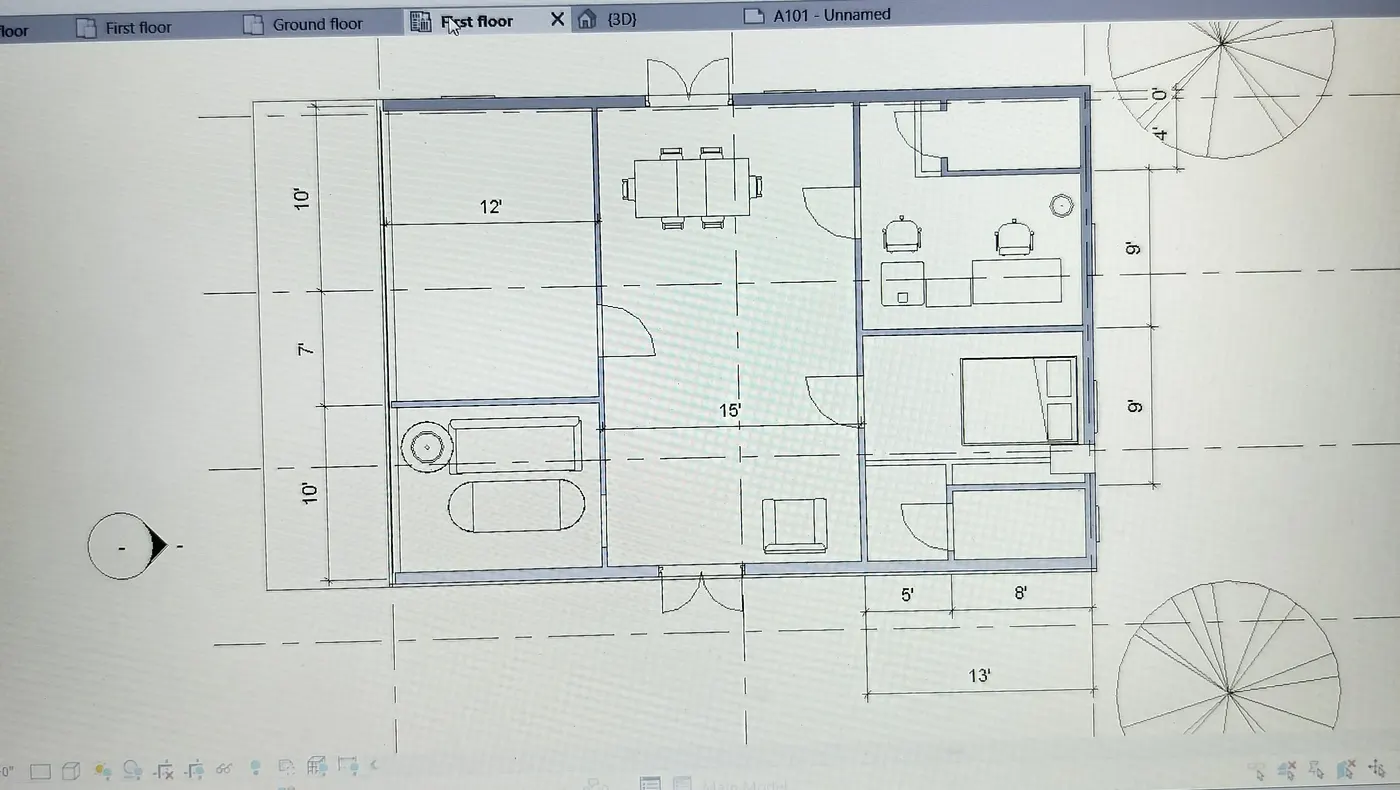
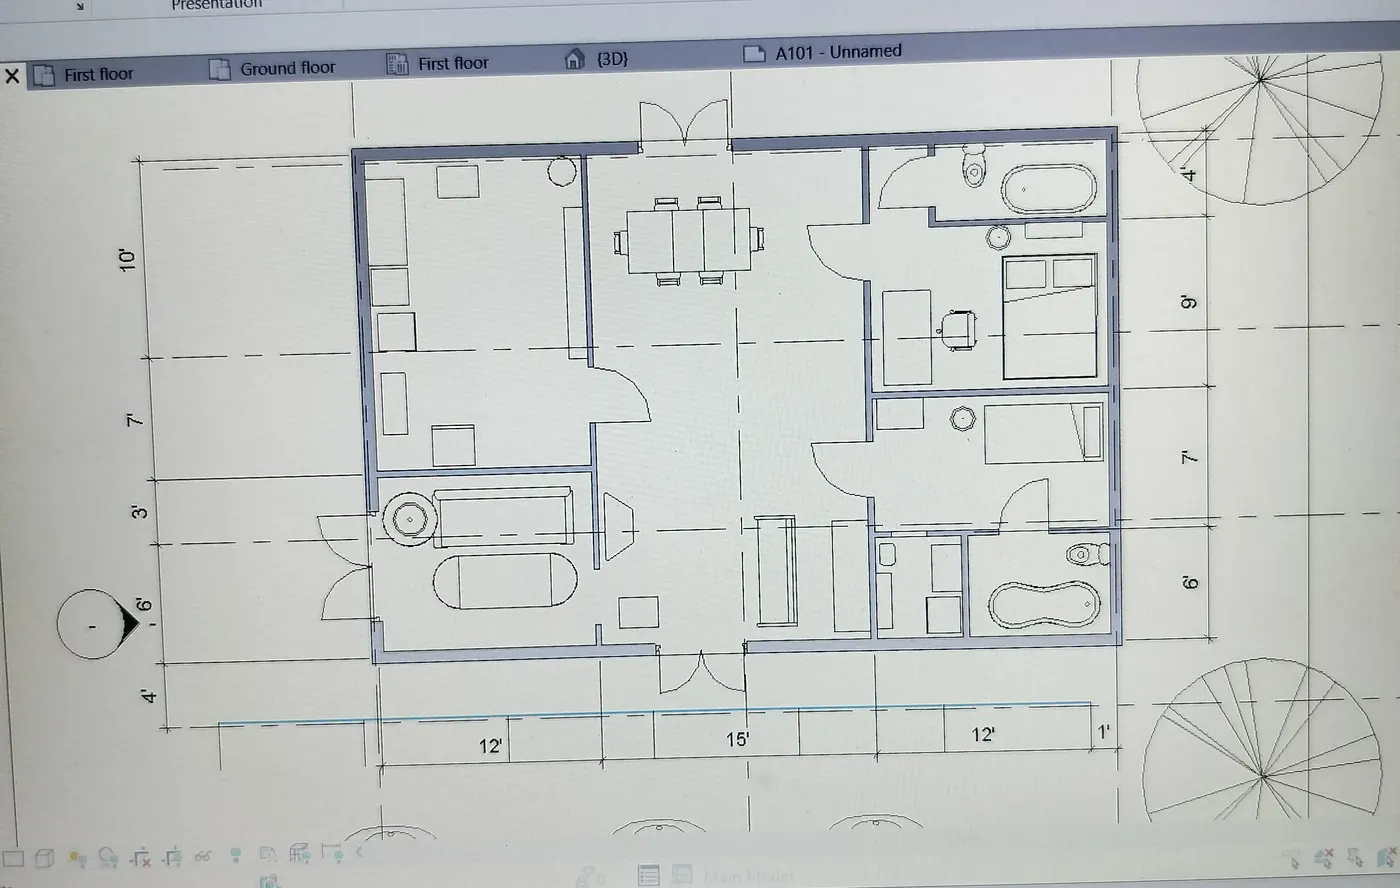
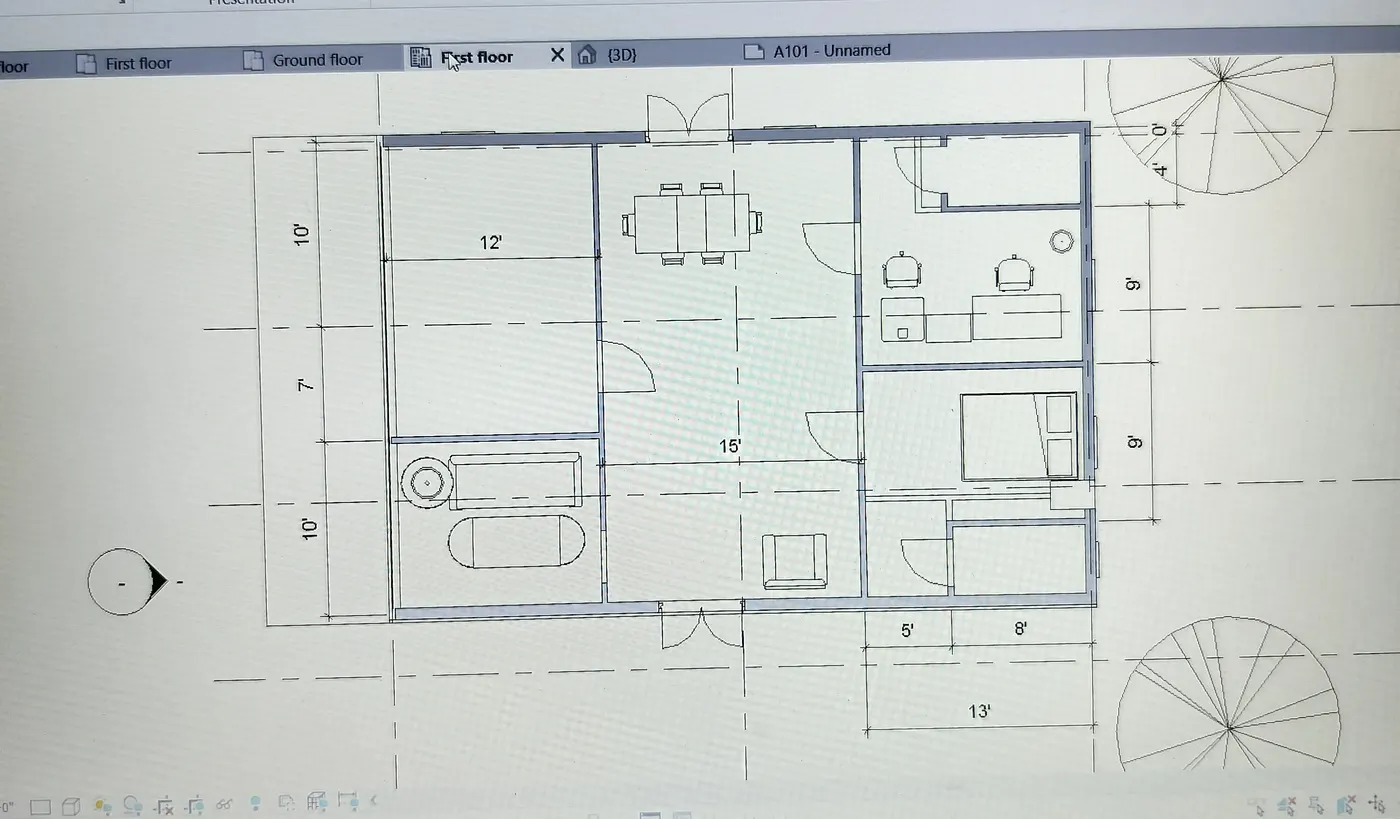
4) Aim : To add dimemsions for structural and architectural plans.
Introduction : To add dimensions to all the walls and floors with respect to grids.
Procedure: Open ground floor view.
Select annotate tab and click on aligned or linear dimensions.
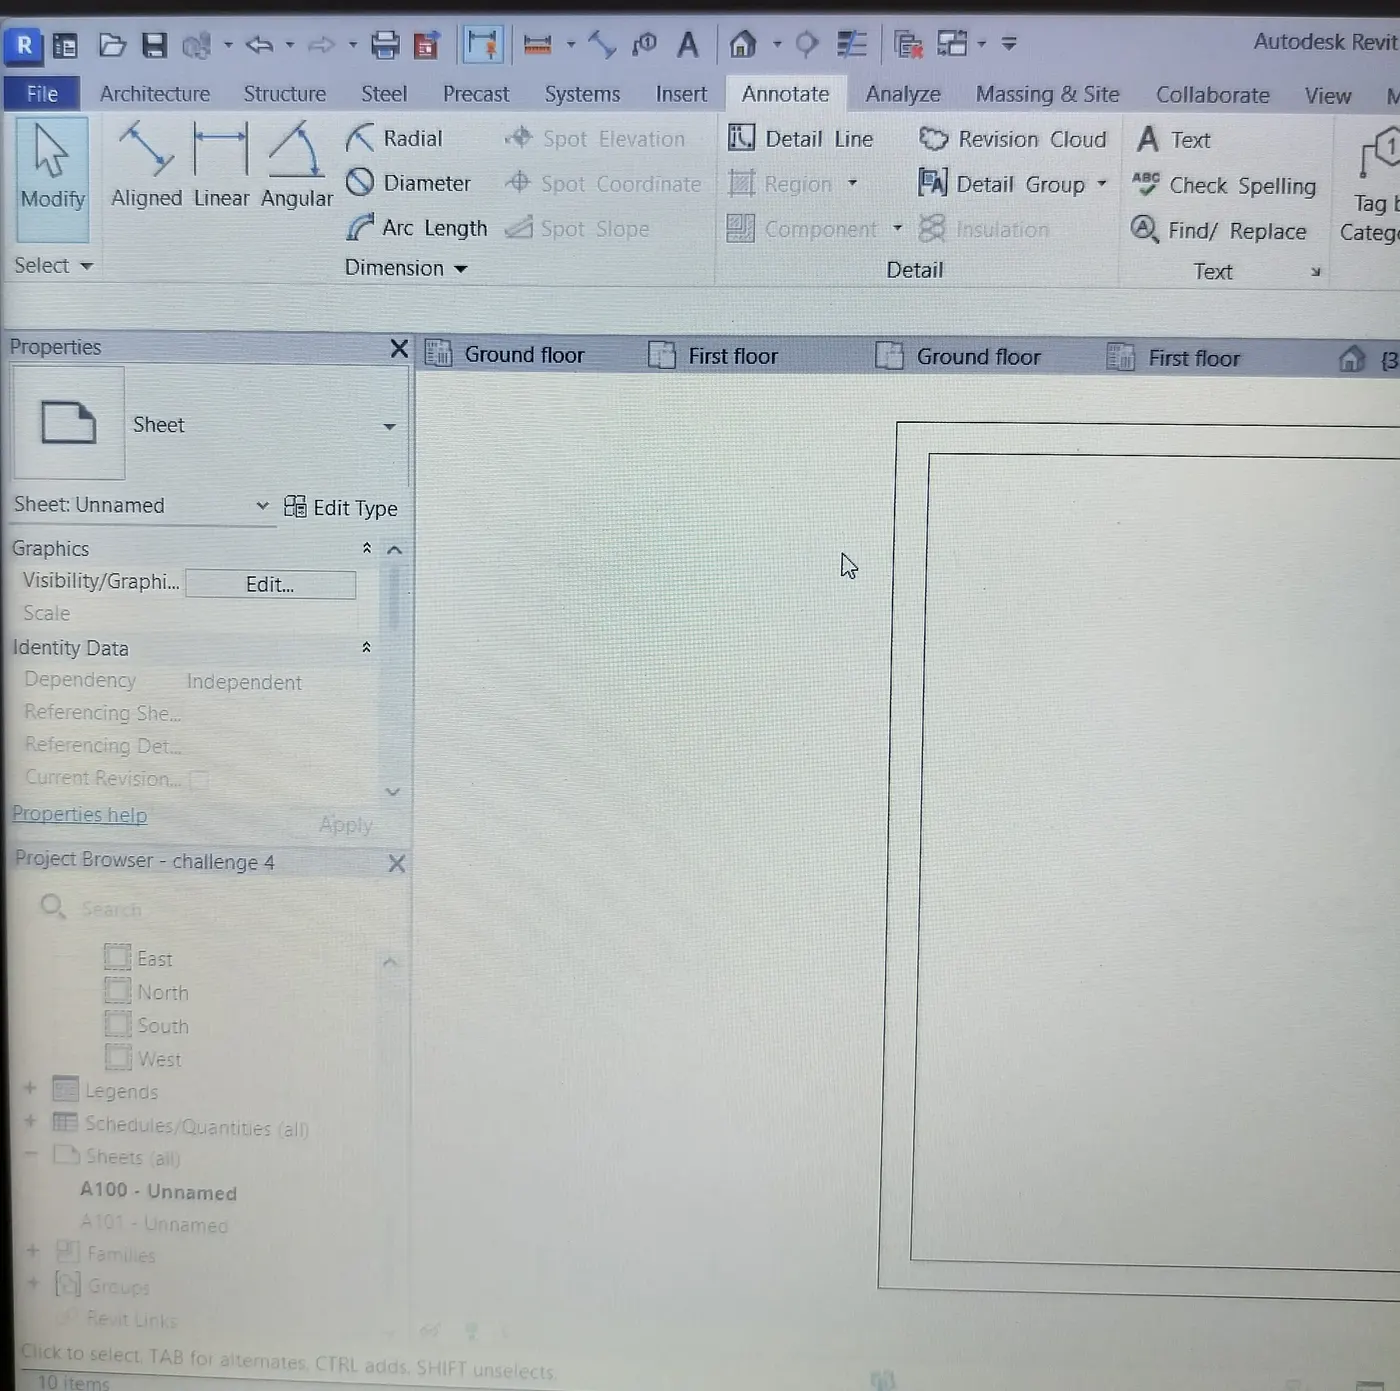
Now for architectural plans , overall dimensions should be given with respect to grids whereas for structural plans , dimensions of walls both interior and exterior should be given with respect to grids.
5) Aim: to create sheet template.
Introduction : To create a sheet template so that we can show directly these sheets to anyone.
Procedure : Go to view tab.
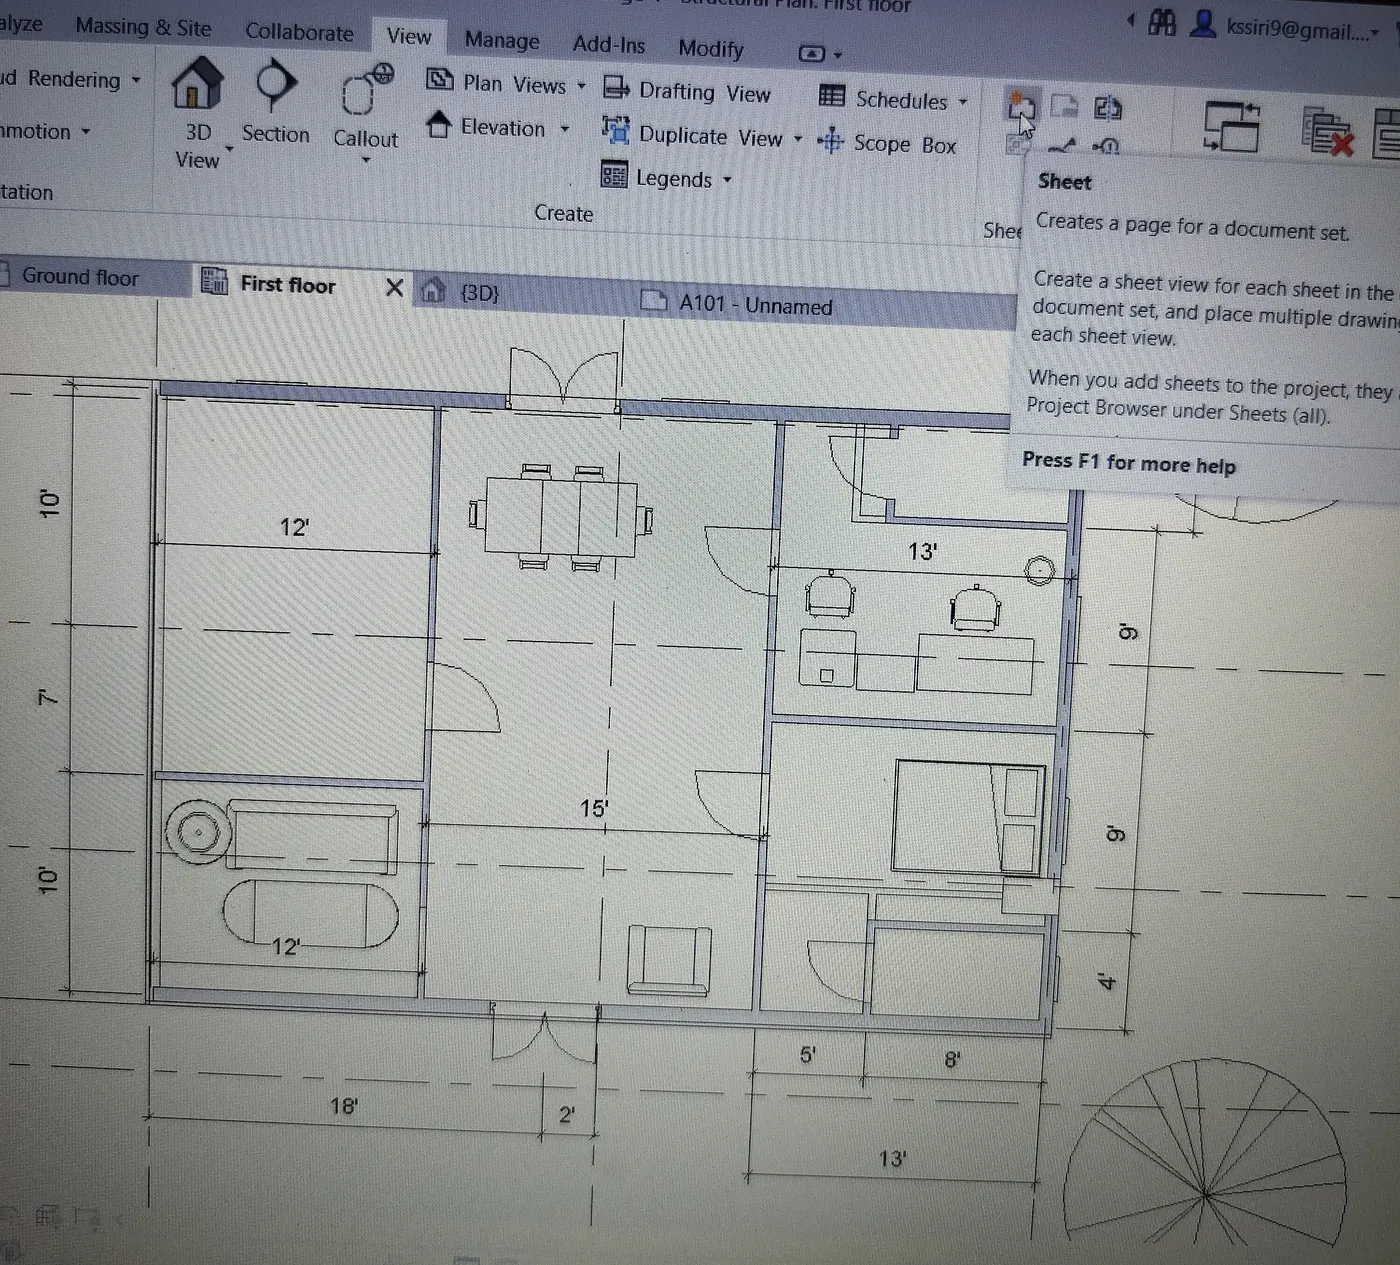
Select sheet and one dialogue box will appear which contains title sheet.
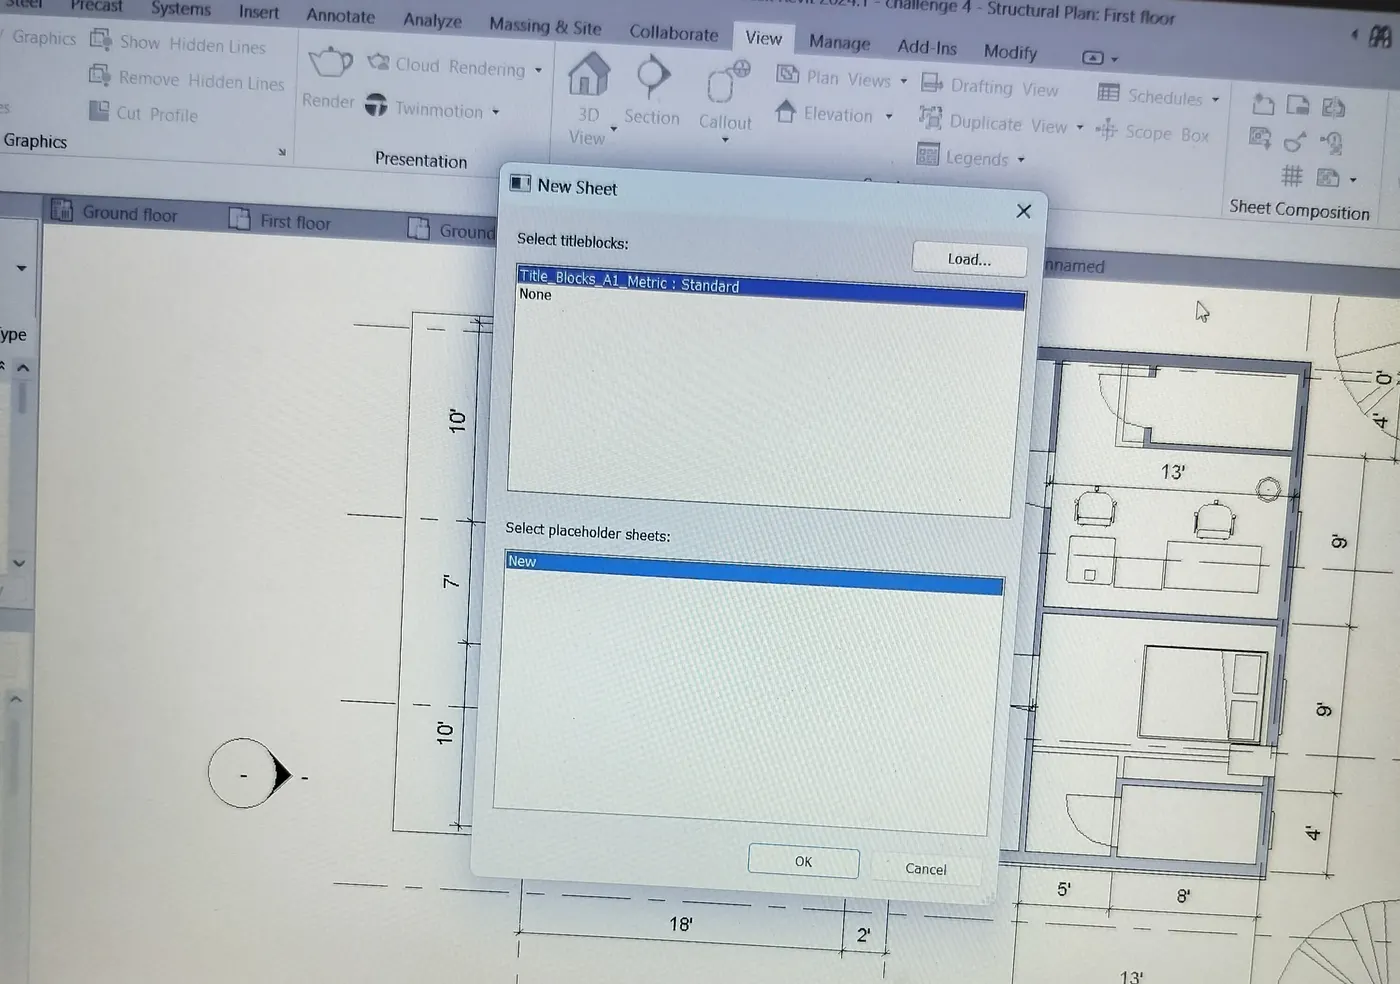
Select new title sheet and sheet will appear.
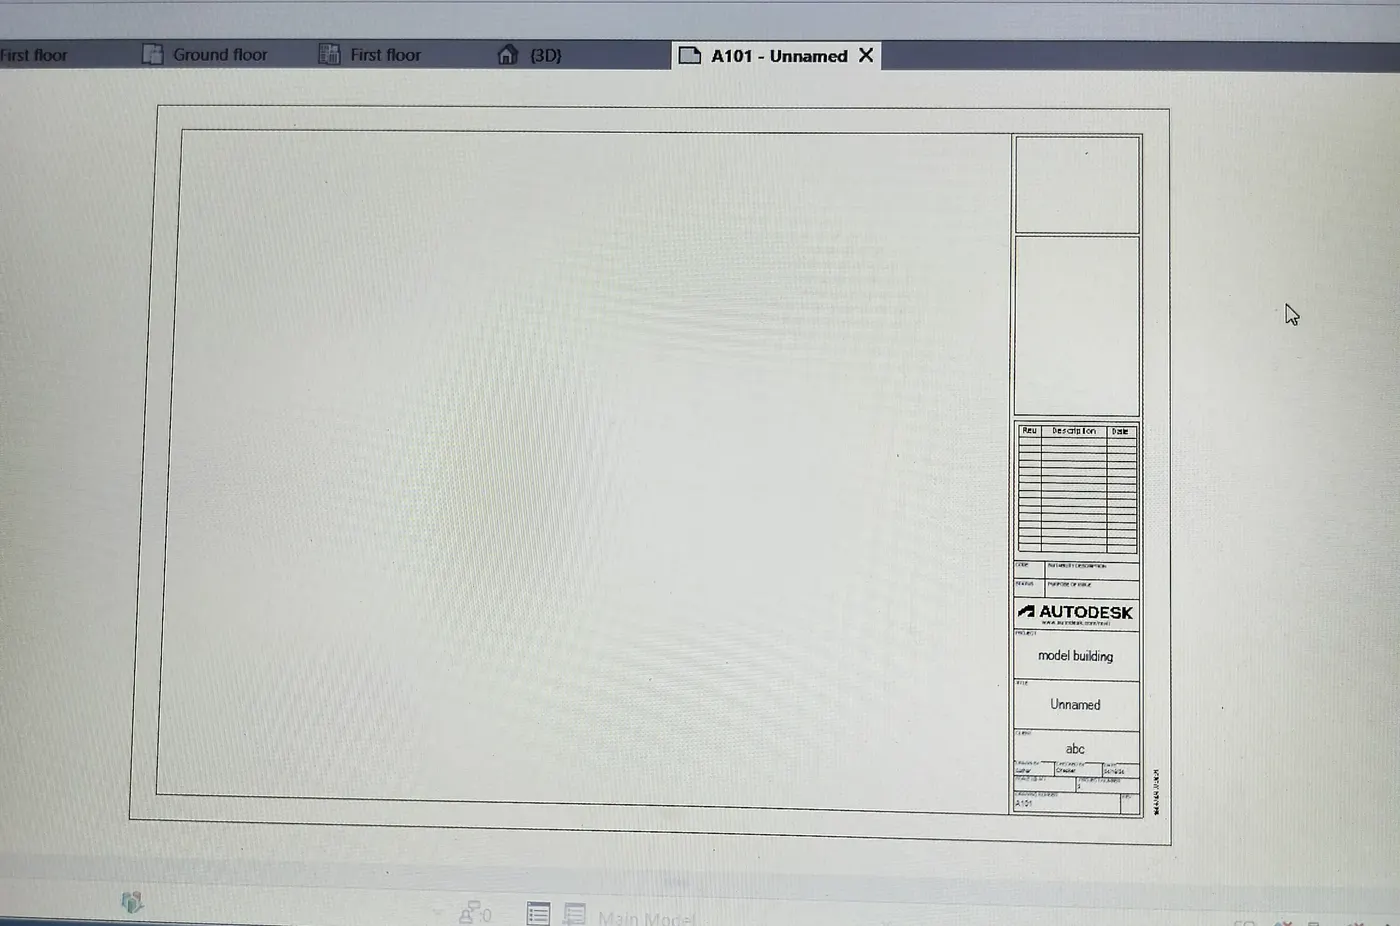
We can also change the parameters present on the sheet by double clicking it or by selecting project information present in modify tab and all these changes will appear in all sheets.
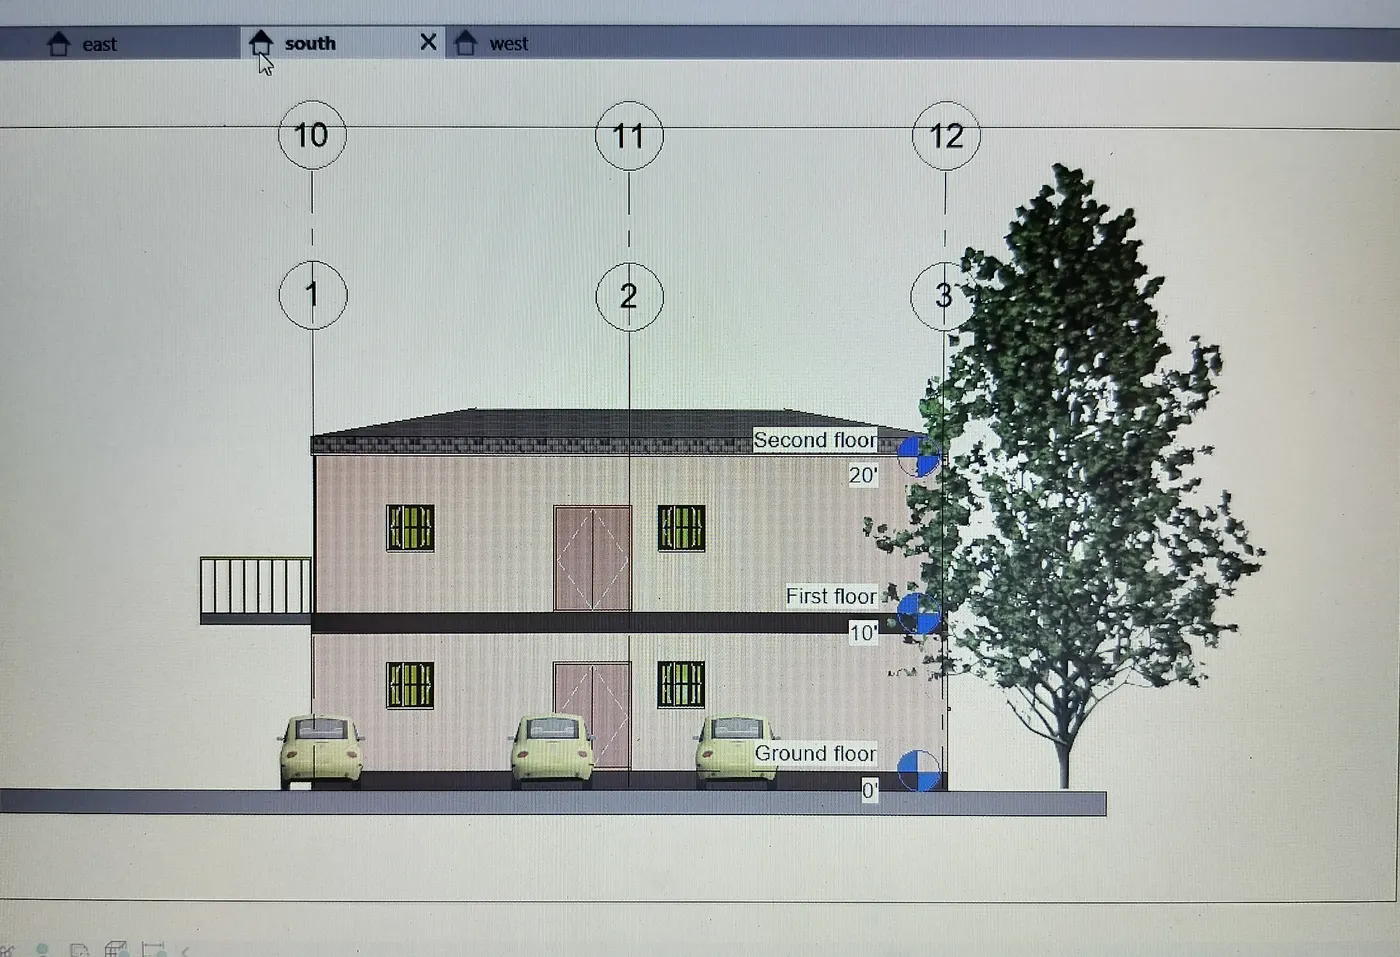
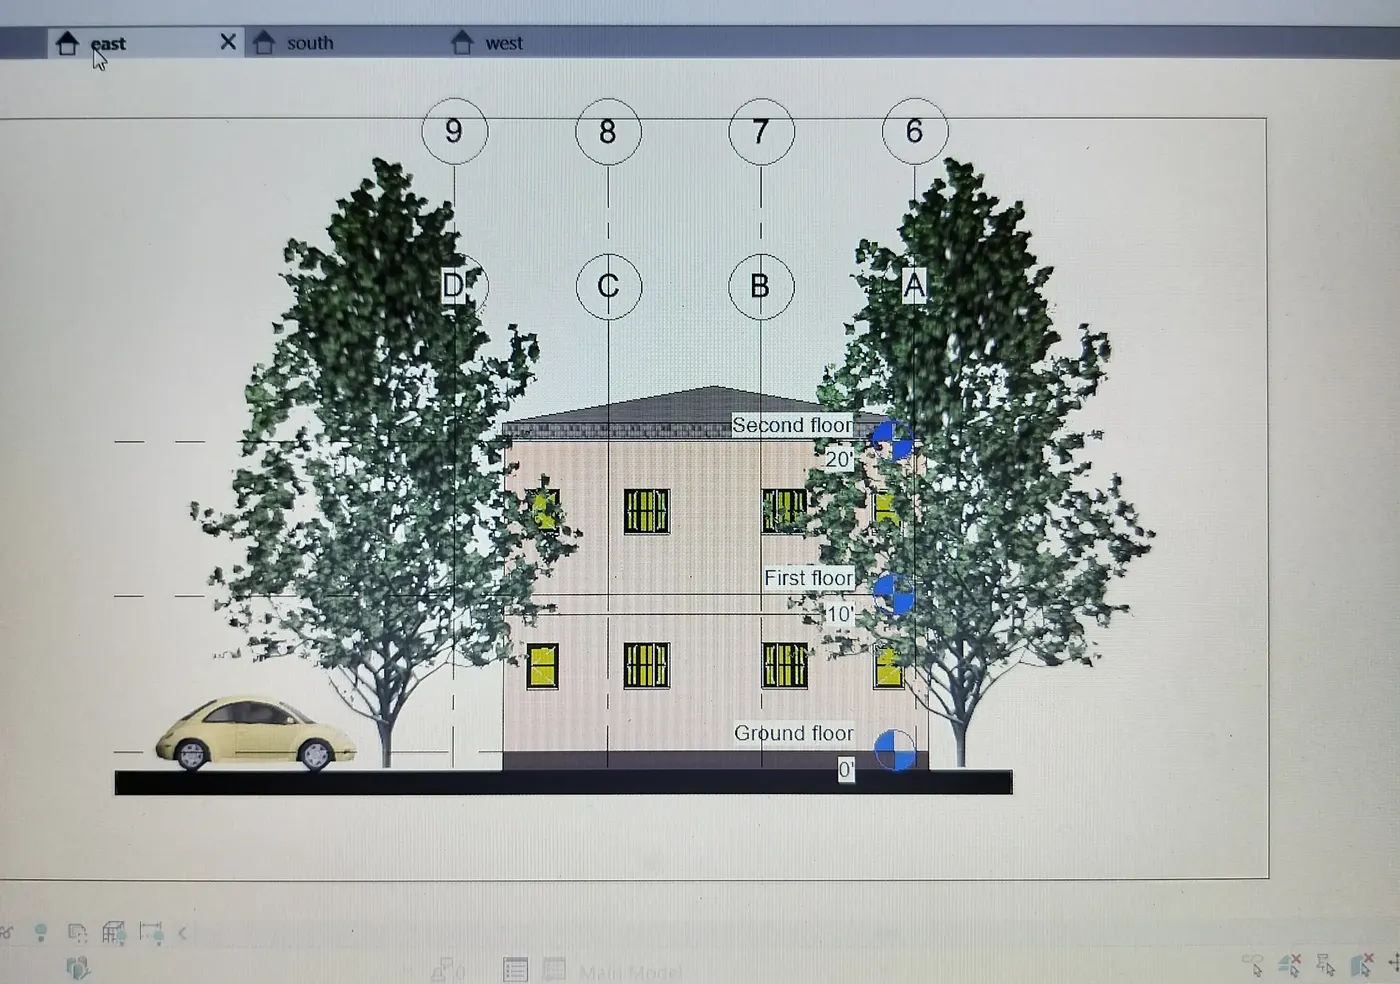
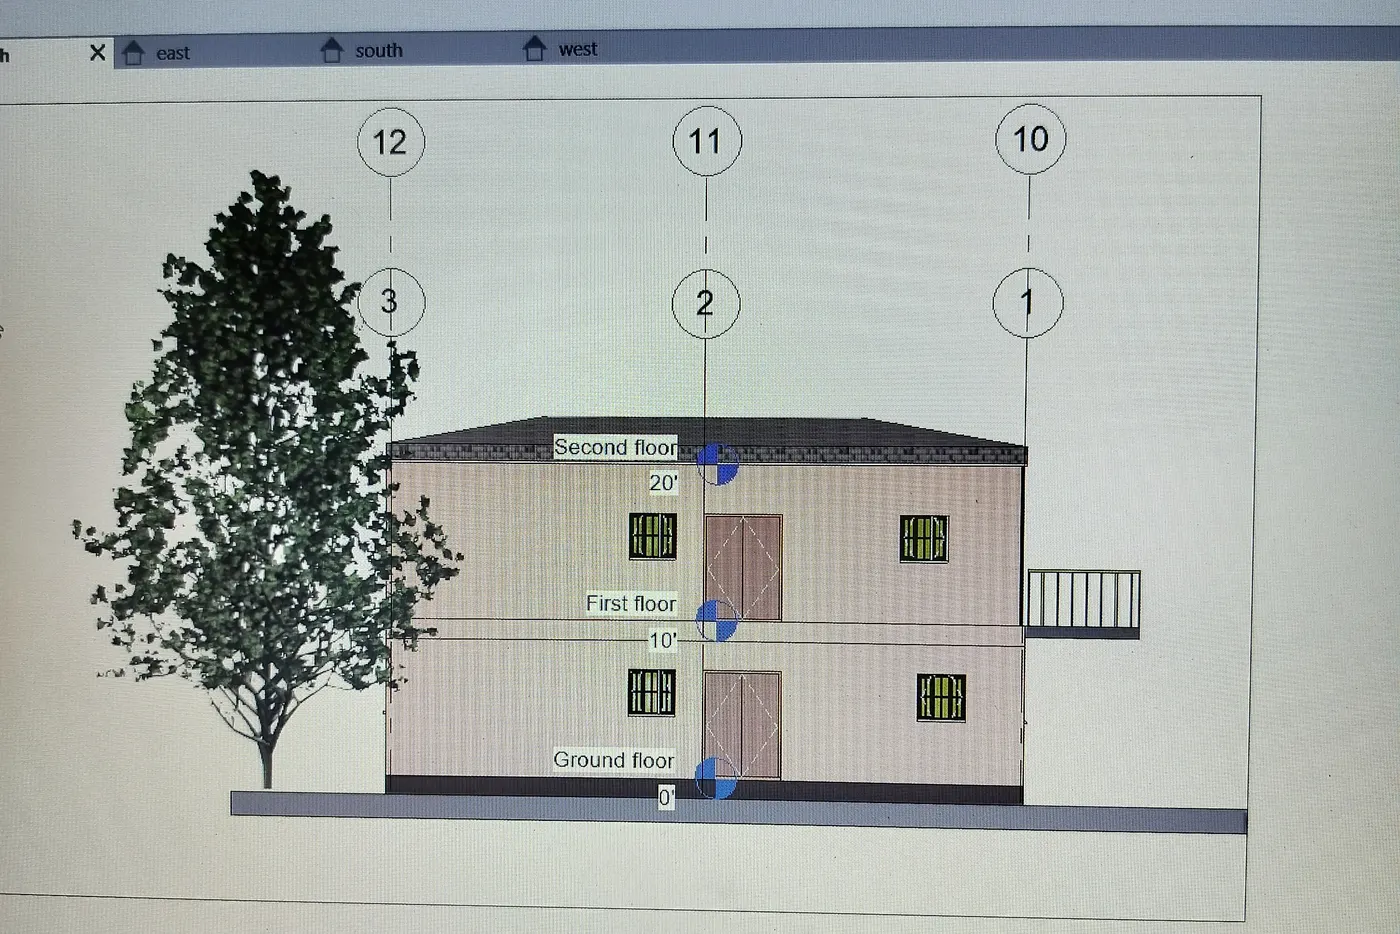
6) Aim : To create elevation views
Introduction : Create elevation views using elevation tab
Procedure : Select elevation from view tab.
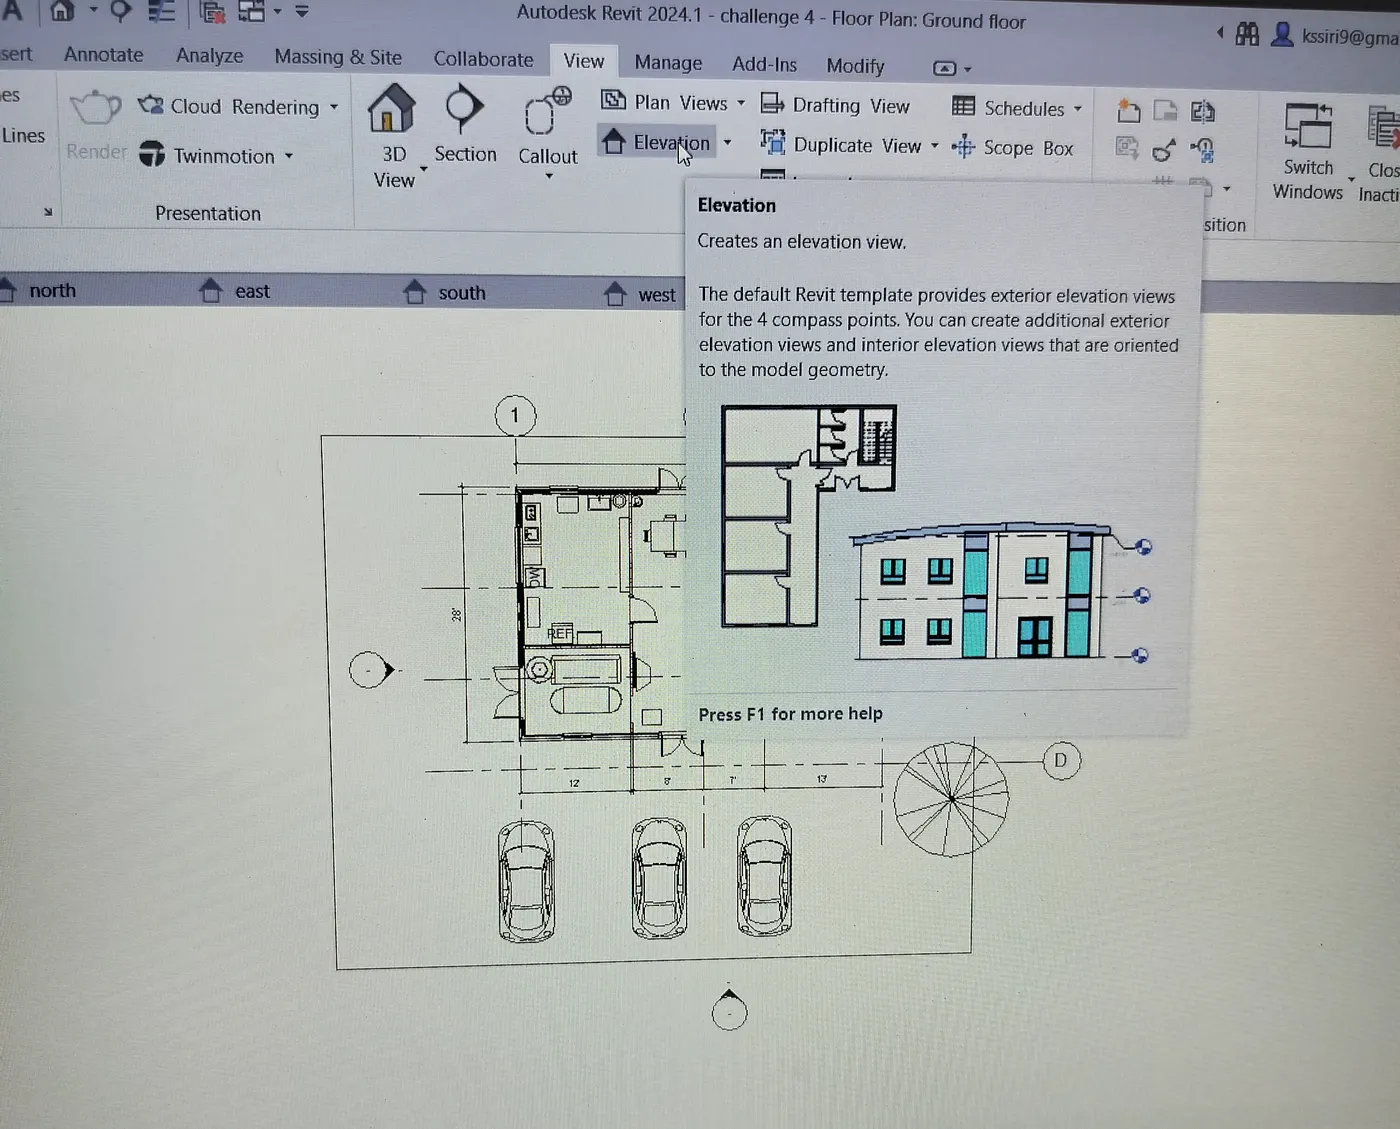
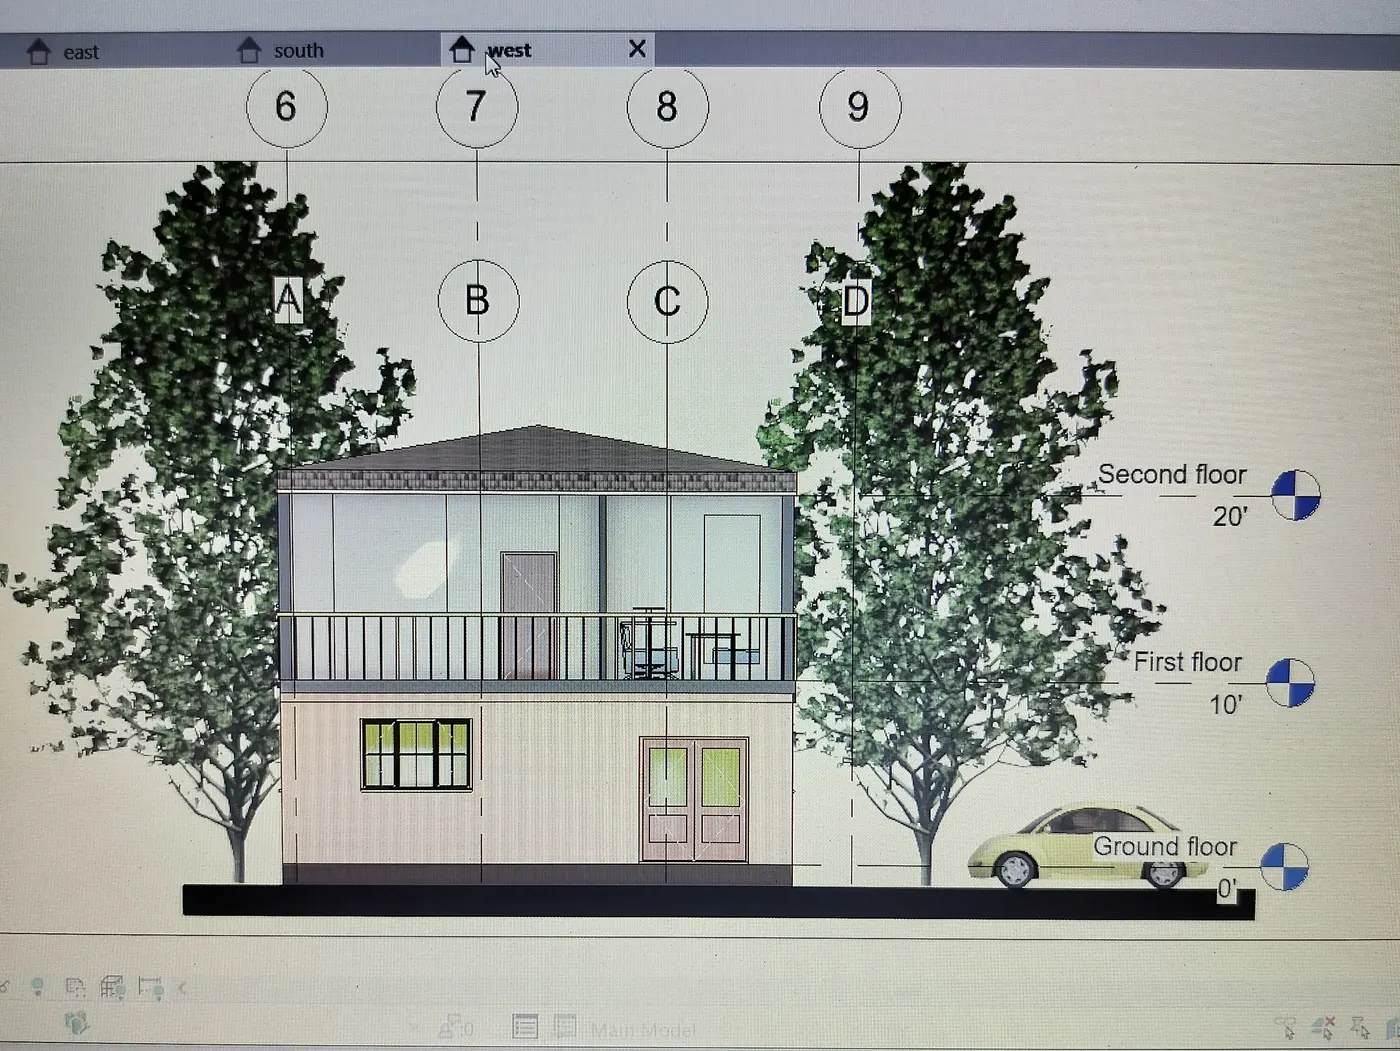
Place elevation views on 4 sides (north,east,south,west).
We can see elevation in project browser. By clicking on different elevations we can observe the plan from different directions.
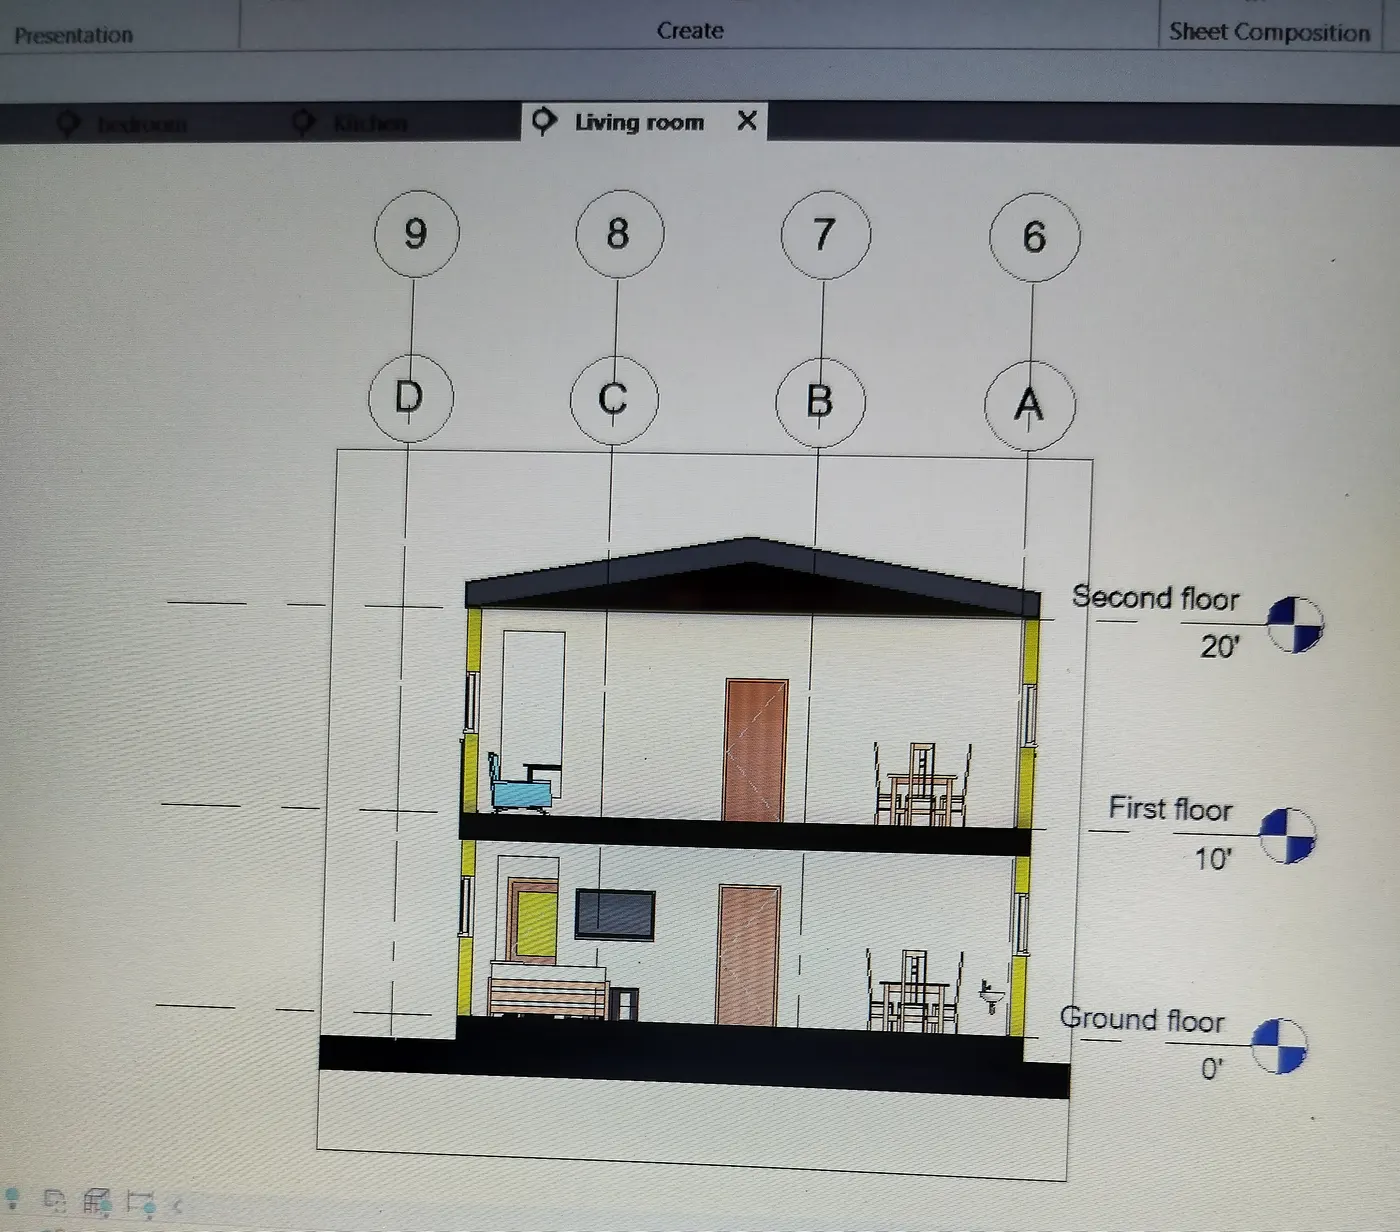
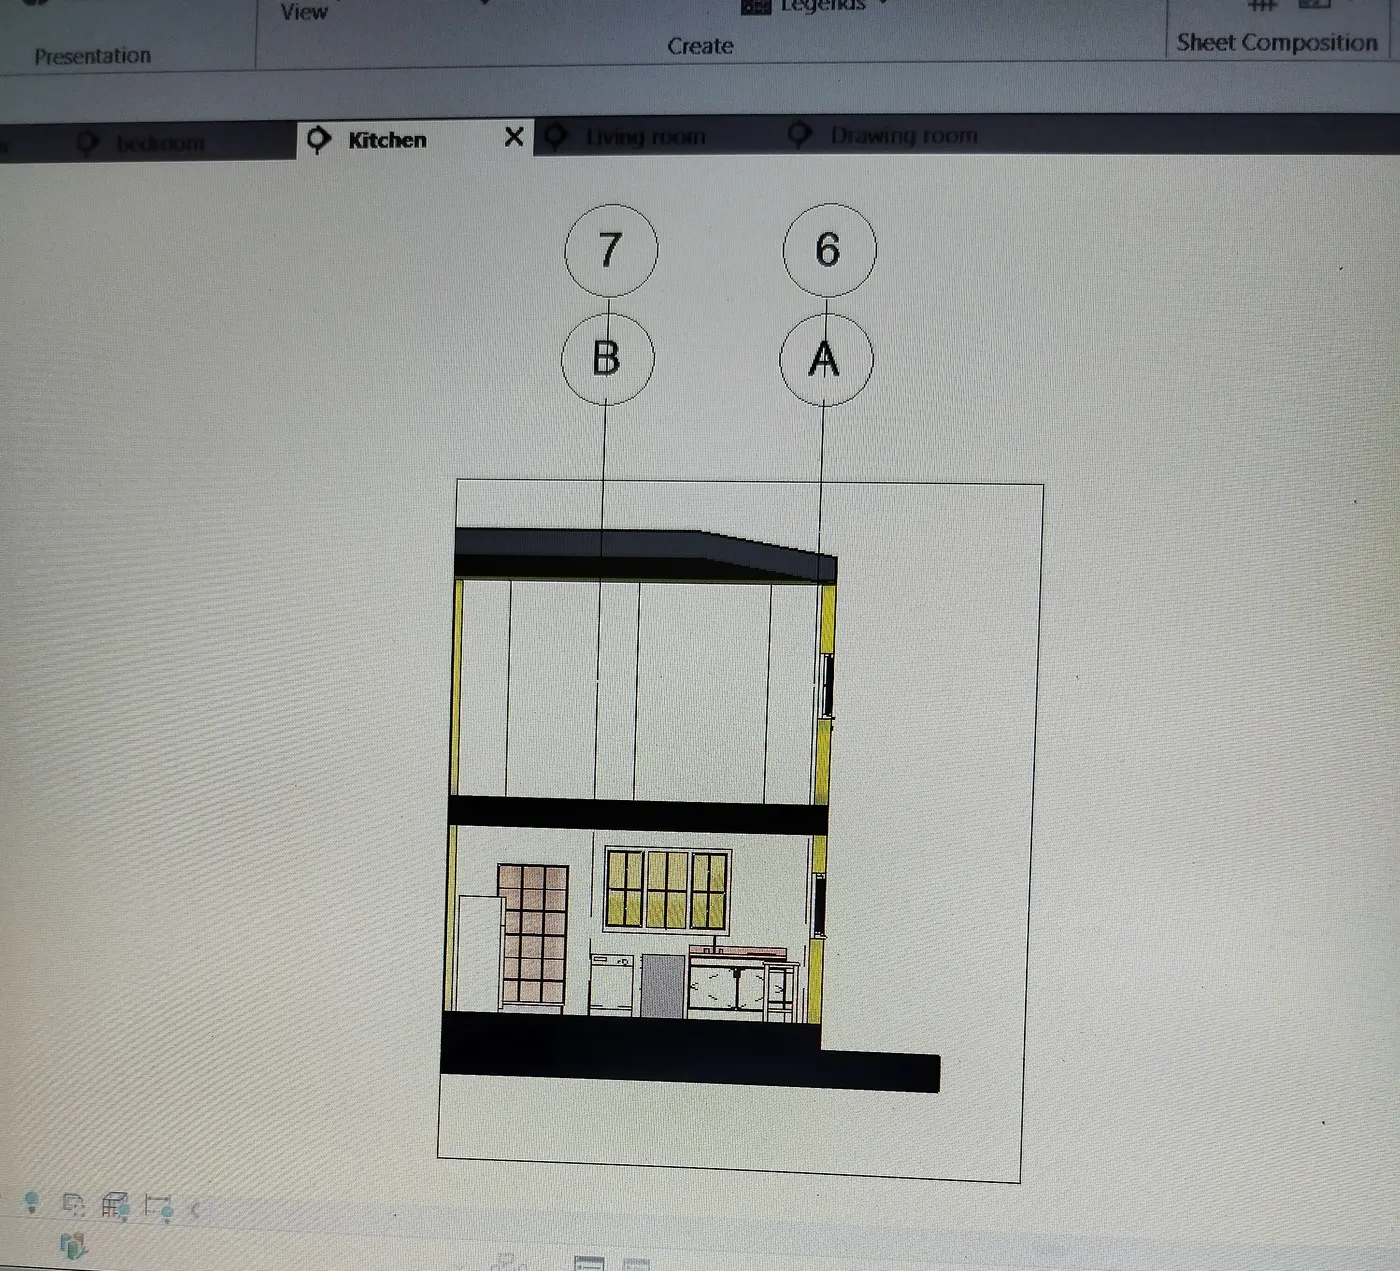
7) Aim : Sectional cut for each room.
Introduction : To produce sectional cut for each and every room. Through this sectional cut we can observe how the room is present.
Procedure : Select the section present in the view tab.
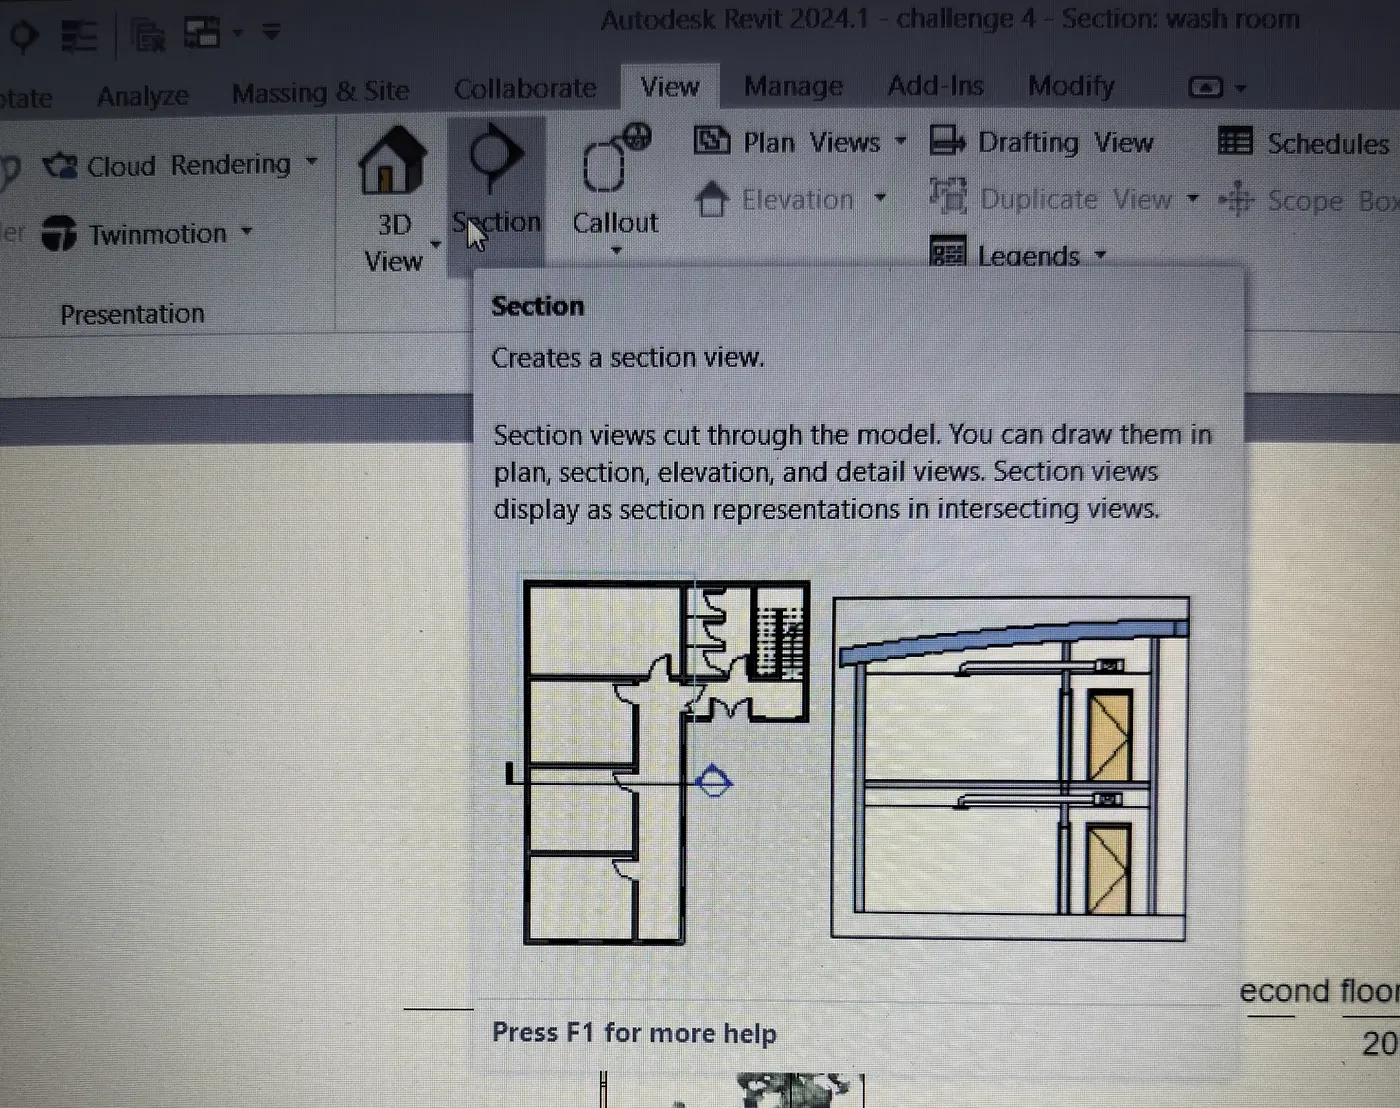
Open the ground floor plan and use the section cut in one room.
Similarly observe section cut in all rooms.
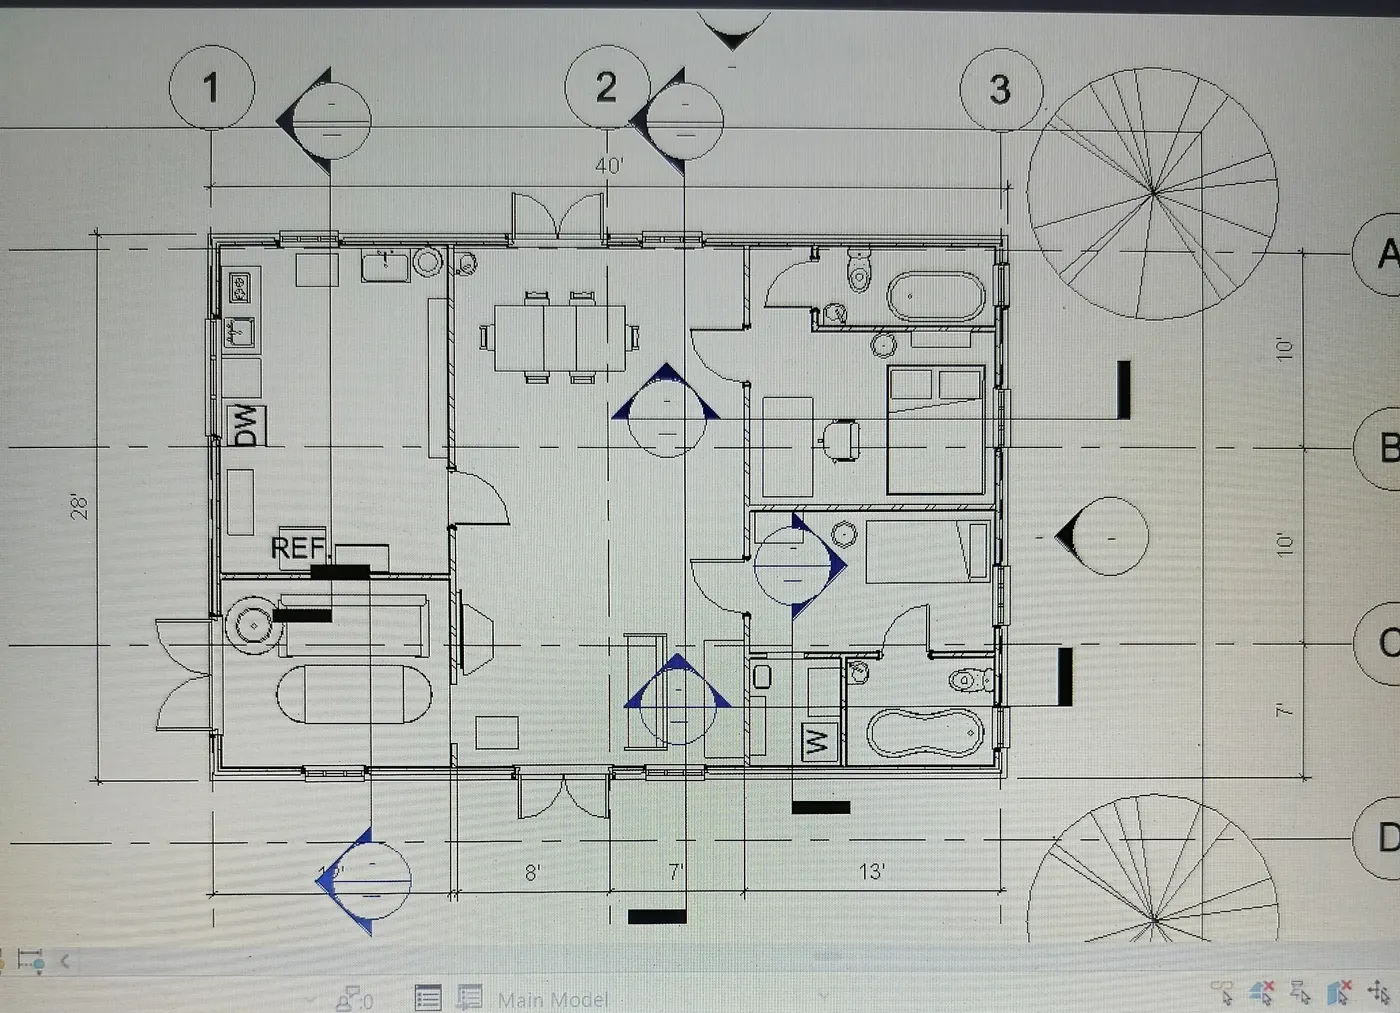
By using these section cut we can observe like example furniture in one room.
8) Aim : classify different views in property browser
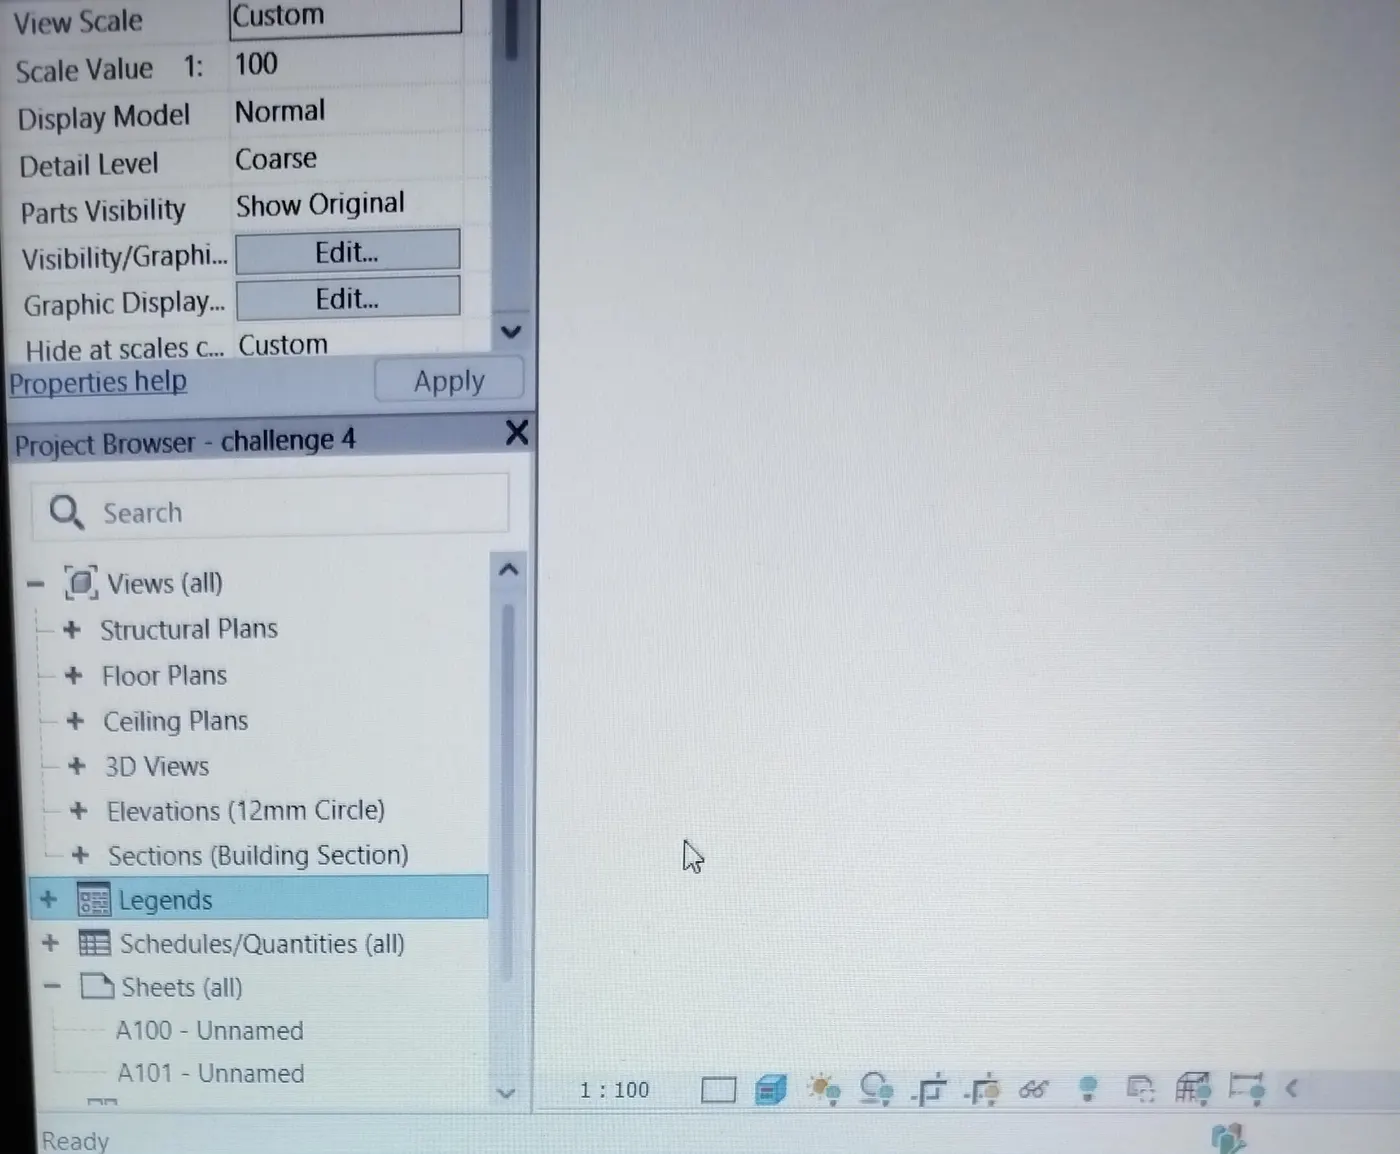
Introduction:To classify different views in the properties browser.
Procedure : Click on the property browser.
We can observe different types of views like plan views (structural and floor views), sectional views and elevation views.
9) Aim : Use sheet template to produce different sheets.
Introduction : These sheet template can be used to produce different views of a plan
Procedure : Open a sheet template in the view bar.
Drag the views with which we want into the sheet template.
Adjuct the scale so that it fits into the sheet template.
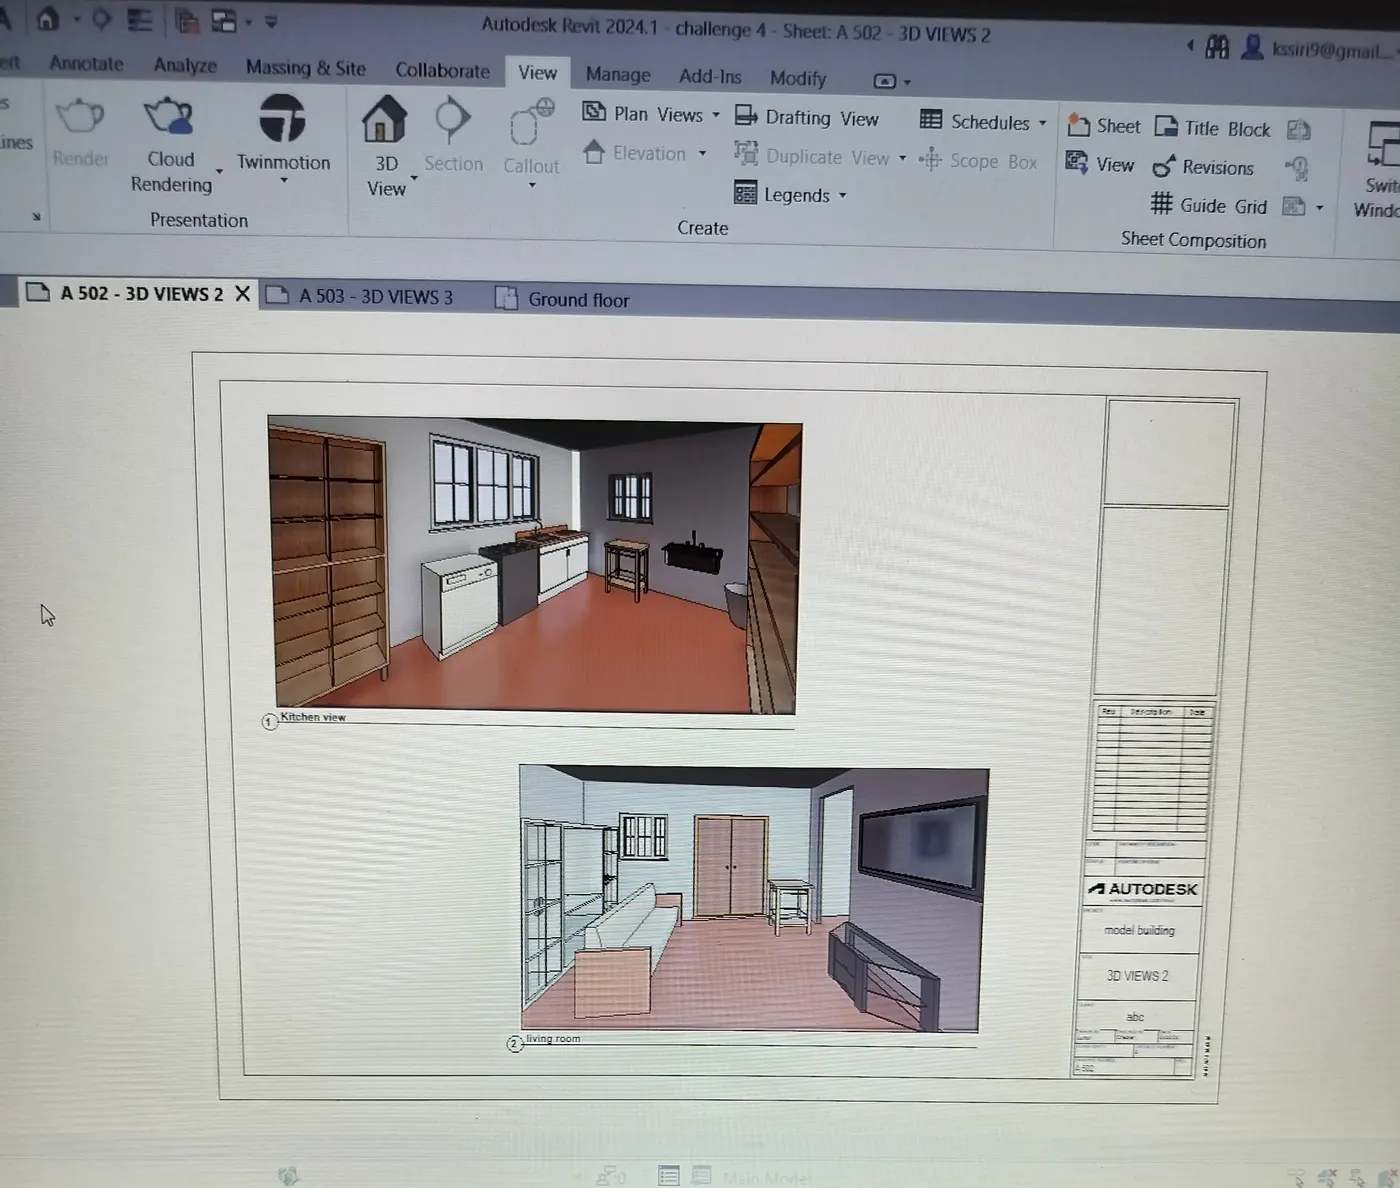
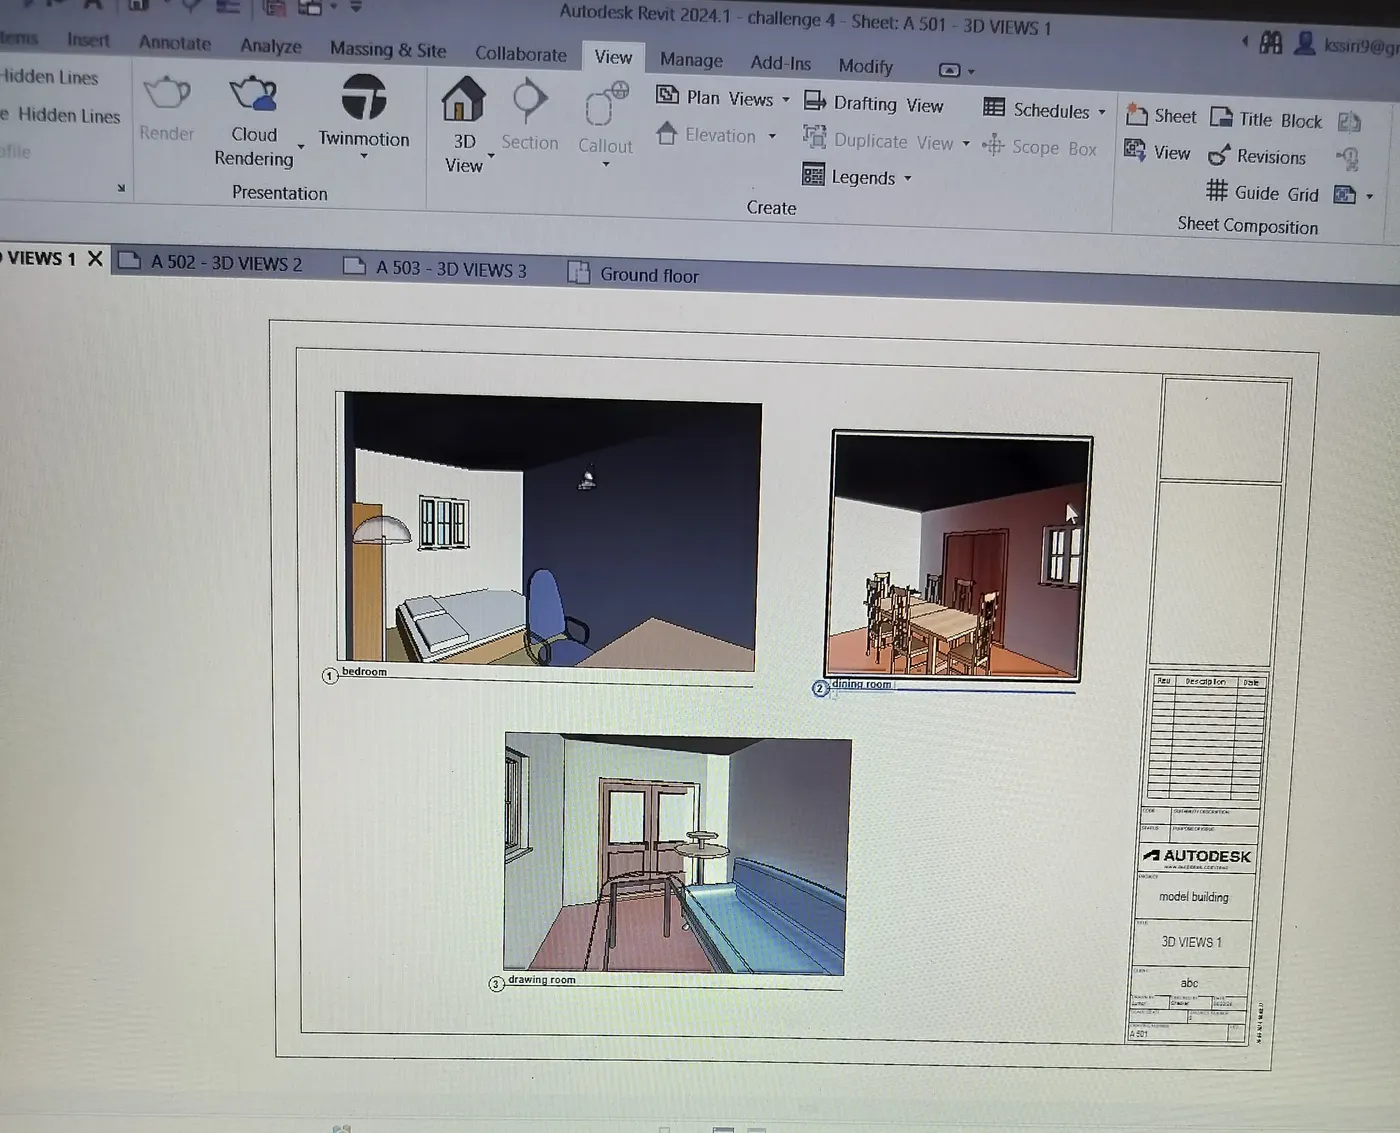
We can create multiple sheets with different views like architectural views, structural views, etc as some of the examples.
10) Aim : To create 3Dviews or camera views in each room.
Introduction : As a part of project drafting we can create views using camera and produce them on sheets.
Procedure : Open 3D view in the view bar.
It contains camera . By selecting on camera and using it in specific room we can view 3Dview of that room.
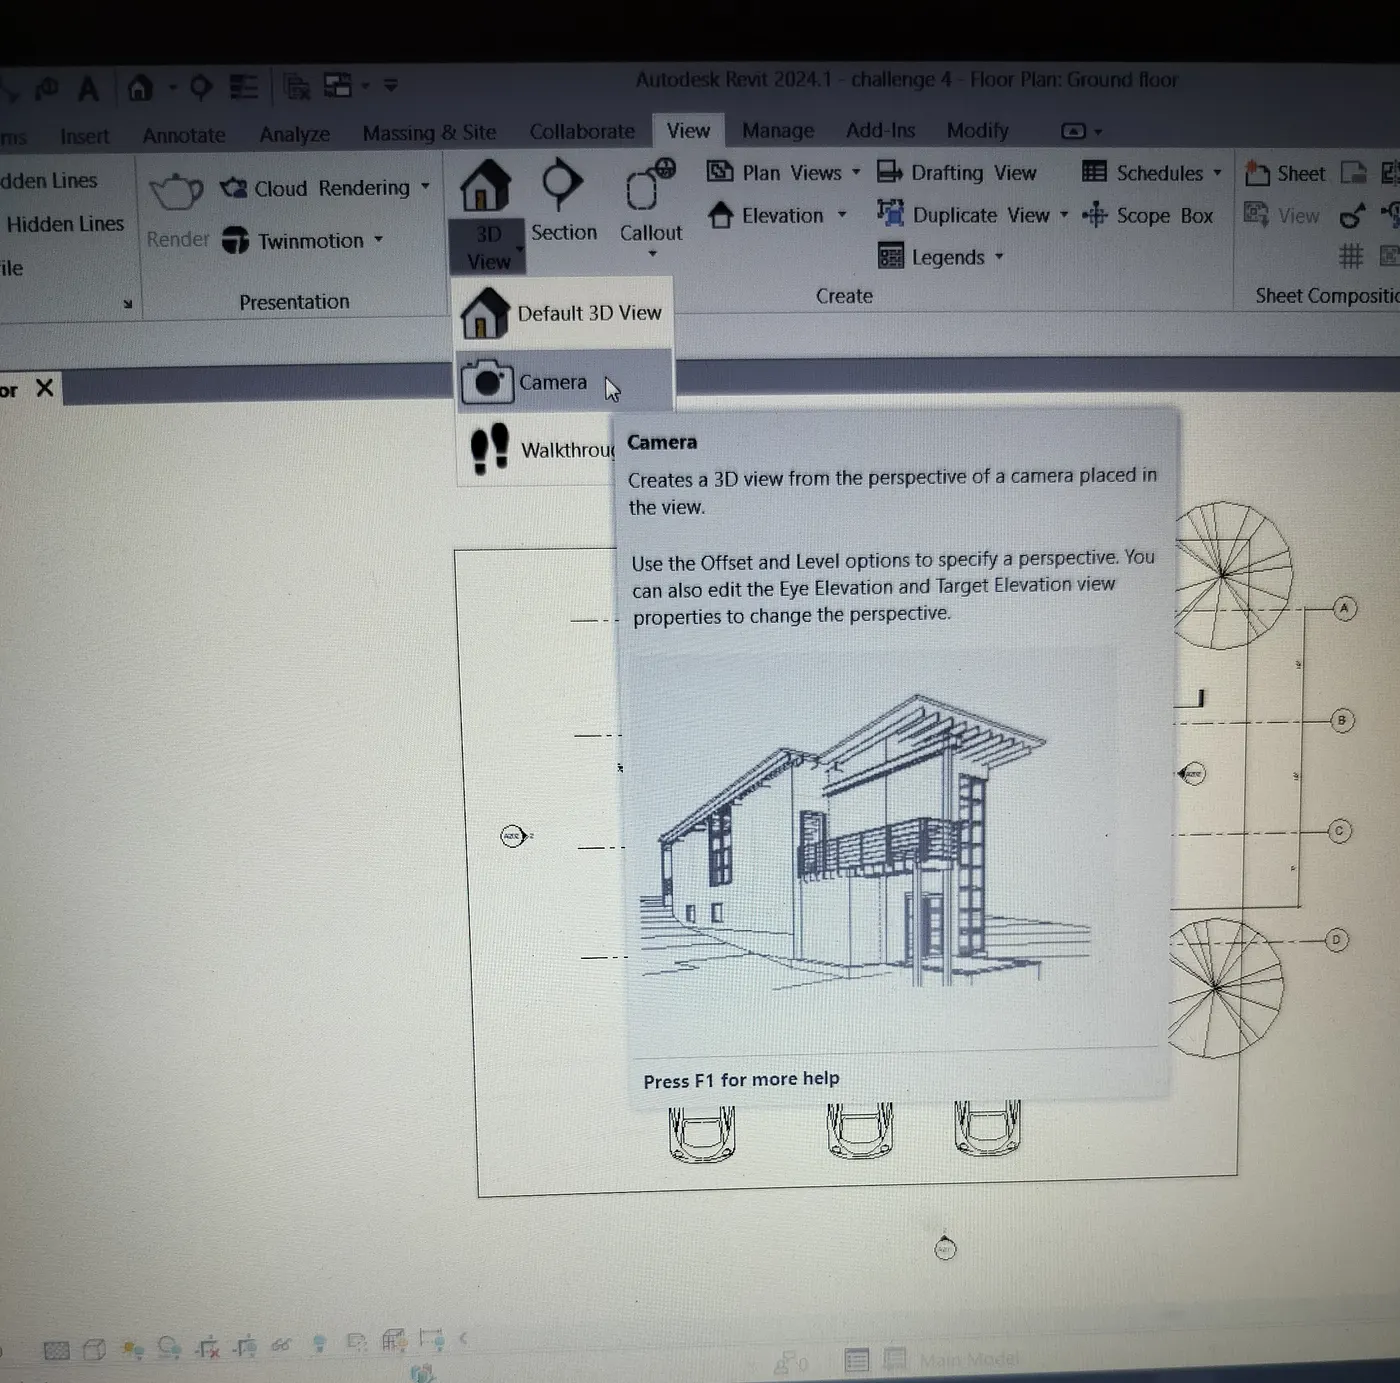
Then we can produce thse 3D views in the sheets so that they can be used for project drafting.