Wiring harness routing & packaging Rules Week 3 Challenge
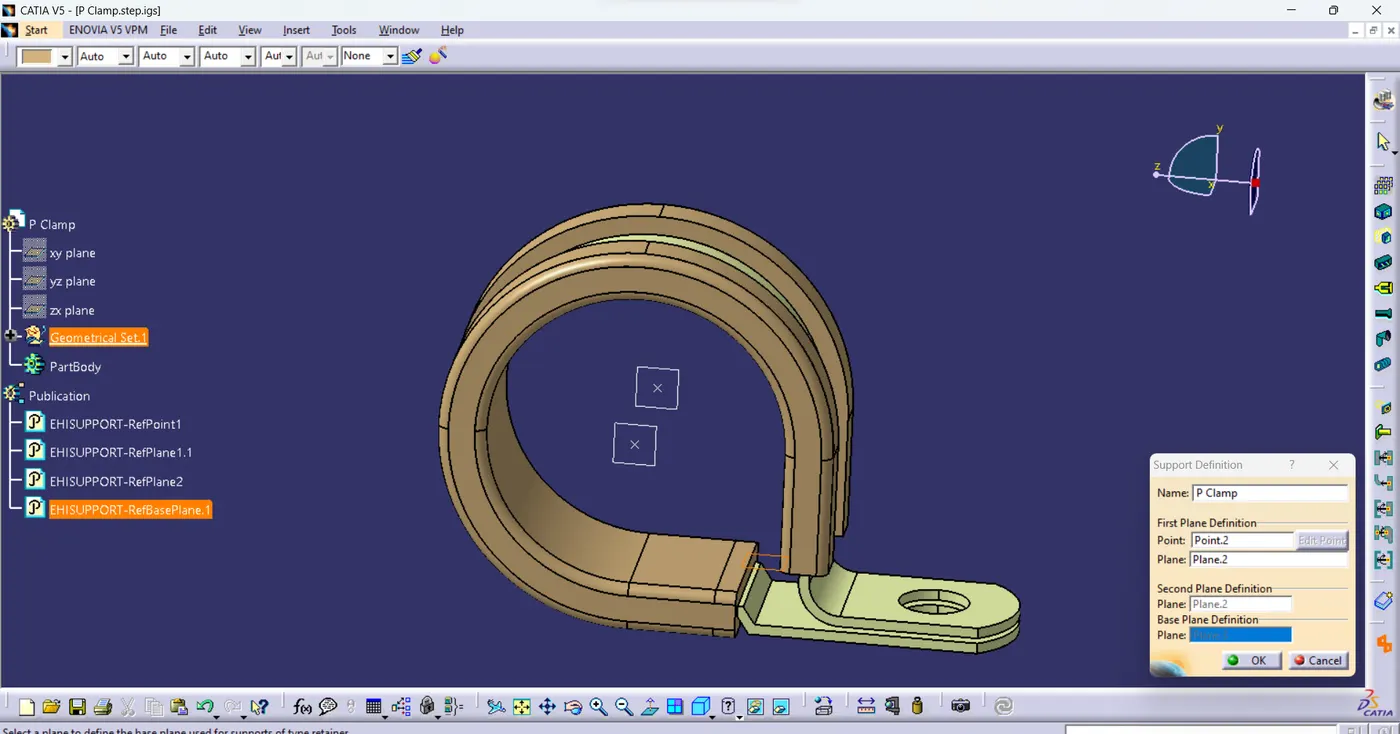
1) P CLAMP
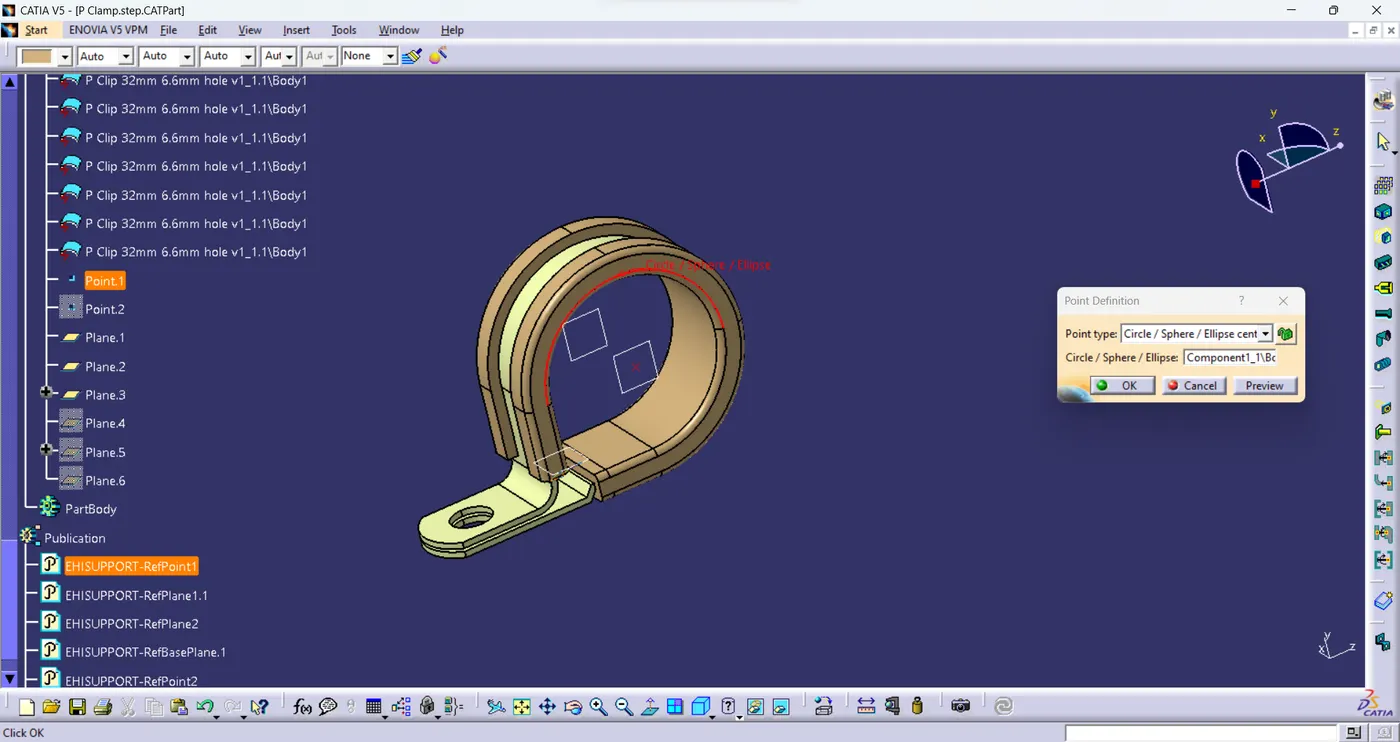
- Create two points one as entry and another as exit point in mechanical part design.
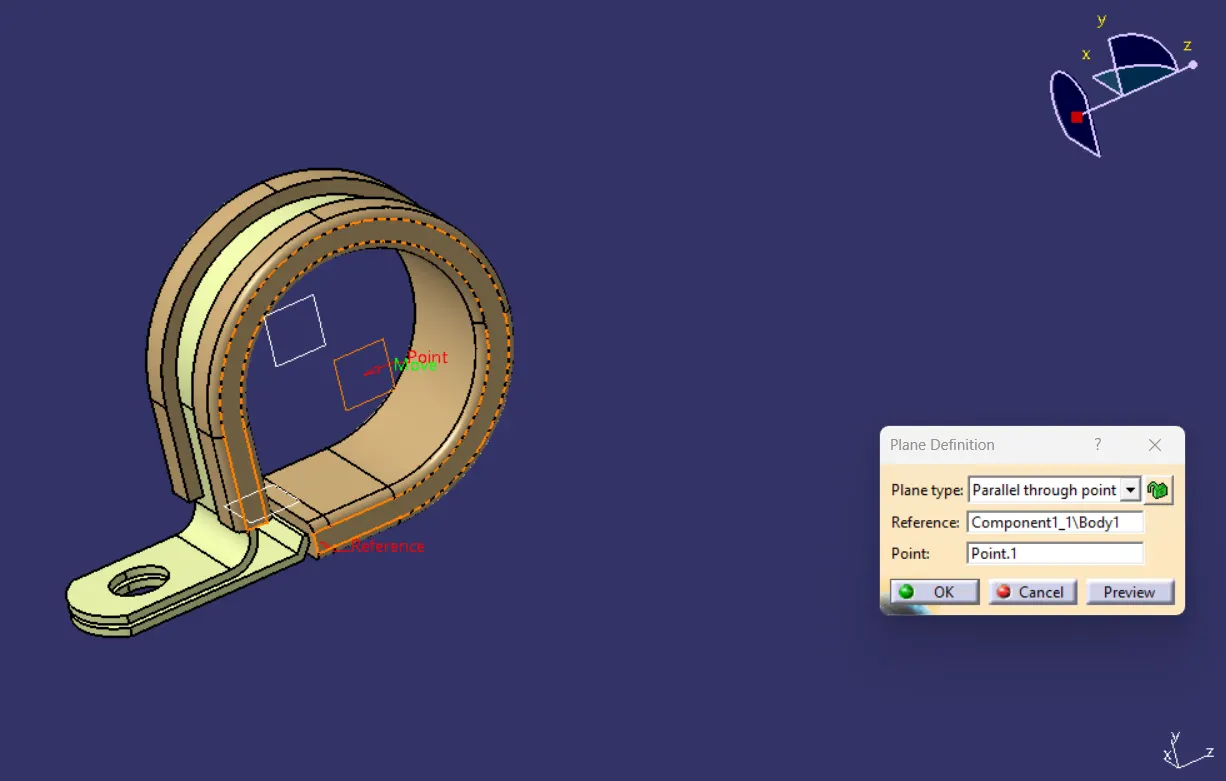
- Create planes at two points and another at base.
- Switch to Electric part desgn.
- Click on support defination - select part - select entry point - select entry plane, exit and base plane.
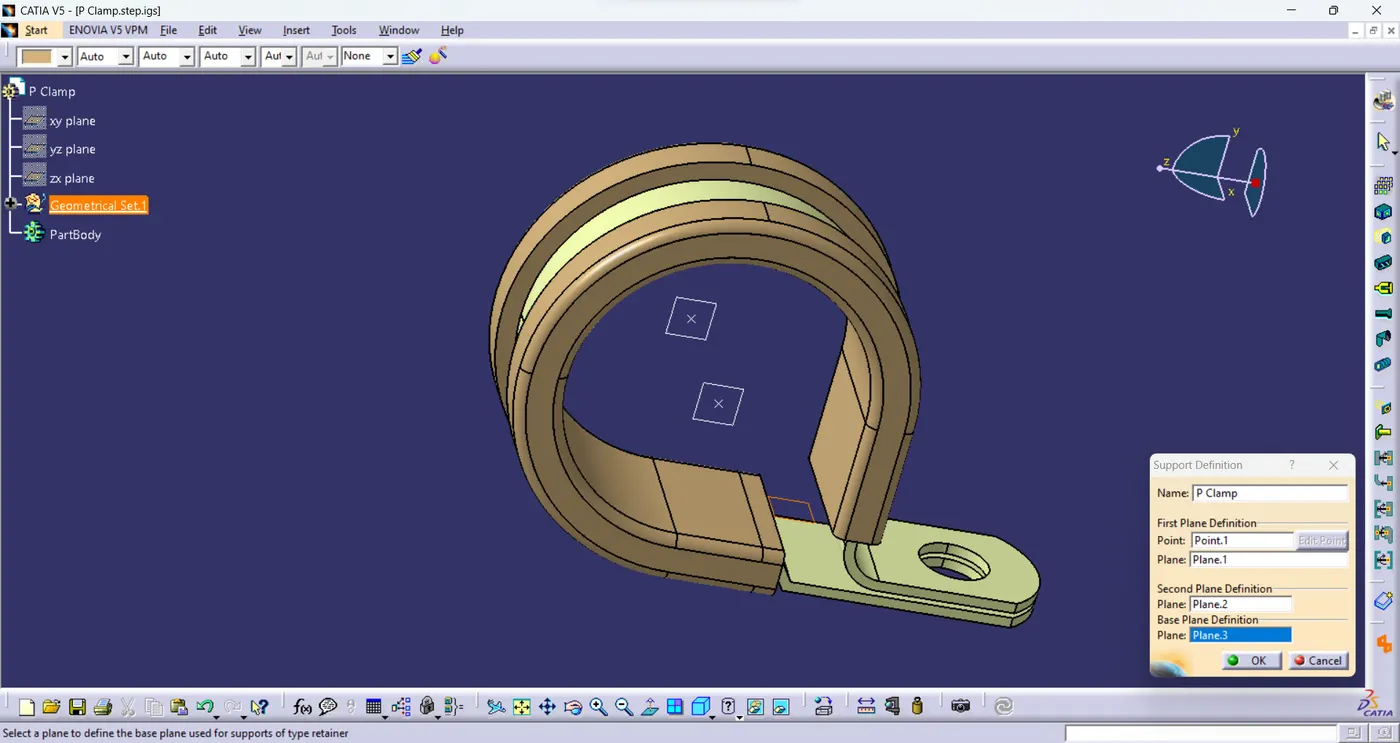
- Again Click on support defination - select part - select exit point - select exit plane and base plane as secondary plane is automatically taken.
2) BACKSHELL
- create Back shell entry point.
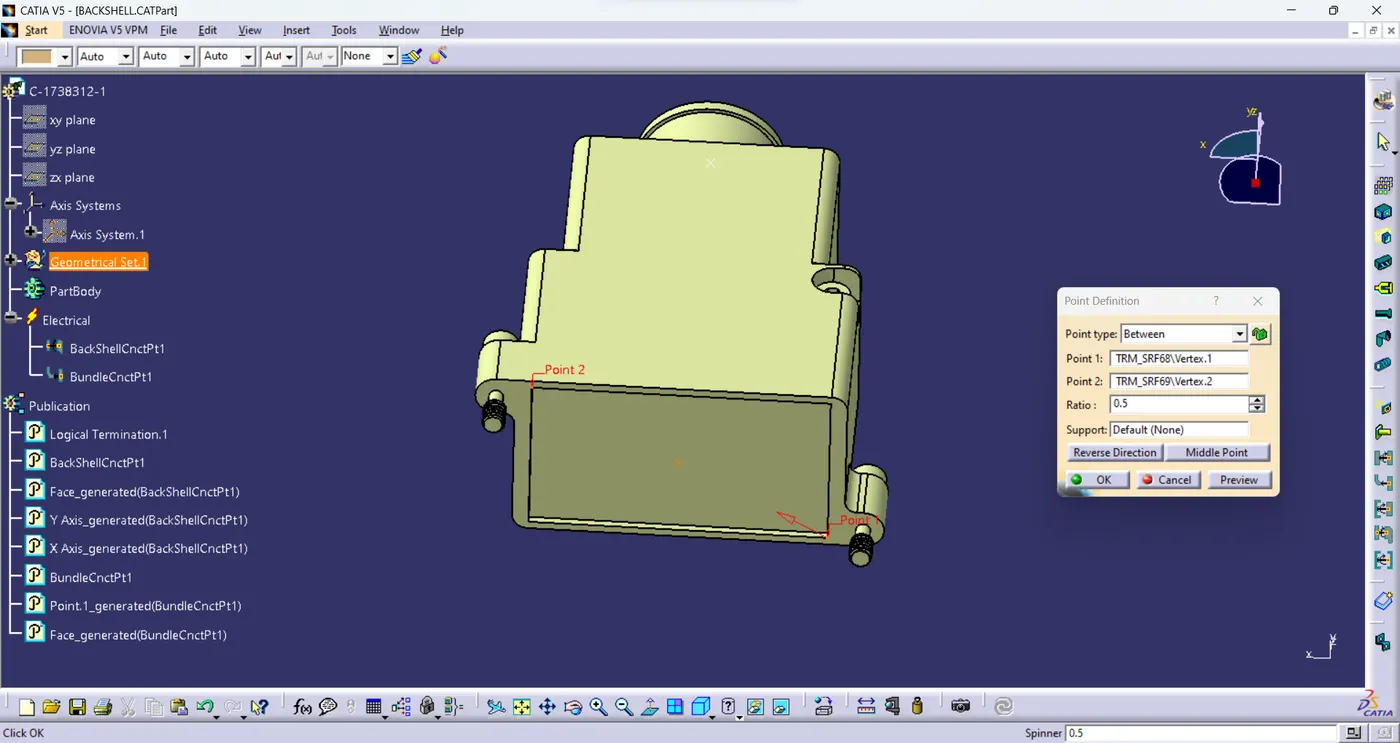
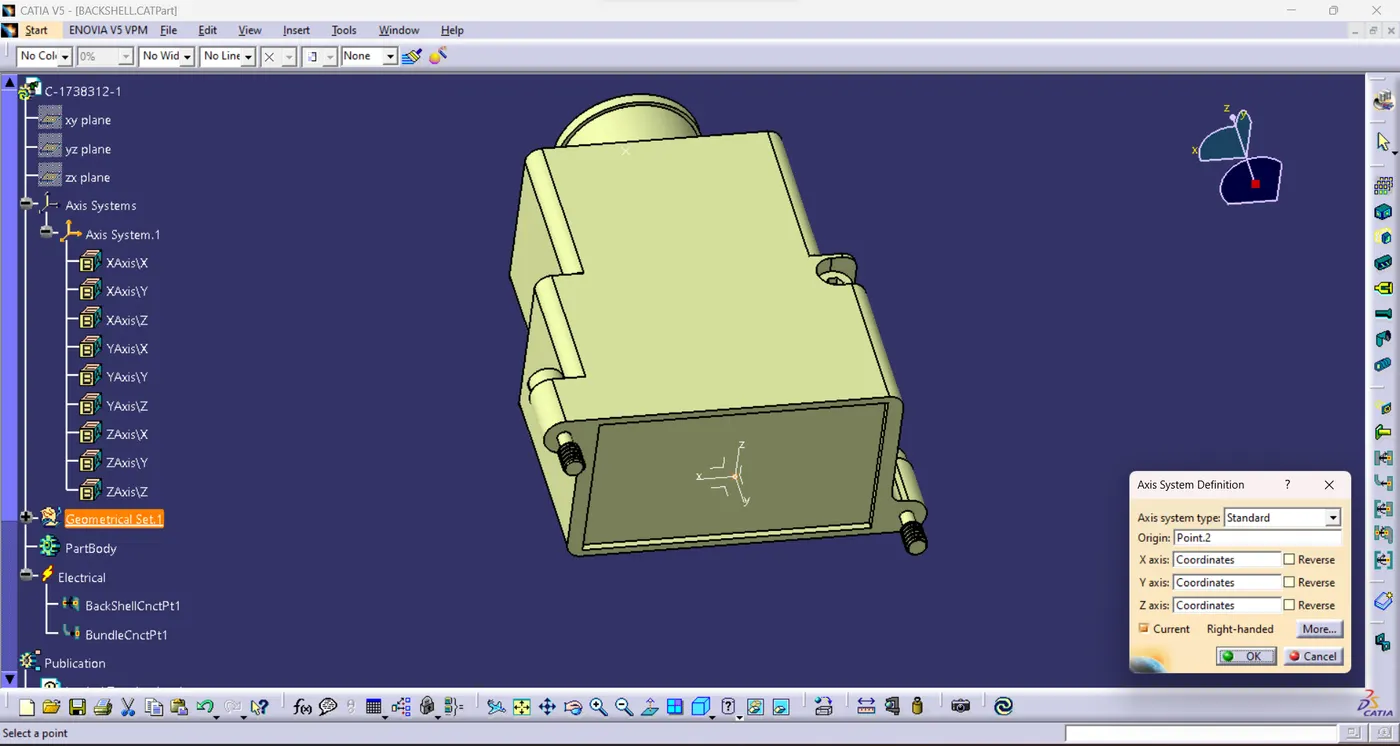
- create axis system for back shell entry.
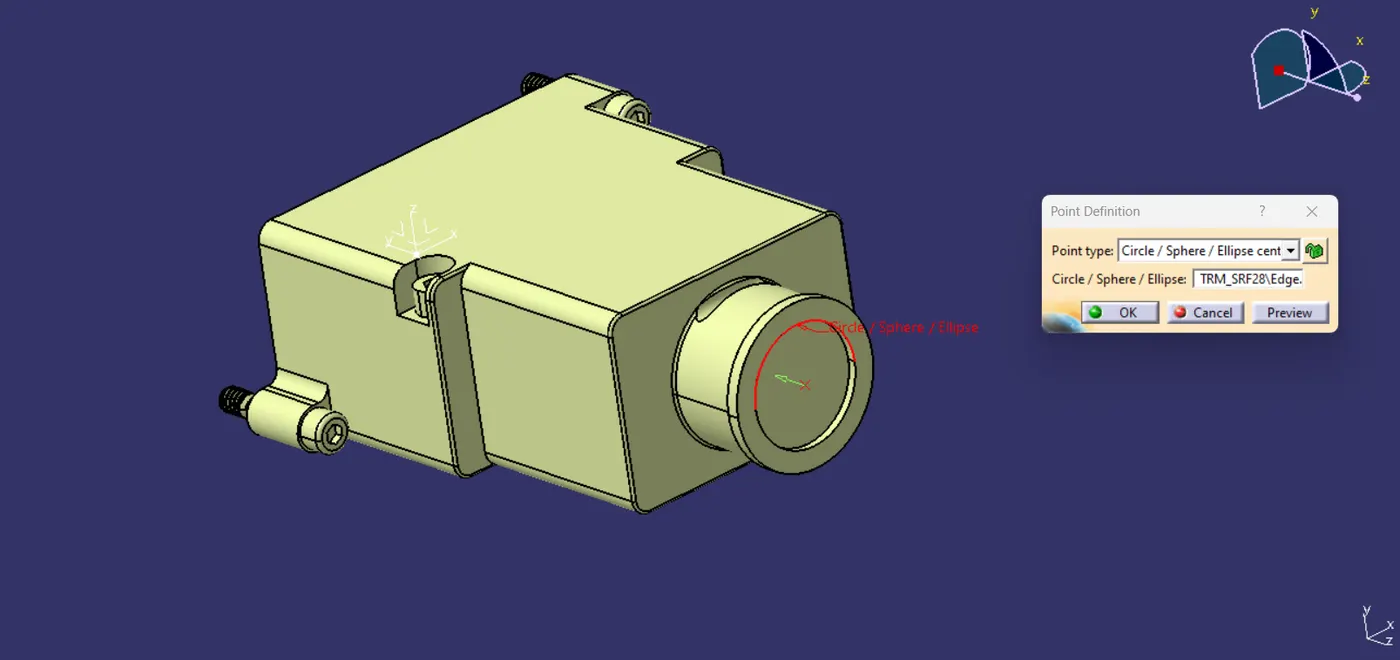
- create bundle connection point.
- switch to Electrical part design.
- Define part electricaly as back shell.
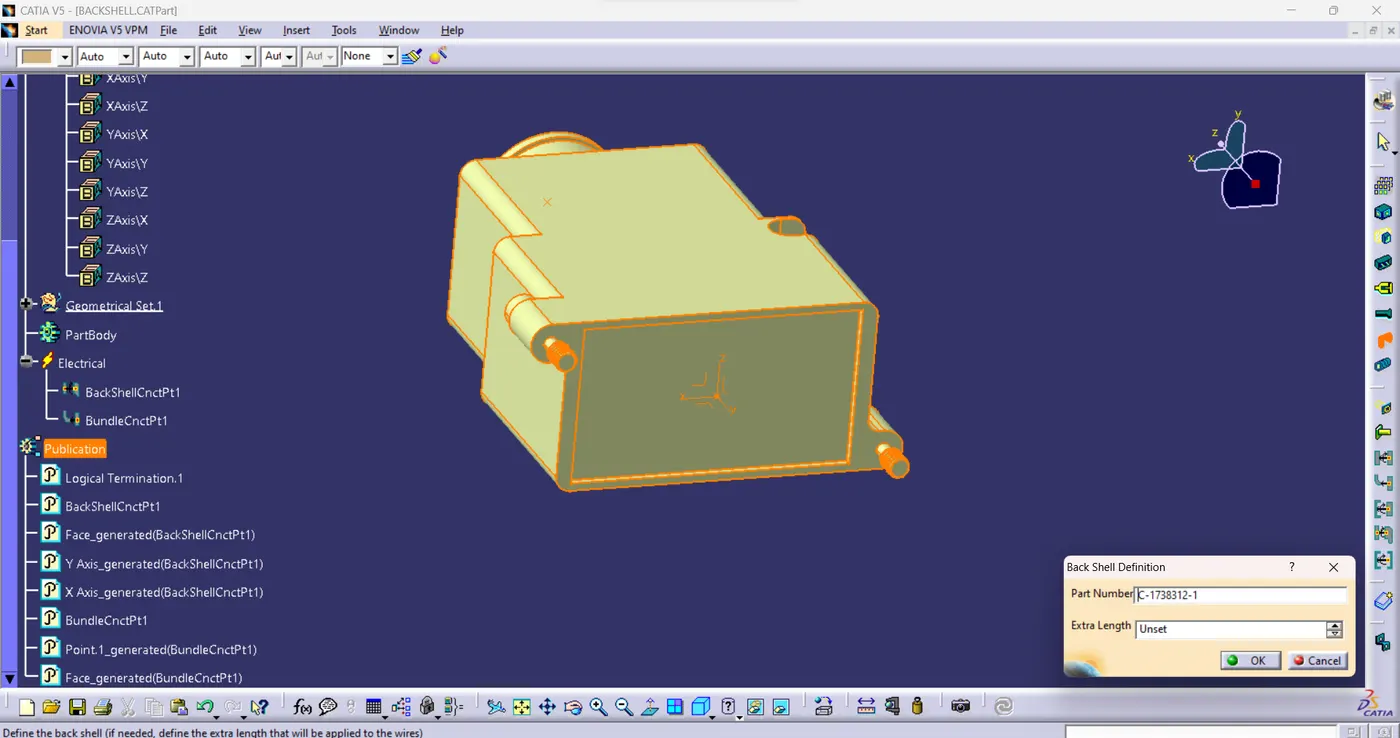
- Then define Back shell connection point.
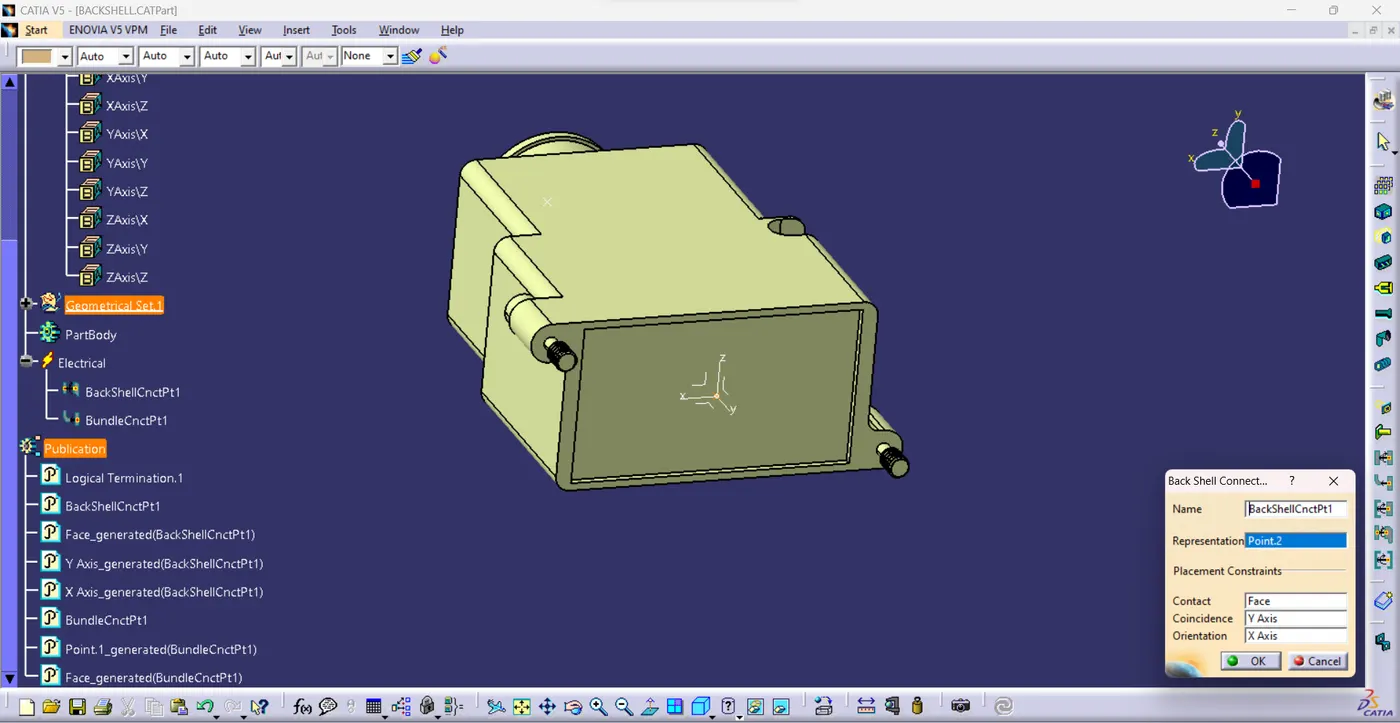
- Define bundle connection point.
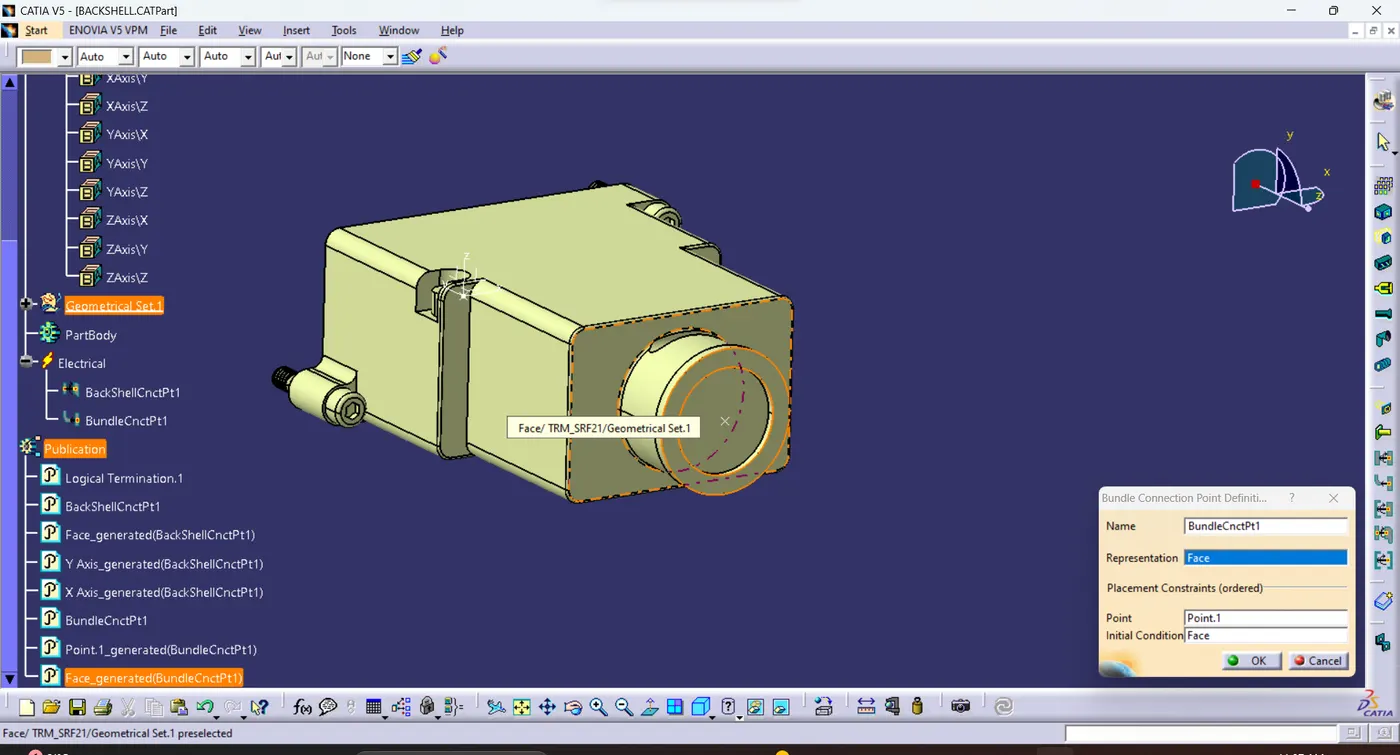
3) COT TUBE
CATALOUGE CREATION:
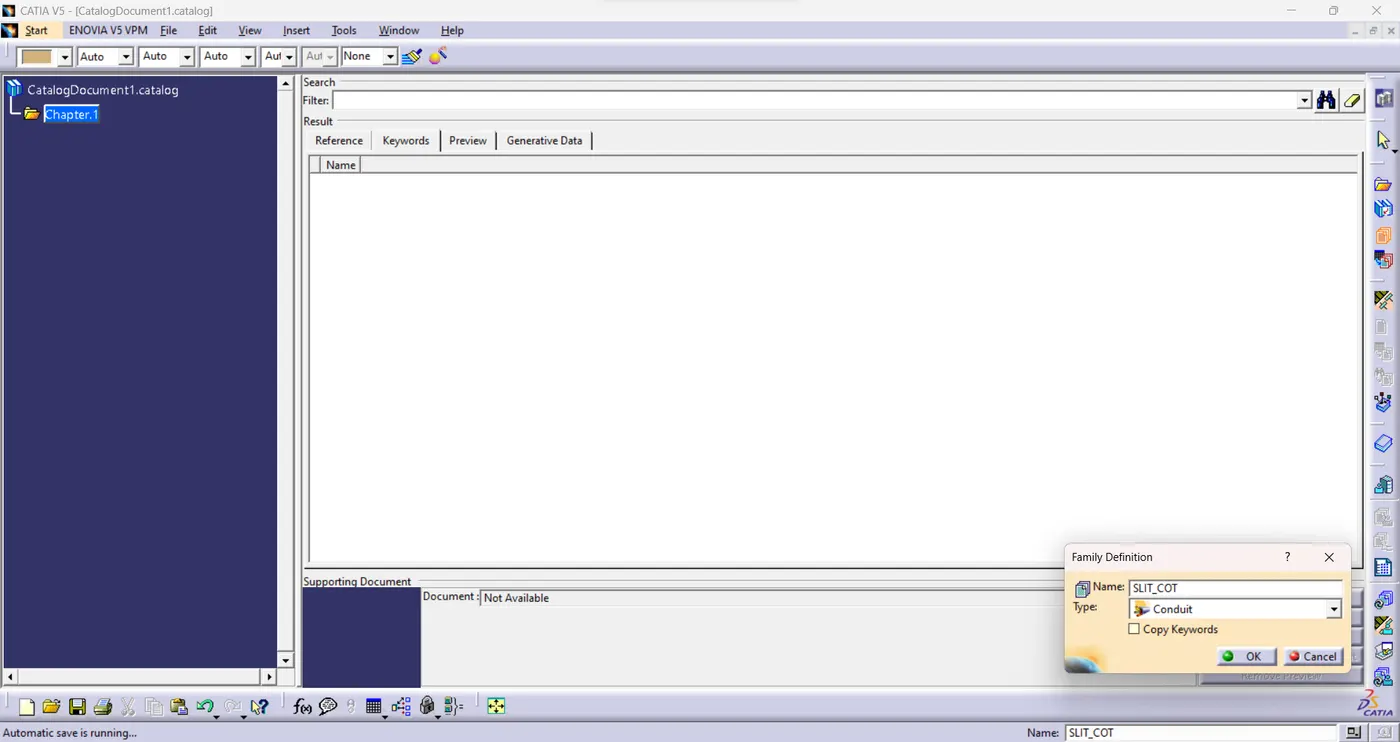
- File -new- catalogue document.
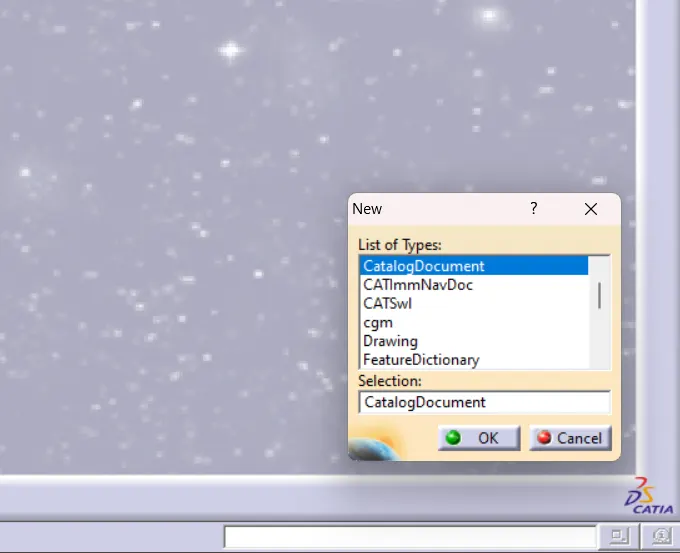
- Add family - give name - type - select Conduit - save.
COTTUBE CREATION
- Switch to Electrical part design.
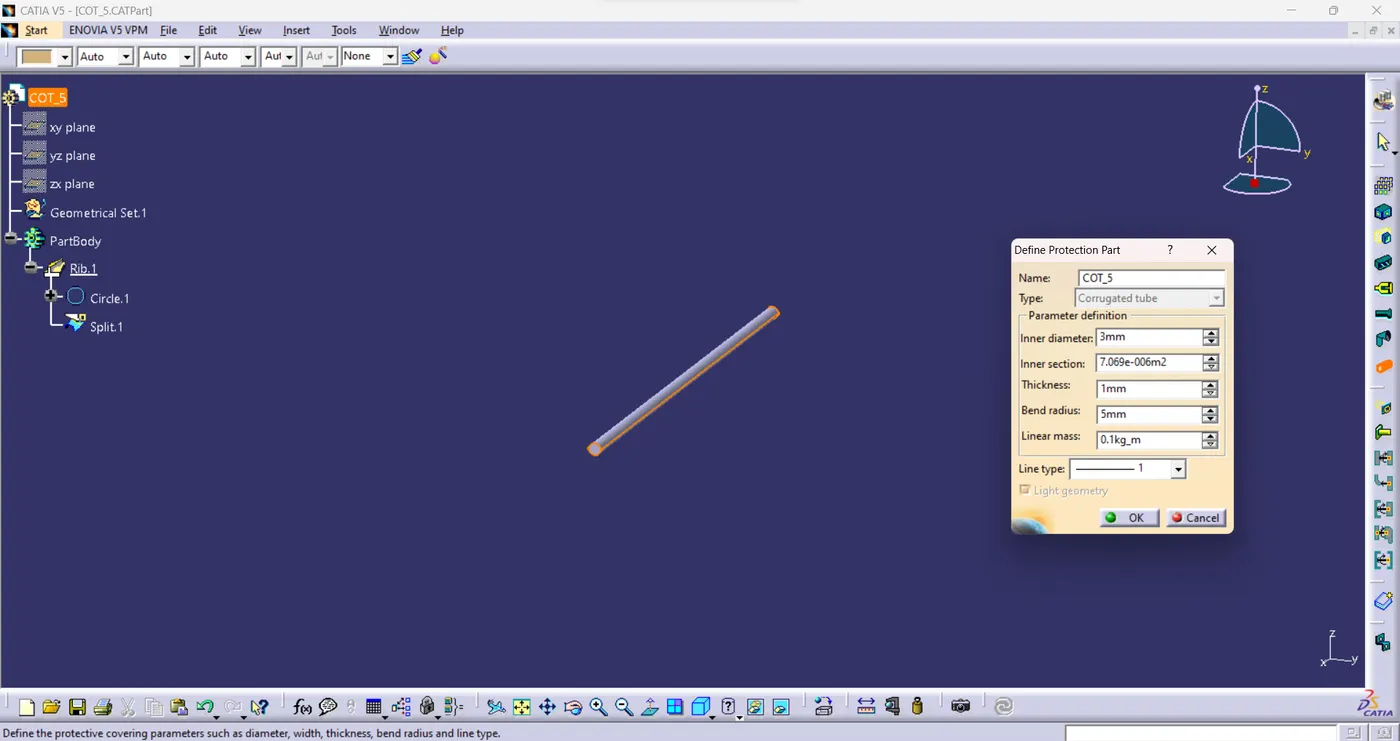
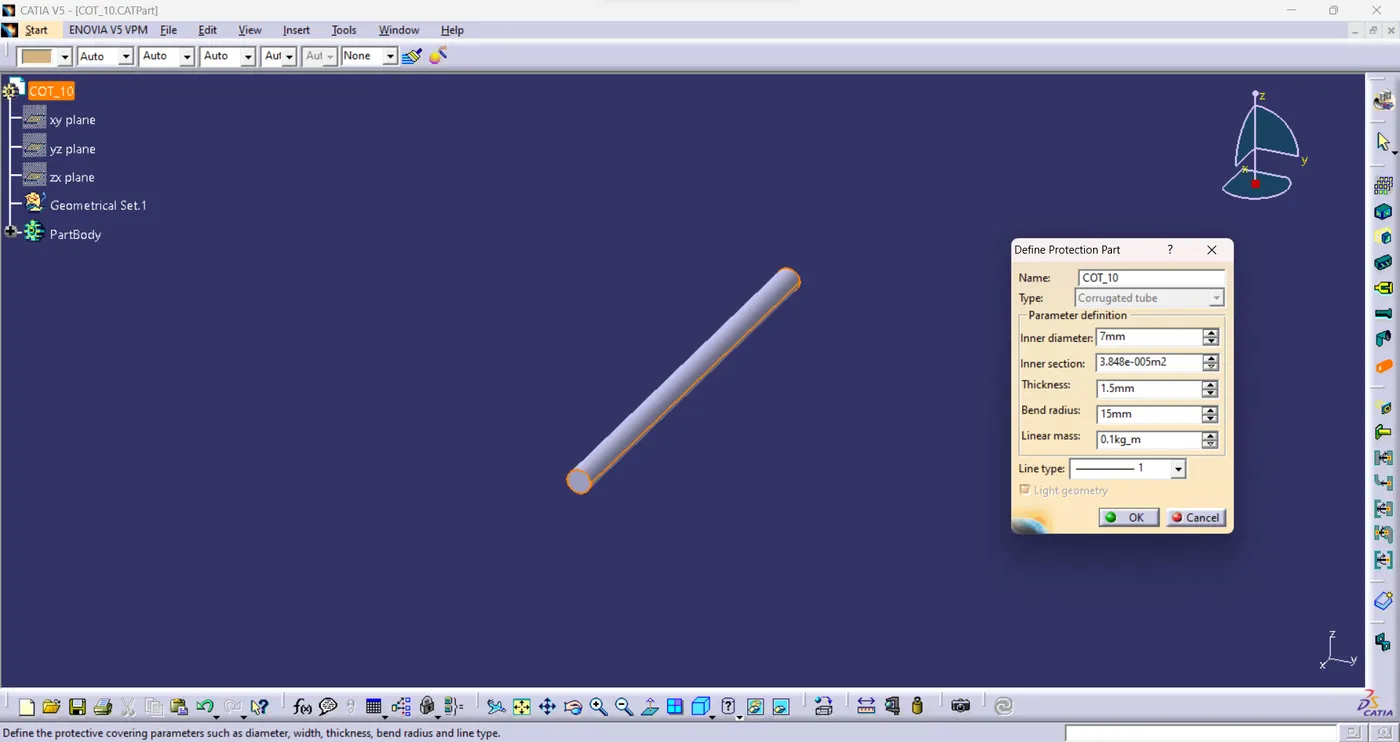
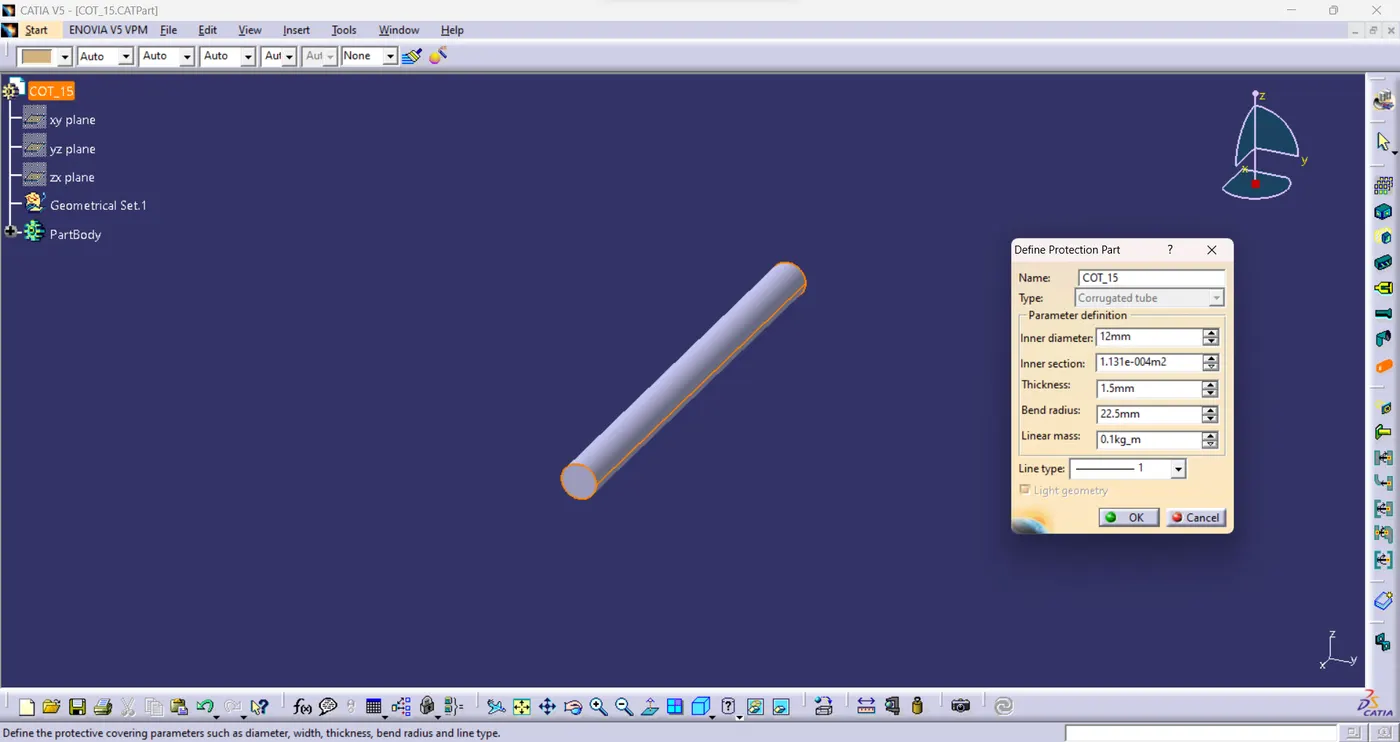
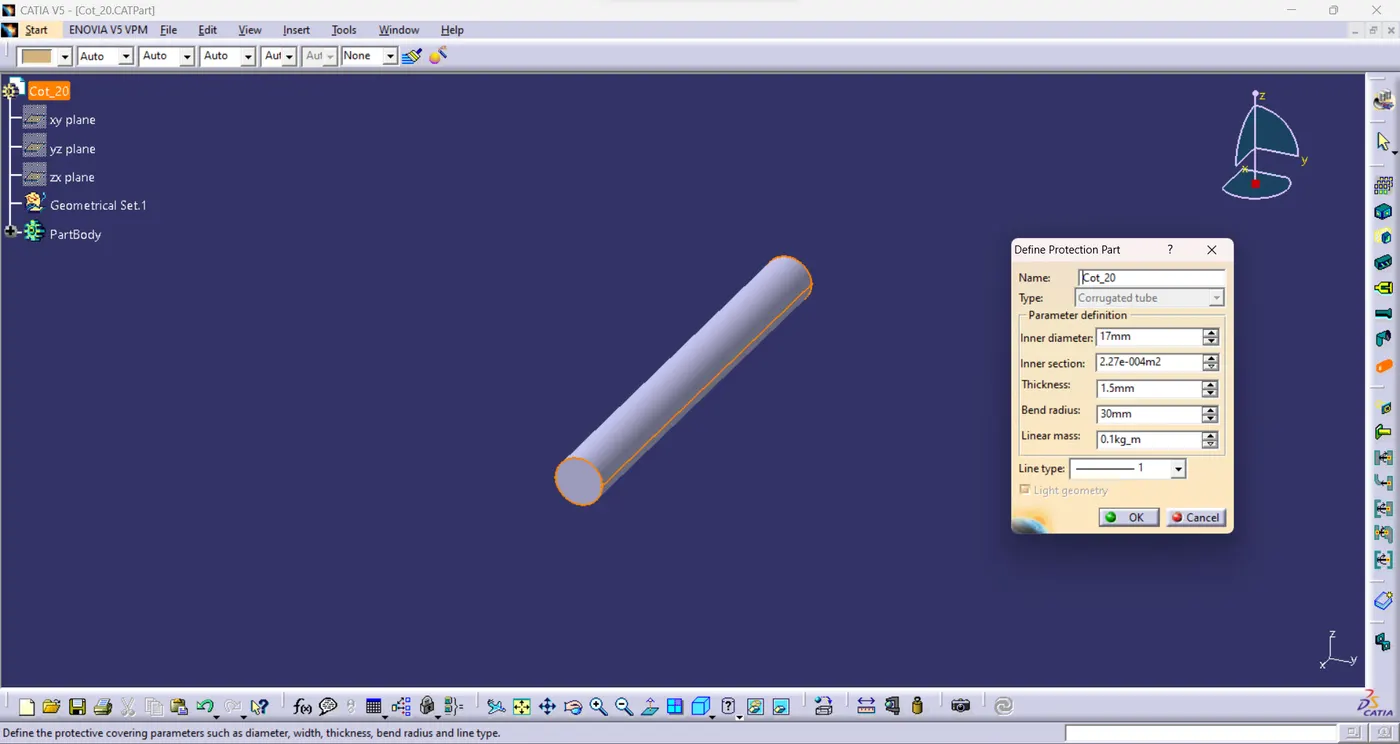
- Select Define protection Part.
- Click on part (on file name in specification tree).
- Provide given parameters and bend radius as '1.5 x Outer Dia'.
COT_5mm
COT_10mm
COT_15mm
COT_20mm
COT_35mm
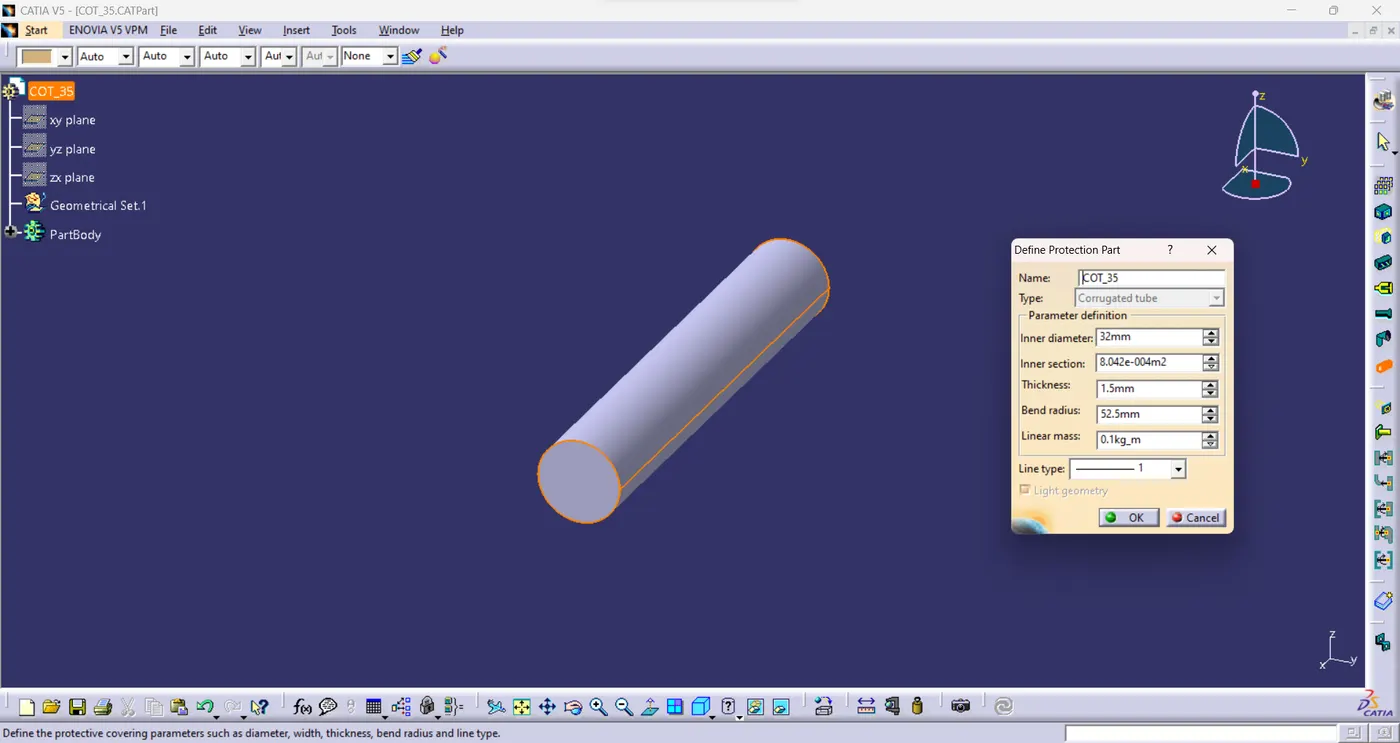
- Store the cot tubes using STORAGR DEVICE
- Select the desired Catalog of the cot tube and select the family