Wiring harness routing & packaging Rules Week 3 Challenge
Wiring harness routing & packaging Rules
Week 3
Q1. Download following cad data & define it as Electrical support using Electrical Part design Workbench. Define all the necessary properties.
Procedure:
Download the part file from the given web link. It will be either in .stp or in .igs file type. Convert the data to compatible CATIA part file.
The part file is a P-clamp. It is used as a support to the WH routing. Thus, it has an entry point and an exit point.
In part w/b, define the entry point and the exit point. Create planes parallel to the plane surface of the P-clamp. Also create a base plane.
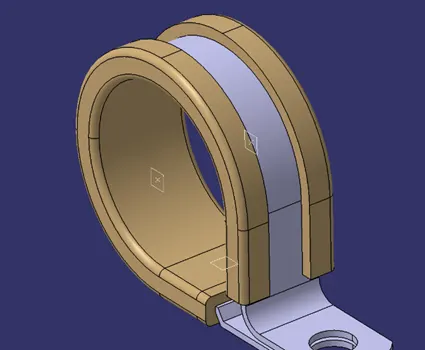
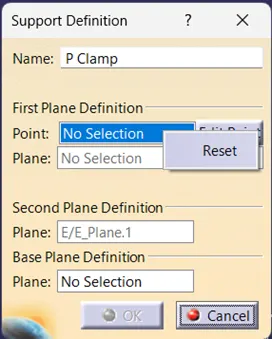
Define the part as an electrical support in the electrical part design w/b. Select the 1st point and its resp. plane. Now, select the opp. Plane as the 2nd plane and the lower plane as the base plane.
Note: The routing can be entered through any section, hence define it 2 times.
For the issue with point definition, point selection, Right-click on the point definition window and use the reset option.
Q2. Download the Back shell cad data & define it as Electrical back shell using Electrical Part design Workbench. Define all the necessary properties.
Procedure:
Download the part file from the given web link. It will be either in .stp or in .igs file type. Convert the data to compatible CATIA part file.
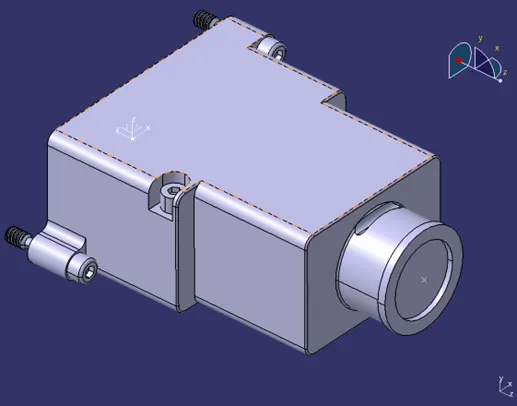
Similar to other connectors, create bundle connector point and connector connection point in the part w/b. Add an axis system to the connector connection point.
Go to electrical part w/b and define the part as a Back shell. Do it by defining the bundle connection point and the back shell connection point.
Q3. Create Following Corrugated tubes & add them in Catalogue under “Slit COT” family.
|
Name |
Inner diameter |
Outer diameter |
Thickness |
|
15 |
12 |
15 |
1.5 |
|
20 |
17 |
20 |
1.5 |
|
35 |
32 |
35 |
1.5 |
|
10 |
7 |
10 |
1.5 |
|
5 |
3 |
5 |
1.0 |
All the dimensions are in mm.
To create a catalogue:
Go to file > new > catalogue document
Add a new family and call it “Slit COT”. Change the type to “conduit (all protection tubes)”.
Save the catalogue at the desired file location.
To create the corrugated tubes:
Open a new electrical part design file.
Activate “define protection part” and click on the part file on the top-left corner. A dialog box pops up asking for the parameters of the corrugated tubes.
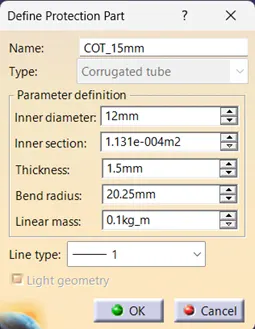
Note: the bend radius is roughly 1.5 times the outer diameter.
A cylinder appears in the workspace, which rep. the corrugated tube and bends according to the bends in the WH routing.
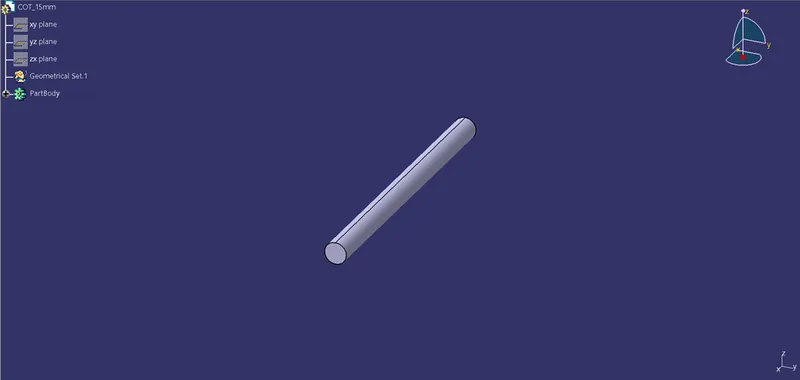
Similarly create other corrugated tubes with various dimensions given in the table.
To add the tube in the catalogue, click on “store device” and choose the catalogue by browsing to the location where the catalogue has been saved. Choose family as “Slit COT”.
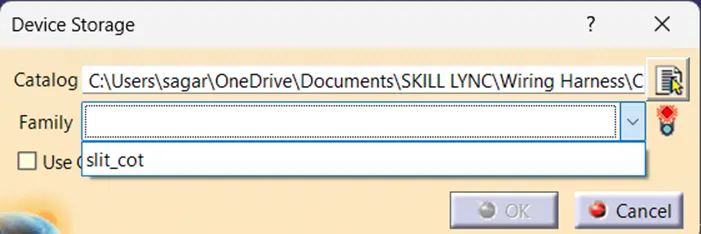
Part file:
Wiring harness routing & packaging.zip
Report:
Wiring harness routing & packaging.docx