Wiring harness design in CATIA V5 - 3D modeling Week 7 Challenge
Q1. Flatten the harness assembly completed in “ week 4 challenge”. Place the flattened view on drawing sheet. Ensure bundles with protective coverings has different visuals on drawing view.
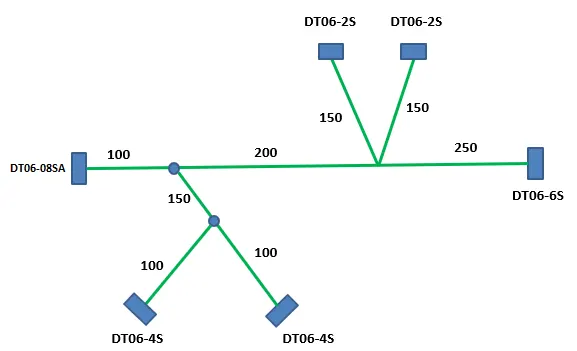
Aim
- To Route the following harness layout in the Electrical workbench.
- Add protective covering on all branches
- Flatten the harness assembly
- Place the flattened view on drawing
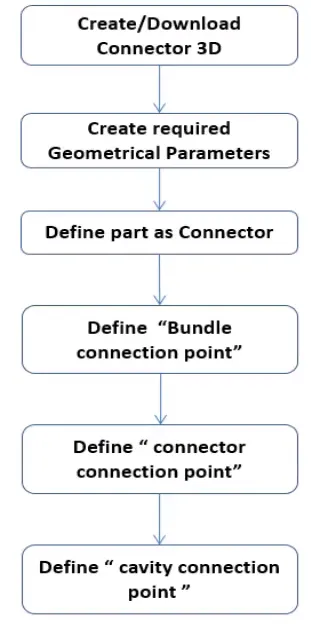
Step -1: Define connector
Converting the Mechanical part into the Electrical part:
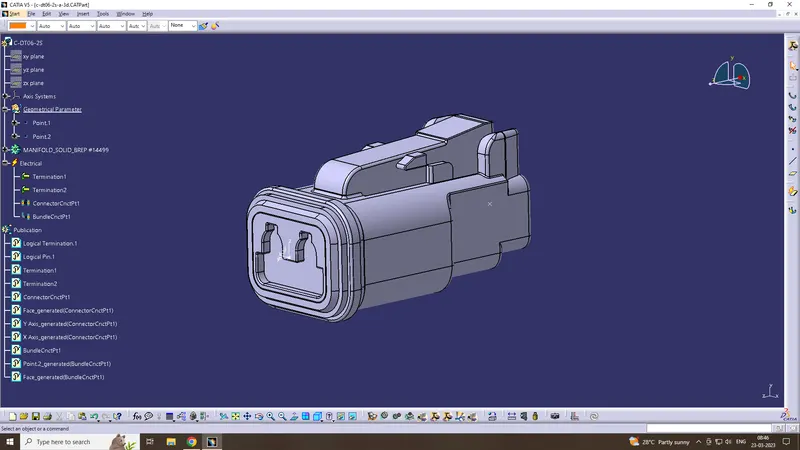
DT06-2S
This connector is downloaded from www.te.com, electrical parameters are defined
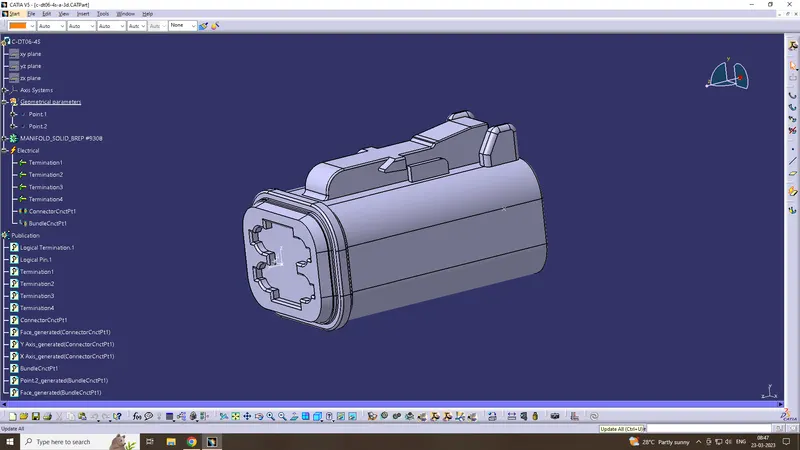
DT06-4S
This connector is downloaded from www.te.com, electrical parameters are defined
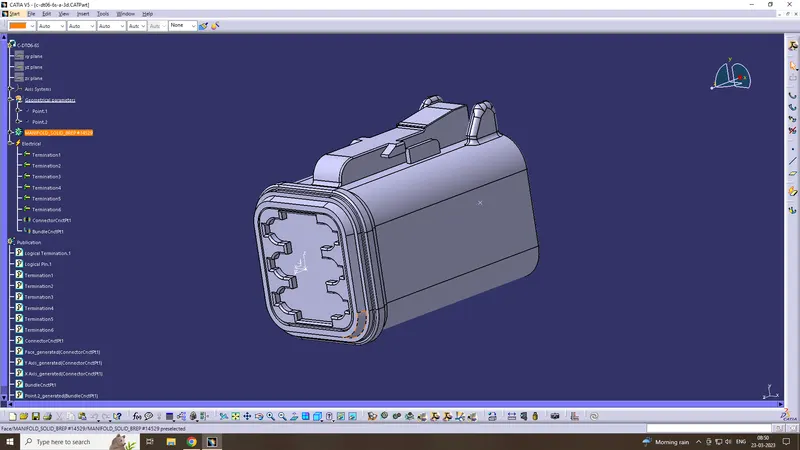
DT06-6S
This connector is downloaded from www.te.com, electrical parameters are defined
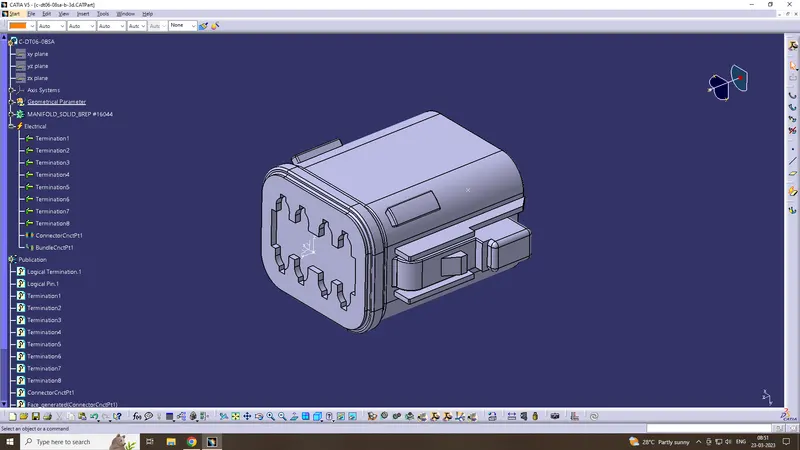
DT06-08SA
This connector is downloaded from www.te.com, electrical parameters are defined
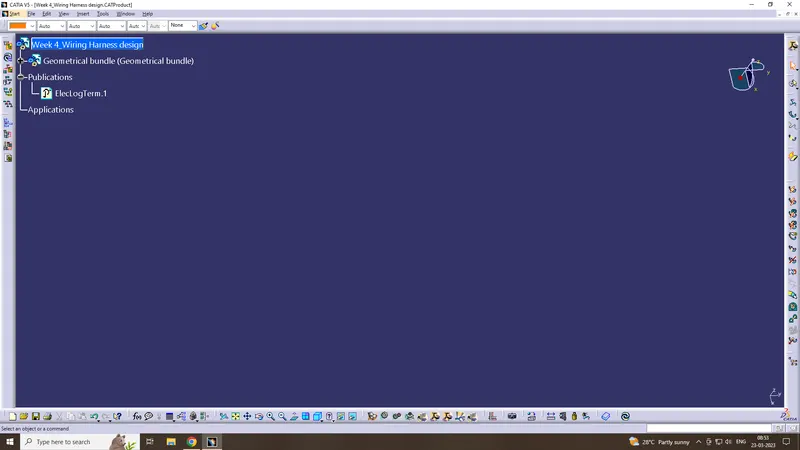
Step -2: Create Product file
create a new product file and create component as Geometrical bundle & define it as electrical.
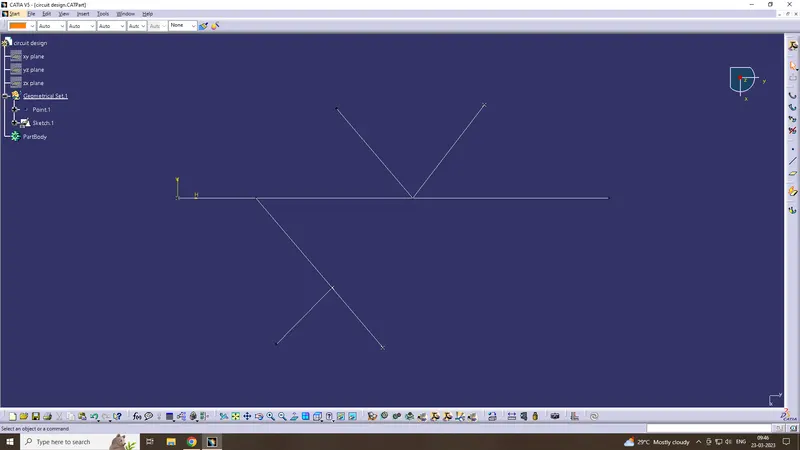
Step -3: Create a bundle layout
create a sketch as per the layout diagram
Step -4: Add Connectors & Arrange them
Add the required connectors to the Geometrical bundle and arranged as per the layout diagram using smart move tool
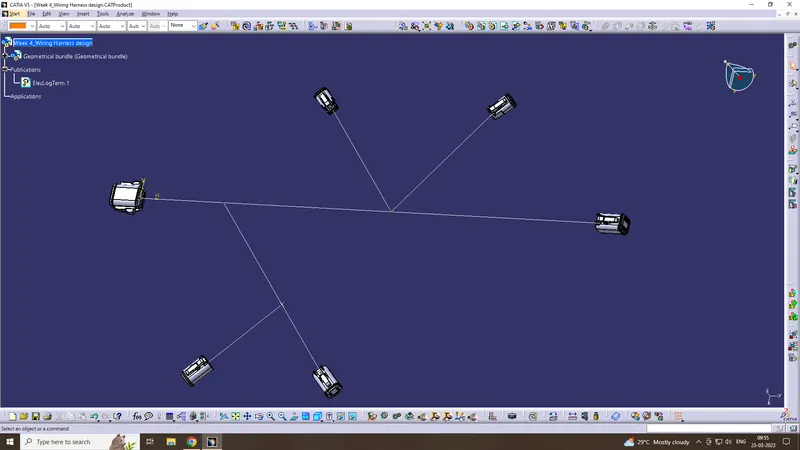
Step -5: Create Multi branching
Create bundle using multi branch command, Assume bundle diameter is 15mm & sub branch is 10mm
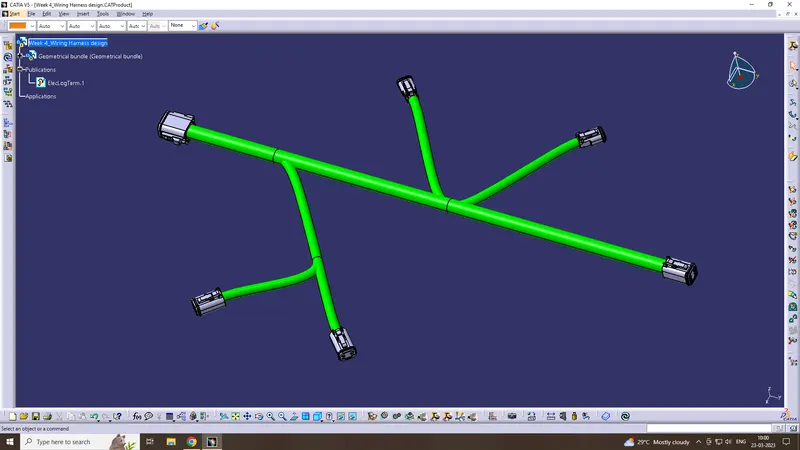
Step -6: Create protective cover
Create protective cover & keep end extremity at 30mm. In this Corrugated tubes used for protection cover
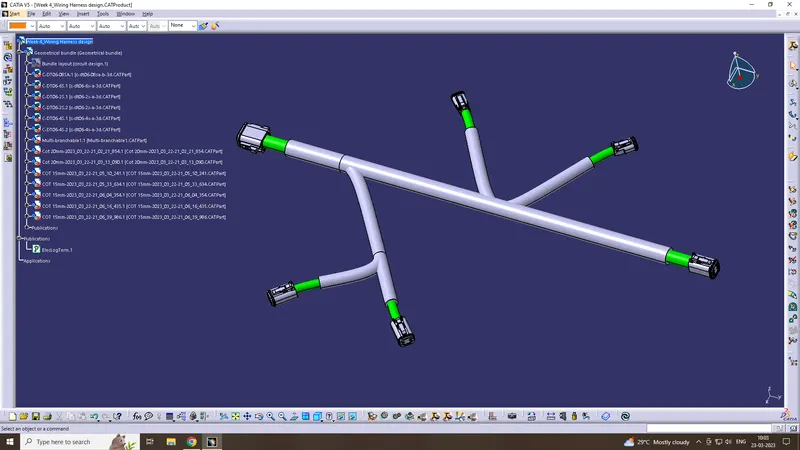
Step -7: Flatten the harness assembly
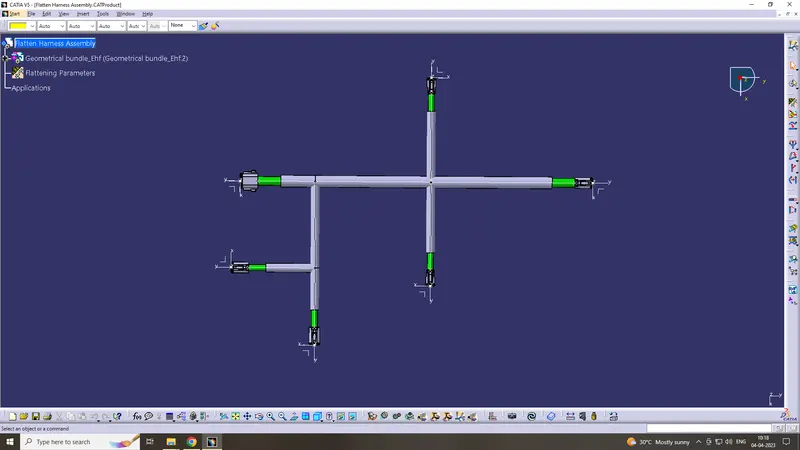
Step -8: Flattened view on drawing sheet
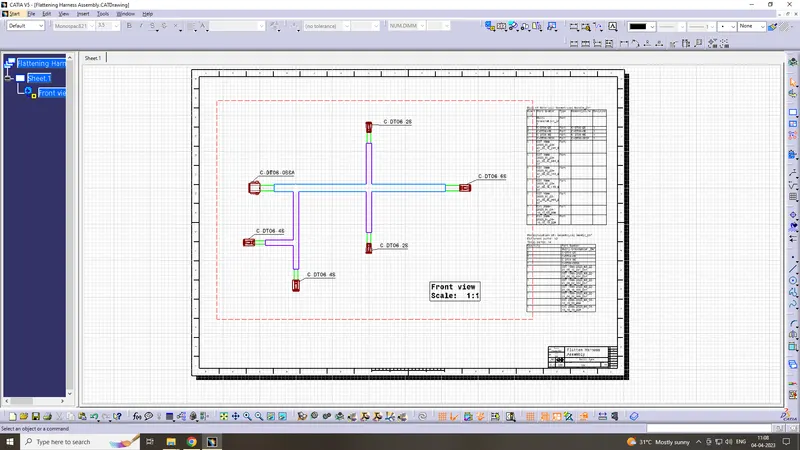
Conclusion
The Week 4 Challenge harness assembly is flattened as per given guidelines.