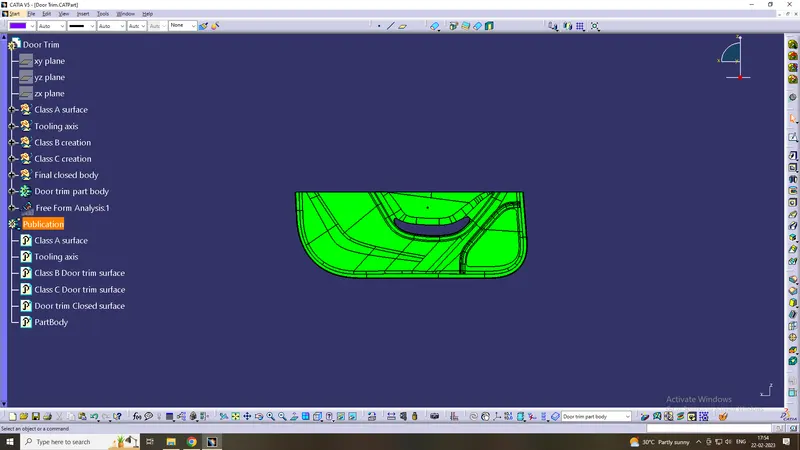
Week 8 - Challenge 5 - Door Trim Lower
Door Trim Lower
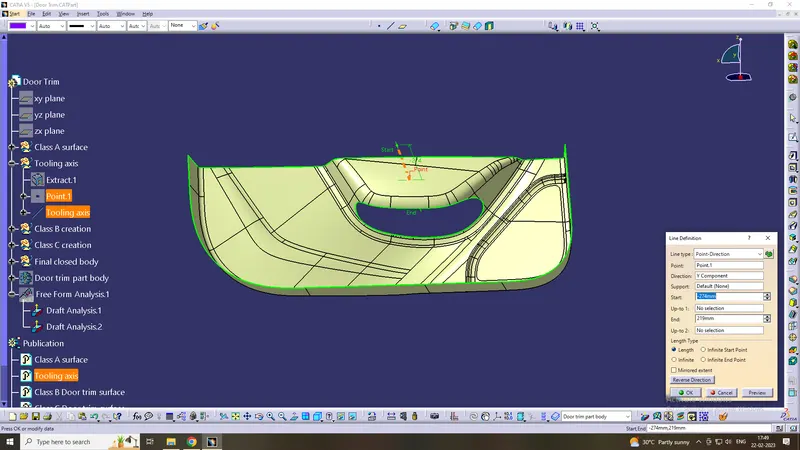
Tooling Axis :
here first we required tooling axis for draft analysis. tooling axis is works as provided to direction for injection moulding as well as direction of draft angle where is check it right or wrong so 1st we extract the surface of class A and than create point on it use this point we create the line by using line command for proper direction which want to the draft analysis and this line knows as the tooling axis
Here Y direction covers all surface area, so we create Tooling axis on y axis direction.
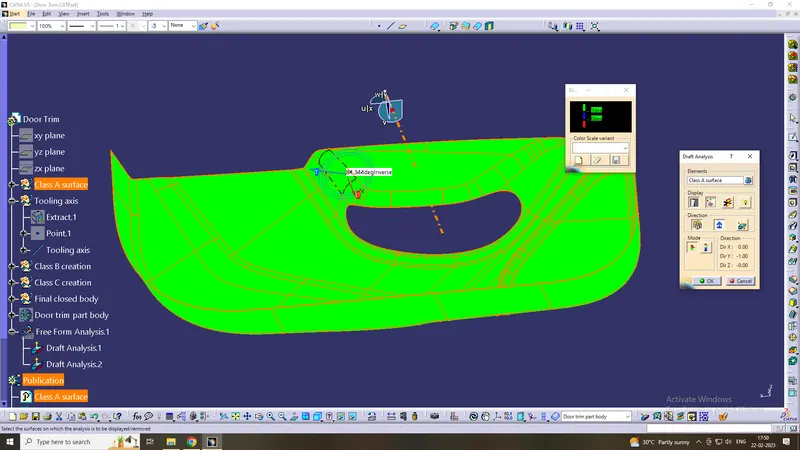
Draft analysis of Class- A
After creating a tooling axis we do the draft analysis. Before drafting we have to make sure that in the view mode it is selected for the materials.
After selecting the feature draft analysis tool we drag the compass from its position to the tool axis. Then lock the compass. After that select anywhere on the component and it will give you the result.
We change the minimum draft for the component to 3°.
We can use the running point option to check the angle of the component.
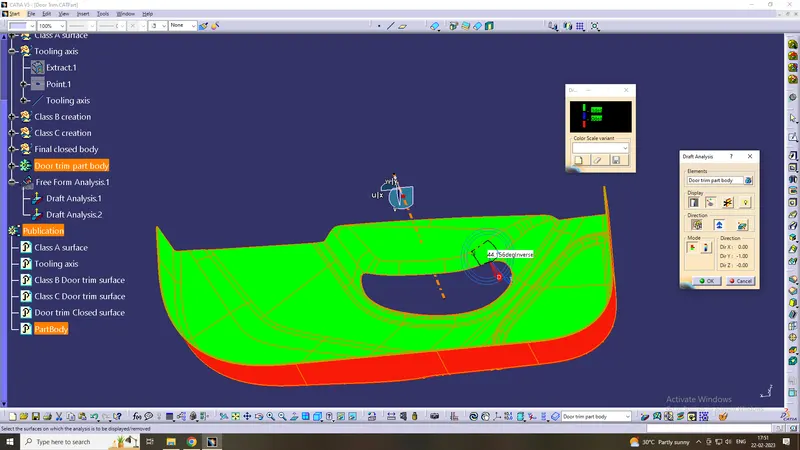
Draft analysis of the Body part:
After creating a tooling axis we do the draft analysis. Before drafting we have to make sure that in the view mode it is selected for the materials.
After selecting the feature draft analysis tool we drag the compass from its position to the tool axis. Then lock the compass. After that select anywhere on the component and it will give you the result.
We change the minimum draft for the component to 3°.
We can use the running point option to check the angle of the component.
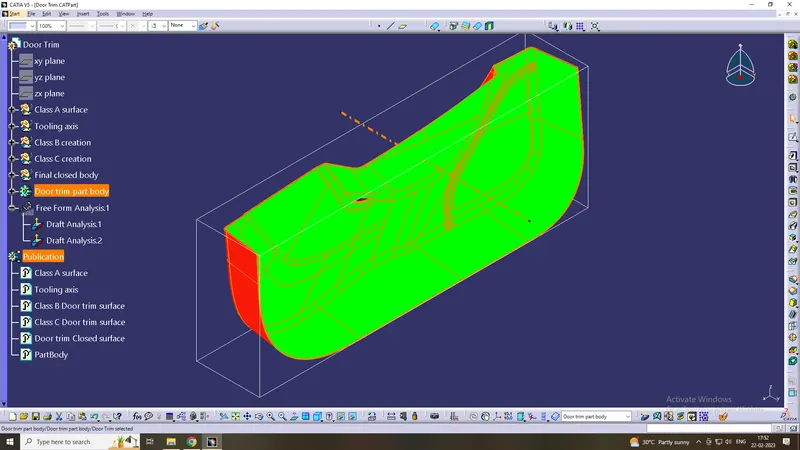
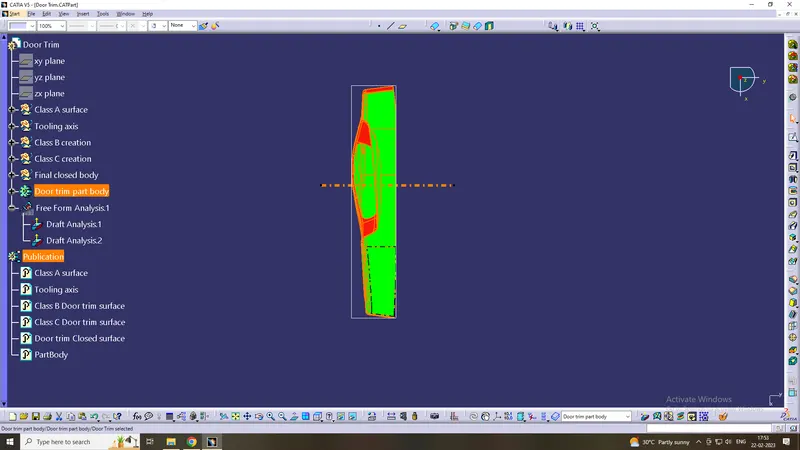
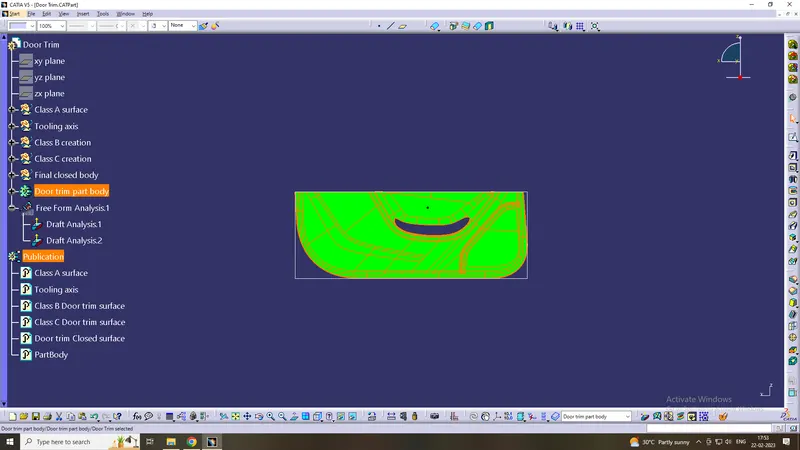
solid model with the proper color code of the draft angle in various orientations
Isometric
Top view
Right side
Tree features