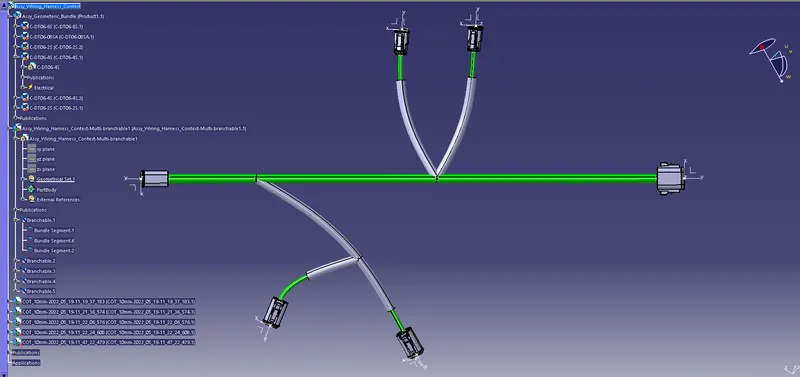
Wiring harness design in CATIA V5 - 3D modeling Week 4 Challenge
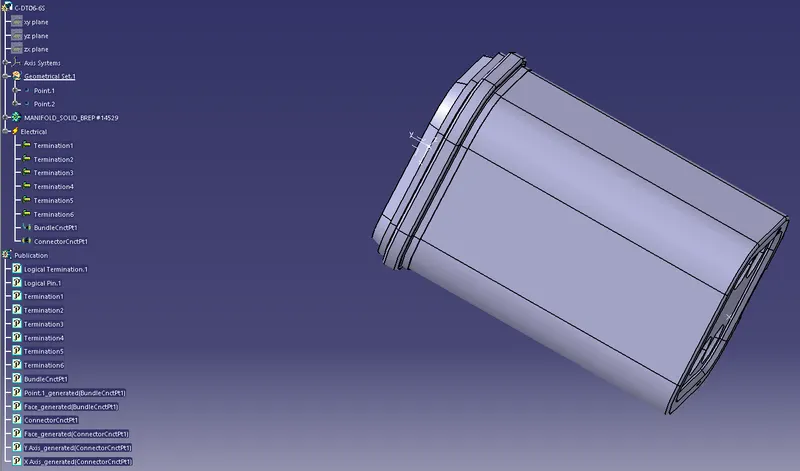
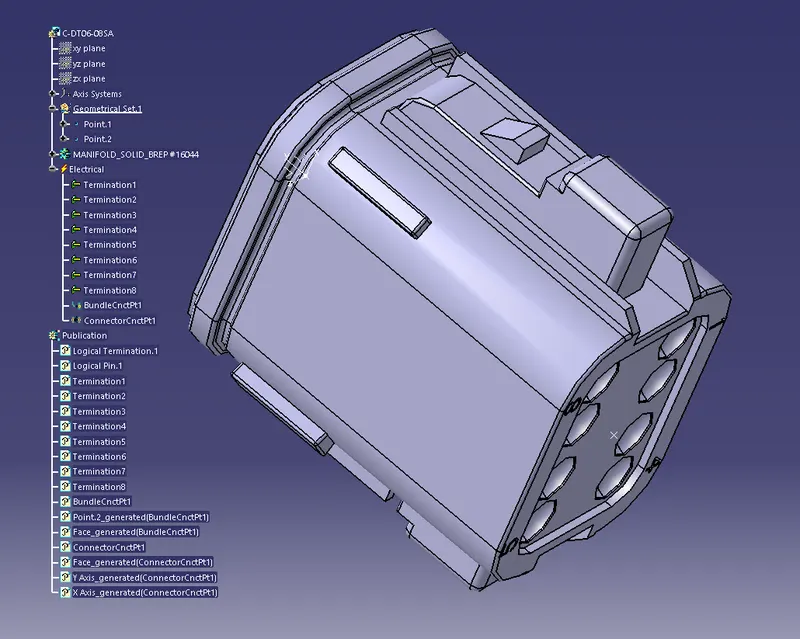
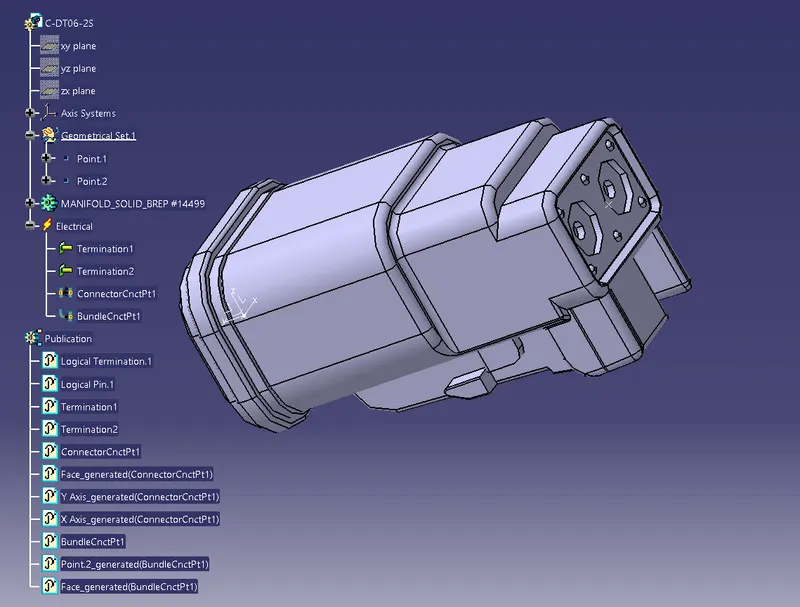
-Electrically define all the connectors,by
-Create point in the middle both connector and bundle end,axis in the connector end.Make sure that the y axis is pointing away from the connector side,z axis towards the upper side and x axis to the left side.
-Define model as connector, Define the bundle and connector connection point from the electrical part design workbench.
Figures shows the fully electrically defined connectors.
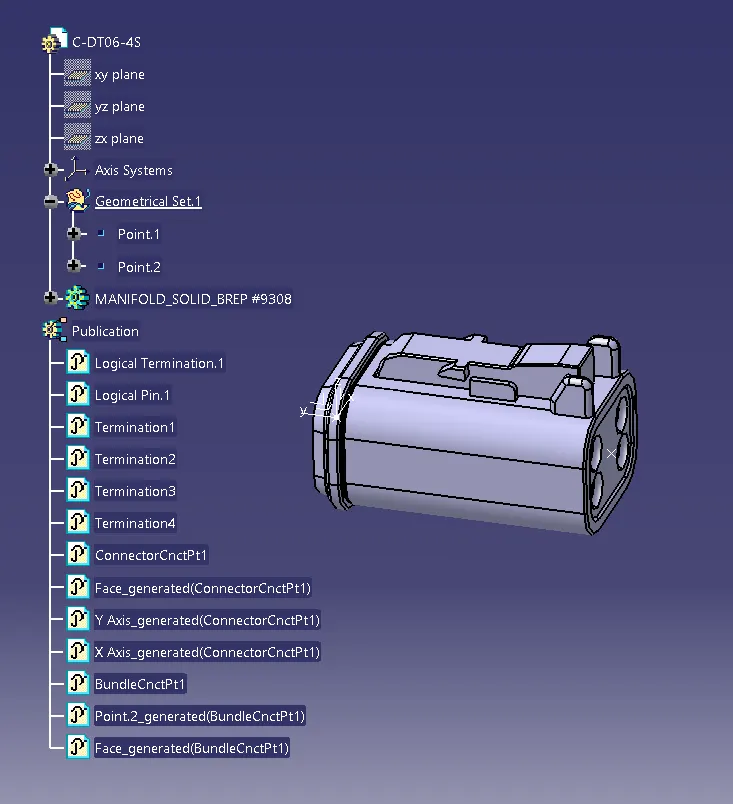
-Create product file as Assy_Wire_Harnes_Context.
-Right clicking on the product ,select components and select new component.
-Rename the product(1.1) as Assy_Geometric_Bundle
-Import the connectors to the geomertic bundle by right clicking on the Assy_Geometric_Bundle ,select components and then exiting components.
-Copy and Paste the extra connector to the Assy_Geometric_Bundle
-Allign the connector as shown in the Figure by using the Compass.
-Take one of the connector as reference,use the normal view of side of connector as reference and allign.
-Use measure between to take the distance between the connector.
-Open the file in the electrical harness assembly form the workbench toolbar.
-Select the Geometric bundle from the Creation toolbar.Select the Assy_Geometric_Bundle
-Select the multibranchable document to move to branching workbench.
-Select the branch definition ,set the diameter as 10mm and bent radius as 1.4.
-Select the route definition and select the connectors.click on preview and if allign is right click on ok.
-Select the Add branch point , select the branch you want to create the branch point and enter length as 100mm . click on ok.
-Similarly Create branch point from the other the connector. Enter lenght as 250mm.
-Create sub-branch by select the branch definition and set the diameter as 5mm,Select the route definition and select the branch point and connector. click on preview
-If the allignment of bundle is right click on ok.
-Again add branch point to the sub- bundle at distance of 150mm
-Create sub-branch by select the branch definition and set the diameter as 5mm,Select the route definition and select the branch point and connector and click on ok.
-Similarly connect the other 2 connectors.
-Exit the Bundle document
-Select the Bundle covering to add the cot to the sub branch.
-Browse the cot catalog and select the cot_10mm
-Select the branch to want add, set the end extrimities as 30mm away from connector.
-Similarly add cot to all sub-branch.