Wiring harness design in CATIA V5 - 3D modeling Week 4 Challenge
Q1. Route the following harness layout in Electrical workbench. Make assumption for harness bundle diameters. Use Following connectors as shown in layout diagram.
Add protective covering on all branches connected to DT06-2S & DT06-4S connectors. Keep end extremity at 30mm (from connectors end)
Download connector 3D data from www.te.com
- DT06-4S
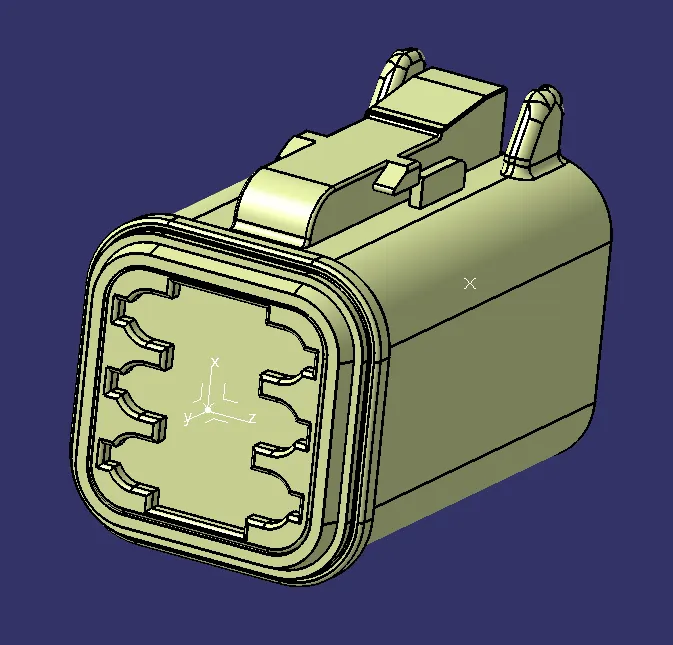
- DT06-6S
- DT06-2S
- DT06-08SA
Ans:
In this challenge we have to download the .igs file from www.te.com.
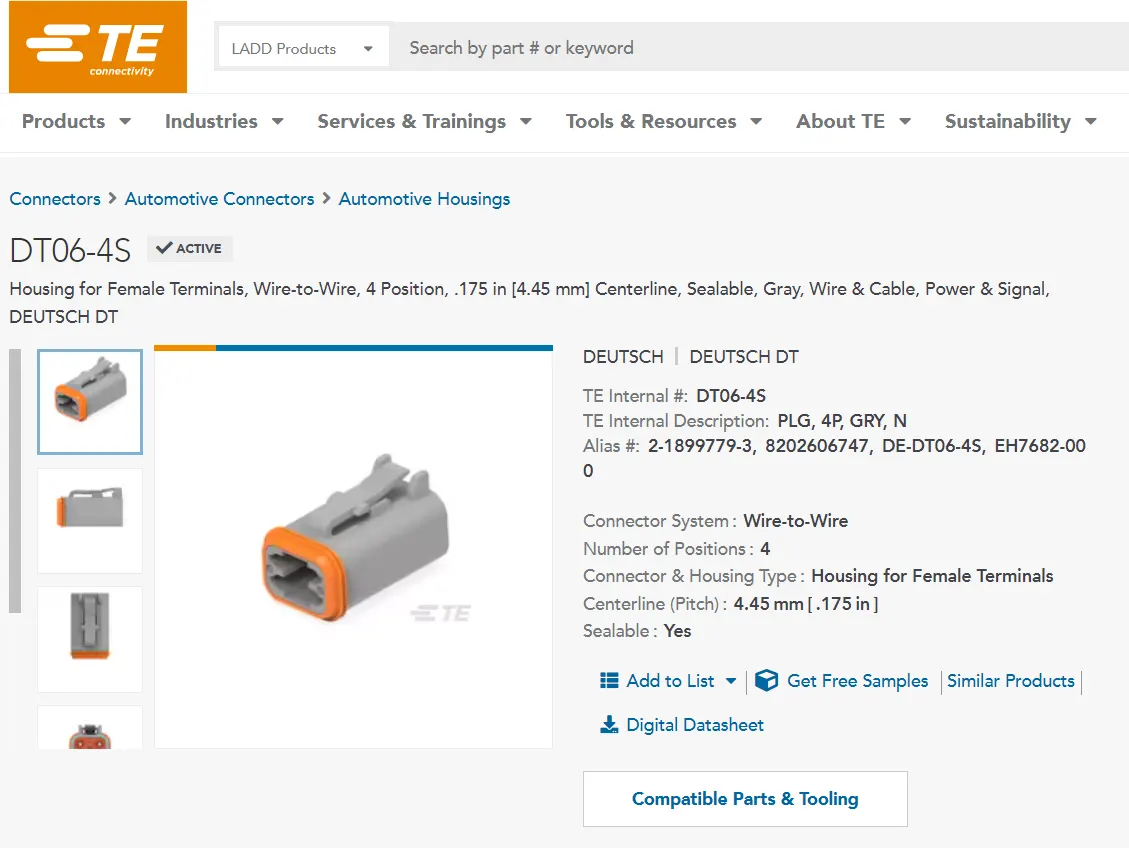
Simillary we have download all the connector and extract them to get a catpart file in Catia V5.
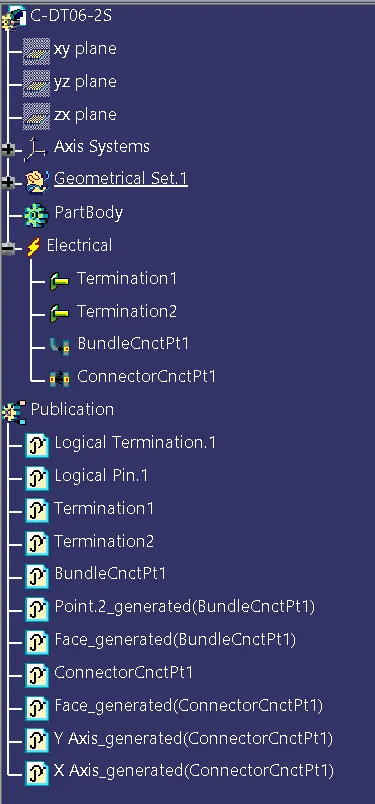
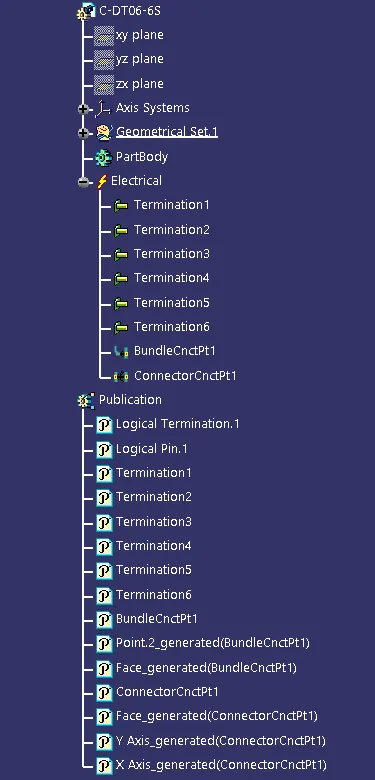
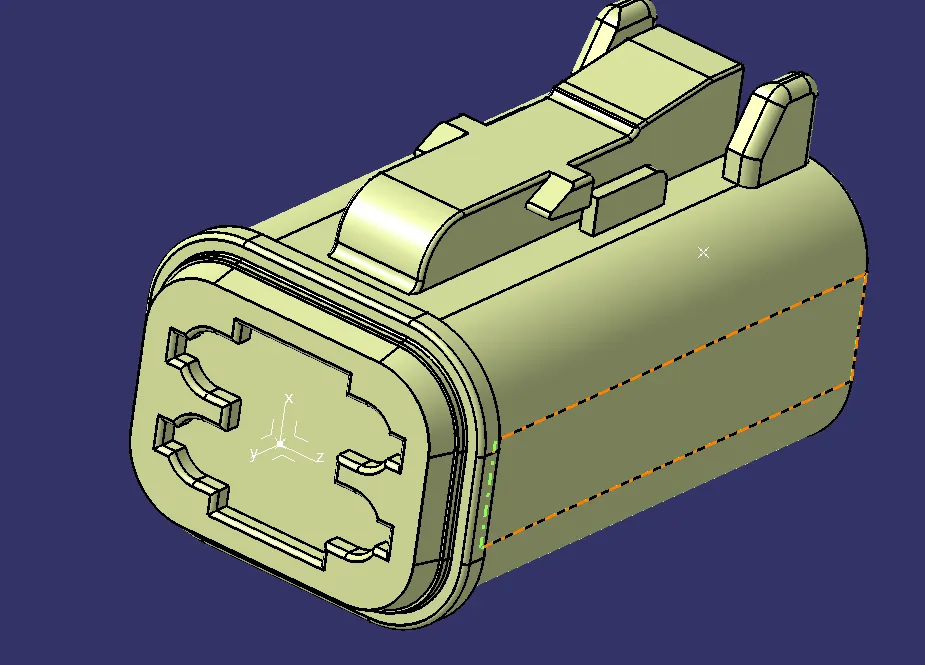
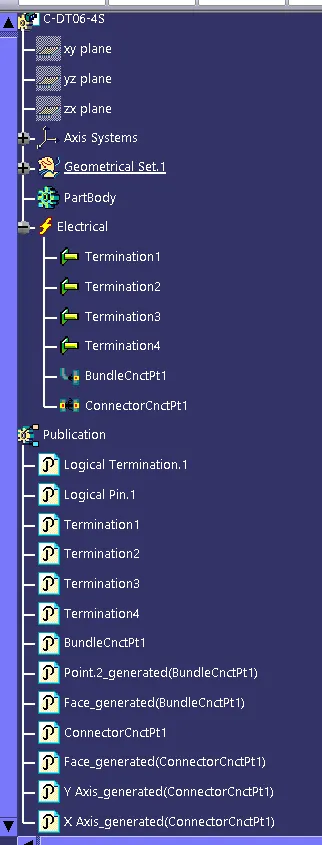
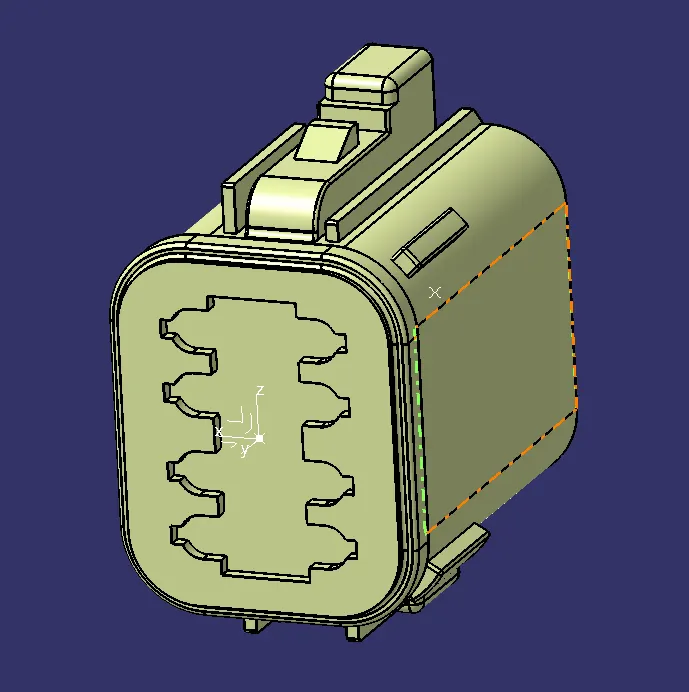
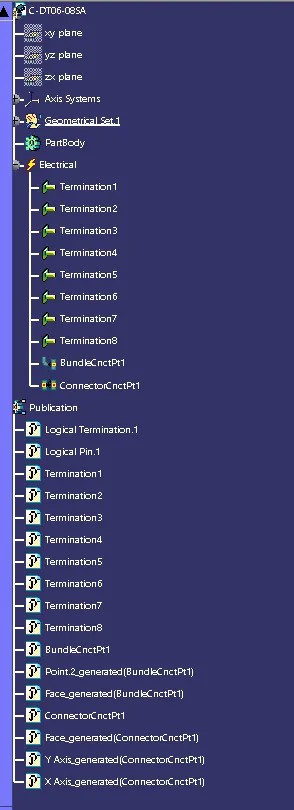
Now we have to define these connectors electrically by first creating connector connection point and axis as well as Bundle connection point.
then we have to shift in eletrical design workbench from mechanical workbench. Here we defined connector electrically also bundle connection point, connector connection point and connector axis.
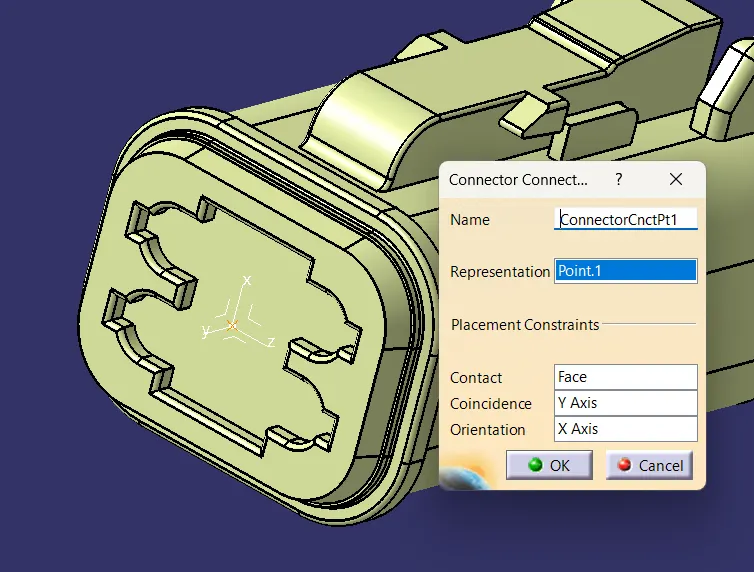
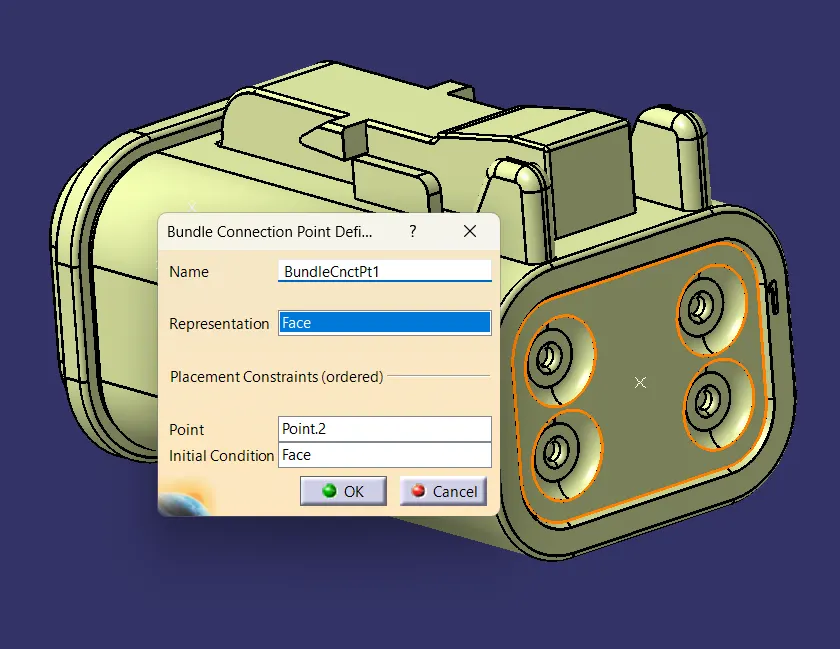
After the connector is electrically defined we save it in a connector catalog.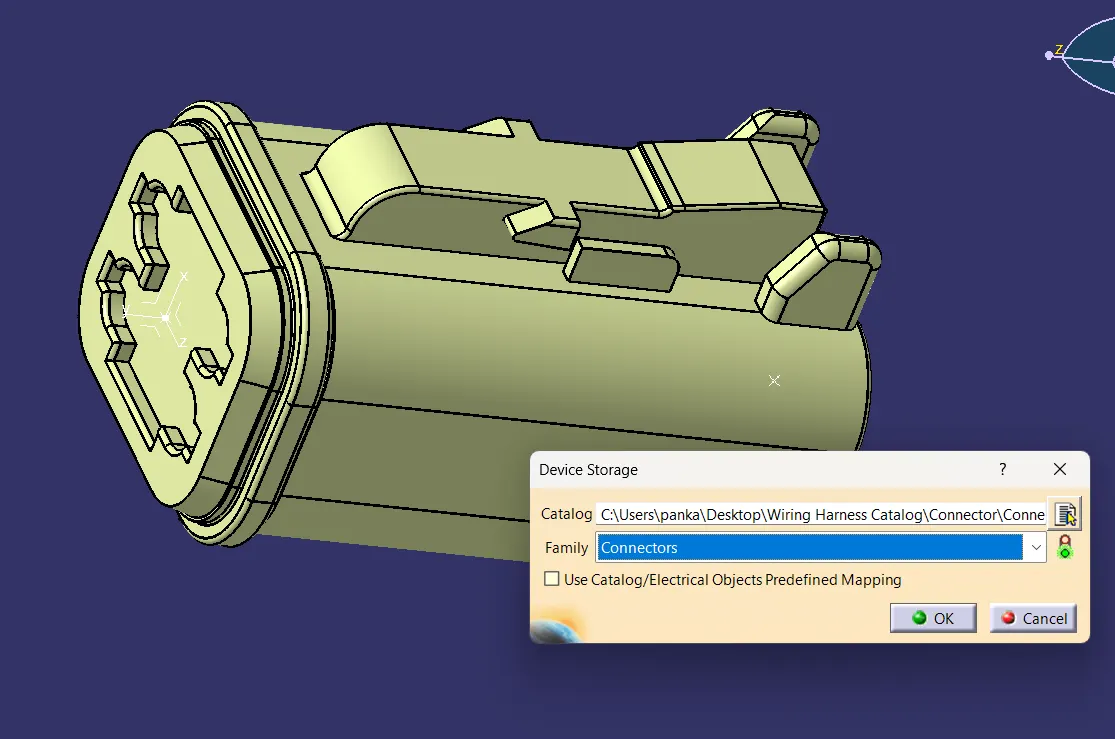
And this process is repeated for all the remaining connector to define them electrically.
C-DT06-2S: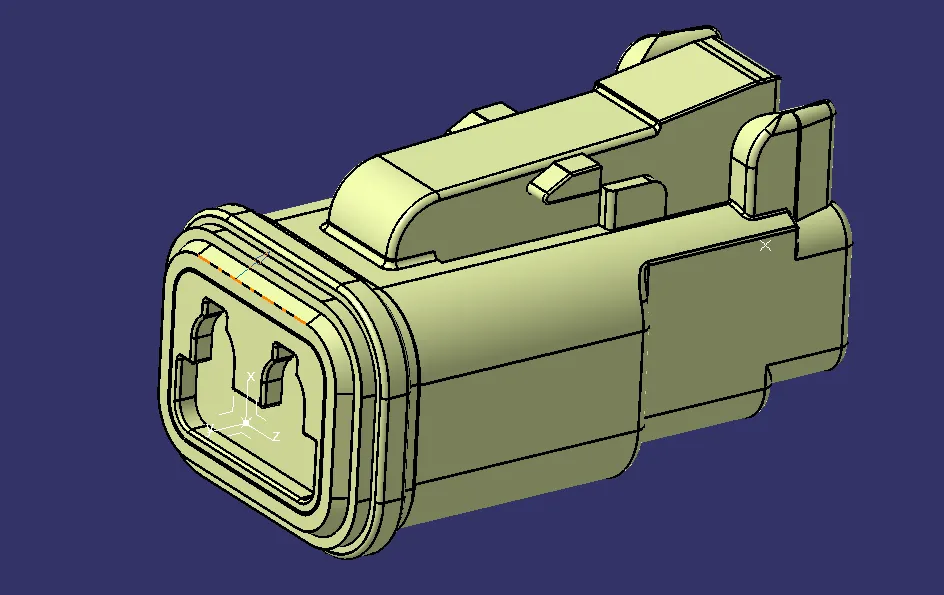
C-DT06-6S
C-DT06-4S:
C-DT06-08SA:
Product
Draw a sketch according to the question
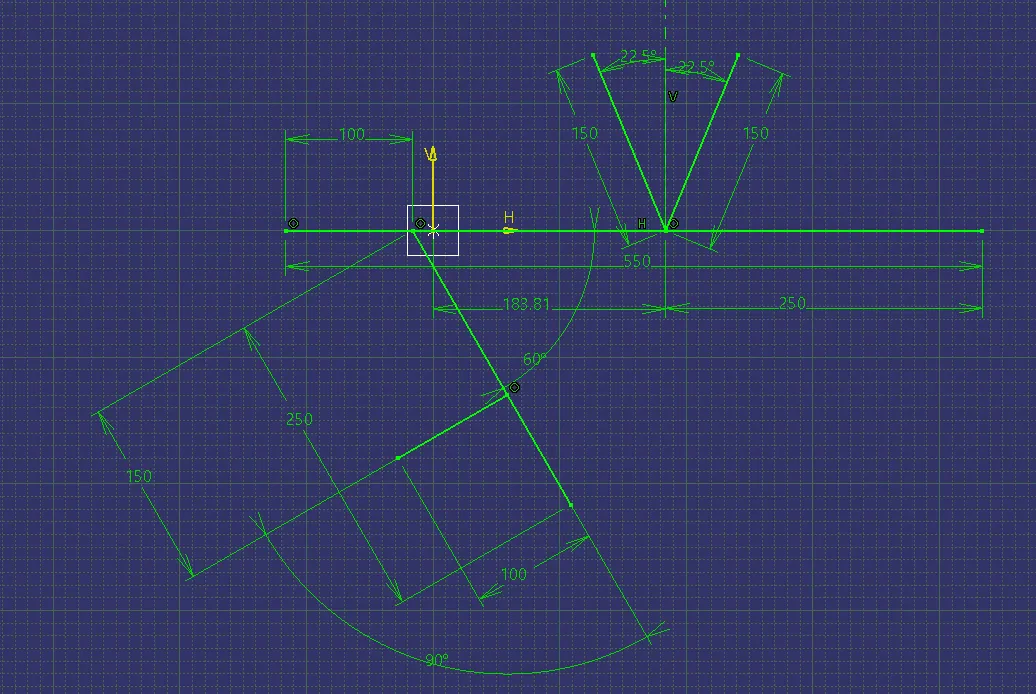
Open a new product file and import all the defined models and the reference sketch into it.Then place all the connectors on the right position using snap tool
- Click on geometrical bundle command available in electrical harness assembly to convert mechanical assembly into electrical assembly.
- Then click on "Multi Branchable Document" to go on the branchable workbench.
- Then click on "Branch definition" to male branches.
- Then make Branch point click on "Add Branch Point".
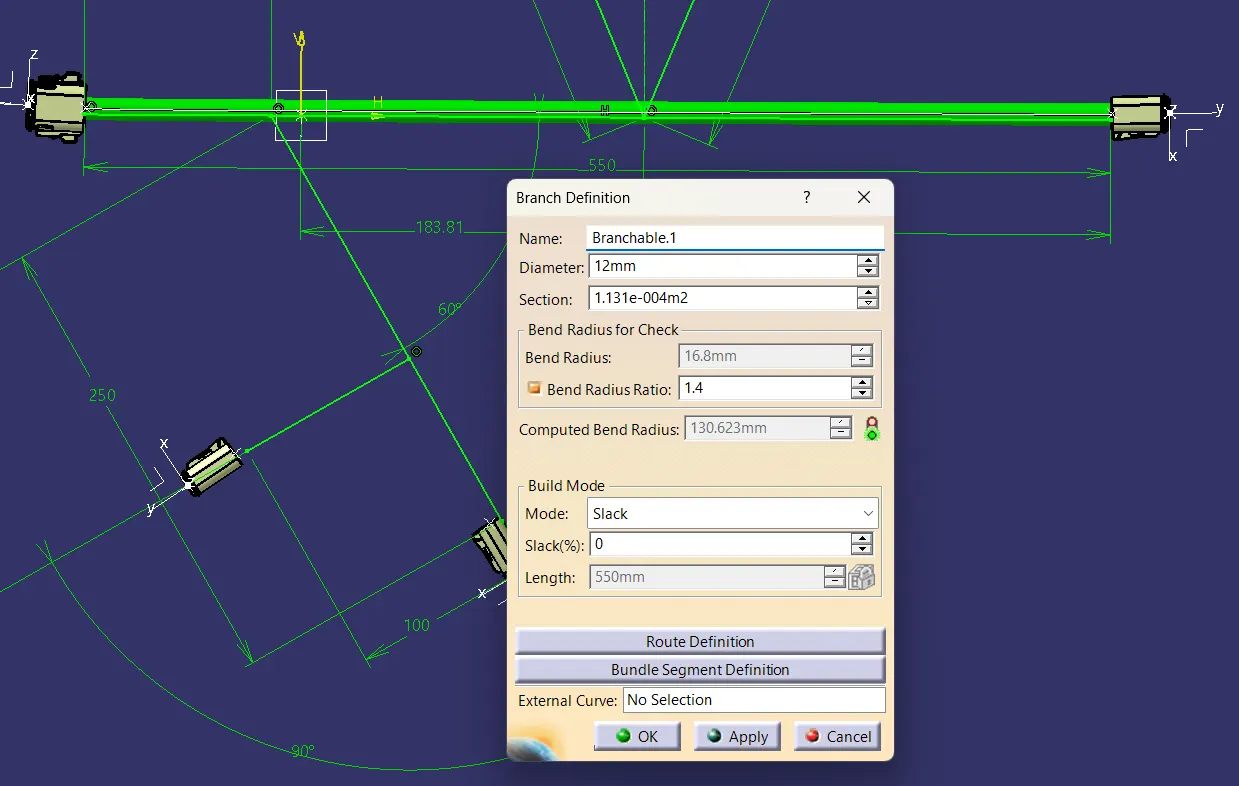
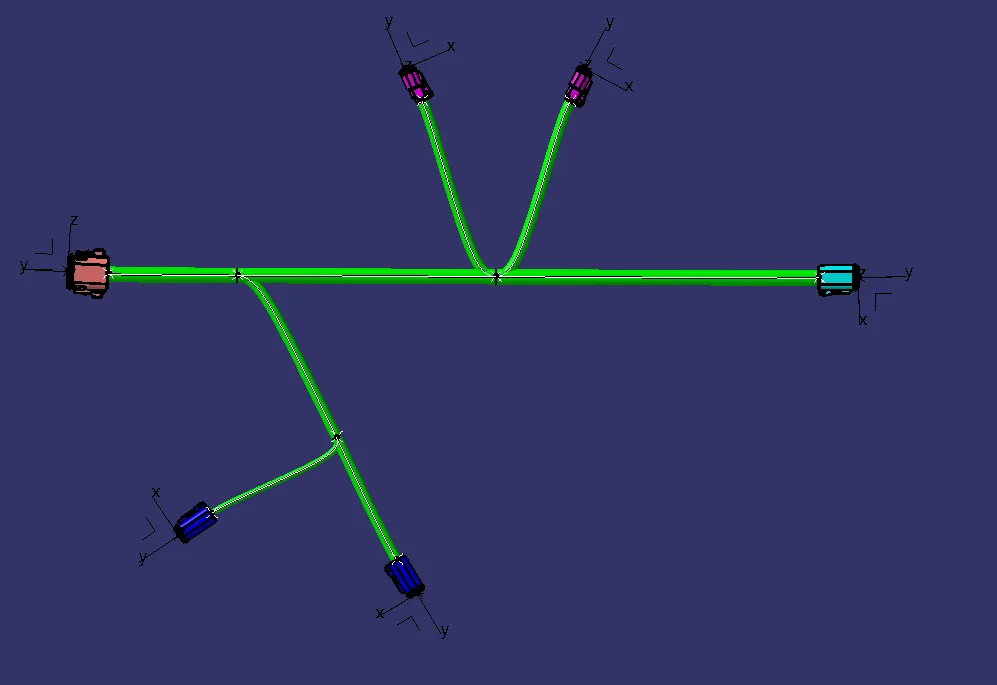
Adding protective covering on all branches connected to DT06-2S & DT06-4S connectors.
- Click on "Protective Covering" command in electrical harness assembly workbench.
- select the branch to be protected.
- click on catalogue icon then click on the protective cover which we want to use.
- Then click OK.
- We can change extrimity positions by double clicking on the same.
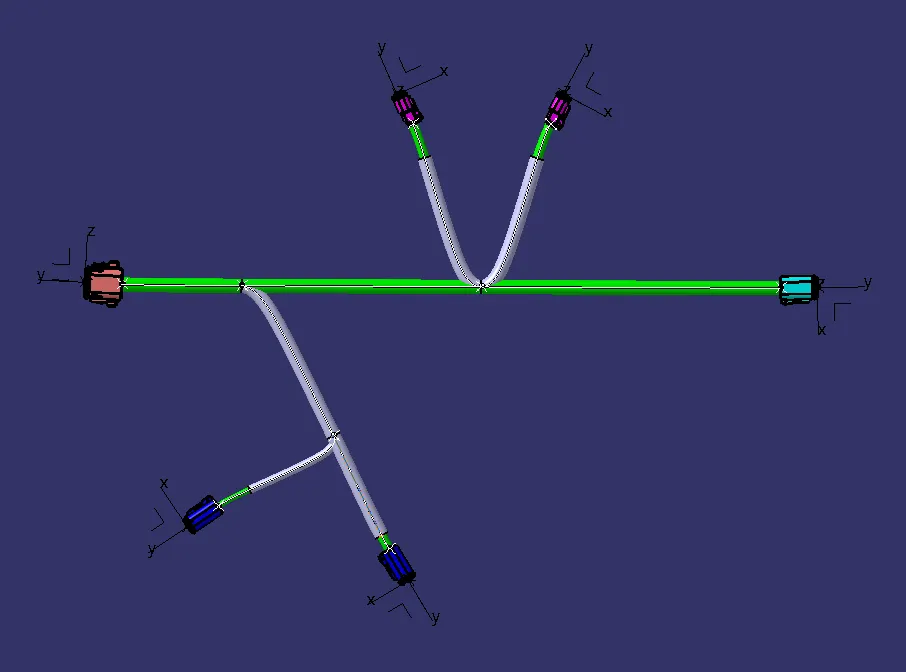
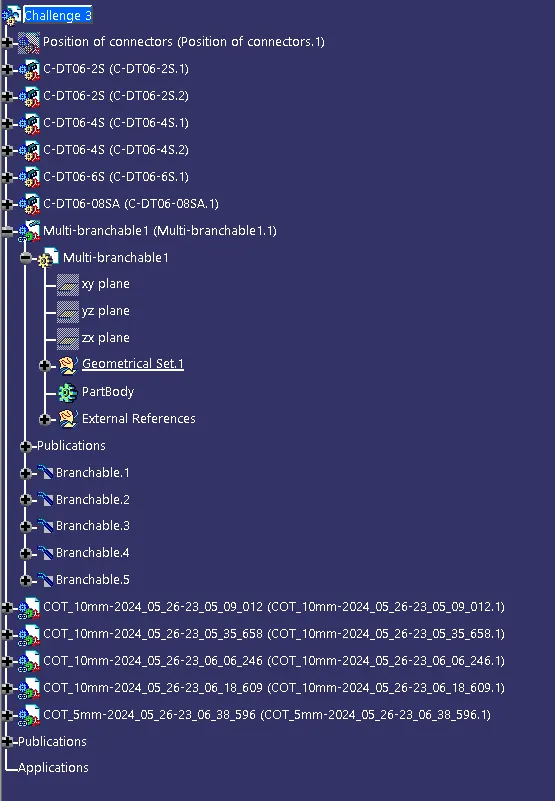
Made Cot for all sub-branches by maintaining a 30mm distance from the connector side.
Stored the connectors in the Catalogue.
Conclusion: Challenge 3 is successfully created using Catia v5 in wire harnessing workbench.