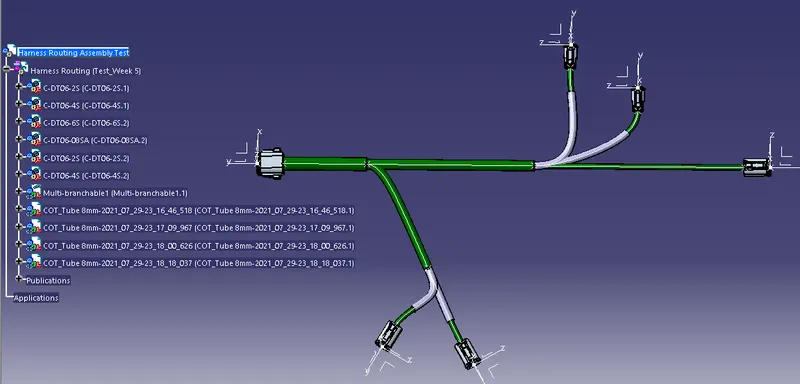
Wiring harness design in CATIA V5 - 3D modeling Week 4 Challenge
Answer:
1) Download the parts from the TE site and open them in CATIA. Switch the workbench to the Part design if it's present on another workbench.
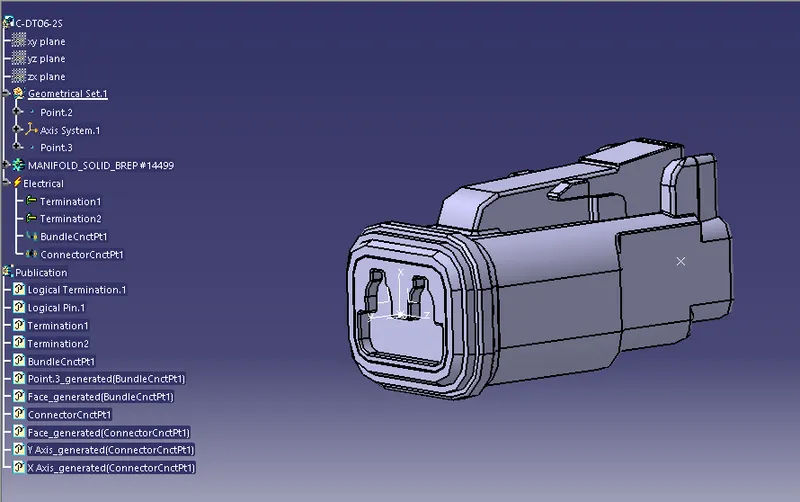
2) For the bundle connection to the connector, choose the centre of the back face and create a point
3) For defining the connector point, create a midpoint for the connector face and set up the axis in a way that Y-Axis points to the connection direction, X-Axis points to the locking system and Z-Axis to the remaining phase on either side.
2) Electrify the connector by using Define Connector.
3) Select the Define Bundle Connection Point icon and select the Representation and Initial Point for the Connector back face, Bundle point for the centre point.
4) Select Define connector connection point then Select Representation for the midpoint, Contact for male and female connector connecting face, Coincidence for Y-axis and Orientation for X-Axis.
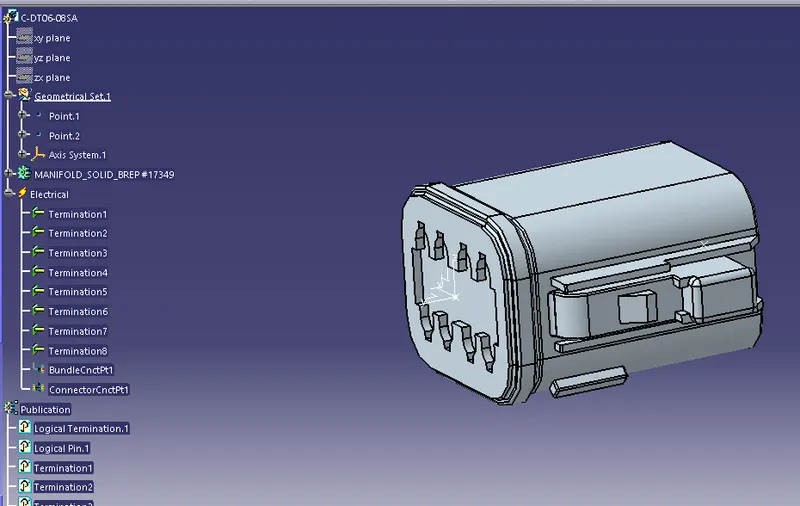
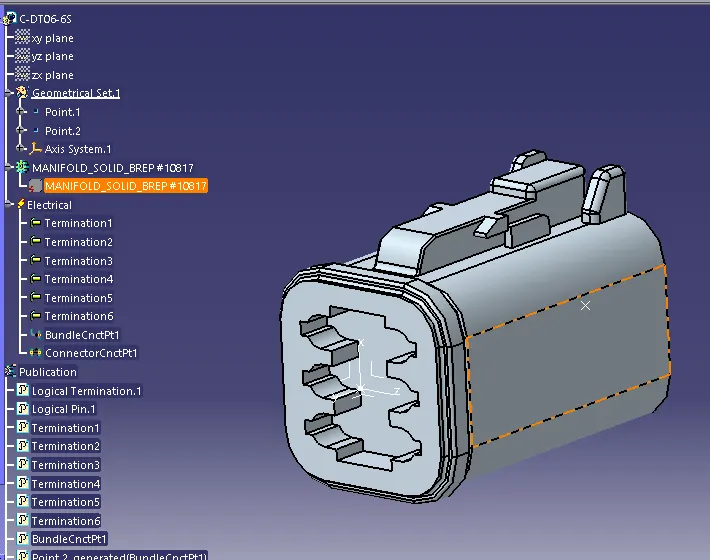
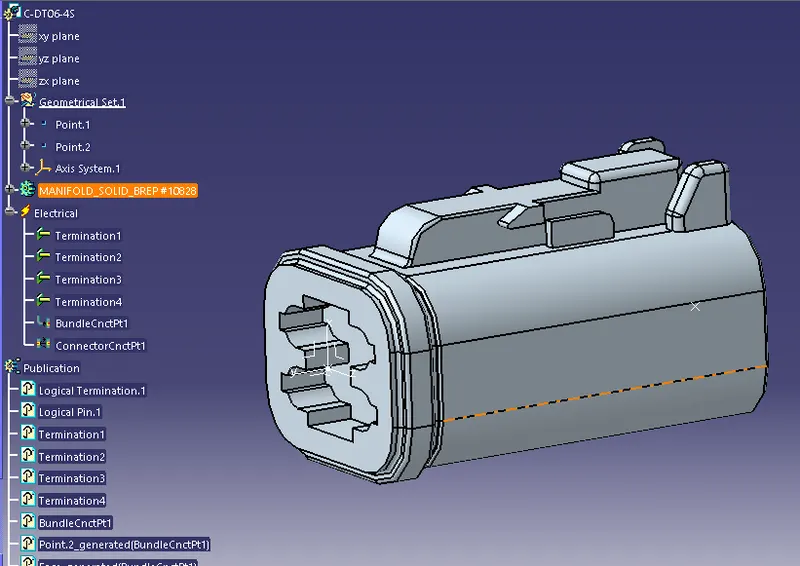
5) Create a New Product and Electrify it by using Geometric Bundle in the Electrical Harness Assembly. Gather all the parts in the respective areas as per the diagram with the use of the Compass, Smart Snap, Snap and Manipulation tools.
6) Select Multibranchable icon and in the Route Definition select DT06-08SA to DT06-6S to route the cable with bend radius more than 1. In the document I have used 1.5. Make sure to get the length 550mm between both the connectors.
7) Add the bundle branch point at 100 and 300mm on the trunk harness.
8) Route the cable through the bundle point at 100mm to the right connector DT06-4S. Add a bundle branch point at 150mm and route the cable from the branch point to another DT06-4S with 10mm length
9) At the 550mm branch point on the man trunk. Route the cables onto both DT06-2S with length 100mm each.
10) Switch to Electrical Harness Assembly, Select Protective covering and select the cable which needs to be added for covering and select the respective COT tube wehave created before for application.
11) Repeat the same process for other three branches as well. Now the Harness cable is routed and added for the protective coverings.