Master Section Development for B-Pillar Trim
Aim: To create B-Pillar Trim, Dog House, Locators and Ribs from a B-Pillar’s A-class surface and Master sections by following OEM Standard Design Rules.
Software Used: CATIA-V5,KEYSHOT-9.
Input surface: B-Pillar’s Class-A surface
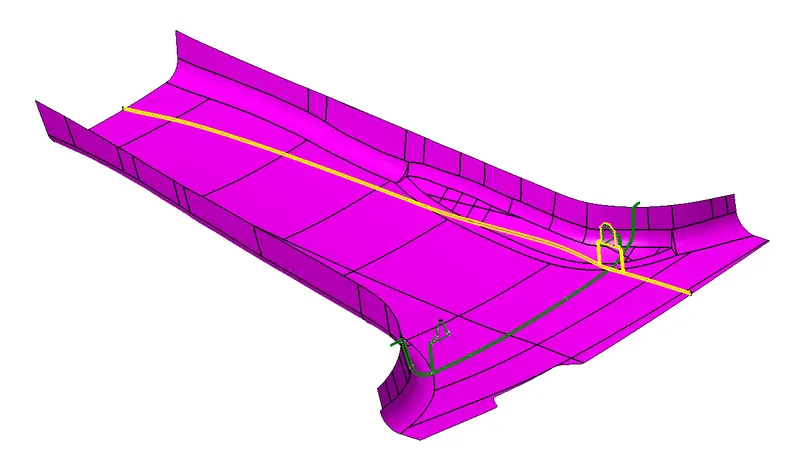
Sequence of Operations:
- Looking for defects in Class-A surface.
- Improving Class-A surface by patching defects.
- Improving Class-A surface as per Master section.
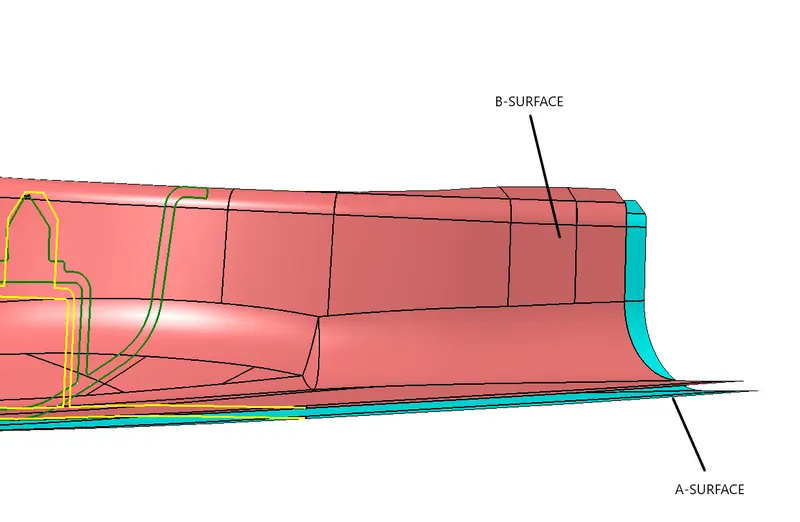
- Creating Class-B surface.
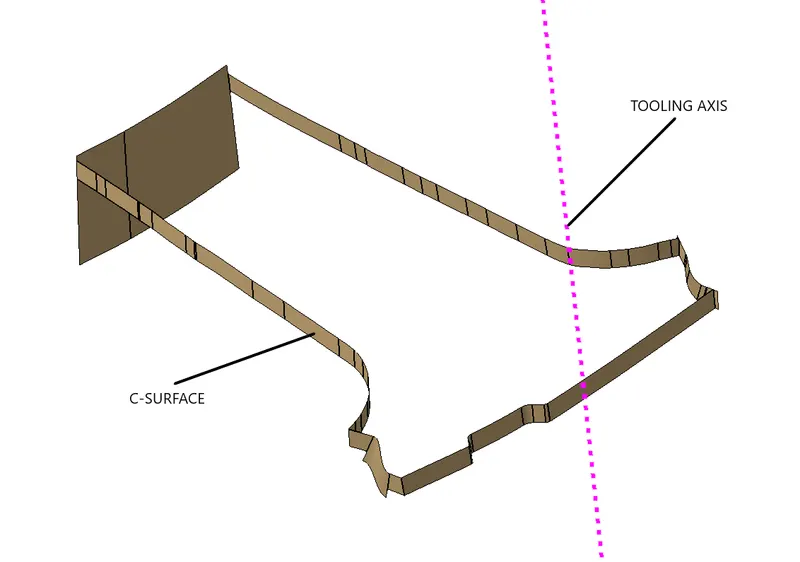
- Creating Class-C surface.
- Creating Tooling Axis.
- Creating a Closed Body.
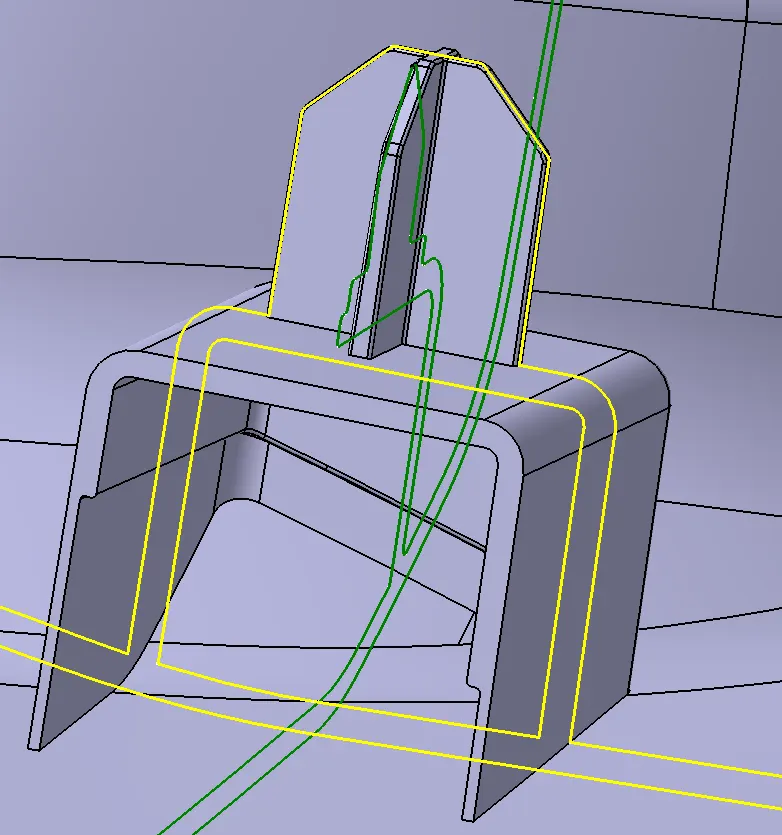
- Creating Dog House as per Master Section and OEM standard design Rules.
- Creating Locator as per Master Section.
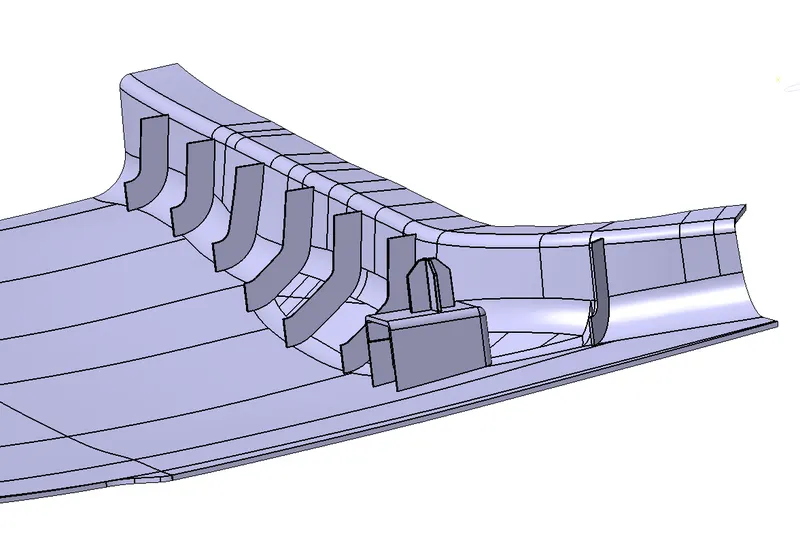
- Creating Ribs as per requirement.
- Draft Analysis.
- Adding Draft as per requirement.
- Creating Side core Tooling Axis.
Introduction:
Class-A Surface:
A class surfaces are those aesthetic/ free form surfaces, which are visible to us (interior/exterior), having an optimal aesthetic shape and high surface quality. Mathematically class-A surface are those surfaces which are curvature continuous while providing the simplest mathematical representation needed for the desired shape/form and does not have any undesirable waviness. Products are not only designed considering the functionality but special consideration is given to its form/aesthetics which can bring a desire in one’s mind to own that product. This is only possible with high-class finish and good forms. This is the reason why in design industries Class A surface are given more importance. In automotive design, a class-A surface is any of a set of freeform surfaces of high efficiency and quality. Although, strictly, it is nothing more than saying the surfaces have curvature and tangency alignment – to ideal aesthetical reflection quality, many people interpret class A surfaces to have G2 (or even G3) curvature continuity to one another (see free form surface modelling). Class A surfacing is done using computer-aided industrial design applications. Class-A surface modellers are also called "digital sculptors" in the industry. Industrial designers develop their design styling through the A-Surface, the physical surface the end user can feel, touch, see etc.
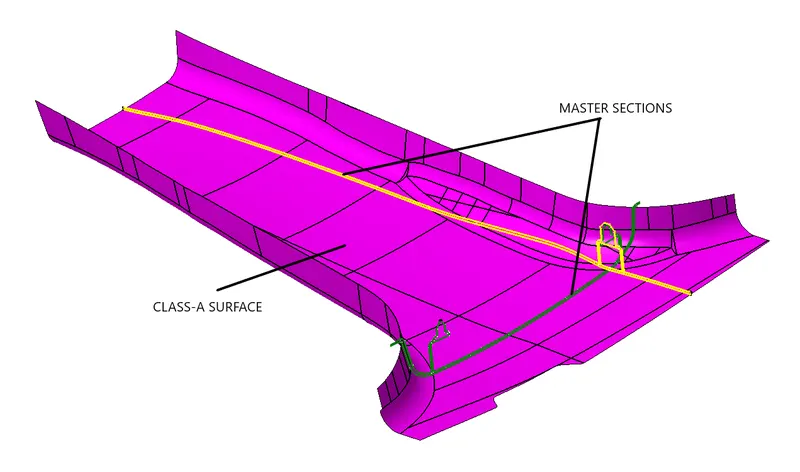
Class-B surface:
Class-B surfaces are the secondary surfaces that you can see sometimes, but are less important, such as the inside of your glovebox, ash tray, etc. These must be smooth and "error-free" as well, but are not held to the standards that class-A surfaces are.
Class-C surface:
Class C surfaces are the backside surfaces that can have tool marks, flash and other imperfections without hurting appearance, function, etc.
Dog House:
Dog house is an engineering feature used in plastic trim design. Dog houses are used as supporting feature. Sometimes other engineering features like snaps; locators etc. are mounded on them to increase their strength. Dog houses are subjected to draft analysis to prevent breakage of the component during ejection from mould cavity. Dog house and other engineering components are built on B-surface.
Dog House Design:
Dog houses are used as supporting feature.Dog houses are subjected to draft analysis to prevent breakage of the component during ejection from mould cavity. Dog house and other engineering components are built on B-surface.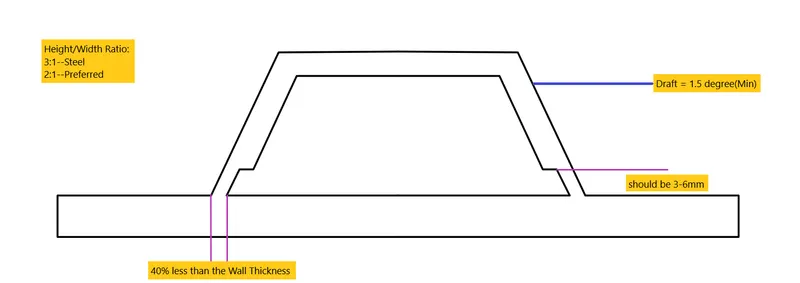
Doghouse design Guidelines
Draft.
Doghouse Walls.
Part Surface.
Bottom of Doghouse.
Wall Thickness.
Height and Width.
4-Way Locators:
These are the locators which arrests the 4 degrees of freedom by four ribs junctional together. These are of following type especially used for mold designs.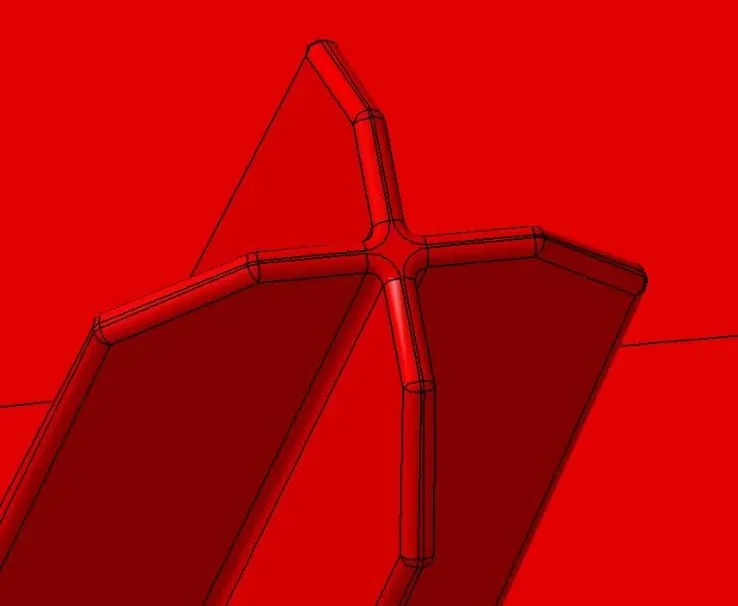
Ribs:
Ribs are a feature in plastic injection moulded parts. They are thin extensions that run perpendicular from a wall or plane. They are commonly used to provide additional support and strength to a part.
Thickness and location are essential to rib design. Here are some helpful design guidelines:
- They should be designed with a thickness that is ½ the wall thickness to avoid a thick section at the wall base.
- To minimize sink marks, design ribs that are approximately 60% of the joining wall thickness for minimum risk.
- Best practices include spacing at a distance of at least twice the wall thickness.
- Glossy materials require a thinner rib (40% of wall thickness).
Design of B-Pillar Trim:
Step-1: Design of B-Class surface.
Step-2: Design of C-Class surface.
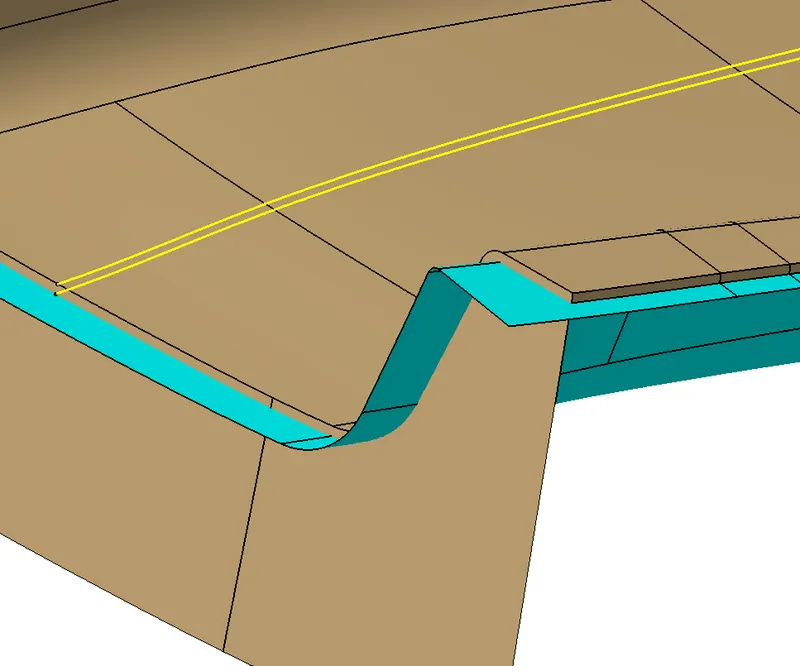
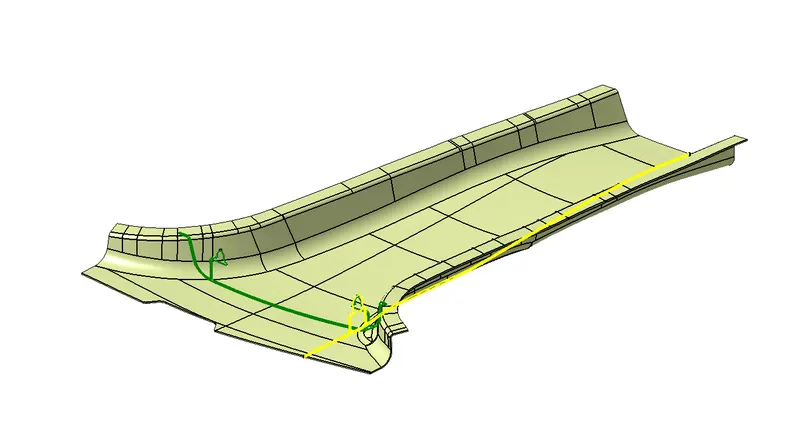
Step-3: Surface Trim.
Step-4: Creating Thickened Close surface.
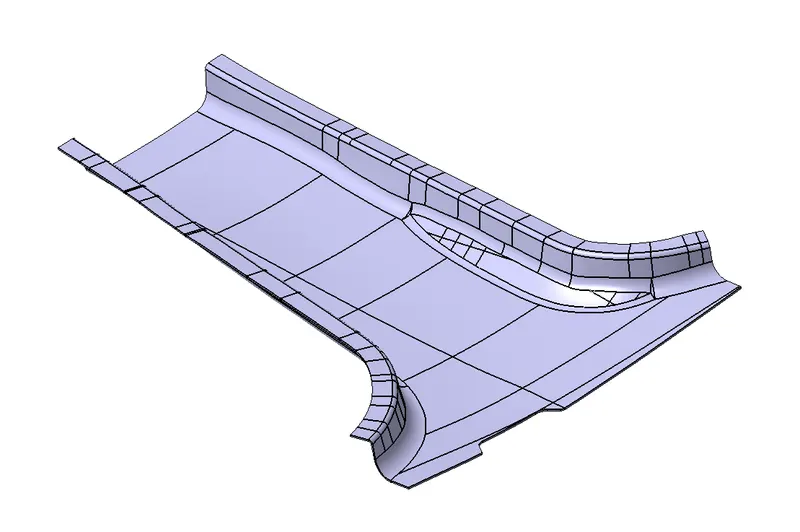
Step-5: Generating Dog House & Locator.
Step-5: Generating Ribs.
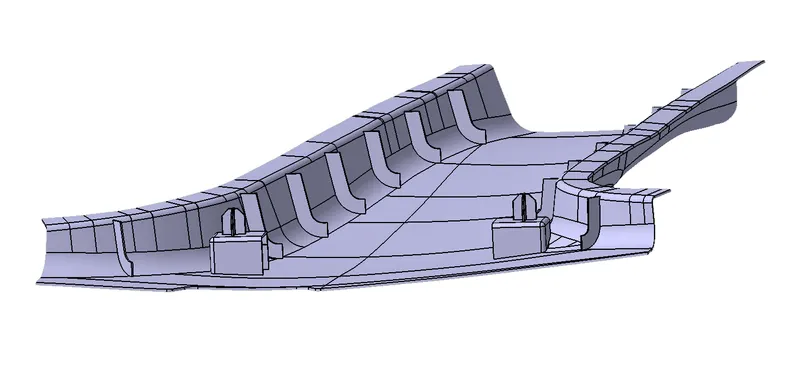
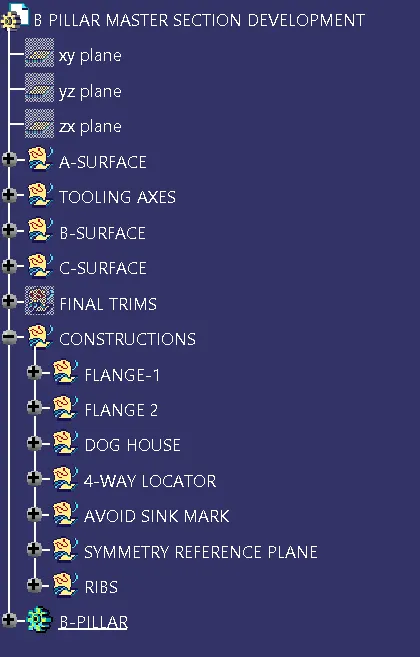
Design Tree:
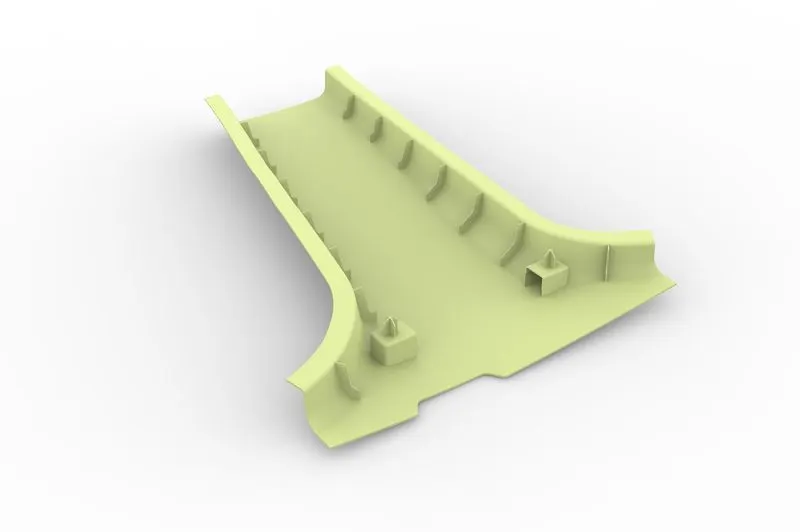
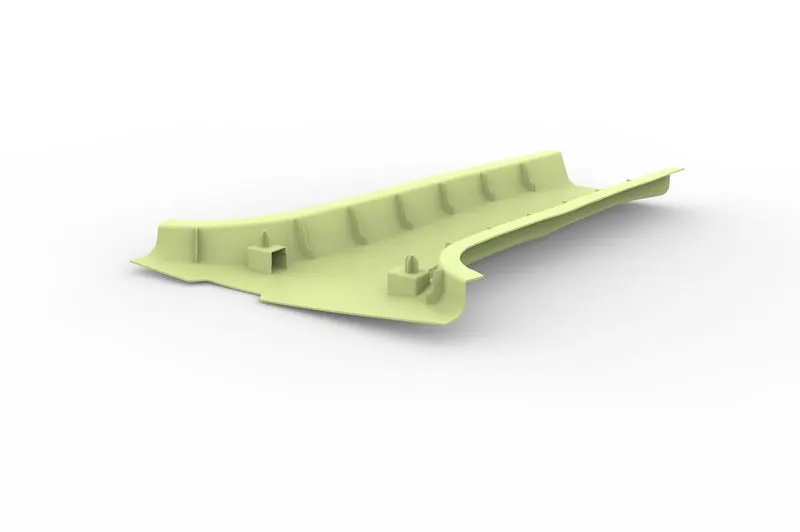
Rendered B-Pillar Trim
Draft Analysis:
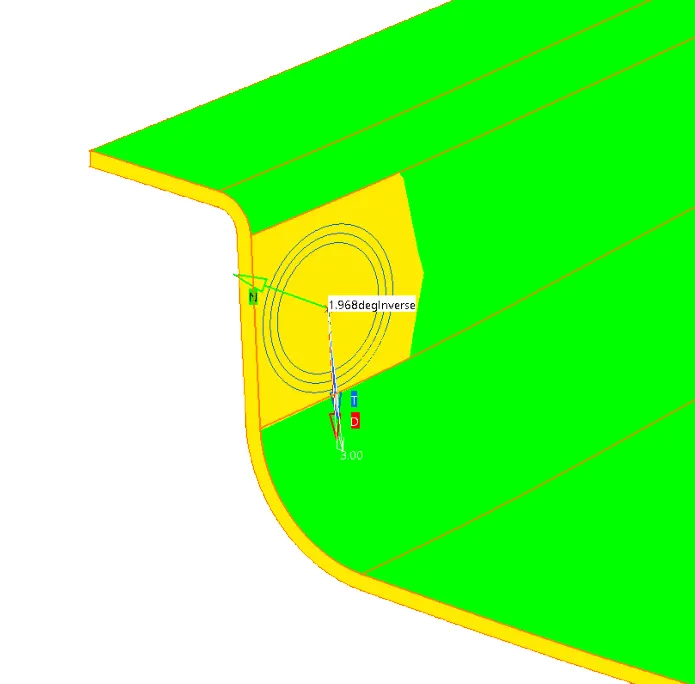
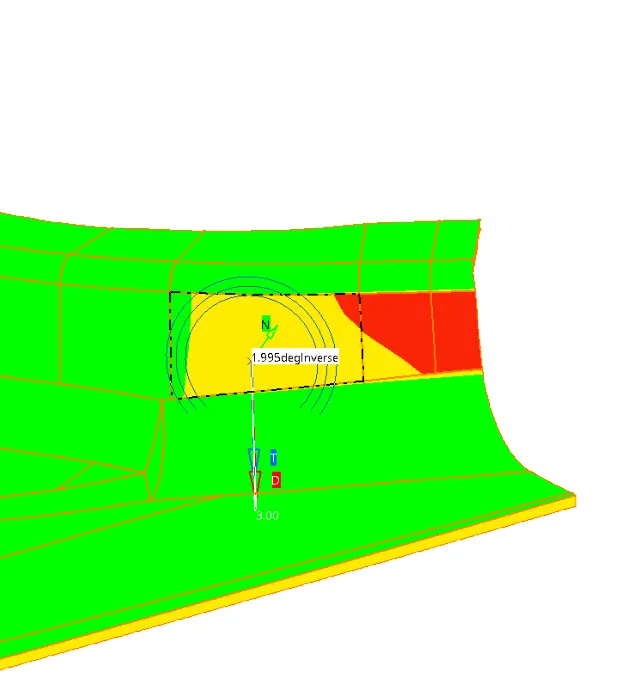
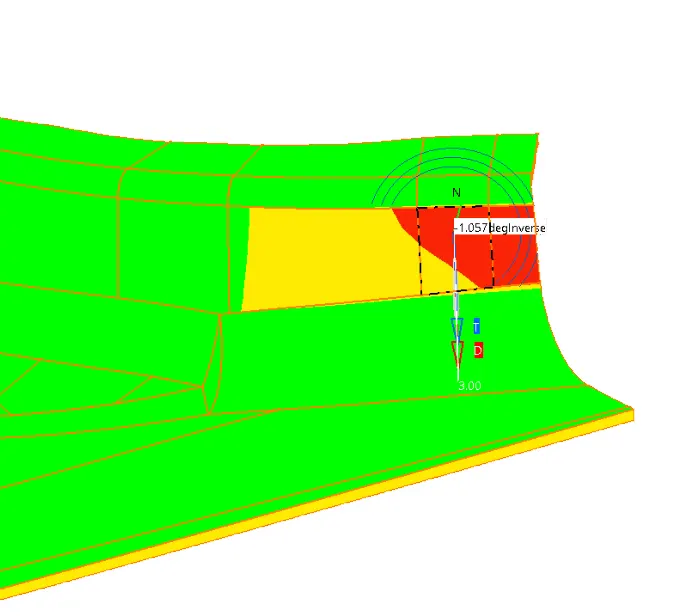
Draft Analysis of B-Surface:
A Minimum Draft of 3 degrees is maintained.
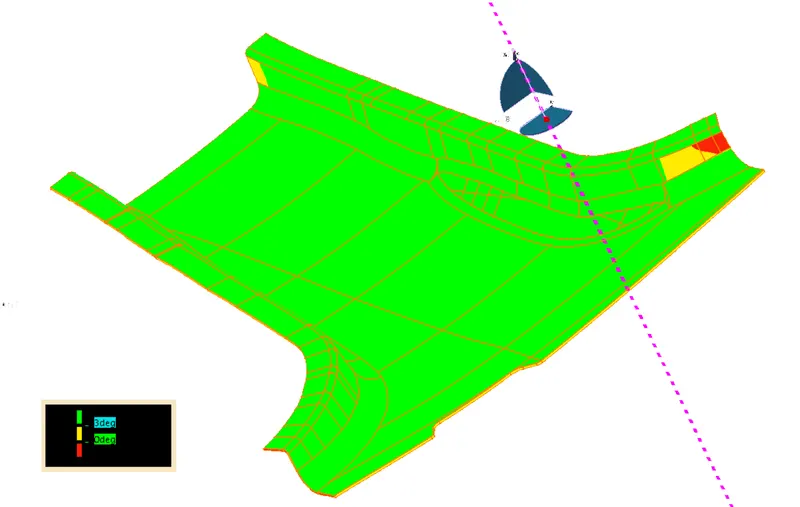
Surfaces which has less draft than 3 degrees are represented below
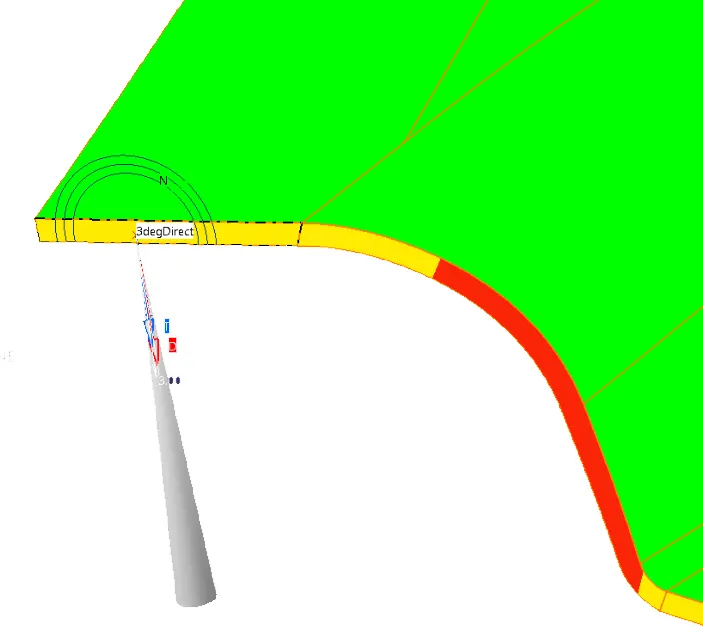
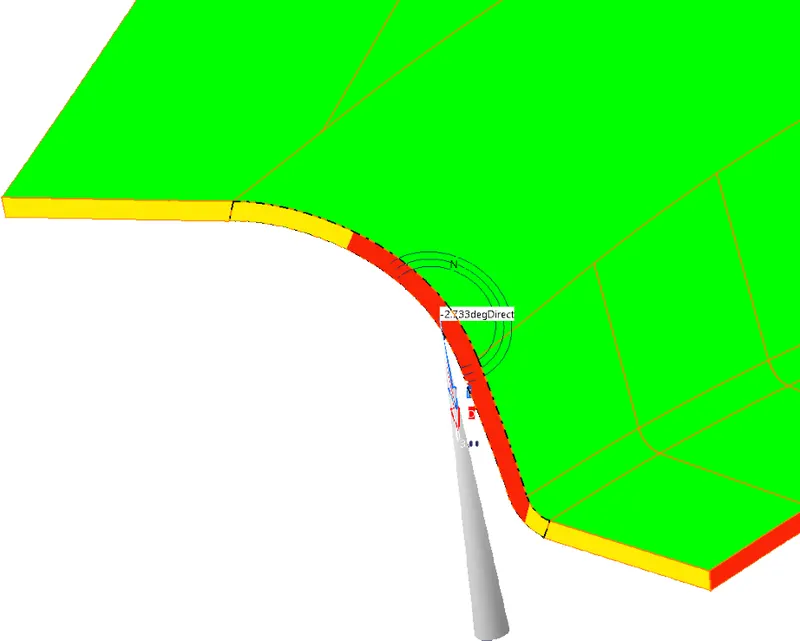
Draft Analysis for A-Surface & C-surface:
A Minimum Draft of 3 degrees is maintained.
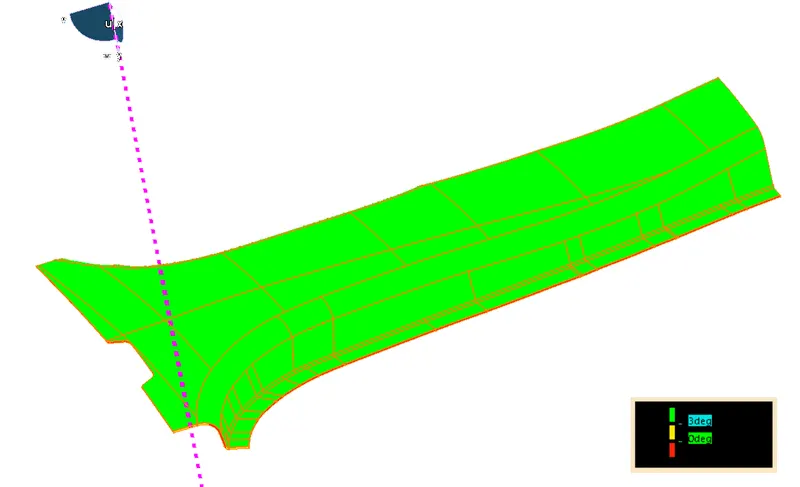
Surfaces which has less draft than 3 degrees are represented below
Conclusion: Hence, B-Pillar Trim with Dog House, Locators and Ribs is designed from a B-Pillar’s A-class surface and Master sections by following OEM Standard Design Rules.