Week 9 - Project - Master Section Development
AIM
The aim of this project to model the B pillar component along with the required attachment features using the given Class-A surface and the master section of the component.
THEORY AND PROCEDURE
Class A surface of a component refers to the aesthetic surface which is visible to the naked eye when we observe a body(such as a car). In general, they are high-quality surfaces which have some fine finishing and aesthetic look to it. As plastic components are injection moulded, we need a tooling axis for the core and the cavity. The tooling axis/direction is the direction in which the moulds(core and cavity) move apart/together which means it serves as the reference to design your data up against. One more point to be noted here is that the draft is always provided along the tooling axis so that it can easy when the component/mould are parted.
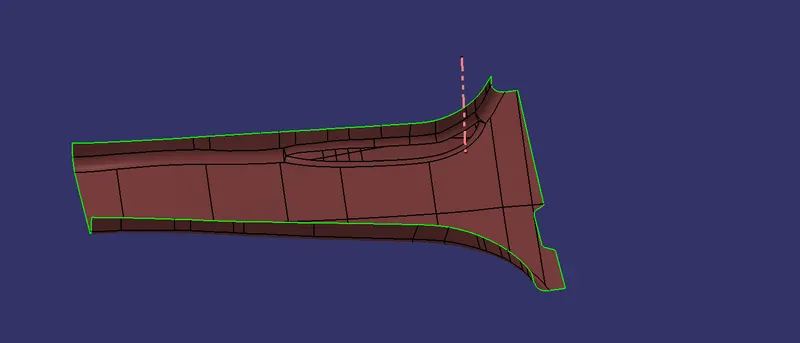
We have been provided with the class A surface and in that surface, we create a tooling axis which can be seen in the image above.
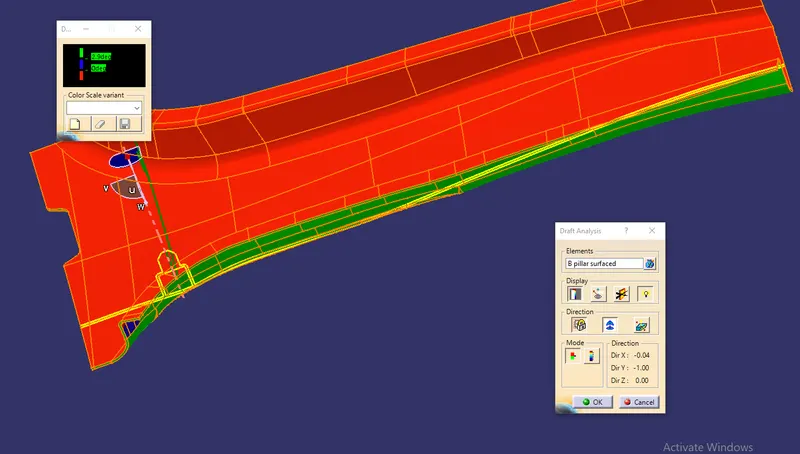
Now that the tooling axis is obtained, we perform a draft analysis on the given class A surface.
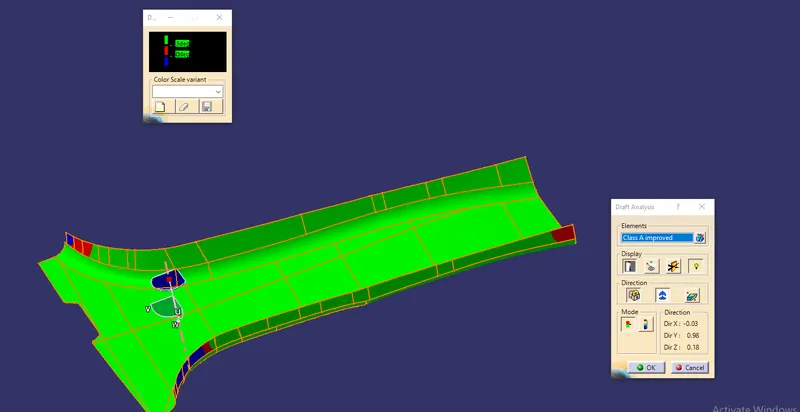
As we can observe from the image above, the class A surface on its own has some issues as it does not clear for the minimum draft angle clearance. This cannot be rectified by us as it is provided by the team performing the class A styling/surfacing. Keeping this in mind, we proceed to class B surface creation. We use the given master section of the final component to find the thickness of the component and thereby deciding the offset value for class B surface.
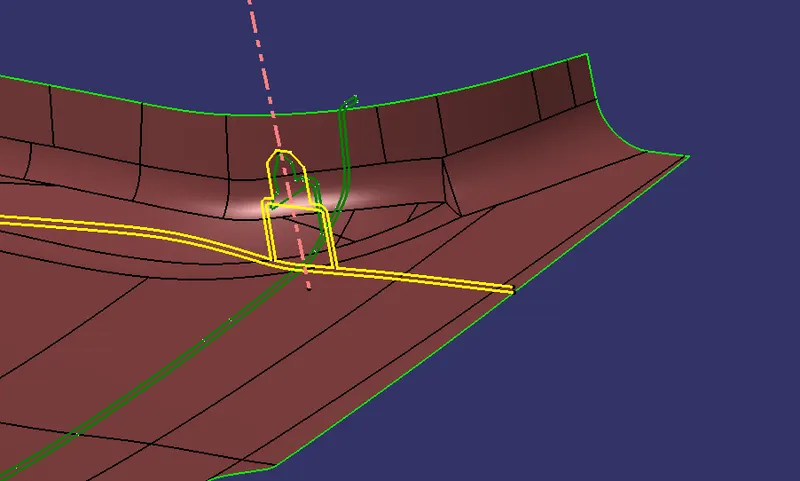
The master section is the sectional view(in a way) which serves as the guide to find the design requirements such as part configuration, split lines etc. In the image shown above, the yellow and the dark green figures are the necessary/used master sections for the class B features. From the master section, we can observe that the component actually contains a flange on the edges but the given component does not have any. Hence, we create the flanges first using the boundaries of the base model by extrapolating the surfaces and then trimming to suitable dimensions.
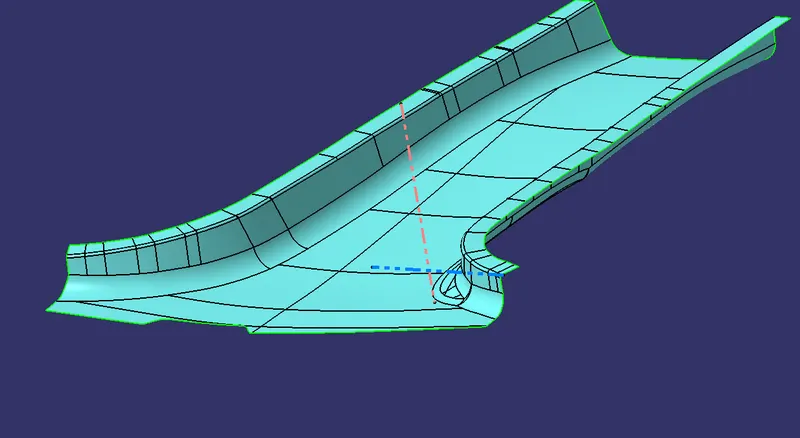
Now, we offset the modified class A surface to obtain the b surface. After B surface creation, we proceed to class C surface generation. For class C surface, we use the class A surface boundary and sweep them in the perpendicular while providing the suitable draft along the tooling axis direction. Now, we use the trim option to trim together all three surfaces namely, class A, B and C surfaces. After this, we perform a draft analysis on the base component
We can observe that the draft is good for the component except for the region where there was an issue with the class A surface. After this, we proceed to the creation of B side features. We create ribs and 4-way locators(mounted on a doghouse) as we can observe them in the master section and hence should be present in the component.
We create the required sketches for the doghouse, extrude them to obtain a surface and then thicken it to obtain a solid. After this, we provide the necessary draft and fillets. After this, we create the gate on the inner side of the doghouse while ensuring that the design guidelines are followed. For this region, we need a side tooling axis as this region cannot be cut out using the main tooling axis and hence require a lifter for it. We perform a draft analysis for that region as well using the lifter axis as the reference.
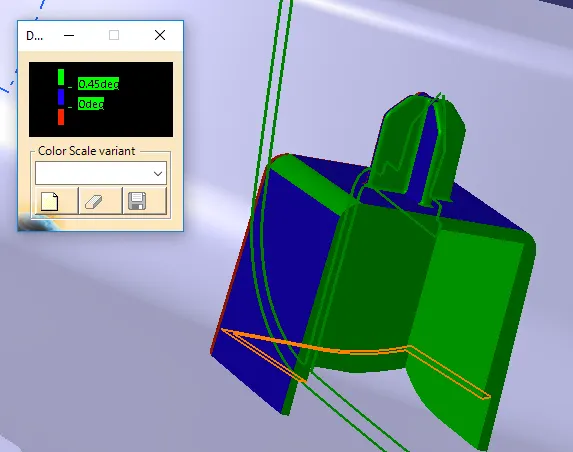
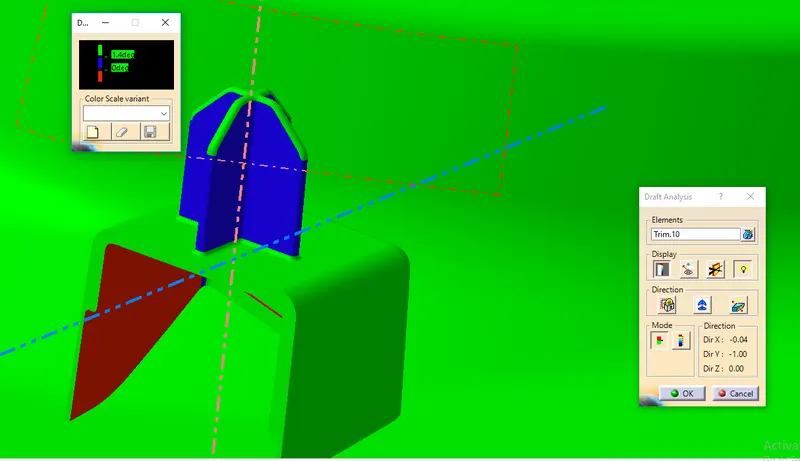
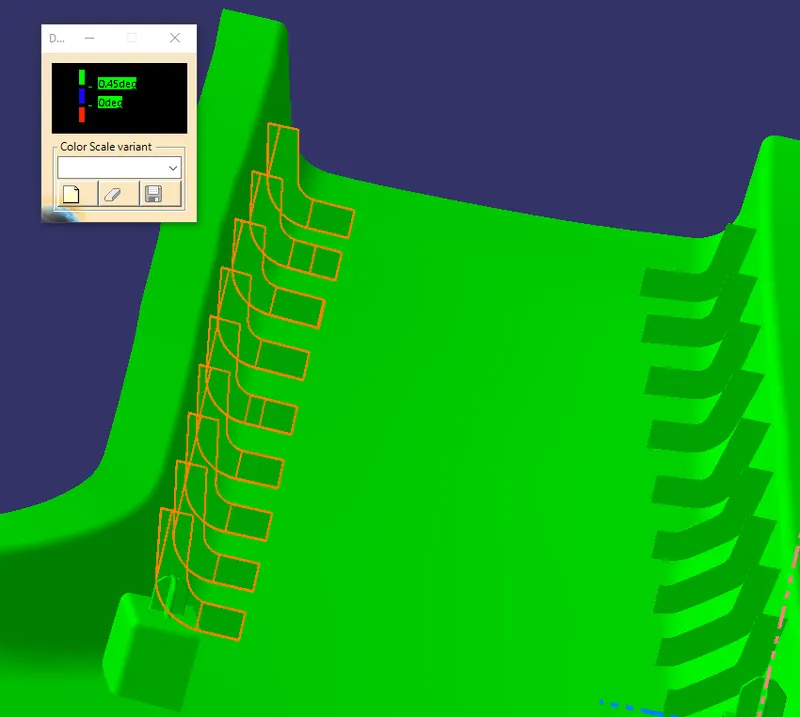
We have attached images for the draft analysis performed on the interior and the exterior of the component above. Finally, we create the sketch for the ribs while maintaining a distance of 50mm between two ribs till the end of the component. Once they are extruded, the necessary draft and fillets are provided and finally, a draft analysis is done on the ribs.
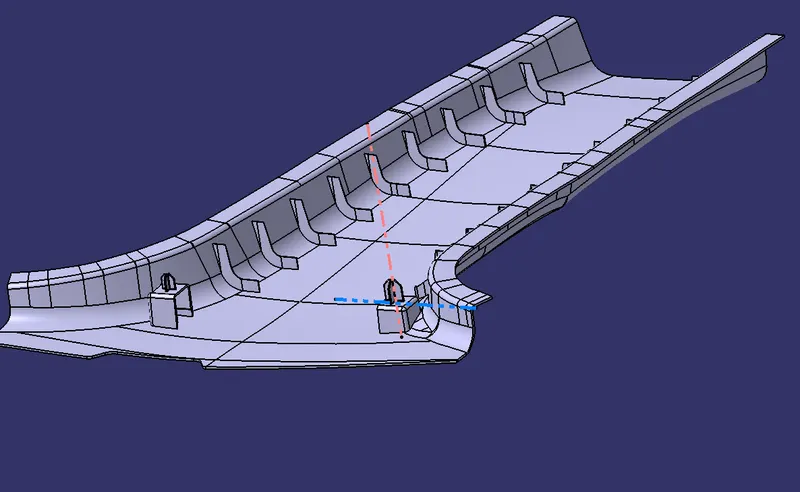
With this, we have successfully created the component(B pillar) with the necessary features while following the design guidelines and the image below shows the final component.