Week 9 - Project - A pillar Design with Master Section
A pillar creation
Tooling axis-
The tooling axis has been created by using the master section. In this challenge, we have two master sections.
“Master section-
Master Sections are the guides for design requirements that shape the component after technical styling of Class A Surfaces
master section gives the idea for thickness. Tooling axis”
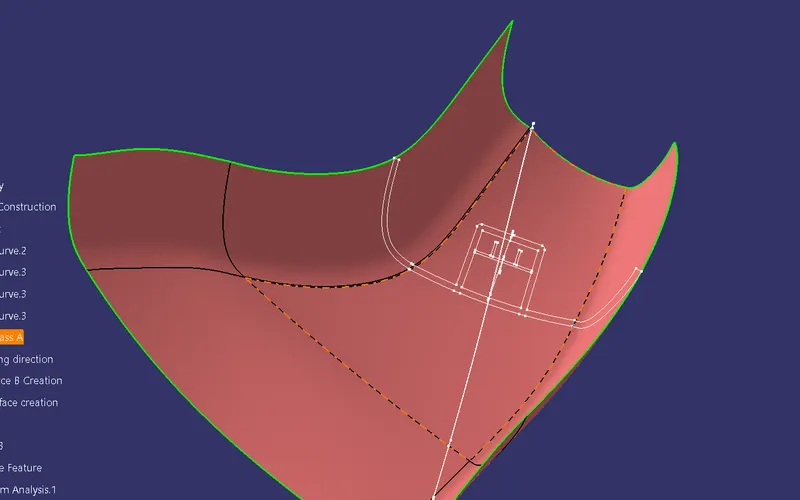
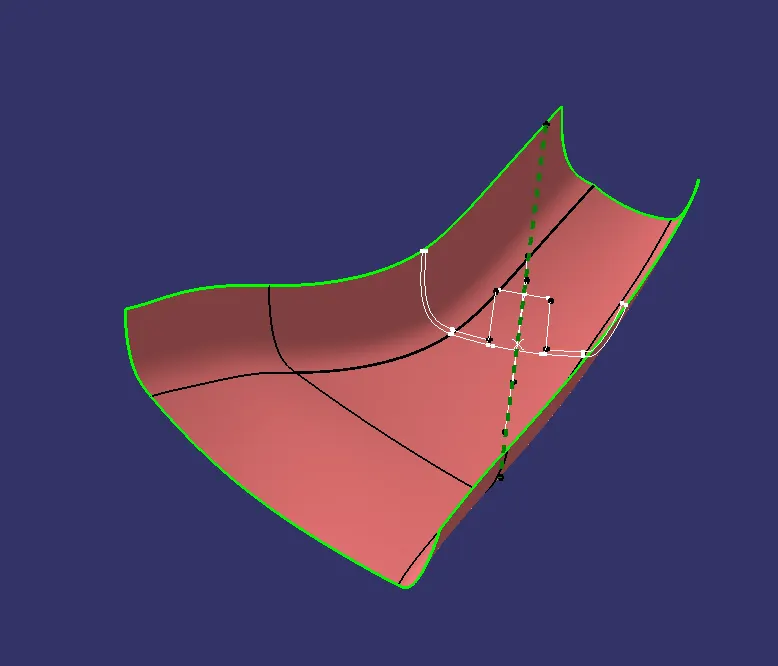
Using the cross master section we create lines using point to point method after that using the bisection method I draw a line between them. A similar process was performed for the Diagonal master section and we got two lines later we bisect these into lines and get the tooling axis. After finding the axis I perform a Draft analysis for the Class A surface.
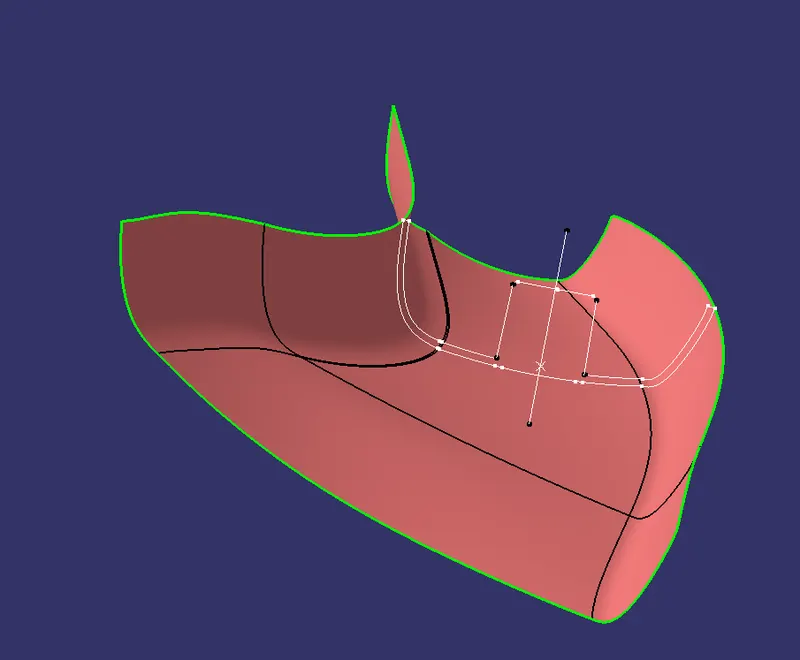
green is the tooling axis which bisects both lines.
Before the Draft analysis quality of the class, a surface must be checked by using the boundary command (must be one continuous boundary is there)
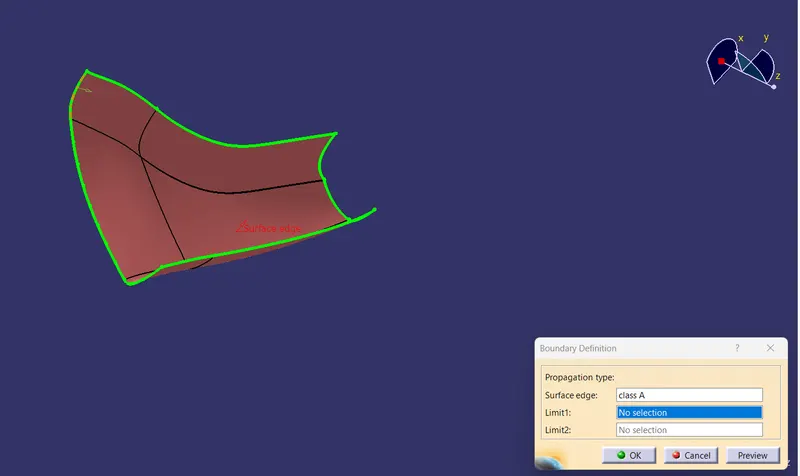
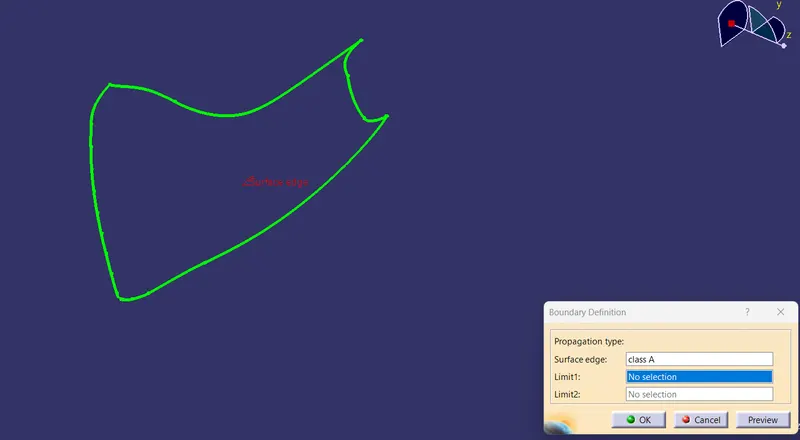
The quality of this Class A is Good
After this go to the draft analysis
Insert + analysis + Draft Analysis
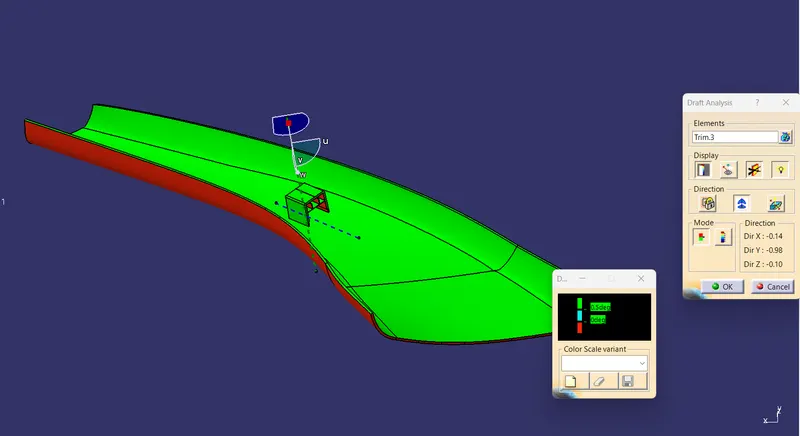
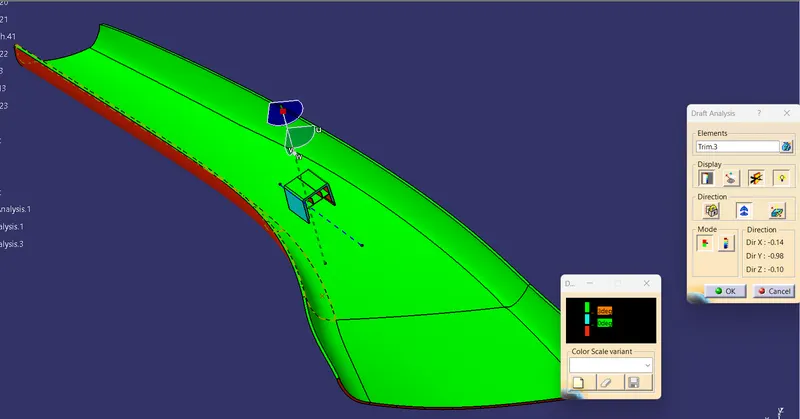
Drag the campus on the tooling axis and select the surface. And do the analysis at 3 deg.
Report on draft Analysis
Class A surface clearing the Draft Analysis
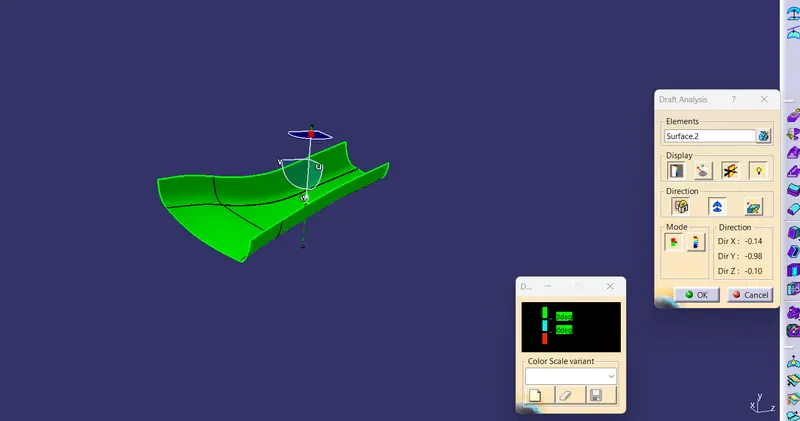
Class B Surface Clearing the Draft analysis at 2.90 deg.
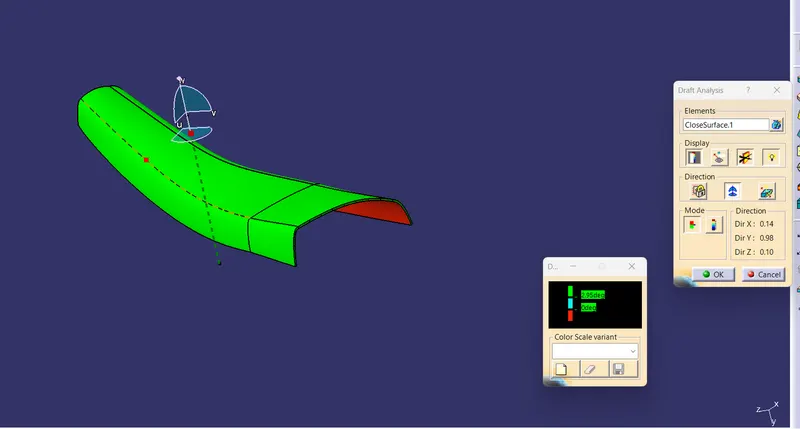
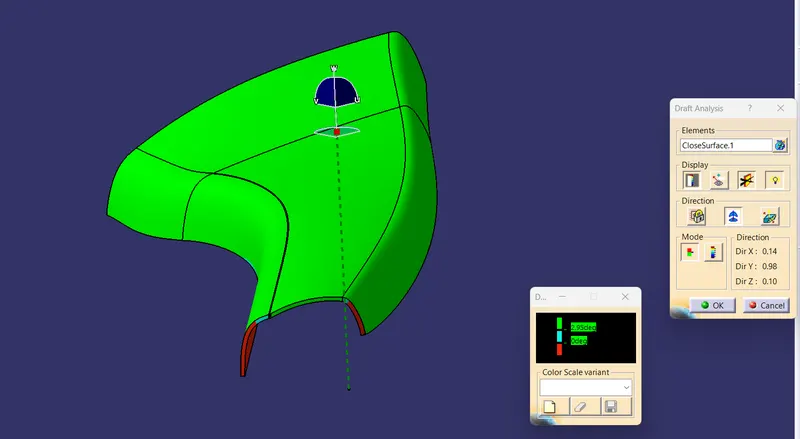
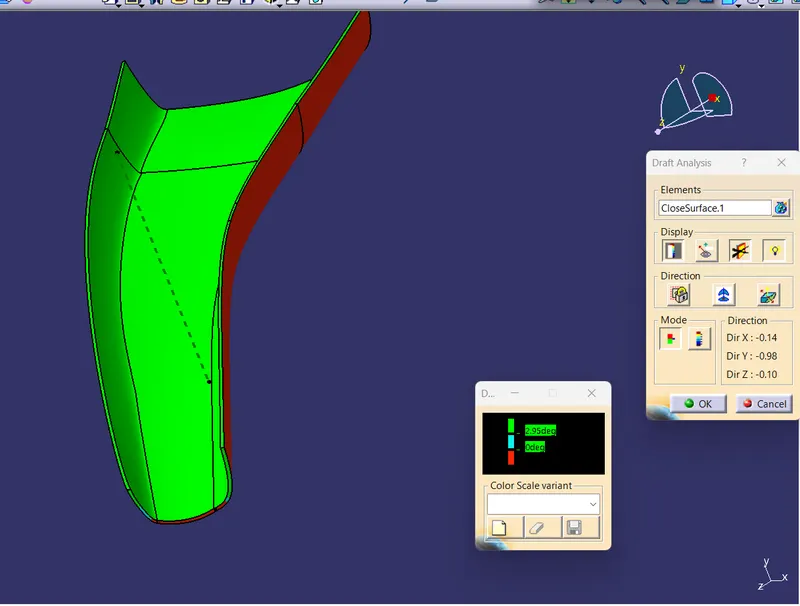
B Side feature Clearing the Draft Analysis At 0.45 deg.
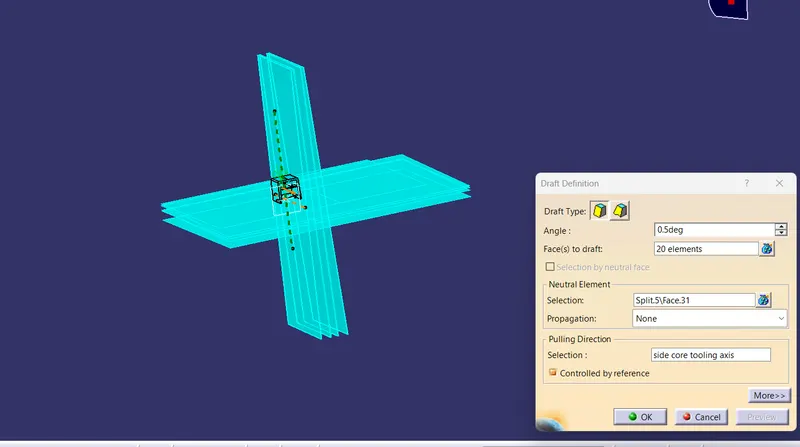
tooling axis for Side core-
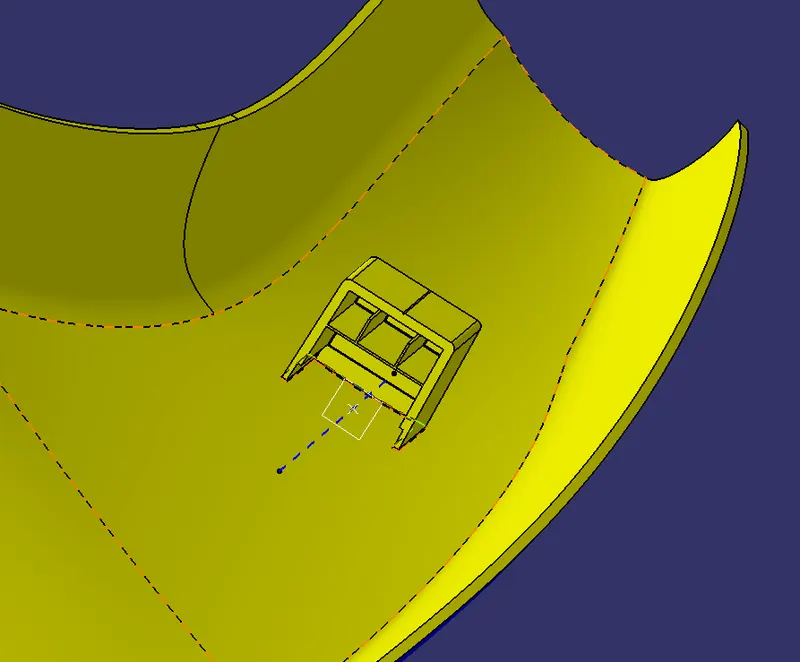
draft analysis
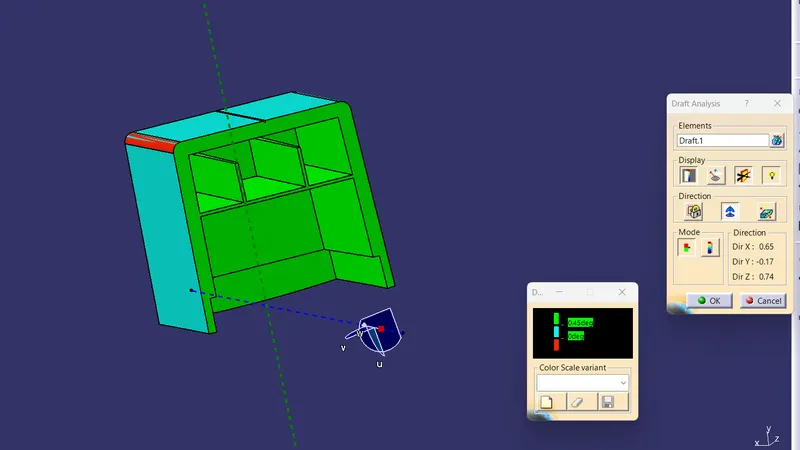
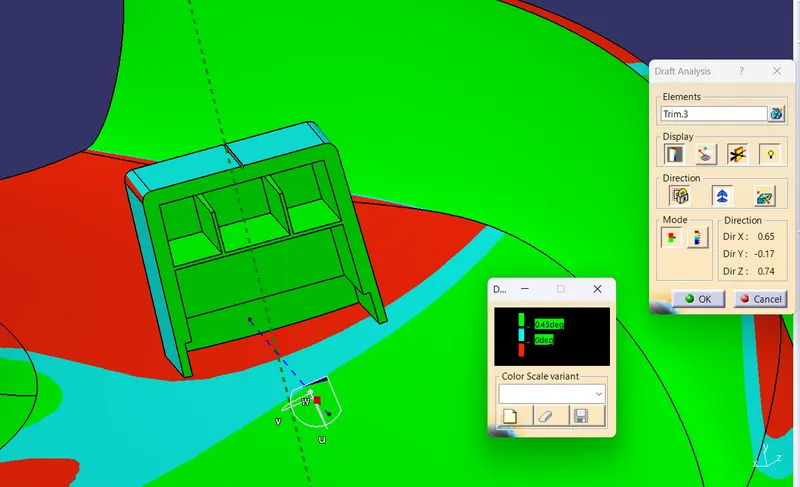
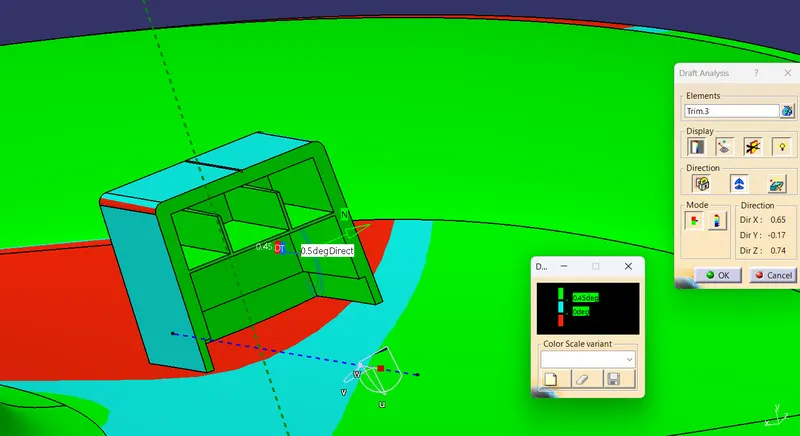
Side core tooling axis draft analysis 0.45deg.
B side Feature clearing draft analysis in the main tooling direction
Clearing at 0.5 deg.
Class B surface Creation
offset 2.5mm
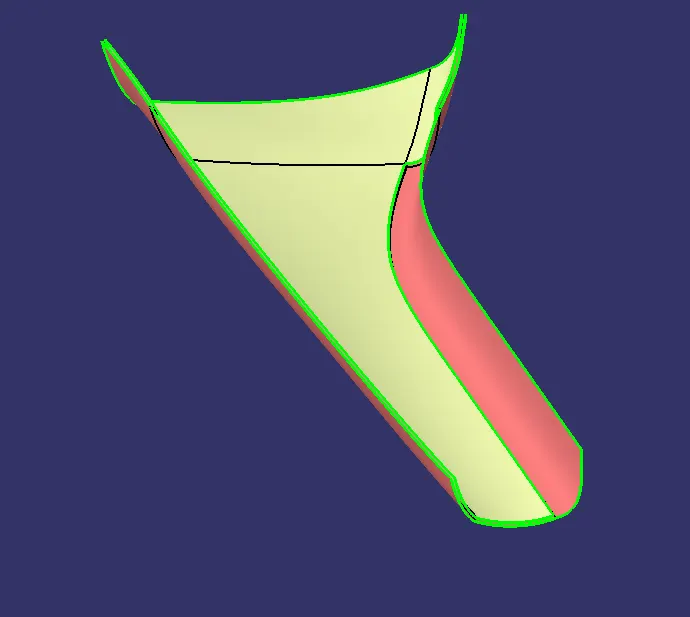
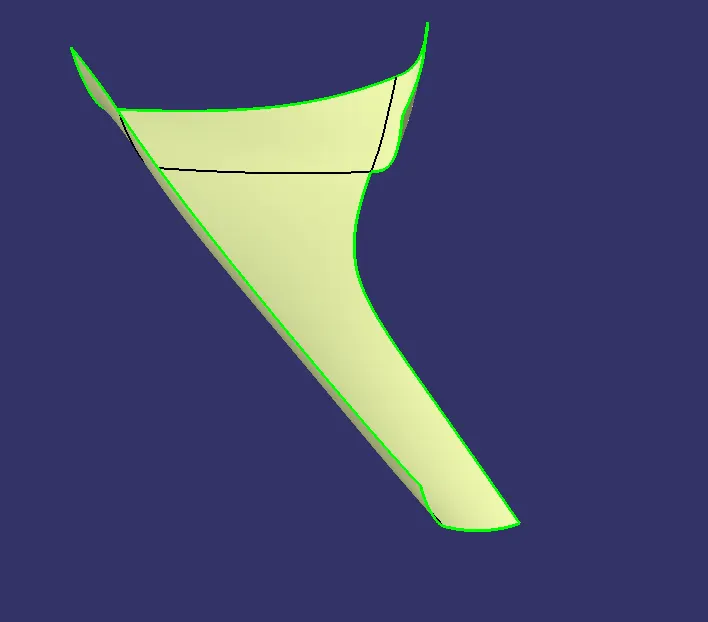
profile sweep
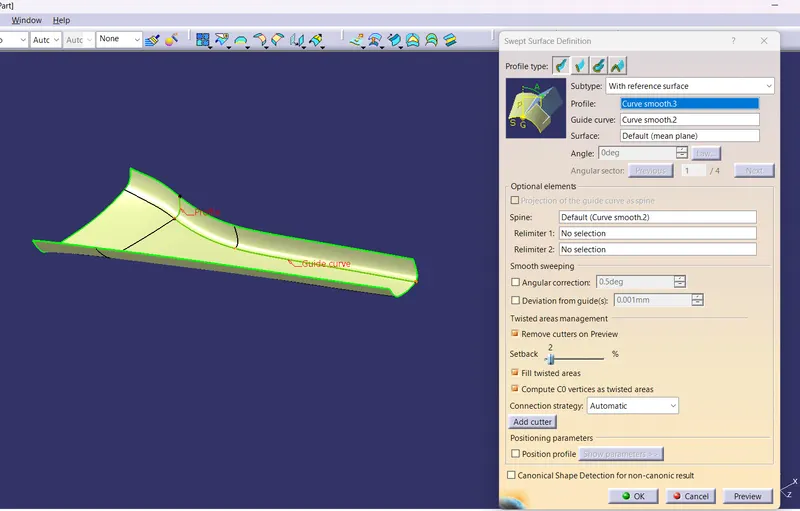
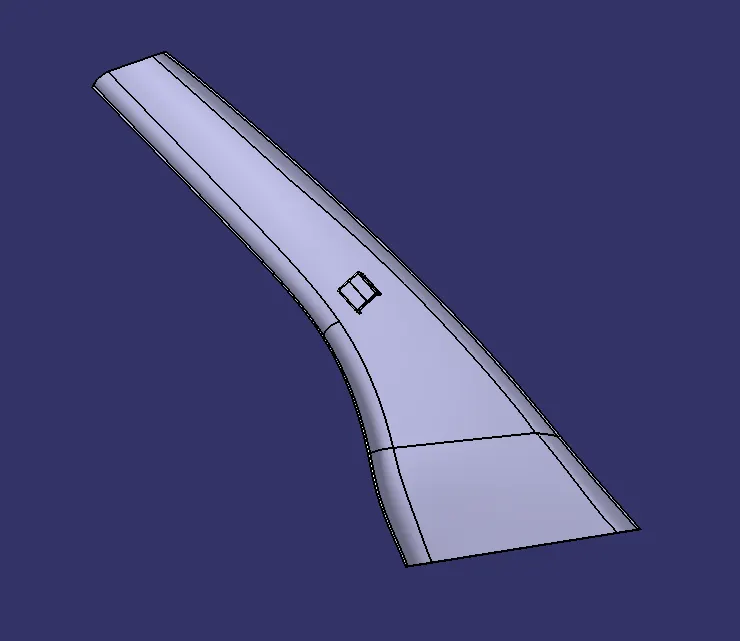
B surface
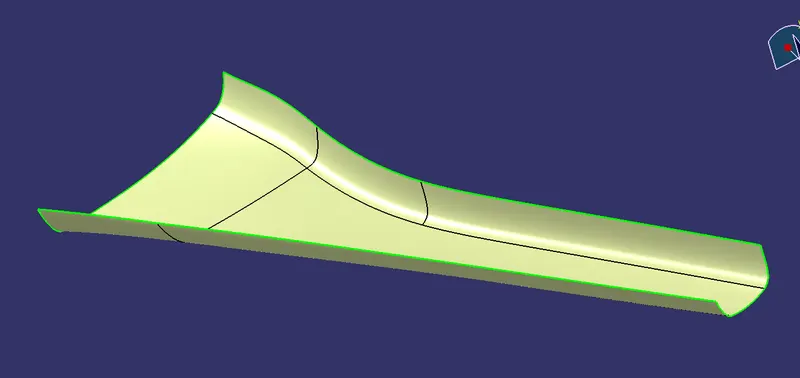
Class C Surface creation –
Using the Sweep command, I created the C surface with respect to Tooling Direction and Class A Surface. And also use the profile sweep command to create a C surface.
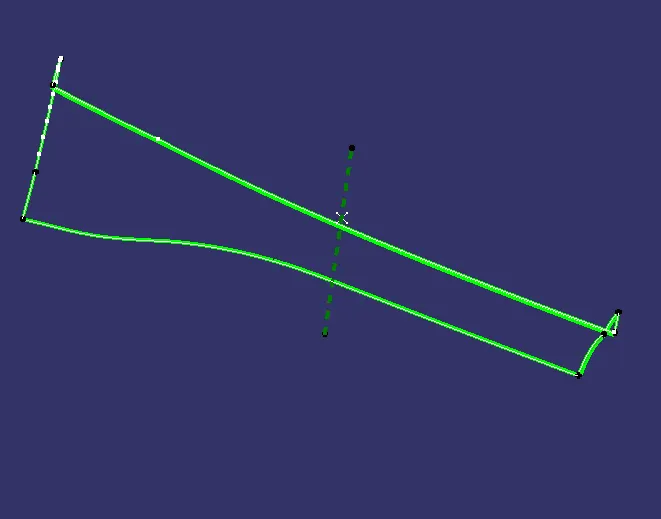
A+C
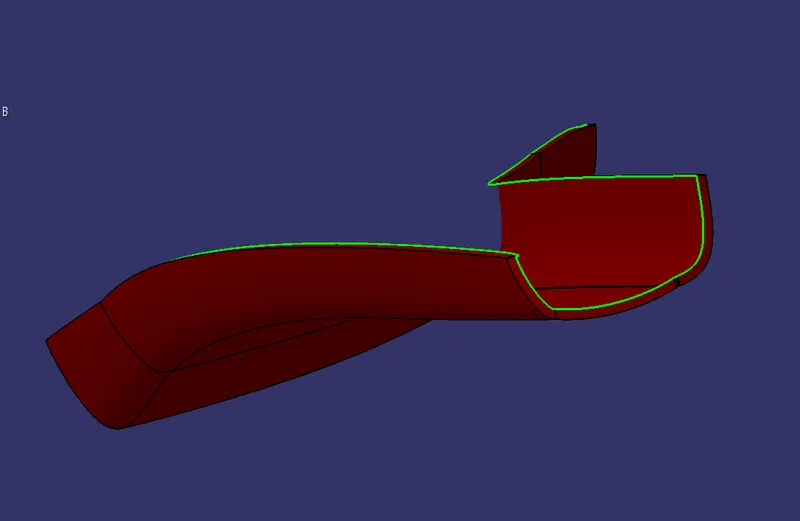
AC+B surface
Boundary Check for the Close Surface. If there is any that needed to be troubleshot.
Now, this is A Close Surface.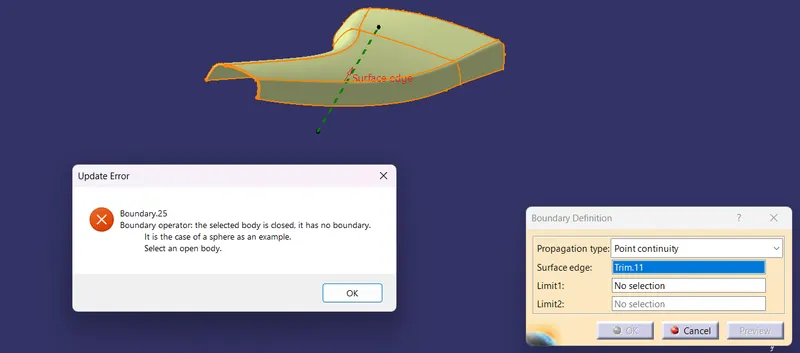
B side feature
Dog house creation
Creating the dog house with the help of the Master Section.
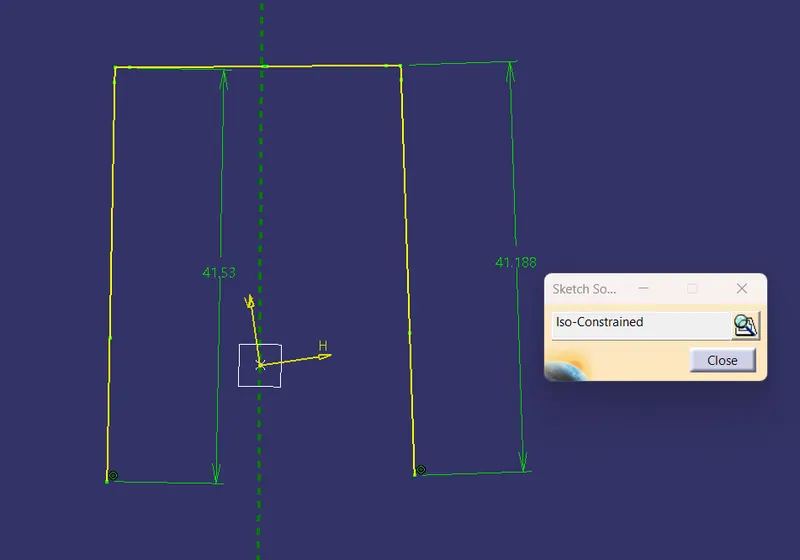
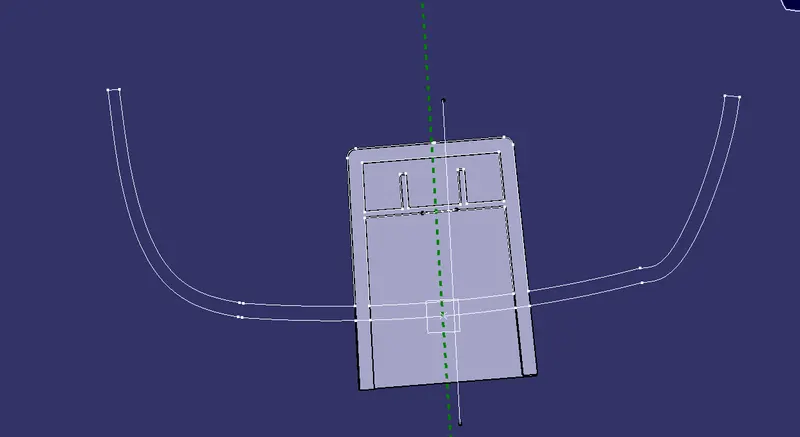
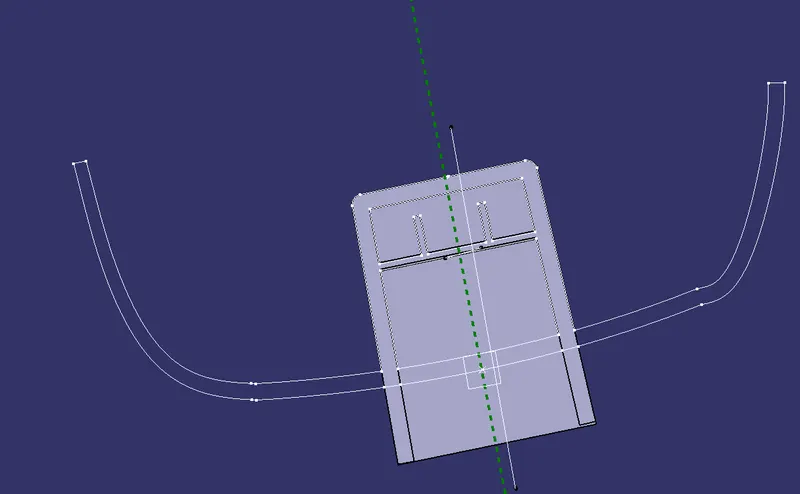
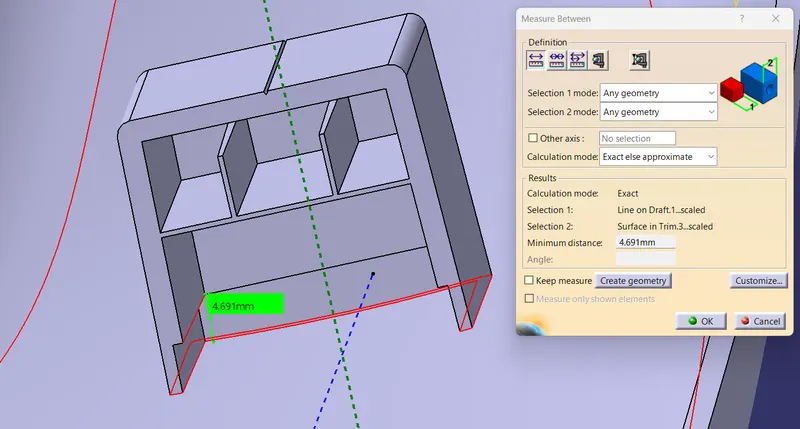
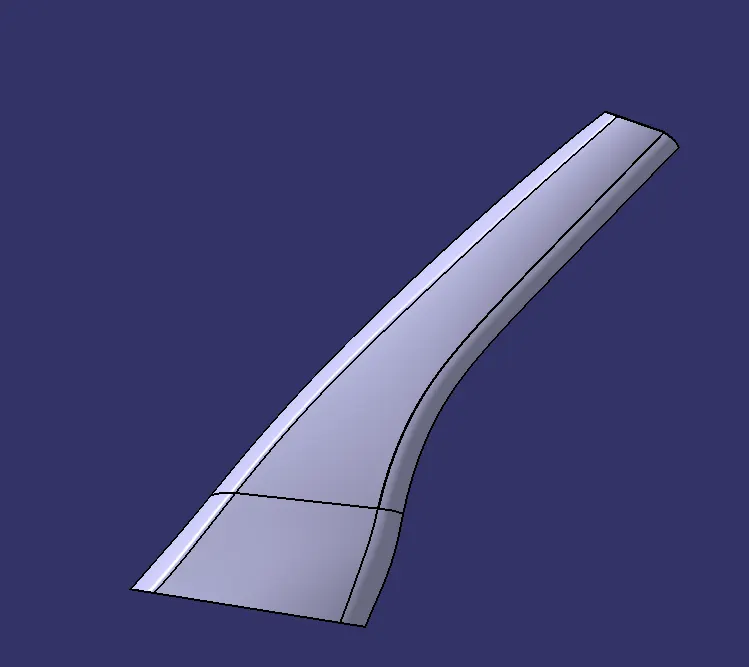
views
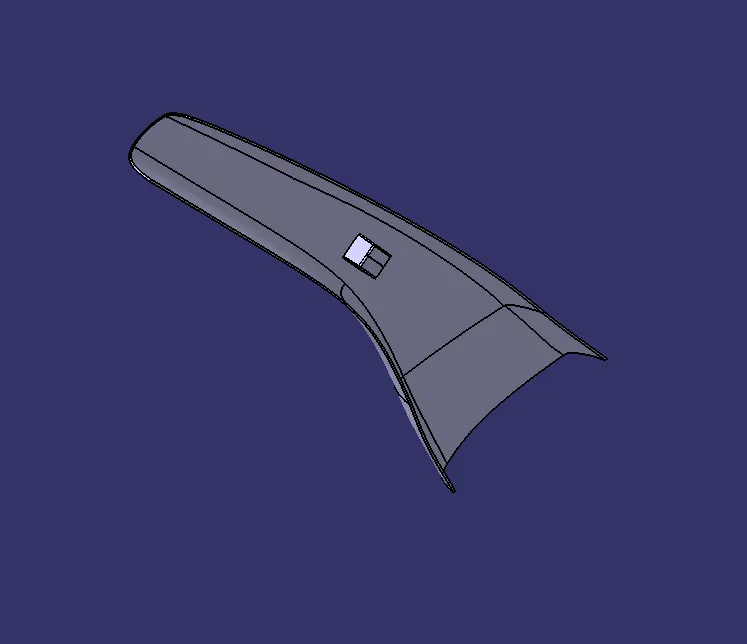
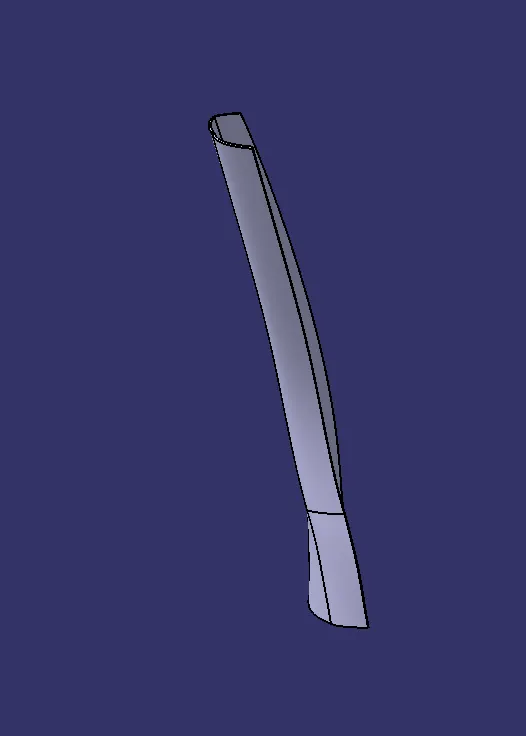
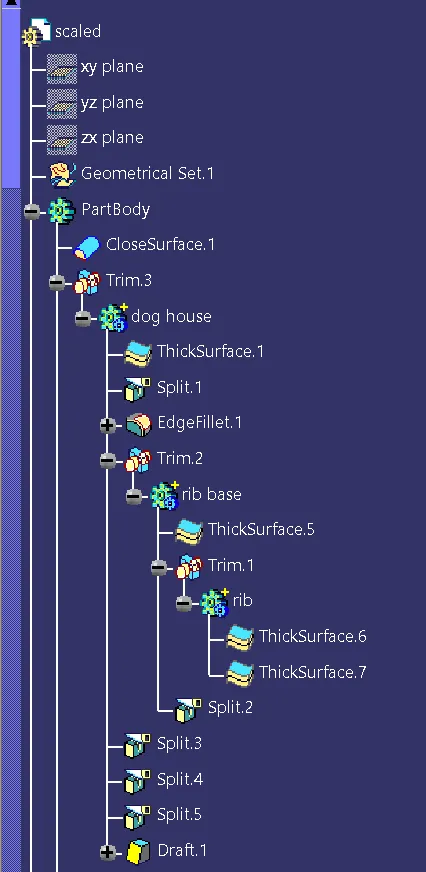
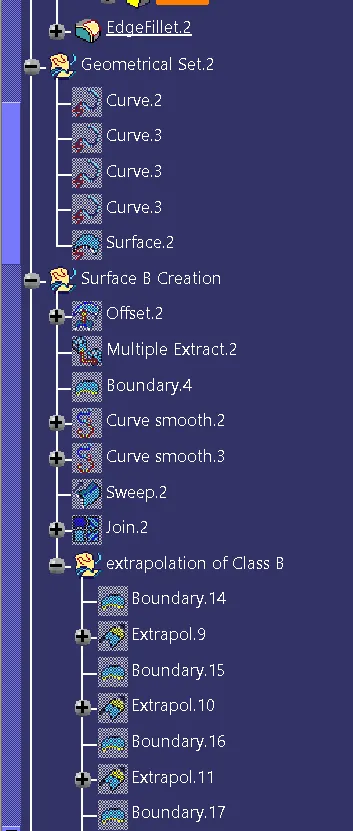
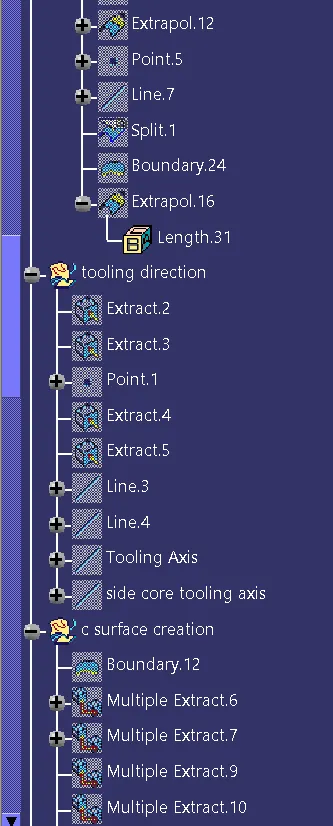
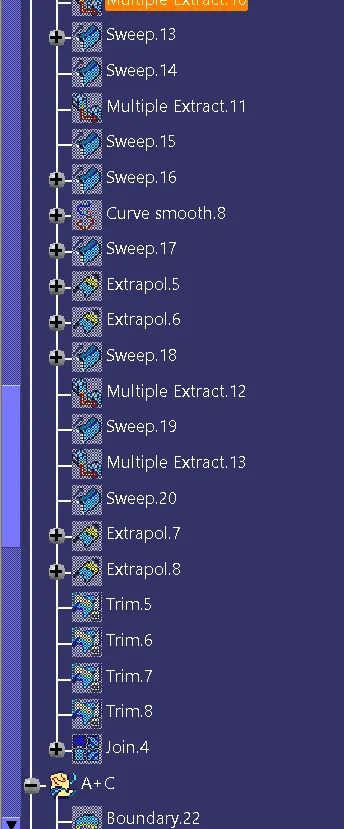
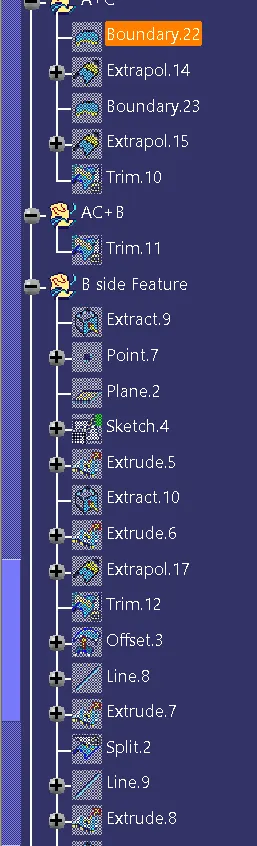
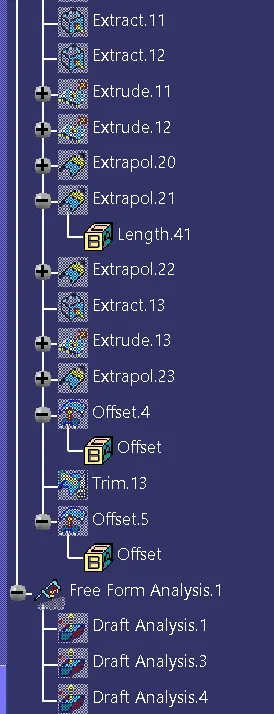
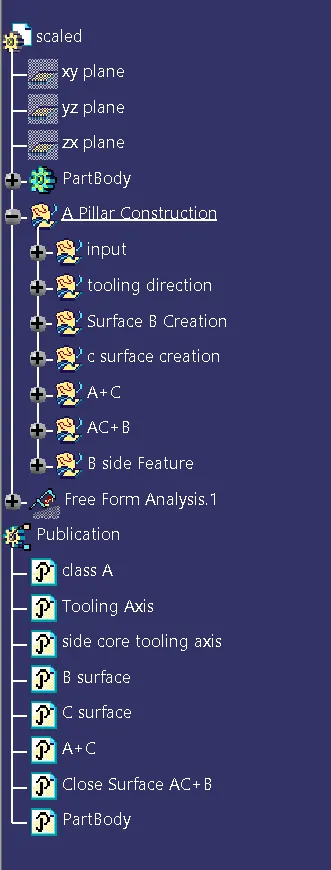
Tree