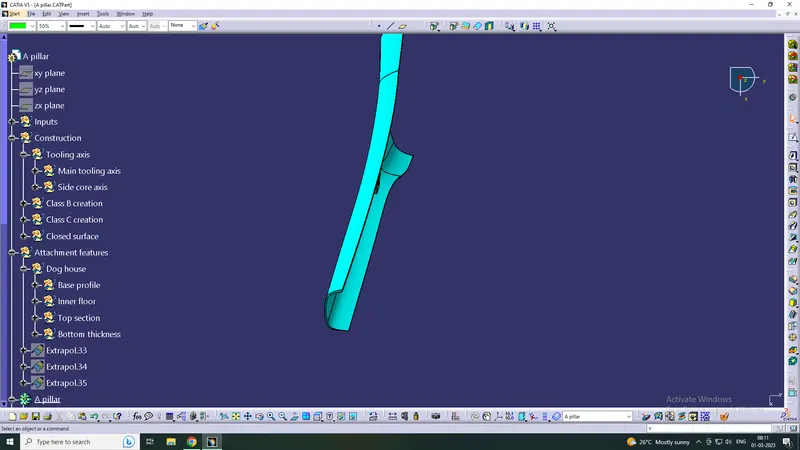
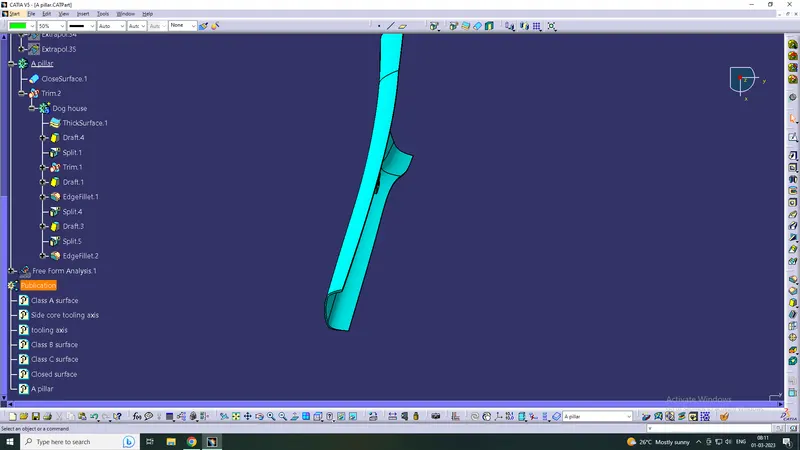
Week 9 - Project - A pillar Design with Master Section
A Pillar
Objective
To make a full solid model from the provided master section and class A surface
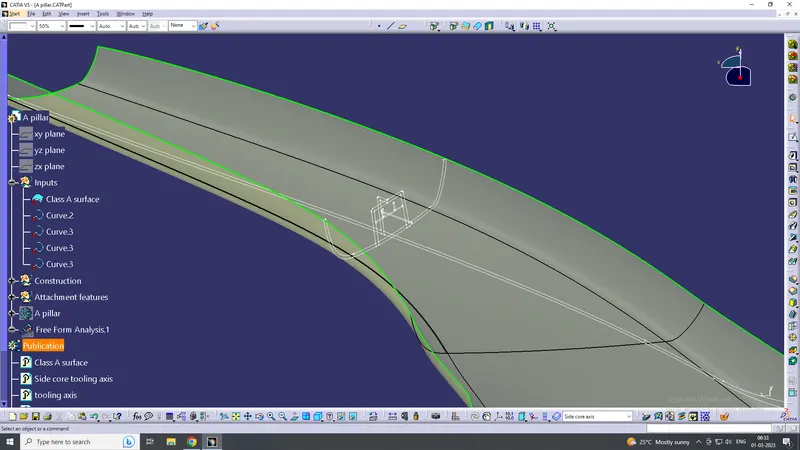
TOOLING AXIS CREATION:
- First create the class A surface and manually analysis and fix the direction of tooling.
- In this part two hole on the surface. So, we can directly take its perpendicular as the tooling axis because its most suitable for tooling axis. Carefully watch and take this axis with the help of all types of views.
- First created the point on the surface and create new axis system.
- Then this intersect line is used to create the new lines on both wall lines. Then the both lines are used to create a bisecting line in tooling direction or it is zero degree drafting part, so we directly draw line through the line to form tooling axis.
- Change some appearance to this line like thickness, colour, dot lines. Finally, it is called tooling axis. It is published for frequent uses.
- Dog house is created by side core. So, we created separate tooling axis for dog house. Same method is used to create a tooling axis parapedicular to the main axis.
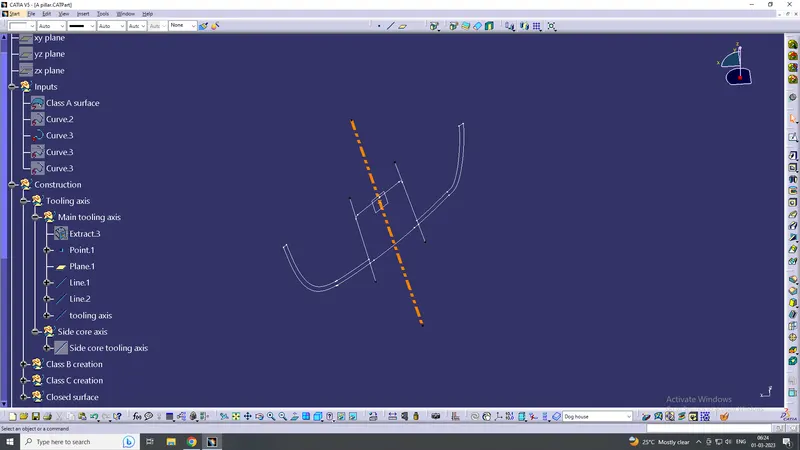
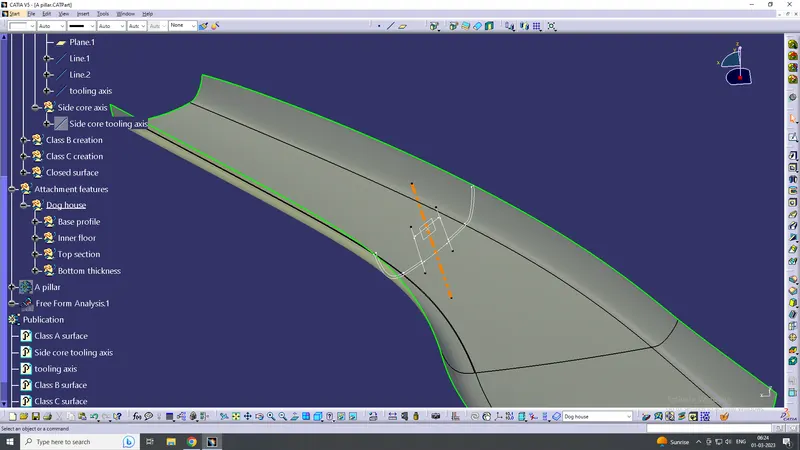
SIDE CORE TOOLING AXIS CREATION:
- First create the Plane using three points method which is perpendicular to tooling axis
- create the line using point- direction method along with plane
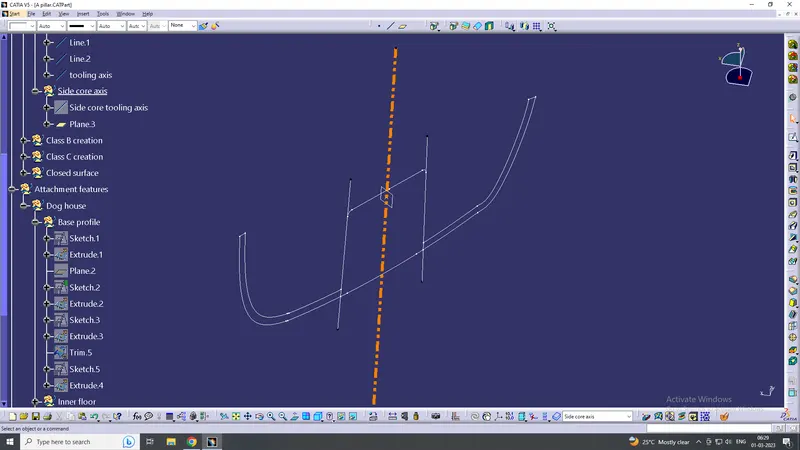
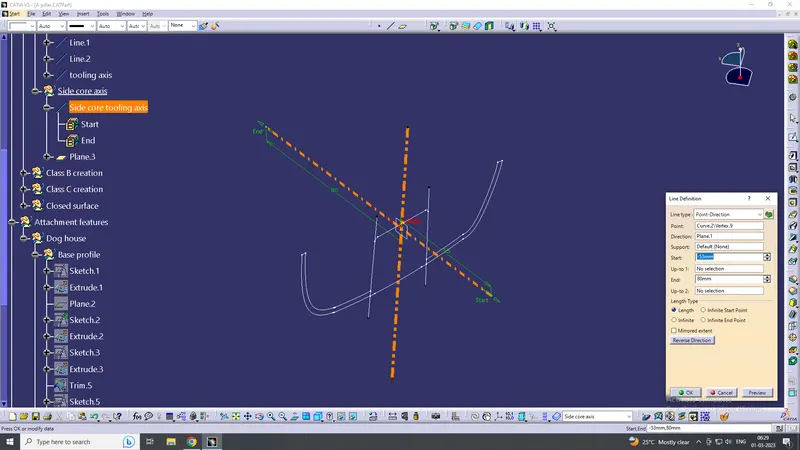
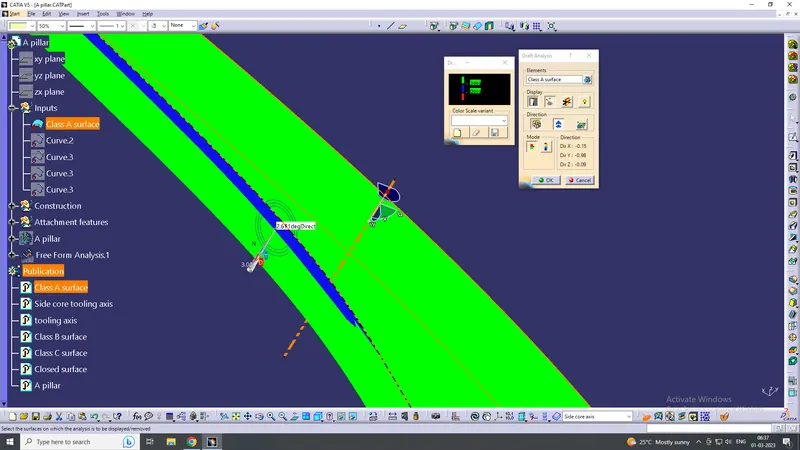
DRAFT ANALYSIS ON CLASS A
- Go to the Insert menu and select the Analysis option.
- Select Feature Draft Analysis.
- Select the Material option and select the surface.
- Drag the compass and place it on the tooling axis.
- Make sure that the top surface is in green color as the draft angle should not exceed 3deg.
- Click on Okay.
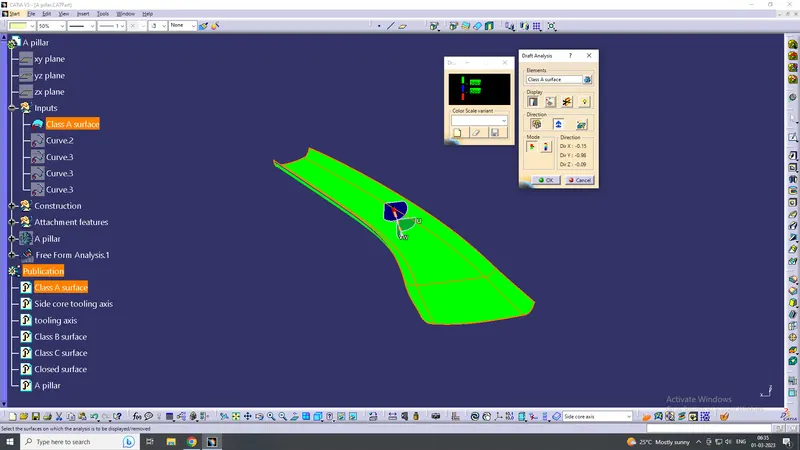
NOTE: this area in class A has below 3 degree angle, we cant edit class A, so we ignore it.
CLASS B CREATION
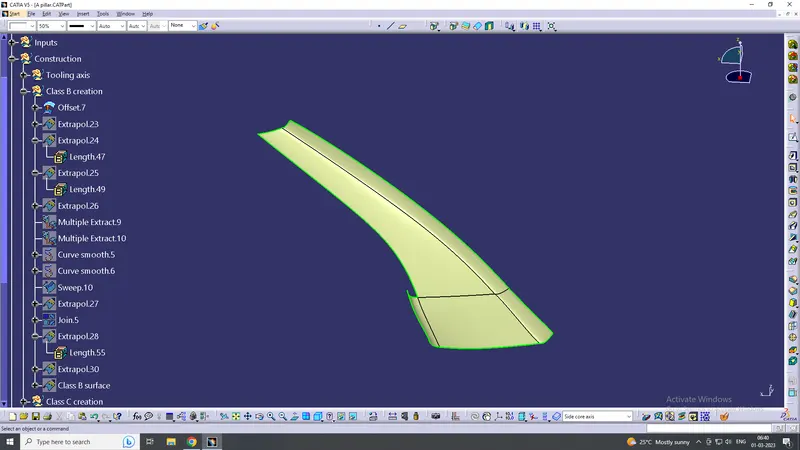
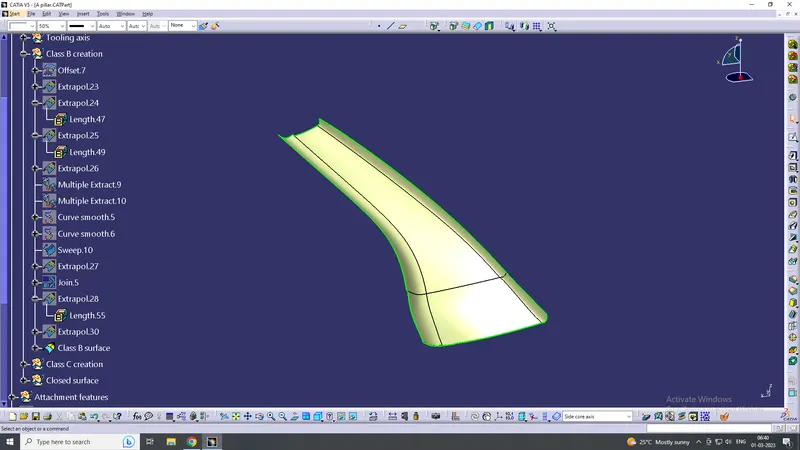
- After all the validation has been done, the class B surface is created by offsetting the class B surface to a distance of 2.5 mm
- After offsetting a large opening in the surfaces is found which is closed with the help of sweep and multi section commands
CLASS C SURFACE
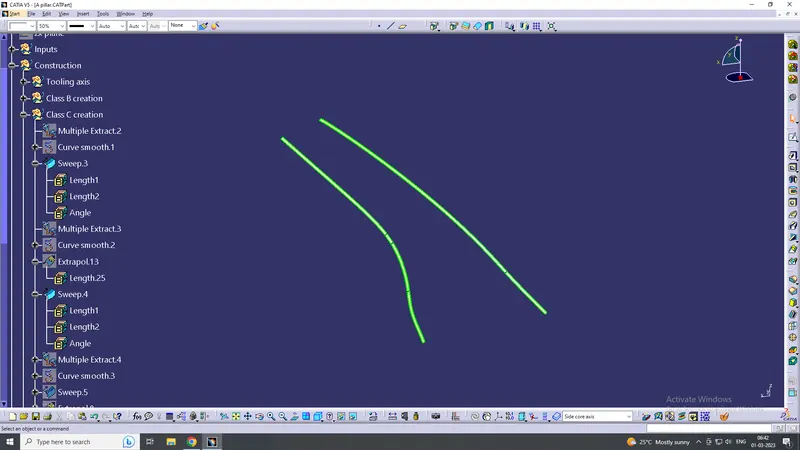
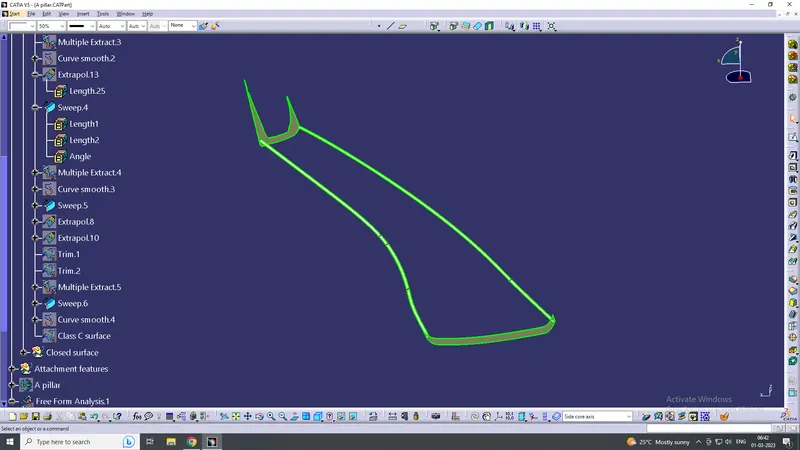
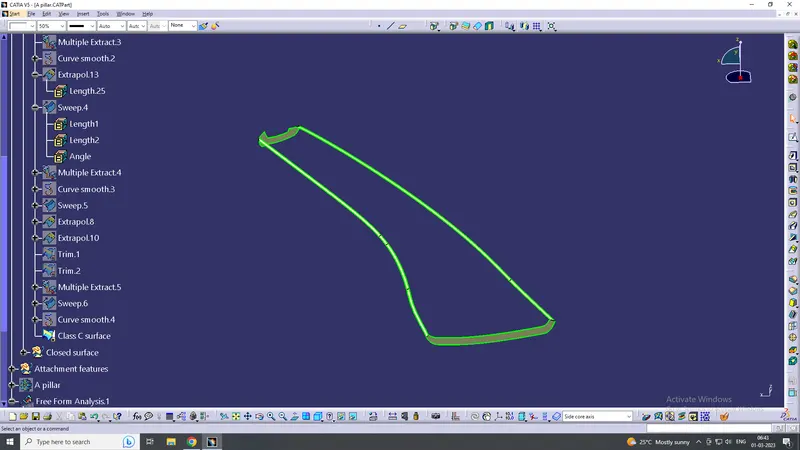
- The class C surface which connects the class A and class B surface is created by sweeping the boundary of the class A and using the class A as a reference.
- The sweep is divided into several parts in order to avoid complexity
- Surfaces which are parallel to the tooling direction are swept with the tooling axis as reference and with a draft angle of 3degrees
CLOSED SURFACE & PART BODY
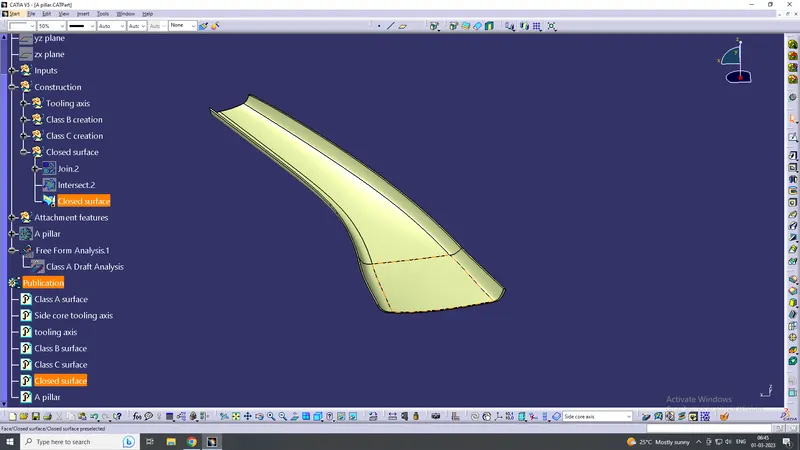
- Join command is used to join the surface A class and the surface A, C class
- Trim commend is used to trim class AC and B. They join themselves.
- Finally, we got Closed surface
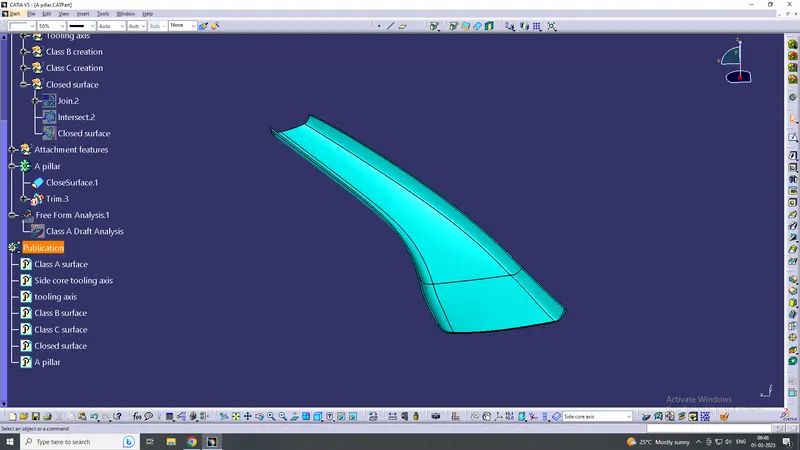
- In part bench close commend is used to get the solid model
- We give different colours to appearance and easily analysis different parts.
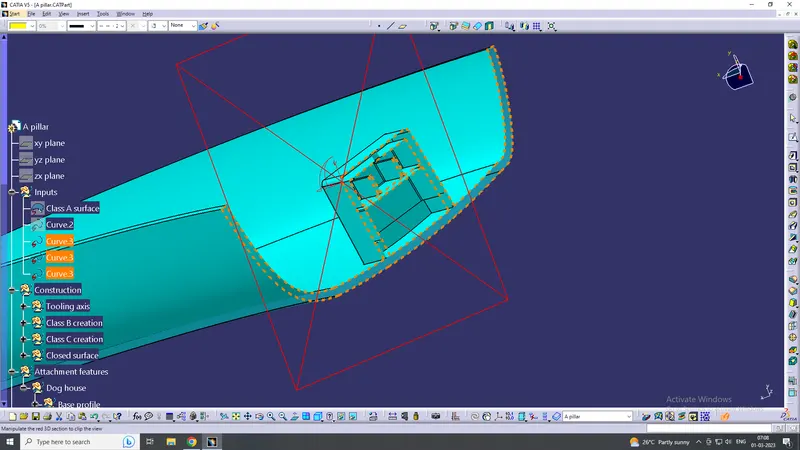
DOG HOUSE CREATTION
- The two main purposes of a dog house are to avoid sink marks and to house various other engineering features like screw boss, locators etc.
- The dog house should follow certain design rules which are stated below
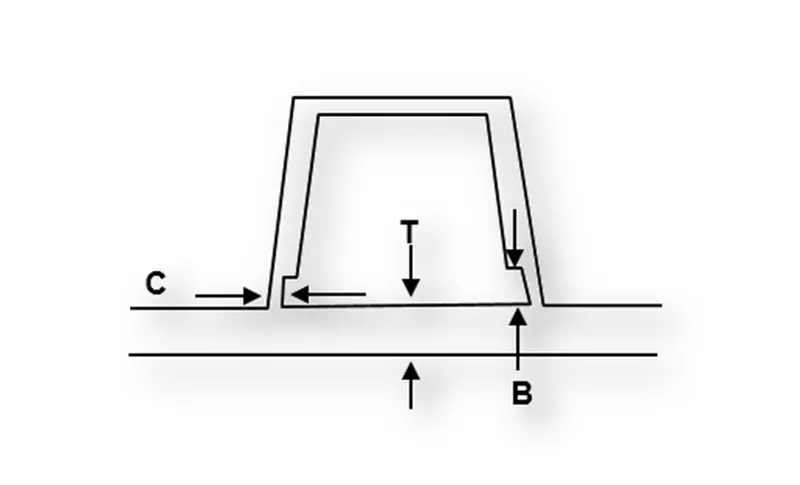
- Doghouse wall thickness at the intersection of the part wall (C) should be 40% or less than the main wall stock (T).
- The height of ( B ) should be between 3.0 – 6.0 mm
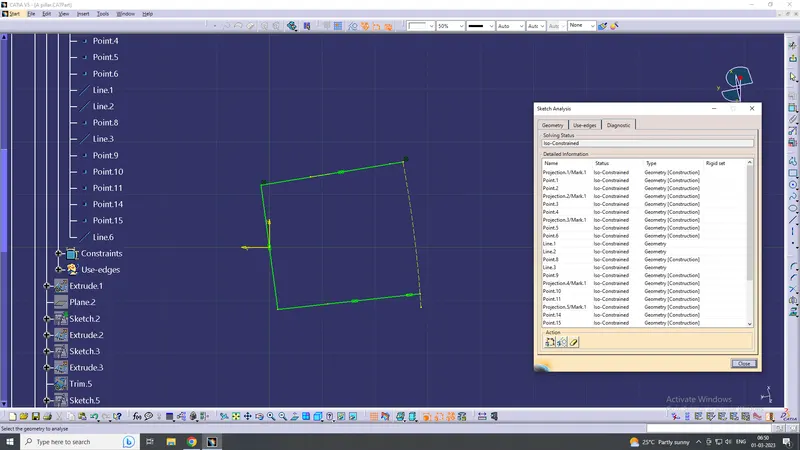
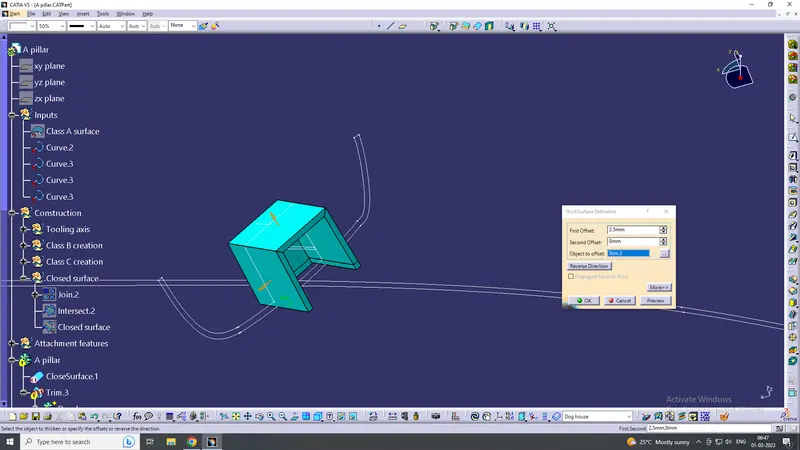
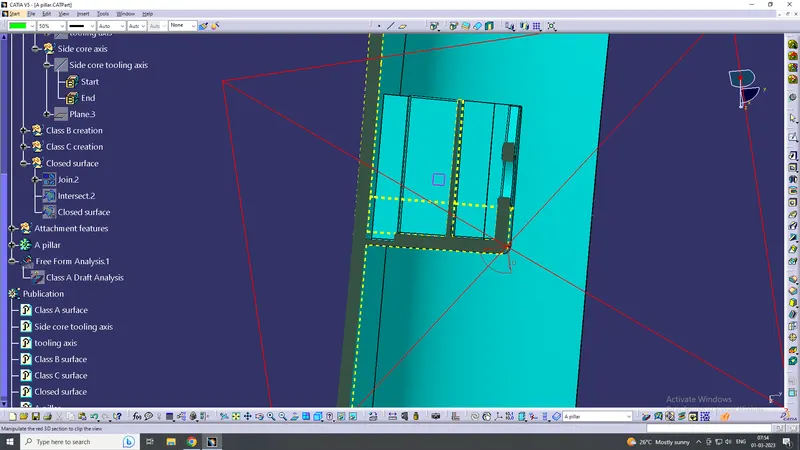
DOG HOUSE INNER LAYER
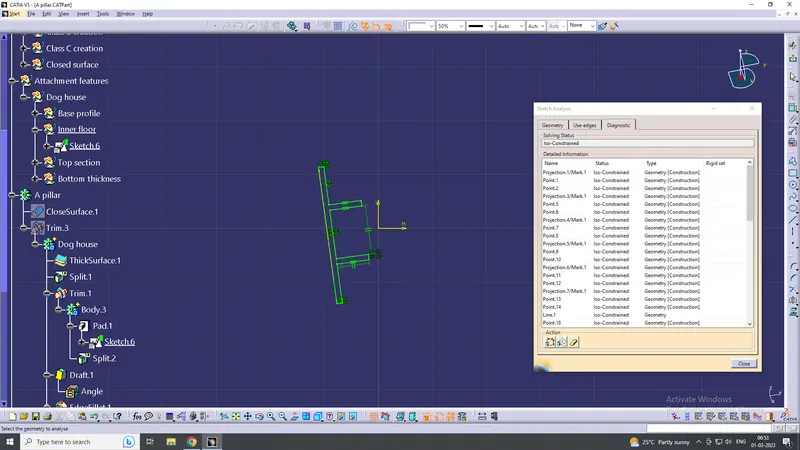
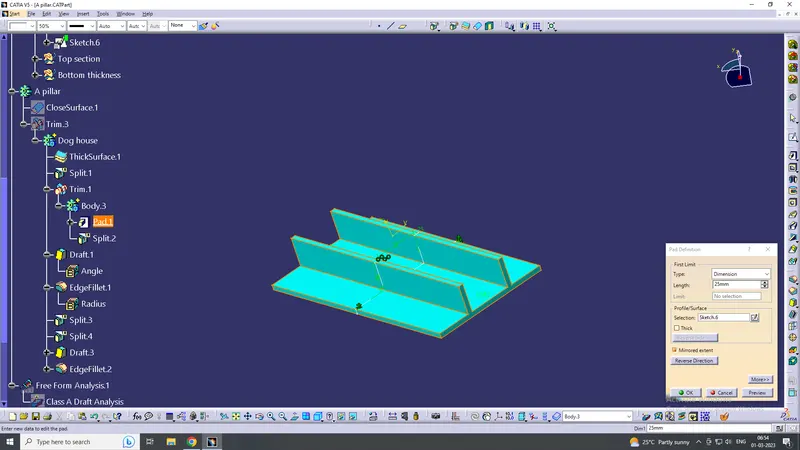
DOG HOUSE TOP PROFILE
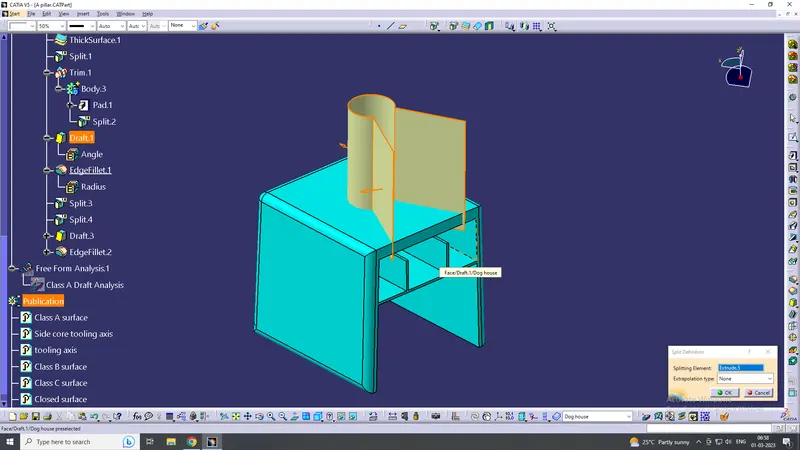
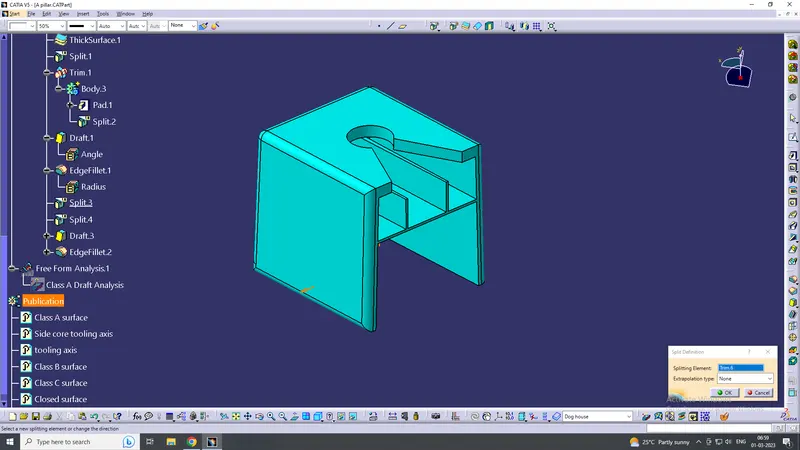
DOG HOUSE INTERSECTING WALL THICKNESS
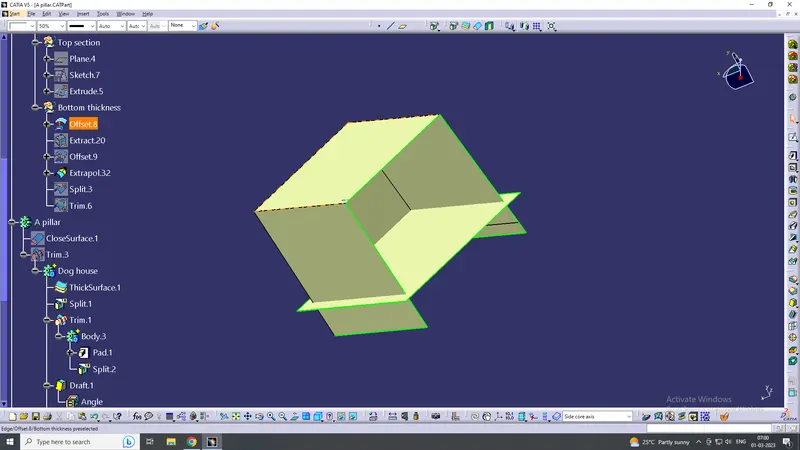
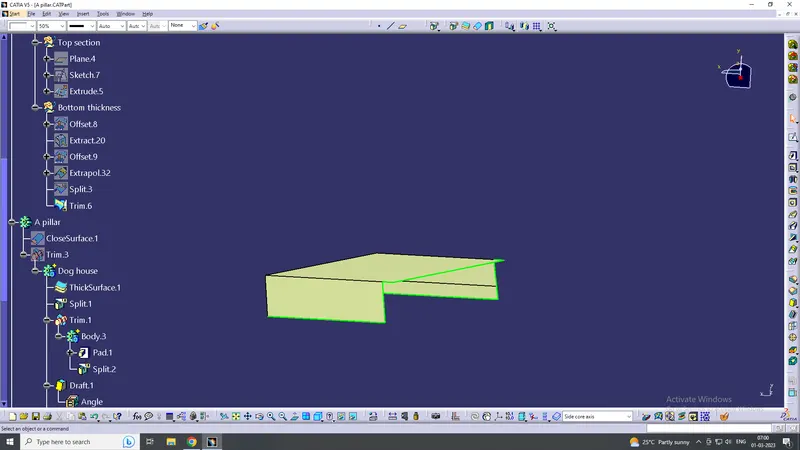
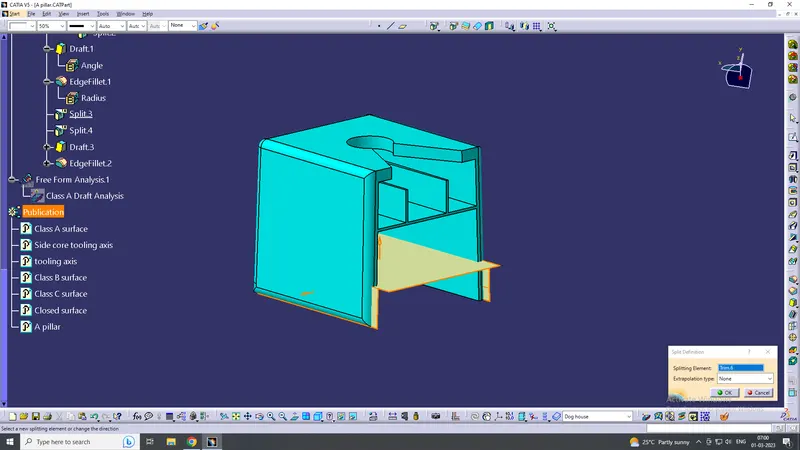
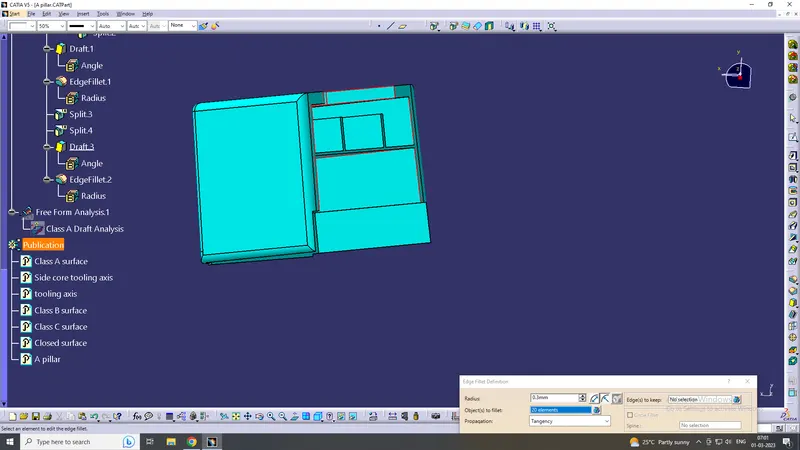
NOTE: draft angle and fillets given as per design standards
FINAL PART BOBY WITH DOG HOUSE
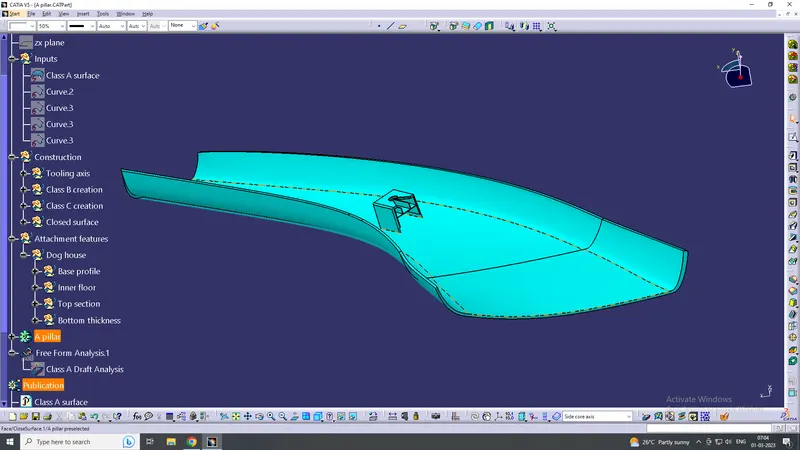
NOTE: All inputs meets with our design properly
DRAFT ANALYSIS ON PART BODY
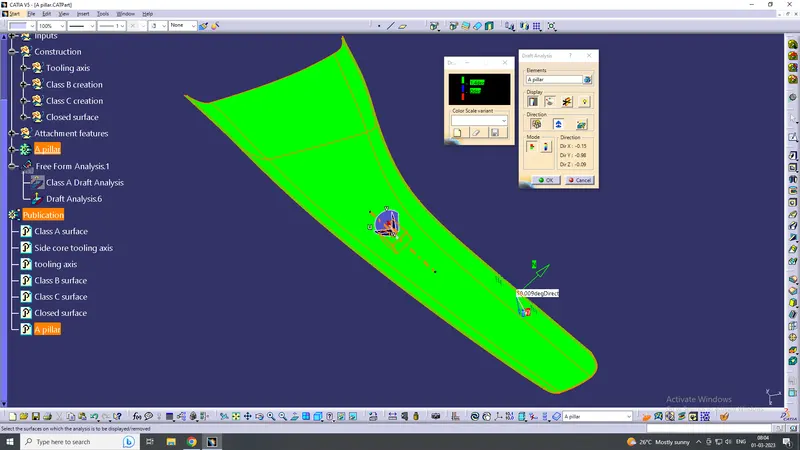
- Go to the Insert menu and select the Analysis option.
- Select Feature Draft Analysis.
- Select the Material option and select the surface.
- Drag the compass and place it on the tooling axis.
- Make sure that the top surface is in green color as the draft angle should not exceed 1.4 degree
- Click on Okay.
NOTE: dog house draft angle is 1.5 degree, so darft angle 1.4 degree is given
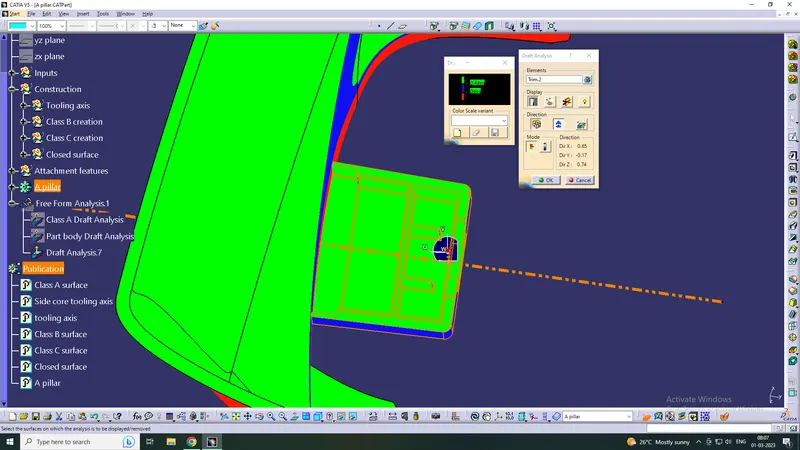
SIDE CORE OF DOG HOUSE
NOTE: dog house draft angle is 0.5 degree, so darft angle 0.4 degree is given
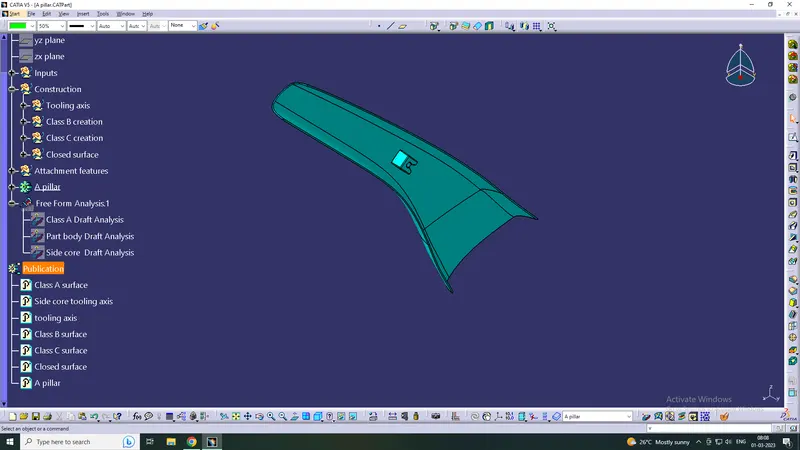
ISOMETRIC VIEW
RIGHT SIDE VIEW
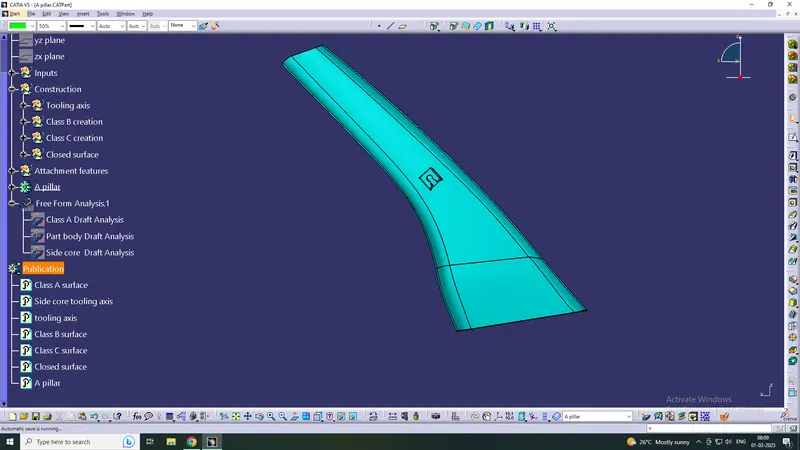
TREE STRUCTURE