Week 9 - Project - A pillar Design with Master Section
Aim :
To create the A Pillar Design with the master section given as the intersection sketch with the Class A surface and create the tooling axis and perform the Draft analysis for the final solid part.
Objective :
- Create the required Tooling axis by using master section and bisecting methode.
- Design the Class-B and Class-C surfaces and close all three surfaces.
- Design the Dog house and its internal parts as given Drafts and mater section sketch.
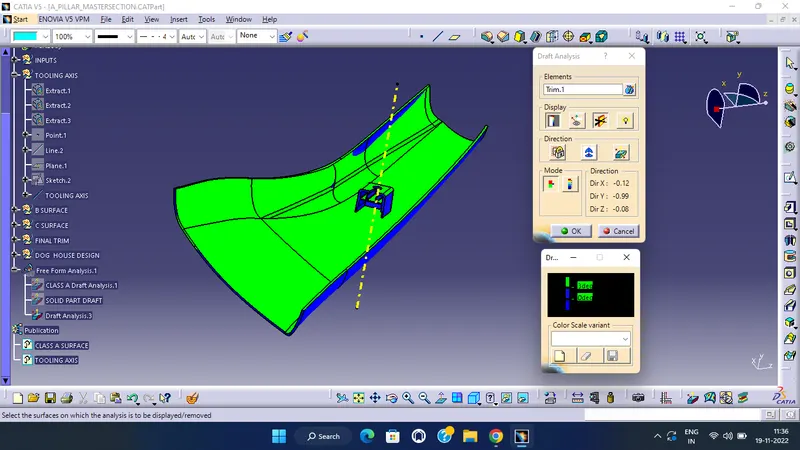
- Draft analysis for the final solid part and side core Draft analysis.
CLASS A SURFACE
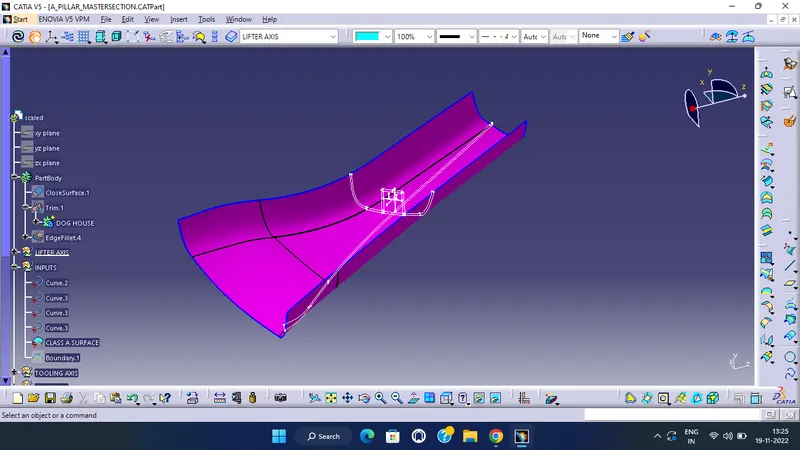
Upload the given file to get class a surface an master section.
Creation of Class B and Class C Surface
Class B
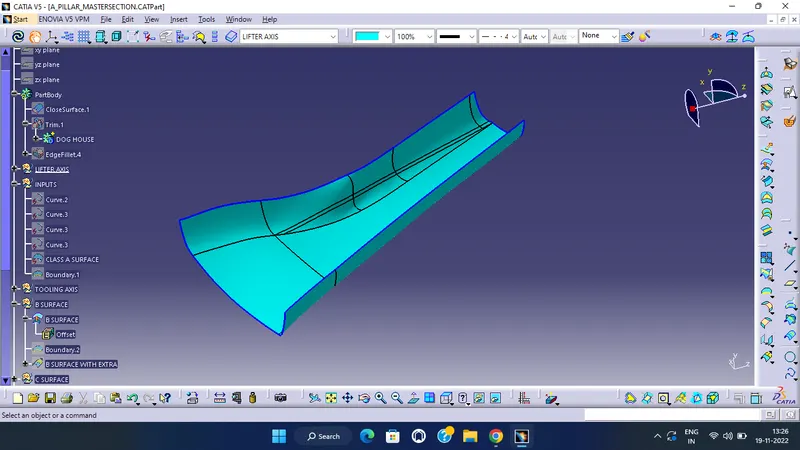
- To create the class B surface, offset the class A surface inside as per our thickness requirement (here the thickness is 3mm, so I offset the class A to 3mm inside).
- Once the offset is created, we can observe some patches on the offset surface by taking the boundary for the offset surface, those patches are formed due to the fillets on the class A surface.
- We covered the patches by using the different surface commands (multi sections surface, fill, blend) in the Generative Shape Design workbench.
Class C
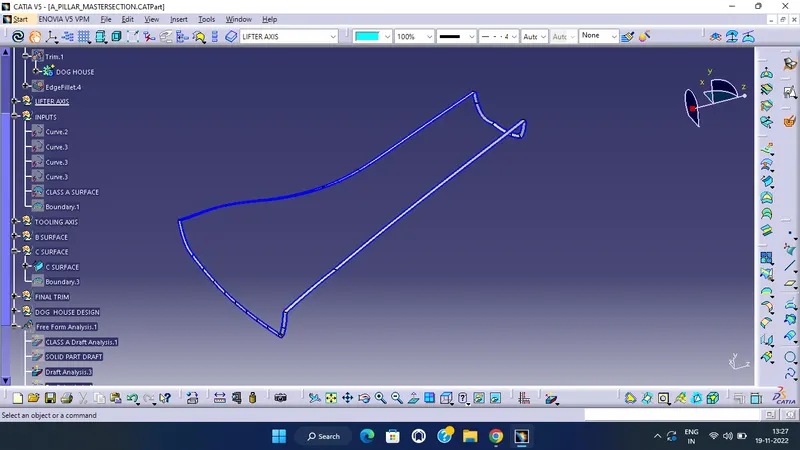
- To create the class C surface concerning the boundary of the class A surface, I used the sweep command. Initially, I extracted the boundary of the class A surface with tangent continuity, and I sweep the extracted boundary concerning the surface at 90deg (for draft angle) for 4mm to intersect properly with the class B surface.
- Once we sweep all the surface boundaries of class A, extrapolate the swept surfaces until both surfaces got intersected properly, and trim them to remove extended extrapolated surfaces to get a proper sweep boundary throughout the entire surface, including the centre hole of the bumper.
- Now, join both class A and sweep boundary to get the complete class C surface.
- Now Class A surface and Class C surface is joined.
- Now Class B surface is also trimmed with the obtained surface to get the closed surface.
- Boundary check is done to check for any open boundaries in the part. The closed surface then obtained moved to part design and close surface tool is used to obtain the part.
CLOSED BODY:
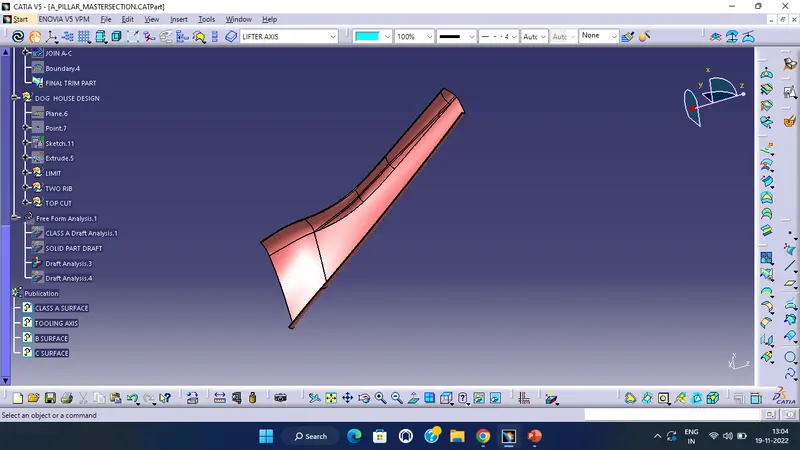
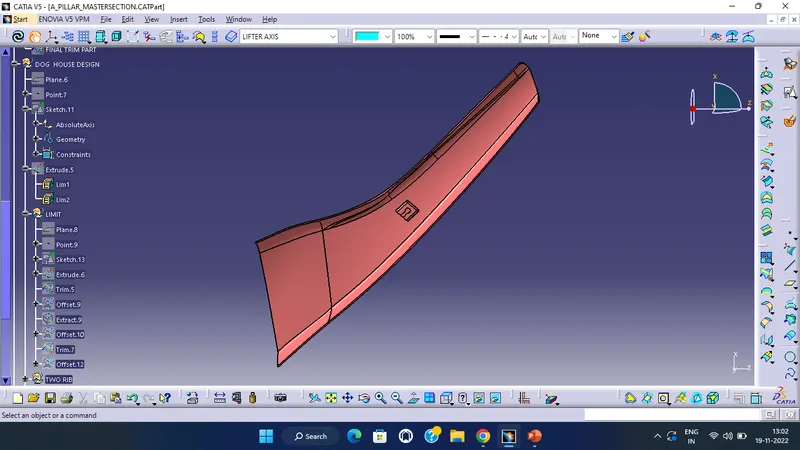
The final trim is created by joining the Class A and C surface and finally trimming it with the Class B surface. The combination of class A, B and C surface is then converted into a solid with the aid of close surface command in the part workbench
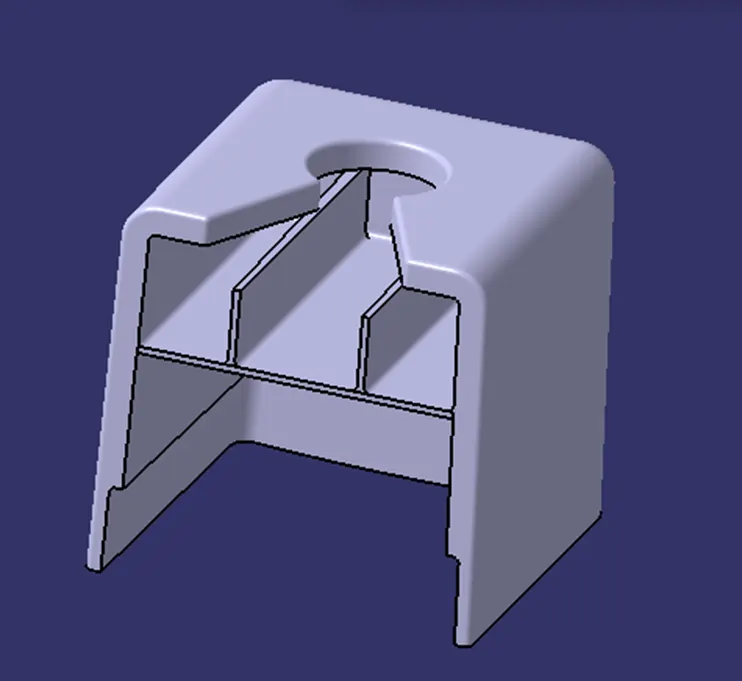
DESIGN OF DOG HOUSE:
- The two main purposes of a dog house are to avoid sink marks and to house various other engineering features like screw boss, locators etc.
- The dog house should follow certain design rules which are stated below
- Doghouse wall thickness at the intersection of the part wall (C) should be 40% or less than the main wall stock (T).
- The height of ( B ) should be between 3.0 – 6.0 mm
FINAL PART:
DRAFT ANALYSIS:
Conclusion
- Created Tooling axis
- Created Class B and Class C surface from provided Class A surface.
- Created solid part out of surface modelling.
- Created engineering features from the master section provided.
- Draft analysis of Class A surface and final part is also done.