Week 9 - Project - A pillar Design with Master Section
DRAFT ANALYSIS REPORT A_PILLAR_MASTERSECTION.
STEP 1.
Examination of class A.
This is this is given classA with master section ,
in this method solid componant should be created with refrence to master section given in file.
Here is detail report.
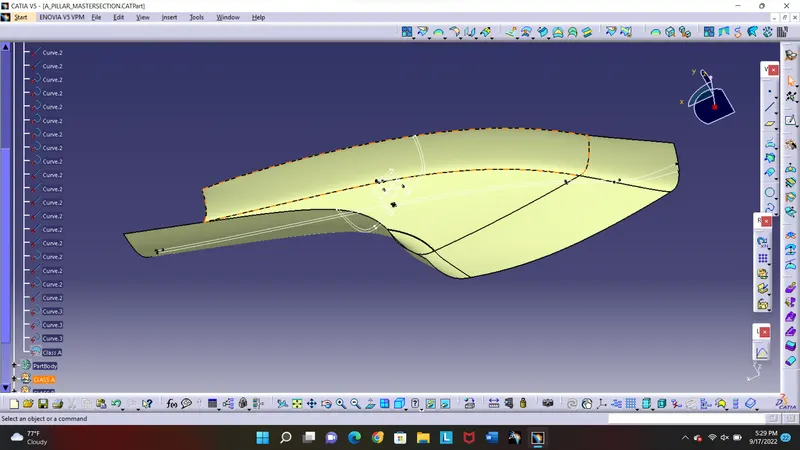
GIVEN MASTER SECTION.
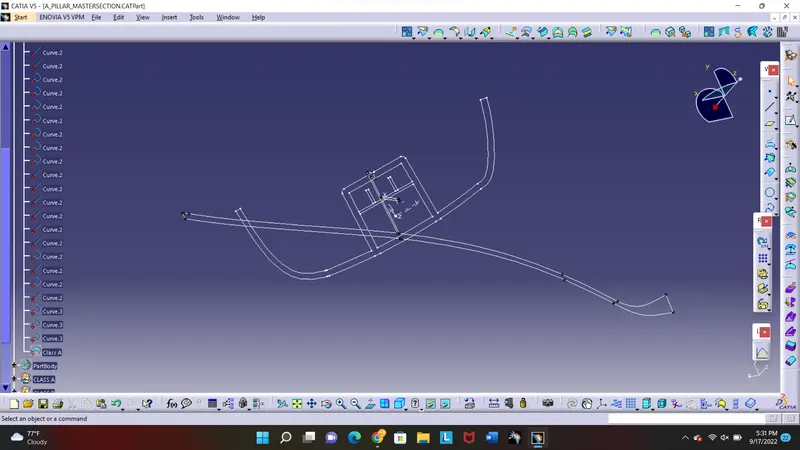
STEP 1:- using boundry command checked for any non intersecting surfaces.
STEP 2:- In step file there is sometimes given multiple surfaces so using join command for creating single surface to work on, for reference for CLASS B , CLASS C .
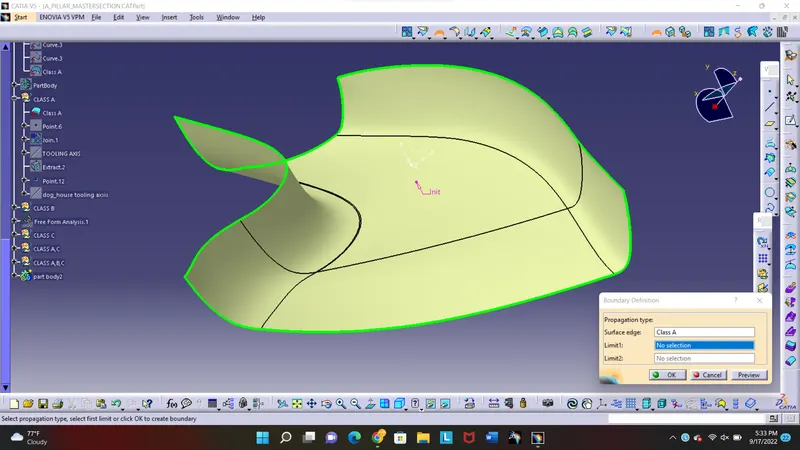
STEP 2.
Draft analysis of class A,
STEP 1 :-
CREATION OF TOOLING AXSIS
extract any surface of class A as shown in fig.
creat point on surface , and then take line normal to surface , actual tooling axsis should be normal to surface only because most of machinery available have only vreticle tooling axsis and horizontal axsis tooling direction.
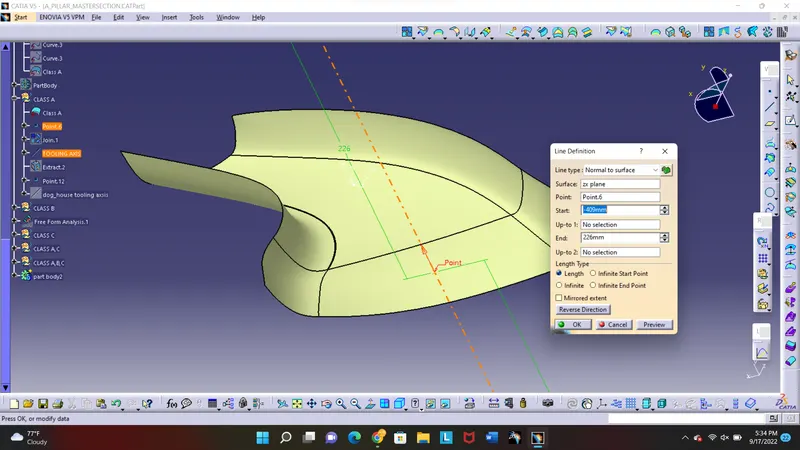
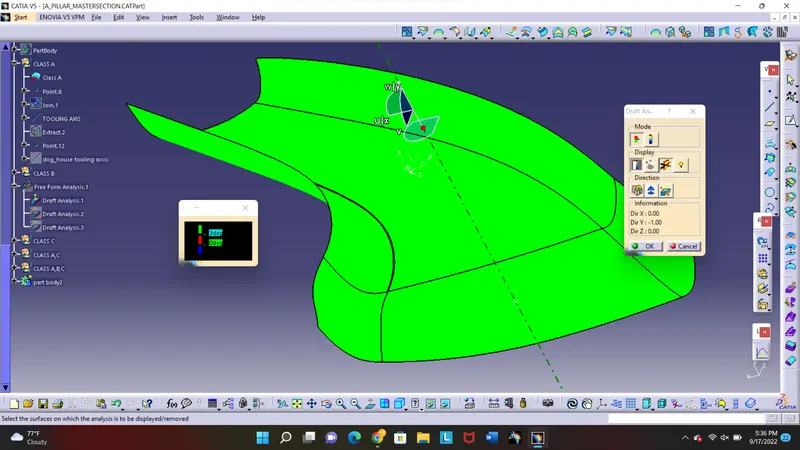
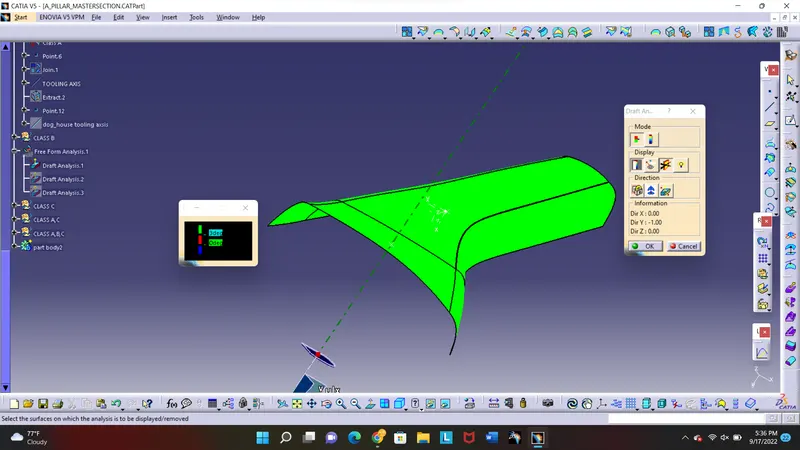
STEP 2:- insert draft analysis , place compass on tooling axsis and define the direction, and again place compass on tooling axsis and click on surface, following fig explains the process.
STEP 3:- analyse the componant clearing the draft analysis or not,
in given class A green colour shows positive angle of draft analysis and red colour shows negative draft angle shown in fig.
STEP 4:- check for clearance of draft, in this given class A cleared the draft analysis at 3 degree angle as shown.
STEP3.
CREATION OF CLASS B,
STEP 1:- take offset of class A of 2.5mm.
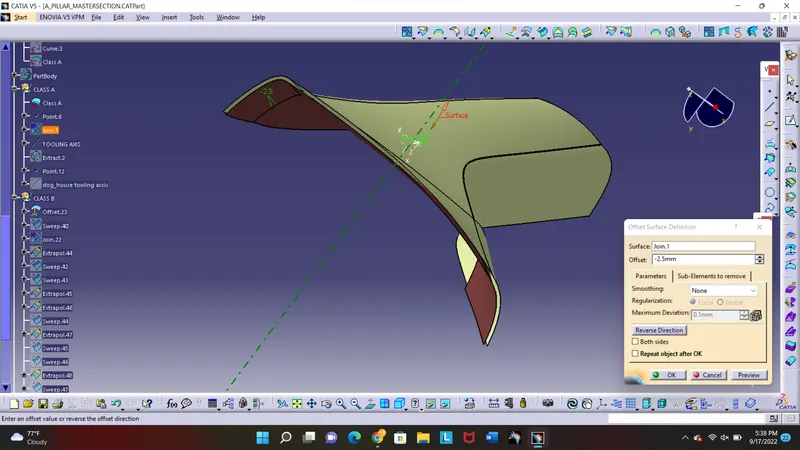
this is offset of class A, which shows some missing surfaces .
some surfaces can not be offseted, because of the shape they have they cusp at cretain point.
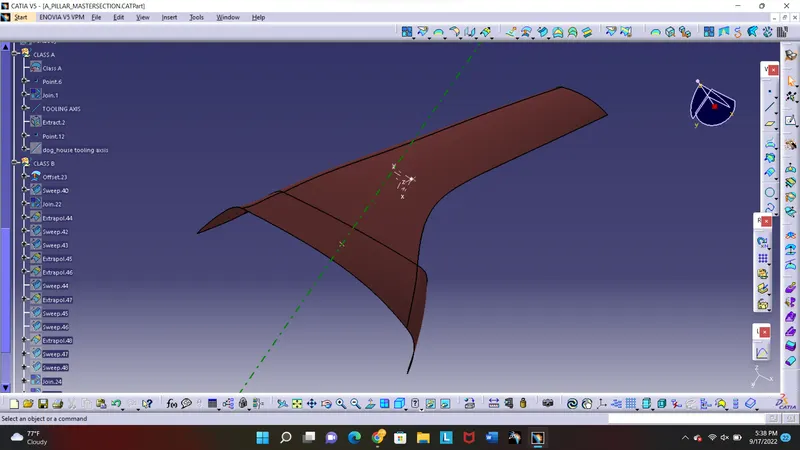
STEP 2:- check for gap and other faults in offset not all surfaces get offset some might have error.
in this offset we got some gaps and non joining portions as shown below fig.
STEP 3:- to creat missing surface using swep operation with smoth curves gives desired output.
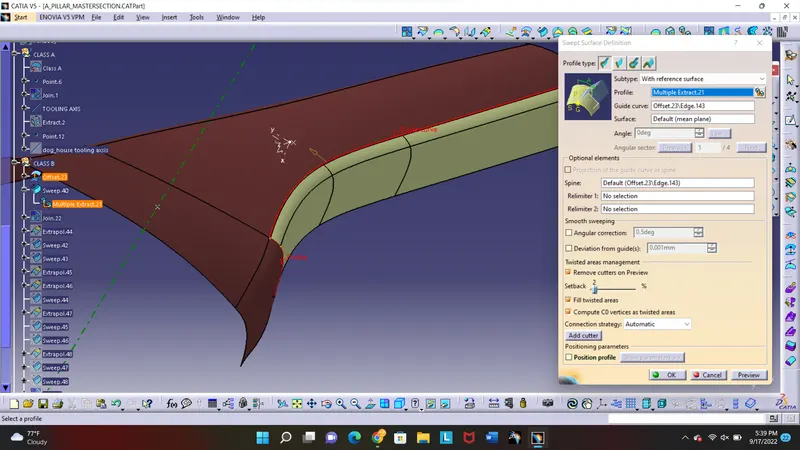
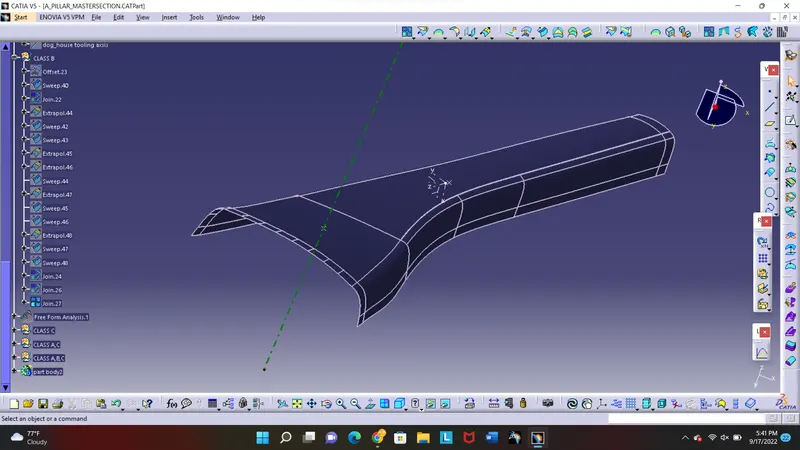
STEP4:- after making class B , extrapolate class B to intersect with with class C to make a trim operation to have finla product.
THIS IS FINAL EXTRAPOLATED CLASS B.
STEP4.
CREATION OF CLASS C.
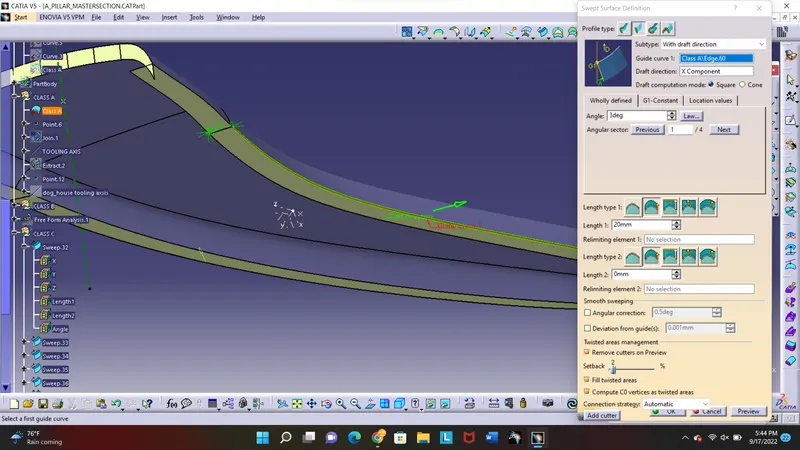
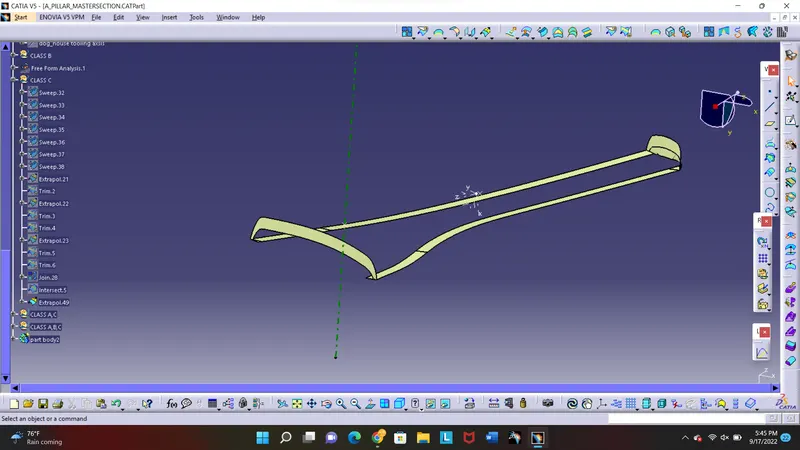
STEP 1:- class C is created with given class A, by using swep command as shown in below fig.
extract boundary using boundary command using class A for swep operation.
STEP 2:- use swep operation, in swep operation bottom part of surface is sweped at 93 degree with direction of surface,
and front face is sweped with draft direction of 3 degree .
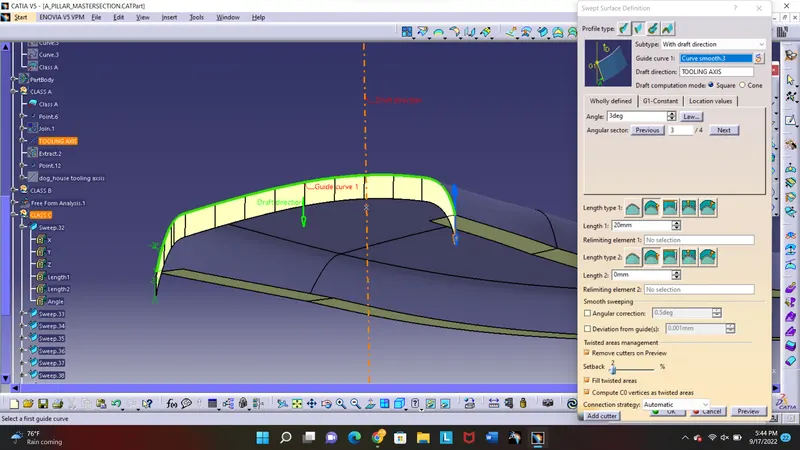
FINAL CLASS C SURFACE.
STEP 5.
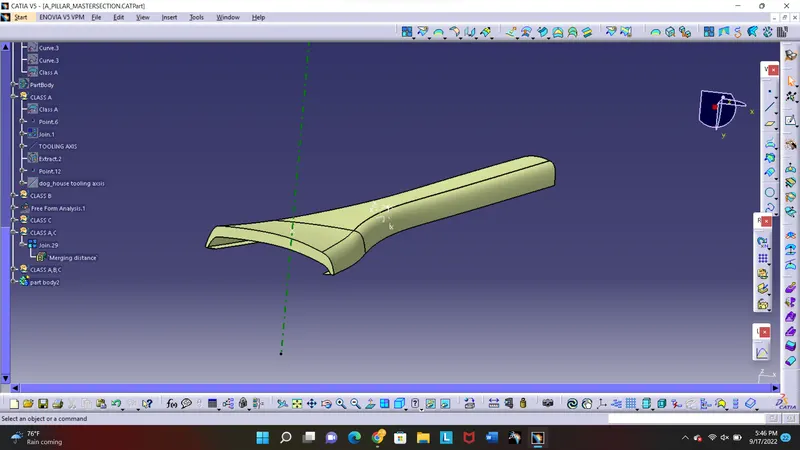
CREATION OF CLASS A,C
STEP 1:- joinin class A and created swep with join command to creat class A,C
STEP 2:- CHECK FO BOUNDARY .
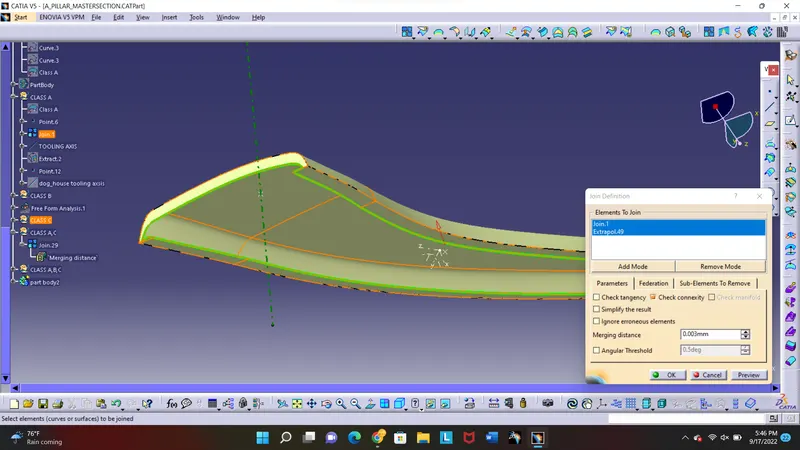
CLASS A,C.
STEP6.
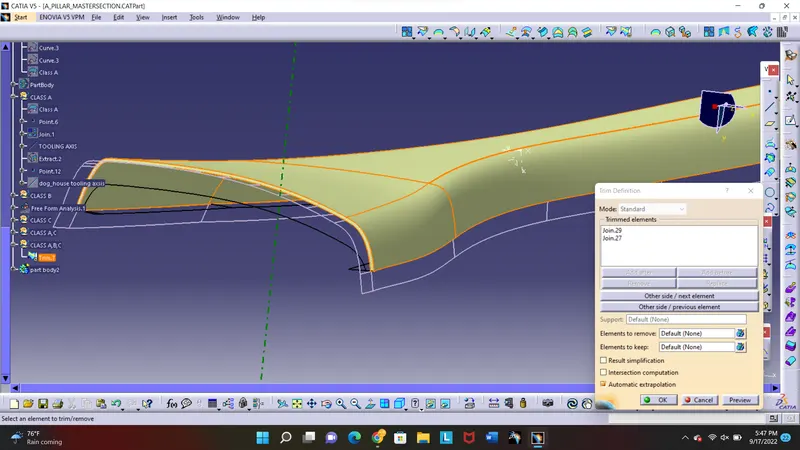
CREATION OF FINAL COMPONANT
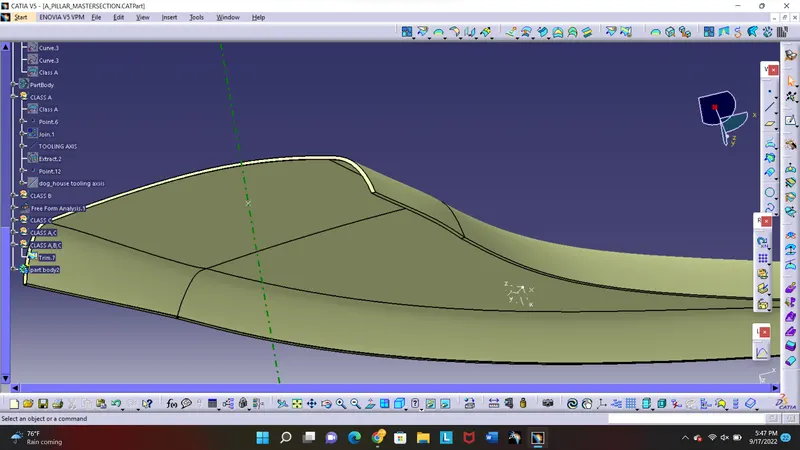
triming class A,C with class B using trim command,
STEP7.
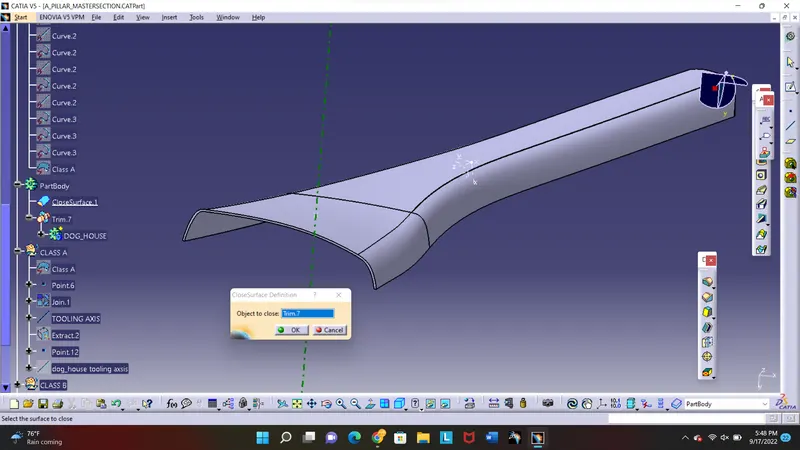
STEP 1:- CREATING FINAL SOLID COMPONANT USING CLOSED BODY METHOD.
 .
.
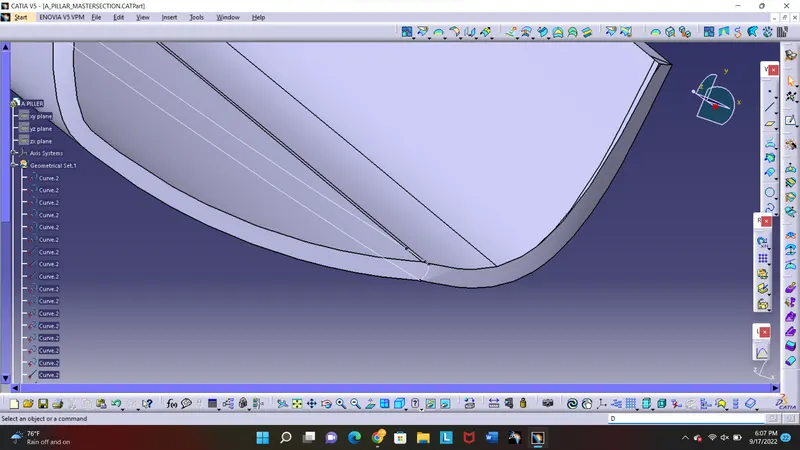
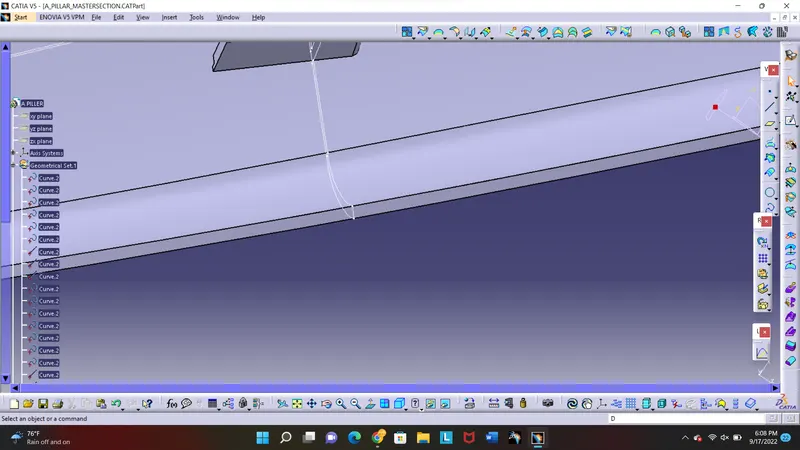
FIG SHOWS THAT DESIGN FOLLOWS MASTER SECTION.
STEP 2:-
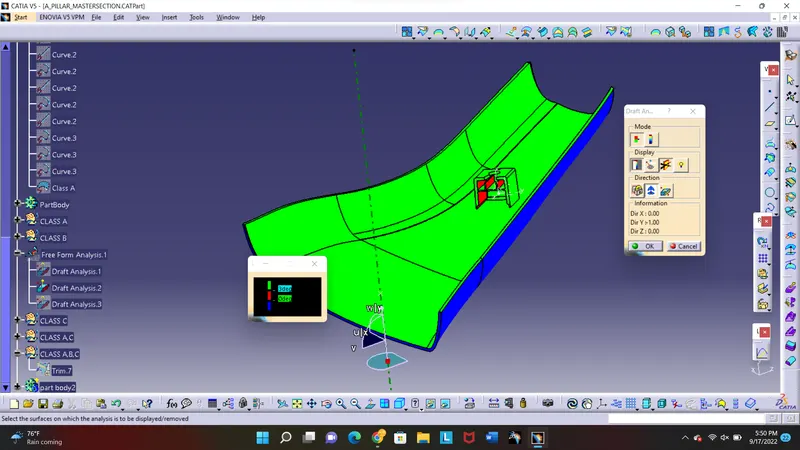
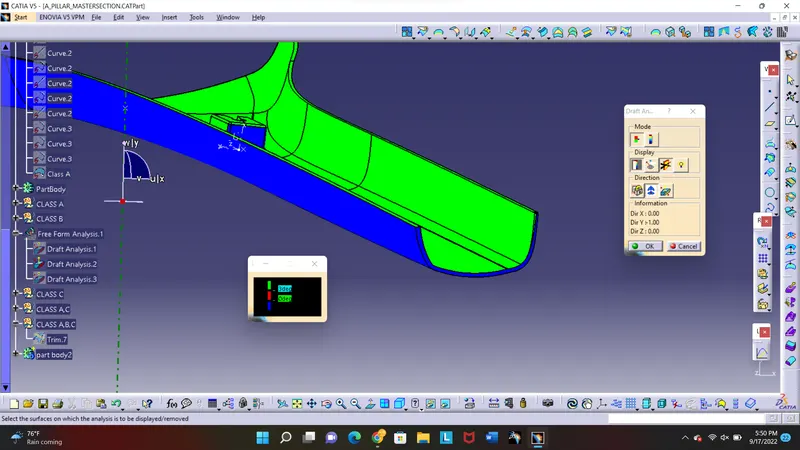
DRAFT ANALYSIS OF FINAL COMPONANT,
3 degree of draft angle on normal tooling axsis shows some edge as negative draft as mentioned in class A draft analysis report ,result is as shown in below fig.
 .
.
AT 3 DEGREE BODY DOES NOT CLEAR DRAFT ANALYSIS, EDGES SHOWS NEGATIVE ANGLE.
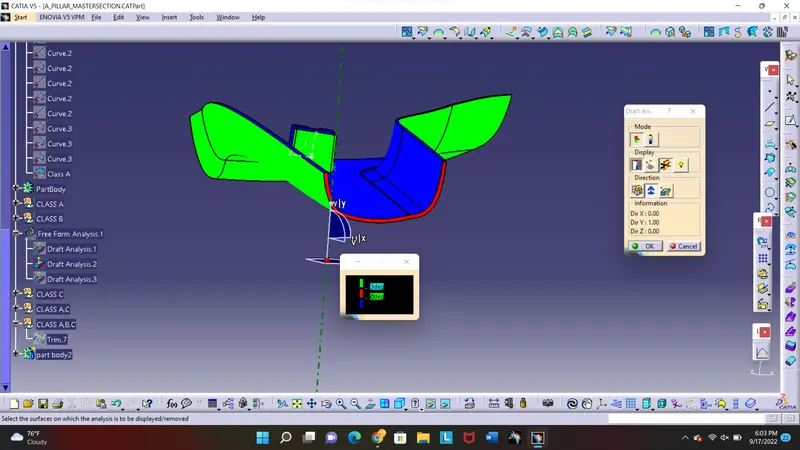
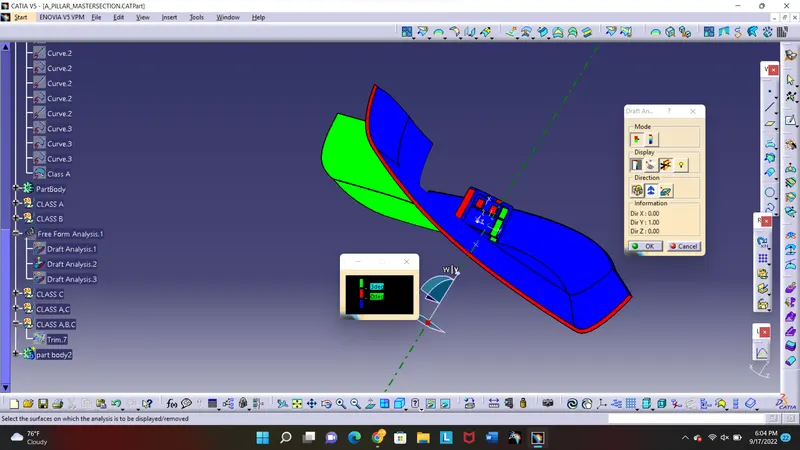
STEP 3:- check for different draft angle ,
in this componant draft angle at 2.9 degree shows following results.
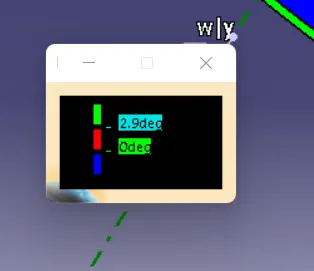
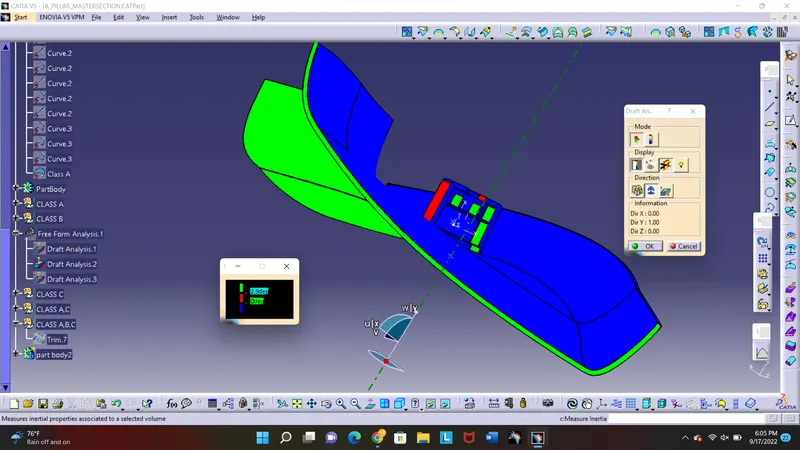
some edges shows red in colour.
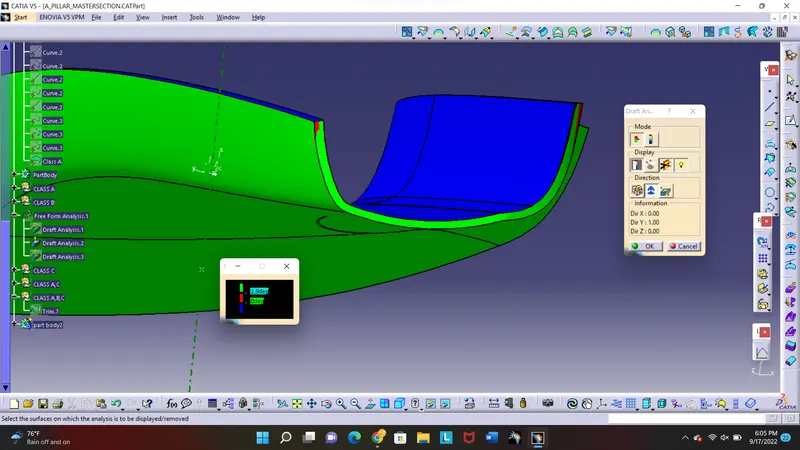
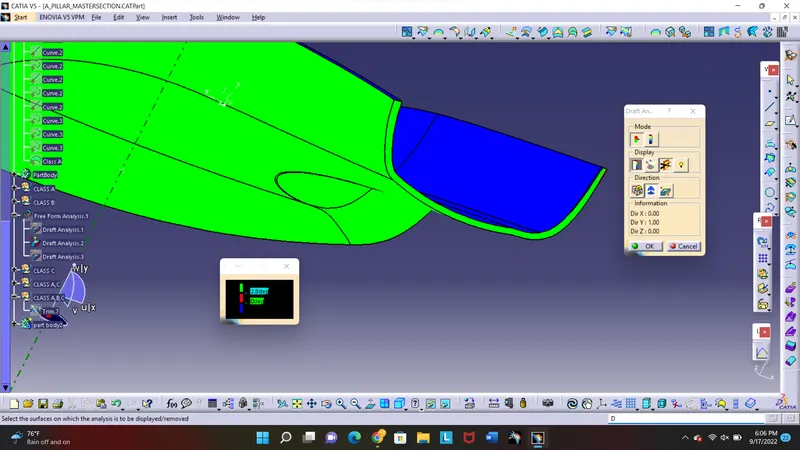
in this componant draft cleared angle at 2.8 degree shows following results.
STEP 8.
CREATION OF DOG_HOUSE FOLLOWING MASTER SECTION.
STEP 1:- unhide master section ,dog_house is created using part body design, creat axsis system in middle of master section.
STEP 2:- insert new body, take draw sketch using dimentions taken from mastersection (FIG 1),draw sketch in perpendicular plane (FIG 2).
STEP3:- use solid combine command to get solid block which follows mastersection (FIG 3). this is outr block.
STEP 4:- insert new body, take draw sketch using dimentions taken from mastersection (FIG 4),draw sketch in perpendicular plane (FIG 5).
STEP 5:- use solid combine command to get solid block which (FIG 6)
STEP 7:-use boolean operation and remove body1 with body2 (FIG 7).
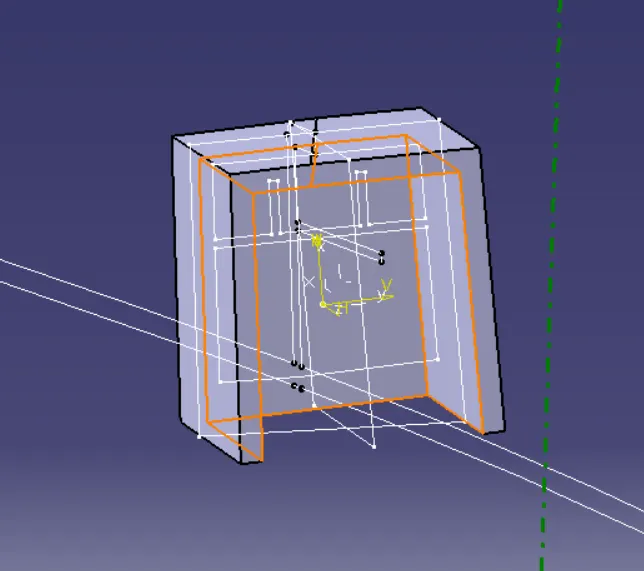
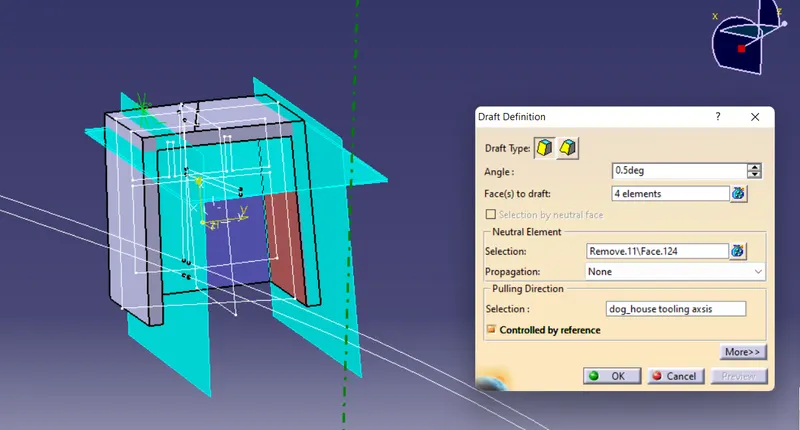
STEP 8:- draft the inner faces with 0.5 degree in dog_house tooling direction shown in (FIG 8).
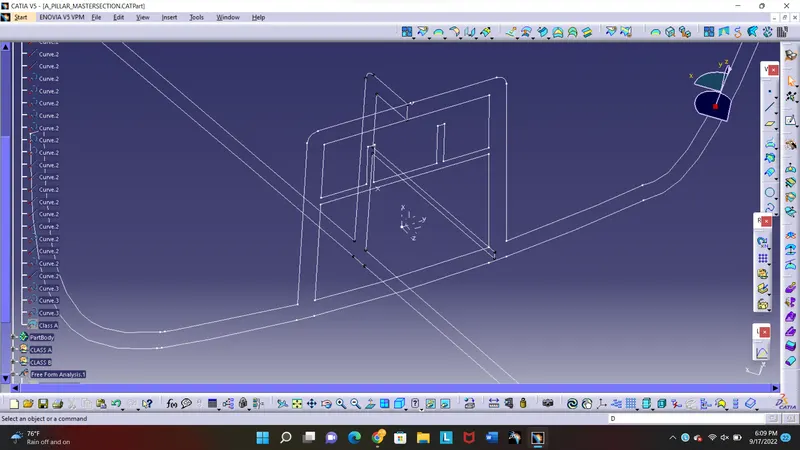
FIG 1. FIG 2.
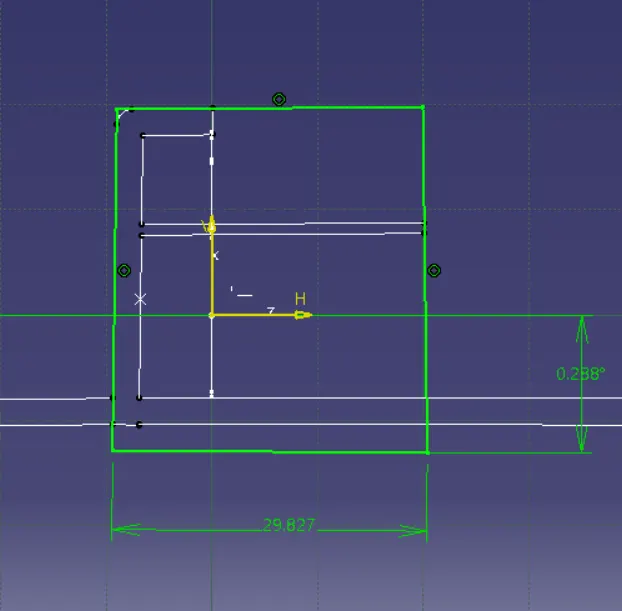
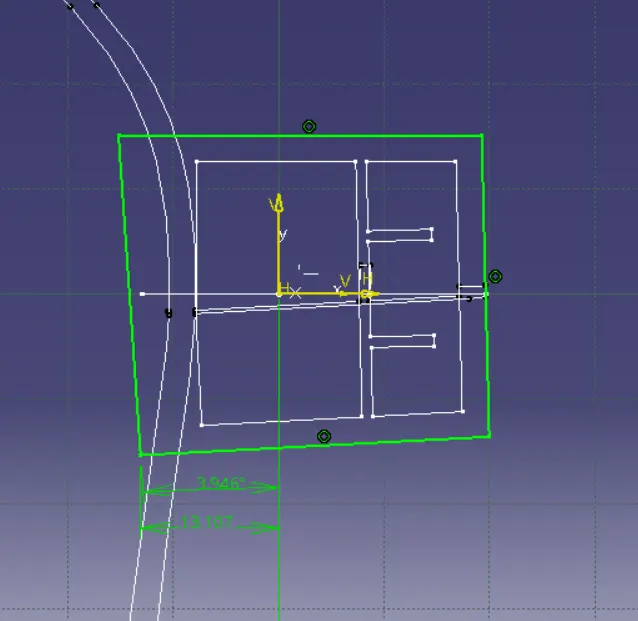
FIG 3.
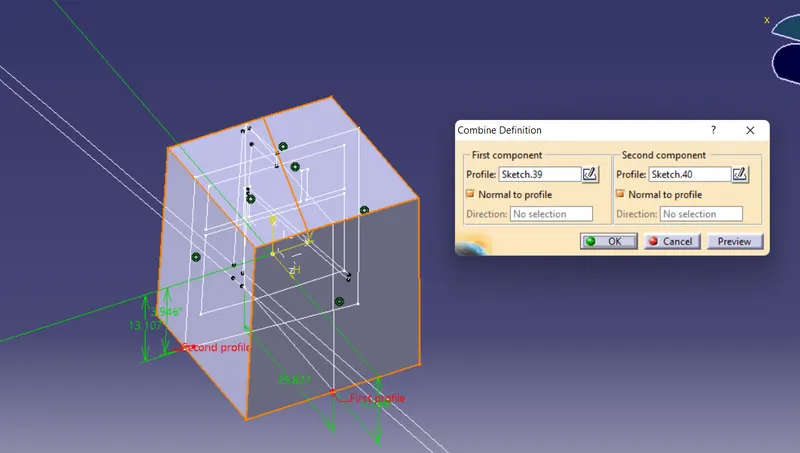
FIG 4. FIG 5. FIG 6.
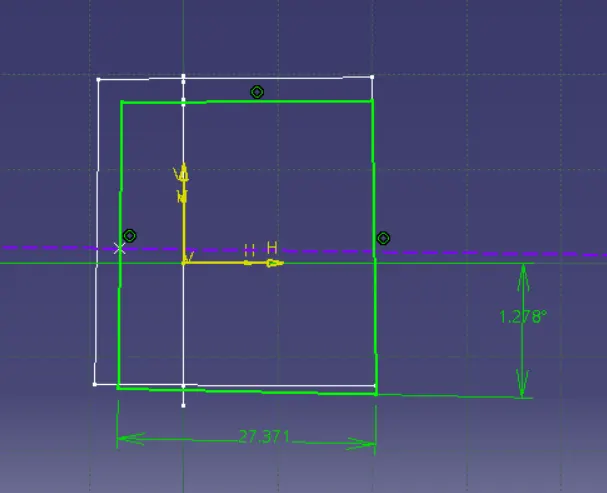
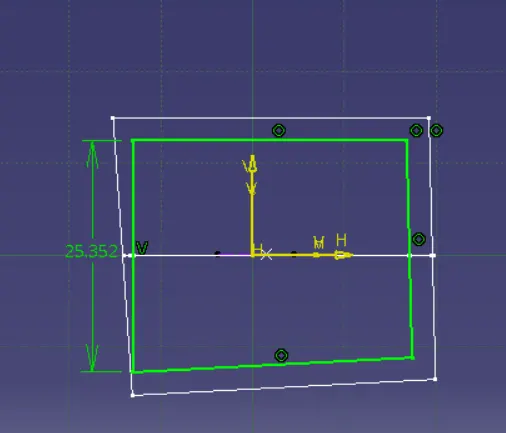
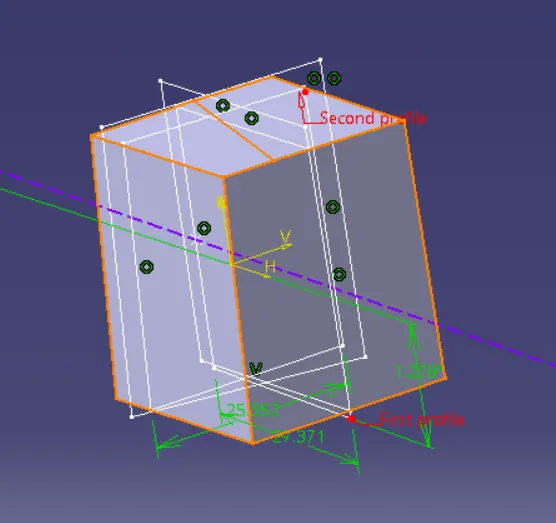
FIG 7. FIG 8.
STEP 9:- insert new body draw sketch of rib refrence to mastersection (FIG 9).
STEP 10:- pad it (FIG 10).
STEP 11:- boolean it using union trim with previous body (FIG 11).
STEP 12:- insert new body draw sketch ( IFG 12)(FIG 13) pad them.
STEP 13:- union trim with fig11, (FIG 14).
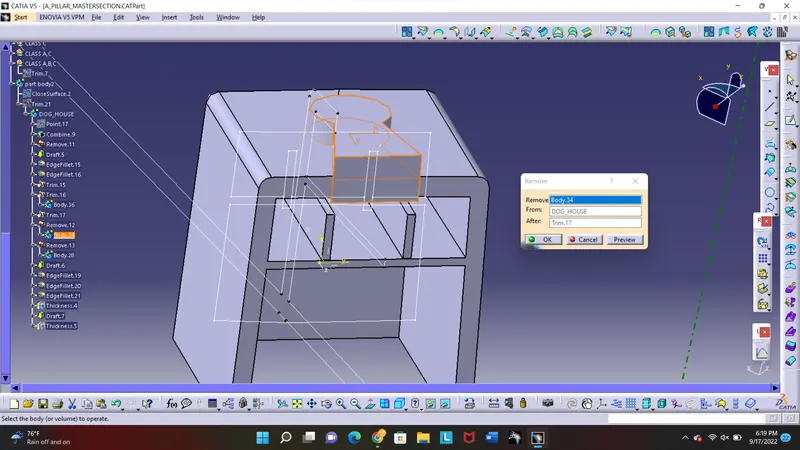
STEP 14:-insert new body draw sketch for upper slot of dog_house (FIG 15).
STEP 15:- pad it and boolean remove it with fig 14, shown in (FIG 15,16,17,18).
FIG 9. FIG 10. FIG 11.
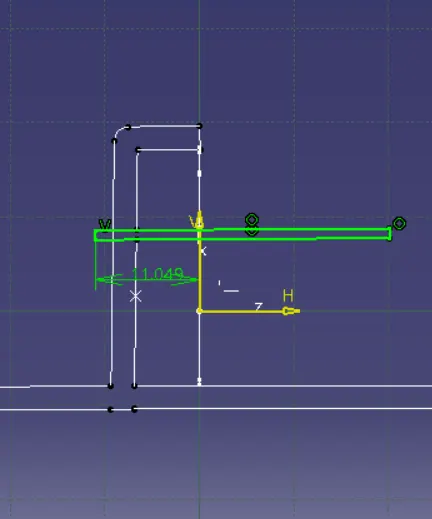
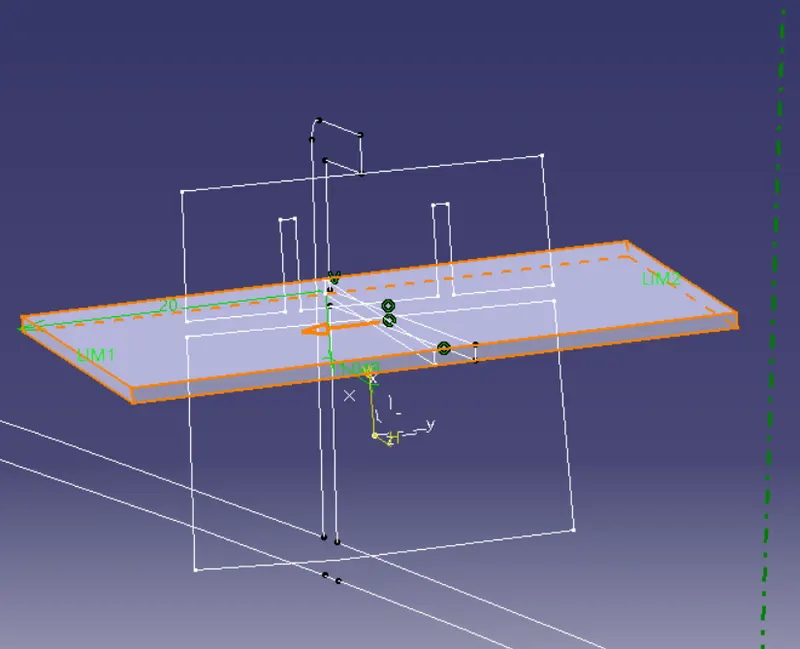
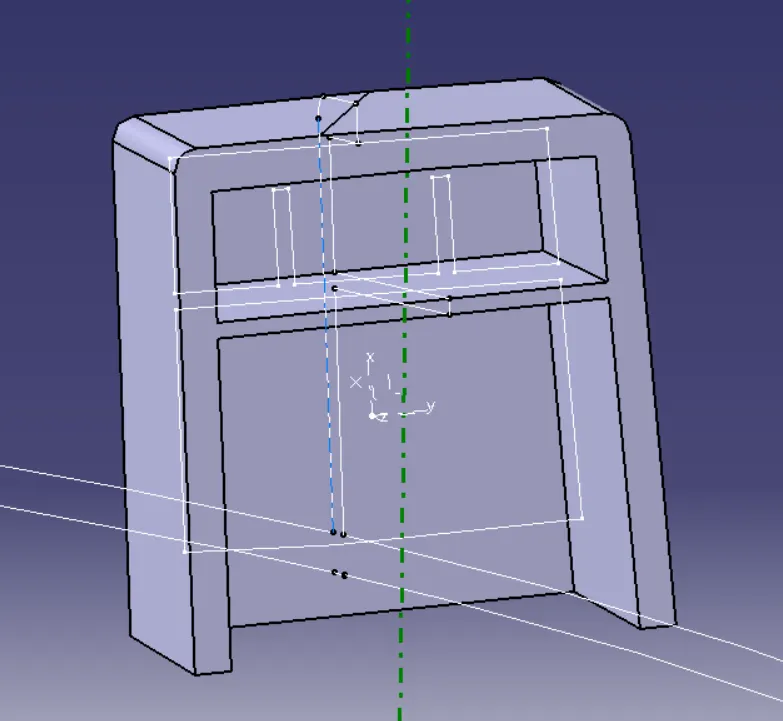
FIG 12. FIG 13. FIG 14.
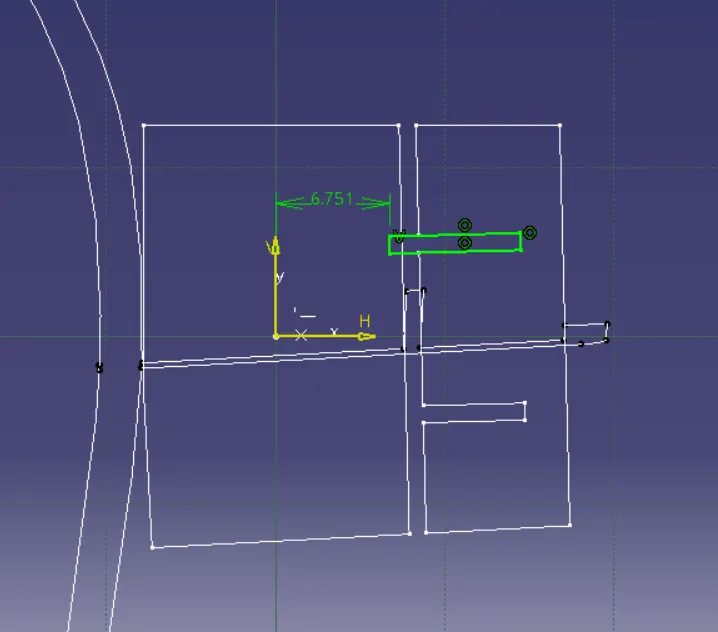
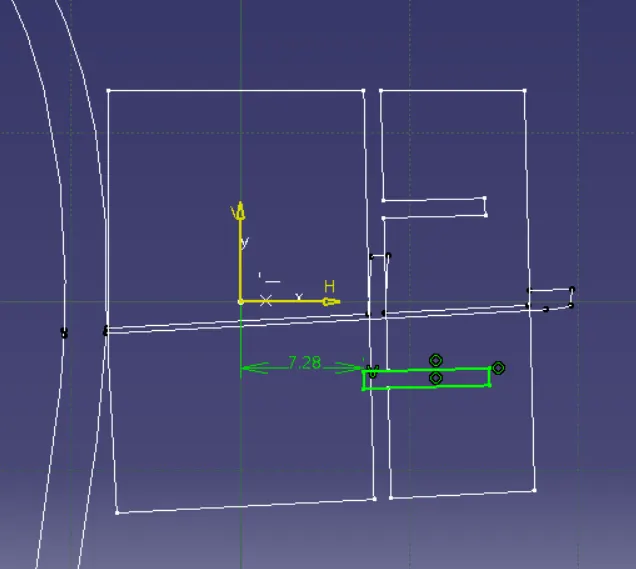
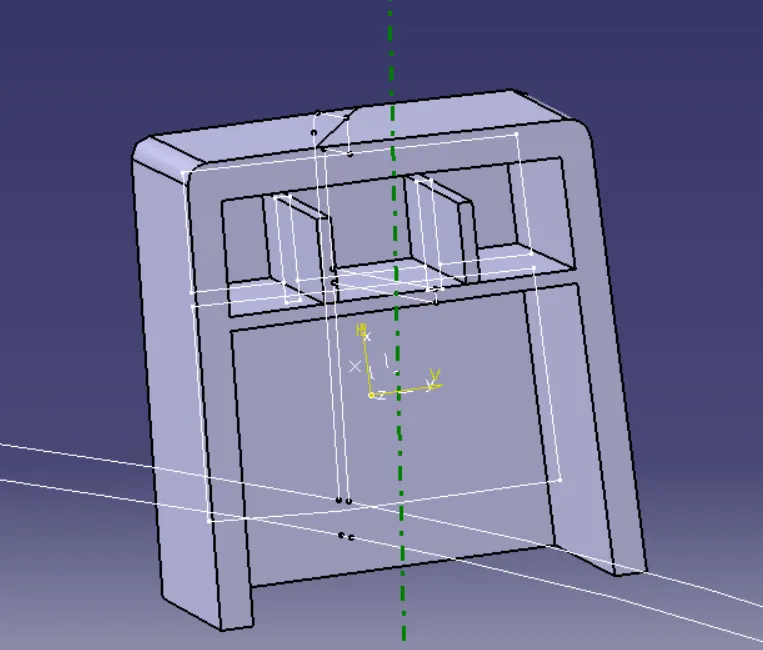
FIG 15. FIG 16.
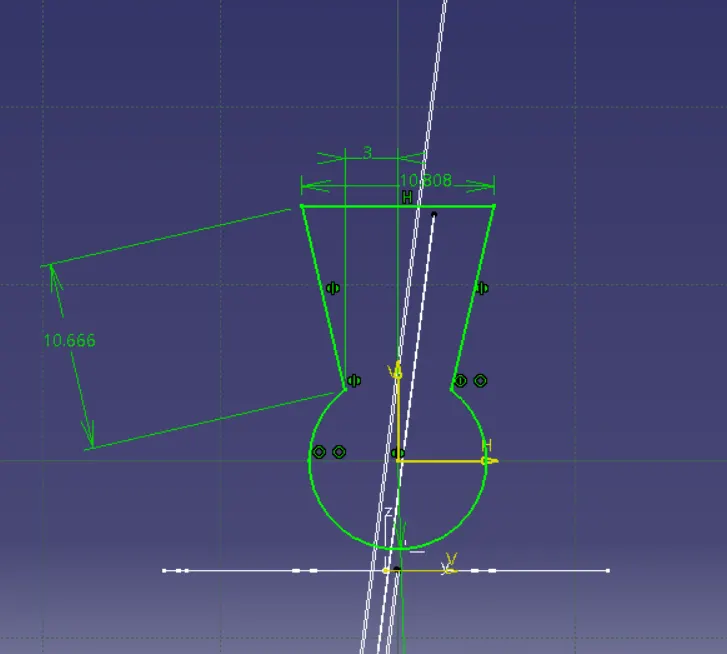
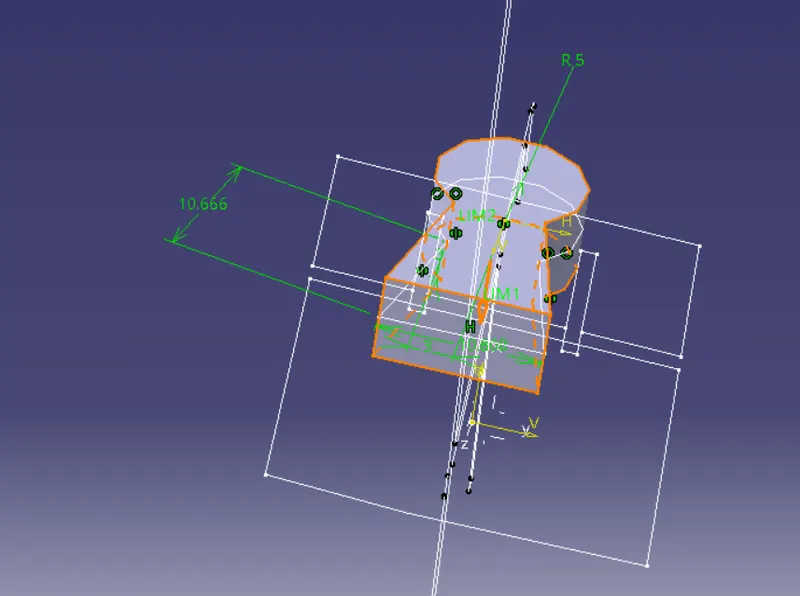
FIG 17. FIG 18.
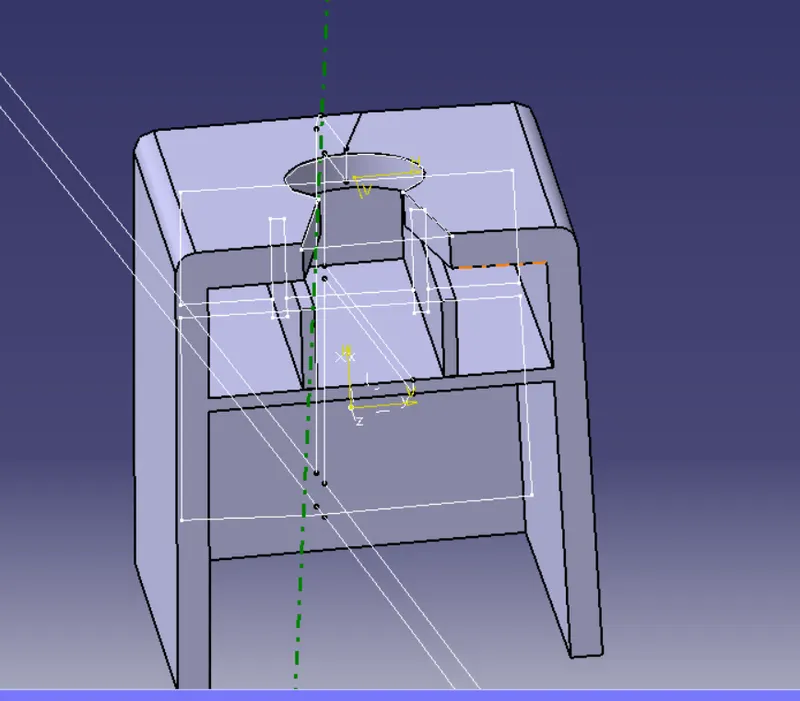
STEP 16:-copy and pest final dog_house to creat new body to work on lower body.
STEP 17:-take plane at distance from main axsis and use split upper body with lower (FIG 20).
STEP 18:- use thickness command to reduce thickness(FIG 21).
STEP 19:- use boolean remove with main body to have lower part(FIG22).
STEP 20:- finally union trim dog_house with closed body (FIG 24).
FIG 19. FIG 20.
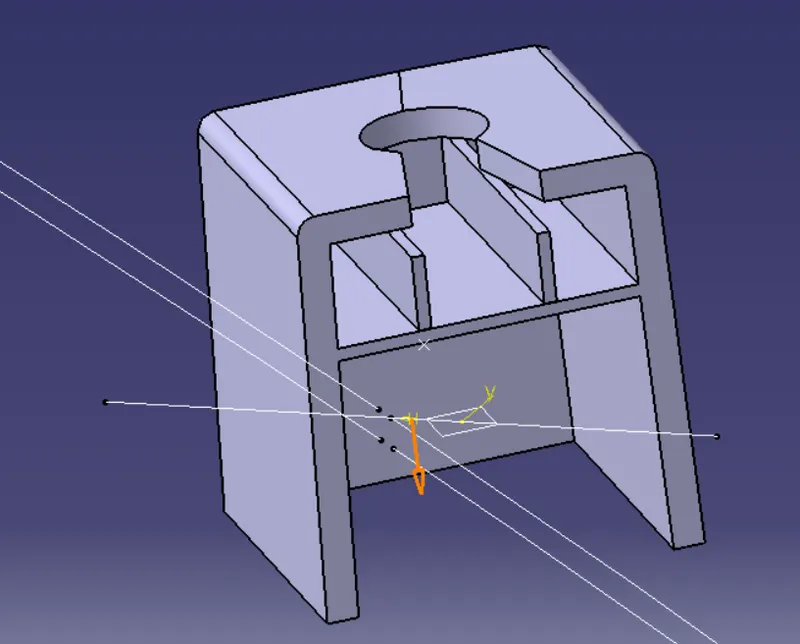
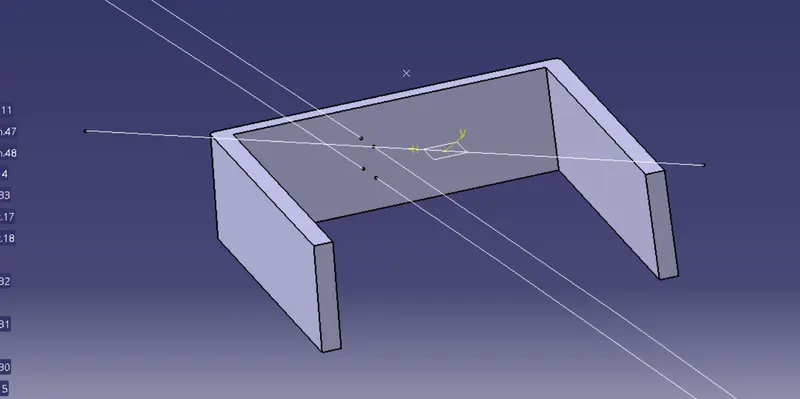
FIG 21.
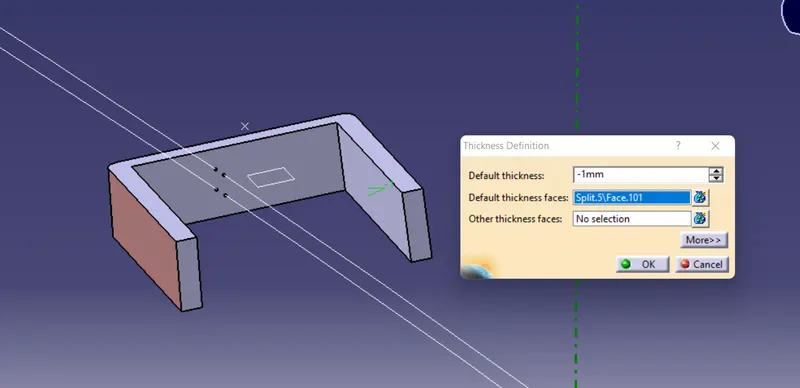
FIG 22. FIG 23. FIG 24.
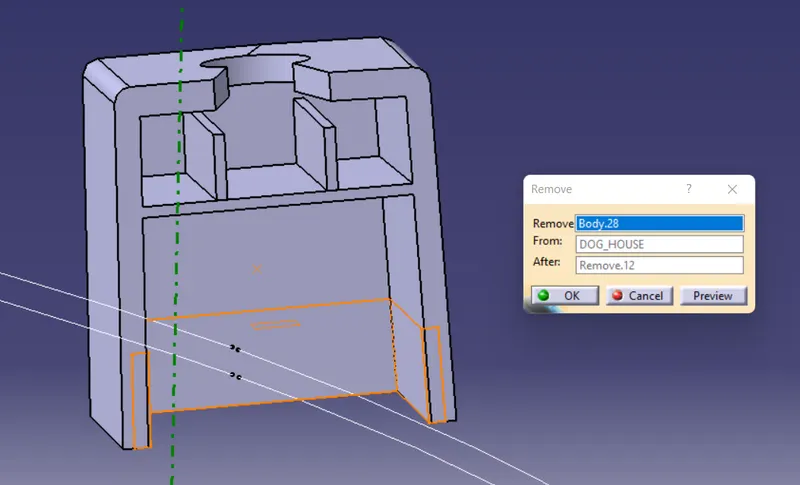
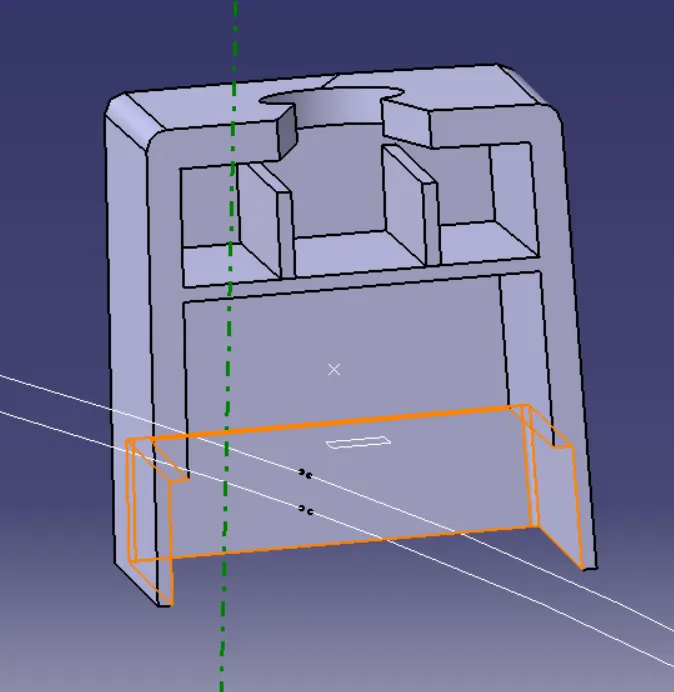
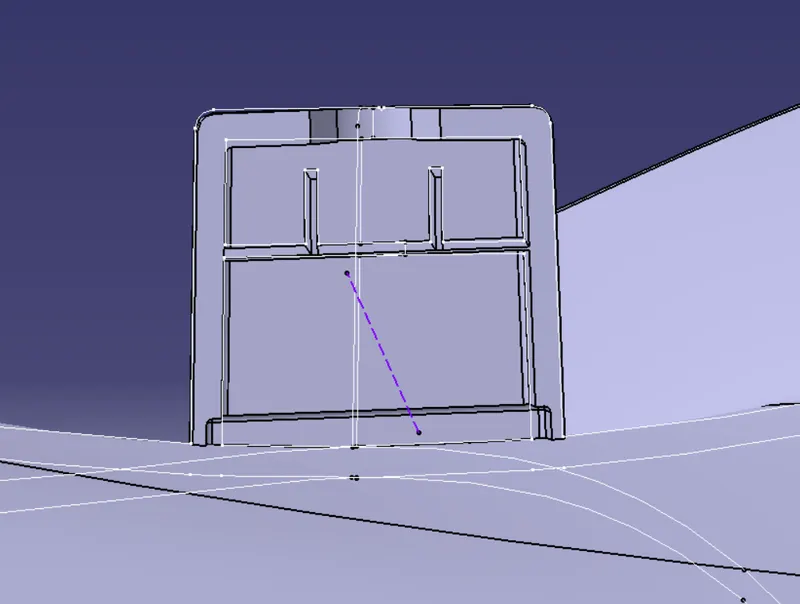
FIG 25.
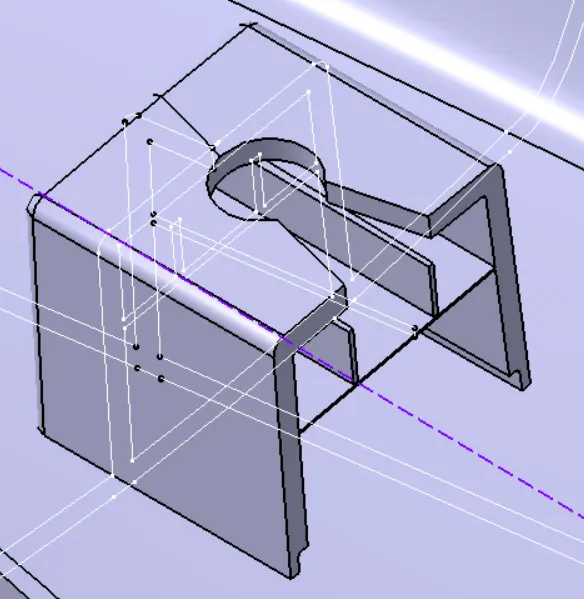
THIS SHOWS DESIGN FOLLOWS MASTERSECTION.
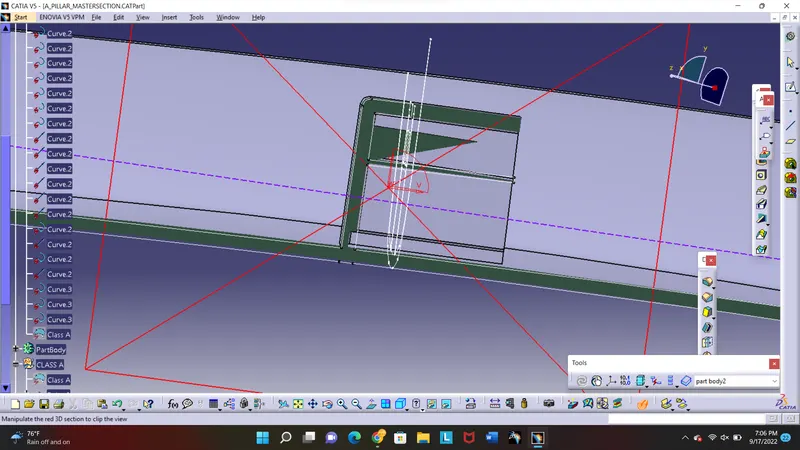
STEP9.
DRAFT ANALYSIS OF DOG_HOUSE.
CREATING SIDE WAY TOOLING AXSIS FOR DOG _HOUSE.
STEP 1:- draw line on point where dog_house is created using point and direction.
STEP 2:- insert draft analysis , place compass on tooling axsis and define the direction, and again place compass on tooling axsis and click on surface, following fig explains the process.
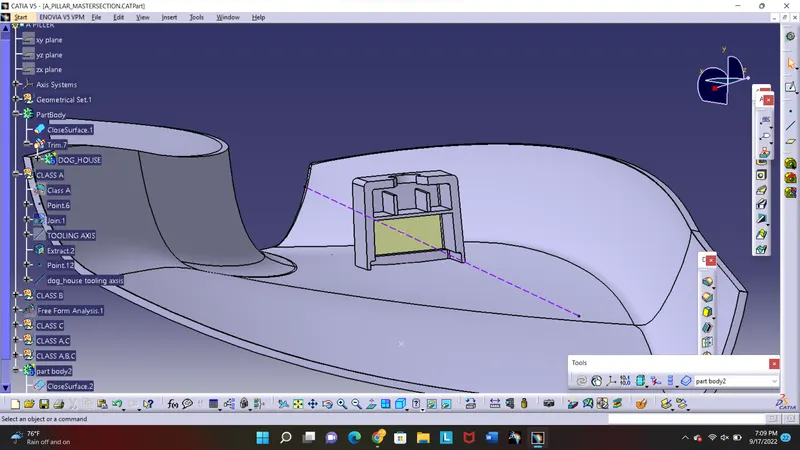
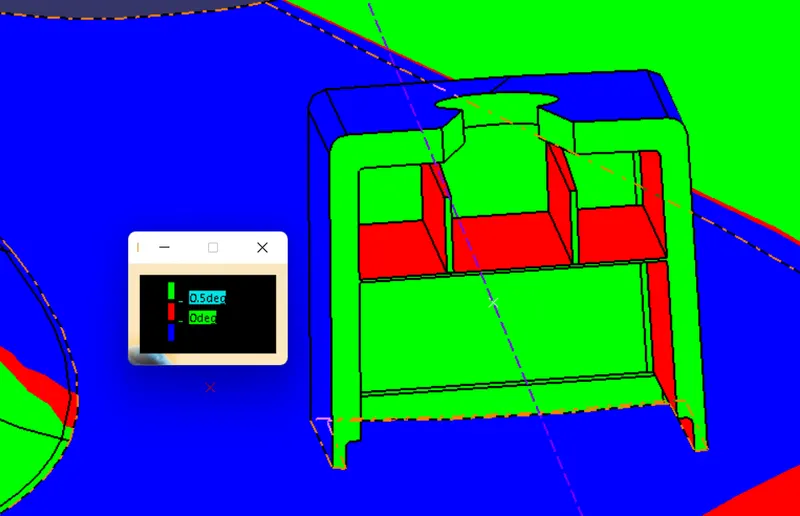
DRAFT RESULT WITH 0.5 DEGREE OF DRAFT ANGLE GIVES NEGATIVE DRAFT .
COMPONANT DOES NOT CLEARS DRAFT .
RED COLOUR SHOWS NEGATIVE DRAFT.
STEP 3:- try changing values .
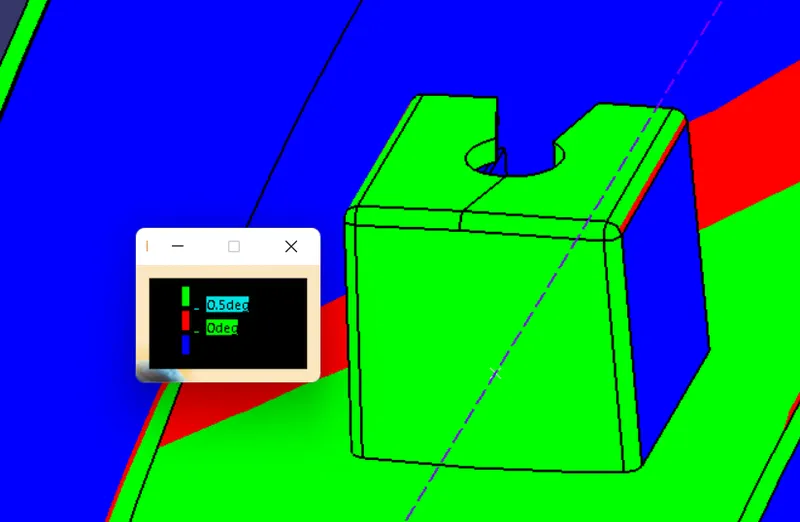
by changing value from 0.5 to 0.4 the componant cleared the draft as shown in fig below.
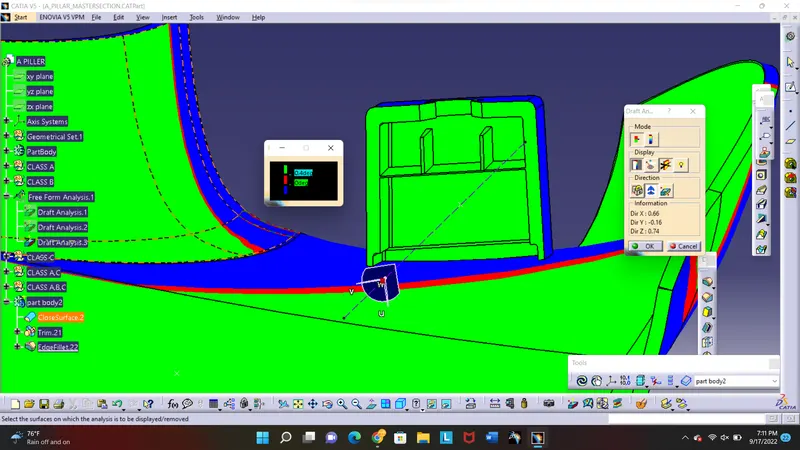
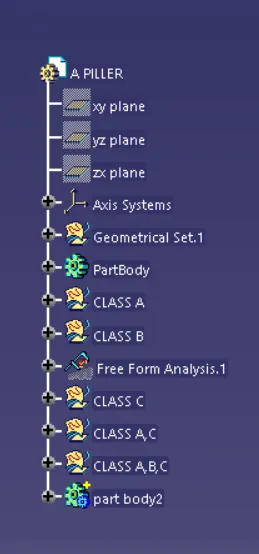
tree structure.
#conclusion:- componant can be manufacture and eject on molding machine.