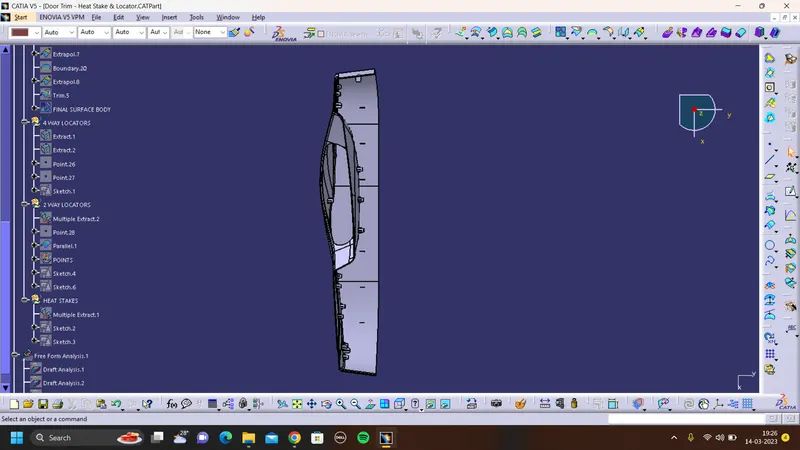
Week 9 - Project_1 - Door Trim Lower with Engineering Features
AIM:
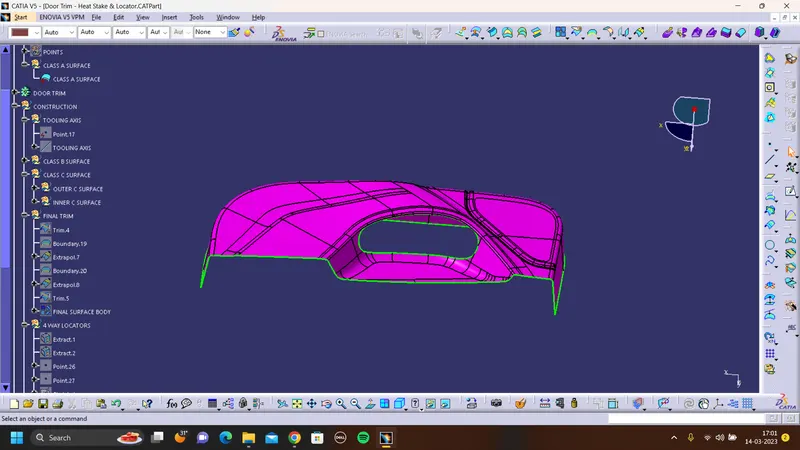
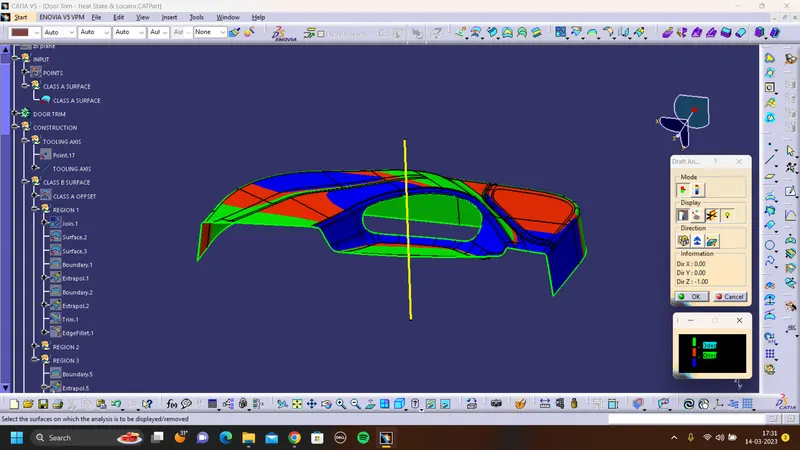
To Create the Door Trim Lower Plastic component through the given Class-A surface. To begin with, the tooling axis for the given Class-A Surface should be created meeting the requirements of the draft angle and at the end perform the Draft analysis on the model.
Class A Surface:
TOOLING DIRECTION:
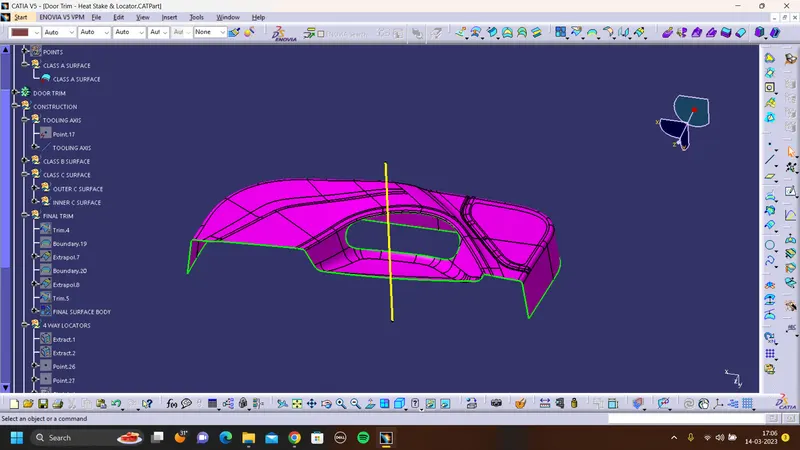
- Select measure inertia tool in toolbar
- create a geomentry
- In creation of geomentry select non associative geomentry
- And then click center of gravity
- A point is created using point draw a line to ZX plane
- so that lie act as Tooling axis.
CLASS B SURFACE:
creating an offset for the entire Class A Surface at a distance of 2.5mm as that is the desired thickness for our final plastic component.
As this is a complex surface hence the offset will fail to offset every element according to our necessity. It'll select some sub-elements that belong to the filleted regions by themselves that we have to remove to get the rest of the surface that is offset.
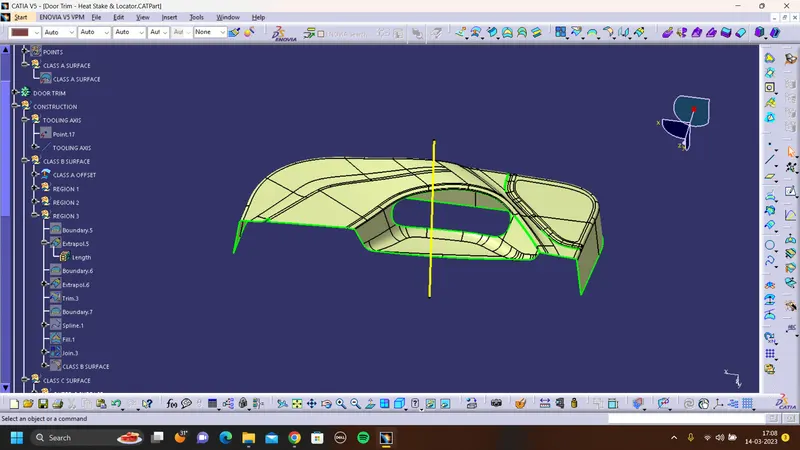
In the above image, CATIA is showing us the filleted regions where these sub-elements are located that are going to be removed after the offset operation.
To fix all these Patches, we will use the JOIN command in which uncheck the CHECK CONNEXIVITY and in SUB-ELEMENTS TO REMOVE option we will select the filleted surface to remove and click OK. We will do the same for all PATCHES REGION.
After removing the filleted surface, we will disassemble the surface body by using the DISASSEMBLE command. Once the 2 surface domain created we will create the BOUNDARY curve for both surfaces.
After creating the boundary curves, we will use EXTRAPOLATE command to extend the surfaces till the intersection then we will use the TRIM command to remove the extra surfaces and they will be joined together automatically.
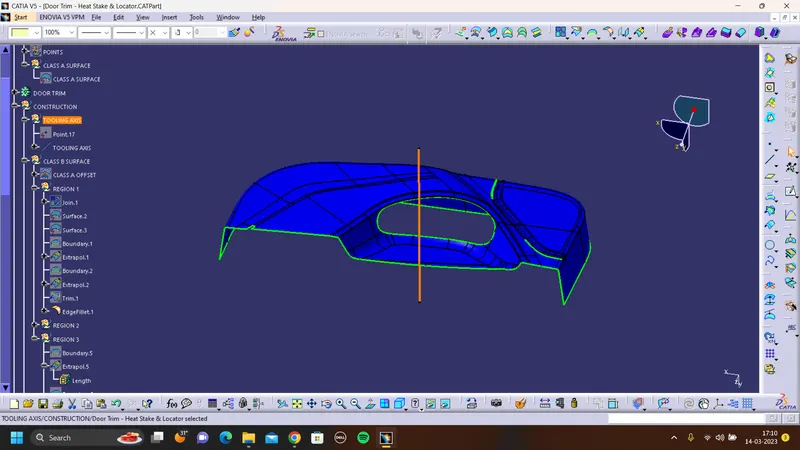
The same procedure is followed for all REGION PATCHES, and the final result is below with no PATCH REGION.
FINAL CLASS B SURFACE:
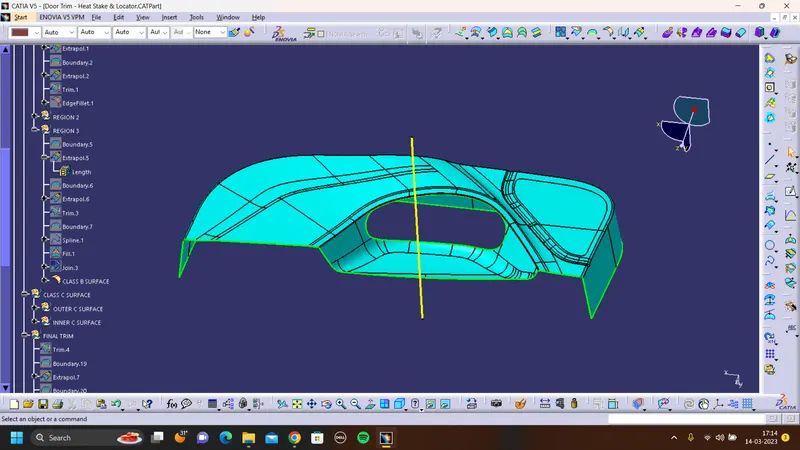
CLASS C SURFACE:
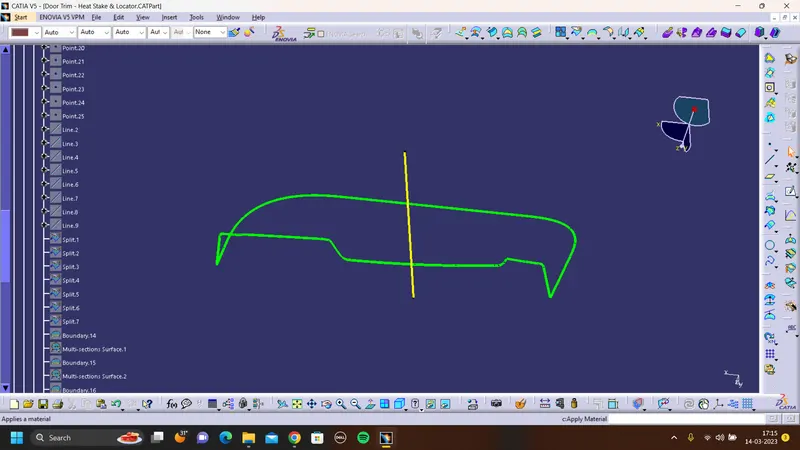
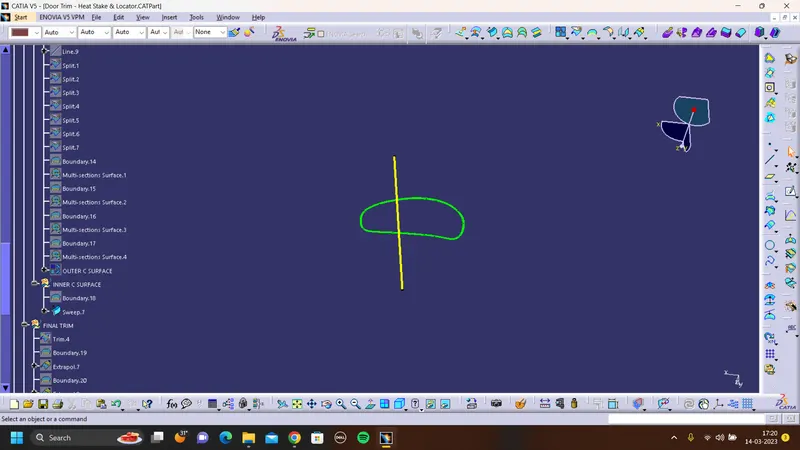
To create the Class C Surface we have to use various commands such as Sweep with Reference Surface and With Draft-Direction depending upon the necessity and at places where it'll be difficult for us to create a surface using Sweep, we'll use Multi-Sections Surface to create those surfaces.
We've to create two Class C Surfaces, one is for the outer surfaces and the other is for the holed region inside the component and both of them are shown below:
Outer Class C Surface:
Inner Class C Surface:
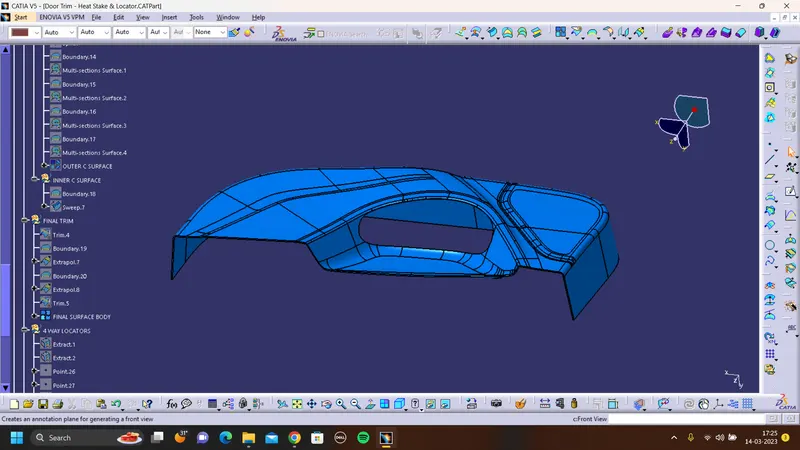
Join the inner and outer class c surface with the class A surface and then check whether there are intersect each other for feasible trim operation if the both are not intersect use extrapolate operation and then check whether it is trim or not once it is trimed the closed body is obtained.
CLOSED SURFACE BODY:
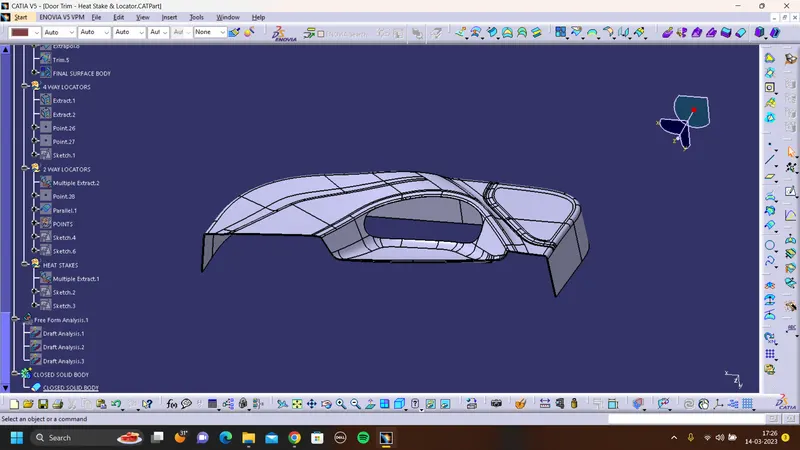
CLOSED SOLID BODY:
DRAFT ANALYSIS FOR THE CLASS A SURFACE:
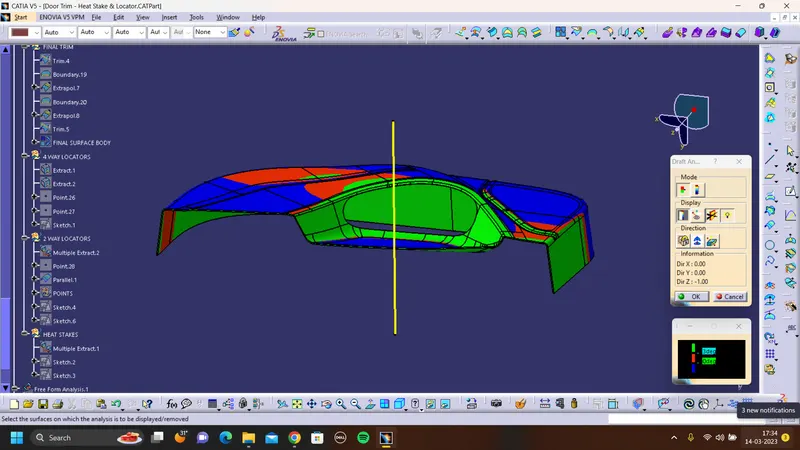
DRAFT ANALYSIS FOR THE SOLID PART:
PROCEDURE TO ADD ENGINEERING FEATURES:
1. LOCATORS
2. HEAT STAKES WITH GUSSETS
USE OF LOCATORS: Any workpiece has 12 degrees of freedom for movement in space that consists of 6 Axial and 6 Radial Degrees of Freedom. All 12 degrees of freedom must be restricted to ensure proper referencing of a workpiece. These 6 Axial Degrees of Freedom permit Straight-Line Movement in both directions along the 3-principle axis shown as X, Y & Z. The Radial Degrees of Freedom permit Rotational Movement, in both Clockwise & Counterclockwise radial directions around the same three axes.
PROCEDURE TO CREATE THE LOCATORS:
To create the points at which we are supposed to create the locator using the reference image provided with the challenge.
create the necessary plane so that we can create a positioned sketch with a projection point for the locator as shown below:
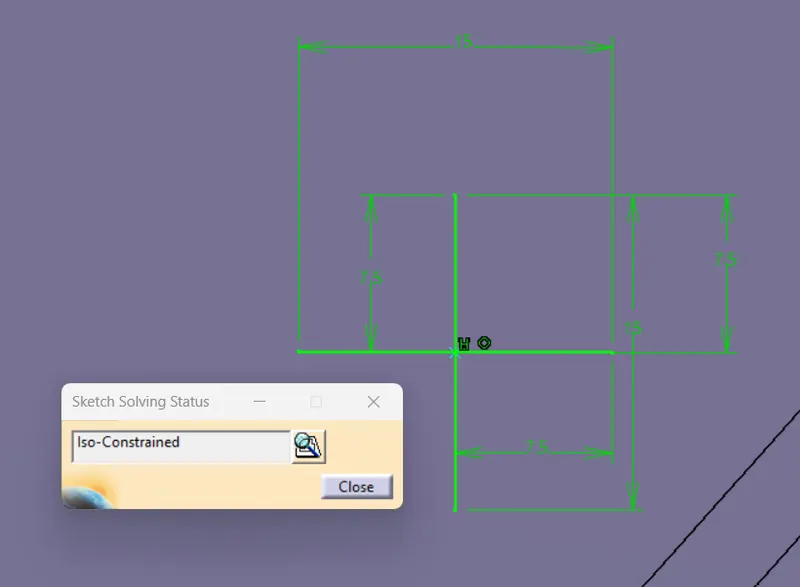
Then, we'll go to the Part Workbench and use the PAD Command to create a Thickened Body with Neutral Fiber. And use Draft, chamfer and fillets to complete the locator.
After providing the draft we'll check the wall thickness at the top section as it should be greater than 0.75mm according to the design rules
Similarly, we'll build the second locator and assemble them both with our plastic component using via Boolean Operation of Union Trim
PROCEDURE TO CREATE THE HEAT STAKES:
To create Heat Stakes at These points were provided with the challenge for the Heat Stakes.
To create Heat stakes use Positioned Sketch
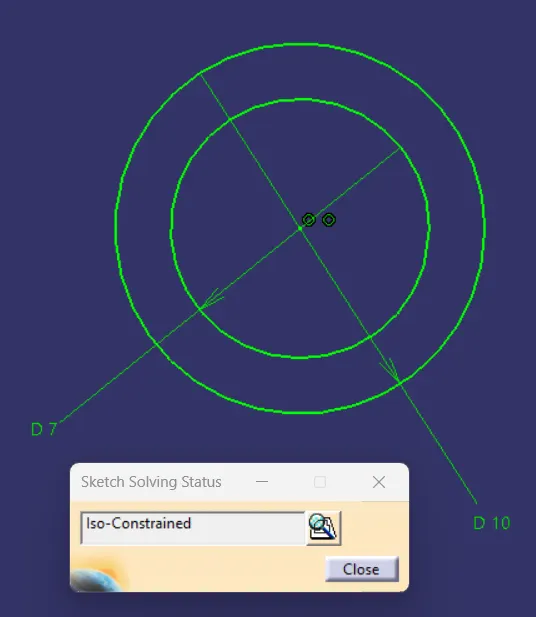
Then, we'll go to the Part Workbench and use the PAD Command to create a Thickened Body with Neutral Fiber. And use Draft, chamfer and fillets to complete the heat stakes.
We'll limit the height of the Heat Stake to 14mm from the surface on which it is created The height of the Locators will be around 20mm so that locators can come in contact with the parent component first and accordingly the heat stakes positions will get located on their own.
PROCEDURE TO CREATE GUSSETS FOR THE HEAT STAKES:
REQUIRED SKETCH FOR GUSSETS:
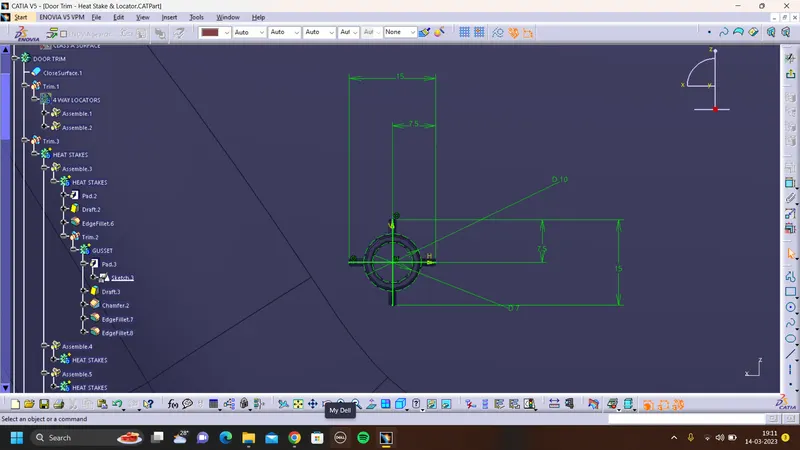
same rib design rules should follow the for Gussets pad, draft, chamfer and fillets are done Similarly, we'll build the other gussets and assemble them with heat stakes using via Boolean Operation of Union Trim Those heat stakes are get trim with the main part body to get complete solid body required.
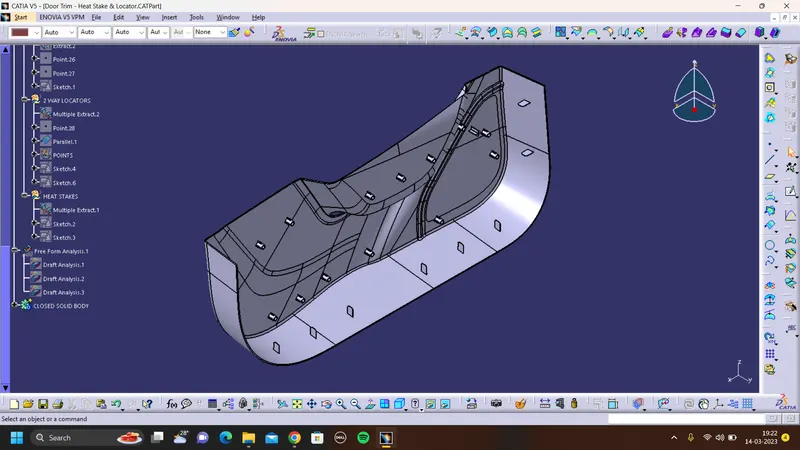
FINAL PLASTIC COMPONENT WITH ALL THE NECESSARY ENGINEERING FEATURES:
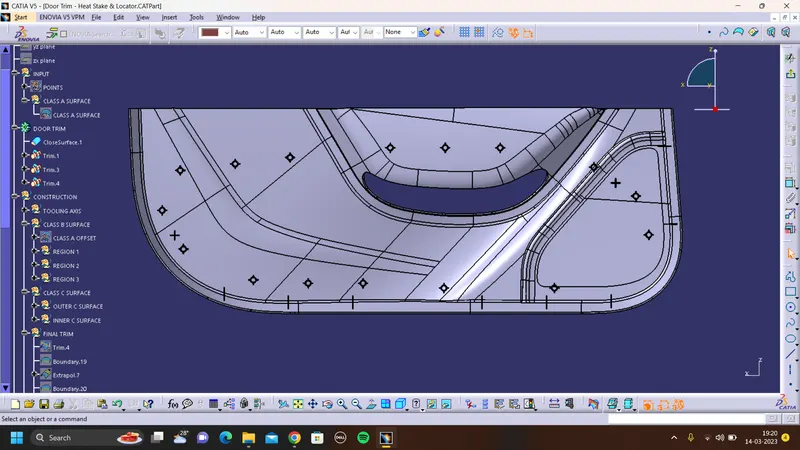
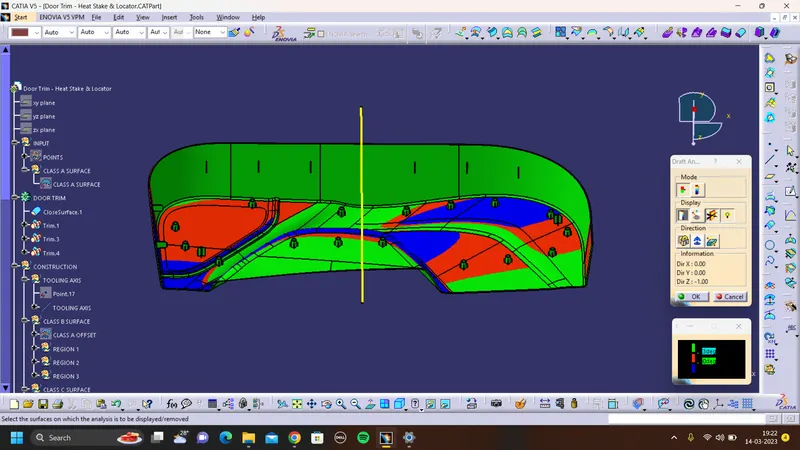
DRAFT ANALYSIS ON THE ENGINEERING FEATURES:
ISOMETRIC VIEW:
FRONT VIEW:
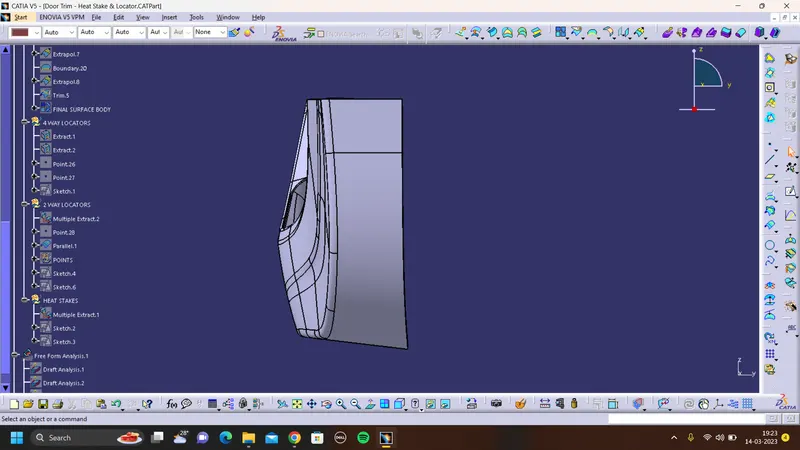
SIDE VIEW:
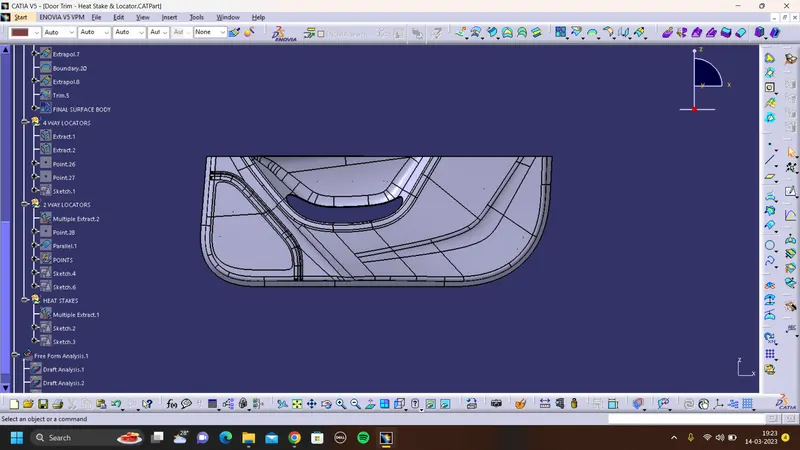
TOP VIEW: