Week 9-Creation of 1D Connectors Challenge
Q1. For this challenge, you will have to mesh the given geometry. Provided below are the quality parameters that you have to follow.
Target Element size - 5 Units
|
S.N |
Quality Criteria |
Value |
|
1 |
Aspect Ratio |
5 |
|
2 |
Skewness |
45 |
|
3 |
Warping |
15 |
|
4 |
Taper |
0.5 |
|
5 |
Min. Length |
2 Units |
|
6 |
Max. Length |
8 Units |
|
7 |
Min angle Quad |
45 |
|
8 |
Max angle Quad |
135 |
|
9 |
Min angle Tria |
30 |
|
10 |
Max angle Tria |
110 |
|
10 |
Tria % |
15 |
Solution
First Import the file by going to file-import-model(or other according to file type)-select file-import
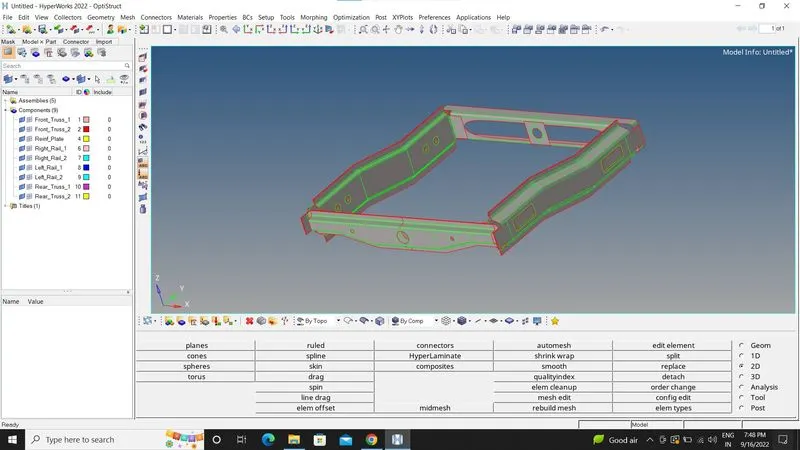
Then check for any geometrical errors
If there is any use quick edit option to solve those errors
Now move on to meshing
Before meshing ,set criteria settings by going to preference-criteria file settings
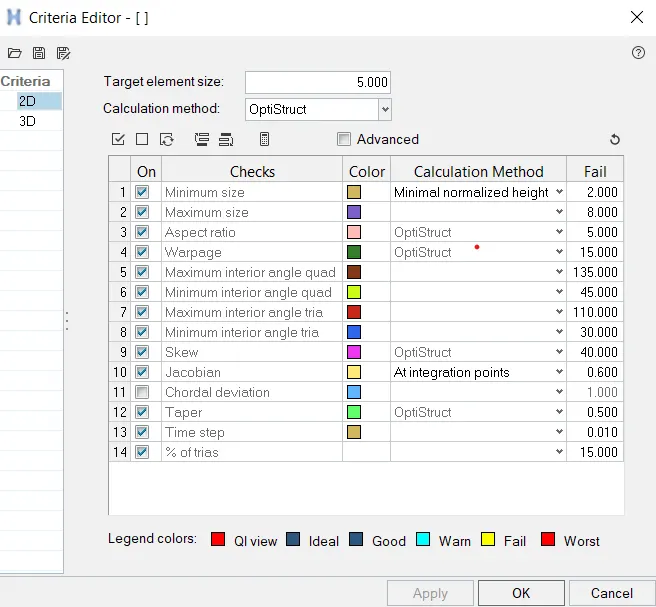
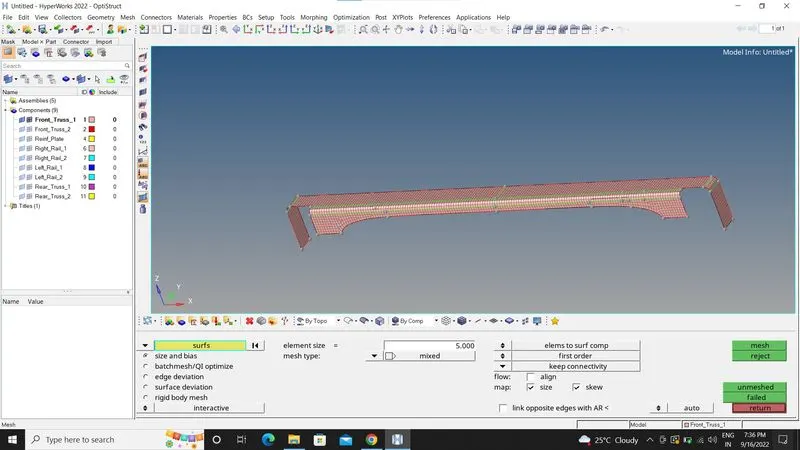
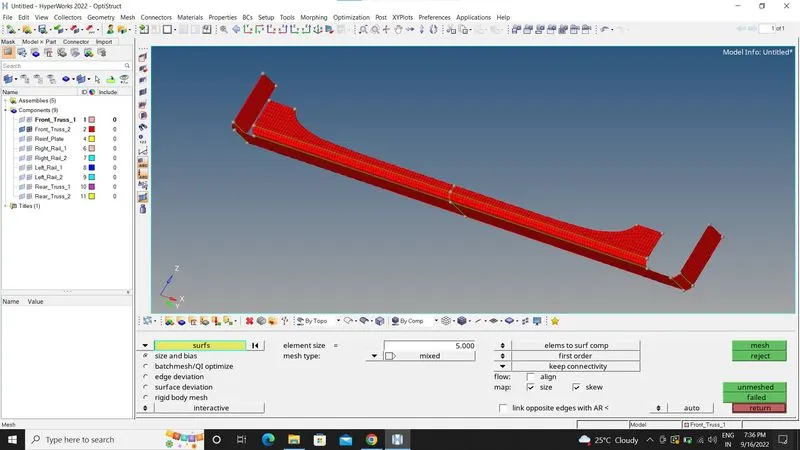
Now start meshing by going to 2D-Automesh-select surf-mesh
There are Nine Components here and do the meshing one by one
1.Front truss1
2.Front truss 2
3.Reinf plate
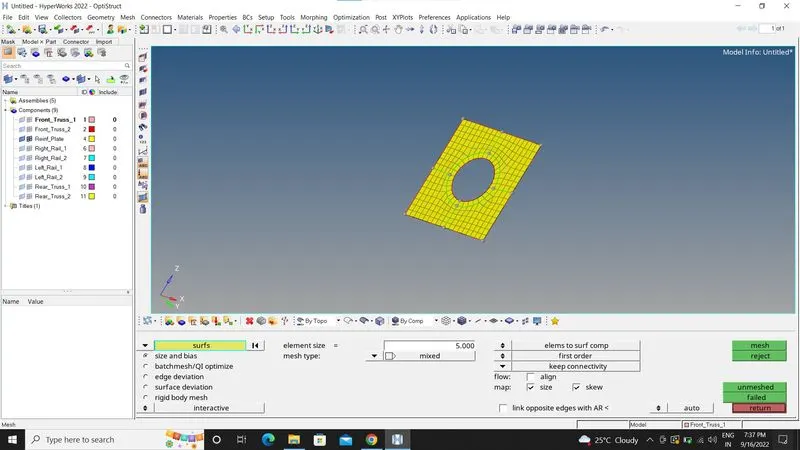
4.Right Rail 1
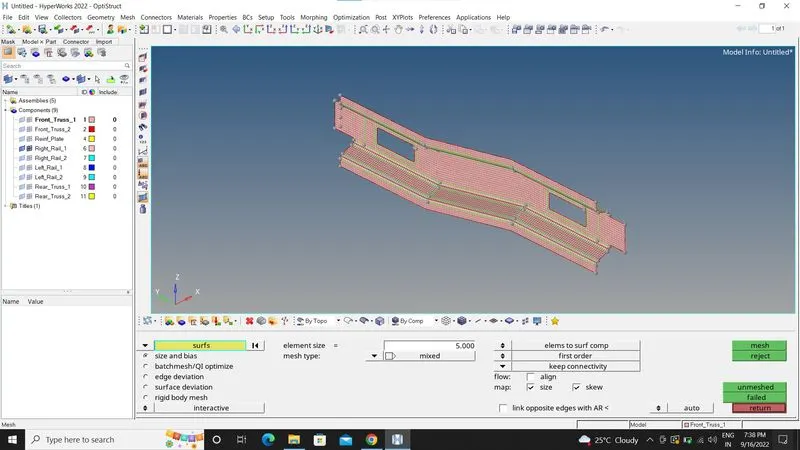
5.Right Rail 2
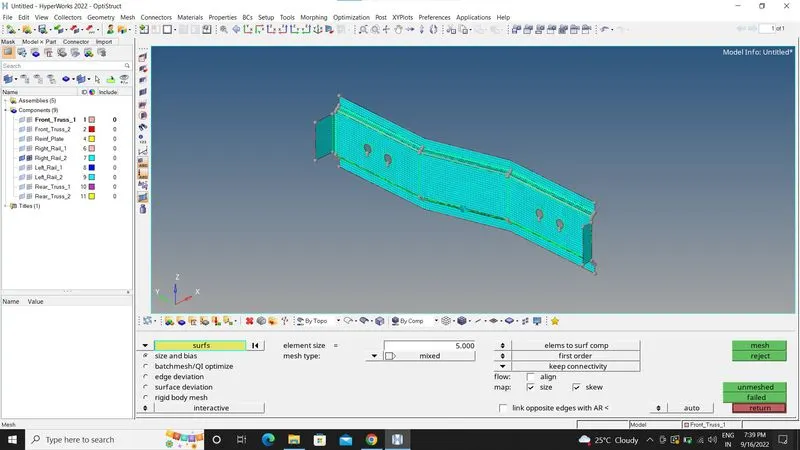
6.Left Rail 1
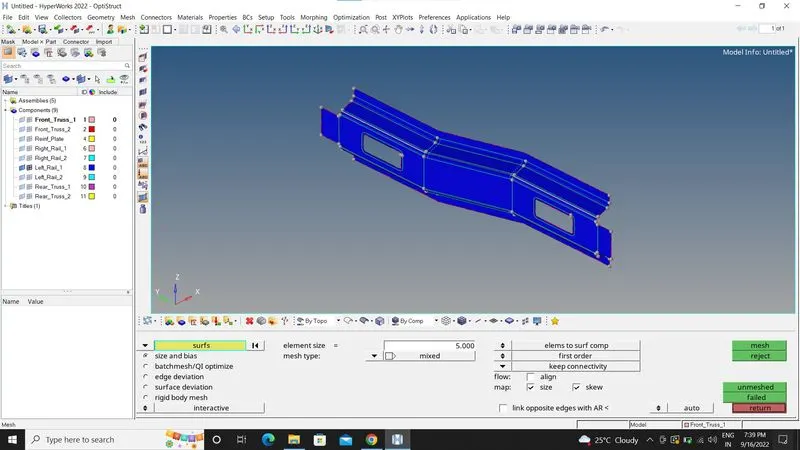
7.Left Rail 2
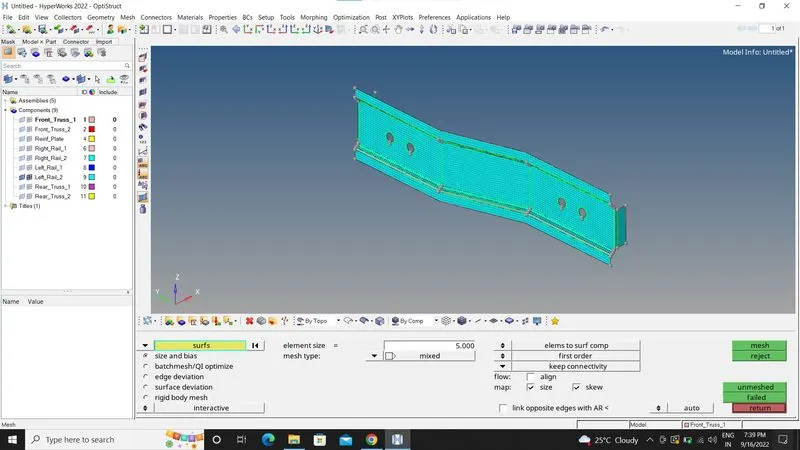
8.Rear Truss 1
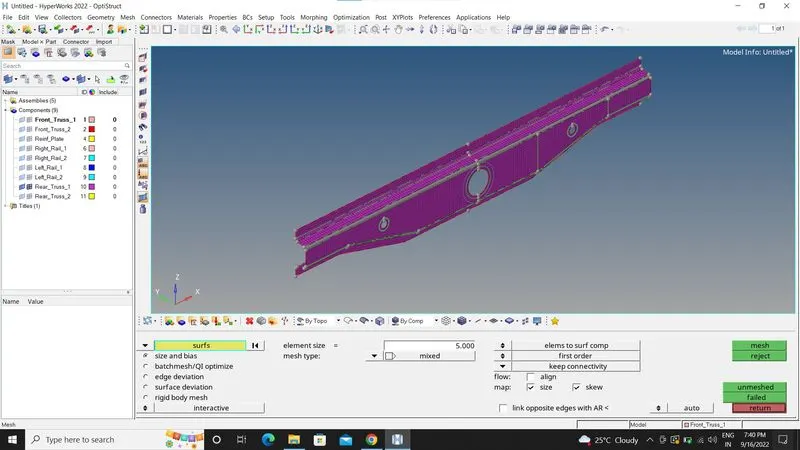
9.Rear Truss 2
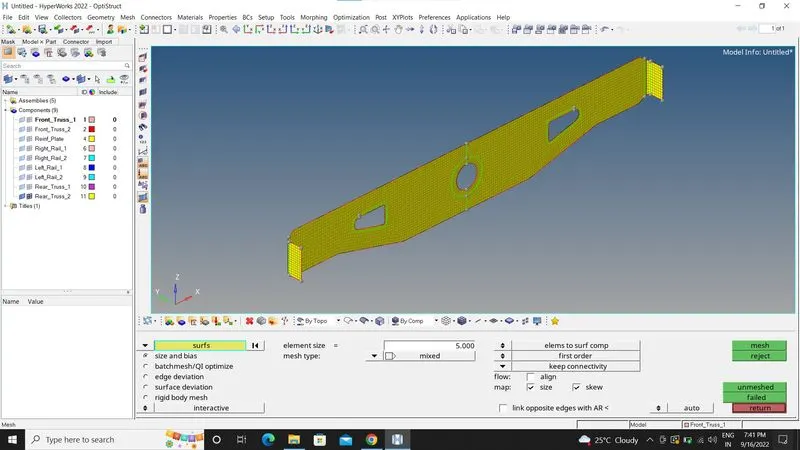
#Now Assign Thickness
To Assign thickness , create Material by right click and create Material and select the material you want
Now create Property by right click and create property-then select property and new dialog box will appear
then give thickness and then after that assign it to all components.
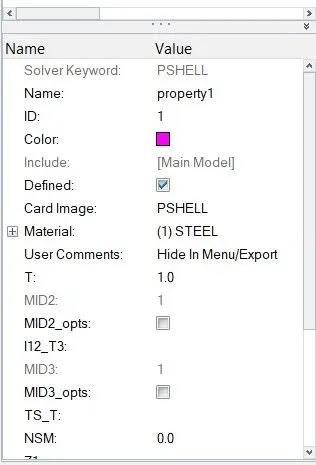
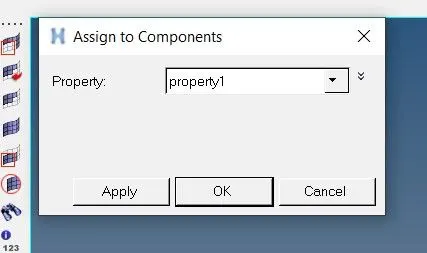
property card Assign the property by right clicking on component and assign the property
After giving thickness and viewing in 2D detailed element representation
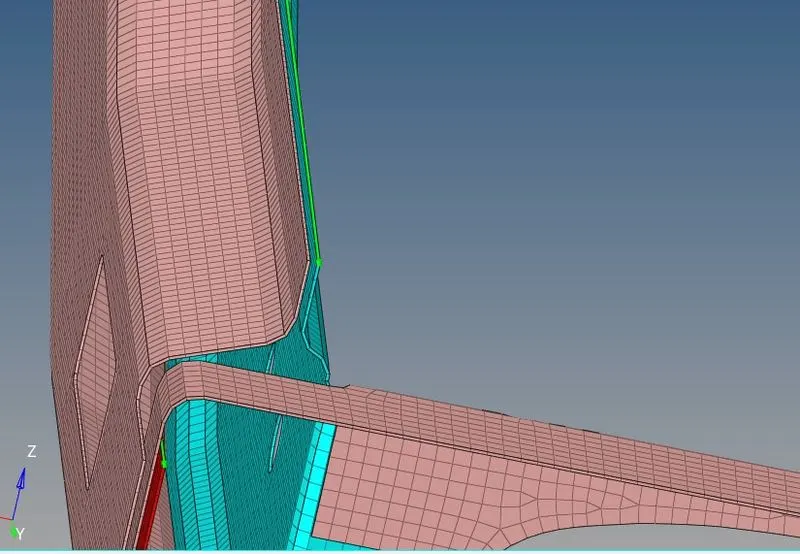
#Creation of 1D Connectors
1.Right_Rail_2 & Front_truss_1:- Seam-Quad(angled+capped+L)
To use connectors first go to 1D-Connectors -select the connector you want (here i have selected seam)-then click
on type to use from the following connections.
Give spacing 5,give tolerance 10 and give weld angle and other things as per the requiremnents.


Now select nodes and components
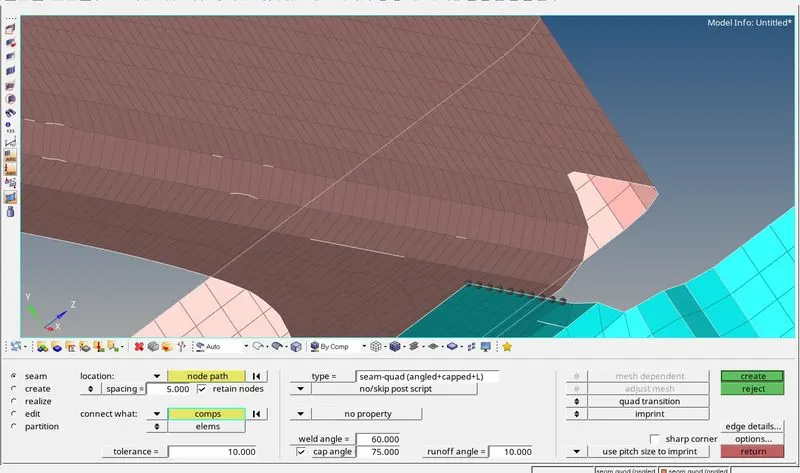
Now, click on create
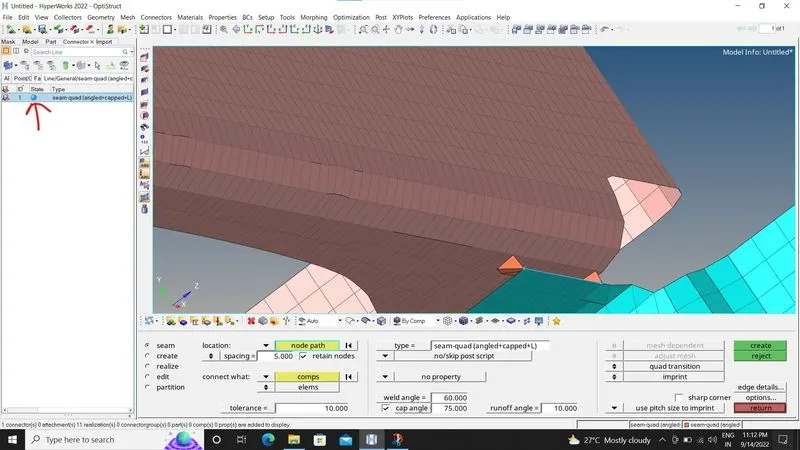
It is done but not Realised,so right click and click on Realise and then blue mark will turn to green
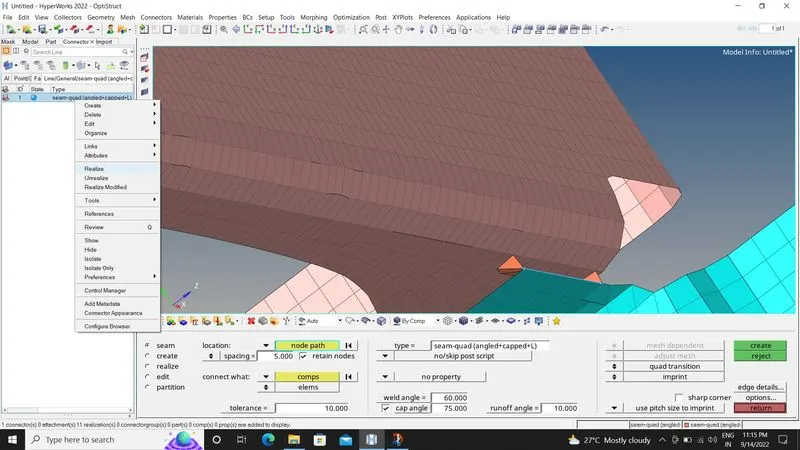
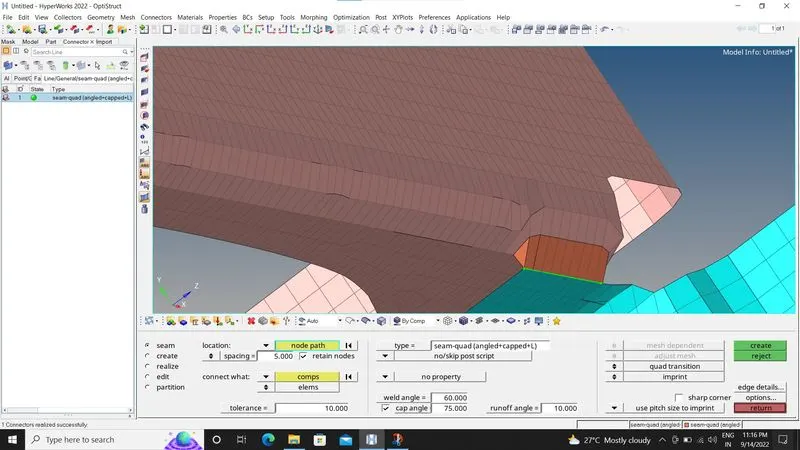
Now,It is Realised
2. Left_Rail_2 & Front_truss_1:- Quad elements
To use connectors first go to 1D-Connectors -select the connector you want (here i have selected seam)-then click
on type to use from the following connections.

Now select nodes and components
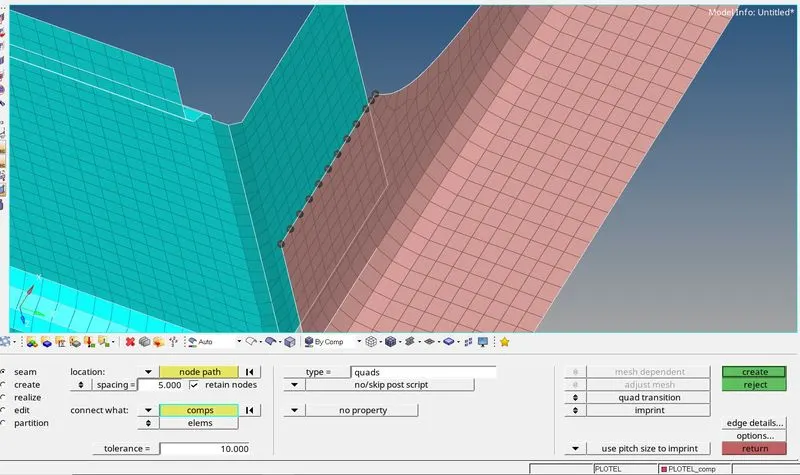
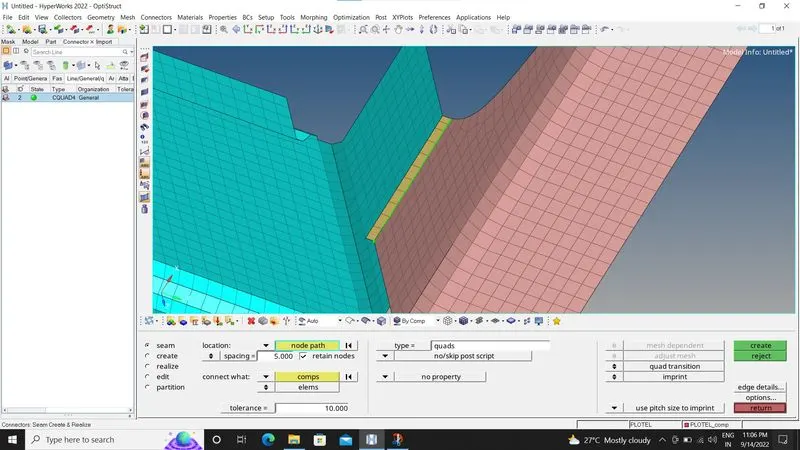
Done.
3. Front_truss_2, Front_truss_1 & Right_Rail_1:- Spot weld with 2 Layers and 5 mm Diameter
To use connectors first go to 1D-Connectors -select the connector you want (here i have selected Spot)-then click
on type to use from the following connections.

First I have spot weld the Front_Truss_2 and Front_Truss_1 and Then Front_Truss_1 and Right_Rail_1.
select nodes and components
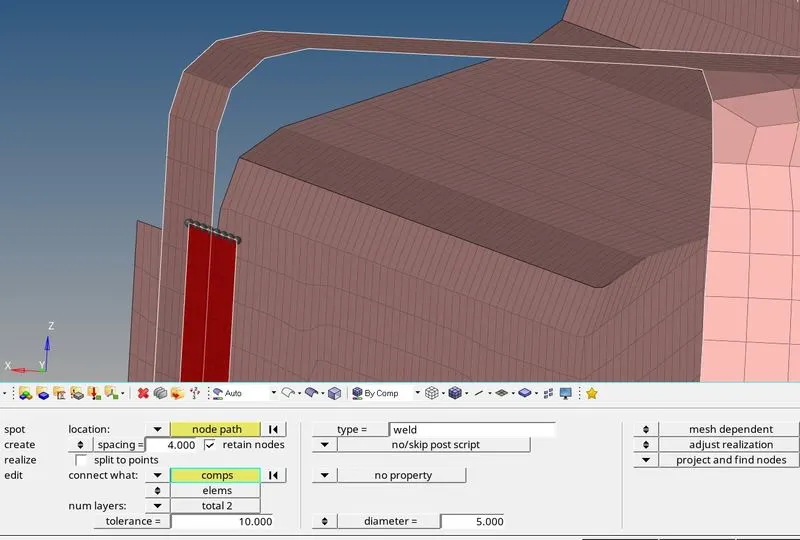
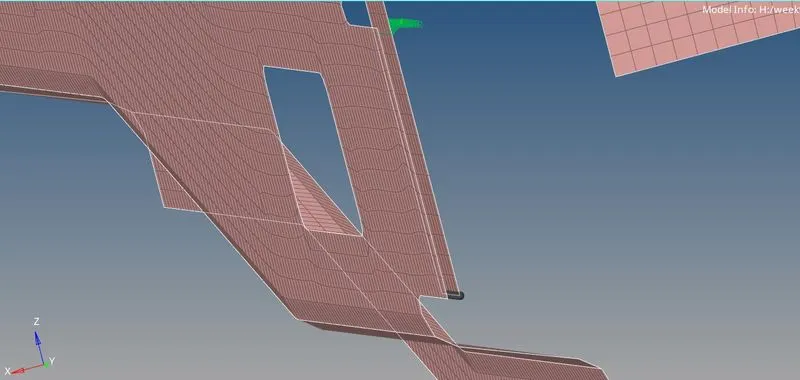
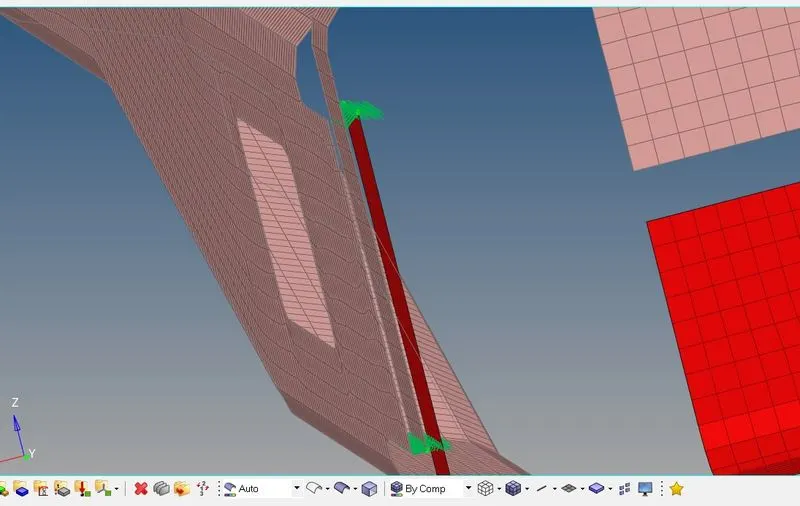
Done and Realised.
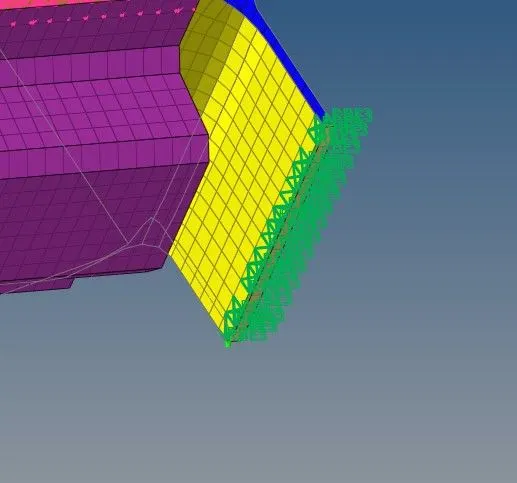
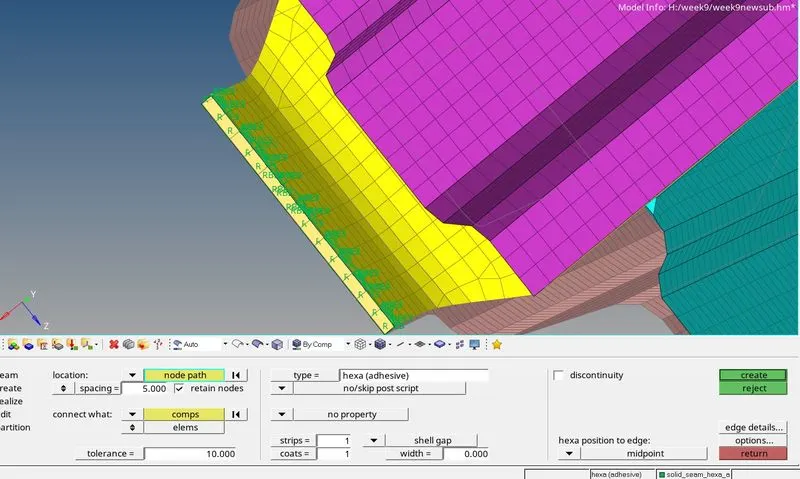
4. Front_truss_2, Front_truss_1 & Left_Rail_1:- Hexa (Adhesive)
To use connectors first go to 1D-Connectors -select the connector you want (here i have selected seam)-then click
on type to use from the following connections.



select node and component
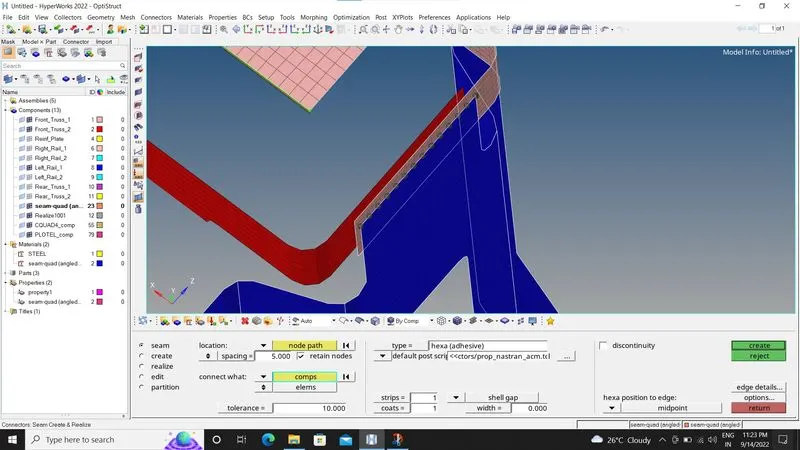
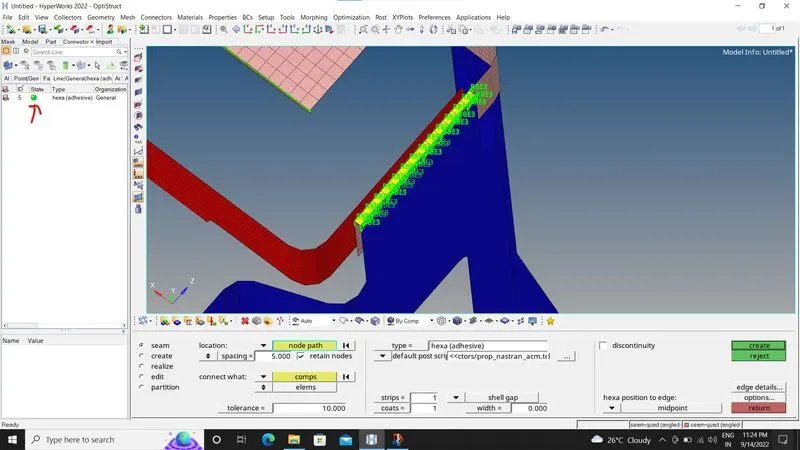
done
now for second part
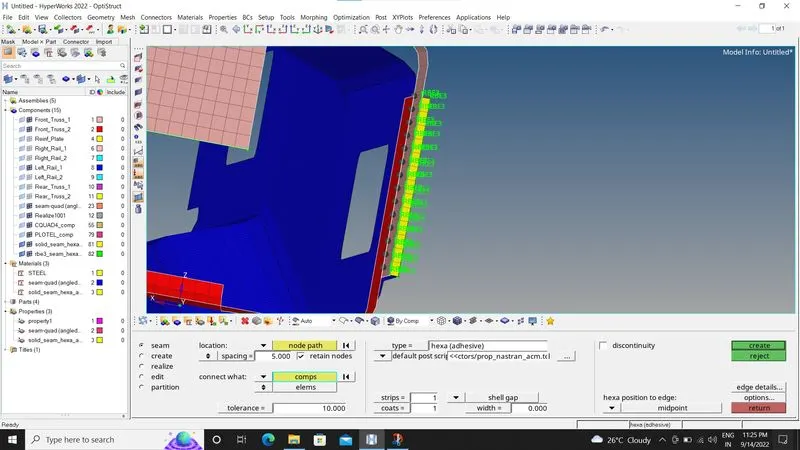
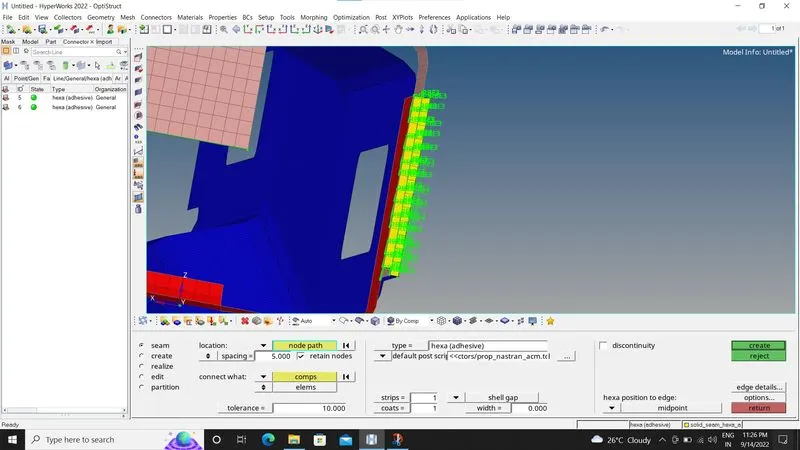
Realised.
5. Rear_truss_2 & Right_Rail_2:- Bolt Connector
To use connectors first go to 1D-Connectors -select the connector you want (here i have selected bolt)-then click
on type to use from the following connections.

select node and components
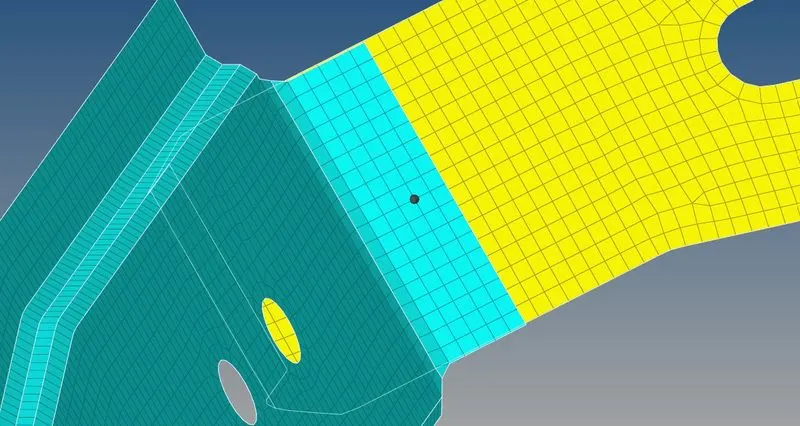
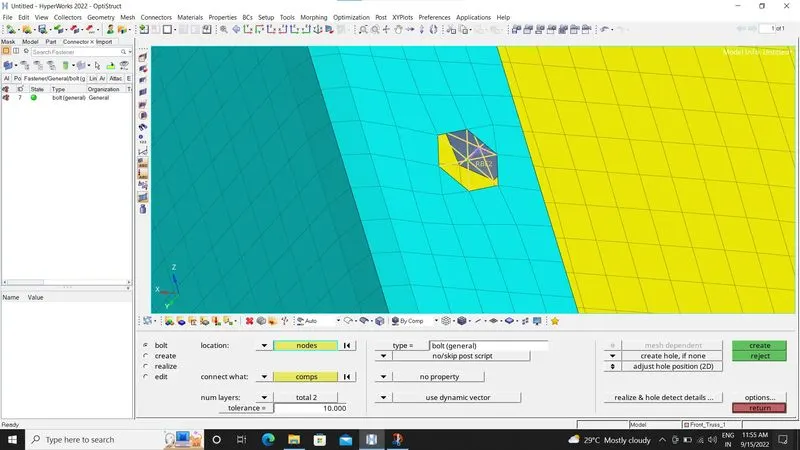
Done and realised.
6. Rear_truss_2 & Left_Rail_2:- Bolt Connector
To use connectors first go to 1D-Connectors -select the connector you want (here i have selected bolt)-then click
on type to use from the following connections.
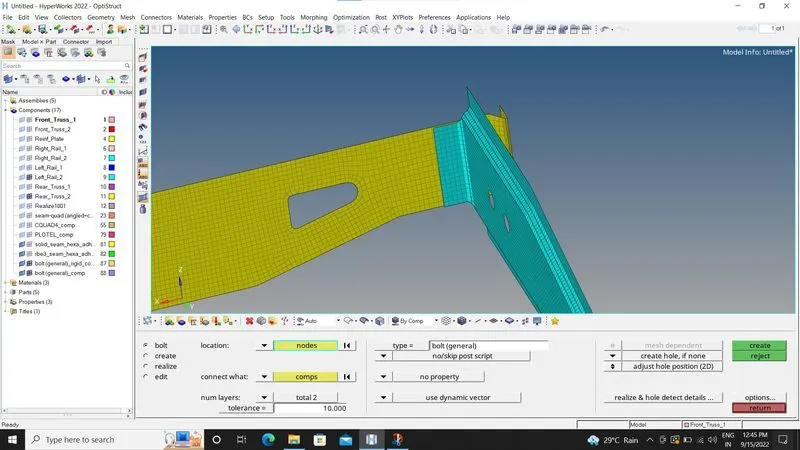
Select node and component
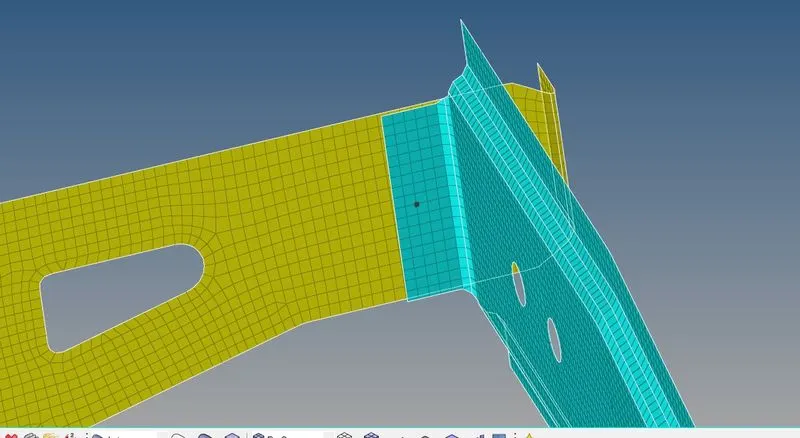
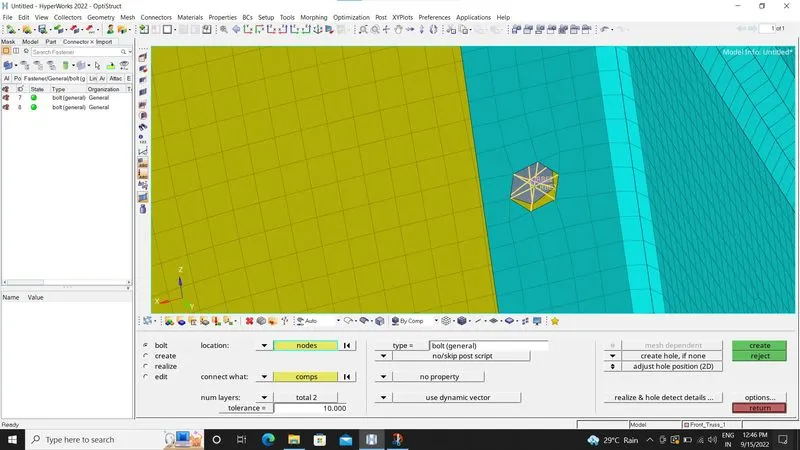
Done and realised.
7. Right_Rail_1 & Right_Rail_2:- Spot-weld with Rigid Elements
To use connectors first go to 1D-Connectors -select the connector you want (here i have selected Spot)-then click
on type to use from the following connections.


Select nodes and component on both sides one side at a time
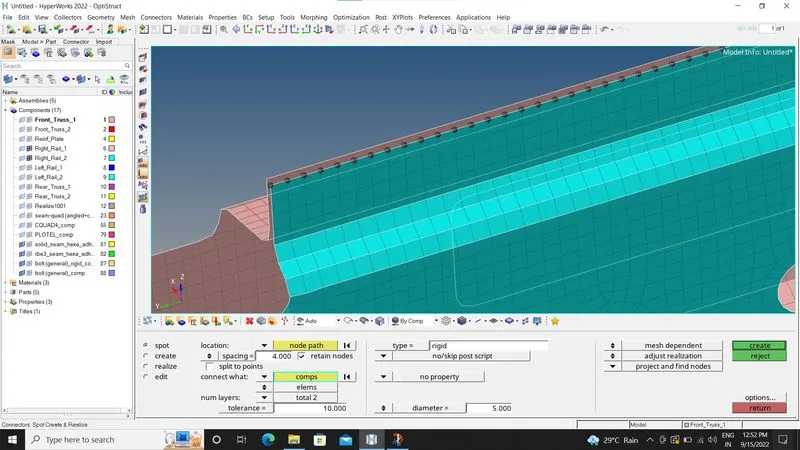
second side
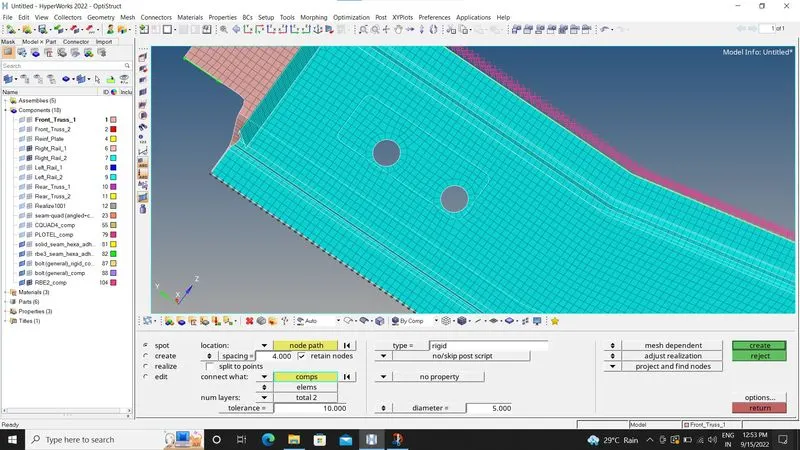
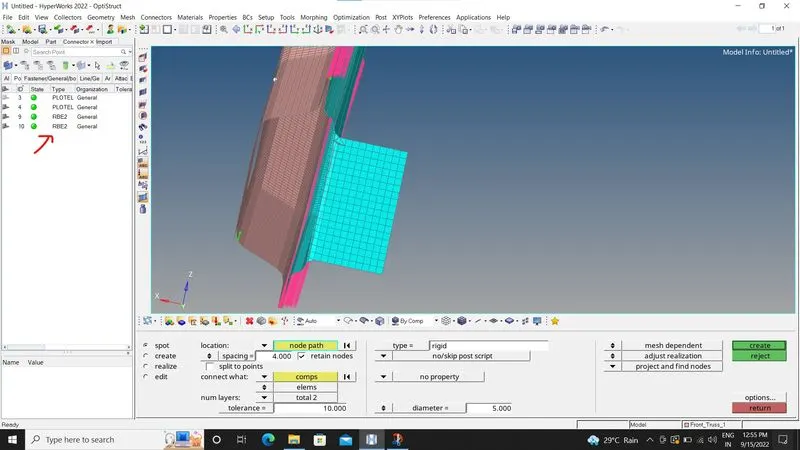
Done and Realised for both sides.
8. Left_Rail_1 & Left_Rail_2:- Spot-weld with Spring Elements
To use connectors first go to 1D-Connectors -select the connector you want (here i have selected Spot)-then click
on type to use from the following connections.

Select nodes and component on both sides one side at a time
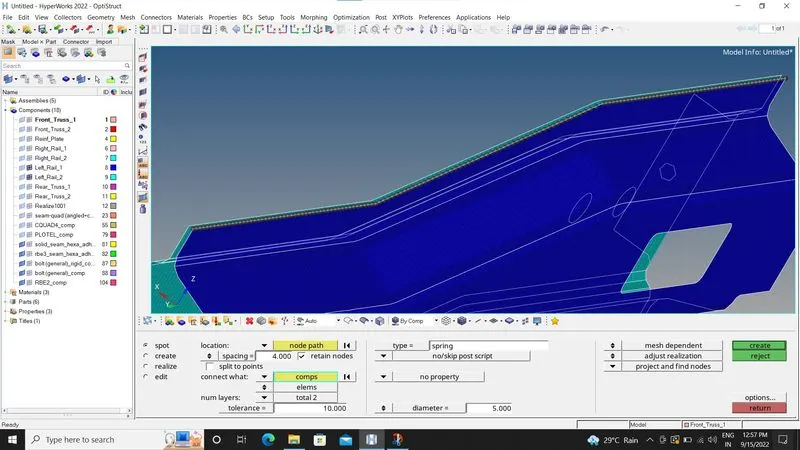
Second Side
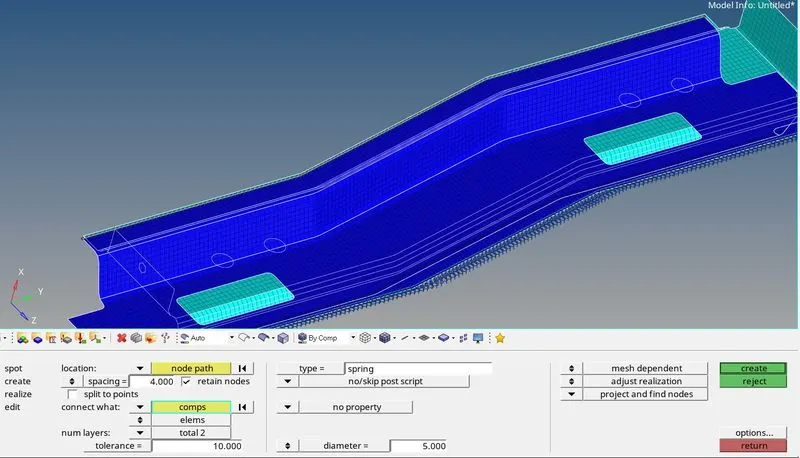
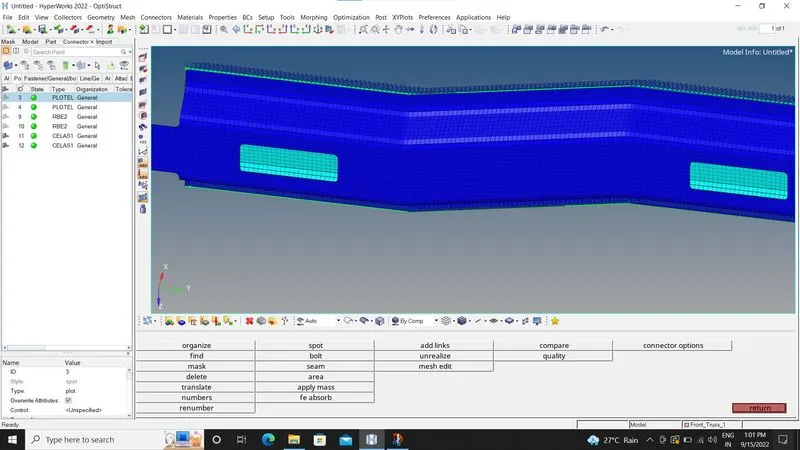
Done and realised for both sides.
9.Connections for other Parts
#Reinf plate,Front truss1,Front truss 2:(HEXA ADHESIVE)
To use connectors first go to 1D-Connectors -select the connector you want (here i have selected Seam)-then click
on type to use from the following connections.

now select nodes and components
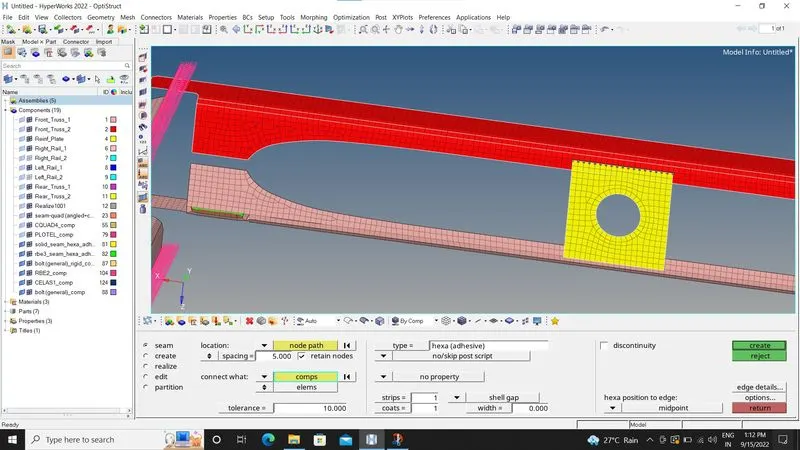
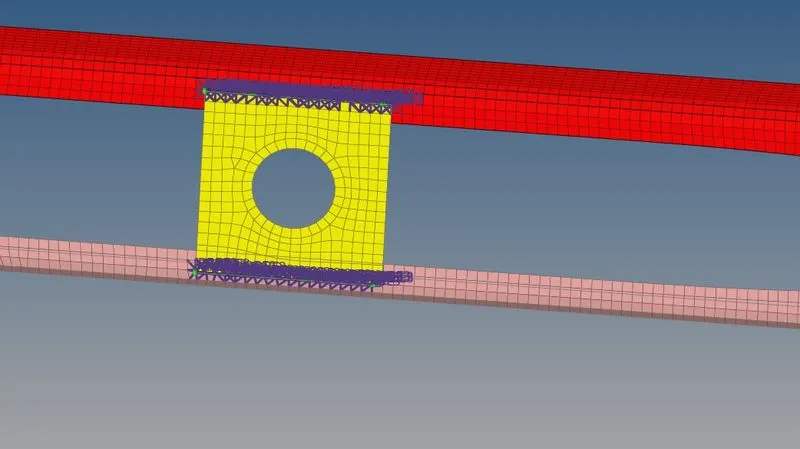
Done and Realised.
#Rear Truss_2,Right_Rail_1,Left_Rail_1:(HEXA ADHESIVE)
To use connectors first go to 1D-Connectors -select the connector you want (here i have selected Seam)-then click
on type to use from the following connections.
ALL CONNECTIONS ARE DONE
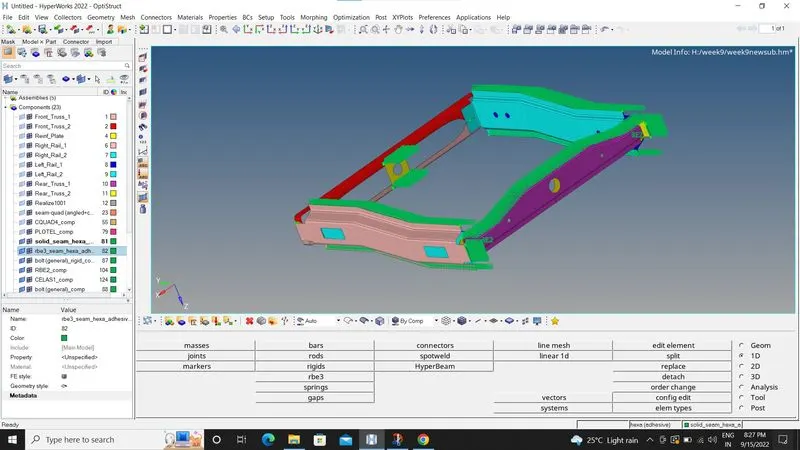
CONCLUSION
Connected the components using connectors.
Creation of 1D Connectors is Done.