Week 9-Creation of 1D Connectors Challenge
Aim
To mesh the assemly as per quality criteria and assign Connection on it.
Introduction
Connector are geometric entities, Connection can be created as a spot weld, seam weld, adhesive and bolts, masses and so on.
Procedure
step1: Import Geometry
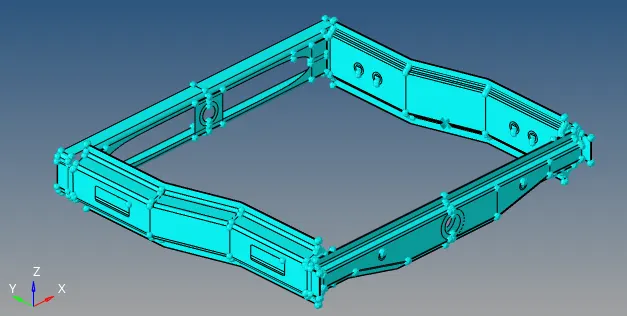
Import the assemly geometry, Open hyperWork software go to file -> import->select geometry
Shell Meshing
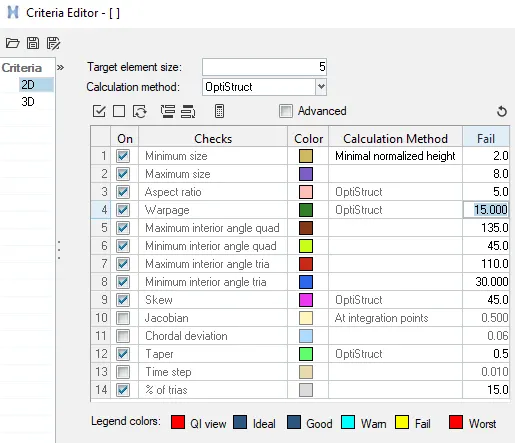
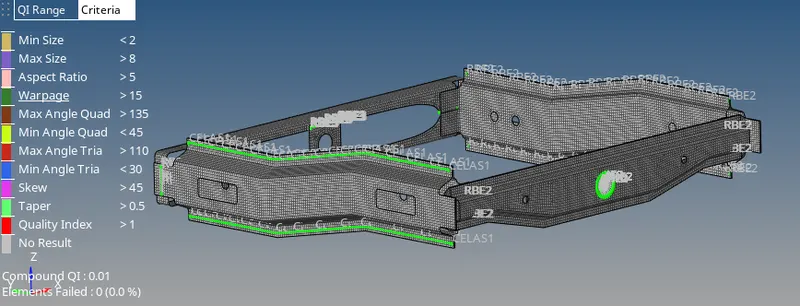
Assign the quality parameter to quality criteria editor as shown below.
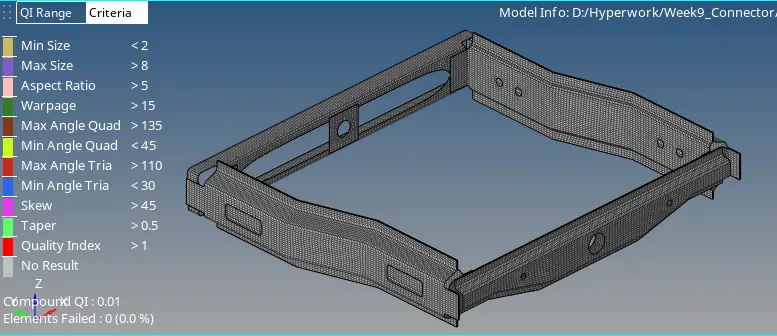
Do shell mesh on the surface by 2D->Auto mesh->assign element size as 5 and select the components, click on mesh. Used rebuilt command for better mesh flow. to clear quality use clean up tool.
After meshing all the different components its time to do different connection
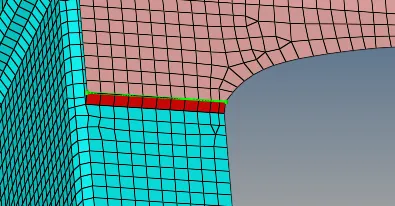
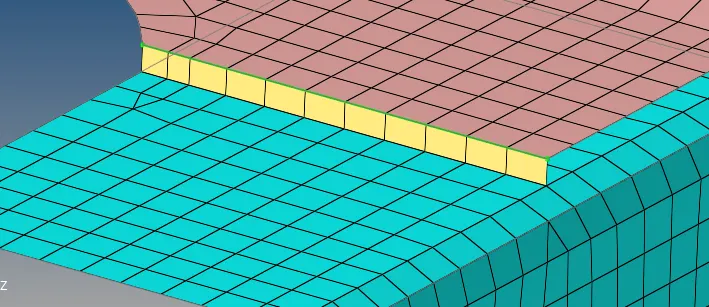
1 Right_Rail_2 & Front _truss_1: Seam-Quad(angled+capped+L)
Go to 1D/2D -> connectors->Seam option
Select the nodes where we want to deploy connection
select type as Seam-Quad(angled+capped+L) and select two components and search distance/tolerance
weld angle as 45, click on create

2 Left_Rail_2 & Front_truss_1:Quad Elements
Go to 1D/2D -> connectors->Seam option
Select the nodes where we want to deploy connection
select type as Quad Element and select two components and search distance/tolerance
click on create

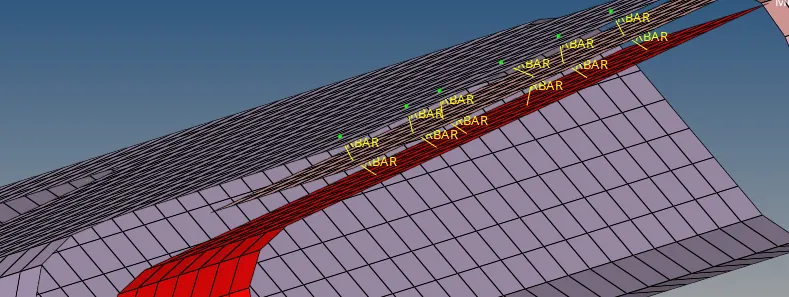
3 Front_truss_2, front_truss_1 & Right_Rail_1:Spot weld with 2 layer and 5mm Diameter
Go to 1D/2D -> connectors->Spot option
Select the nodes where we want to deploy connection
select type as weld and select three components and search distance/tolerance
diameter as 5 click on create.

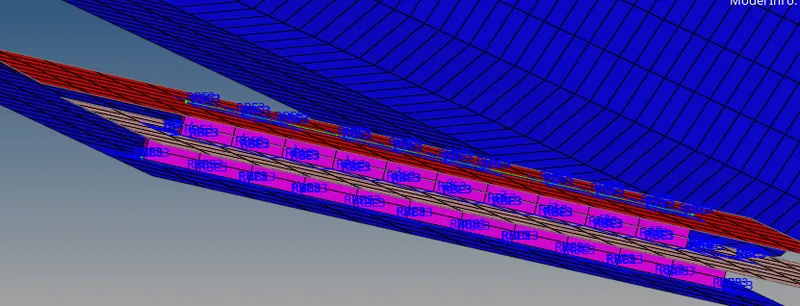
4 Front_Truss_2, front_truss_1 & Left_Rail_1:Hexa(adhesive)
Go to 1D/2D -> connectors->Seam option
Select the nodes where we want to deploy connection
select type as Hexa(adhesive) and select two components and search distance/tolerance
strips as 2, coats as 3 and width as 1. click on create

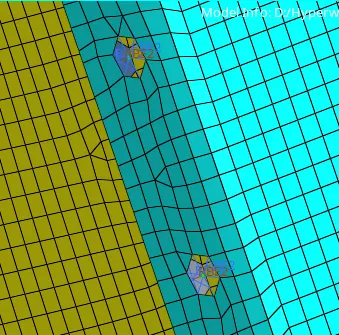
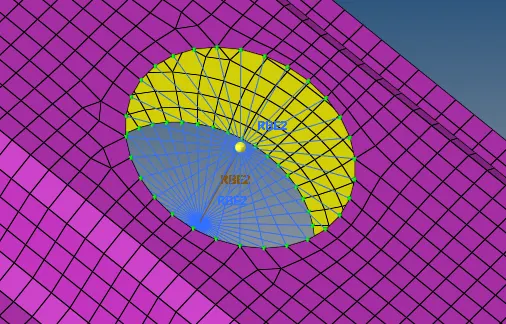
5 Rear_truss_2 & Right_Rail_2: Bolt connector
Go to 1D/2D -> connectors->bolt option
Select the nodes where we want to deploy connection
select type as bolt(general) and select two components and search distance/tolerance
click on create.

6 Rear_truss_2 & left_Rail_2: Bolt connector
Go to 1D/2D -> connectors->bolt option
Select the nodes where we want to deploy connection
select type as bolt(general) and select two components and search distance/tolerance
click on create

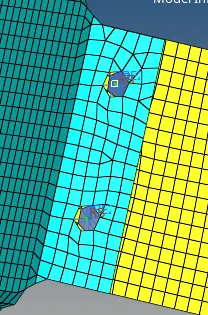
7 Right_Rail_1 & Right_Rail_2:spot weld with Rigid elements
Go to 1D/2D -> connectors->Spot option
Select the nodes where we want to deploy connection
select type as rigid and select two components and search distance/tolerance
click on create

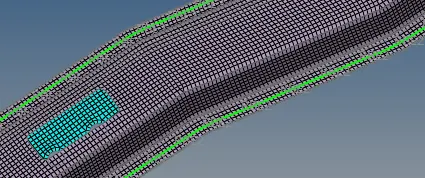
7 leftt_Rail_1 & left_Rail_2: spot weld with spring elements
Go to 1D/2D -> connectors->Spot option
Select the nodes where we want to deploy connection
select type as spring and select two components and search distance/tolerance
click on create

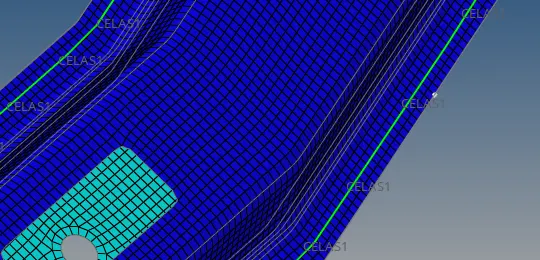
Other connection
- acm(general)
Go to 1D/2D -> connectors->Spot option
Select the nodes where we want to deploy connection
select type as acm(general) and select two components and search distance/tolerance
diameter as click on create.

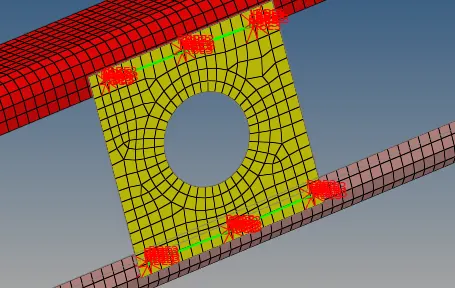
- Bolt connection
Go to 1D/2D -> connectors->bolt option
Select the nodes where we want to deploy connection
select type as bolt(general) and select two components and search distance/tolerance
click on create

Final model
Final model with mesh and connection
Learning outcomes
- GUI command
- Shell mesh
- Connection like Bolt, spot weld, Hexa(adhesive) weld
- Assign material and properties.
Conclusion
Shell mesh and connection are deployed.