Week 9 - Creating connection for Rear door
CREATING CONNECTIONS FOR REAR DOOR ASSEMBLY
Aim : To create different PIDs for the different connections and also using these connections to assembling the different components of the rear door with the determination of the specific degree of freedom.
Procedure :
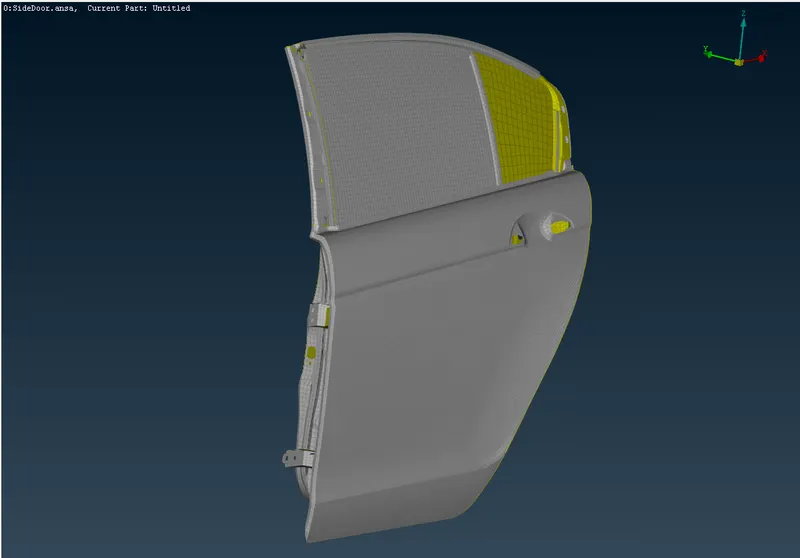
1. The given model is imported into the ANSA software and it is represented as shown in the figure below.
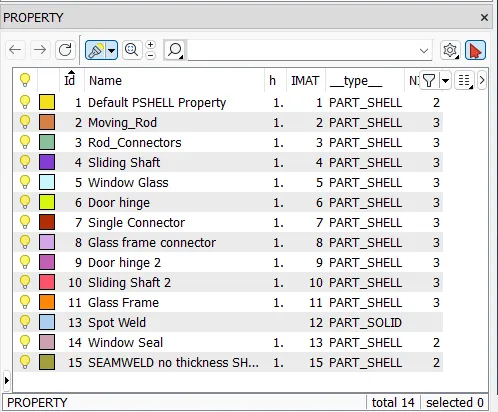
2. Before starting the connections different PIDs has to created using the command 'SET PID' as shown in the figure below.
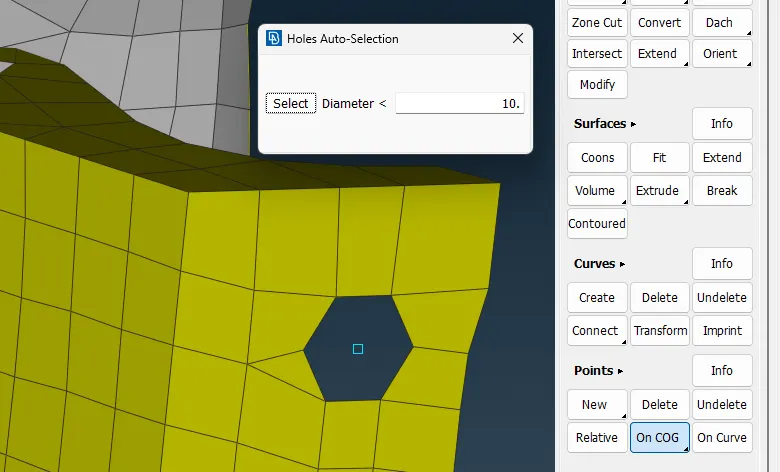
3. Select the 'TOPO' option and click on the 'COG' to create point at the center of gravity for the selected hole or surface.
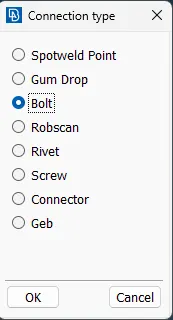
4. The COG point is converted into the Bolt by using the 'Convert' option. By clicking on the 3-D points and selecting the 'Bolt' option as shown in the figure.
5. The 'RDE2' option is clicked and the multiple nodes are connected using the 'Many nodes'. The surrounding slave nodes are selected to create a master nodes for individual sufaces and these master nodes are connected.
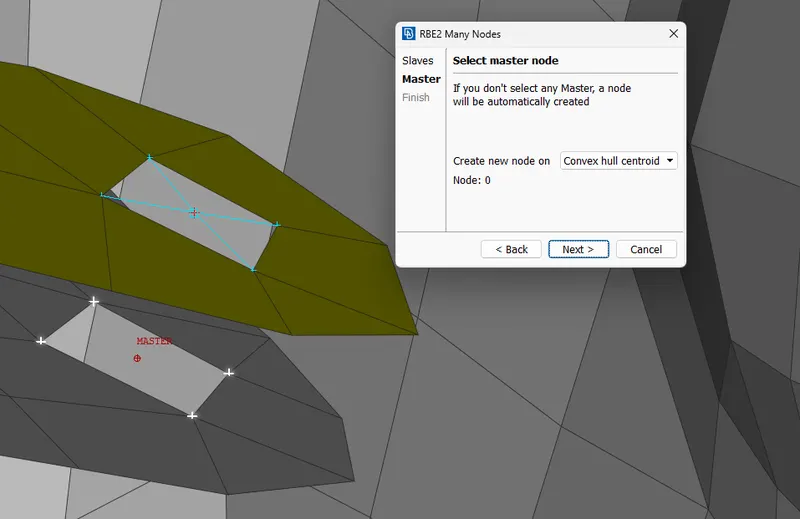
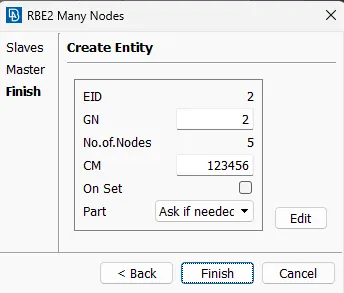
6. The Master nodes are connected using the RBE2 option and if the bolt is a rigid connection without any movement then all the degree of freedom are restricted as shown below.
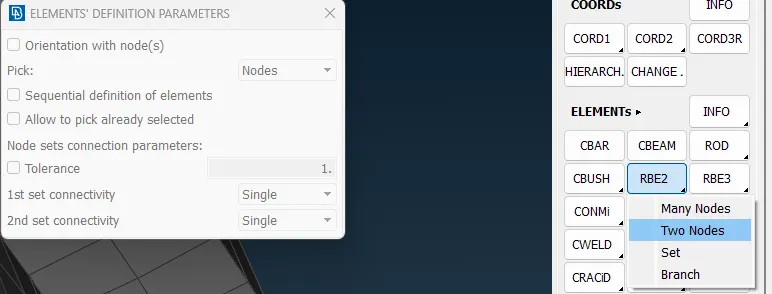
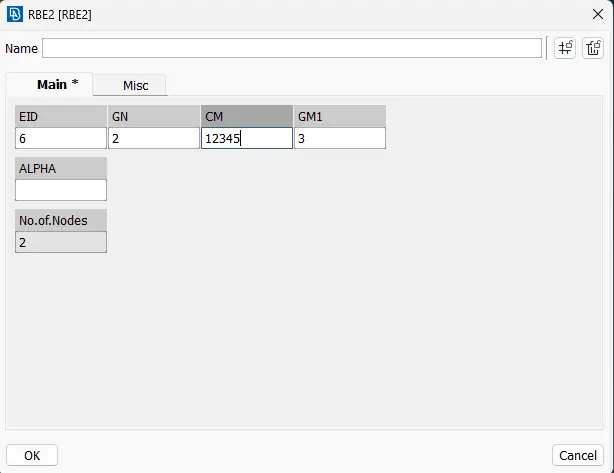
7. If the hinge connector to be created then the 'Two nodes' option is selected and the two master nodes created earlier is selected and the degree of freedom at which the movement to restricted is mentioned in the table as shown in the figure.
8. For the door handle, the rbe2 connection is to be established and point mass is added using the 'CONMi' option. The 'CONM2' option is selected and the necessary node is selected to add the mass. The mass has to be entered in tonnes. The realized connection is shown in the figure below.
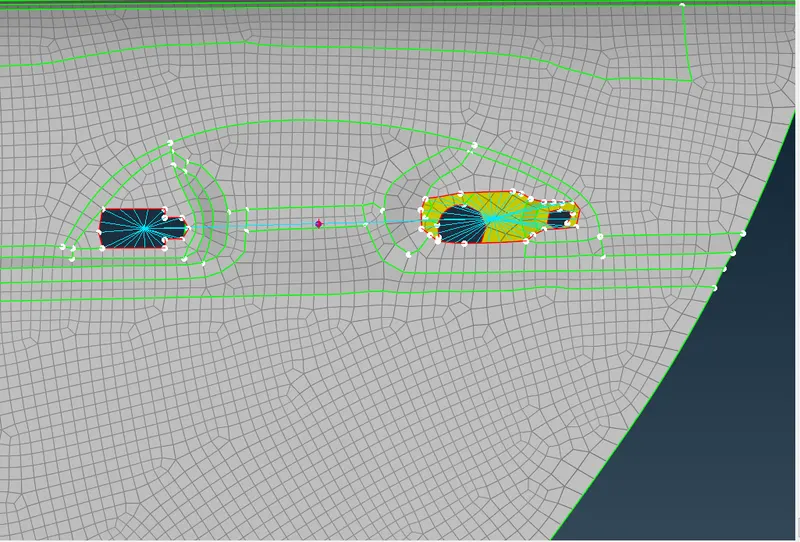
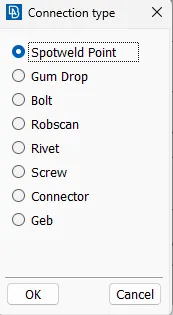
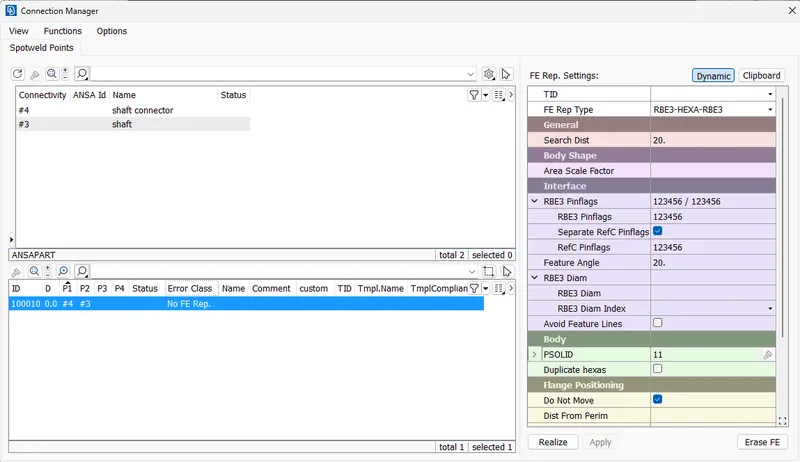
9. To create a Spot weld connection, a COG is created by selecting the outside nodes. The COG created is converted into the Spotweld point and the connection is established using the connection manager. The option 'RBE3-HEXA-RBE3' is selected and the respective faces which needs to be welded is selected. The details regarding the distance, degree of freedom and the also the PID for Spot weld is selected and the it is reliazed. The Spot weld property is created by clicked on the PSOLID and pressing the Shift+? where the required details are entered as shown in the figure below.
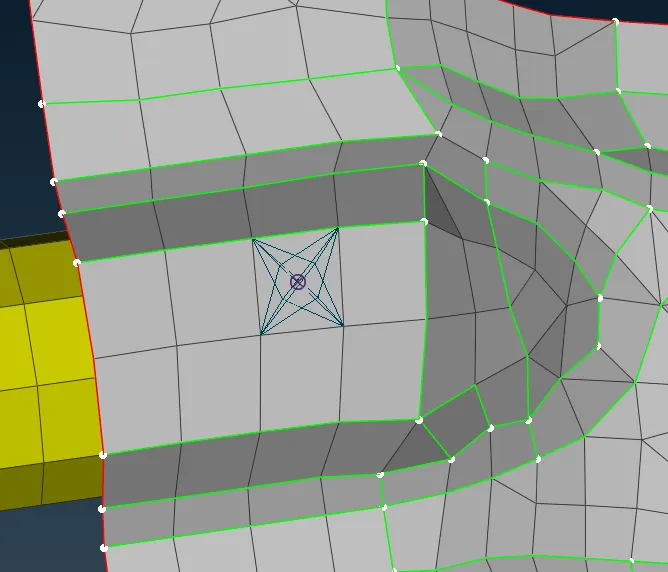
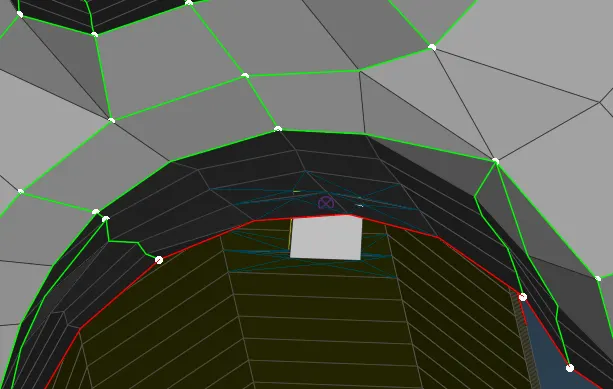
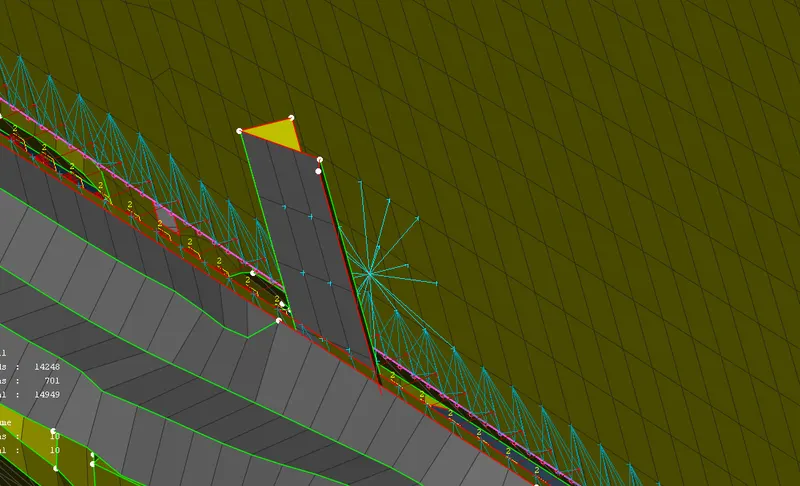
10. The sliding shaft is extended and is connected to the glass window using a 'RBE2' connector as shown in the figure below.
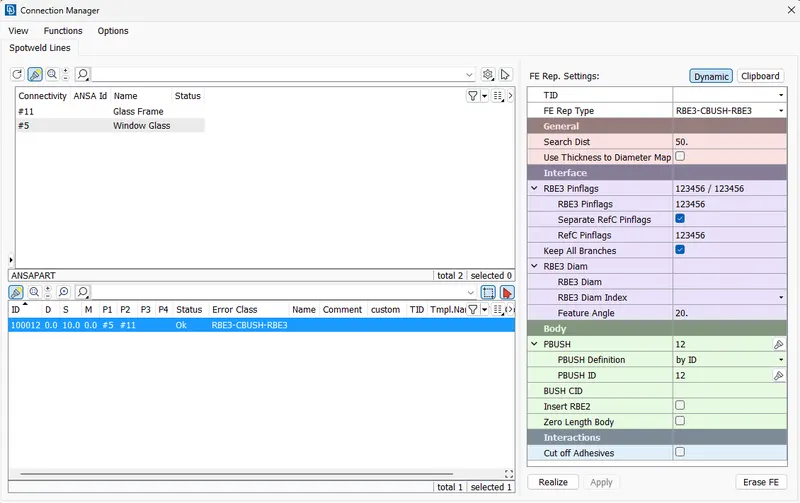
11. To connect the Glass to the Door frame the glass perimeter is converted into the curve using the 'Feat2curve' command. Additional curve is created at the bottom of the glass, so that the 'RBE3-CBUSH-RBE3' connector used for the connecting the glass to the frame is used on the both side of the glass. The required details for the connection is given as shown in the figure and a new PID is created using the Shift+? command in the PSOLID
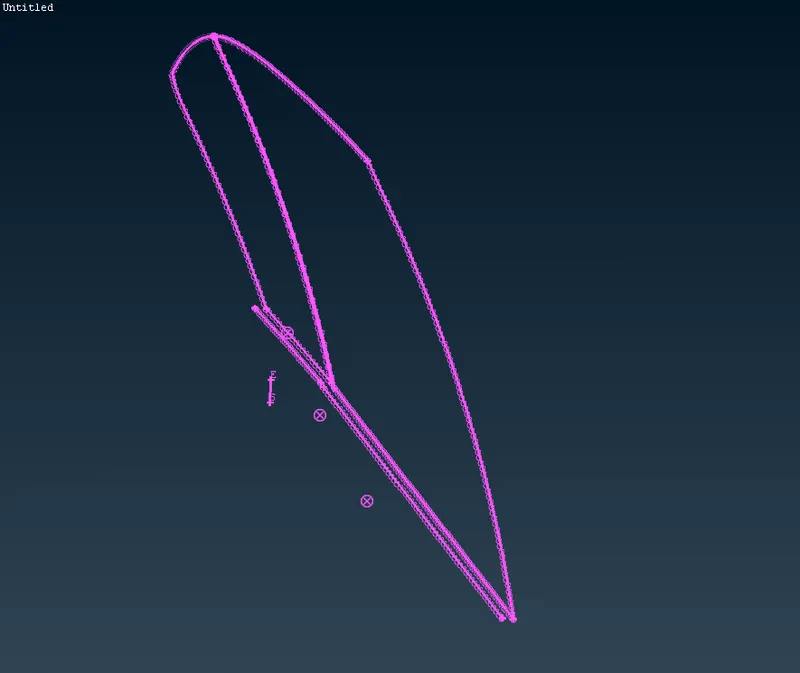
12. The CBUSH is created at either end of the glass at the bottom and on the other sides the CBUSH is created on the outside of the glass as shown in the figure below with the required damping co-efficients.
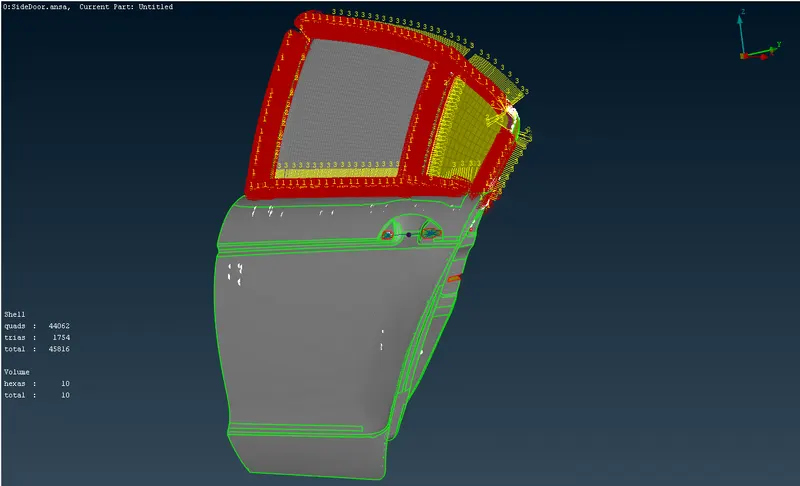
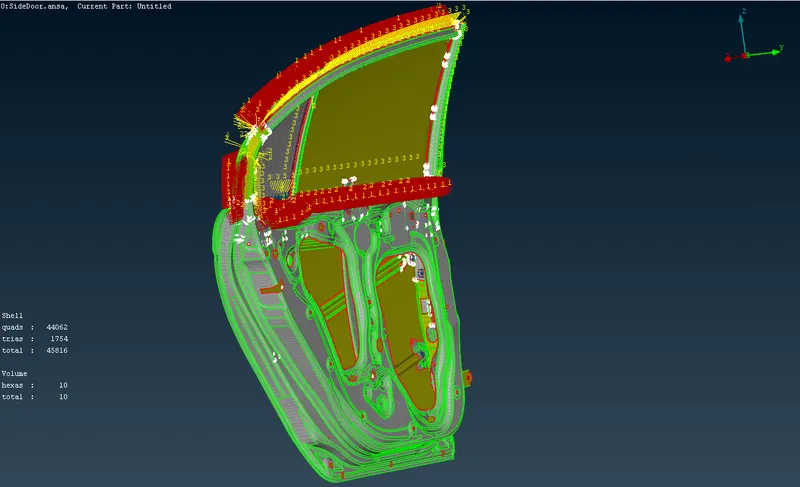
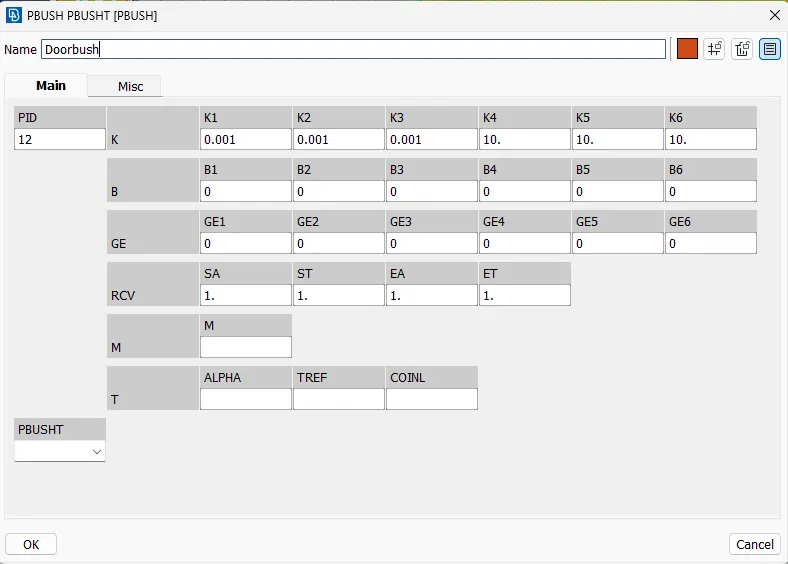
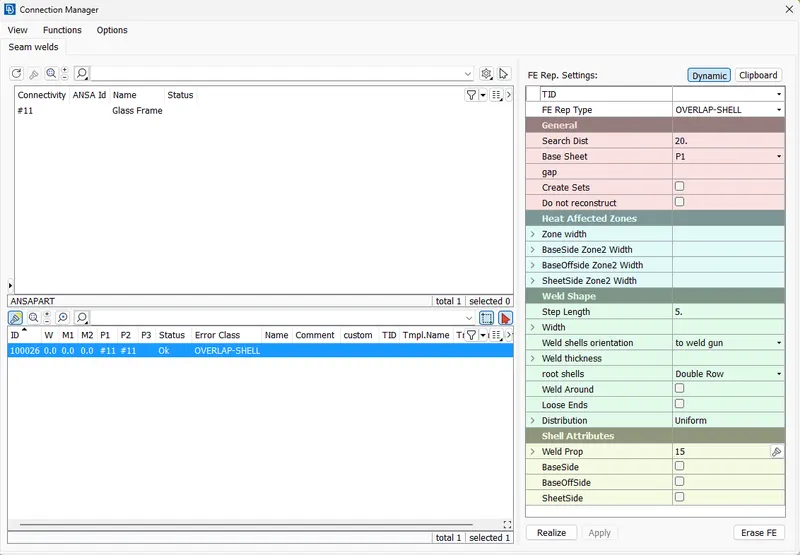
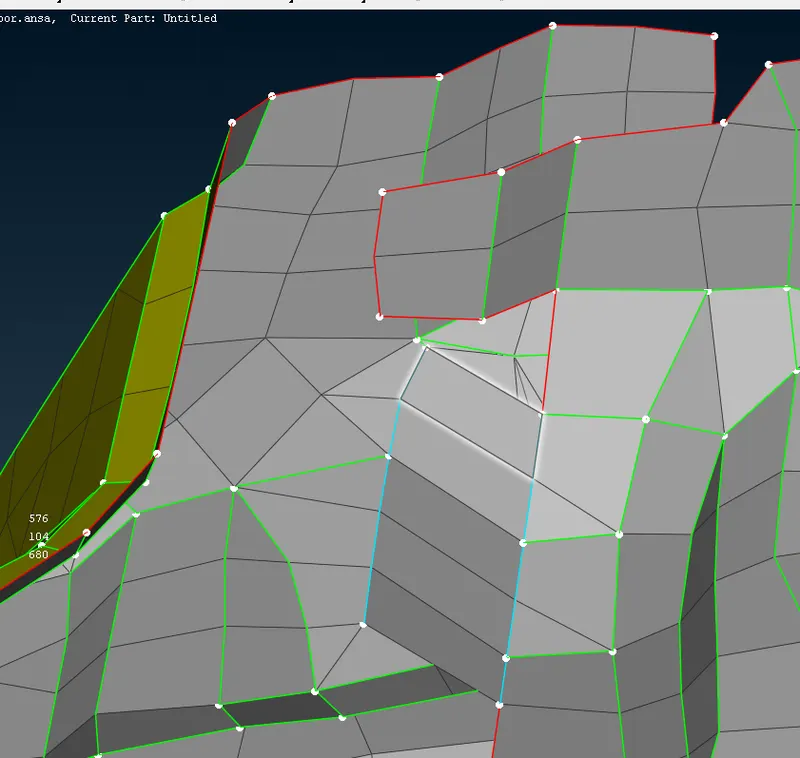
13. The 'Feat2curve' command is used to convert the feature to curve. The seamweld is created by selecting the curve and surface to which the seam needs to be welded and required details is provided and new property is created using the Shift+? command as shown in the figure below.
Learing outcome :
1. Learned to created different PIDs for the different surfaces.
2. Usage of different connections for connecting different surfaces with required degree of freedom.
3. Creating a New property PIDs for the different connections used.
4. Creating a Door hinge and assigning the mass to it.
Conclusion :
1. The different PIDs created are connected to each other using different connections like Bolts, CBushes, Door hinge, Spot welds and Seam welds to obtain a assembled component as in the figure below.
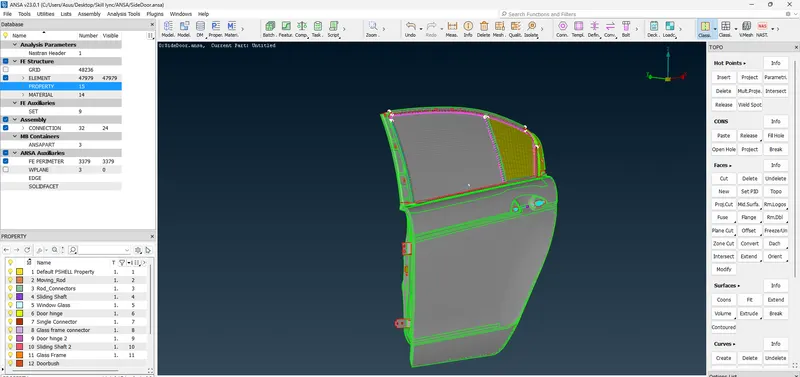
2. This assembled model can be used for structural simulation in the respective softwares.