Week 9-Challenge
Aim:
To create mesh and connect the components with suitable connectors.
Methodology:
- To create a good quality mesh.
- Connect the components with suitable connectors.
Introduction:
A truss is an assembly of beams or other elements that creates rigid structures.
Procedure:
- Import the model
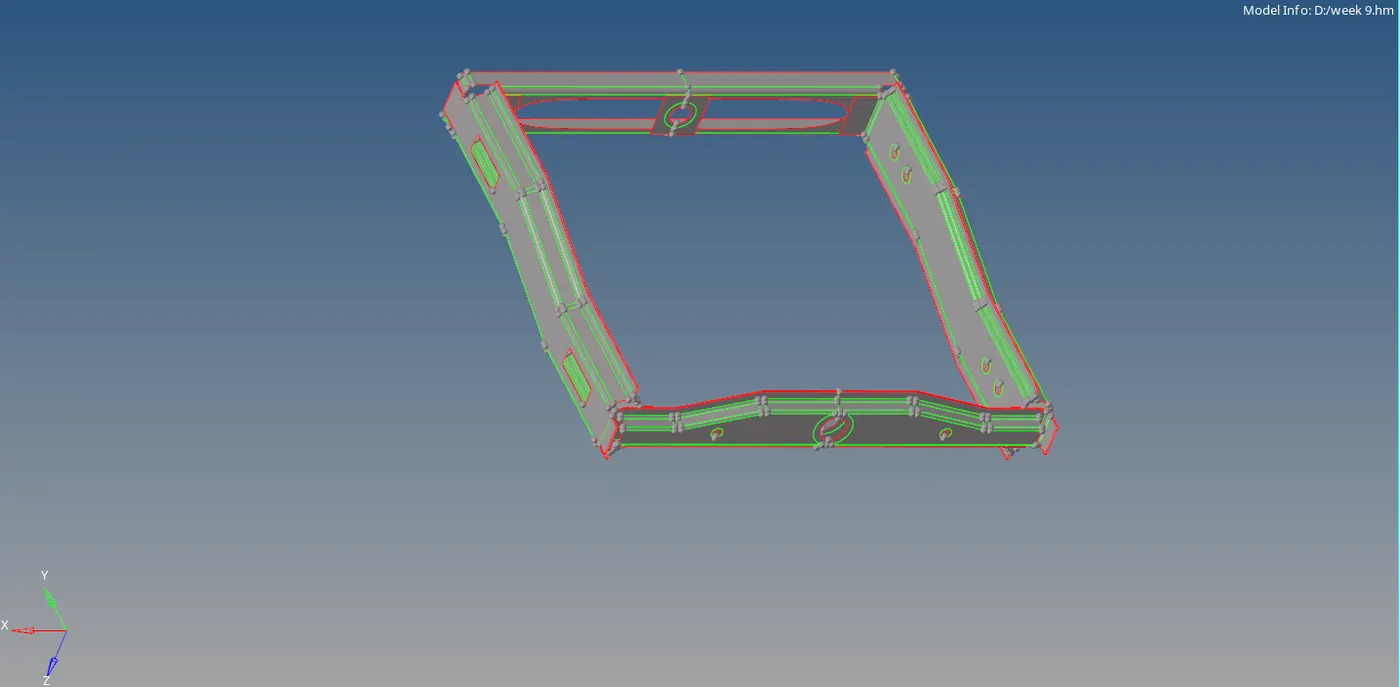
Figure-1(model import)
- Clean up the geometry.
- Mesh the components by “automesh” option or click F12 function key.
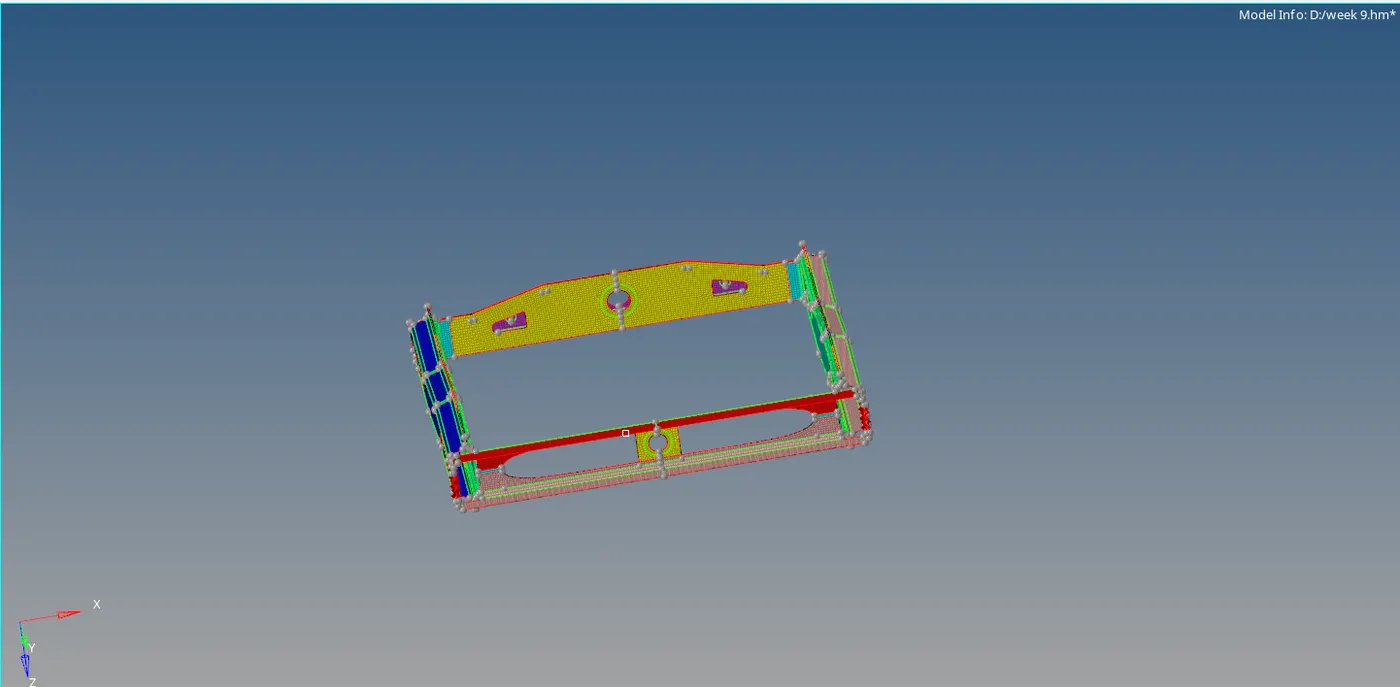
Figure-2(Meshed model)
Seam Quad:
- Select the right rail 2 and front truss 1 mesh geometry.
- Go to 2D- connectors.
- Click on “seam” option and select “seam-quad(angled+clapped+L)”.
- Select the nodes, components and allot spacing values.
- Tick on “retain nodes”
- Click on “Create”.
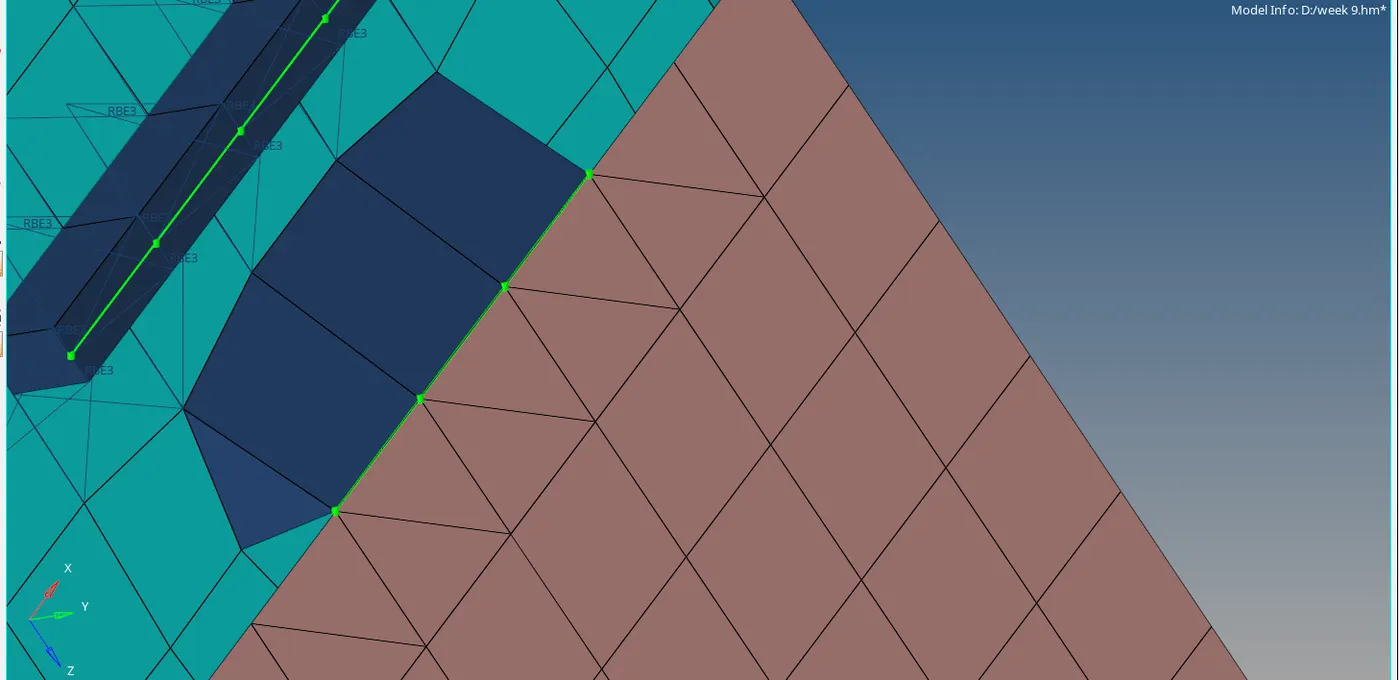
Figure-3(seam -quad L connection)
Quad:
- Select the left rail 2 and front truss 1 mesh geometry.
- Go to 2D- connectors.
- Click on “seam” option and select “quad”
- Select the nodes, components and allot spacing values.
- Tick on “retain nodes”.
- Click on “Create”.
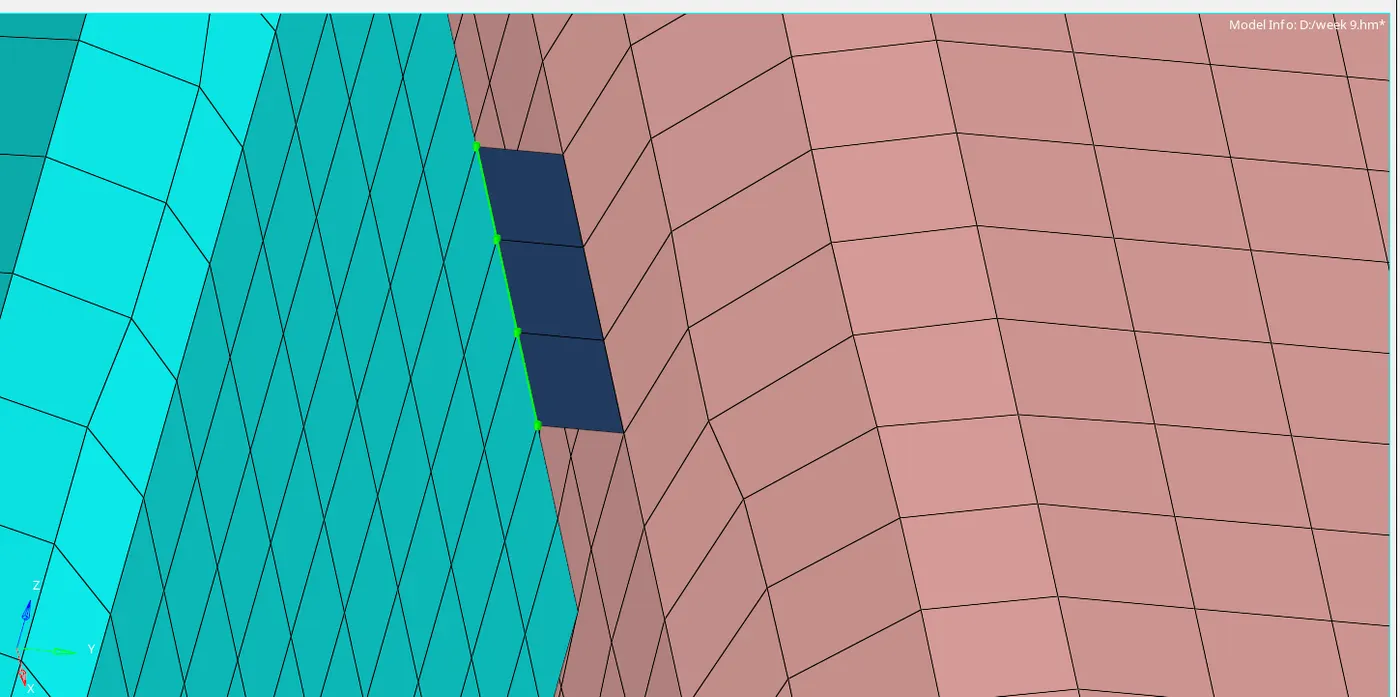
Figure-4(quads connection)
Spot weld:
- Select the front truss 1,2 and right rail 1 mesh geometry.
- Go to 2D- connectors.
- Click on “spot” option and select type as “weld”.
- Select the nodes, components and allot spacing values.
- Select the no.of layers as 3 and set diameter as 5mm.
- Click on “Create”.
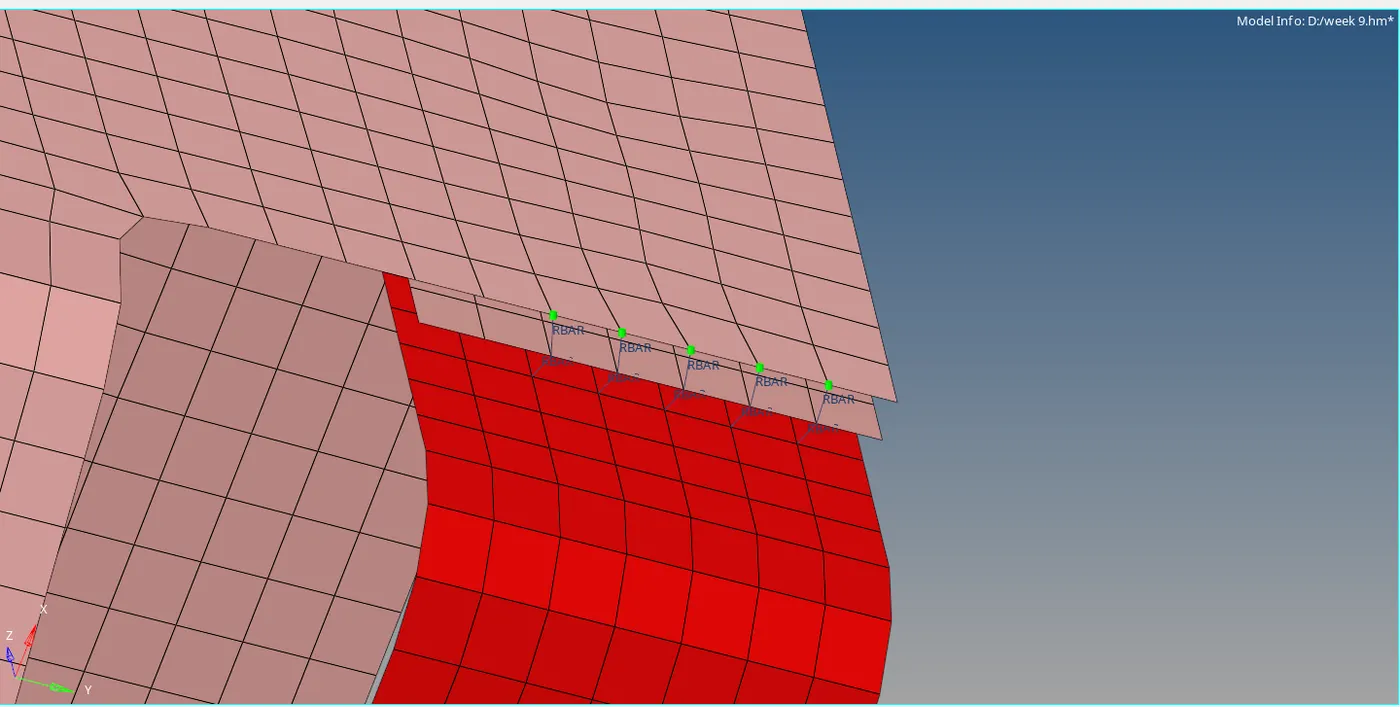
Figure-5(spot weld 3 layers)
Hexa :
- Select the front truss 1,2 and left rail 1 mesh geometry.
- Go to 2D- connectors.
- Click on “spot” option and select type as “hexa(adhesives)”.
- Select the nodes, components and allot spacing values.
- Click on “Create”.
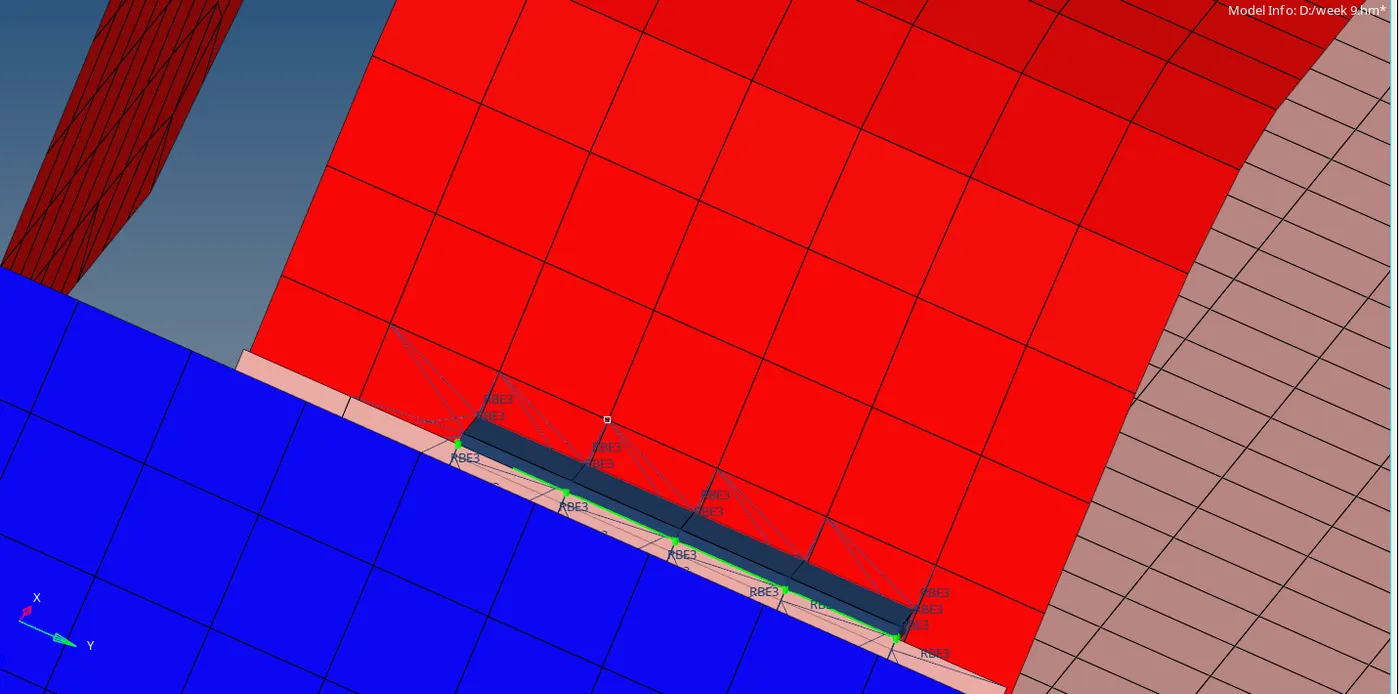
Figure-6(hexa adhesives)
Bolt:
- Select the rear truss 2,left & right rail 2 mesh geometry.
- Go to 2D- connectors.
- Click on “bolt”option and select type as “bolt(general)”.
- Select the node, components and allot spacing values.
- Select the “create hole,if none”.
- Click on “Create”.
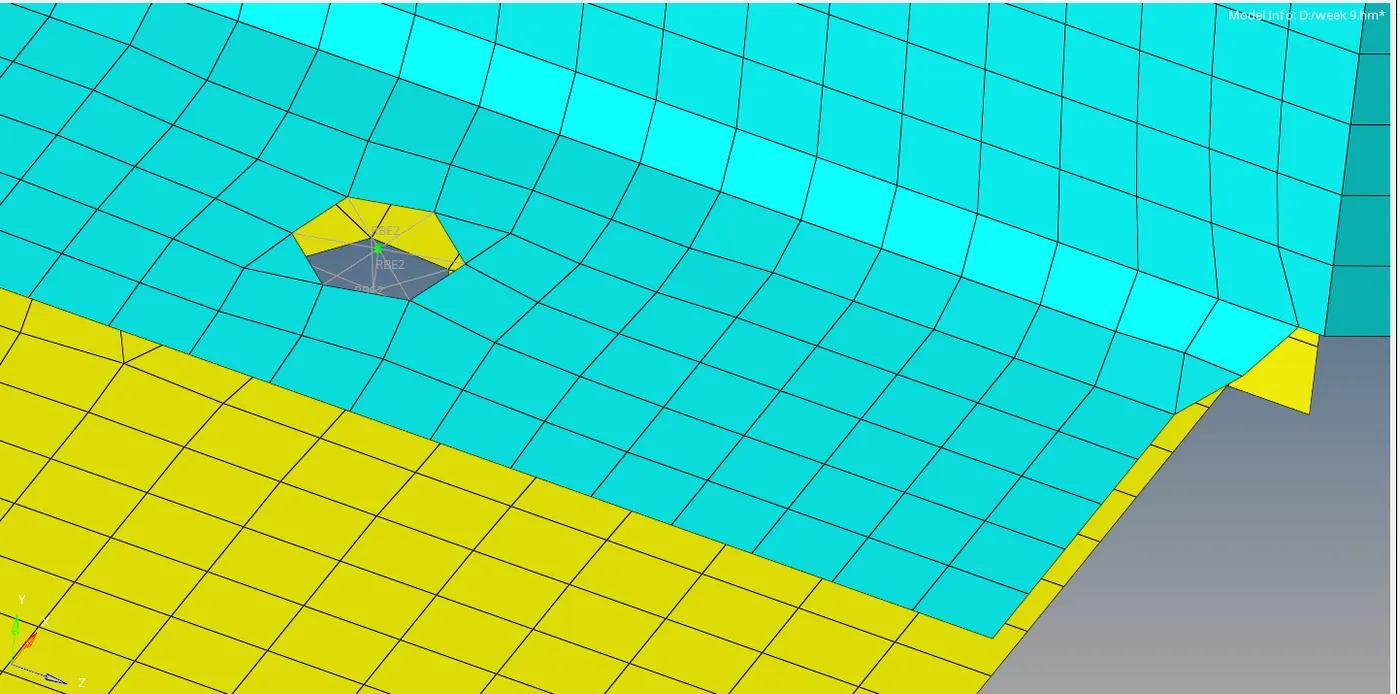
Figure-7(bolt connection)
Spot weld with rigid:
- Select the right rail 1 & 2 mesh geometry.
- Go to 2D- connectors.
- Click on “spot” option and select type as “rigid”.
- Select the node, components and allot spacing values.
- Click on “Create”.
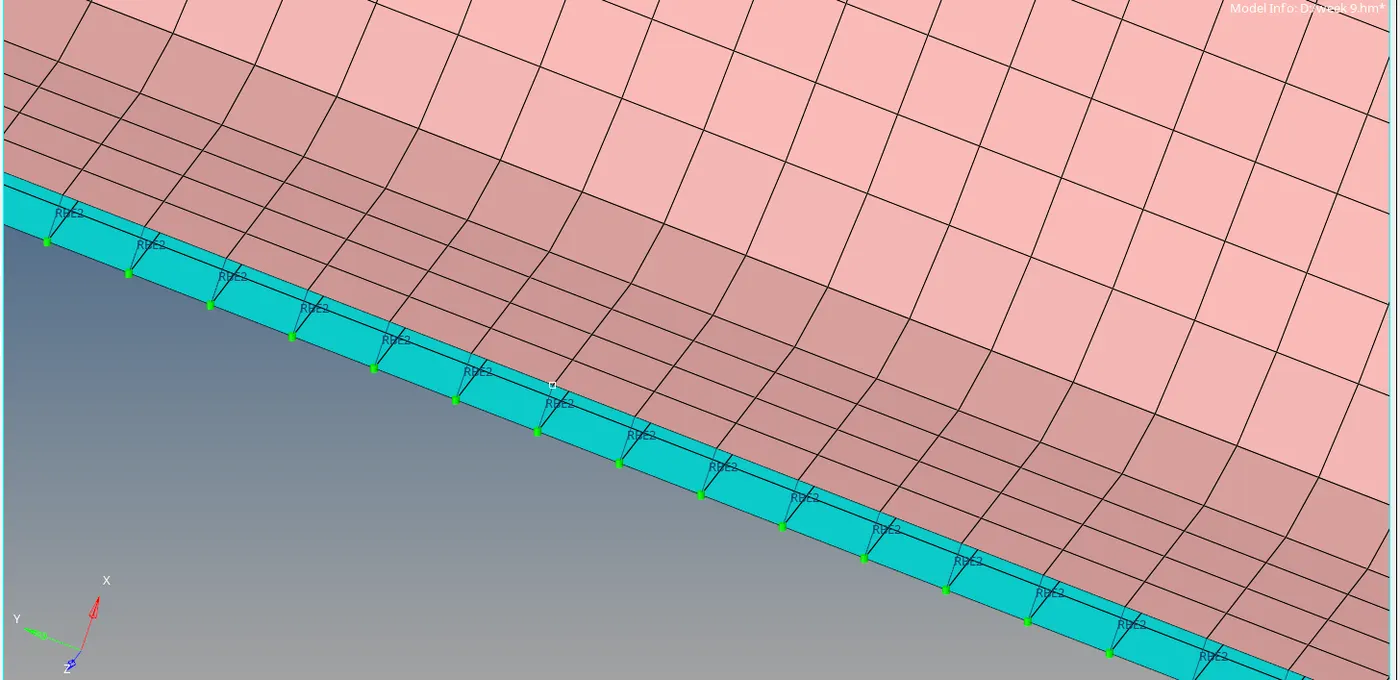
Figure-8(spot weld with rigid)
Spot weld with spring:
- Select the left rail 1 & 2 mesh geometry.
- Go to 2D- connectors.
- Click on “spot” option and select type as “springs”.
- Select the node, components and allot spacing values.
- Click on “Create”.
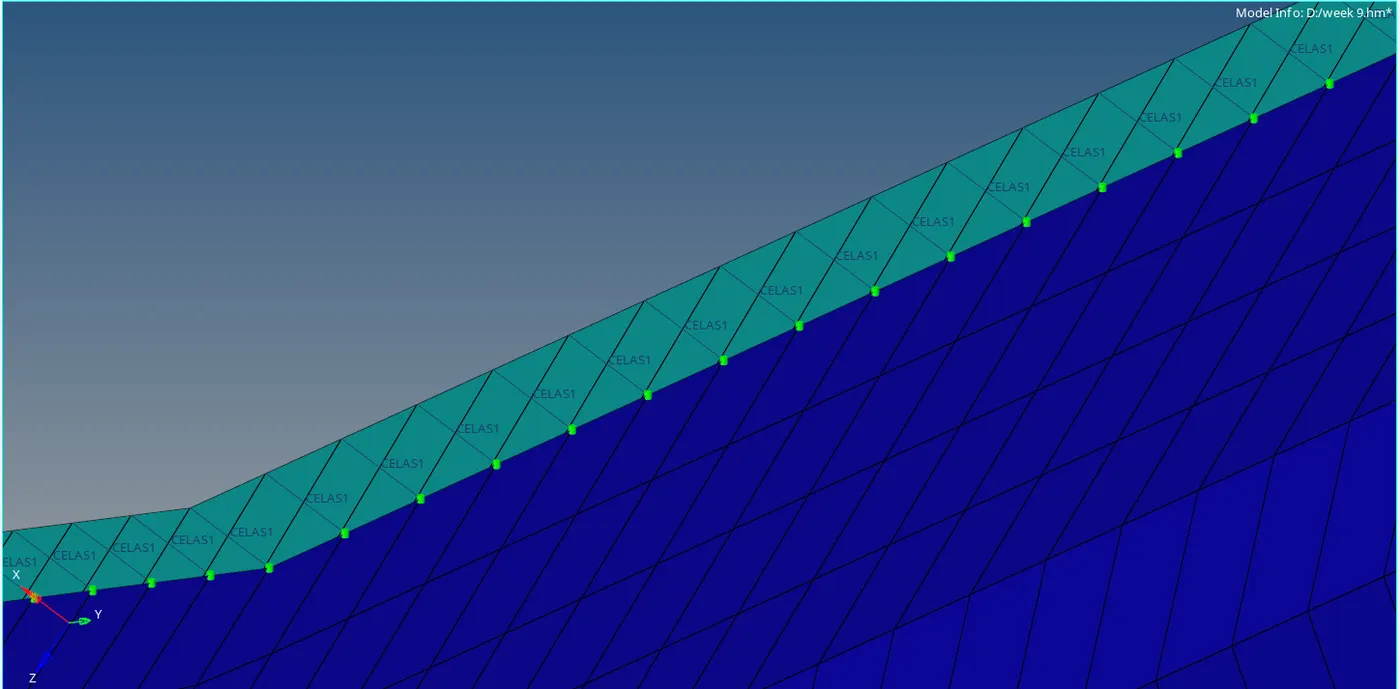
Figure-9(spot weld spring)
- All other connections are done with suitable connections like rigid etc
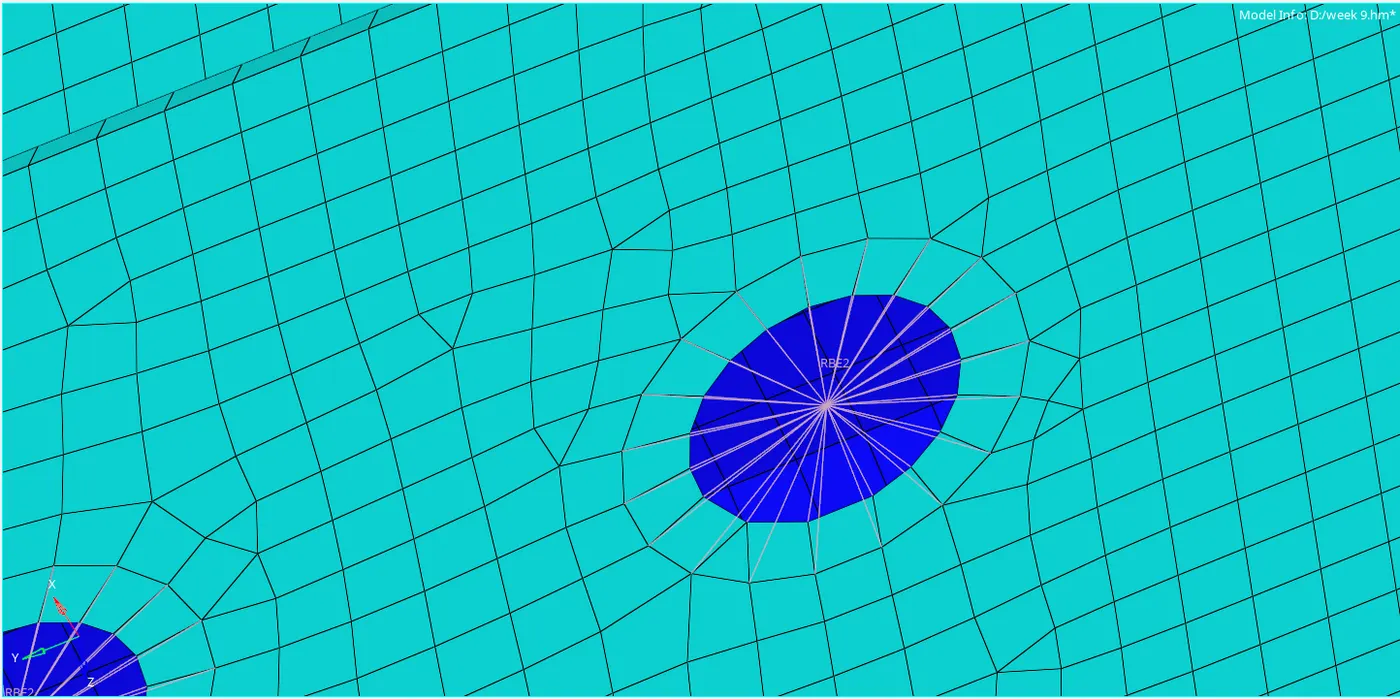
Figure-10 (rbe2 connections)
- All the connections can be edit in connectors bar.
- Click on view-Hypermesh and select connector.
- A menu bar will be pop up.
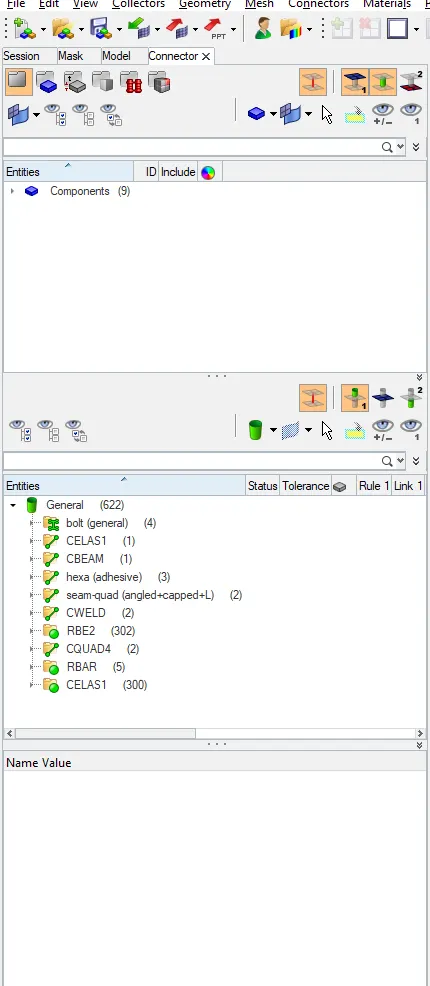
Figure-11(connector menu bar)
Learning outcome:
Learnt how to get different types of connections like
- Bolt
- Seam
- Spot
- Area etc
Result:
The model is mesh and connected with suitable and given connnection types.
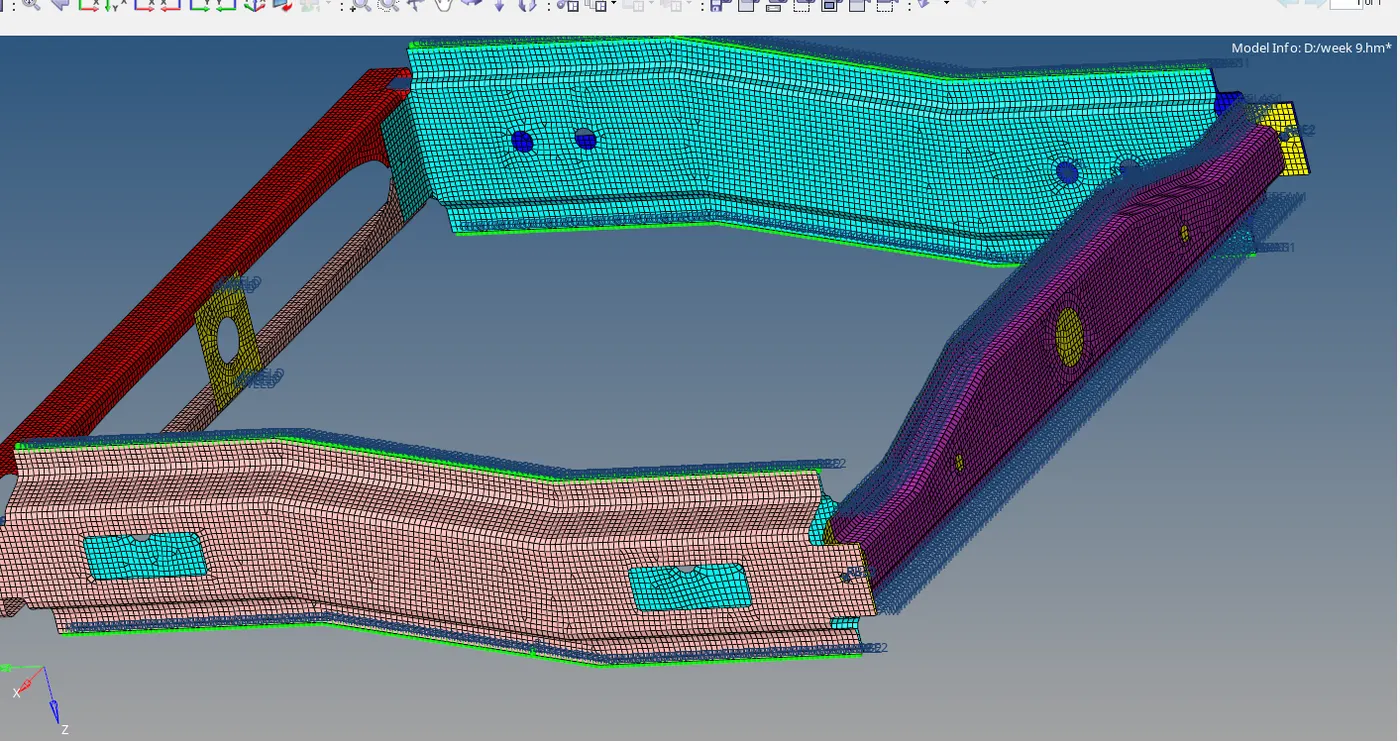
Figure-12 ( Final outcome)