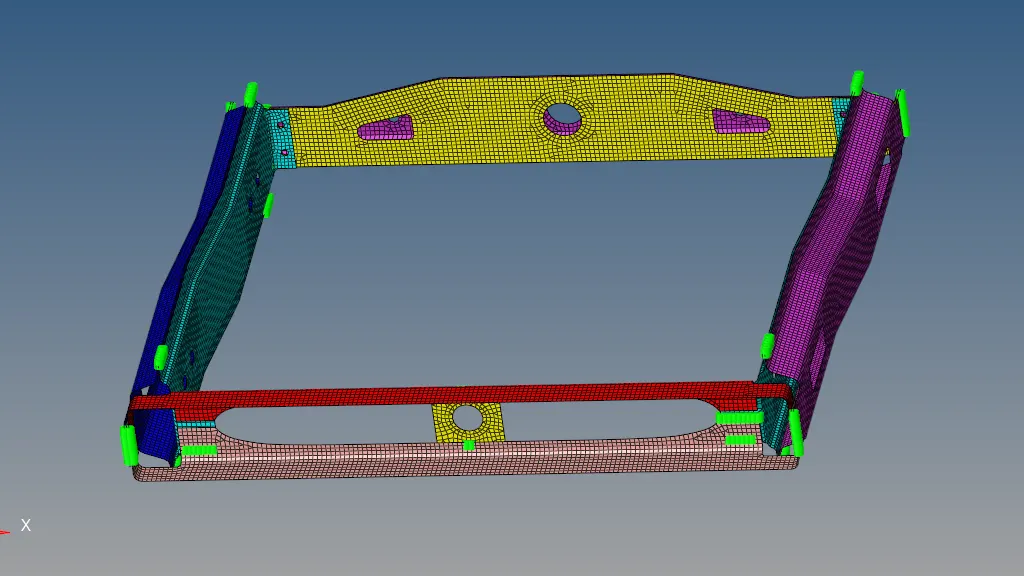
Week 9-Challenge
OBJECTIVE:-
To Create connector and Attach the various parts of the given model
1. Right_Rail_2 & Front_truss_1:- Seam-Quad
2. Left_Rail_2 & Front_truss_1:- Quad elements
3. Front_truss_2, Front_truss_1 & Right_Rail_1:- Spot weld with 3 Layers and 5 mm Diameter
4. Front_truss_2, Front_truss_1 & Left_Rail_1:- Hexa (Adhesive)
5. Rear_truss_2 & Right_Rail_2:- Bolt Connector
6. Rear_truss_2 & Left_Rail_2:- Bolt Connector
7. Right_Rail_1 & Right_Rail_2:- Spot-weld with Rigid Elements
8. Left_Rail_1 & Left_Rail_2:- Spot-weld with Spring Elements
9. Rest all the component left Join them with suitable connectors
PROCEDURE:-
STEP:1
Mesh the whole model at once by, F12>Mixed>Mesh, and check for remesh near connecting parts.
For a proper connection while, going through connector option.
STEP:2
Go to 2D and then to connectors, then select seam and select spacing as 6 & tolerance as 10.
Do this weld in Right_Rail_2 & Front_truss_1
STEP:3
Again, do seam weld for Left_Rail_2 & Front_truss_1
STEP:4
Go to 2D>connectors>Spot >type_weld>Select nodes>Select components>Select num layer as total2 >Select the diameter as 5mm. And the click on create.
Do this procedure for Front_truss_2, Front_truss_1 & Right_Rail_1

STEP:5
Similarly, go to 2D>connectors>seam>type_hexa adhesive.>select nodes>Select component>create .
Do this for front_truss_2, Front_truss_1 & Left_Rail_1

STEP:6
Now, Go to 2D>connectors >bolt>select nodes>select component>give tolerance>create
Do this for ear_truss_2 & Right_Rail_2, Rear_truss_2 & Left_Rail_2

STEP:7
Similarly, Go to the same options but a differece in selecting the type of weld required.
Do this for Right_Rail_1 & Right_Rail_2, Left_Rail_1 & Left_Rail_2
RESULT & CONCLUSION:-
FRAME: