Week 9 - Challenge 2 - Switch Bezel Design
week 9 challenge:
switch bezel challenge:
Aim:
To Create the Switch Bezel Plastic component through the given Class-A surface. To begin with, the tooling axis for the given Class-A Surface should be created meeting the requirements of the draft angle and at the end perform the Draft analysis on the model.
software used:
catia v5 R20
procedure:
download the given class A surface, then open it on the catia v5.
CLASS A SURFACE:
using join command join the given class a surfaces into a single surface.
using a boundary command in surface workbench, check whether it is joined properly or not.if not try to fix it.
here is shows the class A surface.
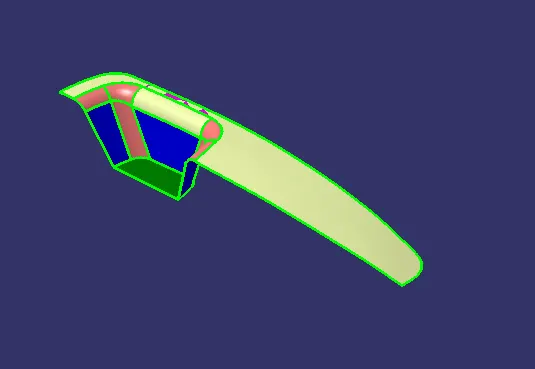
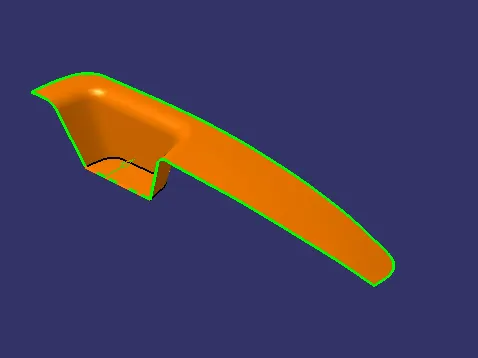
TOOLING AXIS:
creation of tooling axis . check for the plane which should be easy to create using injecton moulding and choose a hole slot or a plane surface .
then create a point in it and a dummy tooling axis. then, check for a parallel and slope surface. using a intersect command draw a intersecting line of x and y separately.
then draw a tooling axis for x and y separetely using a bisecting line . then draw a tooling axis as shown below.
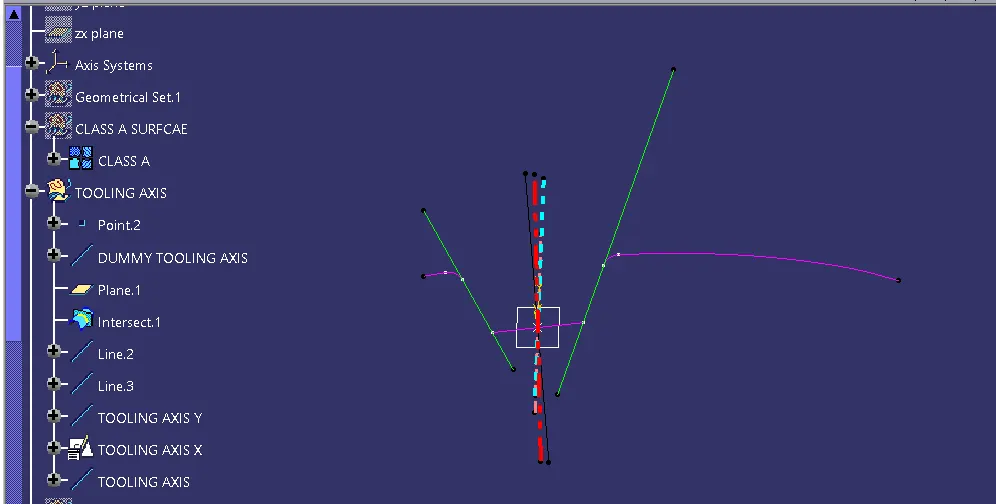
here the white line shows the dummy tooling axis. black indicates the intersecting line of the surface with respect to y axis. blue indicates the intersecting line of the surface with respect to X axis .
green indicates the angled surface in the y axis. red line indicates the tooling axis.
DRAFT ANALYSIS:
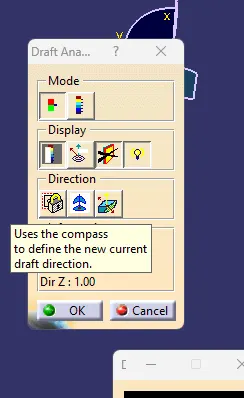
for draft analysis, in surface workbench click on insert>analysis>feature draft analysis as shown below:
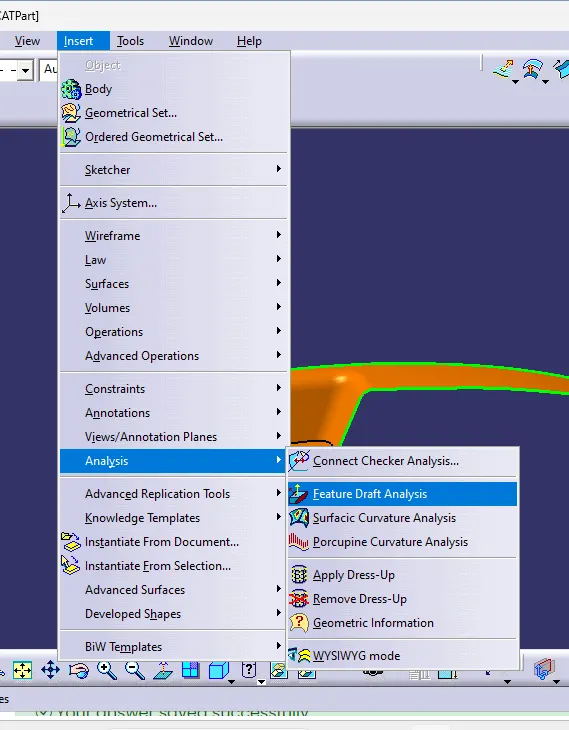
now click on compass to create c compass and place it on the tooling axis.
click on the class A surface to check the draft in the surface.
from the below figure it shows green which means it has a draft of more than three angle.
because less than three degree angle was difficult to manufacture.
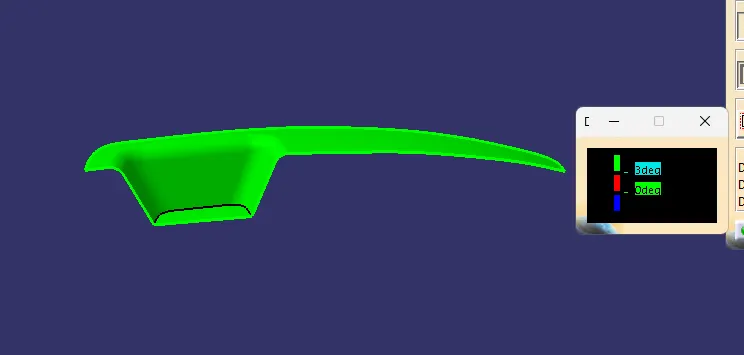
if the draft angle is less than three degree change the tooling axis angle or position and try it.
SURFACE B :
for creating a class b surface. first extract a plane surface and then untrim it. now extrapolate the untrim portion . then trim to get a final output. and offset it to a thickness of the component.
for this challenge, it is subdivided into three parts which is bezel arm rest, side wall and base.
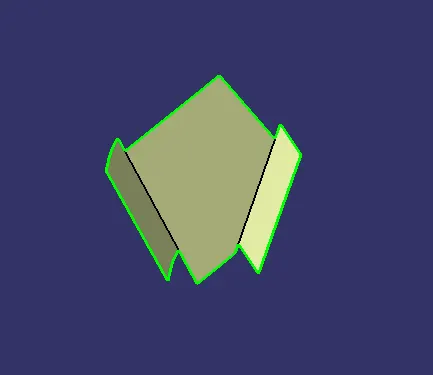
side wall are created using a surface which is plane in it. extract it using a extract command in the surface workbench.
then it is untrim and extrapolated. finally using a trim command to get the shape and offset as shown in above figure.
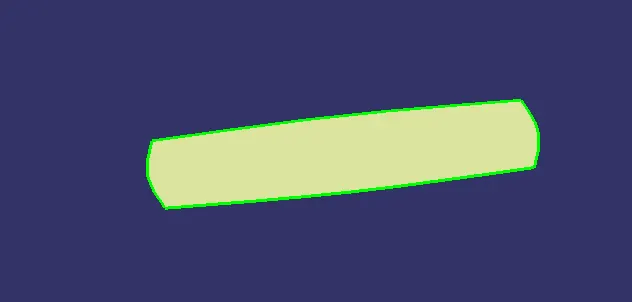
base:
it is also created as same as the walls which is shown below.
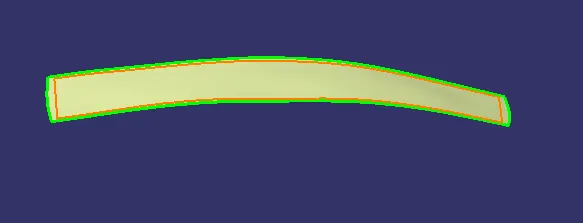
bezel arm rest:
as usual same procedure as walls.
final trim:
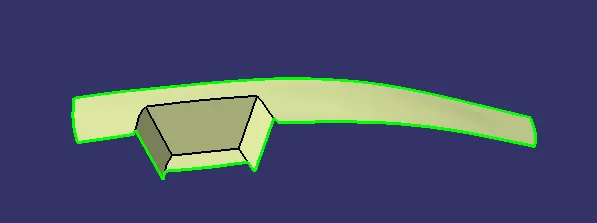
now, the bezel rest, walls and the base are trim to get a final class b surface as shown below:
fillets: create a fillets as the class a surface. if the fillet radius is inwards it should be subtract with the thickness of the component. else it is added with the thickness.
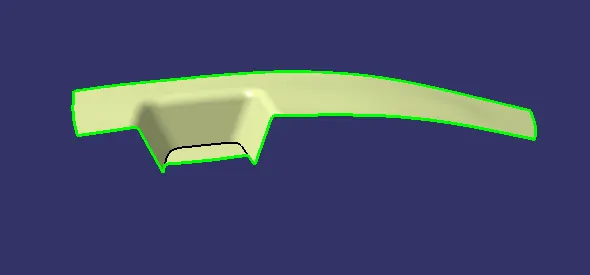
here it shows the CLASS B SURFACE.
note:
to check the clas B surface.create a boundary on it . if the booundary was along the corner it is perfect if not check it.
CLASS C surface:
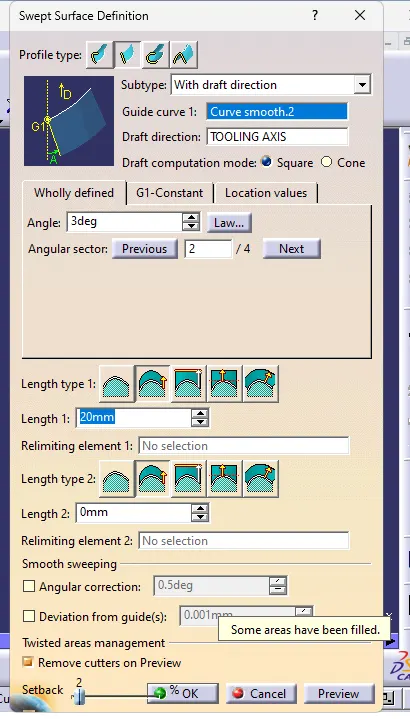
creating a class c surface firstly create a boundary along the class a surface. then using a sweep command sweep it.
for this boundary two individual boundary are created and then join together.
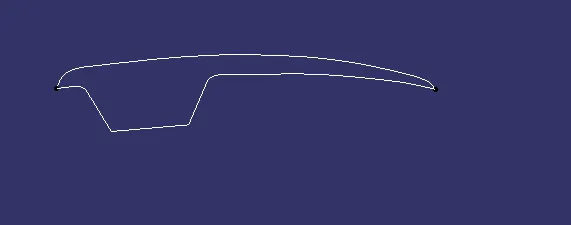
after creating a boundary, sweep it with draft direction as shown below.
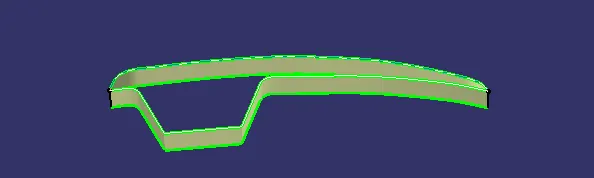
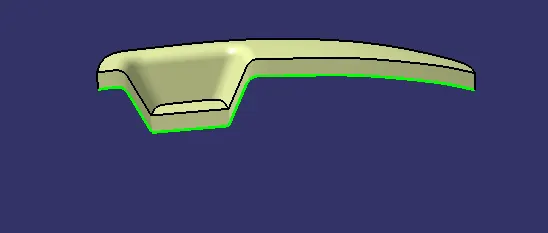
after creating a class c surface. using a join command join the CLASS A and CLASS C surface to get a joined surface as shown below.
FINAL OUTPUT:
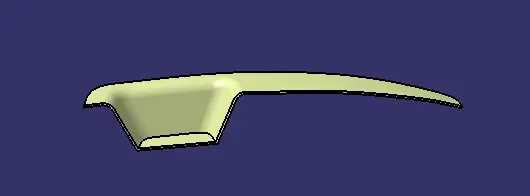
then trim the joined surface of A and C to the the classB surface to get a final output as shown below:
now, from the part design. create a solid body
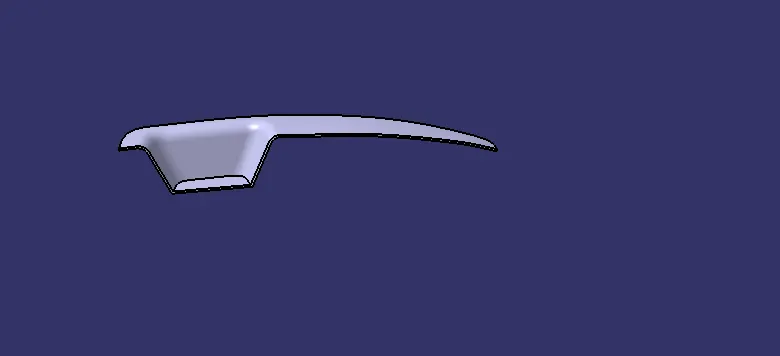
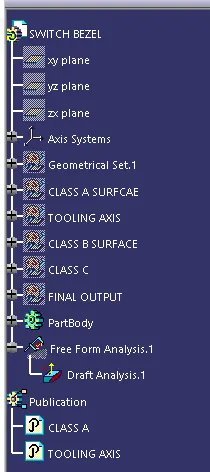
tree structure:
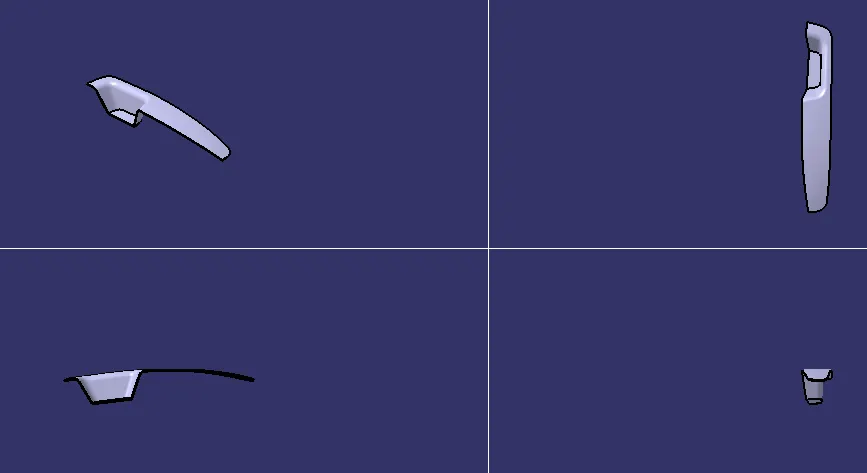
ALL views:
conclusion:
from the above, Created the switch bezel Plastic component through the given Class-A surface.
the catpart file is attached below.