Week 9 - Challenge 2 - Switch Bezel Design
SWITCH BEZEL DESIGN
Aim:
To create the switch bezel design in the creation of Class B surface and Class C surface with process of Draft Analysis of the final surface through Class A surface.
Objectives:
Creates proper Tooling axis.
Creates proper class B surface.
Creates proper class C surface.
Makes design as closed surface.
Do the Draft Analysis in the final design.
Tool Used:Catia V5
Introduction:
In this challenge we creates the Switch Bezel Design using the given class A surface and to perform the class B surface and done with offset of 2.5mm thickness and also creates the class C surface using class A surface nad the draft analysis is done on the final design.
Class A surface:
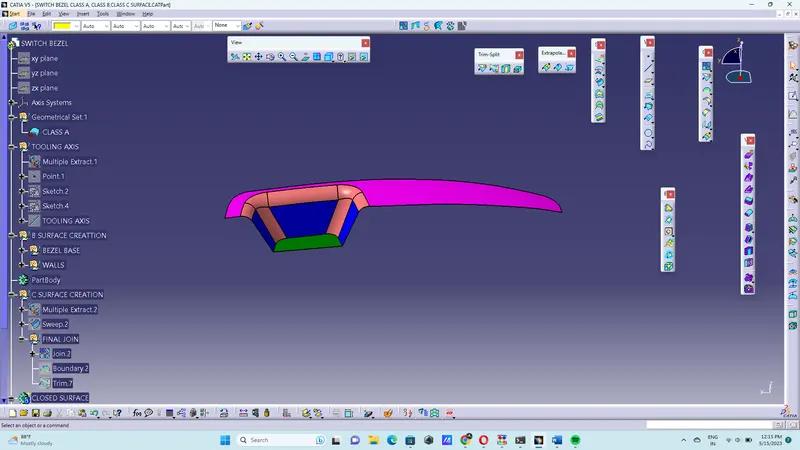
The Class A surface is given as the Catpart file and in the class A surface Tooling Axis is created.
Creation of Tooling Axis:
The Tooling axis is crated is created by intersecting the class A surface and then the line is drawn on the intersection on the both sides.Then by the bisecting option the Tooling Axis is created.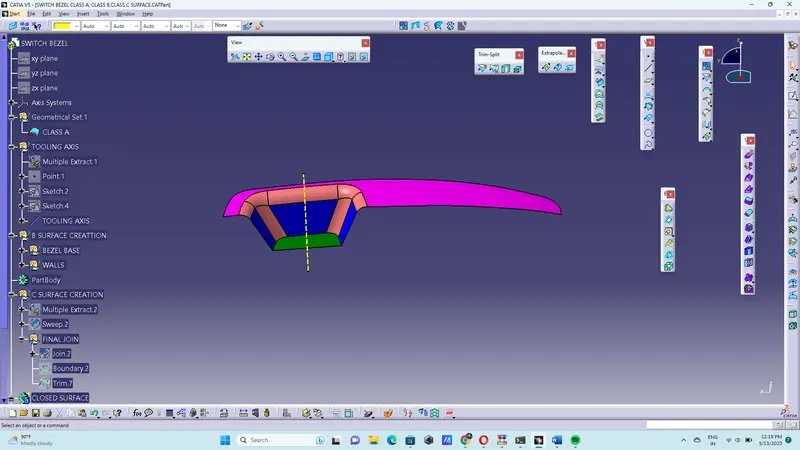
Creation of Class B surface:
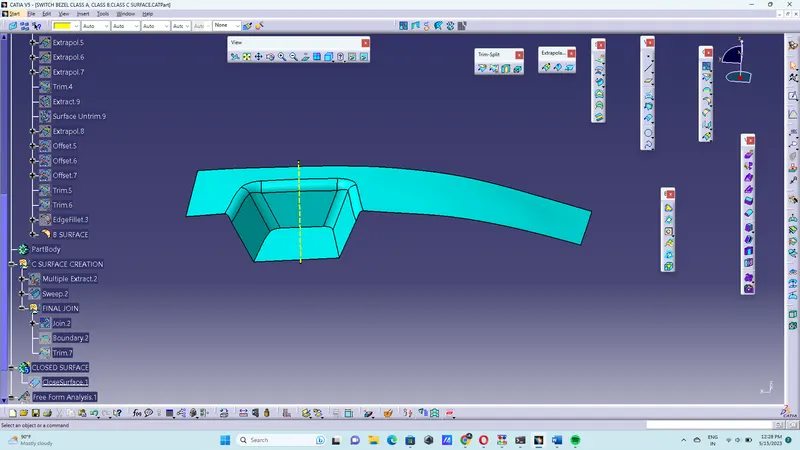
The Class B surface is created by the extraction from the class A surface then after extract, untrim option is used and extroplate the surface and then the class B suraface is created.
The class B surface is the suraface which gives thethickness from the ckass A surface and the class b surface is the engineering surface.
Creation of class C surface:
The Class C surface is created by the boundary or extraction by tangent continuity from the class A surface and then sweep is done on the boundary towards outside with draft direction and with the angle of 3 degree.
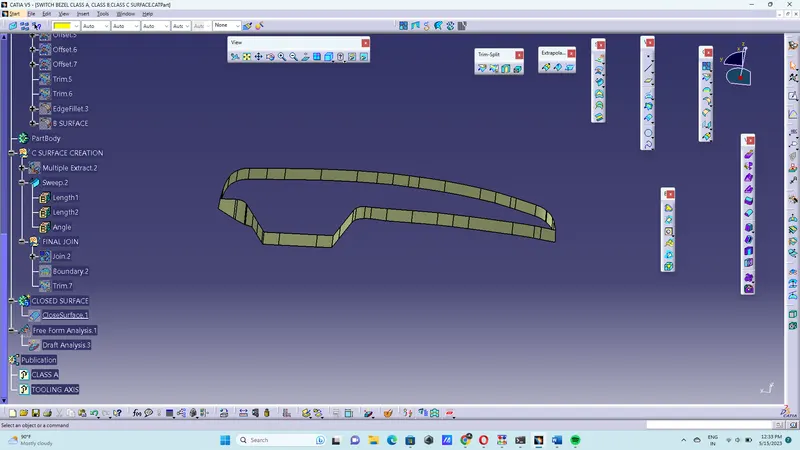
Class A And Class C surface:
The Class A surface and Class C surface are created by the joining process of the two surface.
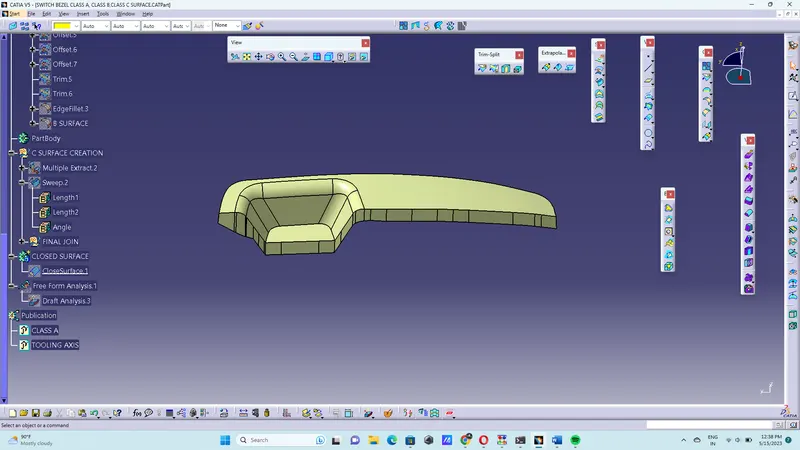
Class A + CLass B + Class C surface:
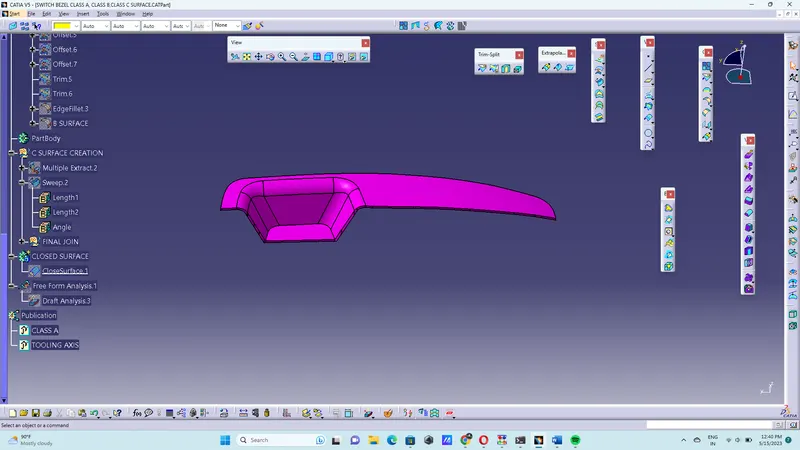
Closed surface of final surface:
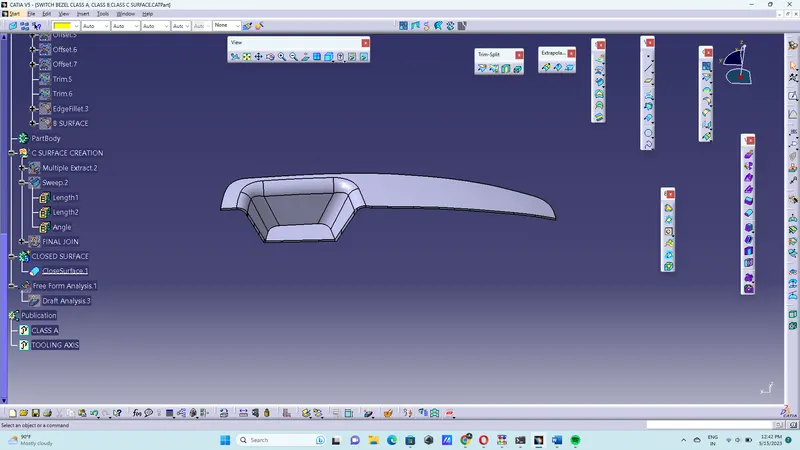
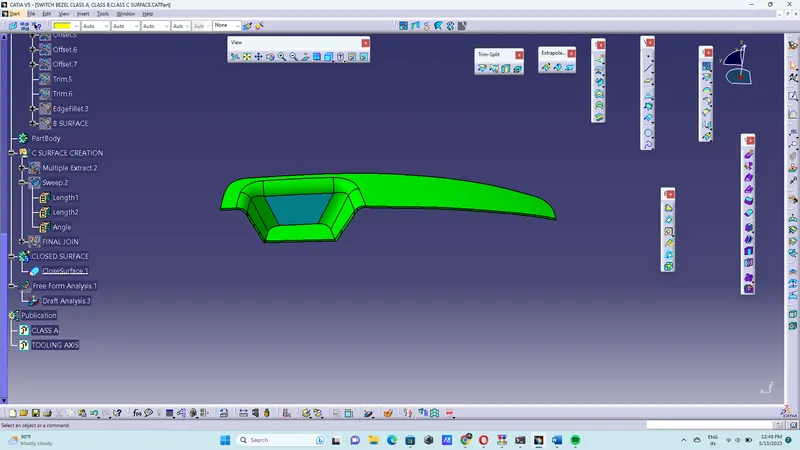
Draft Analysis on Closed surface:
The Draft analysis is done the closed surface with almost 3 degree so the all the surface shows the more than 3 degree.