Week 9 - Attachment Feature Creation (Ribs & Screw Boss) - Challenge 1
Week 9 - Attachment Feature Creation (Ribs & Screw Boss) - Challenge 1
Aim
The main objective is to create the solid door handle with ribs and screw bosses using the Tooling axis and to perform draft analysis an the solid body.
Contents
- Class A surface (given)
- Tooling axis (By bisecting method)
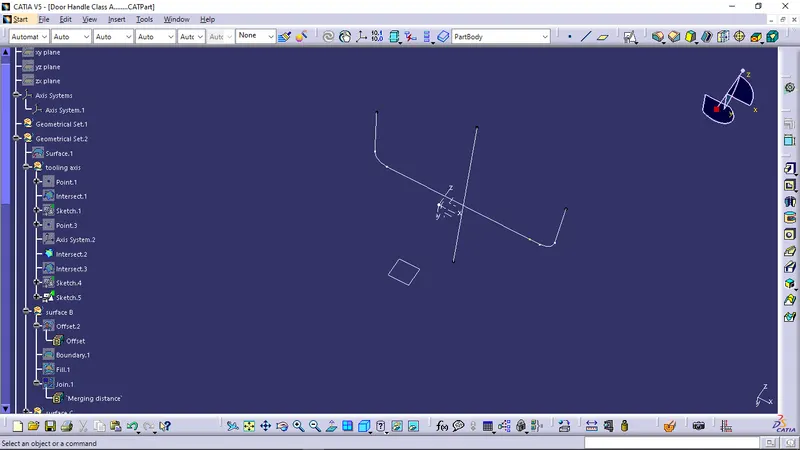
To create the 'Tooling Axis', the given class A should be observed thoroughly, For the given door handle class A, Y-axis is the best suitable tooling axis, It is decided based on the complete visiblity of the class A. Then using the intersections made by the appropriate planes and the class A, We get a crossection sketch. The dummy axis is drawn on the y axis. Then the lines which are more or less parallel to the y axis are taken into consideration and drawn. By bisecting the two lines , As an output The Tooling clearing axis was derived.
- Draft analysis of class A surface
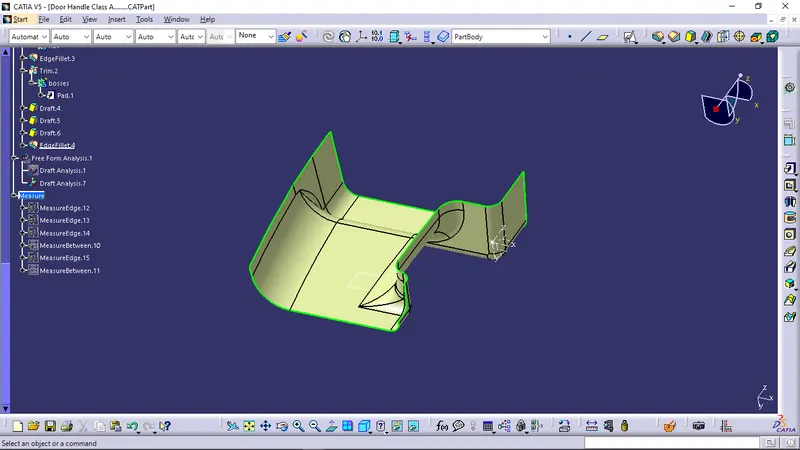
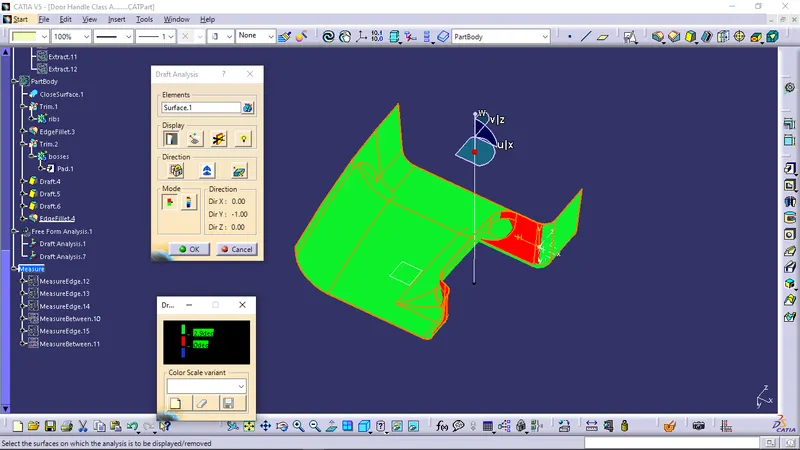
To perform the draft analysis of class A surface, click on Insert >Analysis > Feature Draft Analysis
Once the draft analysis toolbar is opened, The compass was selected and placed on the tooling axis, Then go to the display block and select the 'Analysis under the running point' command to check the angle for different sides on the class A surface. The color scale on the bottom visualizes, whether the draft angle meets the requirements or not (3 deg) by indicating the colors Green, Blue and Red.
Screenshots of the Draft analysis for the given Class-A surface with colour scale variant
- Class B surface
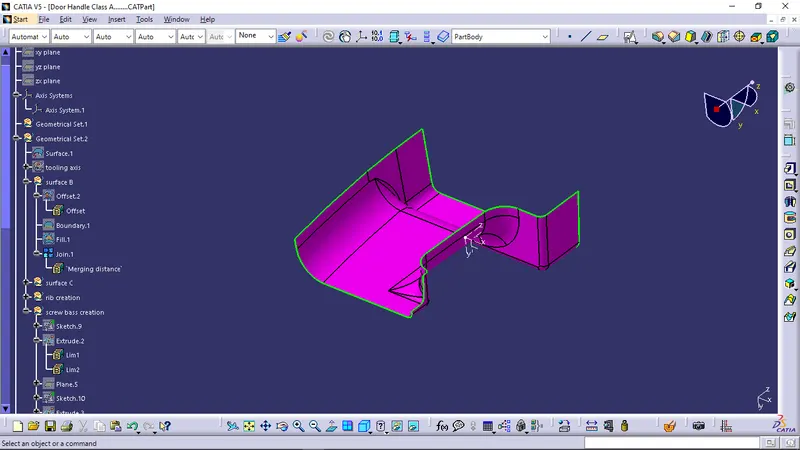
To create the class B surface from the class A, The class A was offset to 2.5 mm as required. There are some of the patches as issues. mostly those patches are from the fillet areas. So i used the fill comand to solve the patched fillets by considering the entire class B. After further operations, The class B was successfully created.
- Class C surface
To create a class C surface, I used the sweep command to avoid the continuity issue by considering the outer boundary of the class A surface. In the sweep command > 'with reference surface', select the outer boundary and adjacent surface, give 90 deg and select the direction to sweep & it was done multiple times as i have multiple boundaries, in this condition the class B surface is inside the class A surface so select the inside down arrow to sweep.
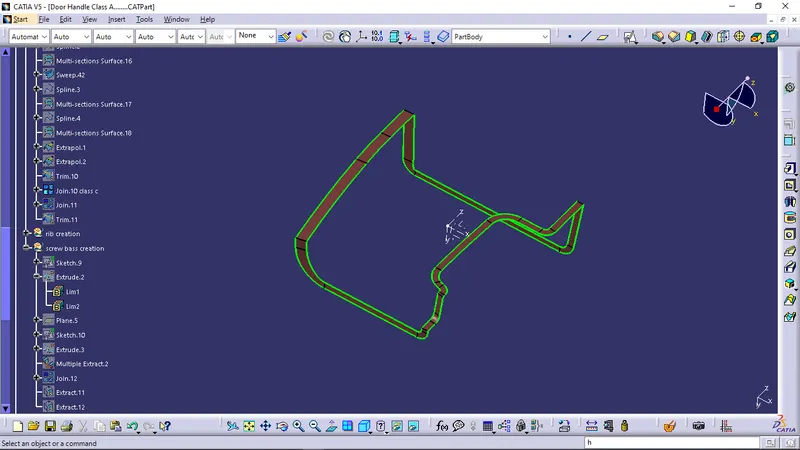
- Surface output of Door handle
Then the closed surface was created by using the 'Join' & 'Trim' operation consisting the Class A, C and Class B surfaces.
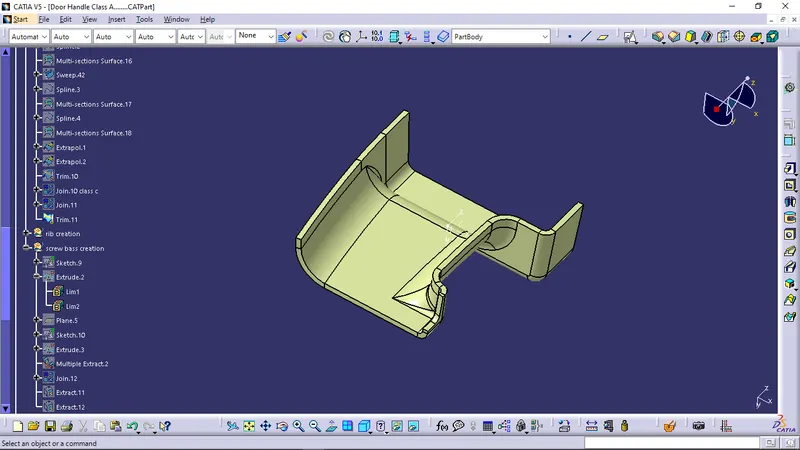
- Solid Door handle
To create the solid Door handle, Jump to part design workbench and select the closesurface option in the Surface based feature.
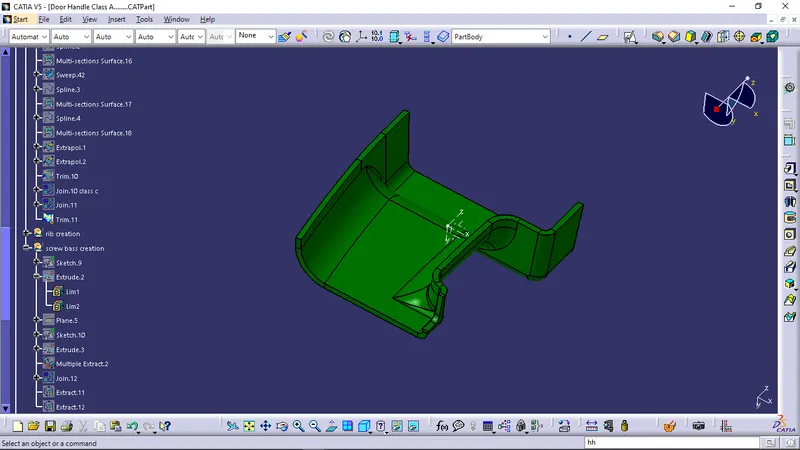
- Ribs and screw bosses
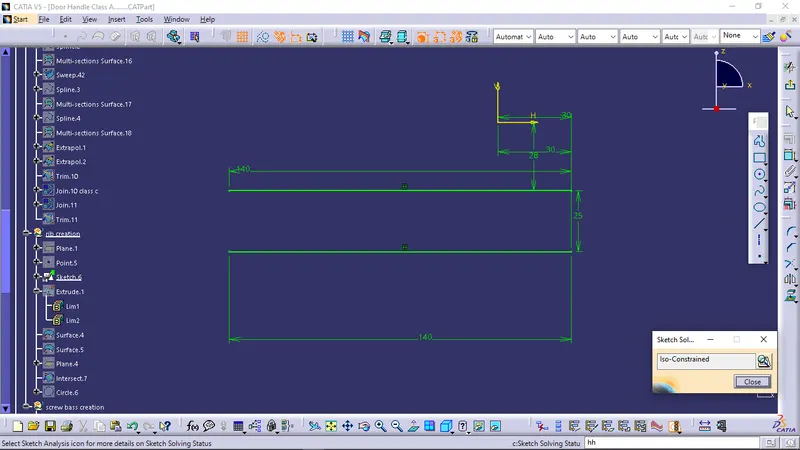
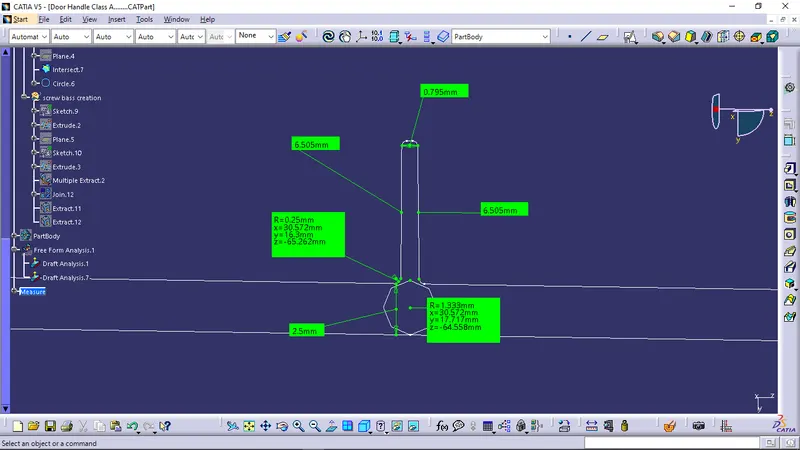
Rib root thickness
Maximum 30 % deviation
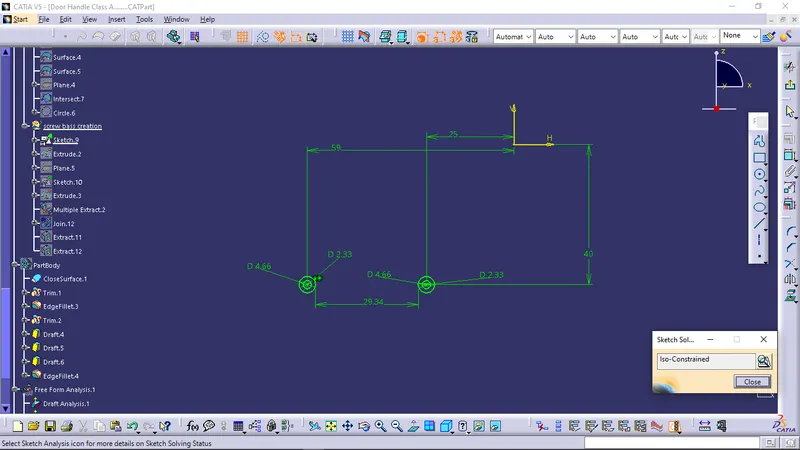
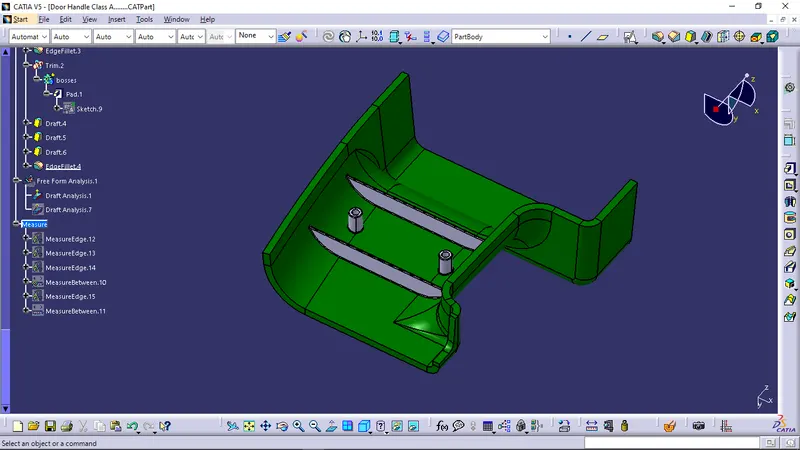
- Draft analysis of Solid Door handle
To perform the draft analysis of solid Door handle, click on Insert >Analysis > Draft Analysis
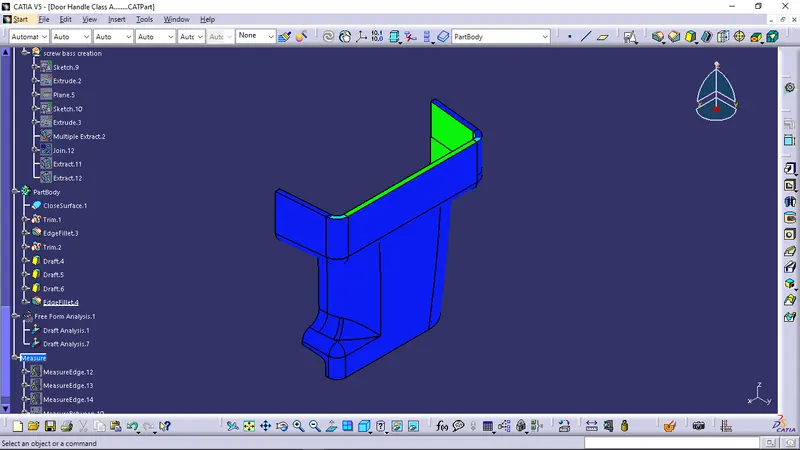
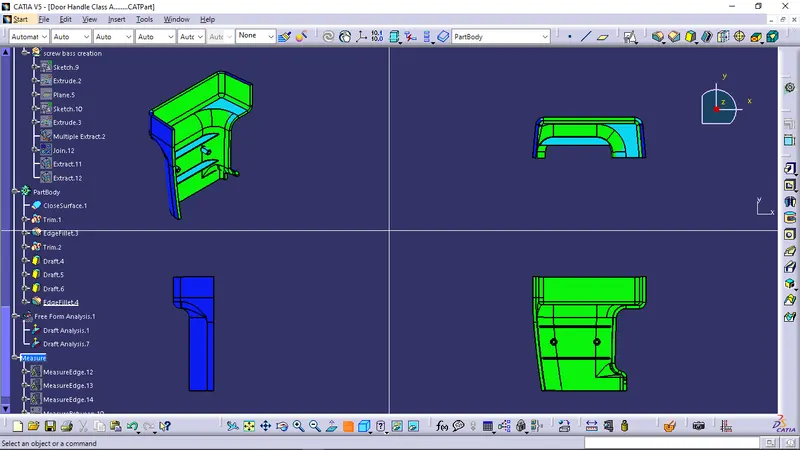
Once the draft analysis toolbar is opened, The compass was selected and placed on the tooling axis, Then go to the display block and select the 'Analysis under the running point' command to check the angle for different sides on the coin holder. The color scale on the bottom visualizes, whether the draft angle meets the requirements or not (3 deg) by indicating the colors Green, Blue and Red.
Screenshots of the Draft analysis for the solid Door handle with colour scale variant.
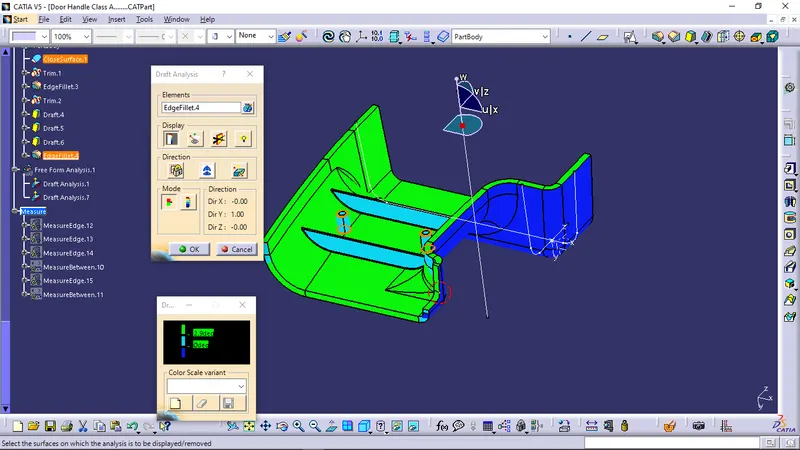
- Screenshot of the tree structure

- Screenshots of the solid model with the proper colour code of the draft angle in various orientations (Isometric, Front, Side, and Top View)