Week 9 - Attachment Feature Creation (Ribs & Screw Boss) - Challenge 1
AIM:
To Create a DOOR HANDLE attach with B side features Ribs & Screw Boss plastic component design throught the given CAT Part file from Class A surface To make a Class B & Class C Surface and final component.
OBJECTIVES:
1. To create the Door Handle Component from the given Class A surface.
2. To Create the the tooling axis for the given Class A surface meeting the requirement of Draft angle.
3. To Attach B side feature in the component.
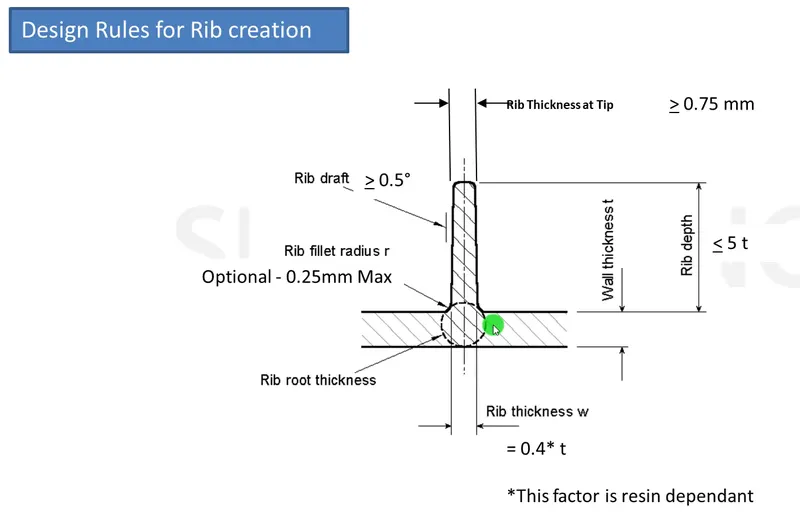
4. Create the rib for the Drill Handle considering the design rules.
TOOLING AXIS CREATION:
Tooling axis is the axis in which core cavity open during completion of injection molding. To create the tooling axis, we need the proper orientation or view that gives the correct features and draft available in the component.
Component view from the Y direction gives the proper view for the tool to see the features present in the geometry. To create the tooling axis from the Y direction we need the tooling axis from the Y direction since it gives the draft available at the slanted part.
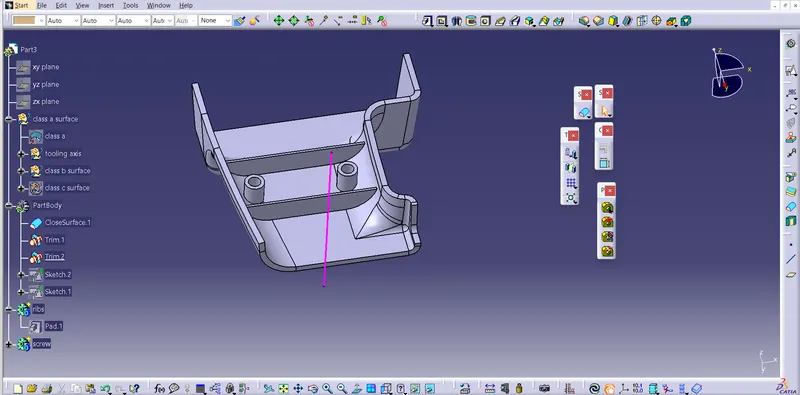
The tooling axis created from the X Direction By the following Steps:
- The class A surface is Extracted
- Then the center point is created using the point, on the base surface at 0mm.
- At the point axis system is created.
- After switching the view of the model to the X direction and creating the tooling Axis.
Using the intersect in ZX plane to get the boundary lines.
Then the lines are created along the slant surfaces.
Then these two lines are bisected to get the tooling axis for the X direction.
DRAFT ANALYSIS:
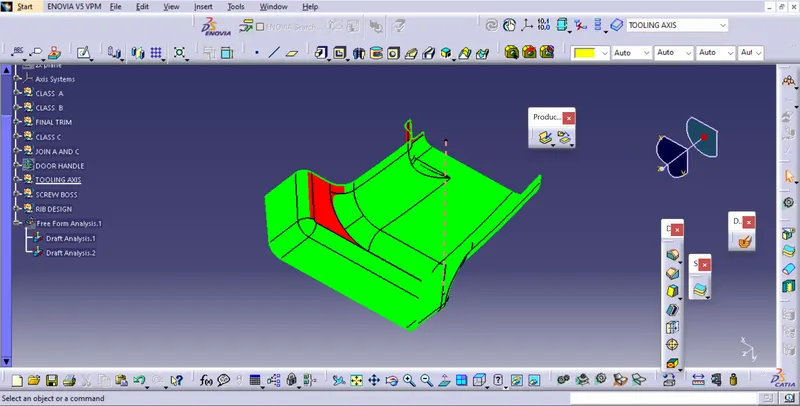
Draft analysis enables you to detect the part we drafted will be easily removed. This type of analysis performed on the base of color ranges identifying the zones on the analyzed element where the deviation from the draft direction at any points, corresponds to specified values.
- Go to insert
- Click on the compass icon and align it with the tooling axis and click on the surface, we will get our result
Draft analysis of Class-A surface:
CREATING CLASS B SURFACE:-
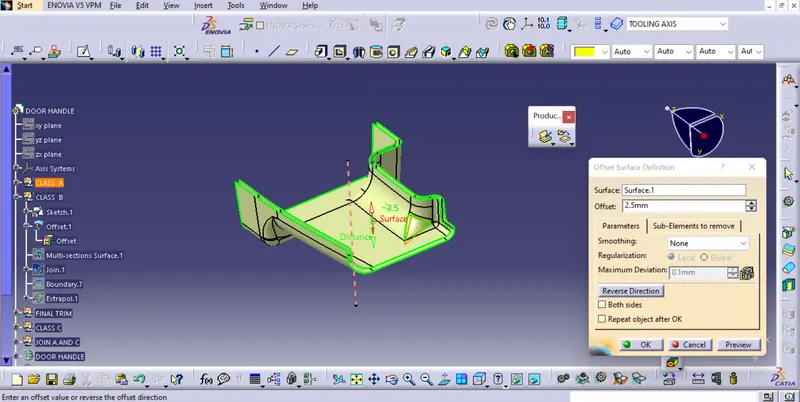
- Extract the surfaces from the class A using multiple extract and untrim them.
- Use Extrapolate to make sure that all the untrims are properly intersected to trim and offset the surfaces to 2.5 mm to create the thickness.
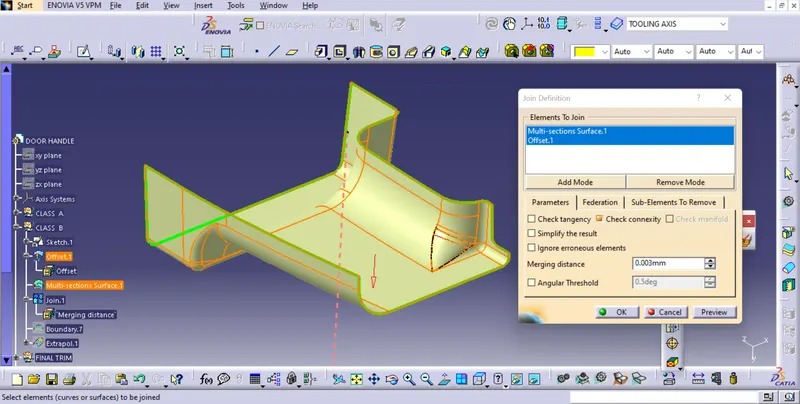
- Fill the patches which are not offested by the using the commands like extract,boundary and multi-section surface.
- Then join the patches to the offseted surface using the command.So will get the complete class B.
CREATING CLASS C SURFACE:-
- Extract the boundary from the class A surface using boundary command.
- Using disassemble tool to divide the boundary as the boundary contains domains.
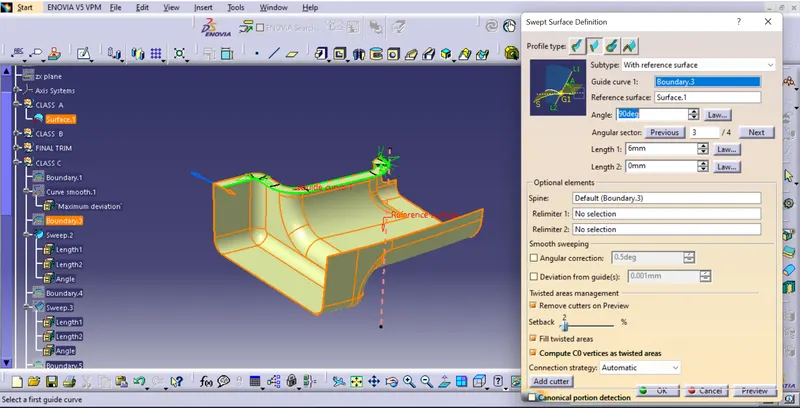
- Use sweep command > choose profile type line > subtype as with draft direction > choose guide curve and draft direction > draft angle as 3 degree > preview.
- After getting sweep then trim the output with class B surface to get final output.
- Now open part design workbench and using close body surface create a solid of the component.
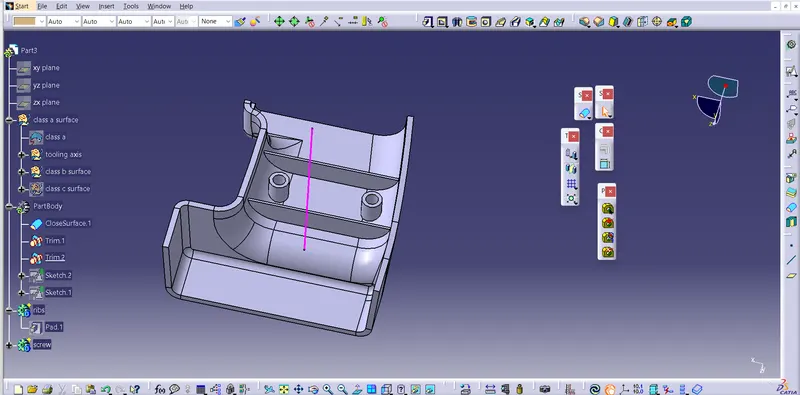
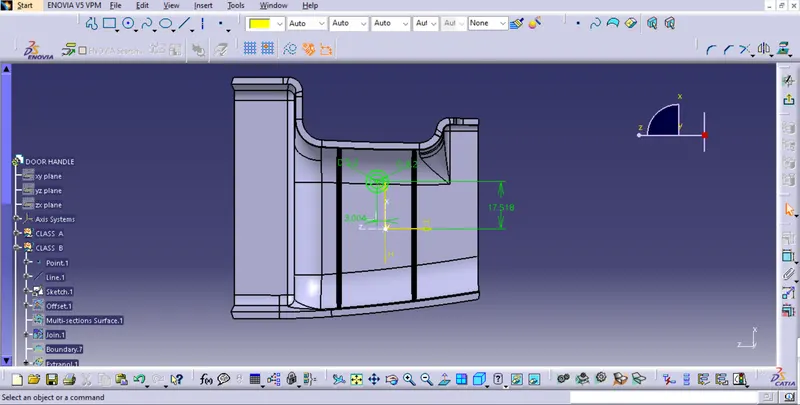
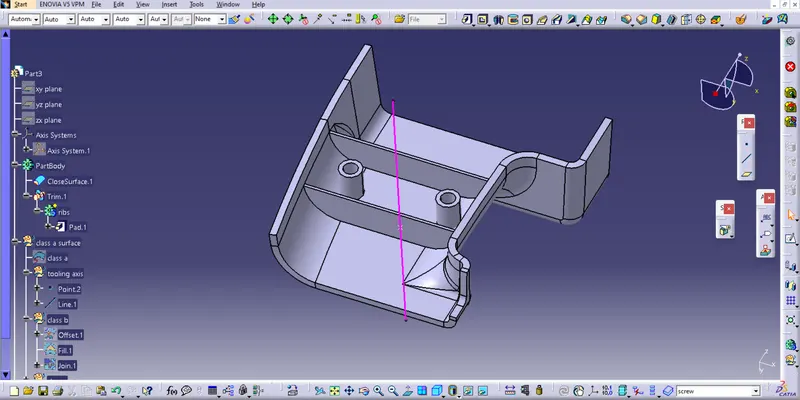
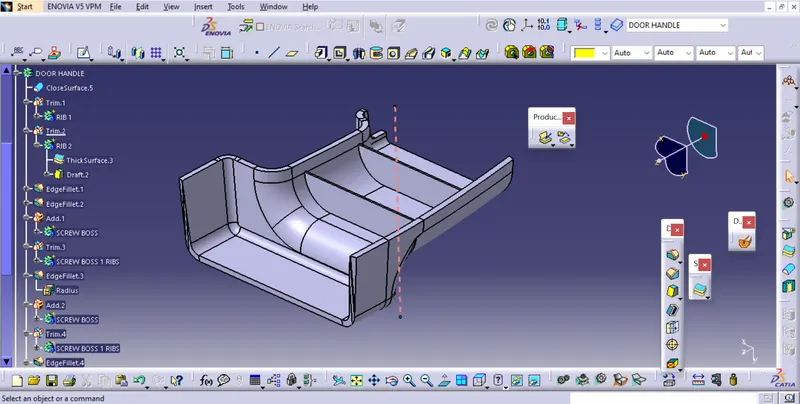
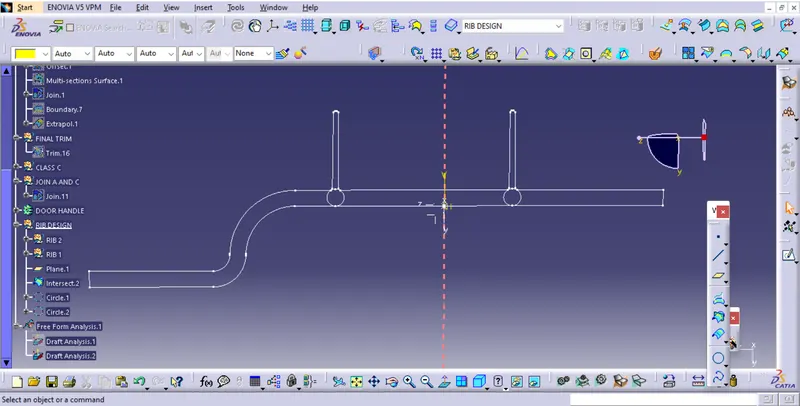
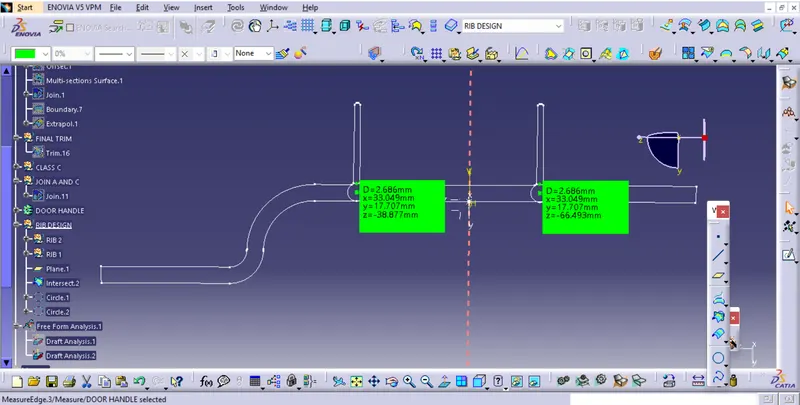
1)RIB CREATION:-
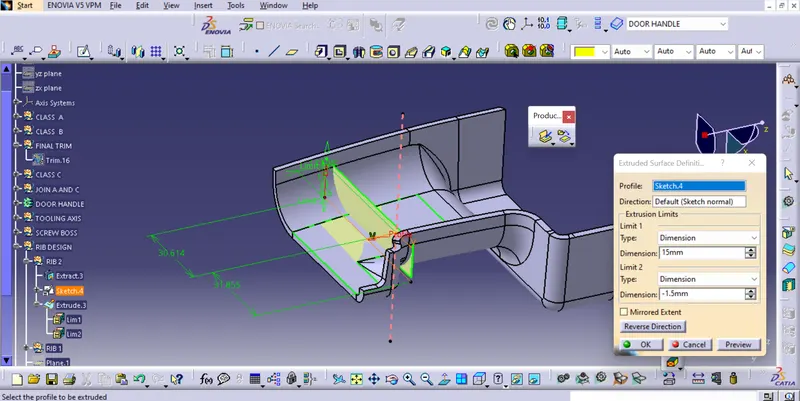
Ribs are a feature in plastic injection molded parts. They are thin extensions that run perpendicular from a wall or plane. They are commonly used to provide additional support and strength to a part.
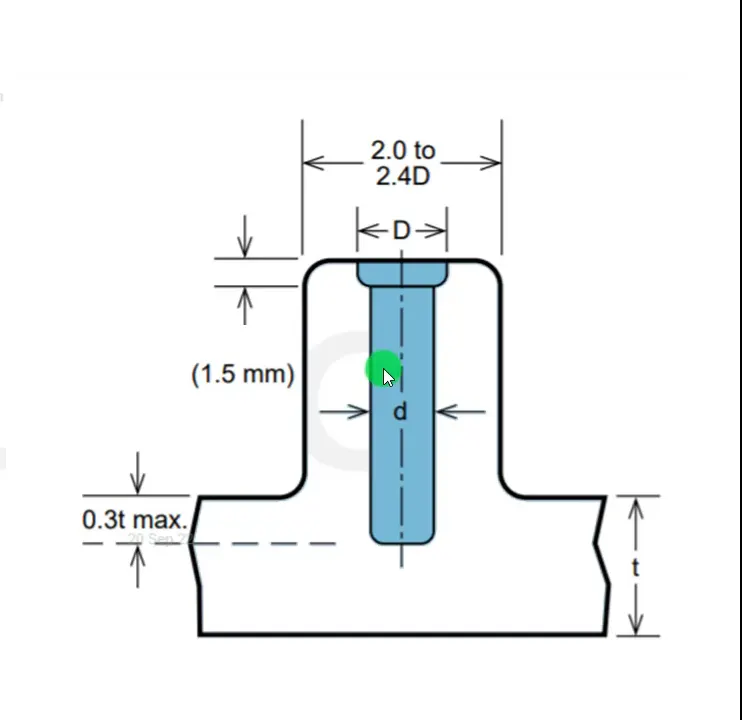
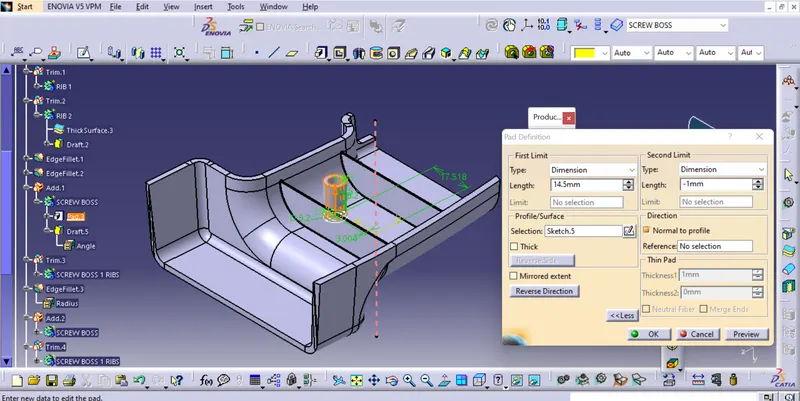
2)CREATION OD SCREW BOSS:-
Boss features are commonly found in injection molding designs. They are used to aid in the assembly of molded parts by providing a channel for a screw.