Week 9 - Attachment Feature Creation (Ribs & Screw Boss) - Challenge 1
DOOR HANDLE: -
- AIM:
- To Create the Door Handle Component from the given Class-A surface.
- To Create the tooling axis for the given Class-A Surface meeting the requirements of the draft angle.
- To Attach B Side Features in the component.
- To perform the Draft analysis on the model.
- PROCEDURE: -
- FEATURE TREE: -
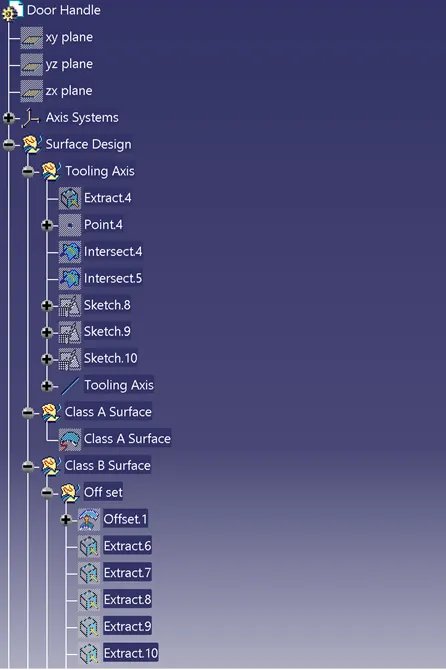
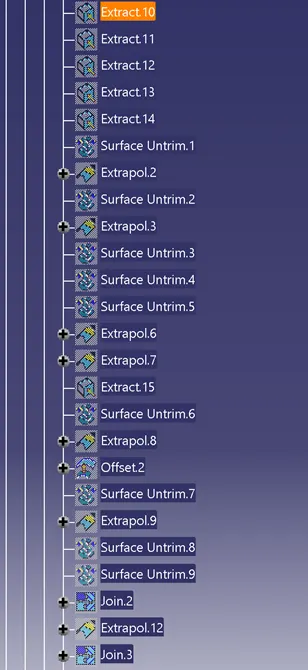
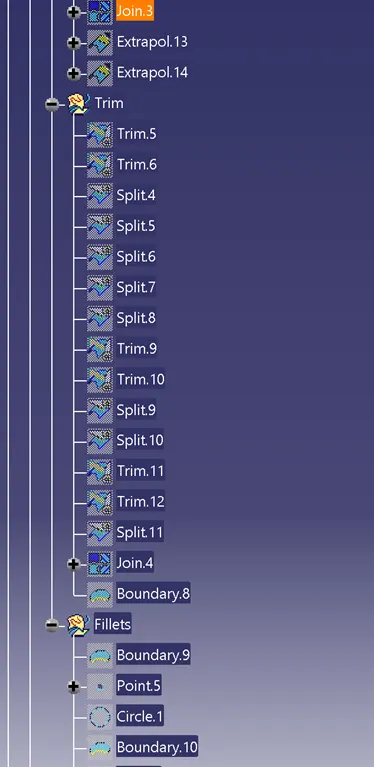
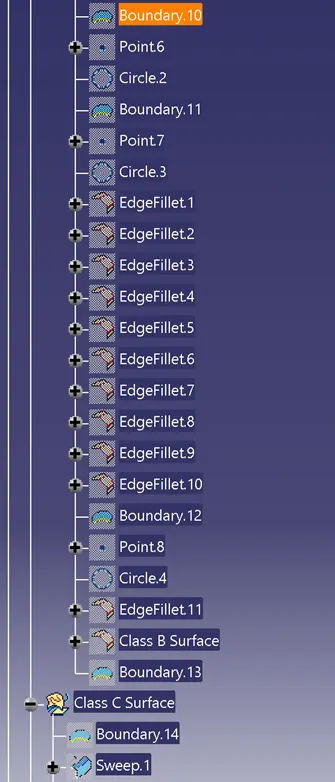
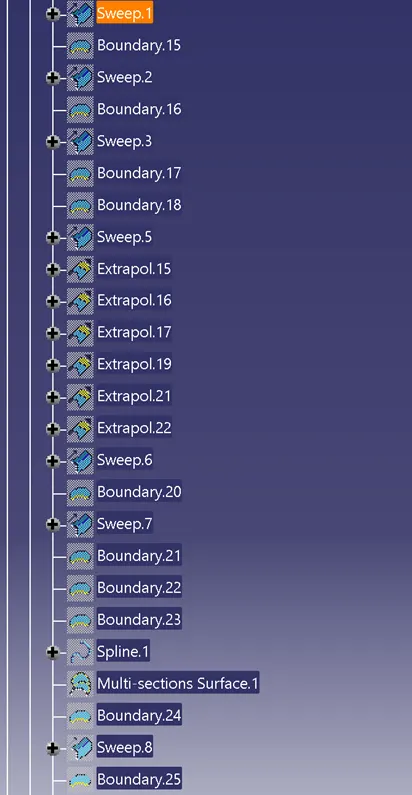
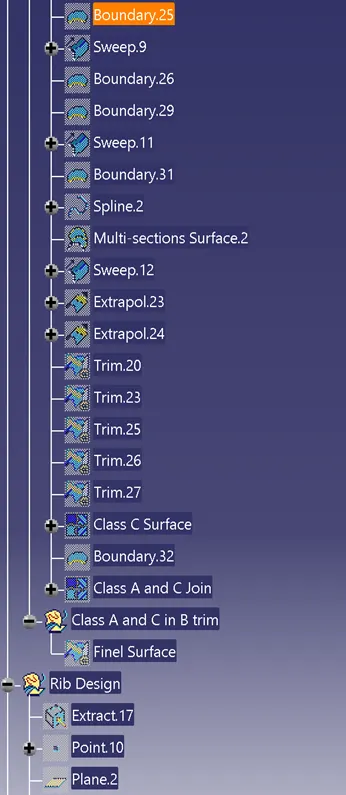
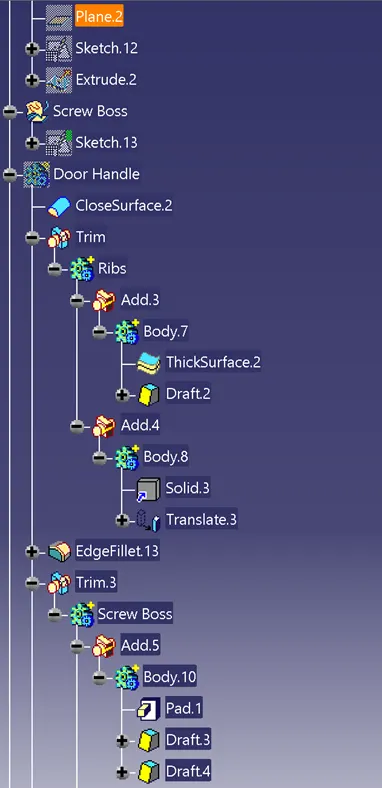
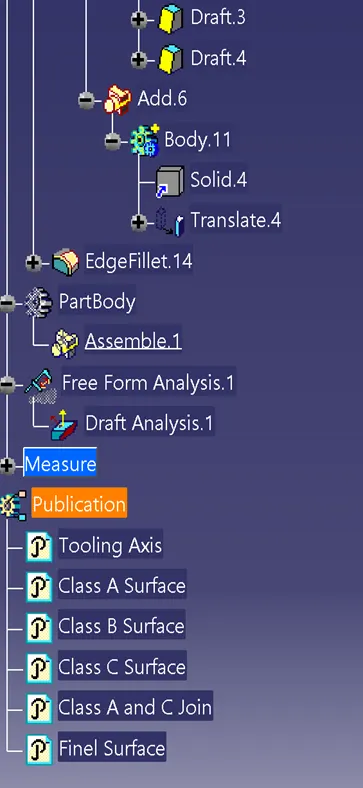
- CREATING TOOLING AXIS -
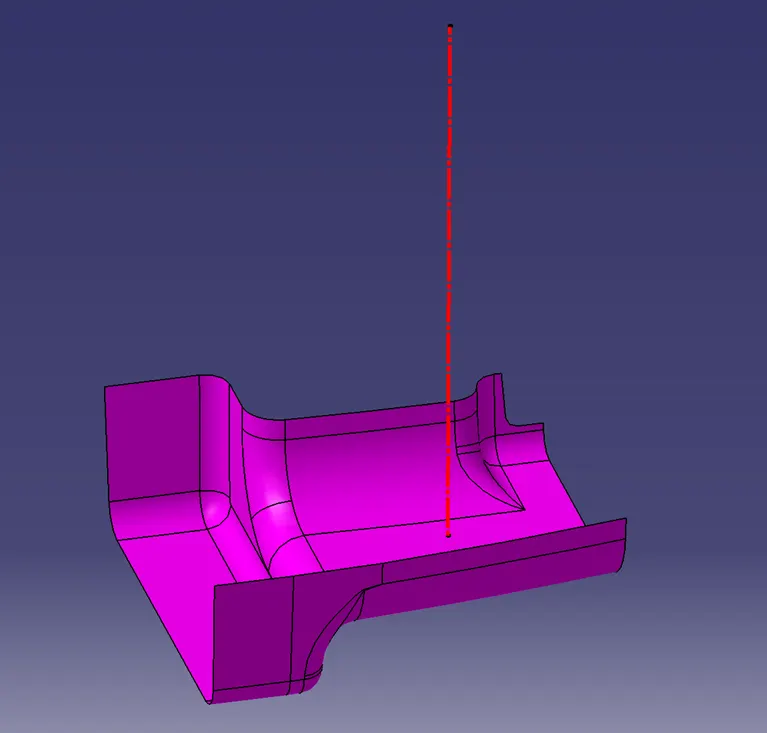
The Tooling Direction is basically the direction that the mould pulls a part. The mould is built in two separate pieces, basically. You have a Cavity side and you have the Core side. The Core pulls apart from the Cavity and that's the Dye line or the Tooling Direction. Check for gaps between surfaces for that click on join and then preview. If there any gap between the surfaces joins them with a maximum tolerance of 0.003 mm.
- DRAFT ANALYSIS OF CLASS A: -
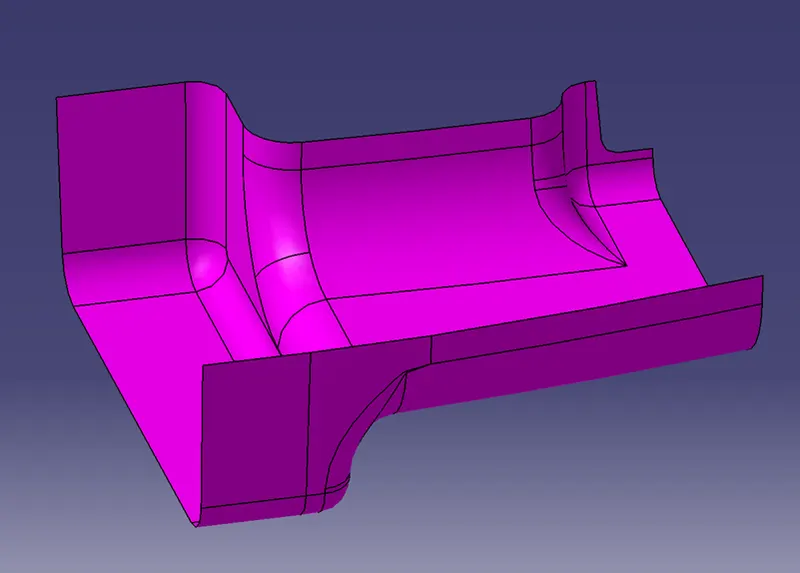
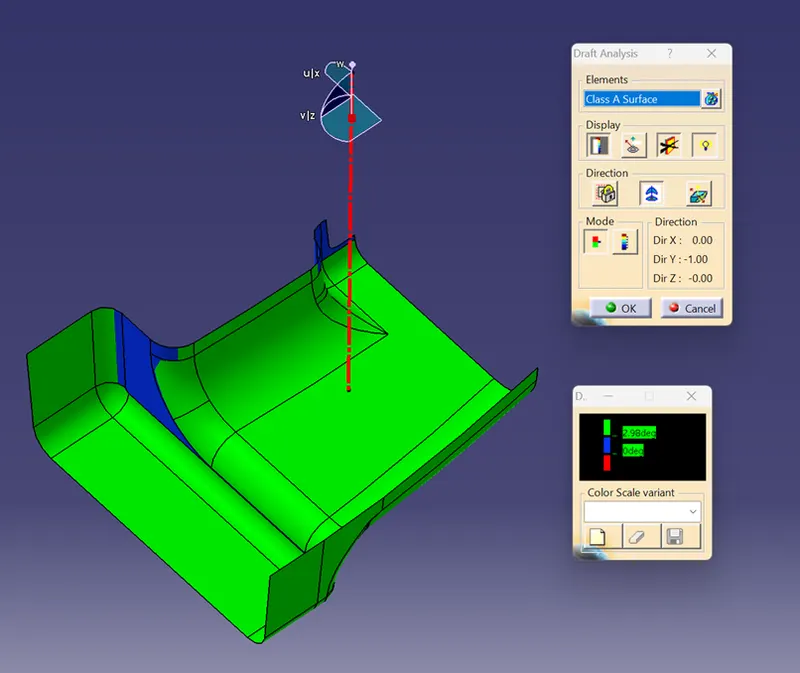
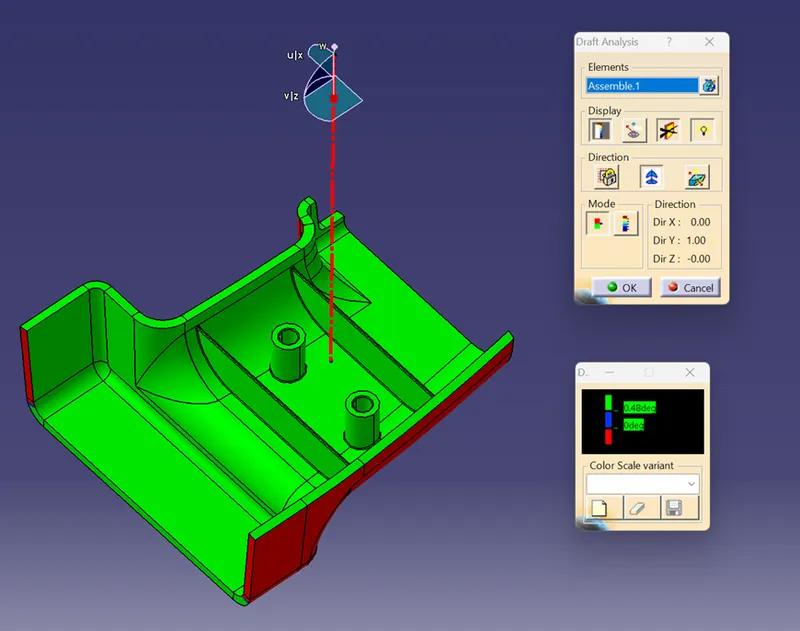
The Draft Analysis command enables you to detect if the part you drafted will be easily removed. This type of analysis is performed based on colour ranges identifying zones on the analysed element where the deviation from the draft direction at any point, corresponds to specified values.
- Before going to drat analysis go to customized view parameter >under mesh >check material and then click ok.
- Now for draft analyses go to insert » analysis » feature draft analysis.
- Use the compass to define the draft direction.
- In the colour scale change the draft angle to 3 degrees.
- The component changes to green in indication of passing draft angle.
- Use running point to check the angle on the component.
- CREATING CLASS B SURFACE: -
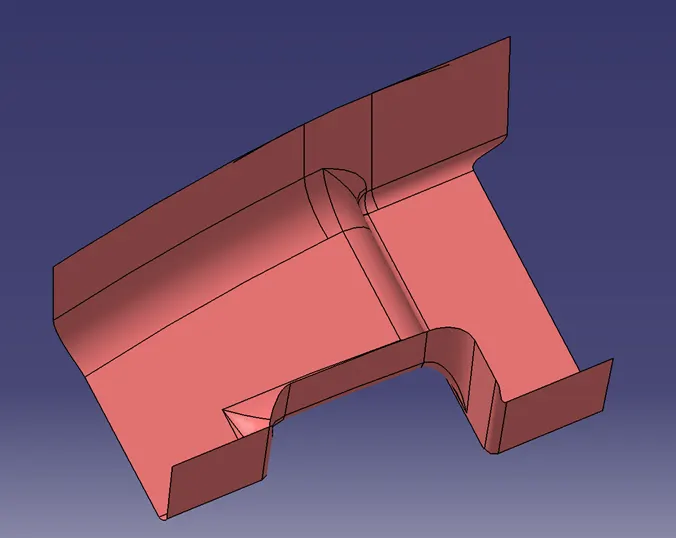
- Extract the flat surfaces from the class A using extract.
- Disassemble the surface
- Use Extrapolate to make sure that all the untrims are properly intersected to trim and offset the surfaces to 2.5 mm to create the thickness.
- Fill the patches which are not offsets by the using the commands like extract, boundary and multi-section surface.
- Then join the patches to the offset surface using the command. So will get the complete class B.
- CREATING CLASS C SURFACE: -
- Extract the boundary from the class A surface using boundary command.
- Using disassemble tool to divide the boundary as the boundary contains domains.
- Use sweep command > choose profile type line > subtype as with draft direction > choose guide curve and draft direction > draft angle as 3 degrees > preview.
- After getting sweep then trim the output with class B surface to get final output.
- Now open part design workbench and using close body surface create a solid of the component.
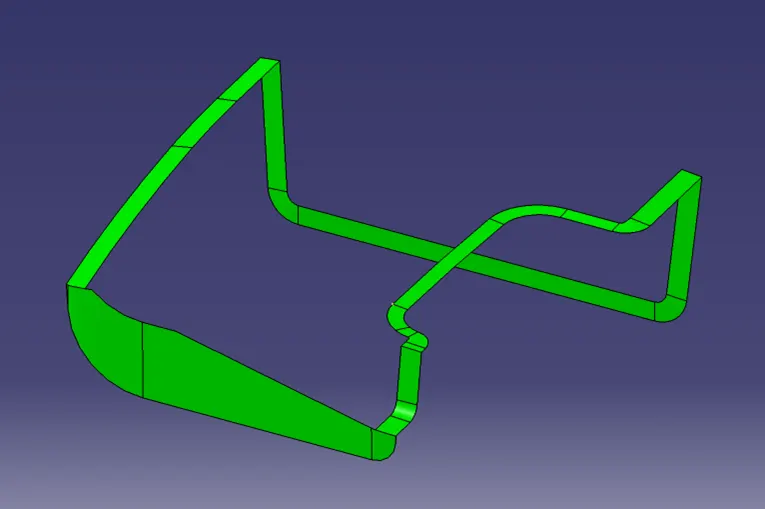
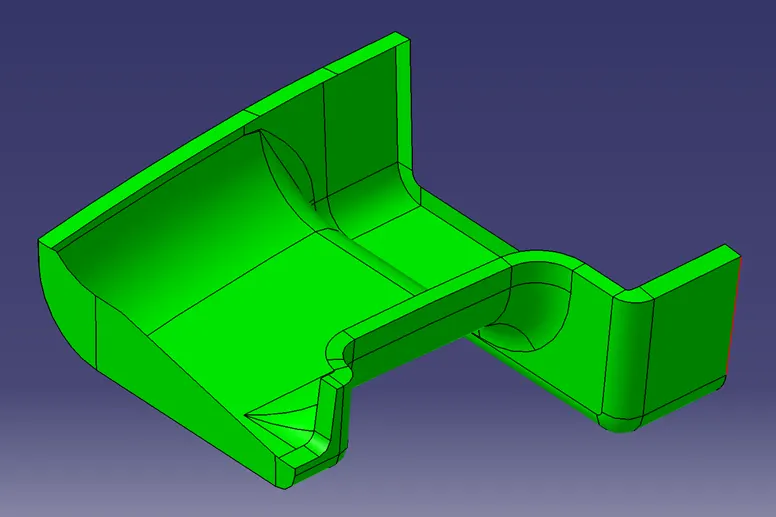
- CREATING B SIDE FEATURES: -
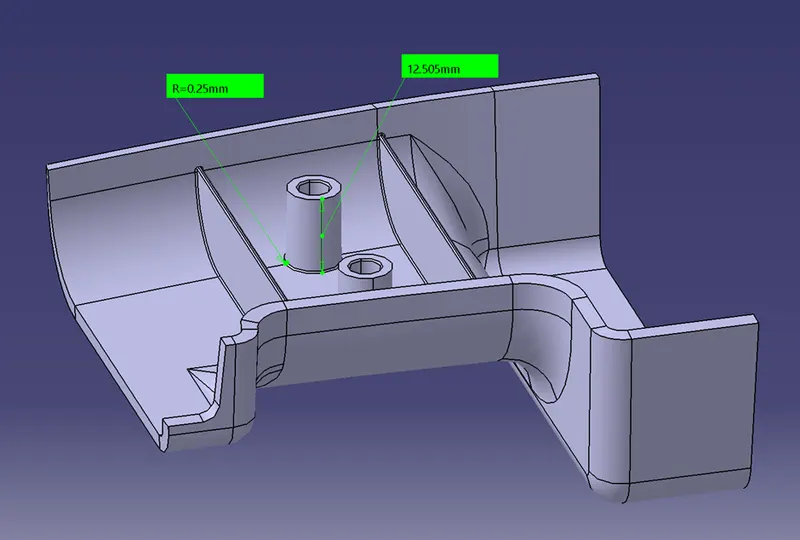
1)RIB CREATION: -Ribs are a feature in plastic injection moulded parts. They are thin extensions that run perpendicular from a wall or plane. They are commonly used to provide additional support and strength to a part.
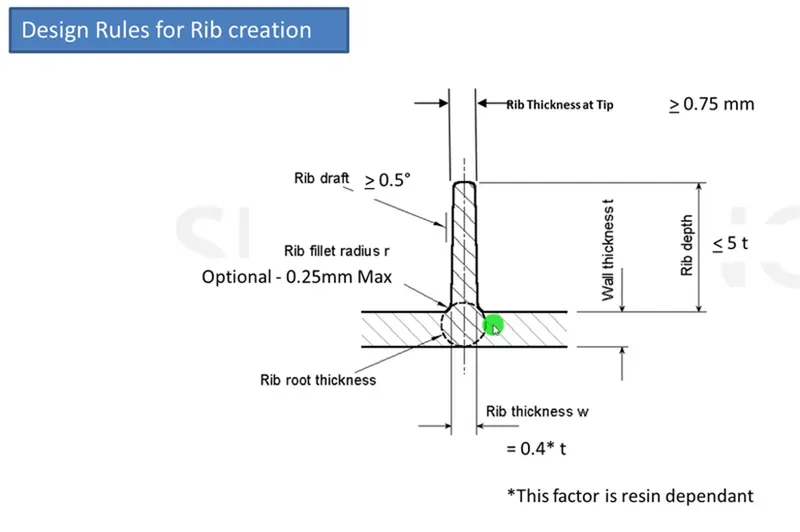
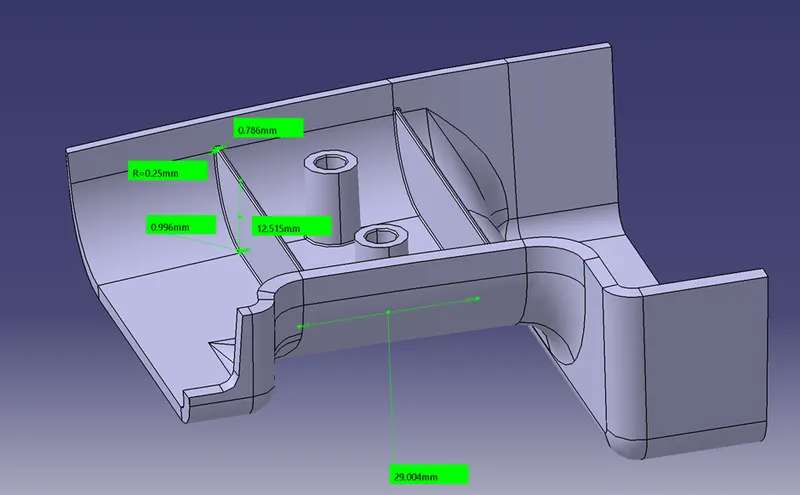
2)CREATION OD SCREW BOSS: -Boss features are commonly found in injection moulding designs. They are used to aid in the assembly of moulded parts by providing a channel for a screw.
- DRAFT ANALYSIS OF FINAL PART: -
Draft angle for solid wall part is 3 degree and for screw boss and rib it’s a 0.5 degree. Following image shows that our solid body is correct and formable also because it passes the draft analysis.
- FINAL OBJECT: -
- CONCLUSION: -
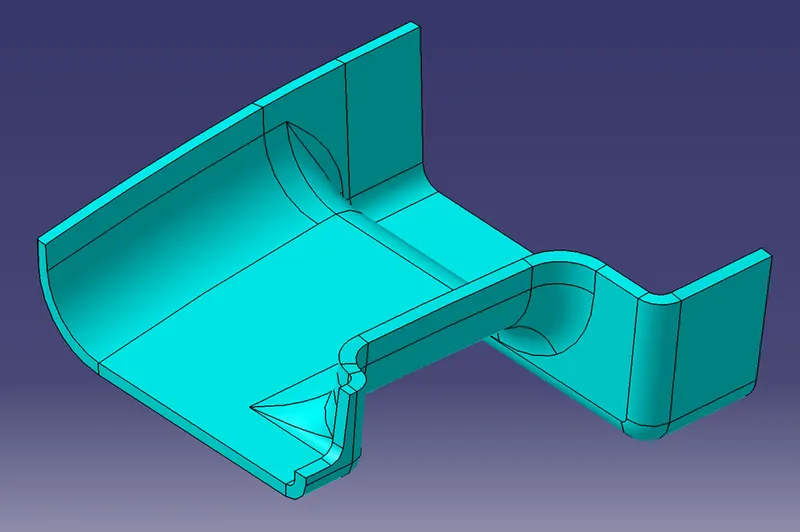
Class A surface of Door Handle is successfully converted into solid body and all the B side Rib and Screw Boss also created on Class B surface with the correct terminology. Its passes the draft analysis also means we can conclude that it is manufacturable or Formable.