Week 9 - Attachment Feature Creation (Ribs & Screw Boss) - Challenge 1
WEEK -9 RIP'S & SCREW BOOS CHALLANGE -1
AIM:
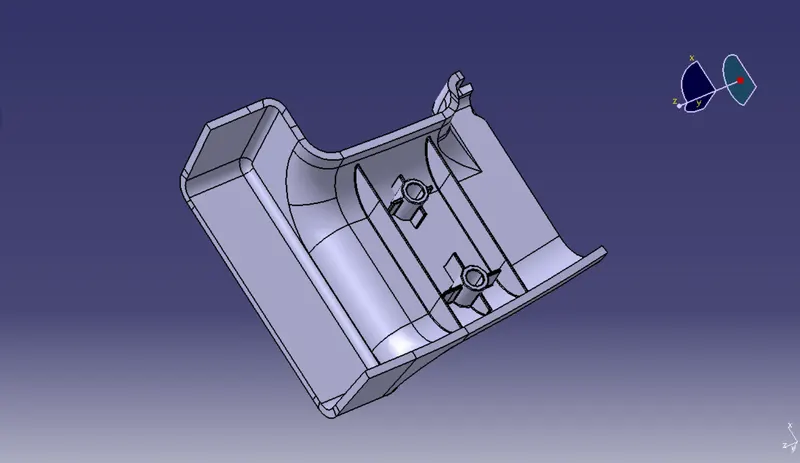
- To Create a DOOR HANDLE attach with B side features Ribs & Screw Boss plastic component design throught the given CAT Part file from Class A surface To make a Class B & Class C Surface and final component.
OBJECTIVES:
1. To create the Door Handle Component from the given Class A surface.
2. To Create the the tooling axis for the given Class A surface meeting the requirement of Draft angle.
3. To Attach B side feature in the component.
4. Create the rib for the Drill Handle considering the design rules.
TOOLING AXIS CREATION:
- Tooling axis is the axis in which core cavity open during completion of injection molding. To create the tooling axis, we need the proper orientation or view that gives the correct features and draft available in the component.
- Component view from the Y direction gives the proper view for the tool to see the features present in the geometry. To create the tooling axis from the Y direction we need the tooling axis from the Y direction since it gives the draft available at the slanted part.
The tooling axis created from the X Direction By the following Steps:
- The class A surface is Extracted
- Then the center point is created using the point, on the base surface at 0mm.
- At the point axis system is created.
- After switching the view of the model to the X direction and creating the tooling Axis.
- Using the intersect in ZX plane to get the boundary lines.
- Then the lines are created along the slant surfaces.
- Then these two lines are bisected to get the tooling axis for the X direction.
- Below line represent the tooling axis for surface.
DRAFT ANALYSIS:
- Draft analysis enables you to detect the part we drafted will be easily removed. This type of analysis performed on the base of color ranges identifying the zones on the analyzed element where the deviation from the draft direction at any points, corresponds to specified values.
- Go to insert
- Click on the compass icon and align it with the tooling axis and click on the surface, we will get our result.
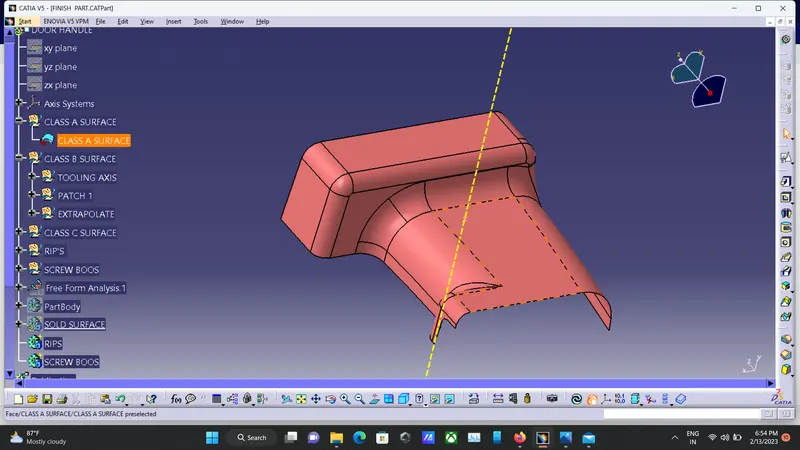
CREATING B-SURFACE:
- To create the class B surface, offset the class A surface inside as per our thickness requirement (here the thickness is 2.5mm, so I offset the Class A to 2.5mm inside). Once the offset is created, we can observe patch on the offset surface by taking the boundary for the offset surface, that patch is formed due to the fillets on the class A surface. We need to cover that patch with the help of the multi-section 'FILL' command by extracting the patch boundaries. Once patch on the offset are covered properly join all the patches with the offset surface, to get the replicated surface of the class A surface.
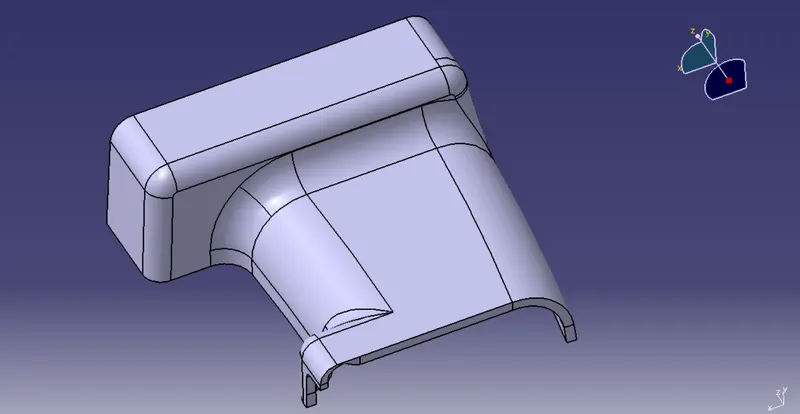
Patch:
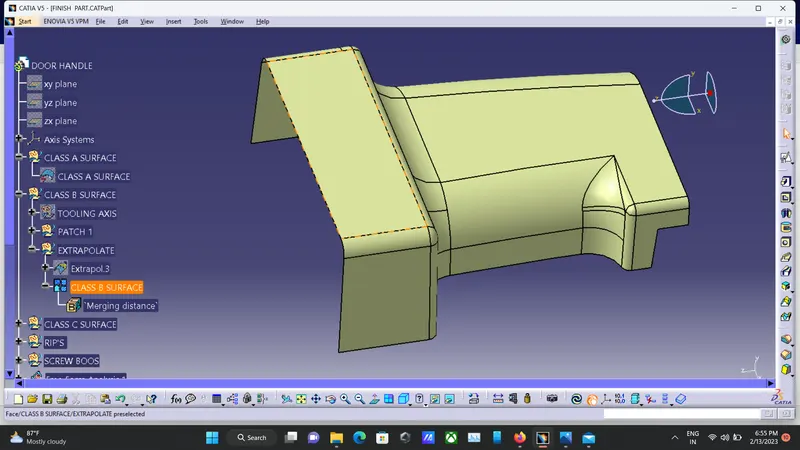
Final surface:
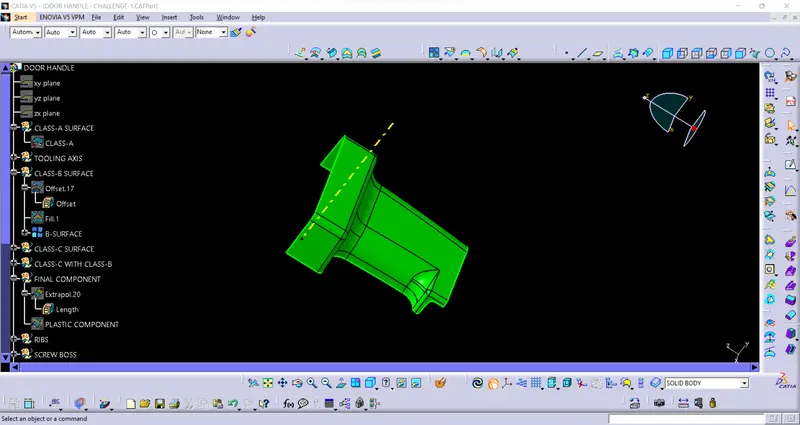
CREATING CLASS-C SURFACE:
1. Extract the boundary from the class A surface using boundary command .
2. Use sweep command> choose profile type line > subtype as with reference surface > choose guide curve and reference surface > draft angle as 93 degree > preview.
3. After getting sweep trim them the output with class B surface to get final output.
4. Now open part design workbench and using close body surface create a solid of the component.
Final Plastic component:
RIB CREATION:
- Design Principle for Rib Creation
-
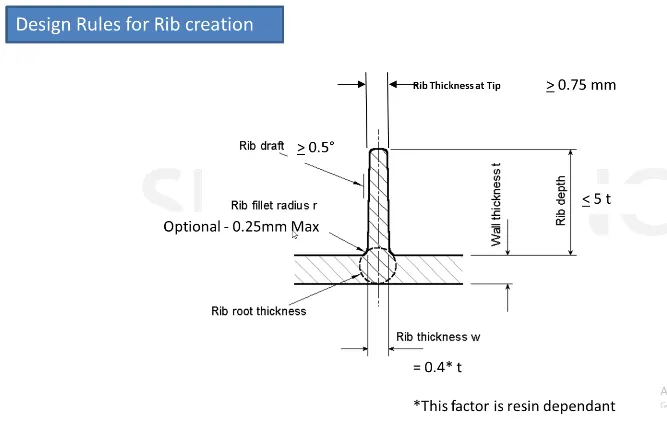
Ribs are thin wall protrusions that extend perpendicularly from a wall or plane. They are usually found in clusters offering support to a plane that would have otherwise been too thick, but can also be stand-alone support for a single wall. They are commonly used to provide additional support and strength to a part. Thickness and location are essential to rib design.
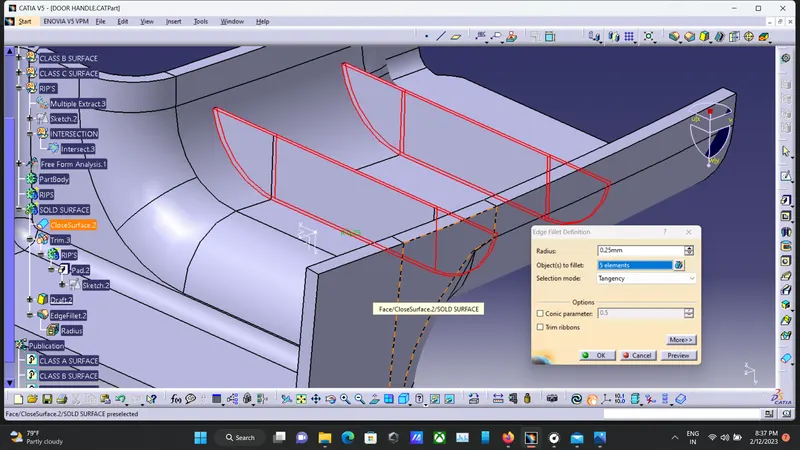
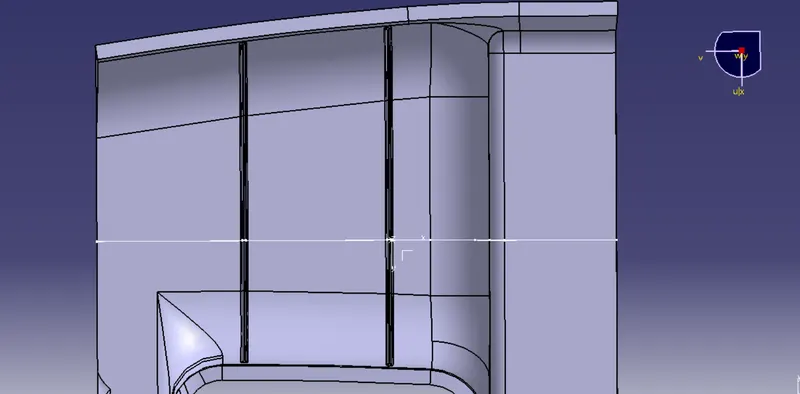
First, the base surface where the rib has to be created is extracted using the Extract command. A positioned sketch is created and the profile for the rib is drawn.
-
Next, the profile is extruded, to find the height,h = Wall thickness * 5
= 2.5*5
= 12.5 mm
Therefore, the height is 12.5 mm
-
The extruded surface is thickened,
Thickness,w = 0.4*t
=0.4 2.5
=1mm
Therefore, the thickness of the rib is 1 mm
- Next trim to the solid body.
- Then draft angle is given to the thickened surface,
Draft angle = 0.5 degree
- And finally fillet is given to the edges is minimum of 0.25 mm
SCREW BOSS DESIGN:
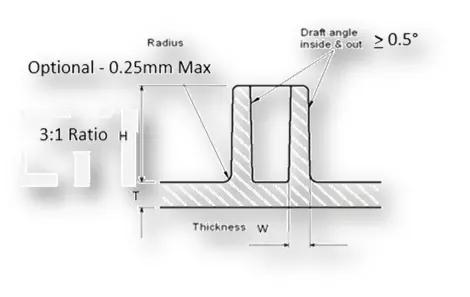
- Design Principle for Screw Boss Creation
MODEL TREE:
CONCLUSION:
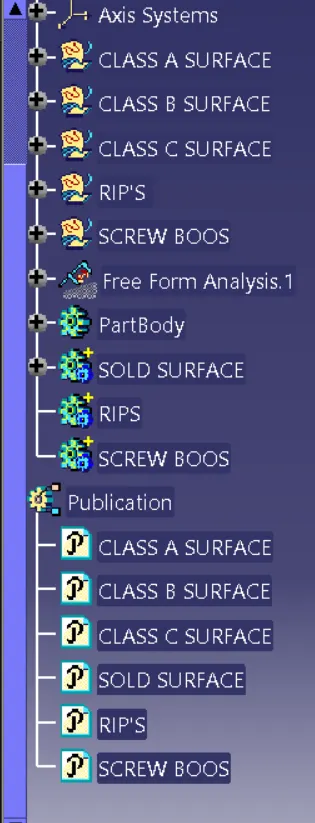
- The Tooling axis and the Solid CAT part with B side Features is created from the given Class A surface and Draft analysis is performed