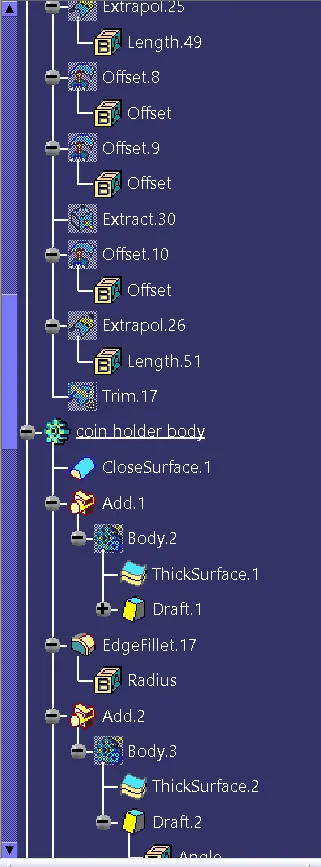
Week 9 - Attachment Feature Creation - Challenge 2
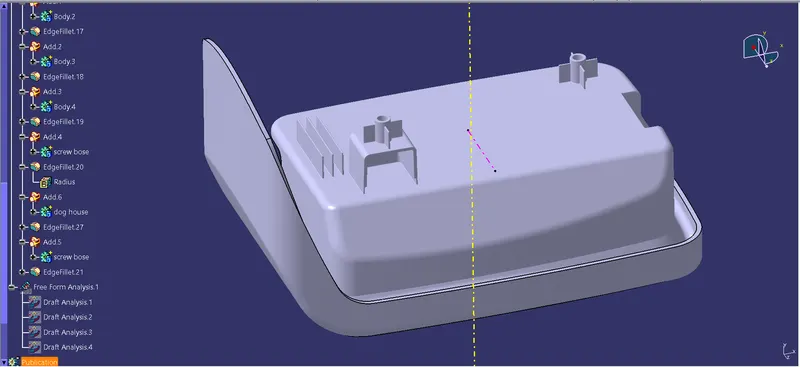
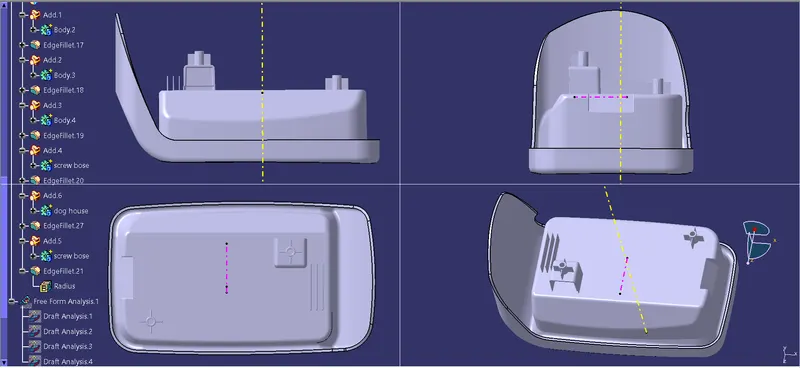
Creating screw boss and dog house on the coin holder console model as per the design rules:
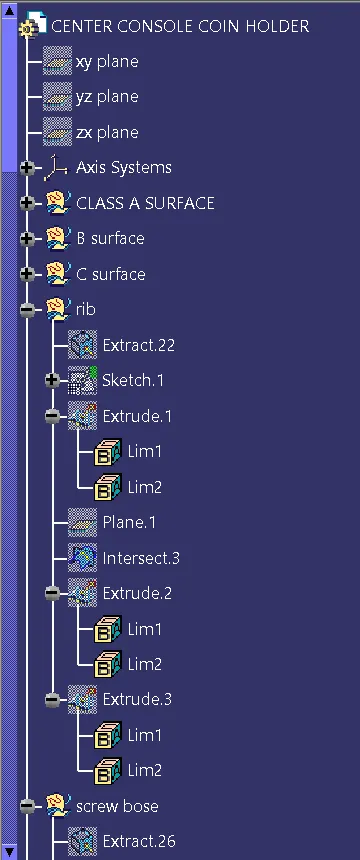
Creating the screw boss:
The base of the console is extracted.
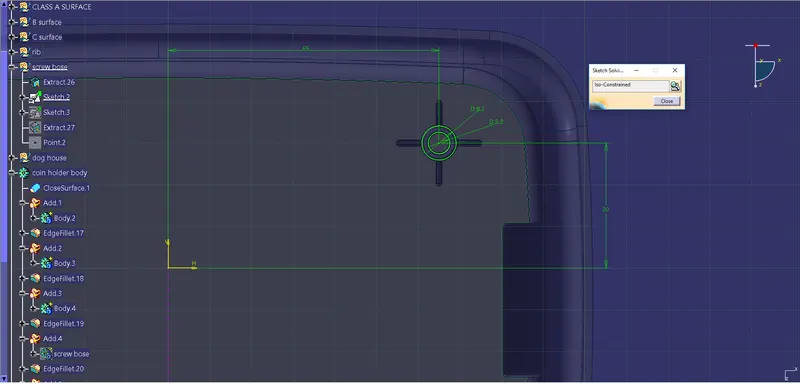
Then the hole for the screw and the boss is sketched using the extract and the center point. And it is then paded to 12mm.
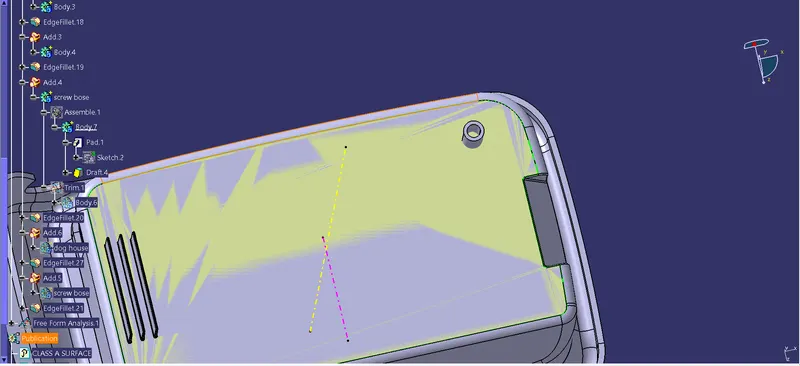
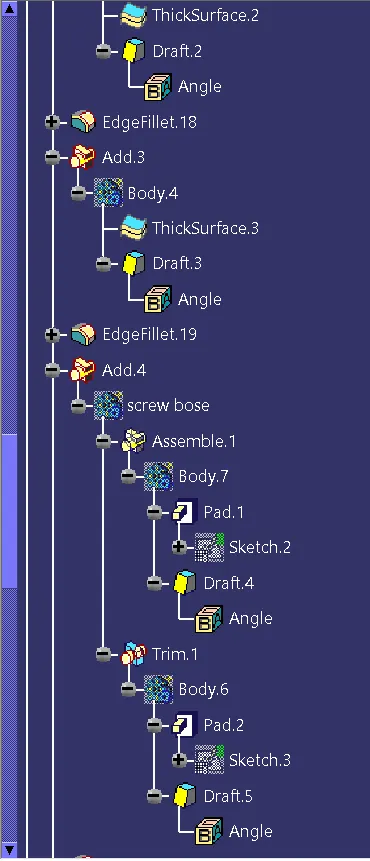
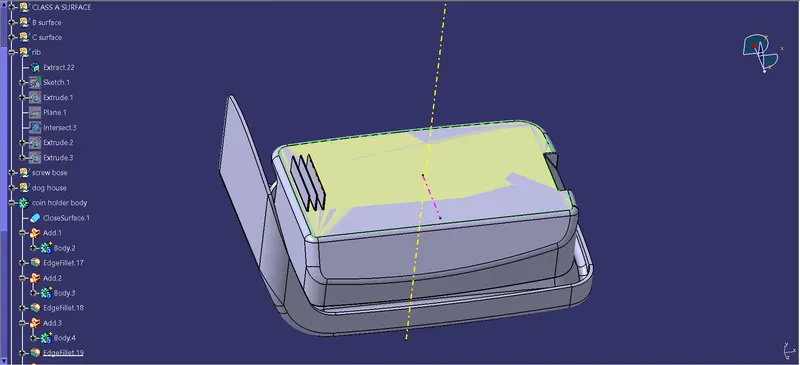
As the screw boss may be week 2 to 4 ribs will be created. The supporting rib is sketched and paded to 10mm. The screw boss and the supporting ribs are drafted along the tooling axis with the base as the reference and it is then union trimed with the screw boss. And minimal fillet value is given.
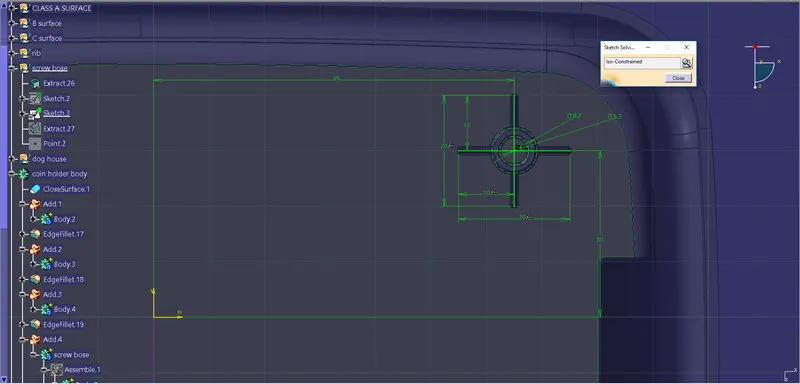
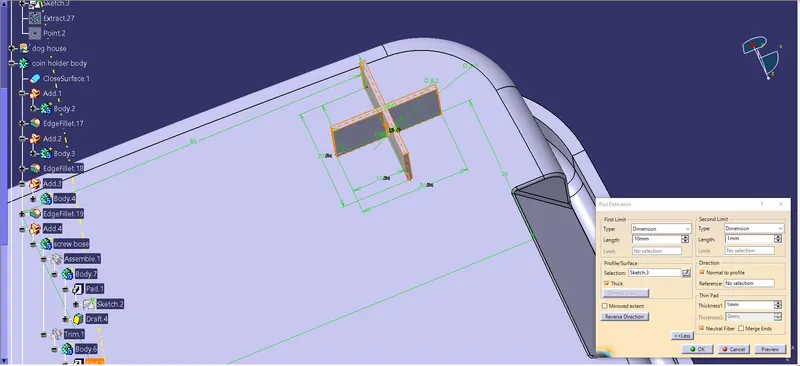
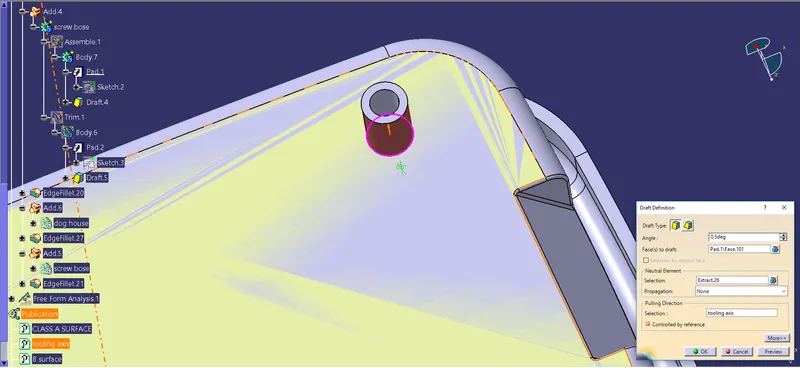
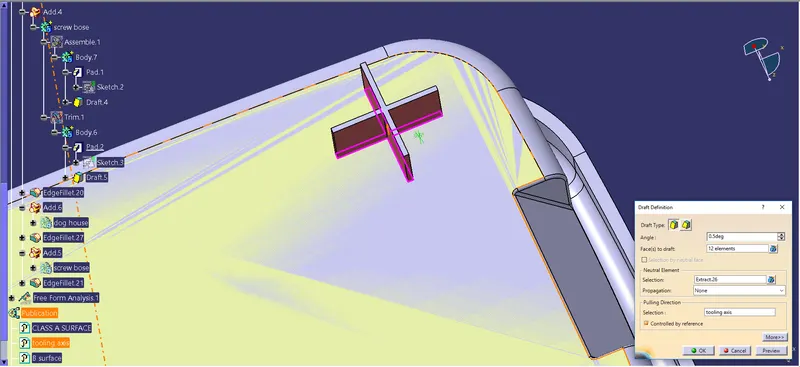
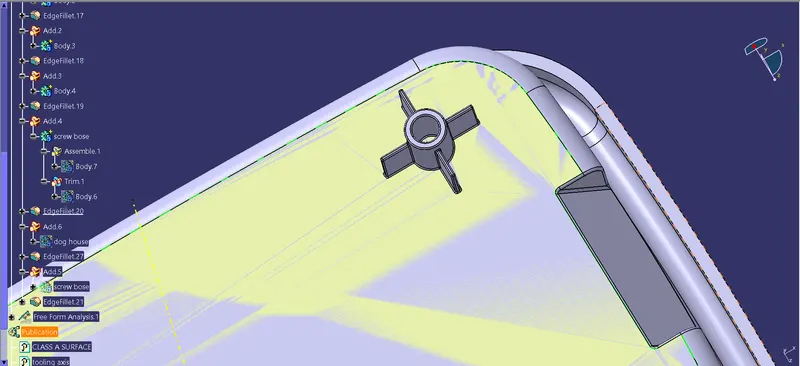
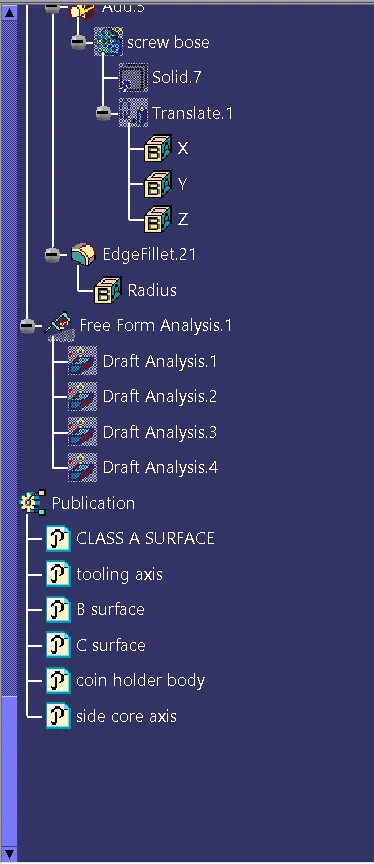
This set up is coped and pasted to create a second screw boss. And that is then translated to a position from the created screw boss.
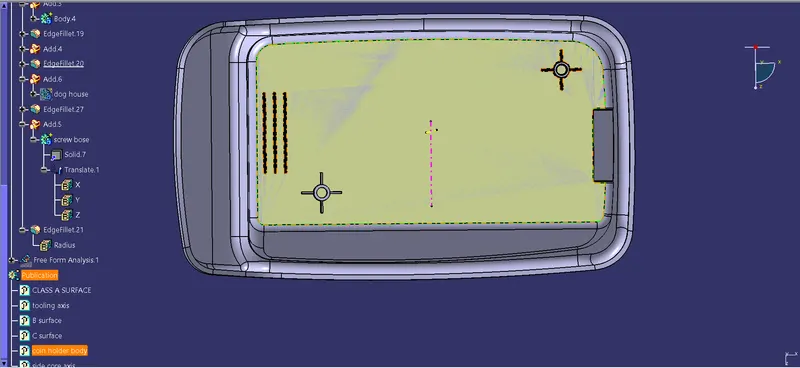
Creating the Dog house:
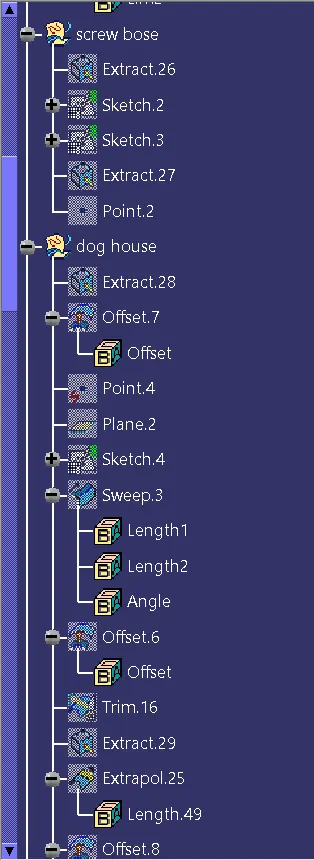
To create the dog house the base from the class A surface is been extracted and offsetted to 2.5mm as the thickness of the model is. Since we will be deactivating the screw boss which we copied and pasted to the model, as the dog house should be plased under the screw boss.
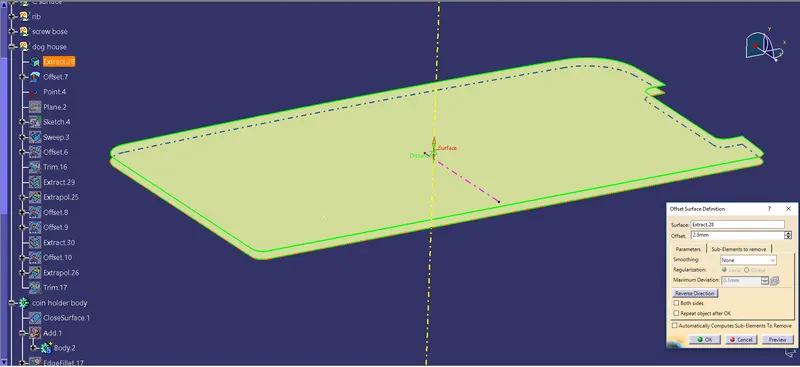
A point is created with the base of the screw boss and then is changed to isolate so that the point wont be changing if the screww boss is moved. A plane is then created on that point.
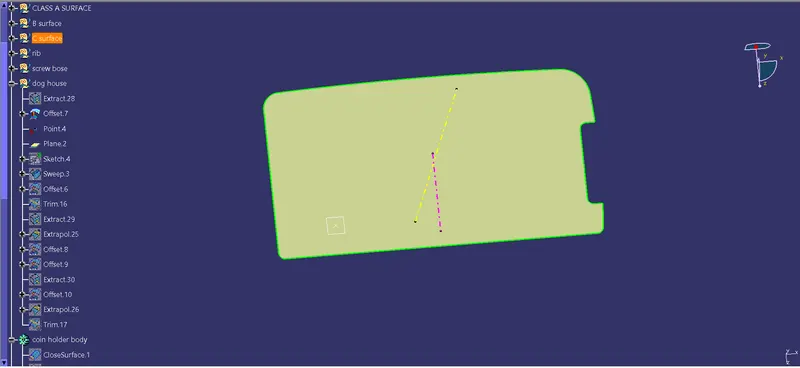
Using that plane and the point the shape of the dog house is sketched. Then it is sweped using draft direction as it requires draft angle with reference to the main tooling axis.
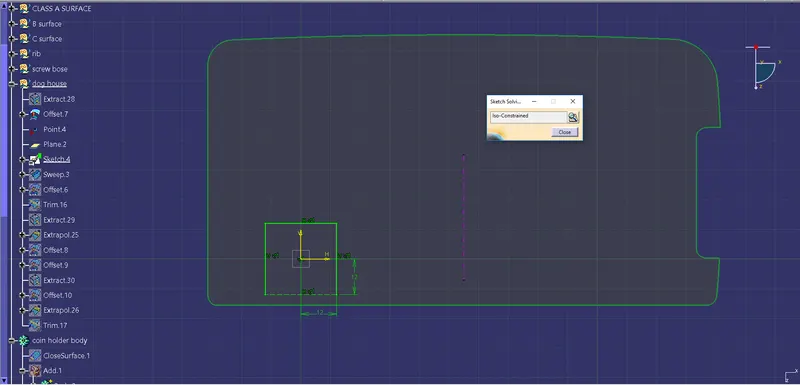
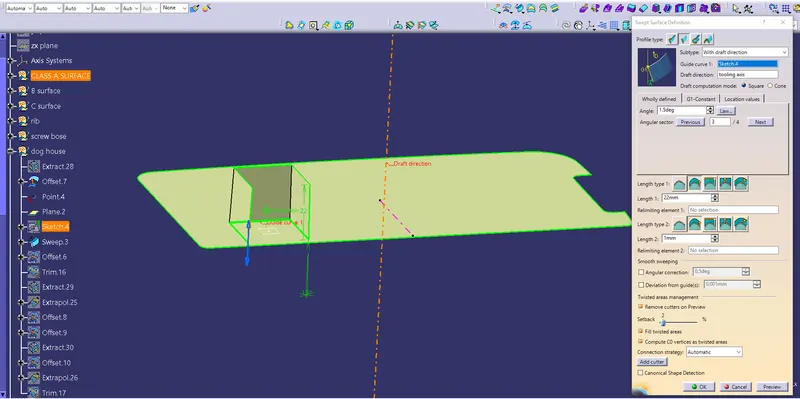
To close the top the base extract is offsetted and it is trimed with the sweep. Then it is thickend to 2mm.
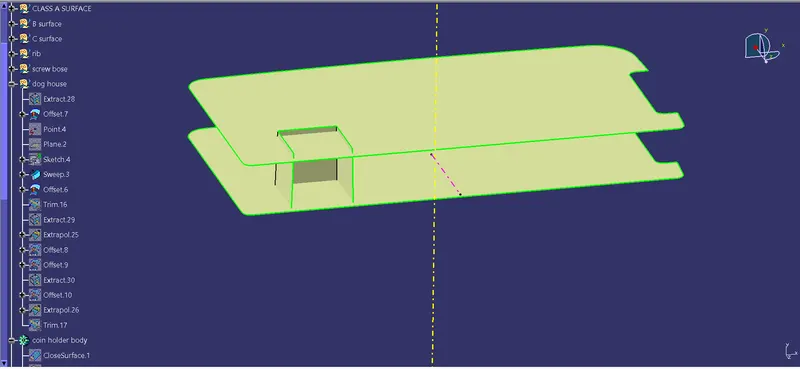
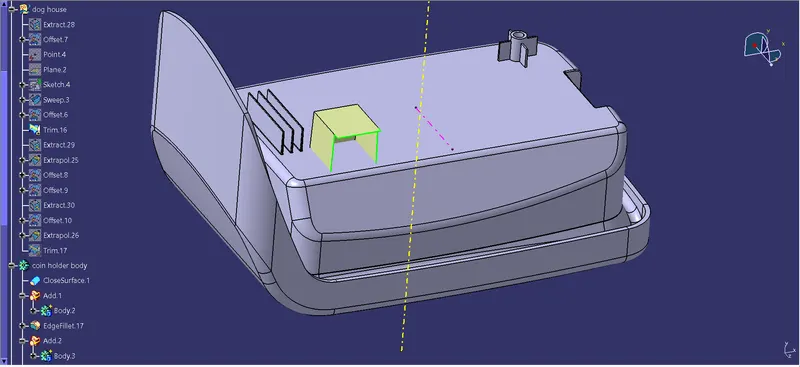
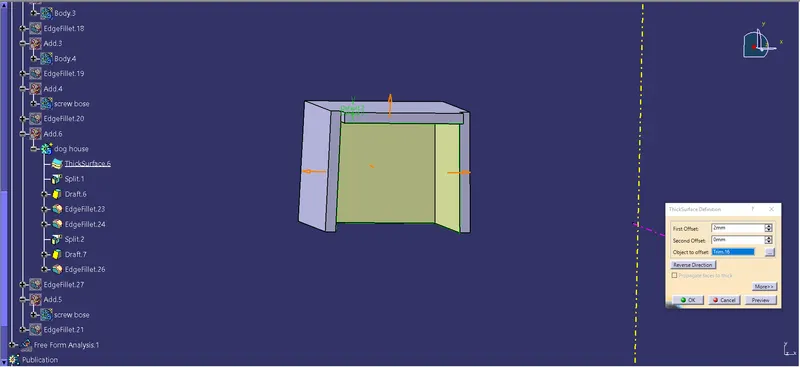
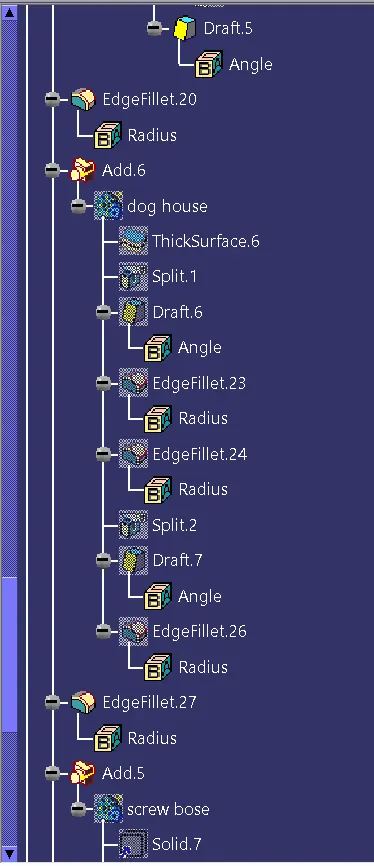
As the front is irregular, the back side of the sweep is extracted and extrapolated. It is the offsetted to front and is then splited with the thickend model.
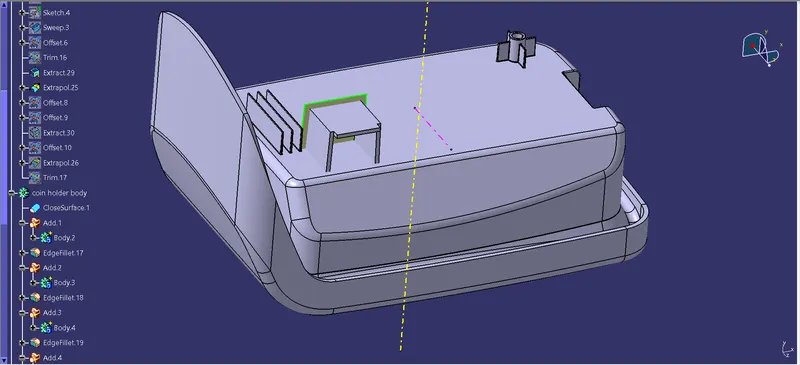
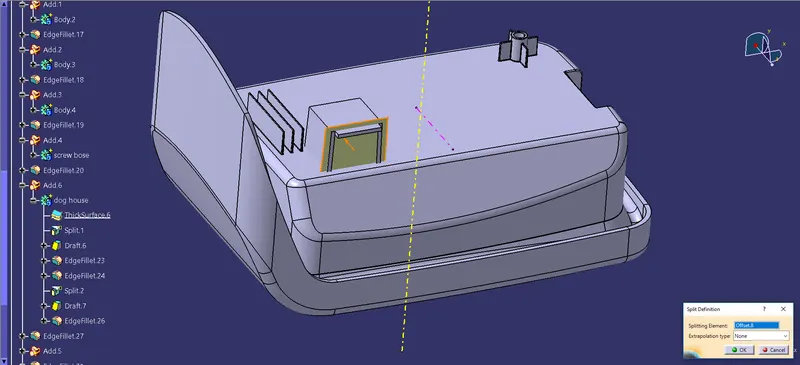
Since it has a side opening which will not be cleared with the main tooling axis. So a side core axis is created. The inner of the dog house is drafted along the side core axis.
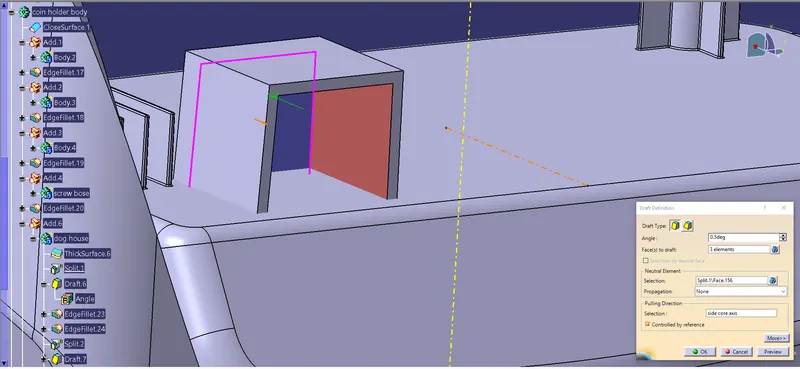
Fillet value is given and the inner side is extracted and offsetted to 1mm in oppsite side, i.e the mid of the dog house. Since the base of the dog house should be like a half of the actual dog house thickness. the base is also offsetted to a height as per the design rules. Then they are trimmed to form the cutout.
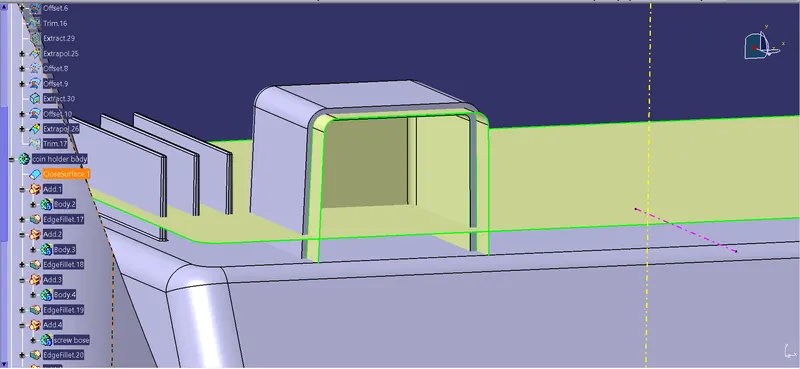
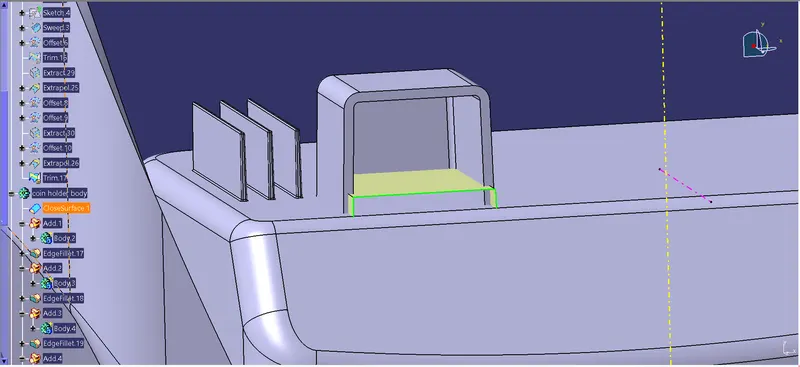
After cutting, the cutted face is drafted along the side core axis. And is then filleted to the both edges.
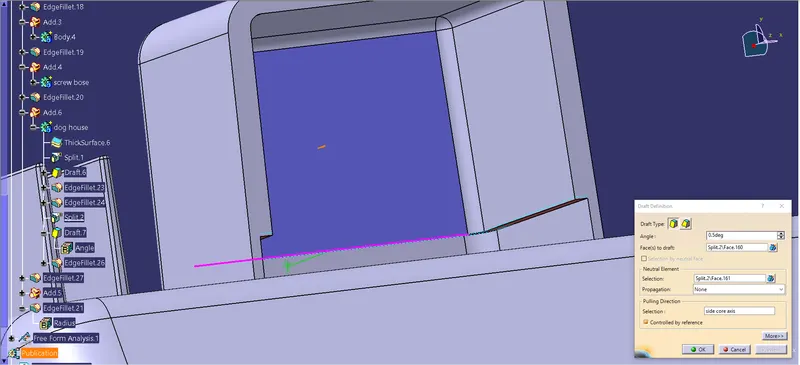
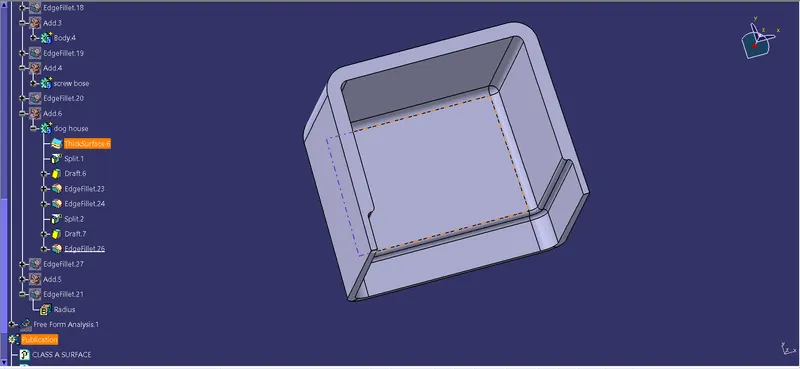
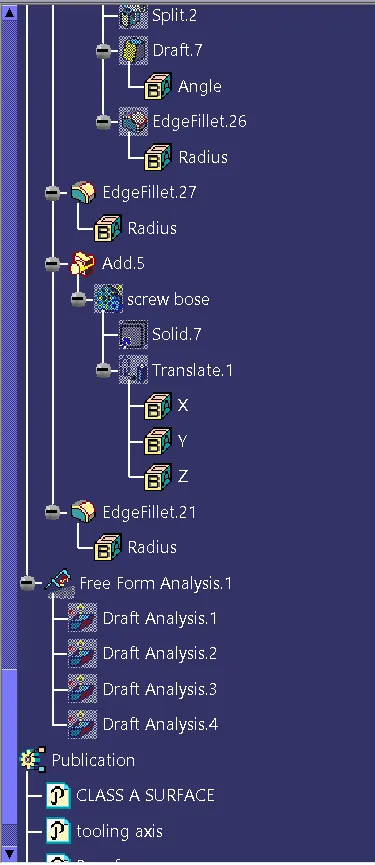
Then draft analysis is done with along both the tooling axis.
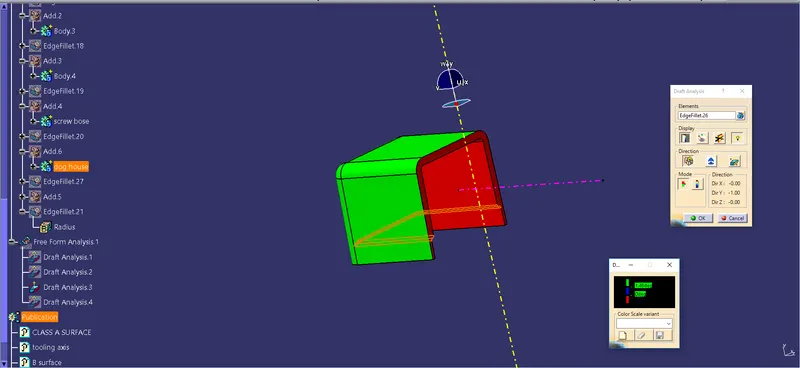
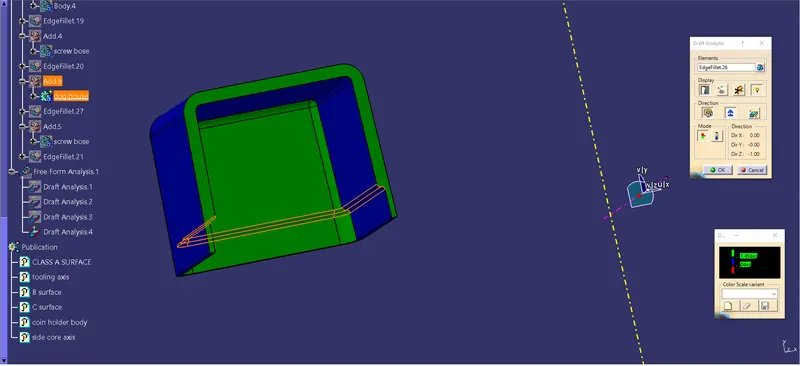
Then the dog house is added to the main body.
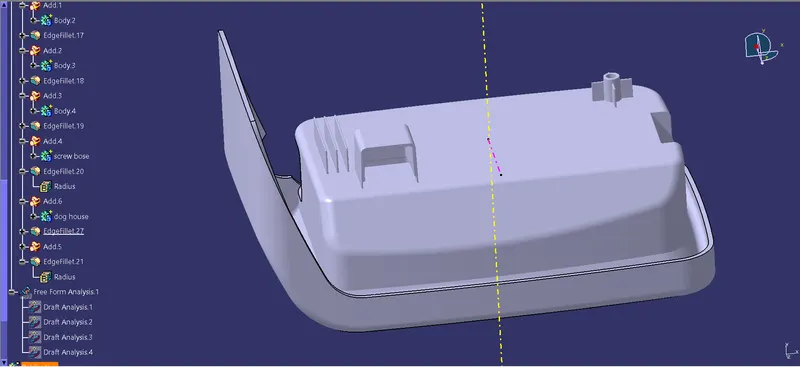
After adding the dog house, the screw boss is then activated and translated to top of the dog house and is then added with the model.