Week 9 - Attachment Feature Creation - Challenge 2
SCREW BOSS AND DOG HOUSE
SCREW BOSS
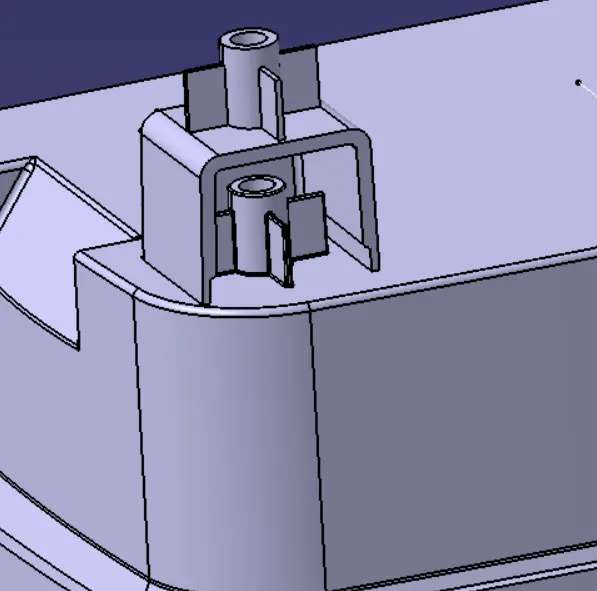
We will be first creating the Screw Boss and then the dog house as it is a part that ensures the
screw boss is proper.
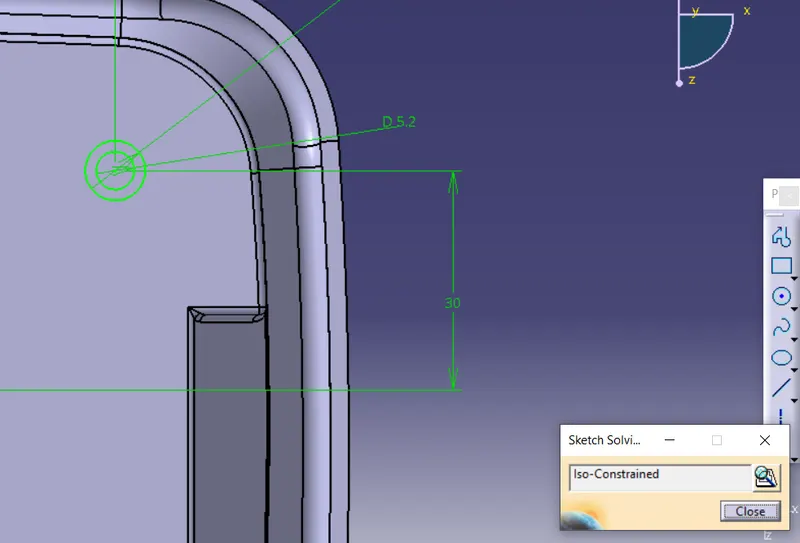
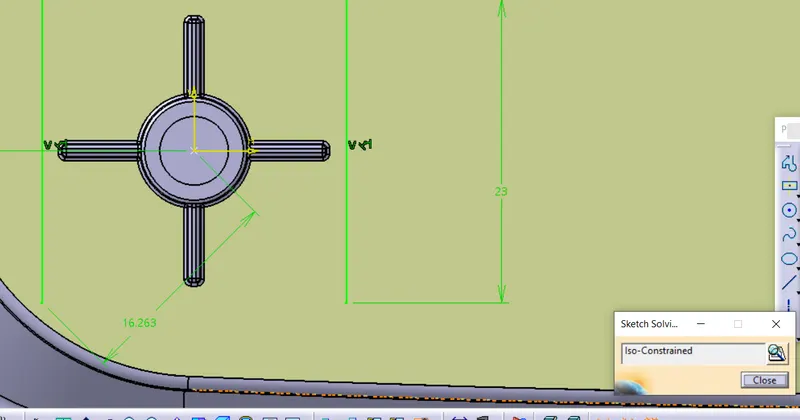
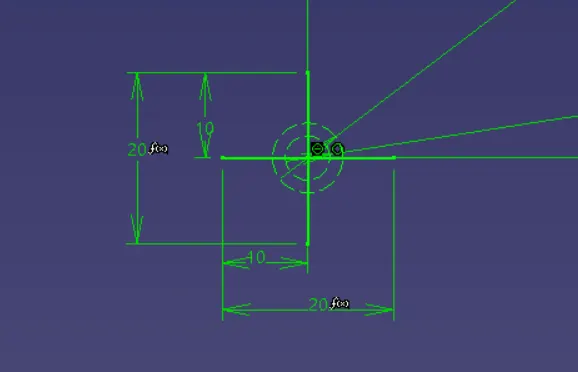
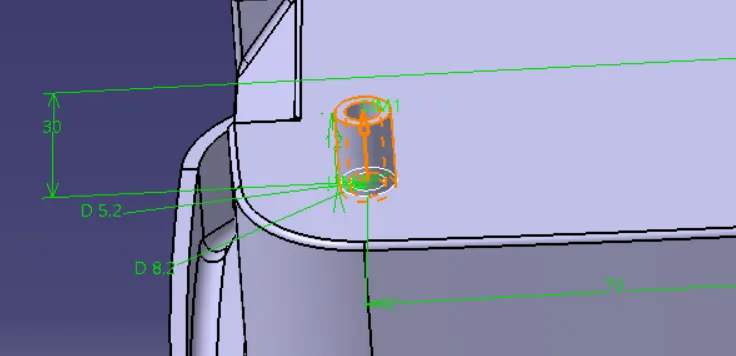
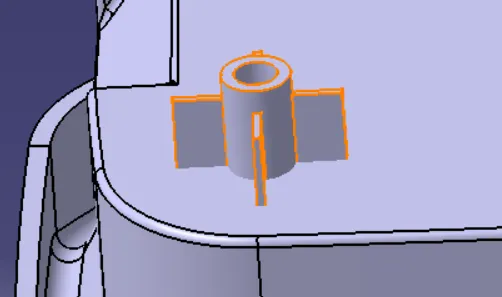
• First the screw boss is done by creating concentric circles and then extruding them,
• It is then followed by giving ribs for the screw boss as it will be very weak without
them
• Then these ribs along with the main screw boss are drafted at an angle of 0.5 degree
which is the perfect draft.
• now after drafting them, we assemble it to the main component and it is then filleted.
• screw boss is created, this is then copied and moved.
• There are certain criteria to be followed while doing the screw boss, first we assume
that it is done for an M6 screw and the dimensions are taken for that.
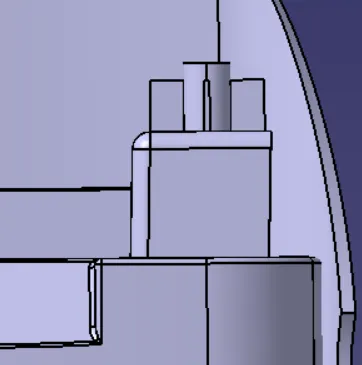
• The height should be a ratio of 3:1 which makes the ideal height for a screw boss.
• And the thickness of the screw boss should be same thickness as the material
thickness.
• same goes for the fillets as they should be at 0.25mm max.
DOG HOUSE
• It is much simpler to make than the screw boss
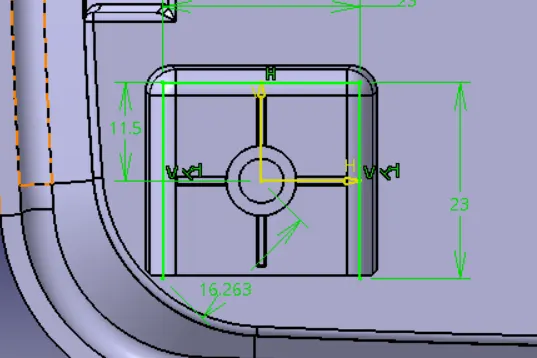
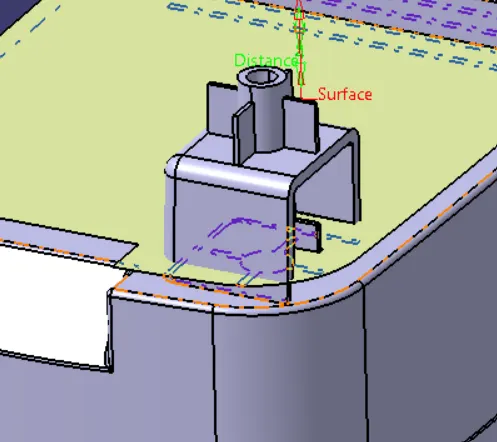
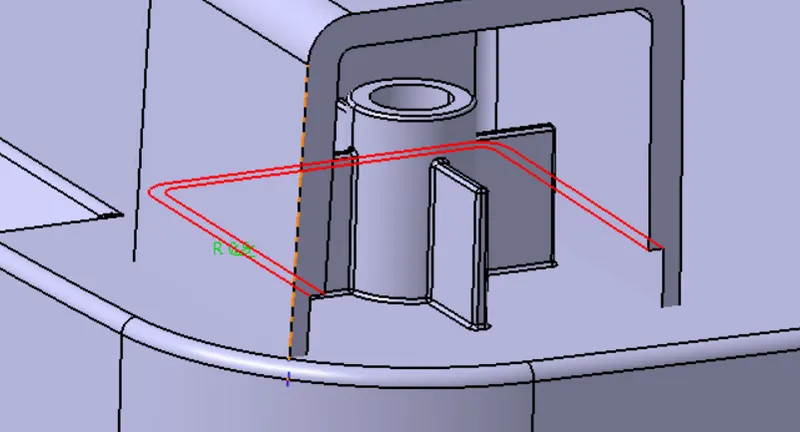
• First the outer shell is created by offsetting the surface and then created a sketch
around it
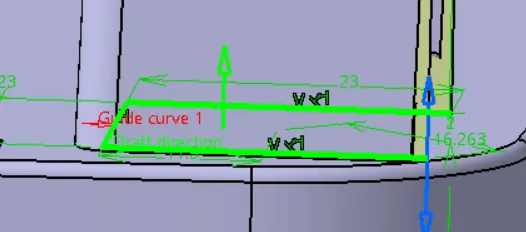
• Now after the extrude of the sketch is done, we thicken the surface and give a
thickness.
• Next step is to give draft for it (0.5 Degree).
• Fillets are also givlen, Next, we create the inner thickness, which should be at 40%
lesser thickness than the outer material, which comes around 1 mm.
• the height of it should be around 3 mm.
• next the draft angle is given for the inner part also and then fillets are given.
• finally, we give a draft analysis of it and ensure that the pulling direction will be ok.
• we will also create a tooling axis perpendicular to the original tooling axis.
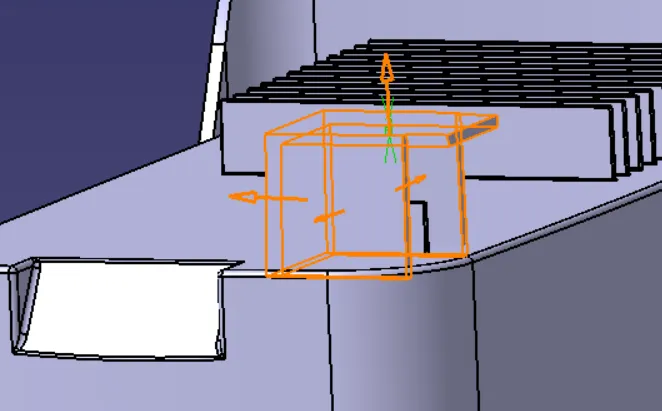
• finally, we move the screw boss above the dog house so that we can make it for the
original purpose.