Week 9 - Attachment Feature Creation - Challenge 2
Aim
Create the Dog House for the Door Trim considering the design rules
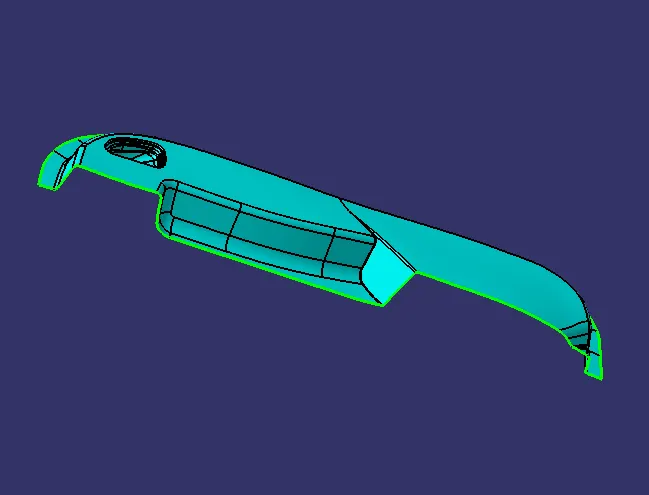
Procedure for creating the switch bezel
- Creat tooling axis
- Do Draft analysis of Class- A
- Creat B class surface
- Creat C class surface
- Creat closed surface
- Creat Dog house
- Do draft analysis
Creat tooling axis
1.the tooling axis is created by Evaluating w.r.t X,Y,Z axis method (Y axis used)
2.The base surface of the class - A was extracted and a point at the centre is created
3.then use line commend to creat tooling axis in the y direction
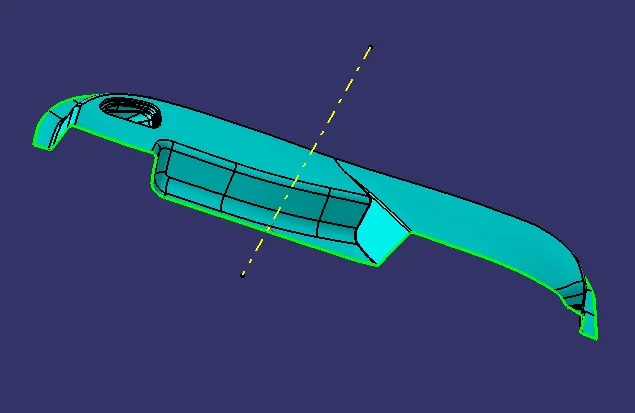
Draft analysis of Class- A
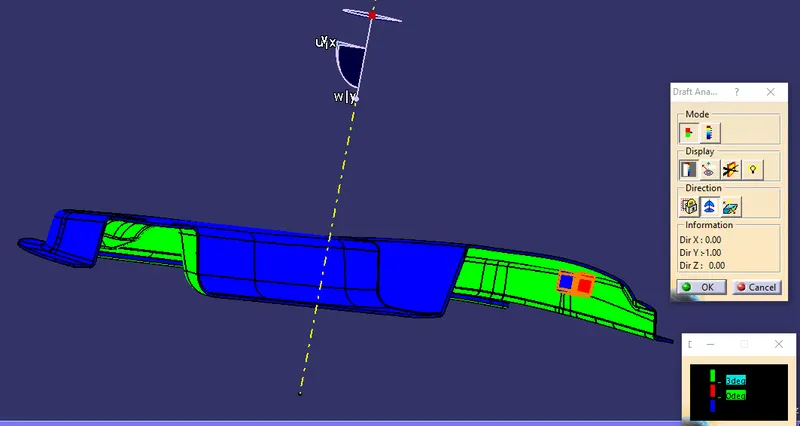
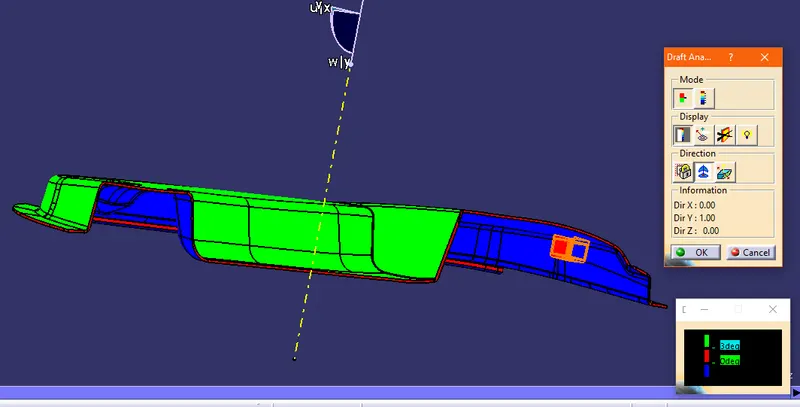
After creating a tooling axis we do the draft analysis. Before drafting we have to make sure that in the view mode it is selected for the materials.
After selecting the feature draft analysis tool we drag the compass from its position to the tool axis. Then lock the compass. After that select anywhere on the component and it will give you the result.
We change the minimum draft for the component to 3°.
We can use the running point option to check the angle of the component.
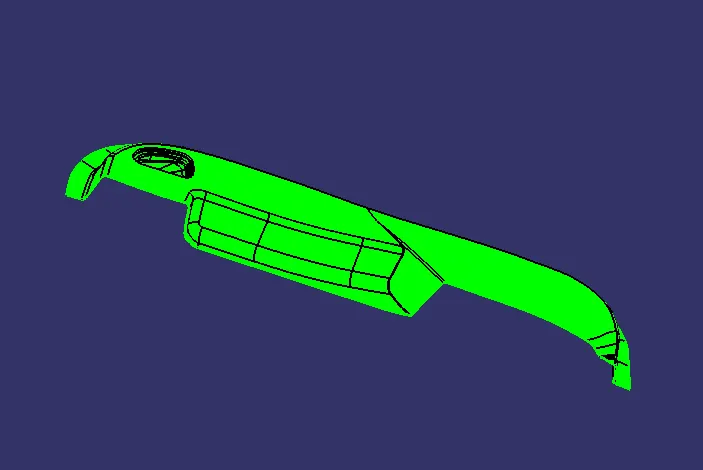
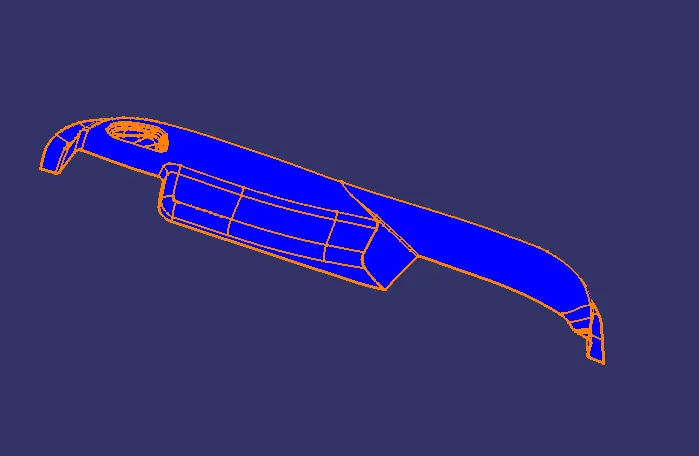
Creat B class surface
1.In the case of Class A the surface below is called core and the surface above is called cavity.
2.Class A is an aesthetics surface and class B is an engineering surface.
3.B surface should be inside the class A surface.
4.To create the class B surface, offset the class A surface inside as per our thickness requirement (2.5mm) .
5.Once the class A surface is offset created, according to the thickness, we can observe some patches on the offset surface due to the fillets on the class A surface. Now, we need to close those patches.
6. I used a multi-section solid command to close the patch to create the proper 'Class B surface
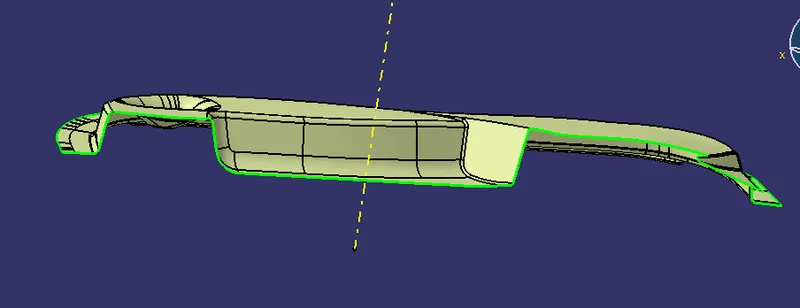
Creat C class surface
1.I used the sweep command in the geometric shape design workbench to create the class C surface.
2.Initially, I extracted the edges of the class A surface with the boundry commend
3.After , I sweeped the boundry with 3deg toward the class B surface.
4.I joined both the sweep surface and class A surface together, to get the class A+C surfaces as a single surface.
5.Now, to create a solid body for the door trim we need a closed surface.
6.I trim the class B surface with joined class A+C surface to make the closed surface
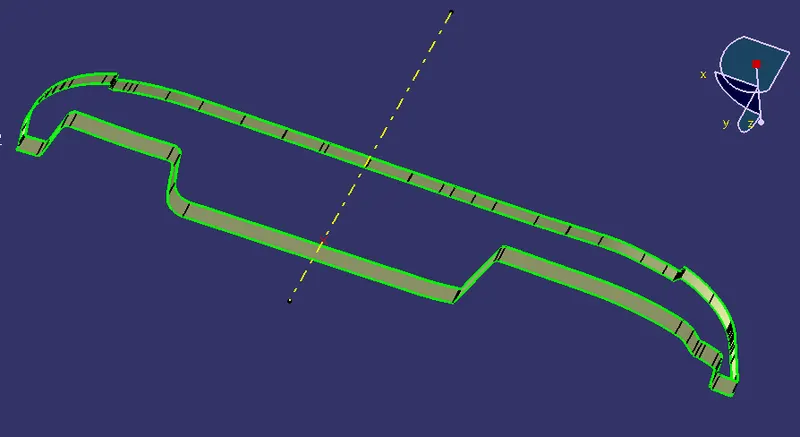
Creat closed surface
1.Check whether all the sides of class B and Class A+C surfaces are intersecting properly with each other, to get a closed surface by trimming class B and class A+C surfaces.
2.If the class B and class A+C sides are not intersected properly, we need to extrapolate the sides of the class B surface which are not intersecting with the class A
+C surface.
3.Now, check class B and class A+C surface boundaries whether all the sides are intersecting or not with each other.
4.Once the surfaces are intersecting properly trim them together to get a closed surface
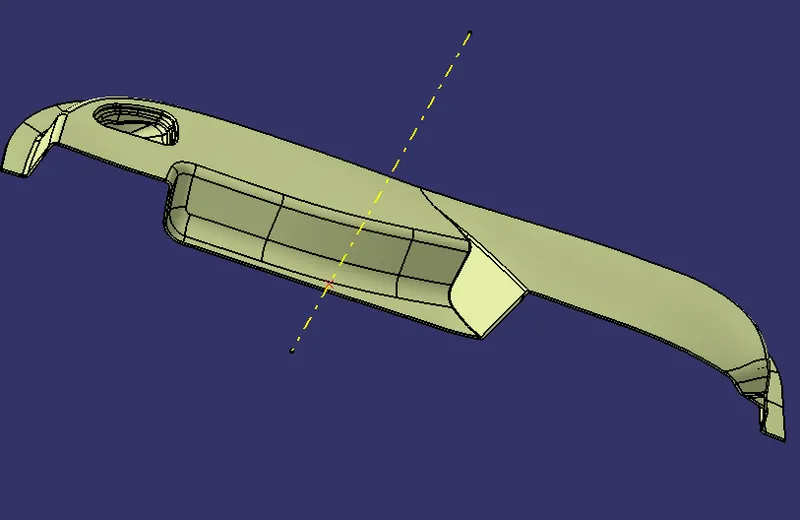
Creat Dog house
1.Make a extract of the surface where we going to do dog house. then use of the extract surface make a plane.
2.then make a sketch of the dog house then sweep it with a ange of 1.5 and then cover top of dog house make it as a thick surface (2 mm).
3.make a side core axis for the dog house.
4.after, make draft for inside of the dog house by useing the pulling direction of side core axis with a angle of 0.5.
5.The height of ( B ) should be between 3.0 – 6.0 mm by considering the design rule .here we offset the class b surface to 4mm
6.Doghouse wall thickness at the intersection of the part wall ( C ) should be 40% or less than the main wall stock ( T ). we offset the 1mm from the side wall by considering the design rule
7.Now we trimmed the surfaces and split the surface with the part body
8.finally, The dog house is created by considering the design rules.
9.Following the same procedure, we designed another dog house on the door trim in the required position
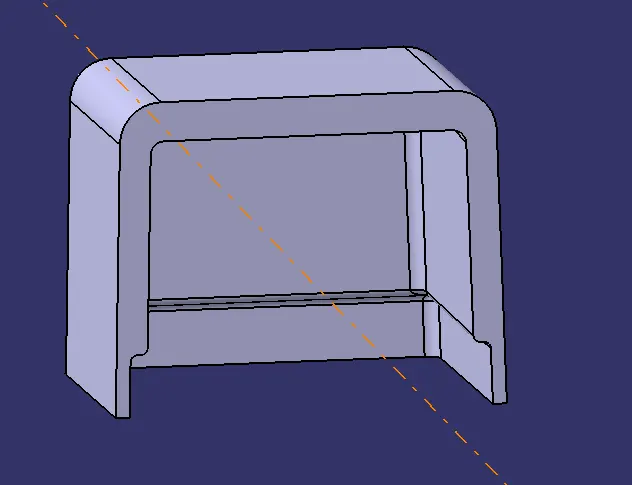
Do draft analysis
1.then check the draft analysis for dog house by useing the side core axis
2. for the inside of the dog house angle of draft is 0.5deg and the outside of the dog house angle of draft is 1.5deg
3.after, check draft analysis for closed surface by useing the tooling axis with a angle of draft 3 deg
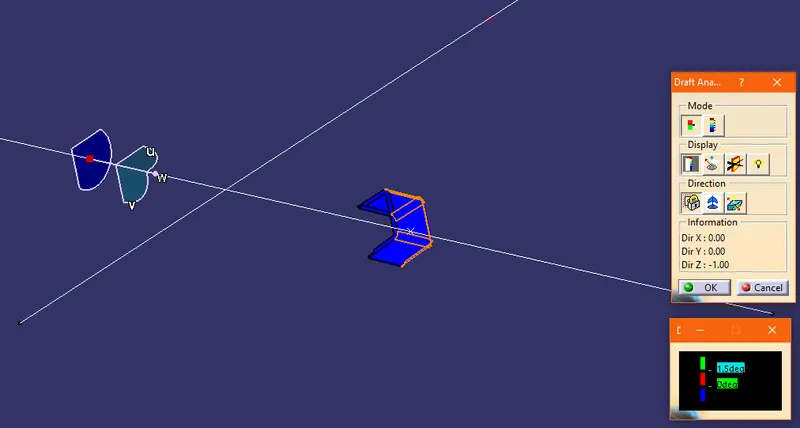
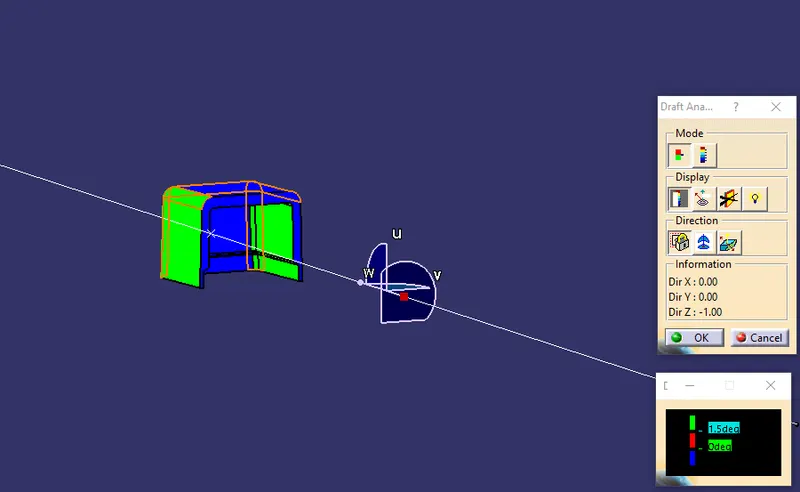
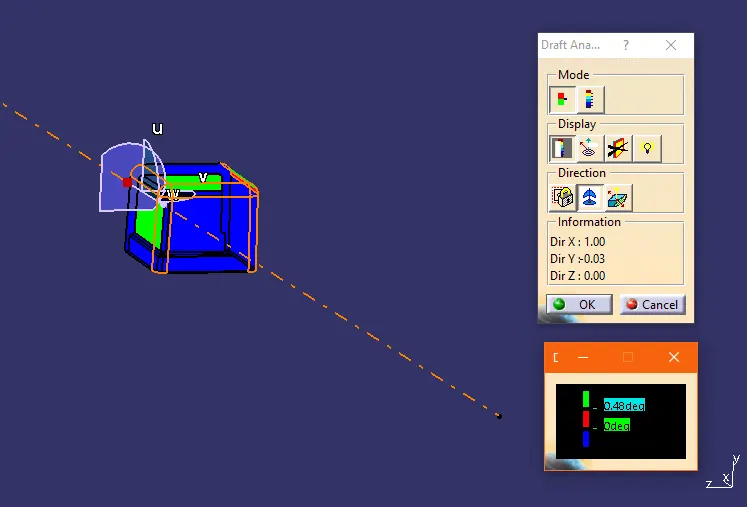
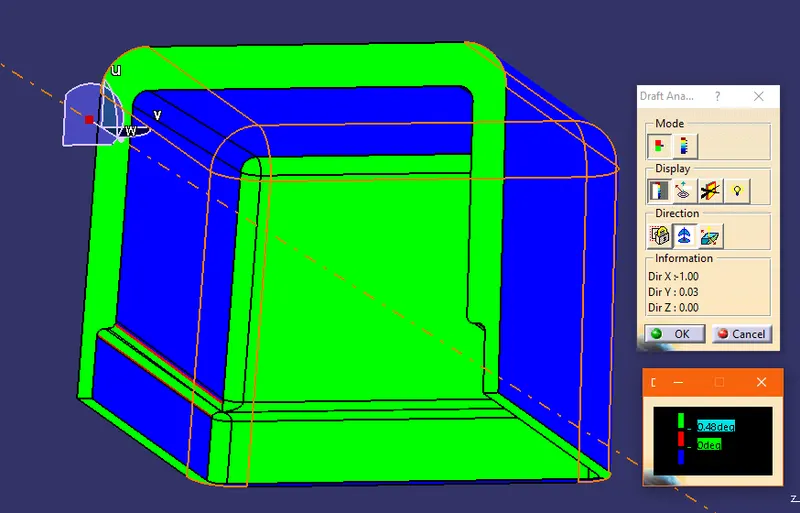
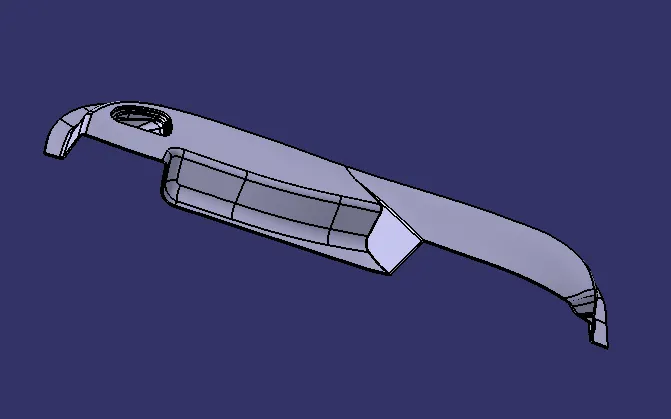
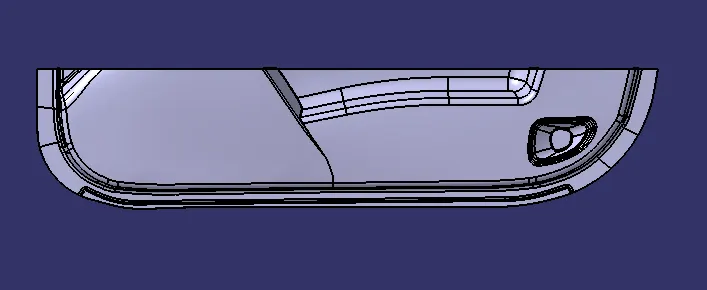
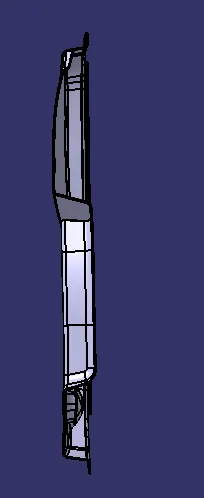
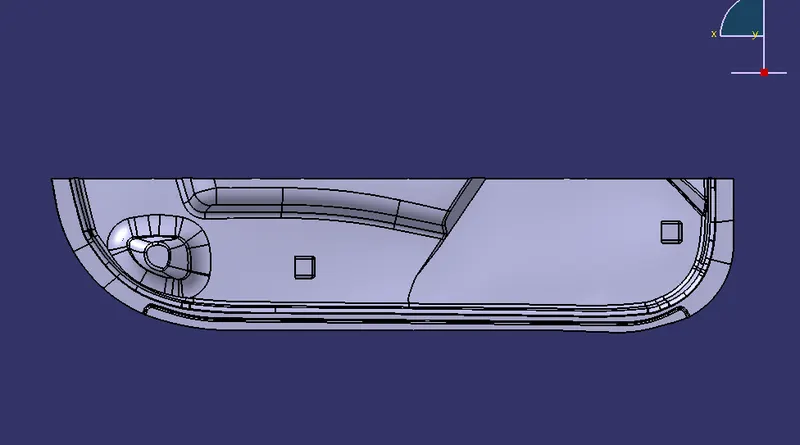
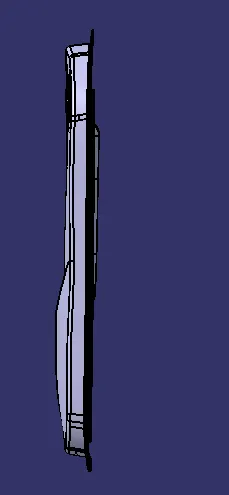
Isometric, Front, Side, and Top View
Conclusion
Hence, the dog house for the door trim was created by considering the design rules, and the Draft analysis performed on the final component is successfully done.