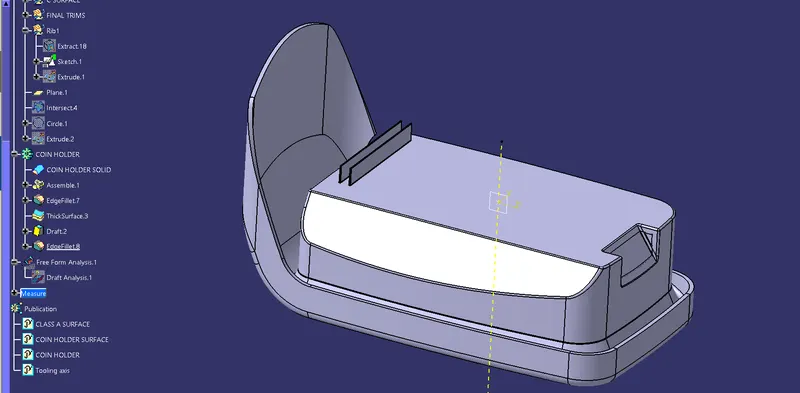
Week 9 - Attachment Feature Creation - Challenge 1
COIN HOLDER
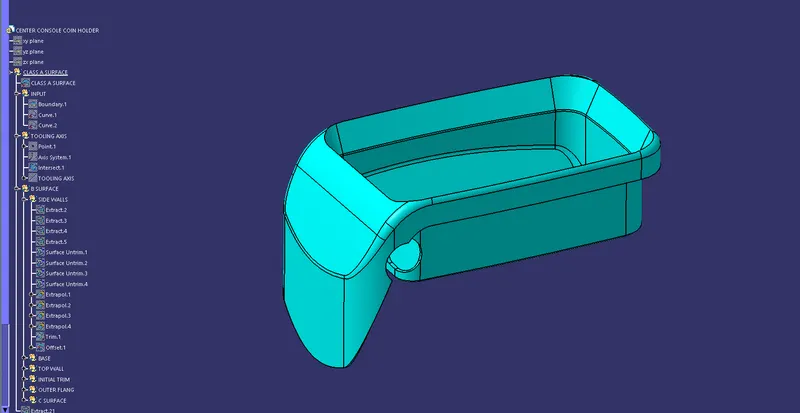
1. Check the continuty of the class A surface and make sure not to have gaps.For this we use join/boundary options.
2. Create a Tooling axis with the dummy axis system
or
3. Create the lines from the reference of A surface by taking the intersection then bisect the both lines and create a bisecting line and named it as TOOLING DIRECTION
4. Then create a B surface
5. Extract the surfaces from the WALLS,untrim them,make sure to give extrapolate
6. Do the same with the other walls
7. Then use the trim option and trim the unwanted surfaces,now we have to offset it,then extract the outer surface of class A then untrim it and extrapolate it. Finally trim the outer surface so, that we get a required outer surface and named as surface B.
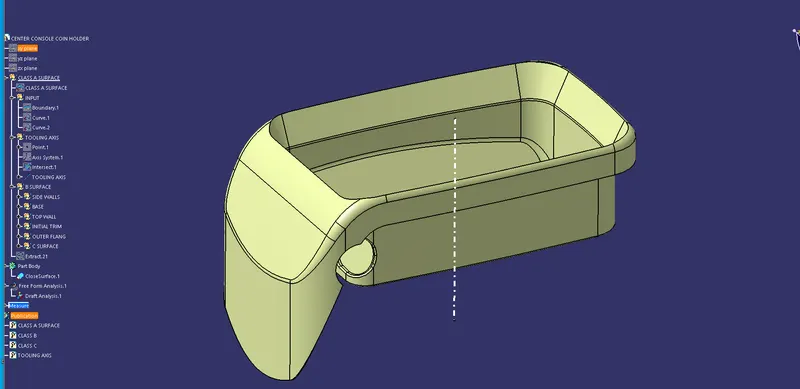
8. Now create the surface C.it is the combination of both surface A & B.
9. Highlet the outer boundary of surface A then with the help of sweep command we can get the class C surface
10. Finally make this entair product into single product.
11. Next we have to publish the TOOLING AXIS and surface A,B,C so, that we can find it easily.
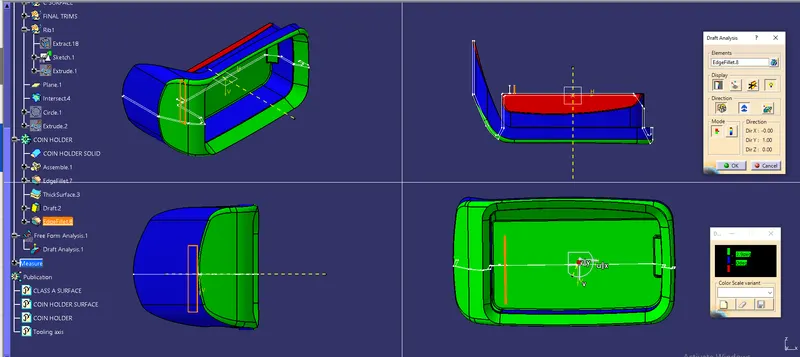
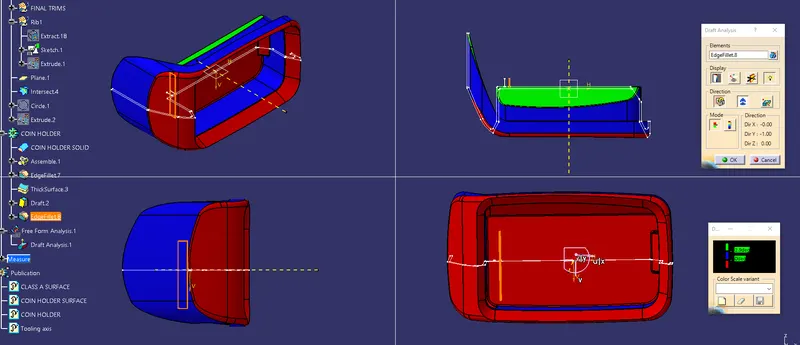
12. Now do the draft analysis for class A & c .For that we go to the INSERT>ANALYSIS>FEATURE DRAFT ANALYSIS.
13. In it we have to add material mode.once the Draft analysis mode is on then click on the direction option and compass in it.
14. Now compass will display then hold on the red spot on it and drag it to the surface of the class A and make sure that the tooling axis and compass axis should Align each other. Then click on position lock > ok.
15. Finally the Red spot will appers on the class A surface click on it then green colour will appers and measure the angles with the Analysis under running AXIS and do the same with the class c surface (SOLID BODY).
CREATION OF RIBS
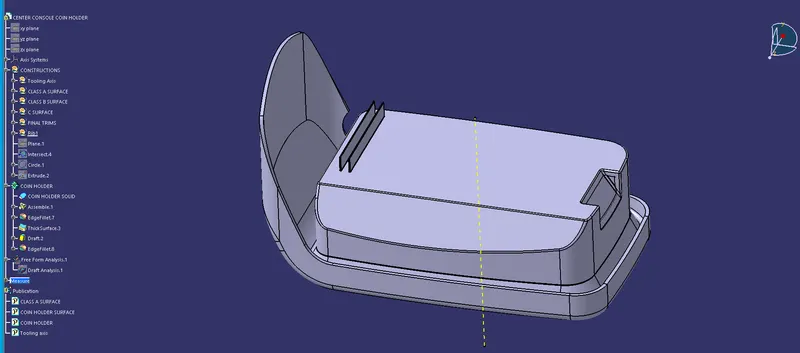
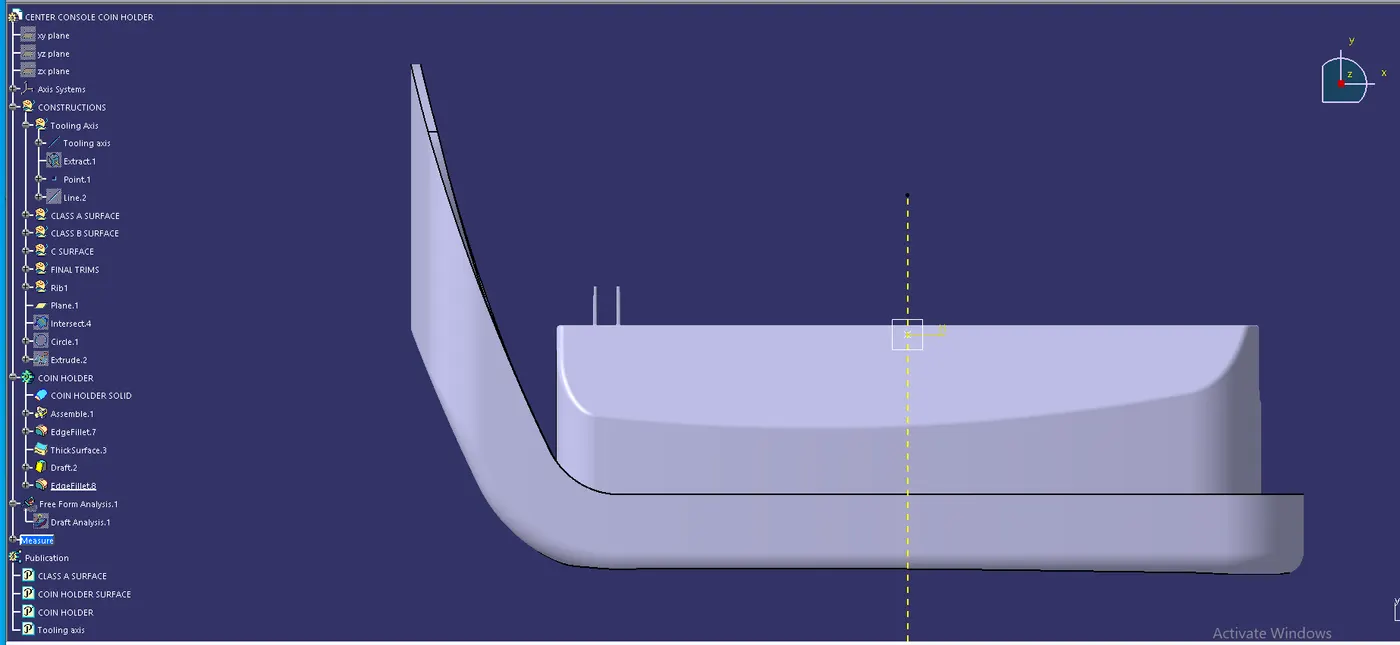
1. Take the back surface of coin holder by using a extrapolate option.
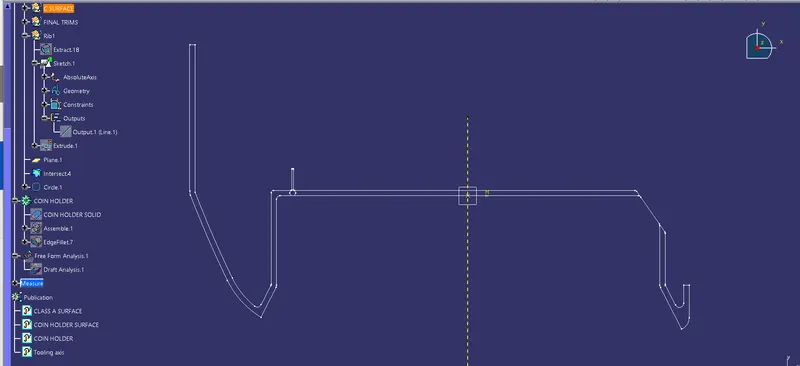
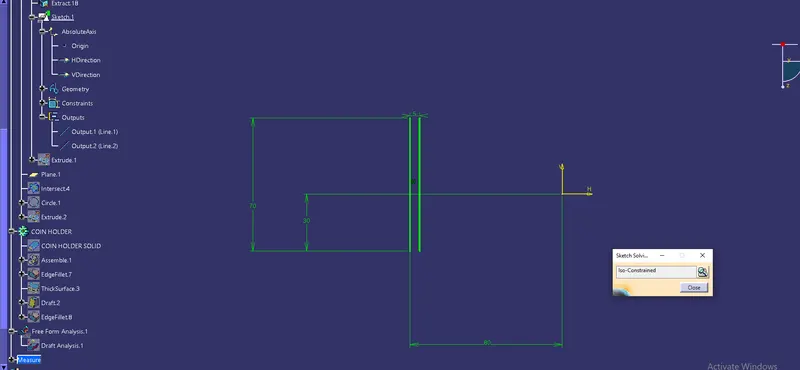
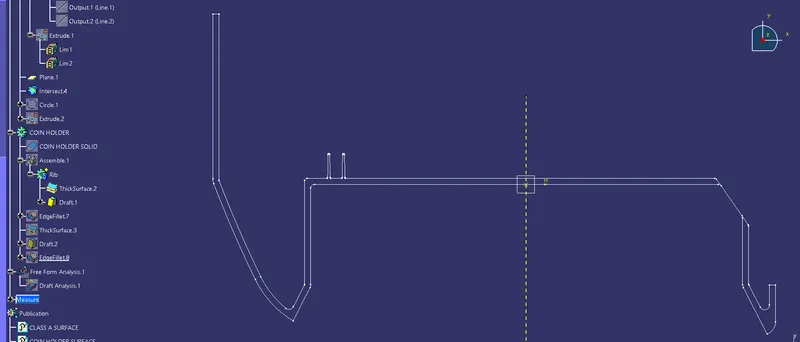
2. By using the positioned sketch draw a line with required measurements and make it as iso- constrain.
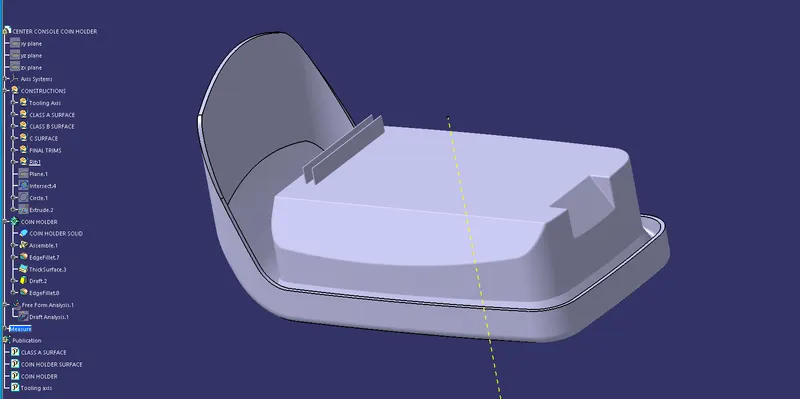
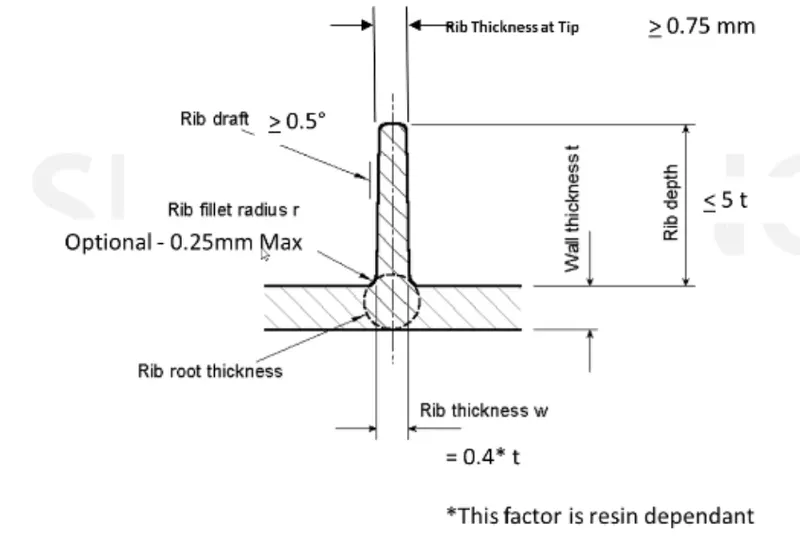
3.Now go to the surface design and extrude it, then give the thickness,fillets and draft angle to it based on the design rules.
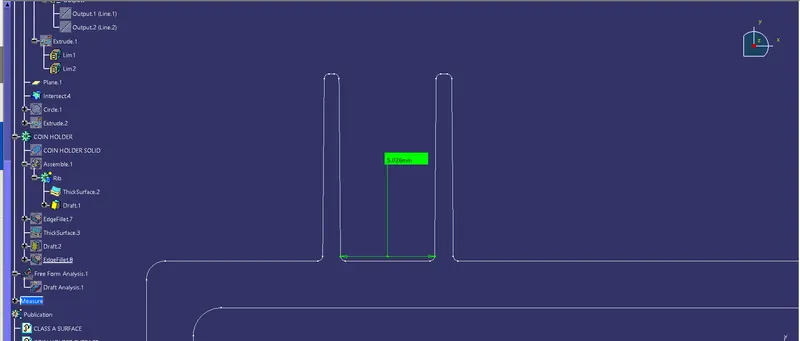
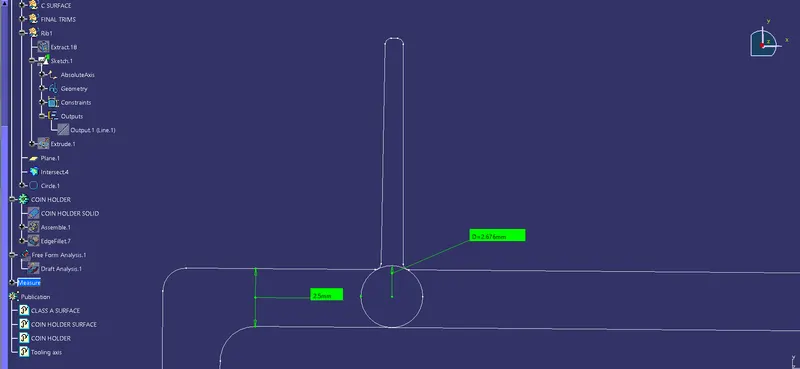
4. To find the root thickness, use the tritangent option and extrapolatr the fillet arc with no propagation and form a circle then by getting the dia from it one can know the ROOT thickness of it.
5. Repeat the same entair process to form another RIB with an offset of required dimention.
6.Finally by intersecting the entaire obj with the centre plain the output line of intersection is formed.
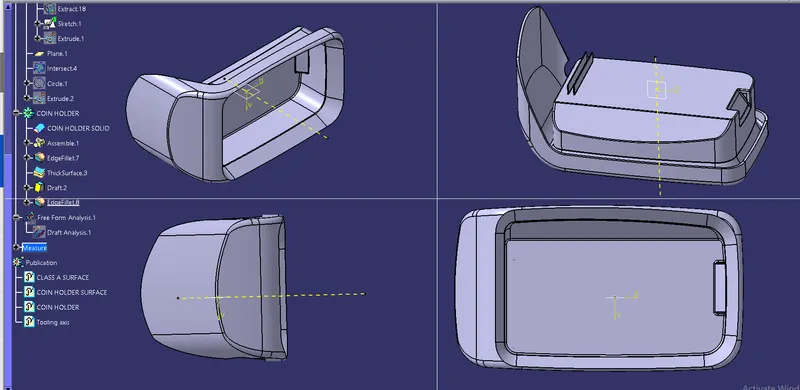
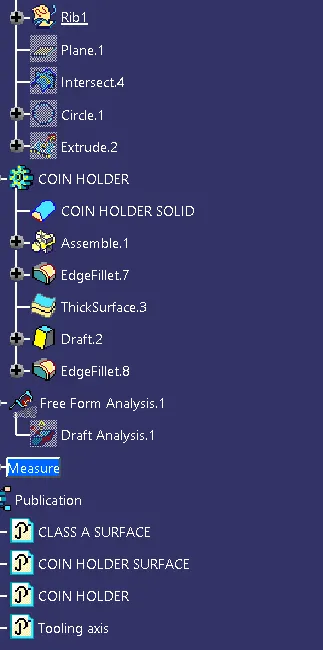
7.Assemble all the ribs with the coin holder body then the final product we form into a single product.
8. Now the draft analysis can on it as surcae C body.
NOTE 1 : Here we are not able to clear the draft analysis for all the sides because the class A surface had some errors so draft analysis wont clear in all directions.
NOTE 2 : 1. The lines which are 45 deg angle can be ignore during the analysing of tooling axis
2. GREEN and RED are forbidden colours in analysis.
NOTE 3 : One should follow the all design rules for designing of RIB otherwise design defects will form on the final plastic product.