Week 9 - Attachment Feature Creation - Challenge 1
DESIGN OF RIBS
AIM: To create the rib for the centre console coin holder considering the design rules.
INTRODUCTION: Plastic parts design is a very complex process and it requires the involvement of many factors like functional requirements, process constraints, material selection and assembly or structural issues. Wall thickness, draft and textures, ribs & bosses, holes or depressions etc., are some of the important elements to be considered in the design of plastic parts. Adhering to these basic design guidelines for the injection moulded parts can improve the mould ability of the designs and the life of mould increase the operational life of the part and reduce manufacturing cost.
RIBS:
Ribs are thin, wall like features typically designed into the geometry of a part to add internal support to walls or other features like bosses. In a similar fashion, gussets are support features that reinforce areas such as walls or bosses to the floor.
Ribs provide a means to economical stiffness and strength in moulded parts without increasing overall wall thickness. They also facilitate:
- Locating & arresting components of an assembly
- Providing alignment in mating parts
- Acting as stops or guides for mechanisms.
A well-designed rib will overcome the following disadvantages:
- Increase part weight and cost proportional to the increase in thickness
- Increase moulding cycle time required to cool the larger mass of material
- Increase the probability of sink marks.
Typical uses of Ribs:
- Covers, cabinets and body components with long wide surface that must have good appearance with low weight
- Rollers and guides for paper handling where the surface must be cylindrical
- Gear bodies, where the design calls for wide bearing surfaces on the center shaft and on the gear teeth
- Frames and supports.
Ribs design involves 5 main issues:
- Thickness
- Height
- Location
- Quantity
- Manufacturability
Rib Geometry:
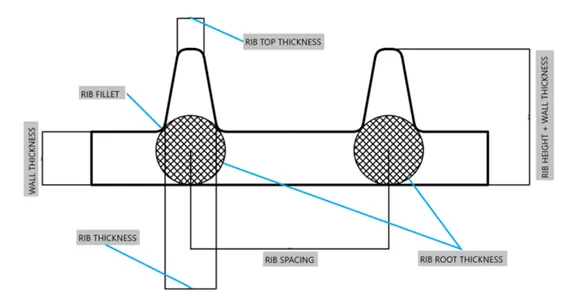
1) Rib Thickness: Ribs should be designed to be 50 -60 percent of the nominal wall thickness. Thinner does not provide much structure and may be hard to fill. Thicker ribs are tempting but they can begin to introduce sinks on the cosmetic surface.
Bottom Rib Thickness: (0.3 to 0.6) * wall Thickness
Note: Top Rib thickness should be minimum of 0.75mm
2) Rib Height: For maximum effectiveness rib height should be no more than three times the nominal wall thickness. Since the rib will be thinner than the wall it may be hard to fill it if it is taller.
Rib Height = (3 to 5) * Wall Thickness
3) Rib Spacing: Increase the number of ribs rather than their height in order to increase stiffness. Ribs should be spaced a minimum of two times the nominal wall thickness apart from one another.
Rib Height / Rib width ratio = 3:1 – steel
Rib Height/Rib width ratio = 2:1-preferred
4) Rib draft: A minimum 0.5 degree draft will ensure that they release from the tool during moulding.
Rib draft = (0.5 to 1) degree
5) Rib coring: Core thick ribs from the back or below to create a blank area and thinner rib walls. This will help mitigate cosmetic sinks.
6) Rib Fillet: Fillet at feature intersections to increase rib strength.
Rib fillet = 0.125*Wall Thickness
Design of Ribs for the given component:
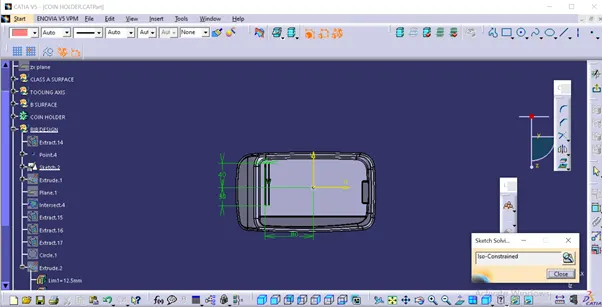
RIBS ON THE COIN HOLDER:
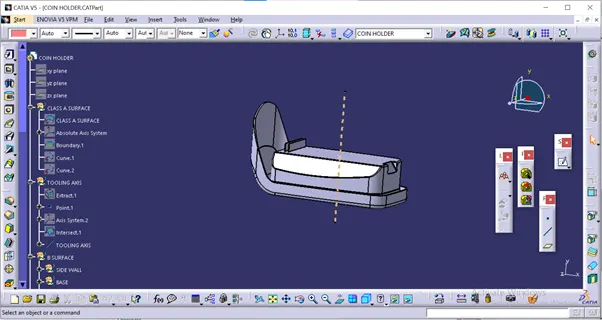
Design Tree:
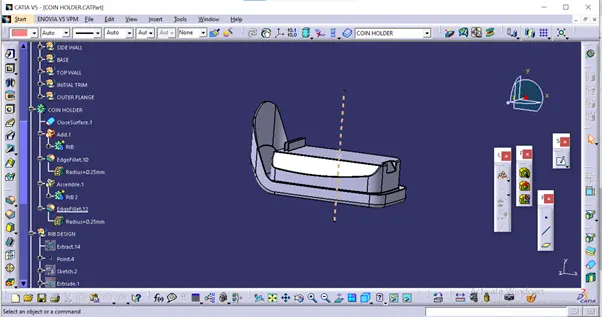
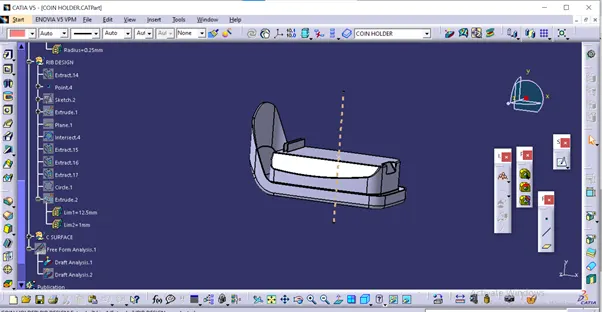
VIEWS:
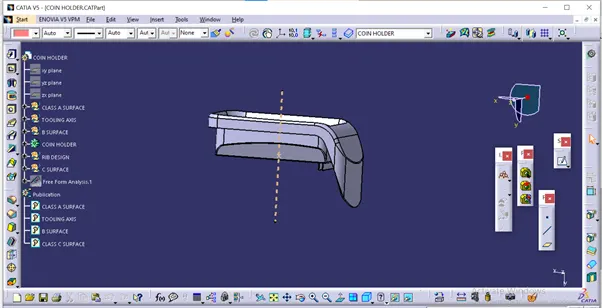
ISOMETRIC VIEW
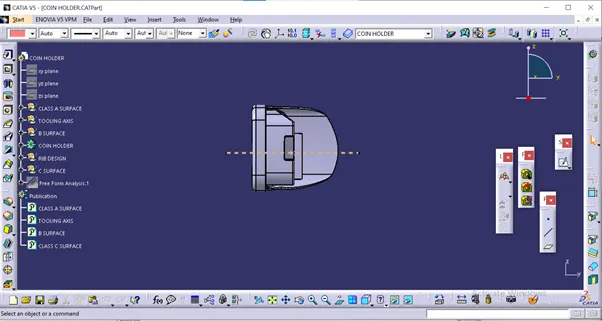
FRONT VIEW
SIDE VIEW
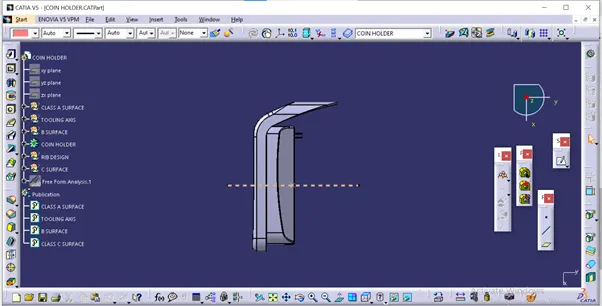
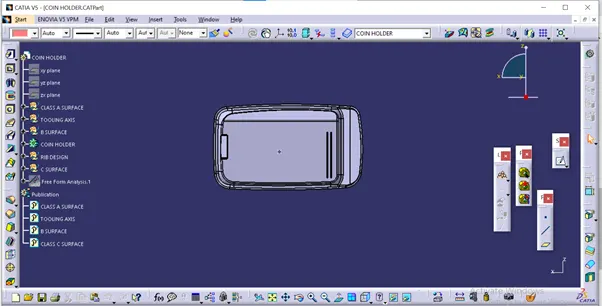
TOP VIEW
Conclusion:
The rib has been designed following the design rules/principles.