BASIC MORPHING USING ANSA V20.1.4
OBJECTIVE:
The main aim of this project is to perform the basic morphing technique for a Hand rest plastic component and a sheet metal component.
PROCEDURE:
Hand rest plastic component:
- Imported the given .stp file in the ANSA work page.
- Checked for the orientation i,e. the upper part of the model should be in gray color meaning positive and the lower part in yellow color meaning negative.
- The issues with orientation are cleared using the topo module-->faces-->topo.
- The resolution of the CONS is improved using Auxiliaries--> fine from topo module or perimeters-->length from mesh module.
- The model is then subjected to a geometry checkup to check any free edges between the models, duplicate surface, irrelevant CONS using the option tools--> checks-->geometry.
- Some geometrical errors are cleared using the Auto fix option and some are manually done using options like release hot points, release cons, topo, faces cut, etc. from the Topo module.
- Morphing is performed using the morph module.
- when the morph module has selected the activation for morphing is done as shown below,
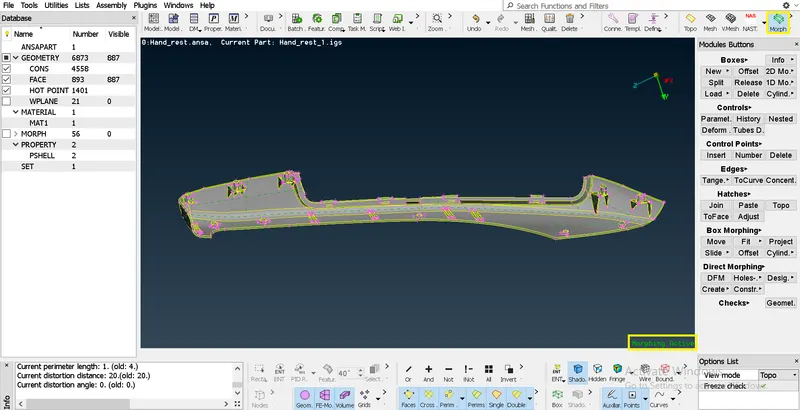
- 1. Morph activation
- The region that has to be morphed can be selected by using Boxes-->New-->ortho option, and Morph box representation is created as shown below,
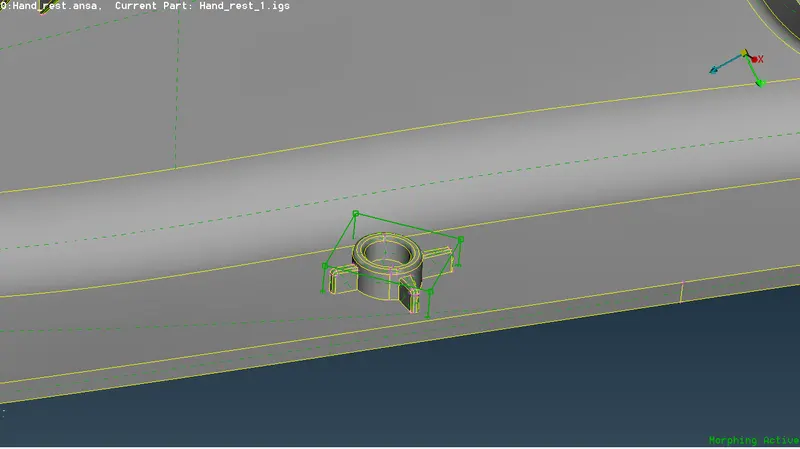
- 2.Morph box representation
- This morph box can be controlled by using the control grids at each end, the control grids can be moved manually or by specifying the distance.
- To move the control grids, Box morphing-->move option is used, on clicking the option a dialog box opens to selects the grids as shown below,
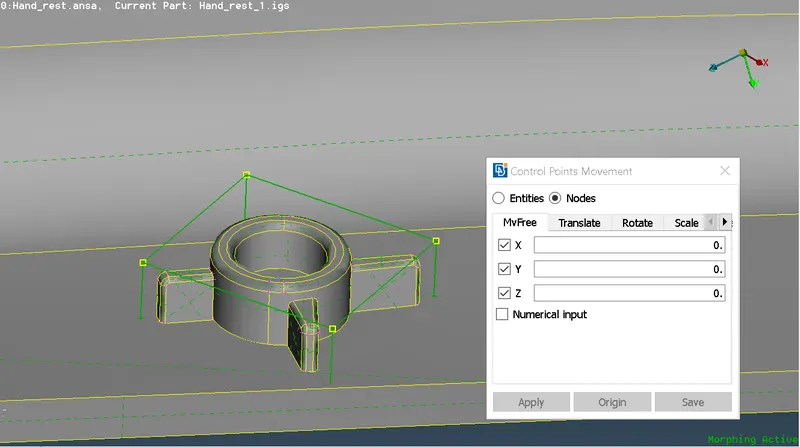
- 3. Selection of grids
- The movement of the grids can be done either using the global coordinate system or a local coordinate system.
- In order to move the grids using a local ordinate system, right-click is done inside the morph box to get the local coordinate as shown below,
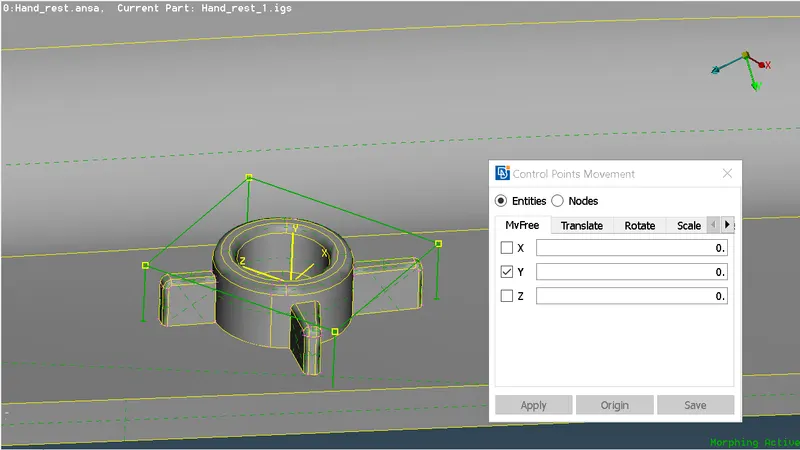
- 4.local coordinate representation
- The movement of the grids can be constrained in a particular direction by ticking the coordinate system direction as shown above in the picture.
- In this hand rest component, the morphing operation is carried out by increasing the height of the dog houses and ribs as shown below,
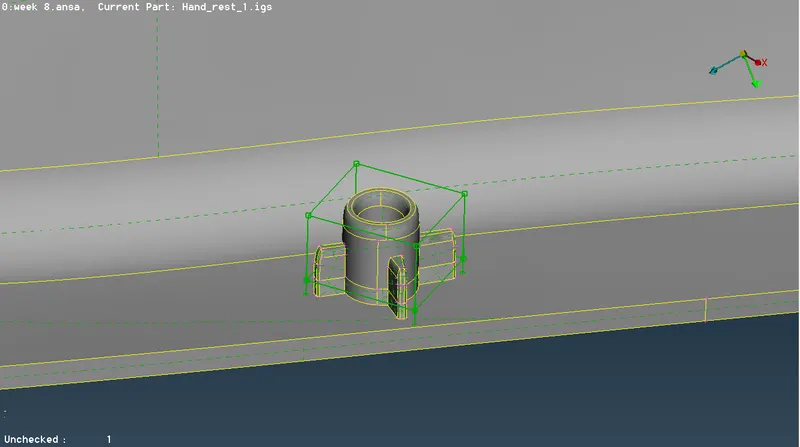
- 5.1. Before morphing 5.2. After morphing
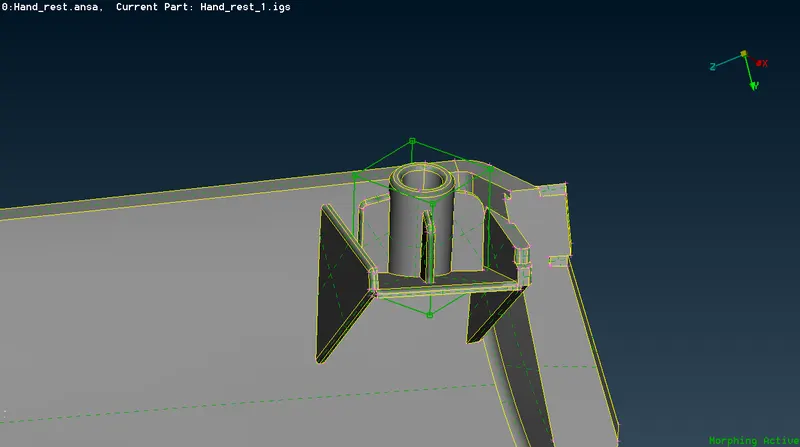
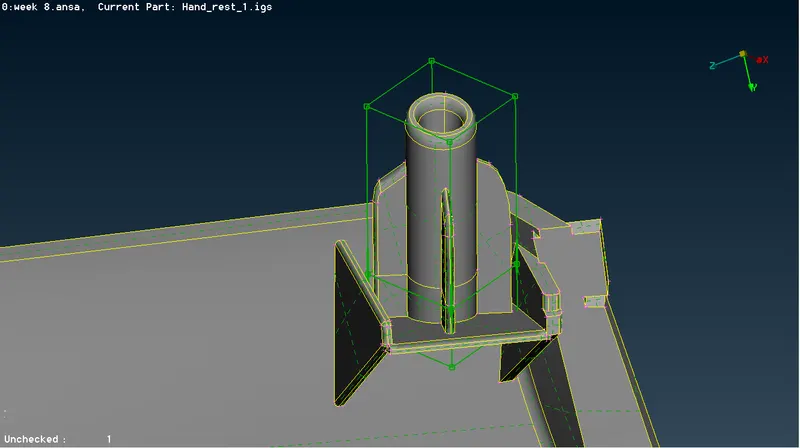
- 6.1. Before morphing 6.2. After morphing
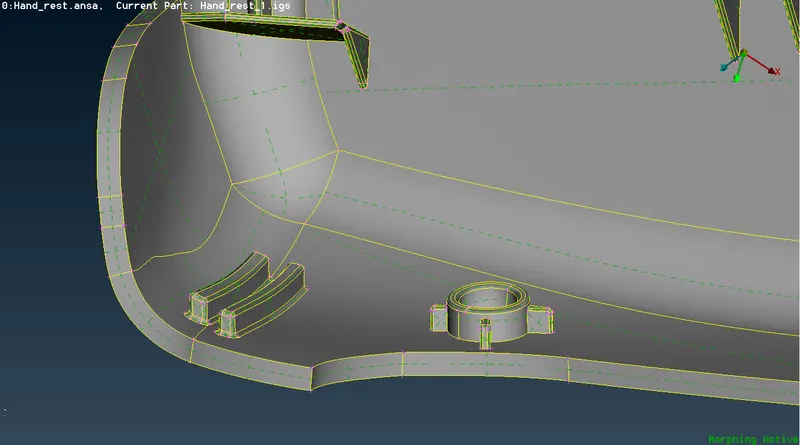
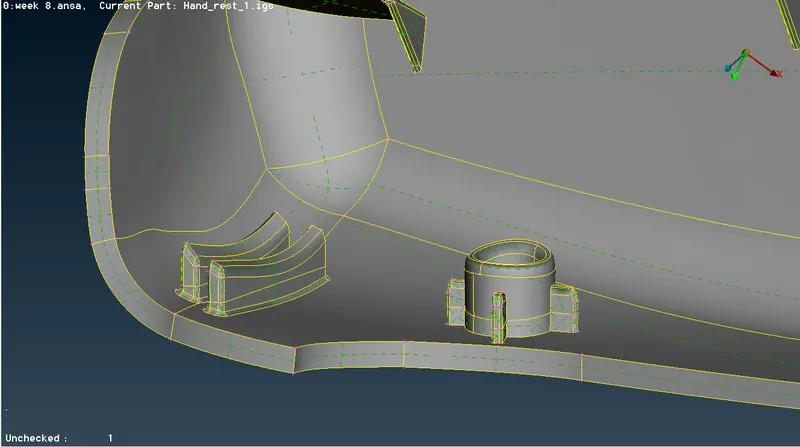
- 7.1. Before morphing 7.2. After morphing
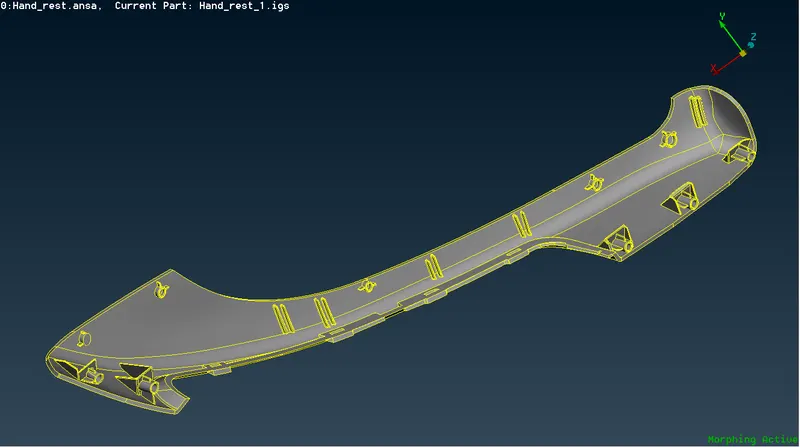
- 8.1.Model before Morphing
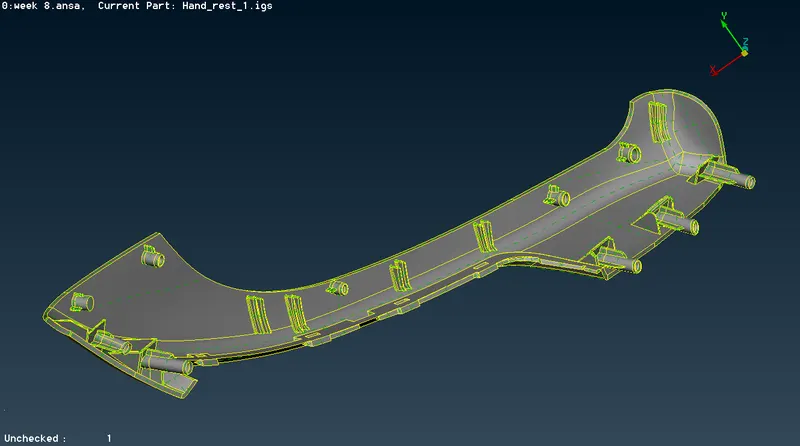
- 8.2.Model after morphing
Sheet metal component:
- The geometry clean-up and morphing operation are carried out as mention in the above procedure.
- The images below represent the morphing operation carried in the sheet metal component.
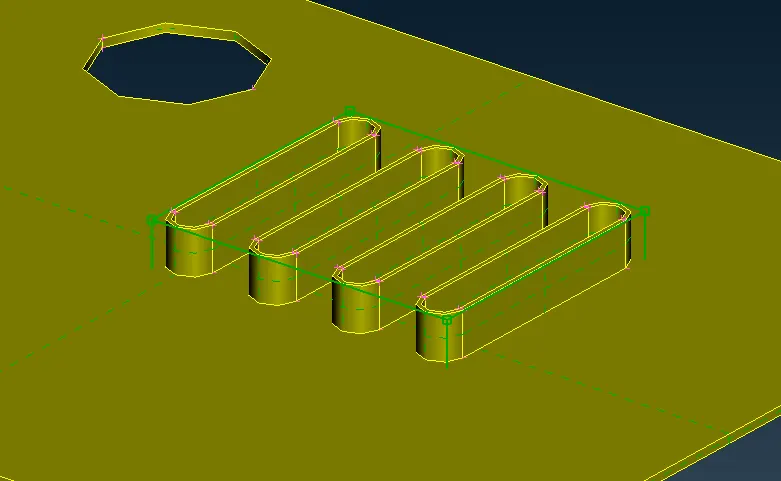
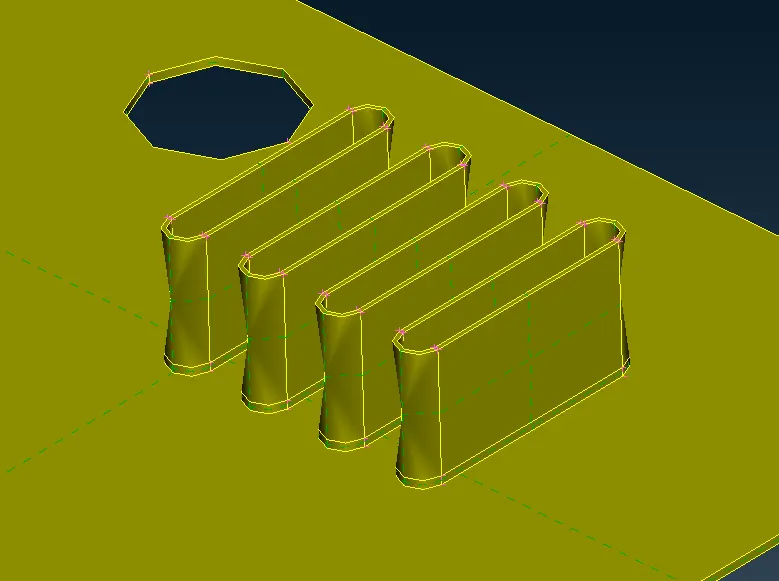
- 9.1. Before morphing 9.2. After morphing
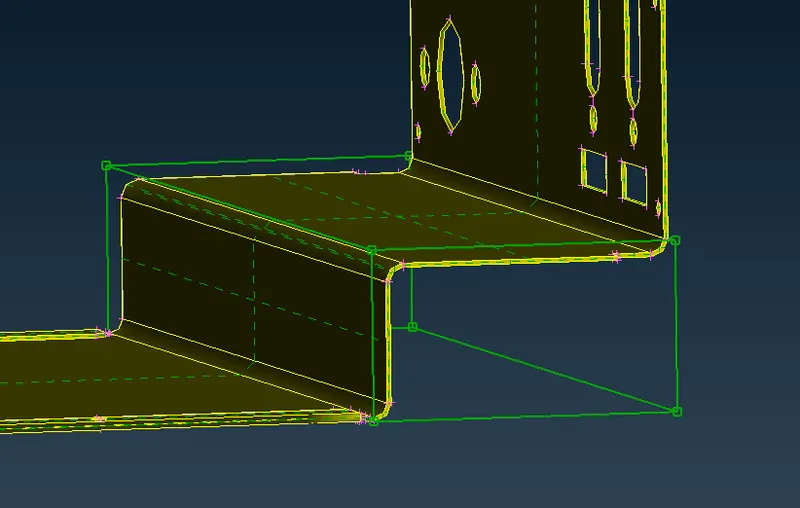
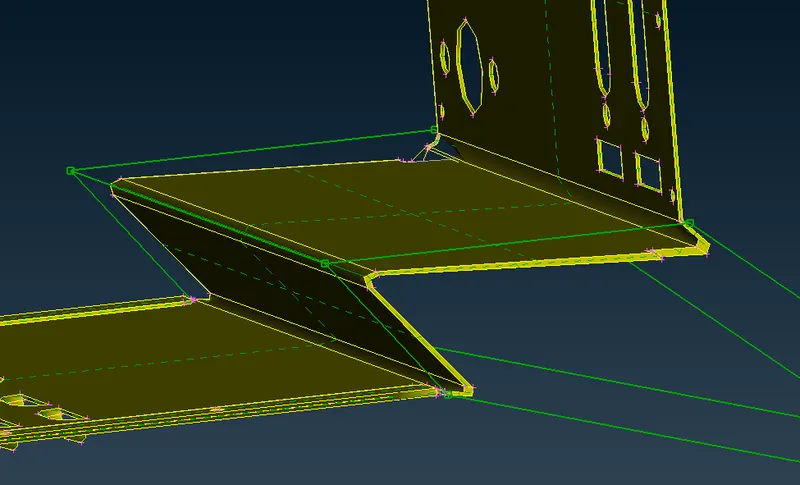
- 10.1. Before morphing 10.2. After morphing
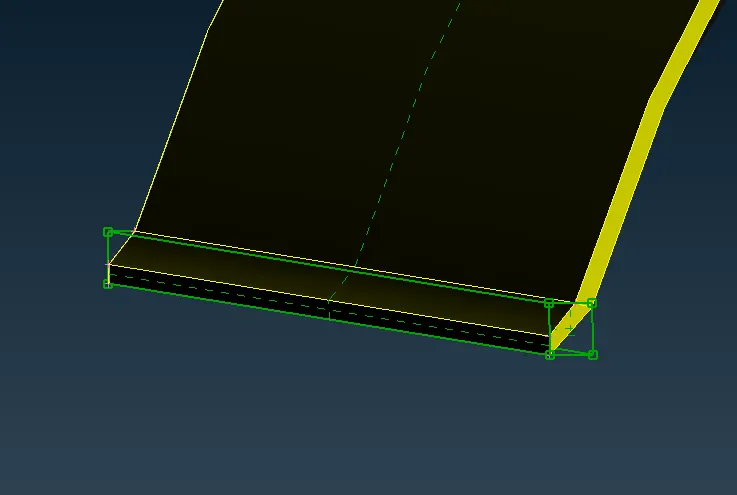
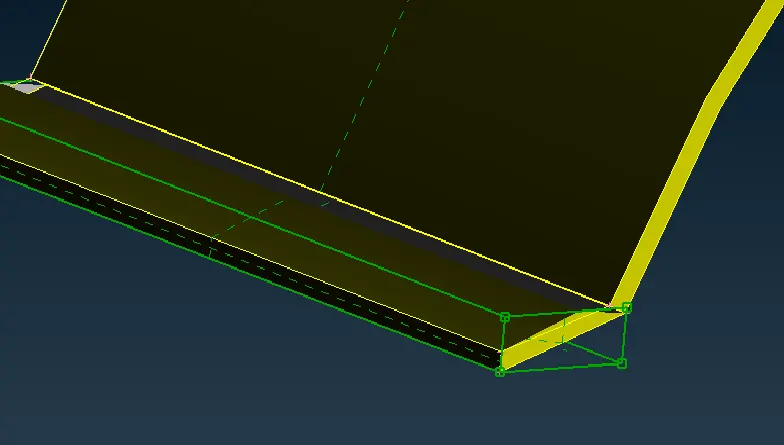
- 11.1. Before morphing 11.2. After morphing
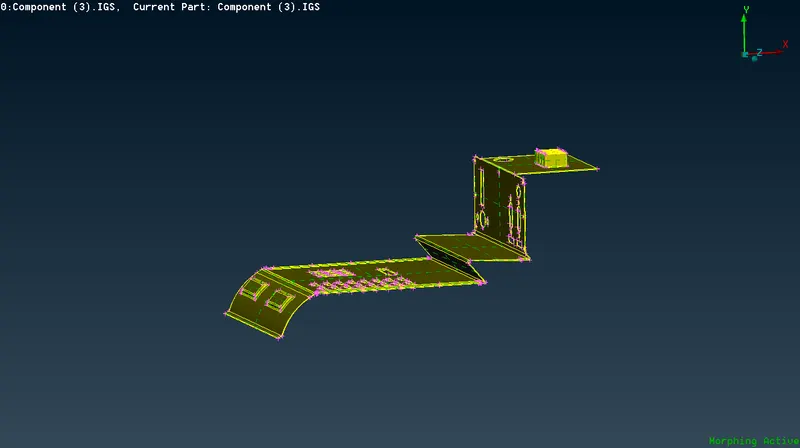
- 12.1. Before morphing
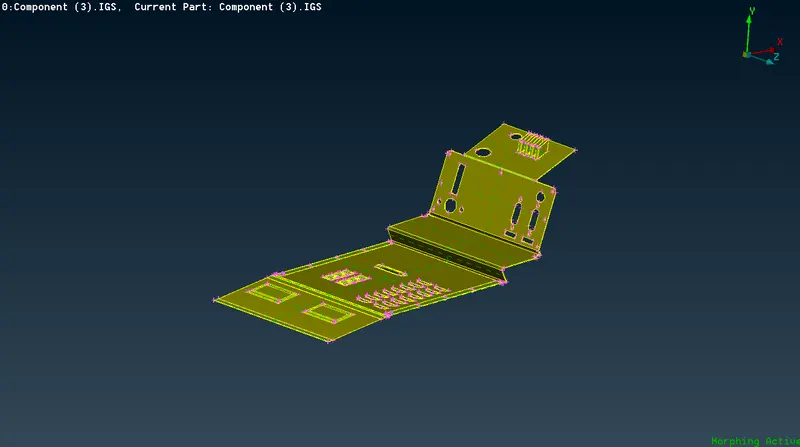
- 12.2. After morphing
- Finally, saved the file.
INDUSTRIAL APPLICATION:
- The automobile industries like Honda, Maruthi Suzuki applied this morphing technique in designing a new model car from their existing models.
- For example, the Honda Brio is a Hatchback car from that model Honda creates its sedan version Honda Amaze.
- The morphing technique not only used for developing the car models but is also used to change the shape after the simulation of the FE model.
- For example, In a FE model, if the stress concentration is higher in a particular region, it can be reshaped by using this technique for better results.
RESULT:
Hence, the basic morphing operation is done for the Hand rest plastic component and a sheet metal component.
LINK TO VIEW THE MODEL: