Week - 8 - Morphing
Aim:
To create a MORHING of the given component by using ANSA.
Given data:
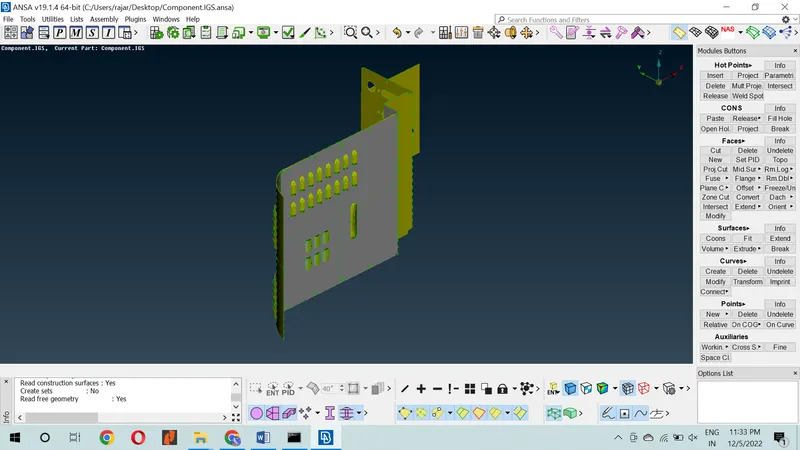
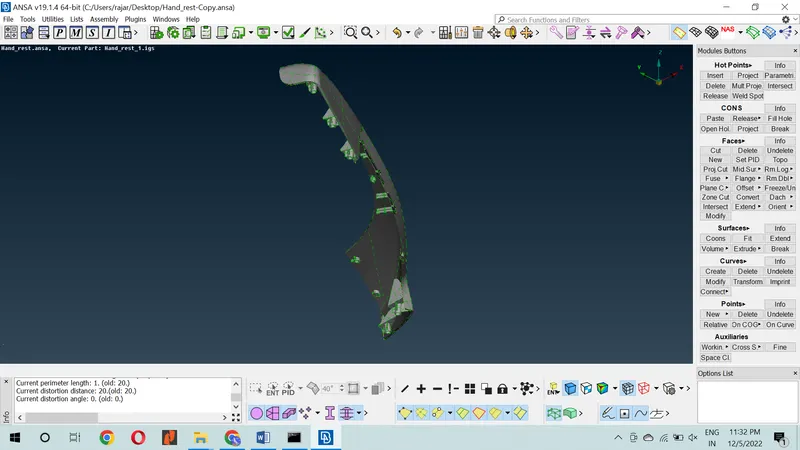
In this Morhing section we have two components. The given cad model is
- CAD model:
- Component - Model 1
- Hand_rest - Model 2
Steps to follow in ANSA.
- Import cad geometry.
Go to file > Open > Browse the location of the given CAD model > Select it click on Enter.
- Geometry cleanup.
Go to Toolbar > checks > Geometry > Visible > Execute > Check for the green tick beside geometry > close the window.
Execute to run the geometry cleanup. If there are any geometry errors, right click on the mouse on the highlighted errors and select auto-fix (automatically edit geometry issue) or edit manual as your wish.
Morphing:
Morphing is an effect which sees one shape or object transform into another in a seamless transition. There are different approaches, but the fundamental meaning of morphing remains the same.
Procedure:
STEP To alter the design of the given geometry with morphing method
STEP-1: To begin morphing, switch the modules selection to MORPH.
STEP-2: Split the morph box to adjust the handle points later.
STEP-3: To morph the geometry select the points and geo check and continue.
STEP-4: According to the CAD changes move the cursor to desired position, and middle click to confirm the changes to the CAD.
STEP-5: Right click on the box to create a local co-ordinate system to move according to the co-ordinate system as shown below.
STEP-6: Select X-axis to move the geometry in X-axis.
STEP-7: Select Y-axis to move the geometry in Y-axis.
STEP-8: Select Z-axis to move the geometry in Z-axis.
STEP-9: CLICK OK.
MORPH > BOX > NEW > SELECT > CLICK MIDDLE MOUSE BUTTON.
MORPH > MOVE > SELECT THE NODE > TRAG THE NODE WITH AXIS > CLICK MIDDLE MOUSE BUTTON.
Model 1:
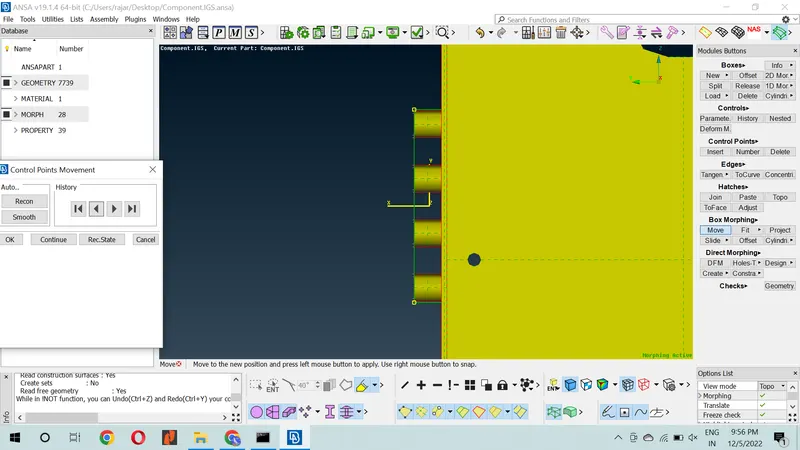
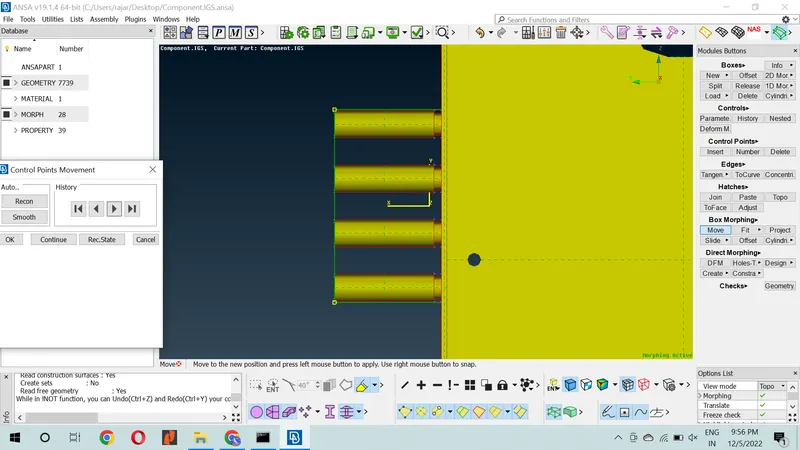
BEFORE MORPHING AFTER MORPHING
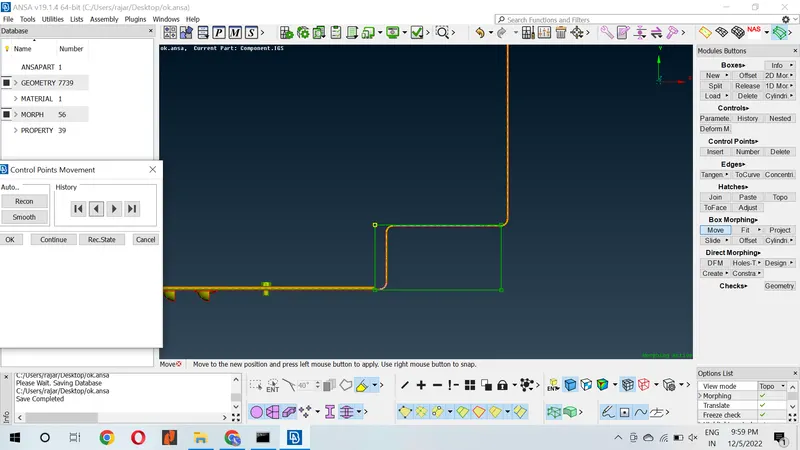
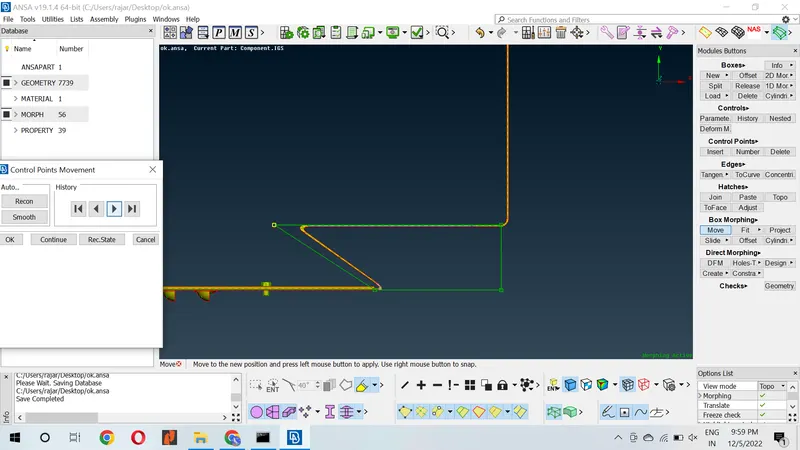
BEFORE MORPHING AFTER MORPHING
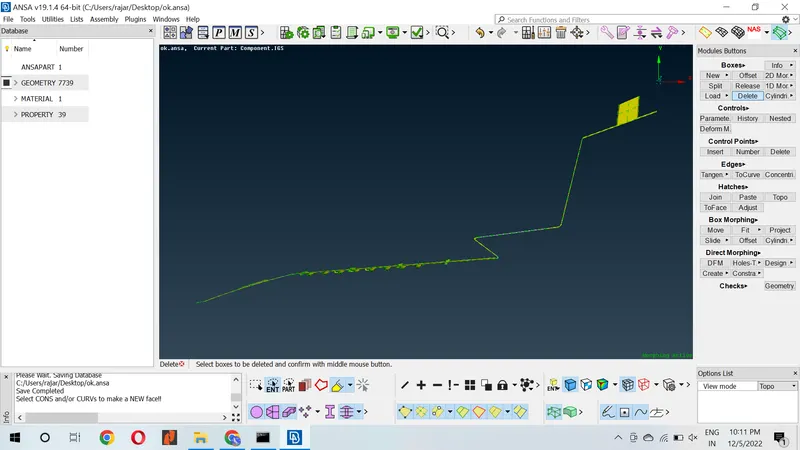
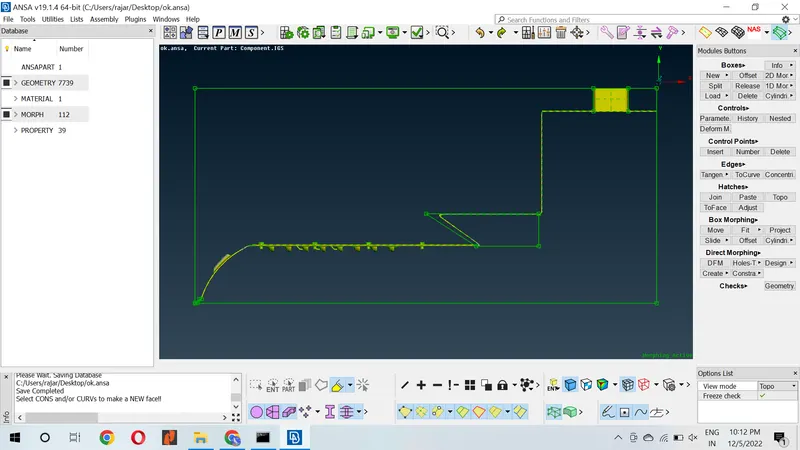
BEFORE MORPHING AFTER MORPHING
Model 2:
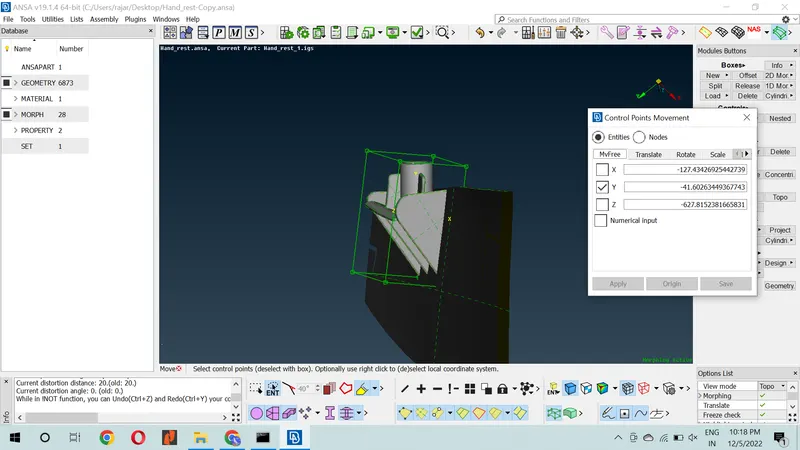
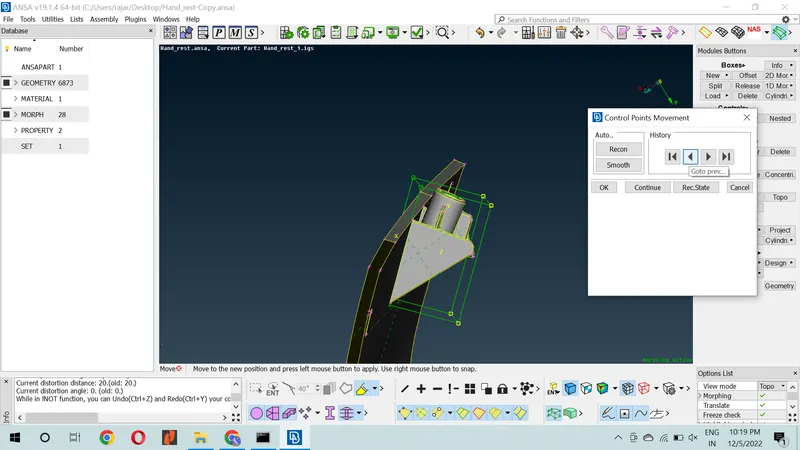
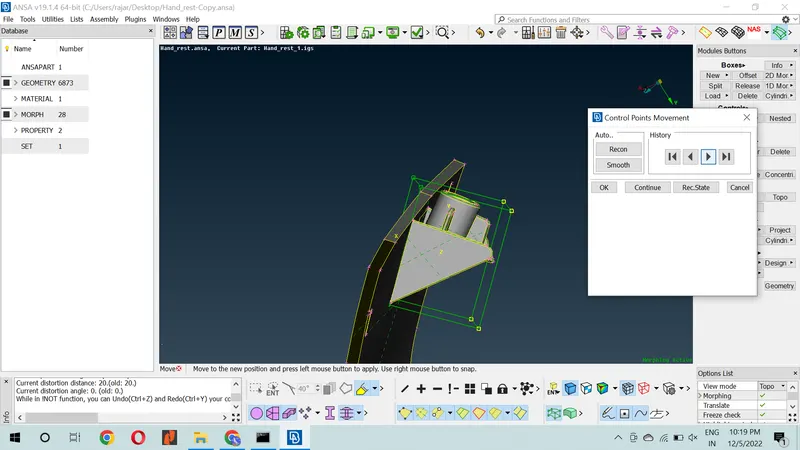 MODEL-2: BEFORE & AFTER MORPHING.
LEARNING OUTCOMES:
To create morphing and learn morphing tools.
To learn new tools and knowledge of morphing.
In the end of the challenge, I learn lot of commands and shortcut key.