Week - 8 - Morphing
Week 8 Challenge
Aim- Understanding box Morphing technique.
Introduction
Morphing is a technique of converting a given shape to a different form. The given geometry can be modified at FEA stage to get a better optimized design, with the defined proportions. This technique reduces the time as the geometry can be modified at FE stage instead of redesigning from CAD team.
Application of Morphing
Automobile-
The basic application of morphing in automobile is used to control the body type for external aerodynamics for rear drag reduction and to convert the body type from SUV to Sedan.
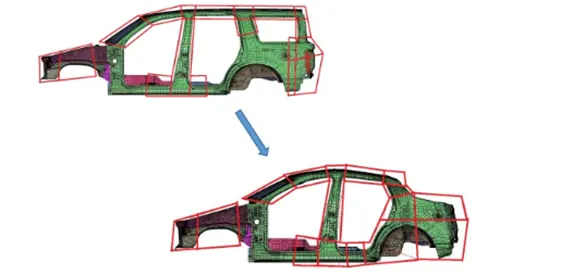
Fig 1- Converting SUV to sedan using morphing
Aviation
The morphing technique is used to mostly control the angle of the wings to get required drag and lift force.
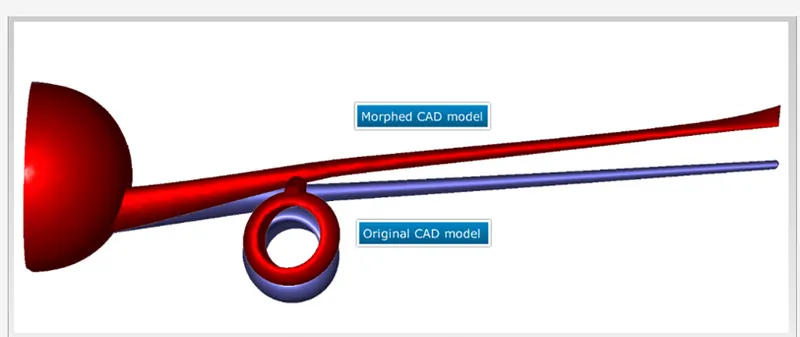
Fig 2- Morphed CAD of aero plane Wing
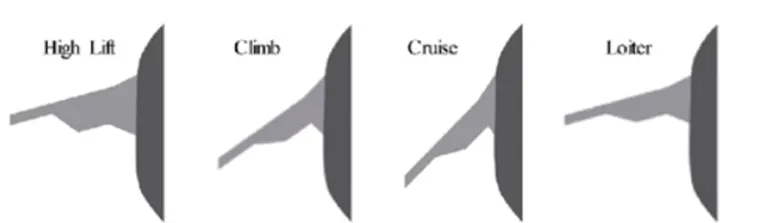
Fig 3- Morphing application as per the application of wings
Procedure for First Component
Google Drive Link of component 1 –
https://drive.google.com/file/d/1LDpJa_l_akfjIdg-vuzHr25b0ZAkHS4i/view?usp=share_link
Step 1- Imported the Geometry
Step 2- Improved cons resolution from mesh module- perimeter- length – 1.
Step 3- Set orientation from Topo module -Faces- orient
Step 4 – Checked for connectivity between surfaces from topo module – faces-topo.
Step 5- Geometry checks – tools – checks – geometry- fix.
Step 6- Checked for number of properties – ctrl+P (shown in fig 4)
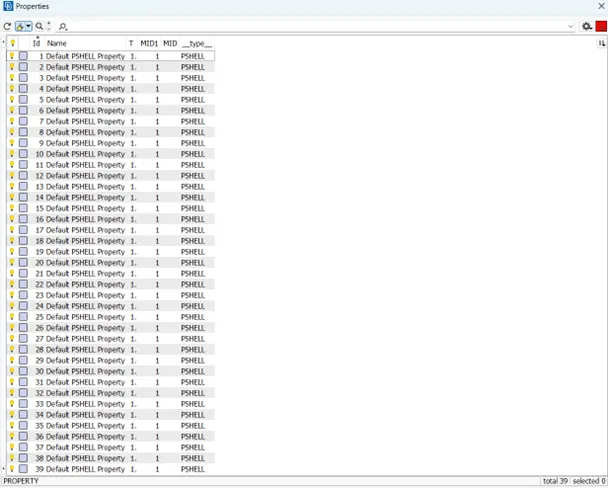
Fig 4- Property card for component 1
Step 7 - Hidden all the other bolts and worked on only Hood.
Step 8 - we need to solve the three triple cons error manually. The triple cons error is due two surface is small and generated the triple cons. Solved the triple con by first releasing the con and performed the topo individually as shown in fig 5 and 6.\
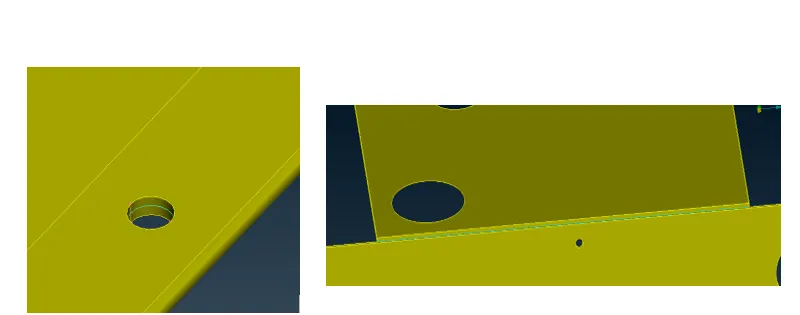
Fig 5 – Triple cons geometrical error
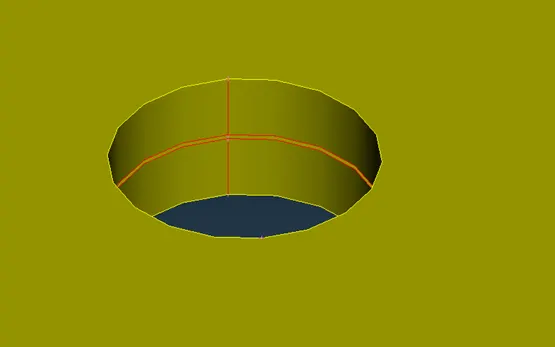
Fig 6 – Cons after release
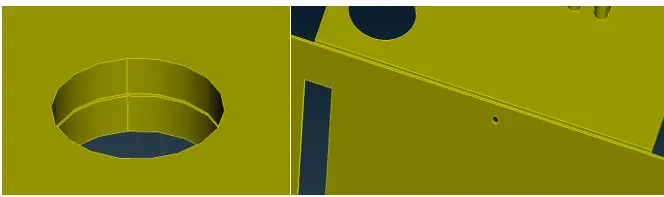
Fig 7- Fixed the geometrical error
Step 9 - To do morphing, we first selected the features to be moved from, morphing deck -boxes – new – geometry-ortho/volume - selected the feature -MMB.
Step 10 – To have a control and avoid the feature failure from bottom. we split the morph box from, Morph module- Boxes- split- LMB and split the morph box.
Step 11 – The aim is to increase the height of the feature. The height of the feature is increased from, Morph deck- box morphing move- selected the nodes- unsuppressed the other two axis parallel to height-dragged the nodes – MMB – ok.
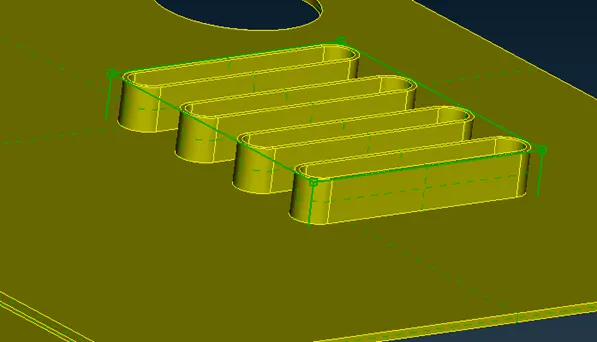
Fig 8 – New morph box of component 1
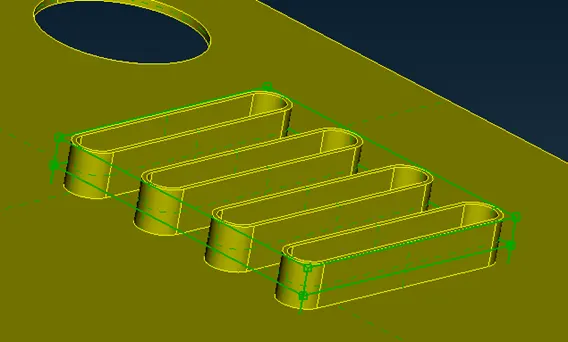
Fig 9 – morph box split of component 1
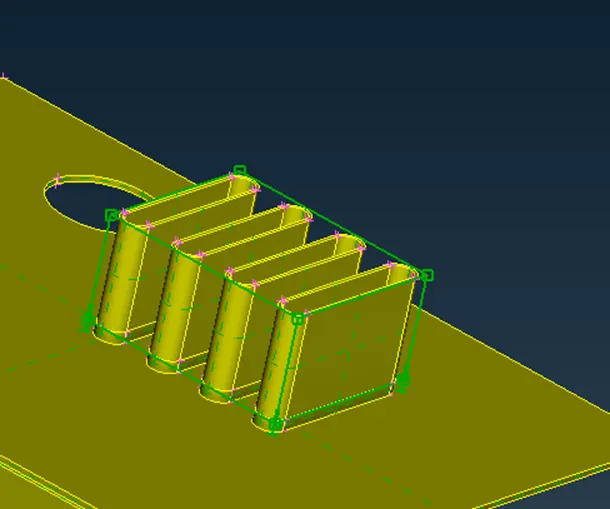
Fig 10- Increased the height of the feature.
Step 12 – Applied the same feature for other features. Shown in fig 11
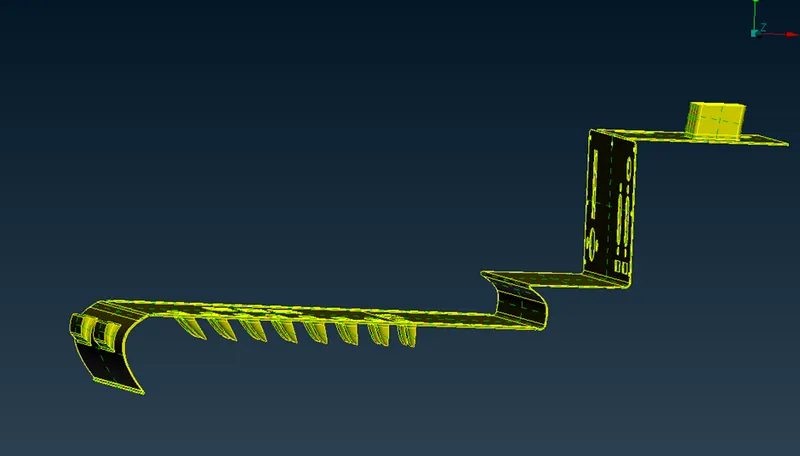
Fig 11 – Final morphed component
Procedure for Hand Rest (Second component)
Google drive link for second component-
https://drive.google.com/file/d/1EWpE7bqJdDpMJTWLbAdfxB9uFumdA6S/view?usp=share_link
Step 1- Imported the Geometry
Step 2- Improved cons resolution from mesh module- perimeter- length – 1.
Step 3- Set orientation from Topo module -Faces- orient
Step 4 – Checked for connectivity between surfaces from topo module – faces-topo.
Step 5- Geometry checks – tools – checks – geometry- fix.
Step 6- Checked for number of properties – ctrl+P (shown in fig 12)
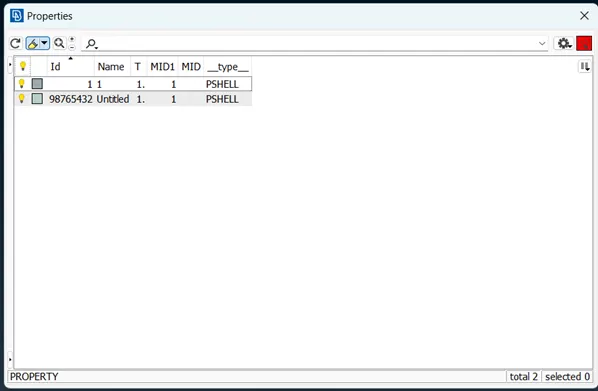
Fig 12- Property Card for second component.
Step 7 - To do morphing, we first selected the features to be moved from, morphing deck -boxes – new – geometry -min volume- selected the feature -MMB.
Step 8 – To have a control and avoid the feature failure from bottom. we split the morph box from, Morph module- Boxes- split- LMB and split the morph box.
Step 9 – The aim is to increase the height of the feature. The height of the feature is increased from, Morph deck- box morphing move- selected the nodes- unsuppressed the other two axis parallel to height-dragged the nodes – MMB – ok.
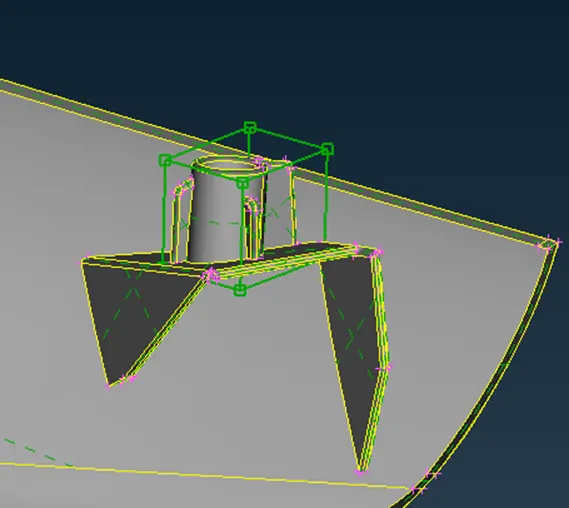
Fig 13 – Morph box for component 2 from (min volume)
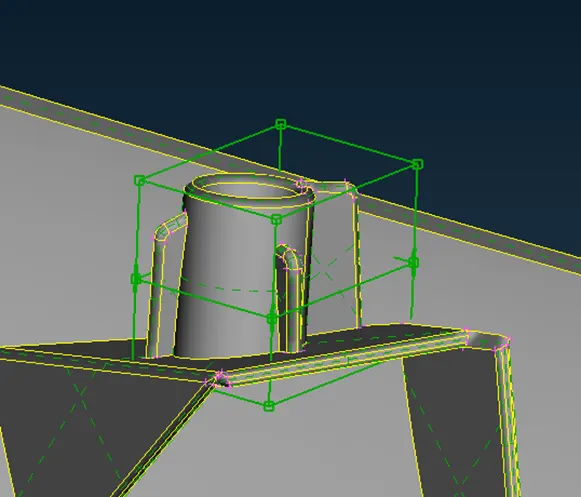
Fig 14- Morph box split of component 2
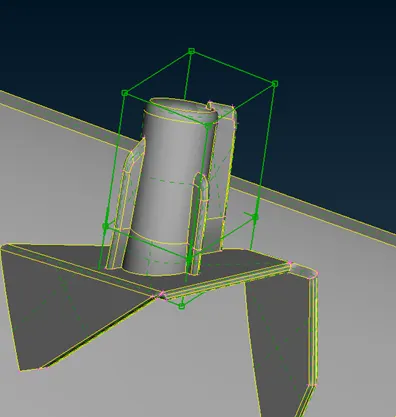
Fig 15 – Dog house increased height.
Step 10 – Applied the same procedure for other features. Shown in fig 14.
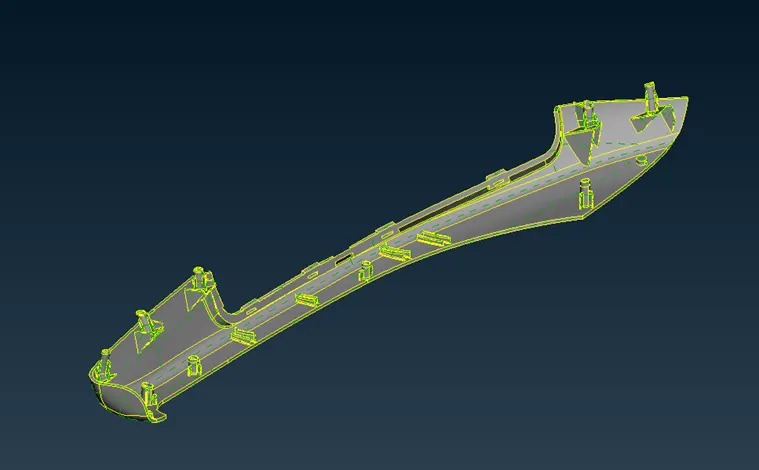
Fig 14 – Final Morphed component.
Conclusion
- We learned about the basics of morphing.
- We learned about the applying box morphing.
- Learned about application of morphing.