Week - 8 - Morphing
AIM: To practice and apply the Morphing techniques on the given models and morph the model as given in the question.
What is Morphing:
In the field of numerical simulation, mesh-morphing is a technique to change an existing geometry or an existing FEM or CFD mesh by applying a specific distortion. In the original form of this method, the changes only apply to the positions of the nodes, so the connectivity of the elements is retained.
In ANSA, Direct morphing features give the user the ability to efficiently modify a part locally without having to create Morphing boxes. This method is extremely useful in creating local modifications on single parts.
Procedure:
Import the model into ANSA GUI.
Two models are given for doing the Morphing techniques as pr shown in the video.
STEP 1:
- First, we have to import the CAD model to the ANSA software to practice
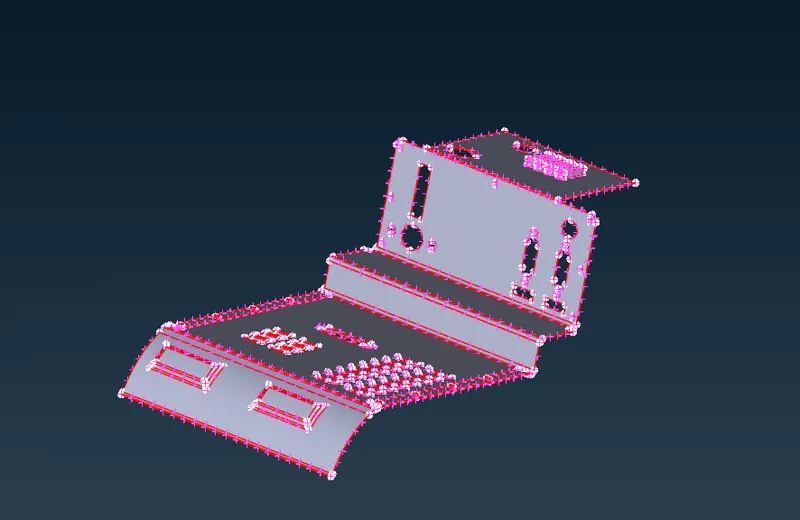
- As we already know, after the model is imported to ansa we have to perform the topological cleanup on the model.
- After the cleanup, we have to do the geometry check in the checks manager which is present in the modules of the tool
- After the geometry check is completed, we have to check the orientation of the model.
- Then the length of the perimeters needs to be assigned in the mesh module's perimeter option.
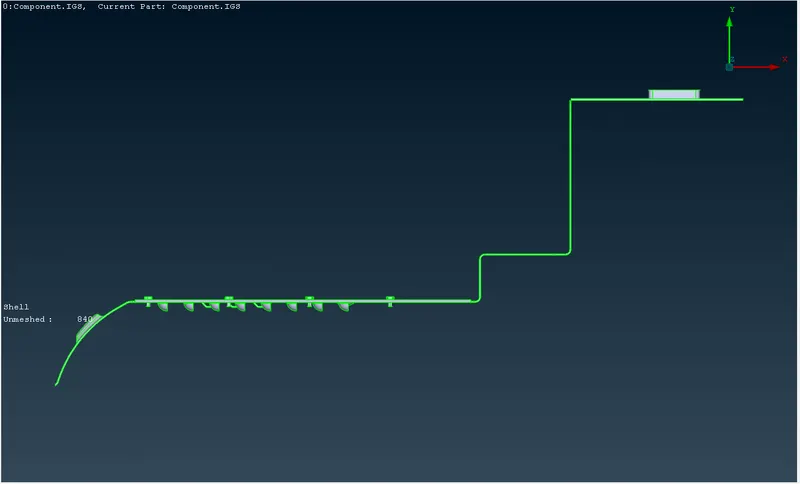
Step 2:
Then switch to the MORPH module, for creating a box, as we have to first create a box to morph the model.
To create a box go to New Command in the BOXES option which is in the MORPH Module
After going into NEW we will be directed to another NEW MORPH to drag the boxes.
In the new morph window, we have to select ORTHO and As we have geometry we have to select GEOMETRY to create a BOX. Apart from this we also have NODES and FE ENTITIES for FE models and Mid surfaces.
BOX is created by conforming -> select the area in the geometry -> GEOMETRY -> ORTHO -> NEW -> BOXES -> MORPH MODULE
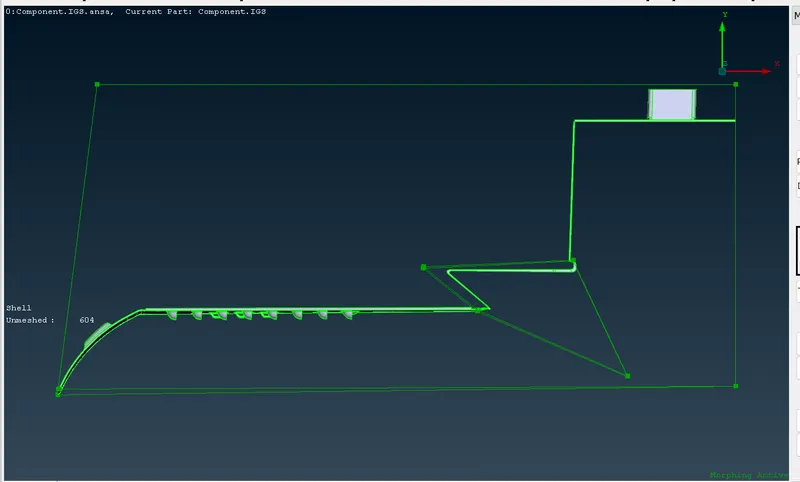
After the box is created, We have the SPLIT command in BOXES where we can split the which we have created so that it helps the user to morph the model according to the user.
Click on the box entities to split -> SPLIT -> BOXES -> MORPH MODULE
After creating the box, To change the length of any particular part in the model we have to go to BOX MORPHING OPTION In MORPH MODULE.
In BOX MORPHING we have a command called MOVE which helps to change the length of the geometry in the particular part where the box is created.
Once creating the required model of morphing in that model, we can delete the Morph Box.
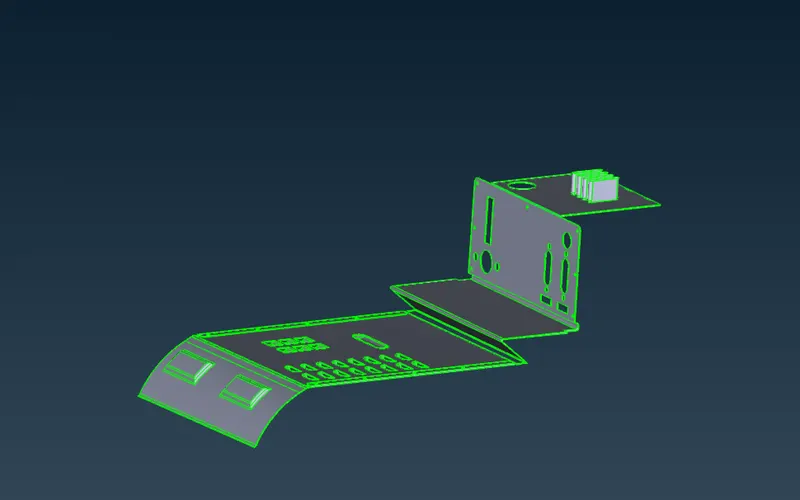
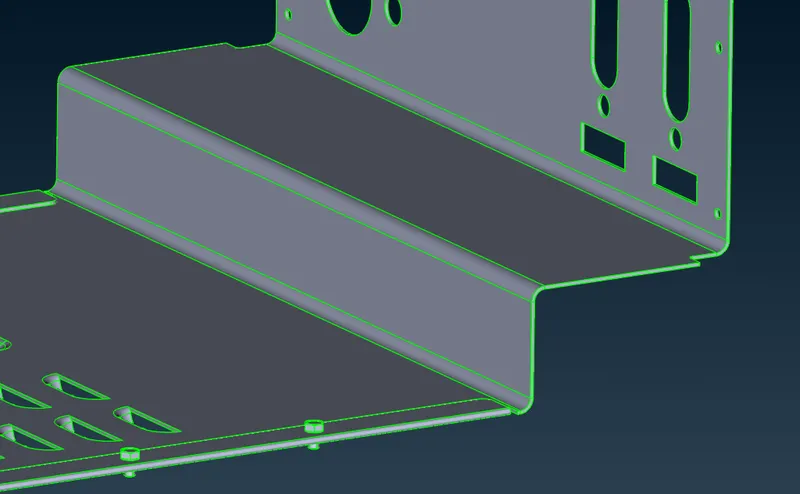
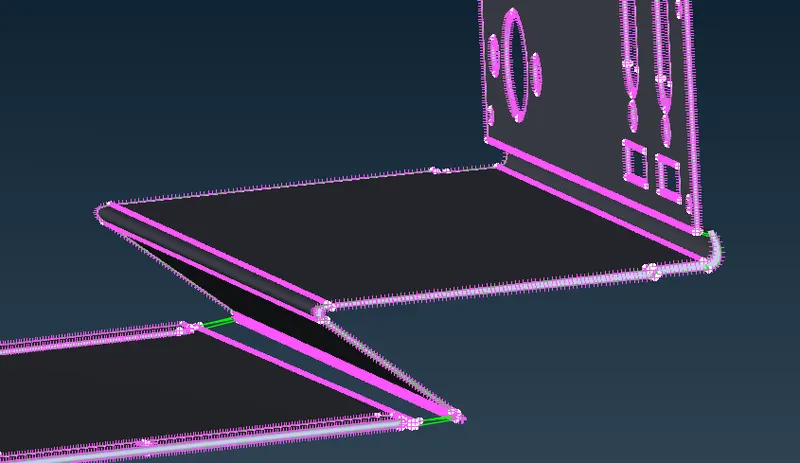
The final output is shown in the above images.
Model 2:
All the steps are been repeated in this model.
First, we have to import the CAD model to the ANSA software to practice.
Do topological and geometry cleanup on model 2
Now, switch to MORPH MODULE to create boxes in the areas which are needed to be morphed in model 2. i.e, the height of the dog's houses and the ribs in model 2which are showed
Before that, measure and store the length of the dog houses and ribs in model 2 to check whether the length is changed or not.
Now, follow step 2 to create the box.
Click on the box entities to split -> SPLIT -> BOXES -> MORPH MODULE
After creating the box, To change the length of any particular part in the model we have to go to BOX MORPHING OPTION In MORPH MODULE.
In BOX MORPHING we have a command called MOVE which helps to change the length of the geometry in the particular part where the box is created.
Once creating the required model of morphing in that model, we can delete the Morph Box.
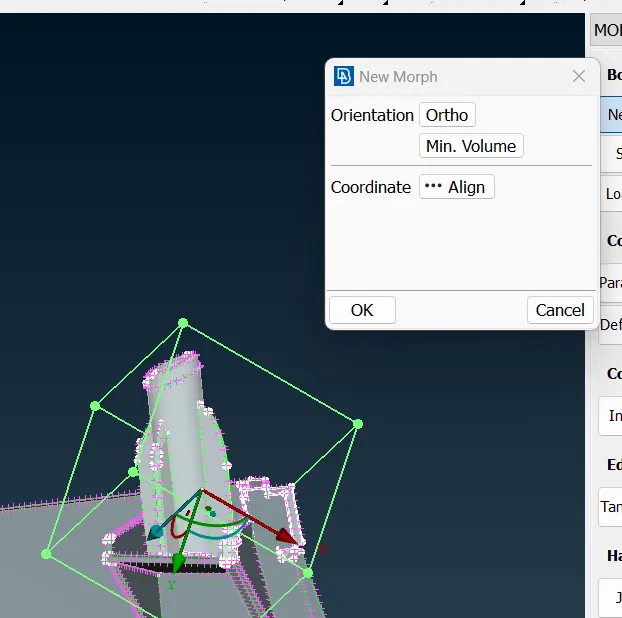
Below image is showing the representation of Morphing box in the model.
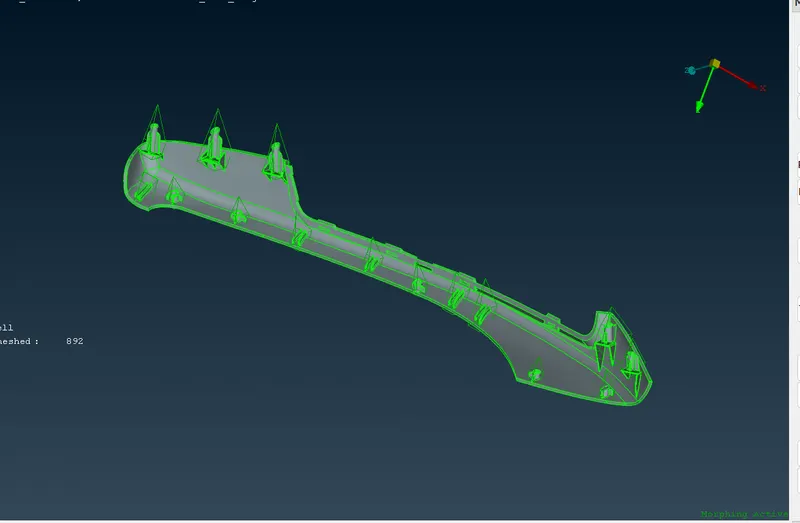
In the new morph window, we have to select ORTHO and As we have geometry we have to select GEOMETRY to create a BOX. Apart from this we also have NODES and FE ENTITIES for FE models and Mid surfaces.
BOX is created by conforming -> select the area in the geometry -> GEOMETRY -> ORTHO -> NEW -> BOXES -> MORPH MODULE
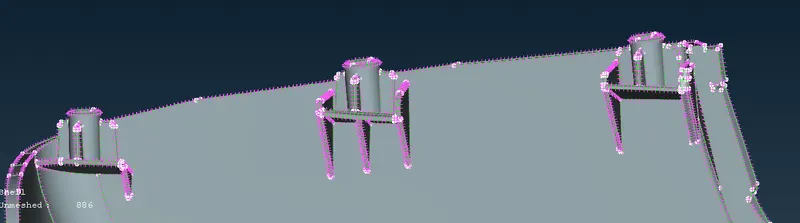
Before Morphing:
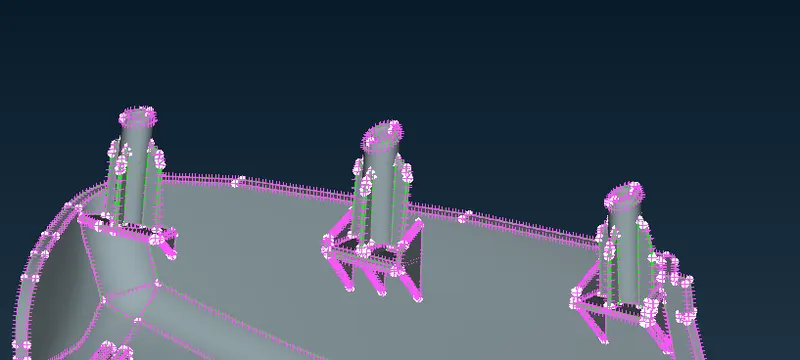
This image is taken before the morphing and has been extracted to a new extent and shown in it.
After Morphing:
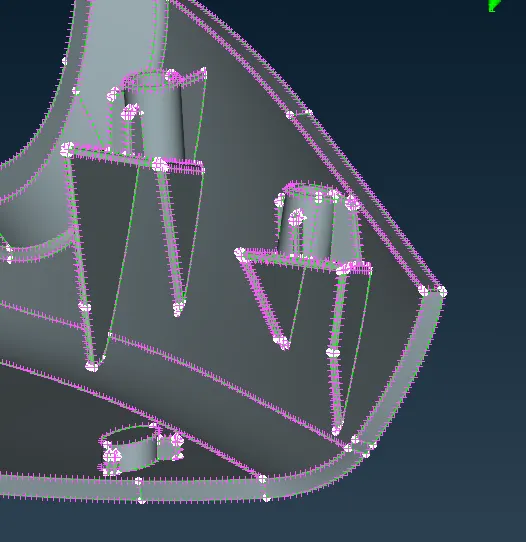
Before Morphing:
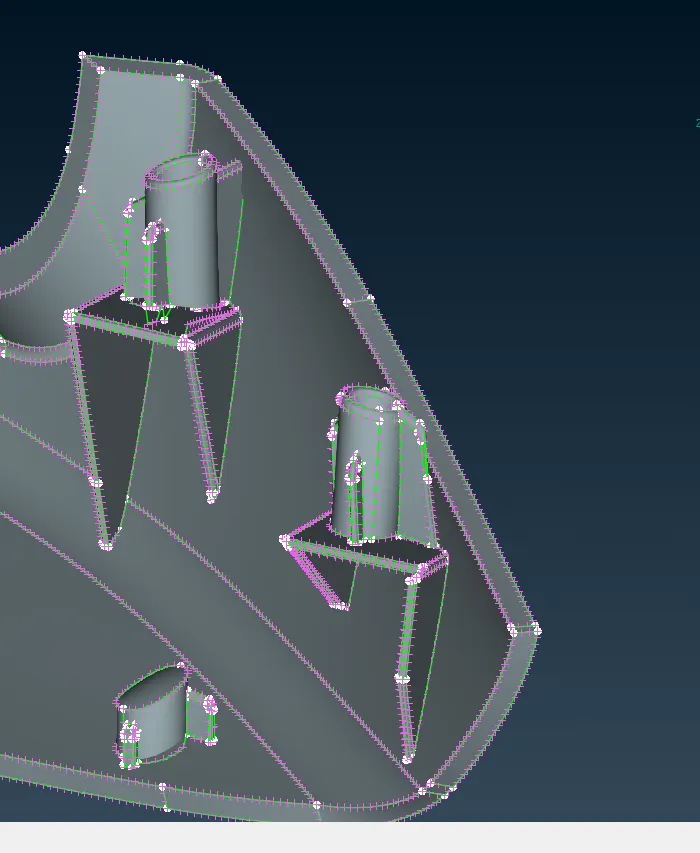
After Morphing:
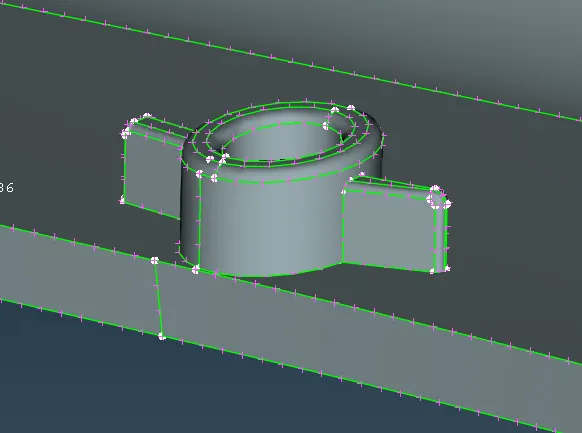
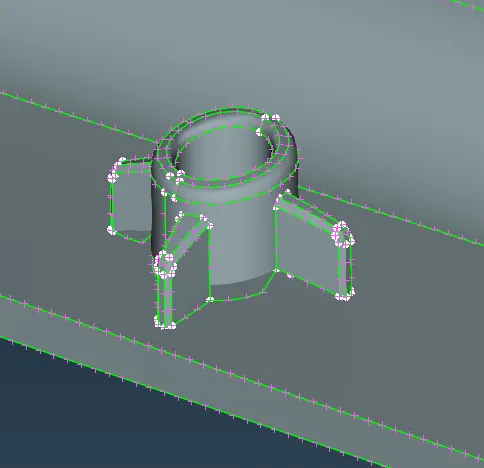
An image which is shown below is the feature morphed into a new extension.
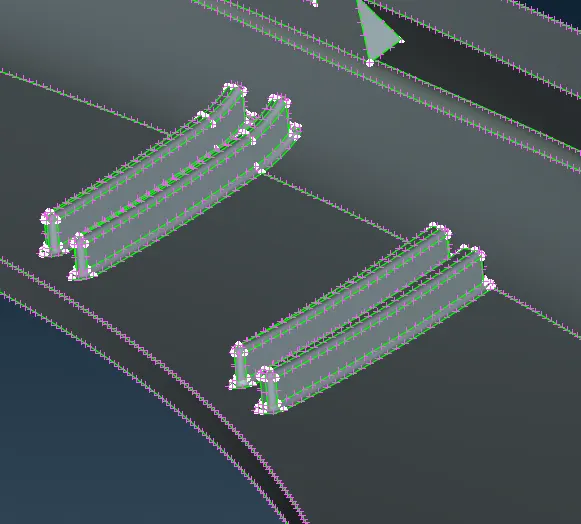
Before Morphing:
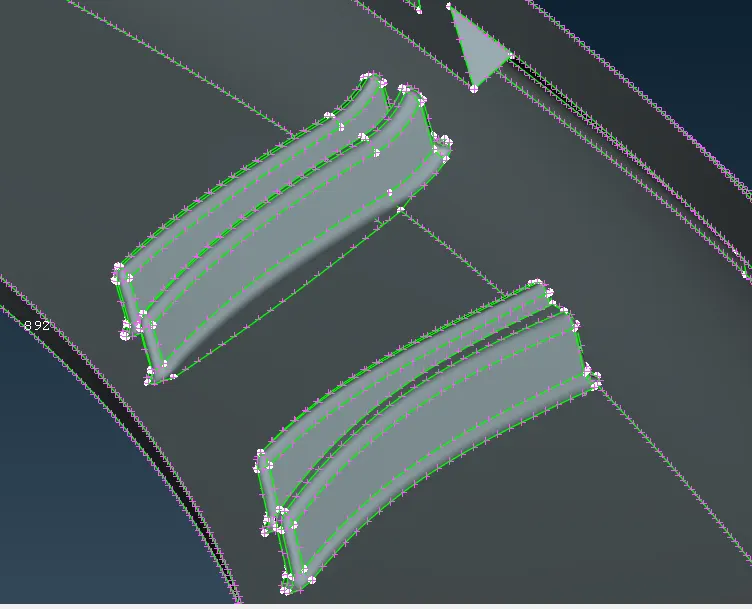
After Morphing:
Before Morphing:
After Morphing:
CONCLUSION:
Here is the Output of practice of this model I have learned about morphing. In Model 1 as per the video, I have done the morphing.
In Model 2, the Dog Houses and Ribs are been Morphed into new extraction.
Learned how to split the box created.
Learned how to change the length of the area in the geometry where the box is created by using the MOVE command and entities of the box.
Learned how to morph the FE MODEL.