Week - 8 - Morphing
MORPHING PERFORMED ON SM AND HAND REST CAD MODEL USING ANSA:
Aim:-
To determine the component checks for geometrical errors and providing good mesh flow for SM and Hand rest CAD model along with morphing techniques mentioned below-
- SM Cad Model:- To practise morphing techniques performed prior.
- Hand rest Model:- To perform morphing techniques and increase height of given Dog houses and Ribs.
Procedure:-
1. Open the ANSA software.
2. Click on the downloaded SM and Hand rest CAD model and open it.
3. As the model will appear. Use the command 'TOPO'(Faces>TOPO) and do window selection for all the model.
- After the TOPO cleanup, then we have to check the geometrical errors for further steps of Mid-surfacing.
- Firstly, we have to click on the 'Geometry' in the Checks manager(Tools>Checks>Geometry), then an Auto-generated template will be occured.
- Secondly, after displaying the template, likewise we have to click on the 'Execute' option in the template which will displayed the status of error visibility.
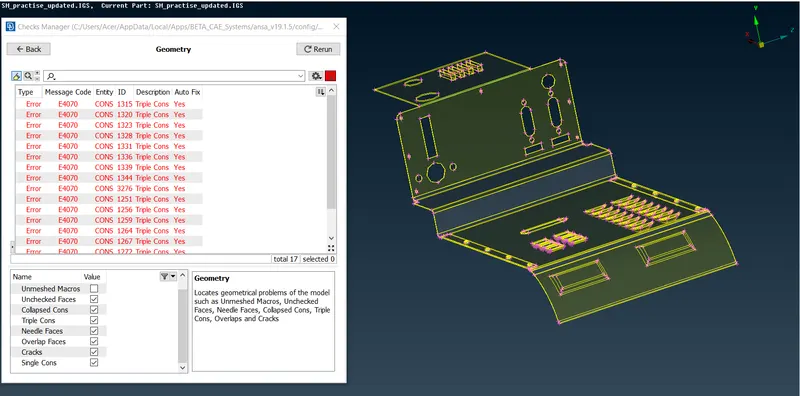
- Then, after displaying errors, we can 'auto-fix' this error. Select all the errors and by right clicking 'fix' option will be generated and by click on it auto-fix error will automatically be resolved. After, auto-fixing this error some of the errors should be fixed by our own. Thus, these errors should be resolved one after another. For this, we have to use 'Hybrid Not'(Bullens>Hybrid Not) option.
- Admittedly, these errors should be resolves sequence by sequence, so click on error and go to the option 'show only' then the error will be displayed. Likewise, go to Release(CONS>Release) option, then by clicking on it and doing window selection of TOPO in faces, our error will be resolved respectively. Similarly, we have to resolved all errors one by one.
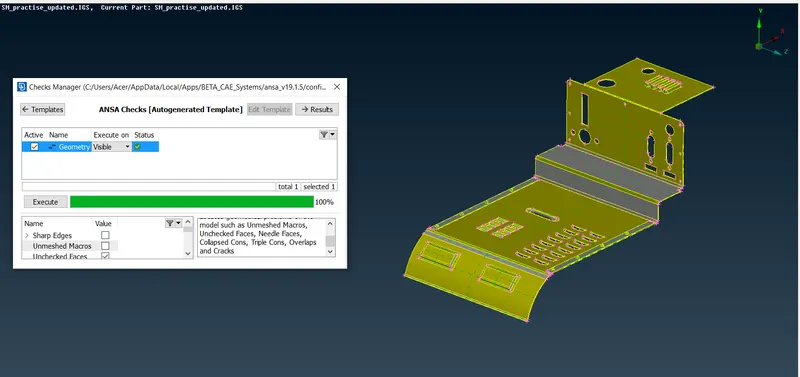
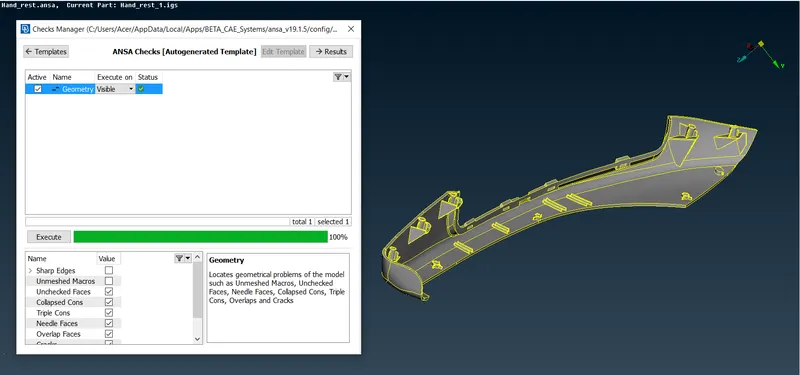
- Thus, when all errors are resolved, then in template it will shown geometry check status as 100% which clarify that our geometrical errors along with Topology is all up to the mark.
- Therefore, our geometry is now ready for morphing practise.
4. Basically, we have to practise morphing techniques one by one on firstly on SM Cad model and then on Hand rest model. To begin with, we need to go the green deck known as Morphing deck, after clicking on that morphing tab will open and then we to perform morphing techniques using Basic or Free free Box morphing.
- First Model:- SM CAD Model-
- First, we have to select the part for which we need to perform morphing operation. After selecting it with Hybrid Not Option, then we have to perform operation on that specific part.
- Basically, we need to go 'New'(Morphing>New>Ortho)option and by selecting the ortho option, the new morph template will be generated, in which we have to select the 'Geometry' option and we have select the entities to be morph and then on the middle mouse click, a cubical region is formed around selected morph region. Hence, we can say that Morphing box is selected.
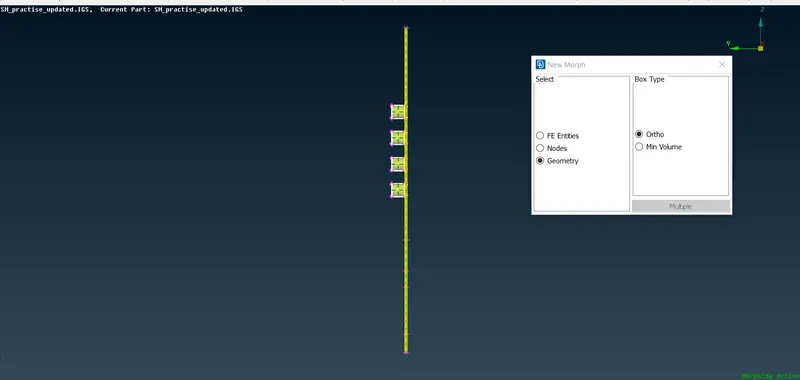
c. As morphing means to bring change in design in any shape of part so, according to requirements we need to make changes, so we have to select 'Move'(Box morphing>Move) option and then we need to select the nodes with a local coordinate system and then we need to decide that where to make changes in design according to X, Y, Z local coordinate axes, upon right clicking it can be shown as that the change has been taken in the design using morphing tools.
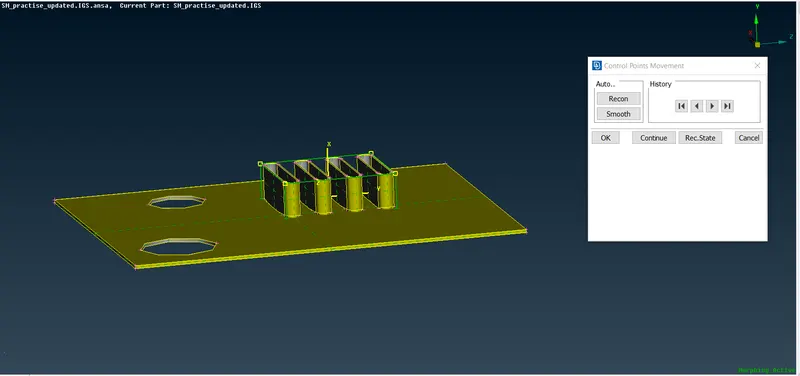
d. After that, we need to focus on another portion of SM Cad model. Then, same process we have to follow as point (b).
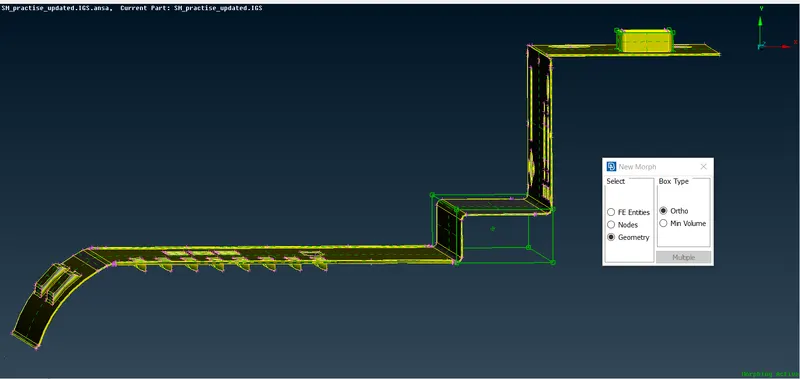
e. Likewise, after getting a cubical Morph shell, again we have to repeat the same procedure as point (c).
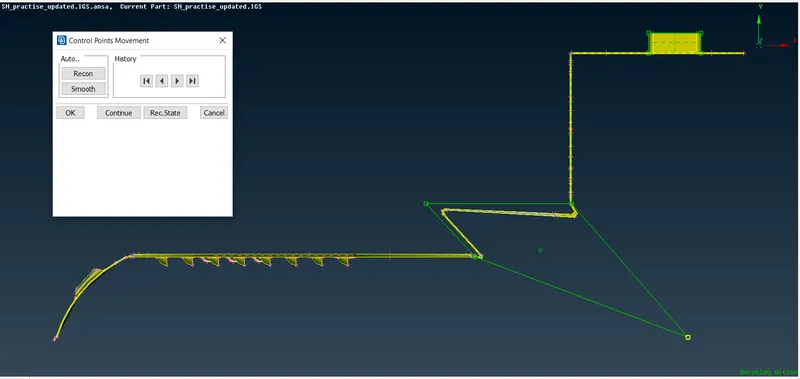
f. Lastly, we need to focus on another portion of SM Cad model. Then, same process we have to follow as point (b).
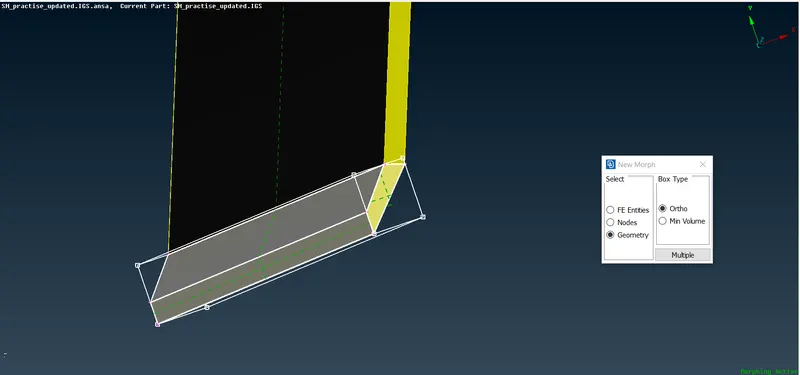
g. At last, after getting a cubical Morph shell, again we have to repeat the same procedure as point (c).
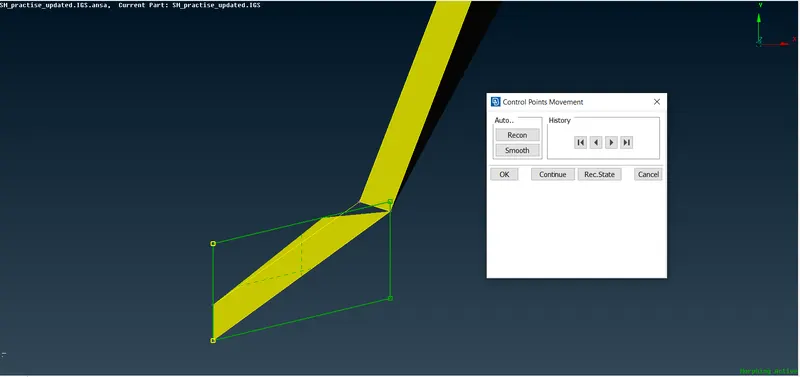
h. Finally, we have made a complete model morph for SM Cad model as box morphing or free free morphing.
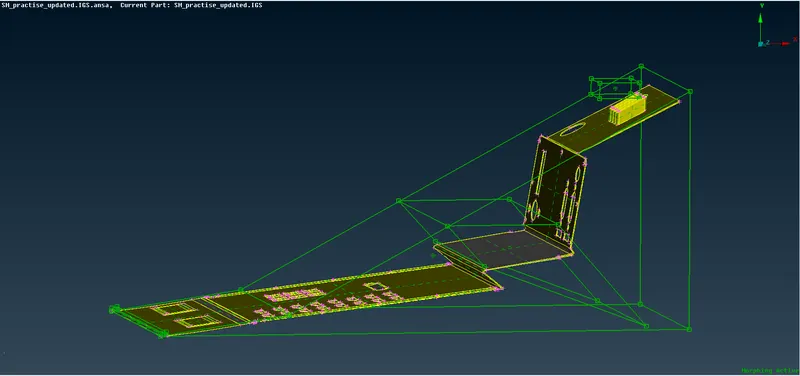
i. Thus, our objective is achieved. We have made our complete model morph and we can view Morph cubical boxes by switching on/off mode in database tab.
- Second Model:- Hand rest CAD Model-
- First, we have to select the part for which we need to perform morphing operation. After selecting it with Hybrid Not Option, then we have to perform operation on that specific part.
- Basically, we first select left dog houses and ribs section as Left part for hand rest, so we need to go 'New'(Morphing>New>Ortho)option and by selecting the ortho option, the new morph template will be generated, in which we have to select the 'Geometry' option and we have select the entities to be morph and then on the middle mouse click, a cubical region is formed around selected morph region. Hence, we can say that Morphing box is selected.
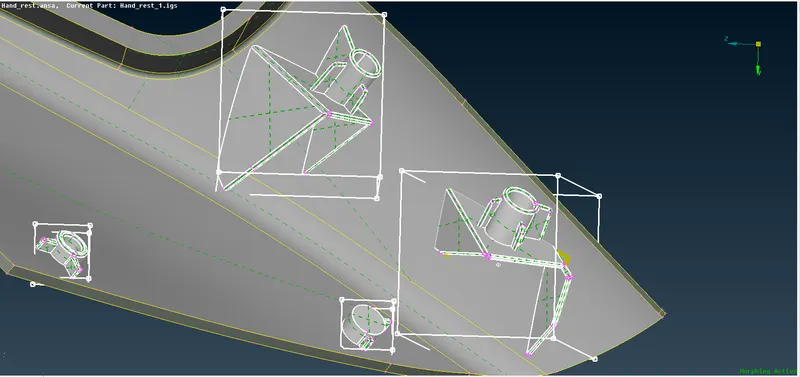
c. As morphing means to bring change in design in any shape of part so, according to requirements we need to increase the height of dog houses and ribs, so we have to select 'Move'(Box morphing>Move) option and then we need to select the nodes with a local coordinate system and then we need to decide that where to make changes in design according to X, Y, Z local coordinate axes, upon right clicking it can be shown as that the change has been taken in the design using morphing tools.
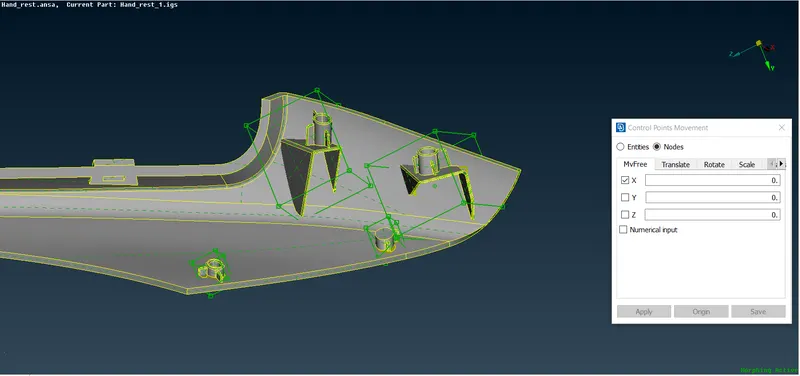
d. After that, we need to focus on another portion i.e. middle part of Hand rest Cad model. Then, same process we have to follow as point (b).
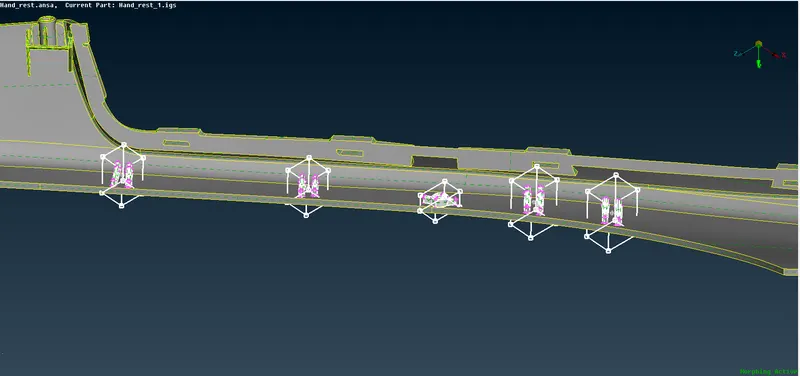
e. Likewise, after getting a cubical Morph shell, again we have to repeat the same procedure as point (c).
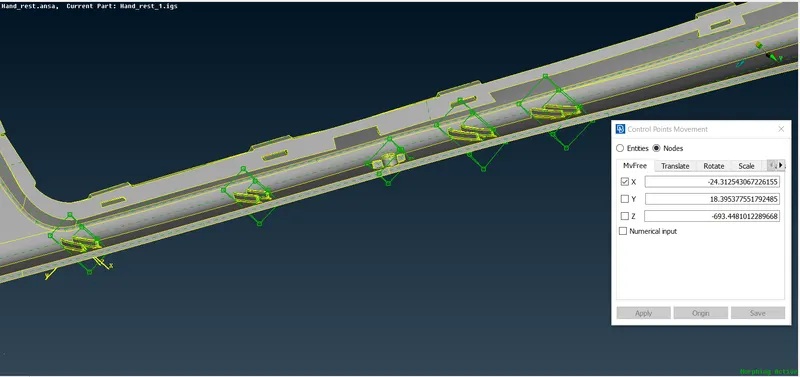
f. Lastly, we need to focus on another portion i.e. Right part of Hand rest Cad model. Then, same process we have to follow as point (b).
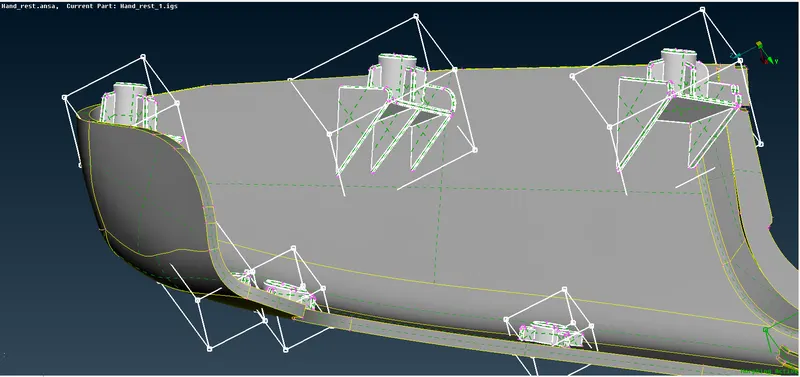
g. At last, after getting a cubical Morph shell, again we have to repeat the same procedure as point (c).
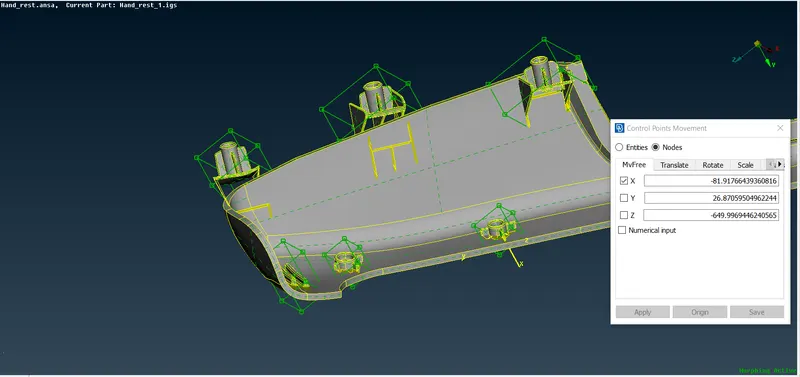
h. Finally, we have made a complete model morph for Hand rest Cad model as box morphing or free free morphing.
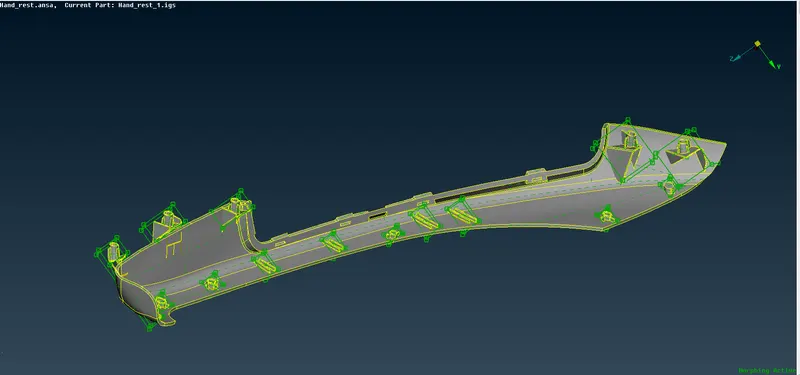
i. Thus, our objective is achieved. We have made our complete model morph and we can view Morph cubical boxes by switching on/off mode in database tab.
Learning Outcomes:-
- Learnt the concept of Morphing tools and techniques and their performance and practices on above CAD models.
- Learnt the concept of Box morphing or free free basic morphing.
- Understand the concept of 2D morphing and slide concept in the cubic shell of morph.
Conclusion:-
In this model we have acheived a good mesh flow, along with zero Off elements, by resolving all geometrical errors along with topology cleanup and perform morphing tools and techniques on given SM and Hand rest CAD model. Atlast, our model is acheived a good morphing change in CAD model.
Applications of using Morphing in Industry:-
- Converting for eg: the sedan model into a hatchback model, we can use the morphing techniques. So that, within short span of time we can get the analysis results and also we will be getting the development time shortened.
- Automotive design styling applications use morphing since in NVH, the sound pressure near the drivers ear needed to be find out. So, in such a case these models are first subjected to three design changes that influence the car styling, the roof curvature, the windshield angle and the wheel base.
- Optimization of subframe assemblies like front cradle which are attached to the Body in White(BIW) can be done using the morphing easily.