Week - 8 - Morphing
AIM:- To do the morphing practise on given components.
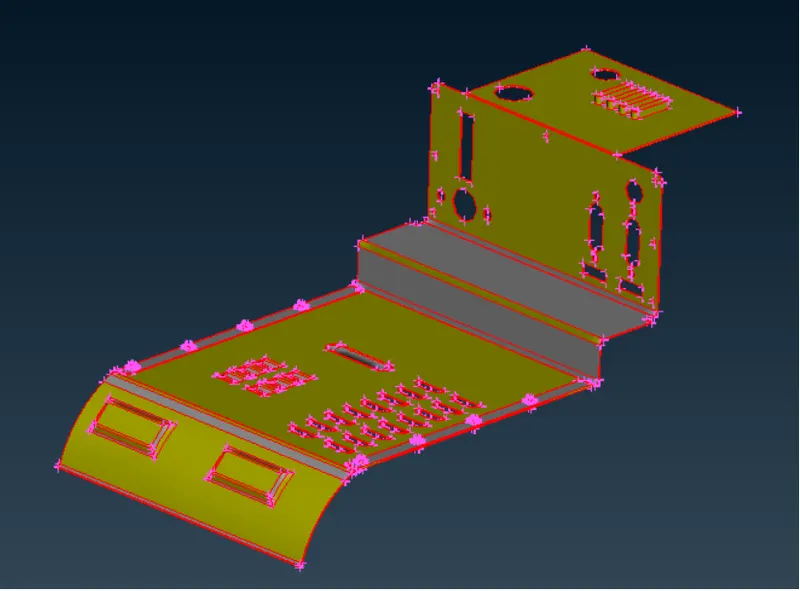
MODEL 1
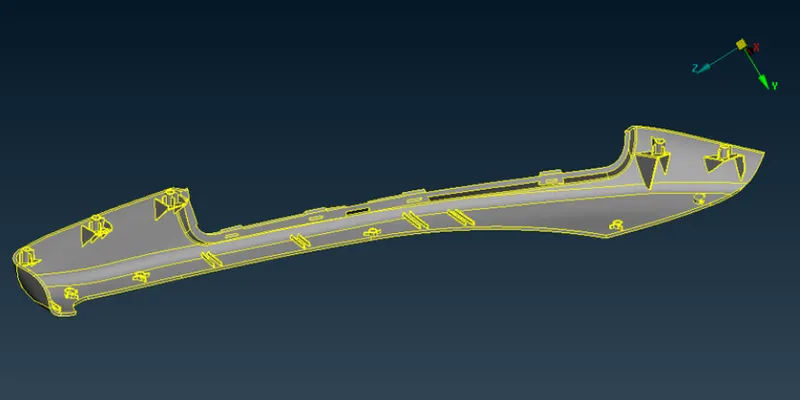
MODEL 2
PROCEDURE:-
1. Transfer CAD file to ANSA.
2. Perform toplogy to convert single cons into double cons.
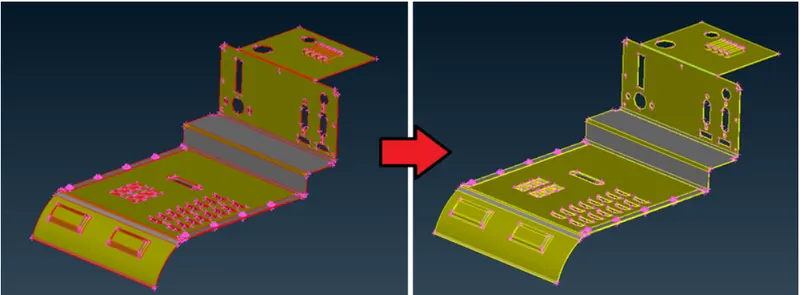
3. Geometry cleanup:-This process is carried out to check the triple cons & needle faces that needs to be resolved.
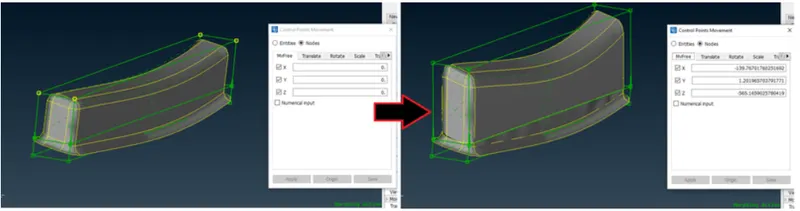
4. After geometry clean, we need to go to Morph deck BOXES-NEW-ORTHO & select the geometry.
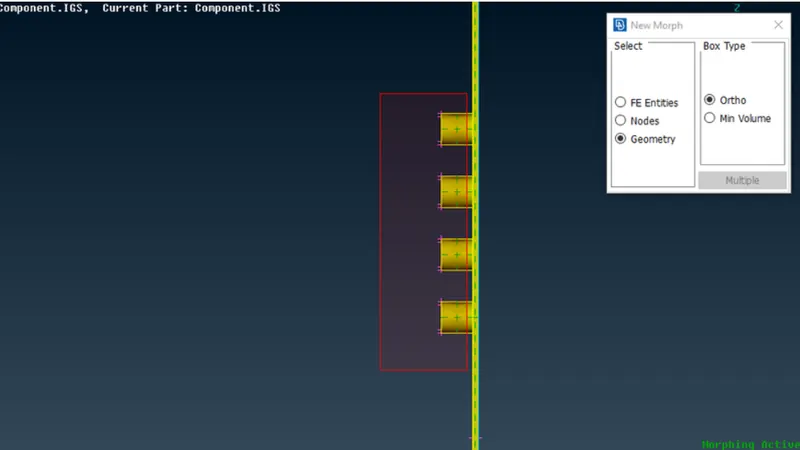
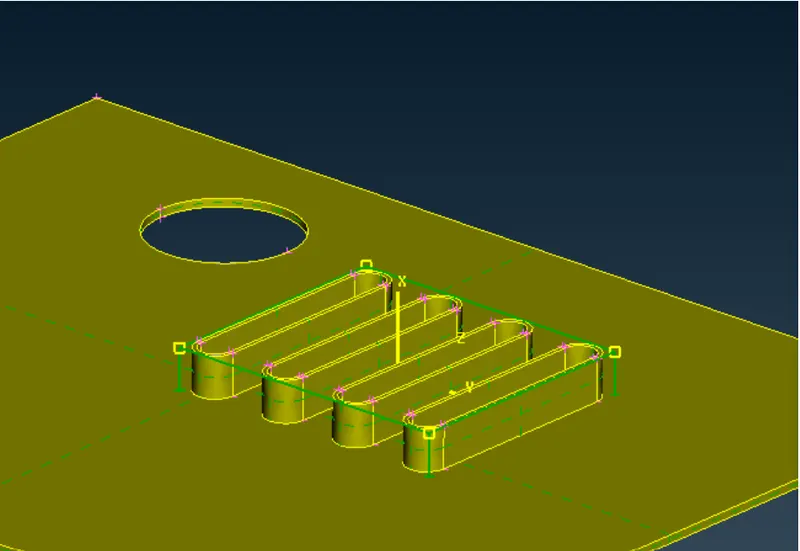
Morph box is formed.
By selecting the nodes , we can move it based on coordinates system.
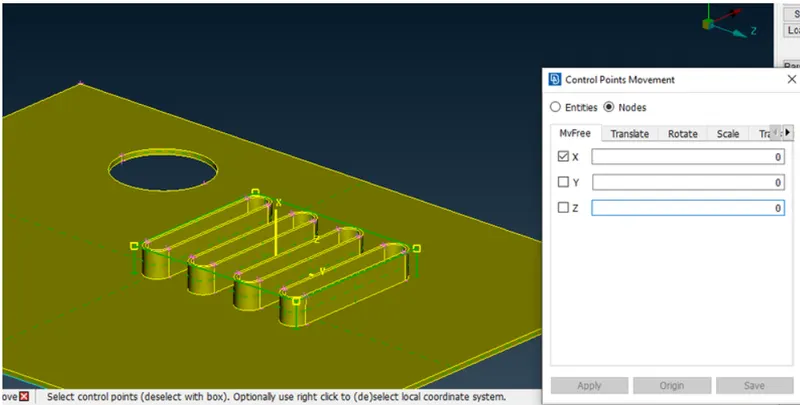
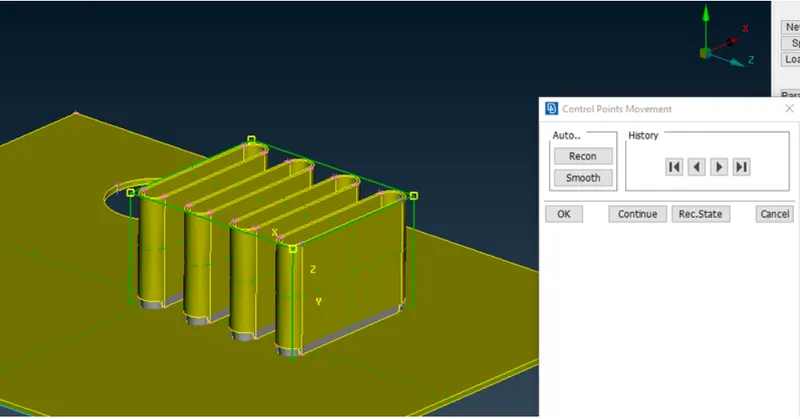
X coordinate system is checked in box as we need to increase the height.
Now we have to work on below marked region-
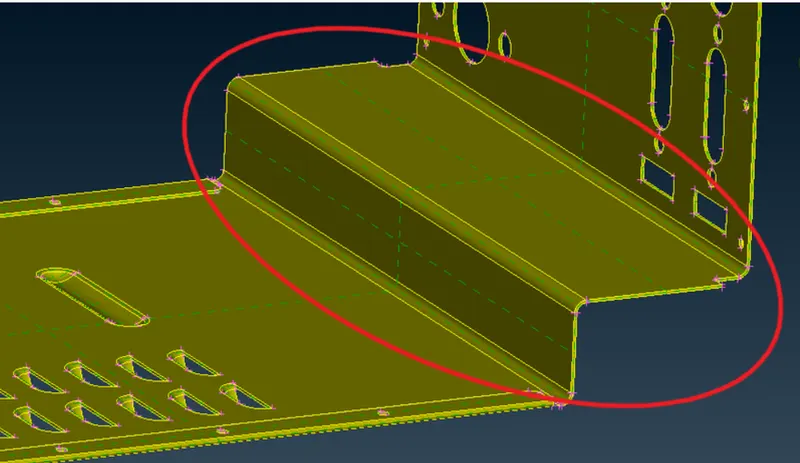
Here also first the morph box is created & coordinates we will moved for morphing.
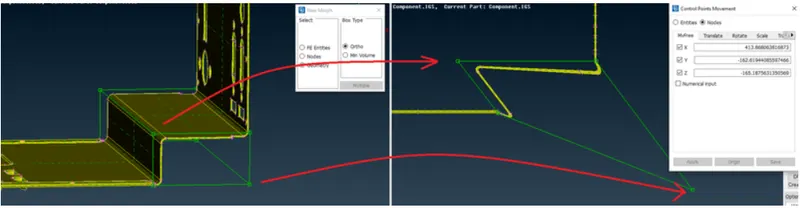
Once the morphing is done, the morph box are deleted using BOXES-DELETE.
FINAL COMPONENT
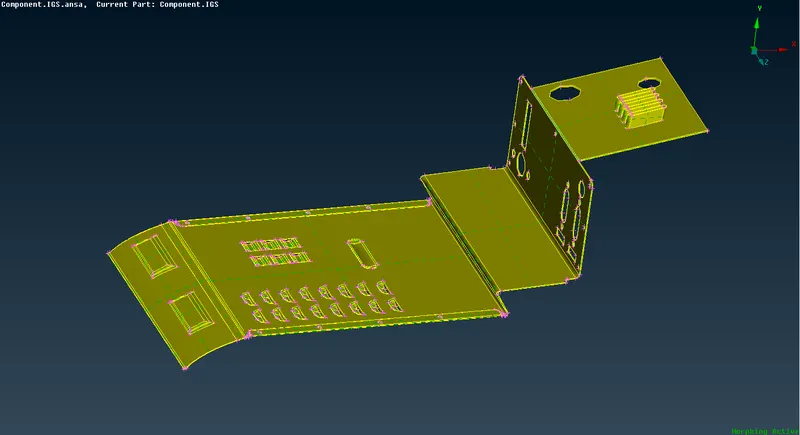
MODEL 2
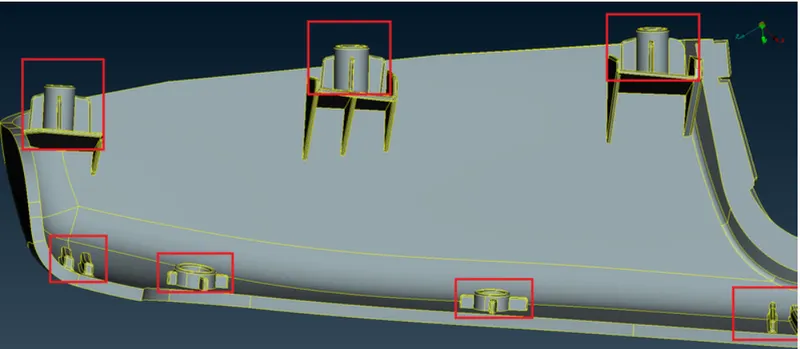
OBJECTIVE:- To increase the height of doghouse & ribs marked in above picture.
PROCEDURE:- We have to follow the same procedure as done for previous sheet metal component.
Select boxes-New -Ortho to create a morph box as show below for doghouse.
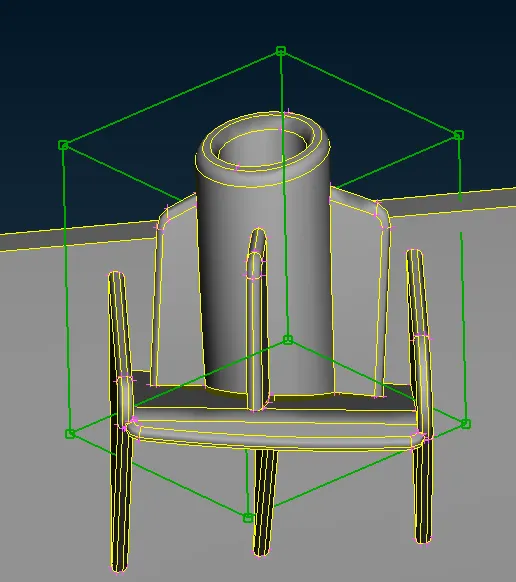
Height of doghouse is increased by using Morphing box-Move tool.
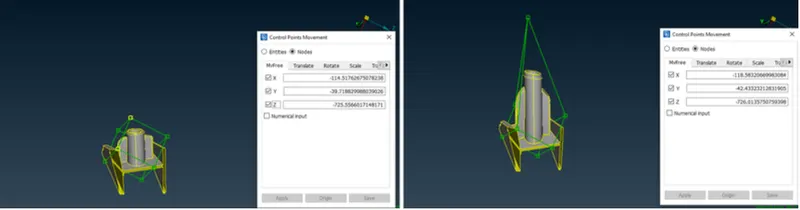
In the case of Ribs , we will use BOX-GEOMETRY - MINI VOLUME OPTION to get GOOD MORPH box.
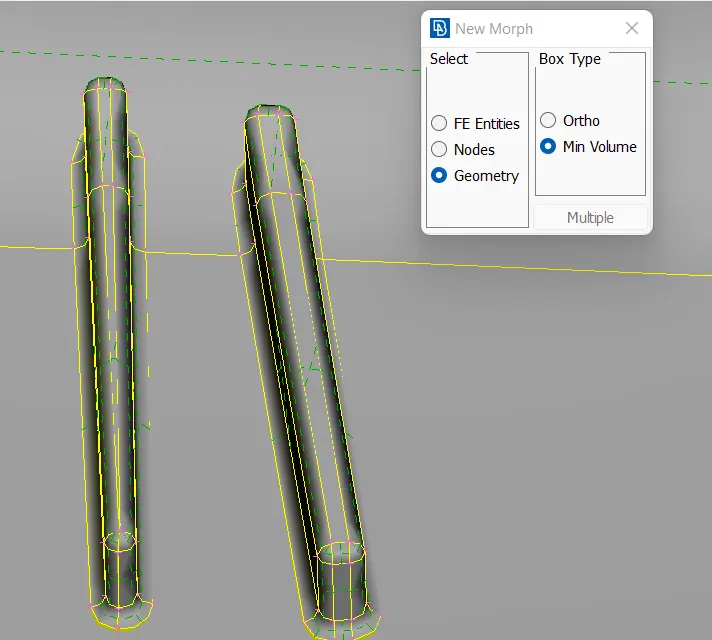
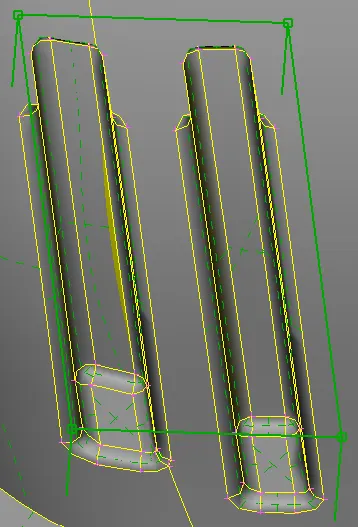
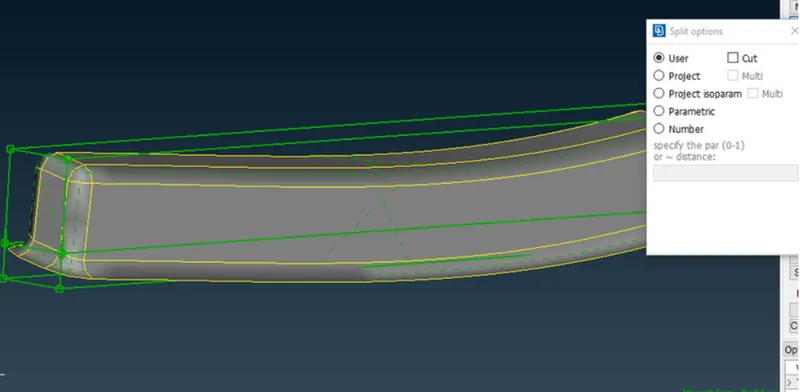
For increasing the height we should see that base must not be affected.
For that we can use split option.
LEARNING OUTCOMES-
1. Learned the concept of Morphing.
2. Use of morphing tools & get to know the Morphing application.
CONCLUSION:- Any component Design can be changed by using Morphing command during testing phase also without Support of Design team.
This can be discussed later on with team.