Week 8-Challenge
OBJECTIVE - To perform 3D meshing on the given component with given parameters.
PROCEDURE -
1. Tetramesh for housing and hub assembly.
a. Geometry cleanup -
- Import the "housing.stp" file using the import tool option.
- now delete the solid parts by using delete >> solid and Using the geometry menu in the menu bar do a geometry cleanup to ensure a fully enclosed volume and no free edges are there. and toggle unnecessary lines.
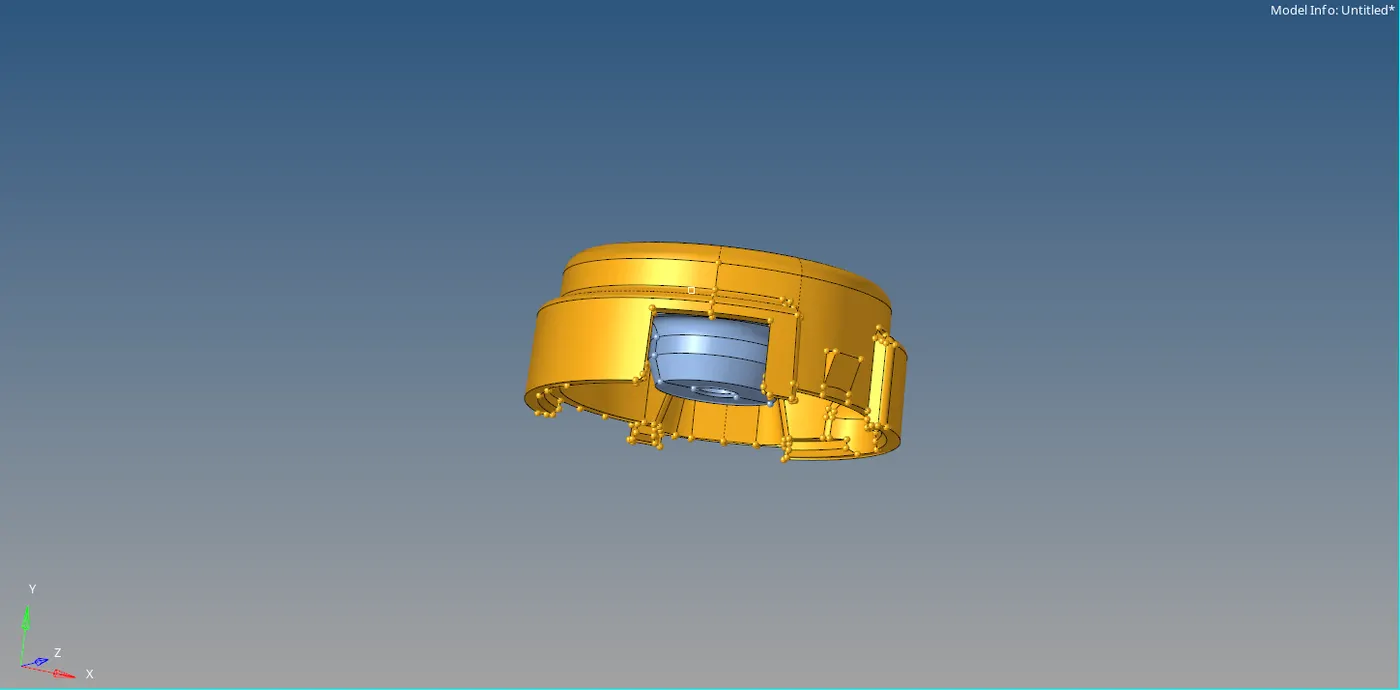
fig . Imported model

fig. delete solid option.
b. Performing the 2D shell mesh -
- first input the 2D and 3D quality criteria.
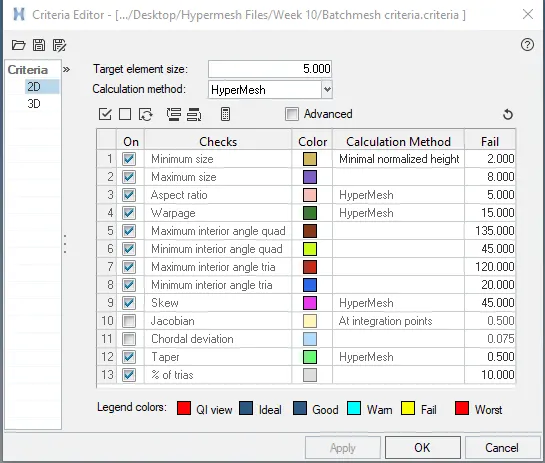
Fig . Quality criteria
- Now 2D meshing is performed by using 2D >> Automesh >> select the surface >> element size 5mm >> mesh type is trias only and then mesh

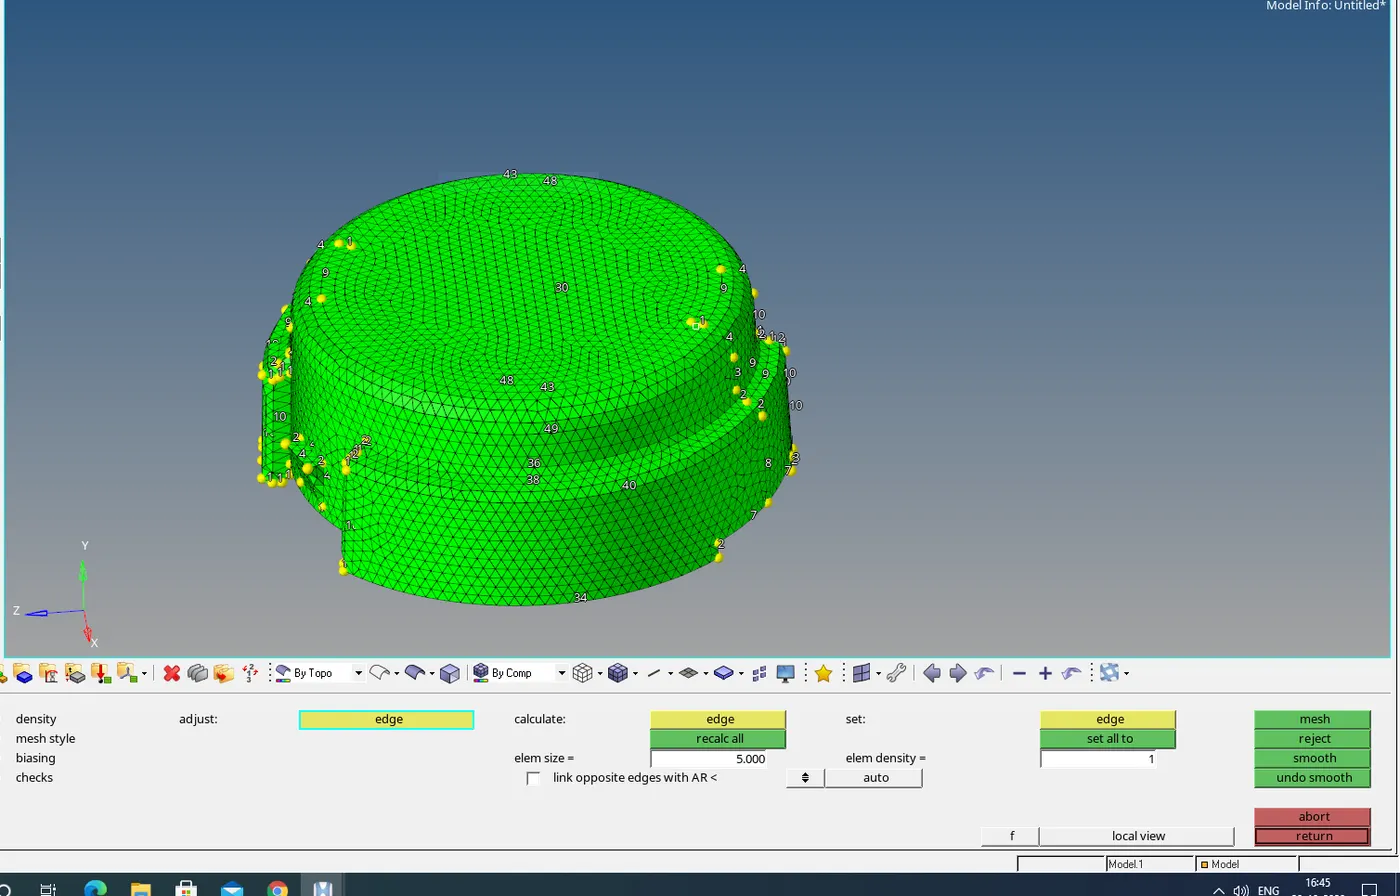
fig. 2D meshing
c. 2d to 3D tria conversion -
- After perform the 2D shell mesh it need to be converted into 3D tria element so select 3D >> Tetramesh option >> Select the element under the fixed tria/quad to tetra option and then do the mesh.
- Use the mask option to see if the volume mesh is performed correctly.
- Now delete the 2D shell element by delete option >> element >> by config >> in config. select tria 3 >> select entities >> delete entities.

Fig. 3D mesh option
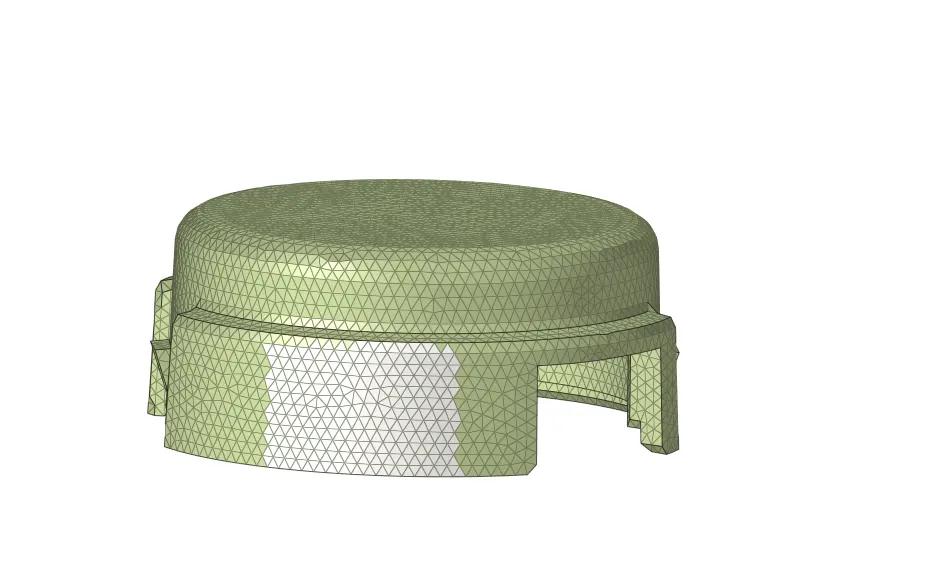
Fig. select element by using Mask option to see 3d elements
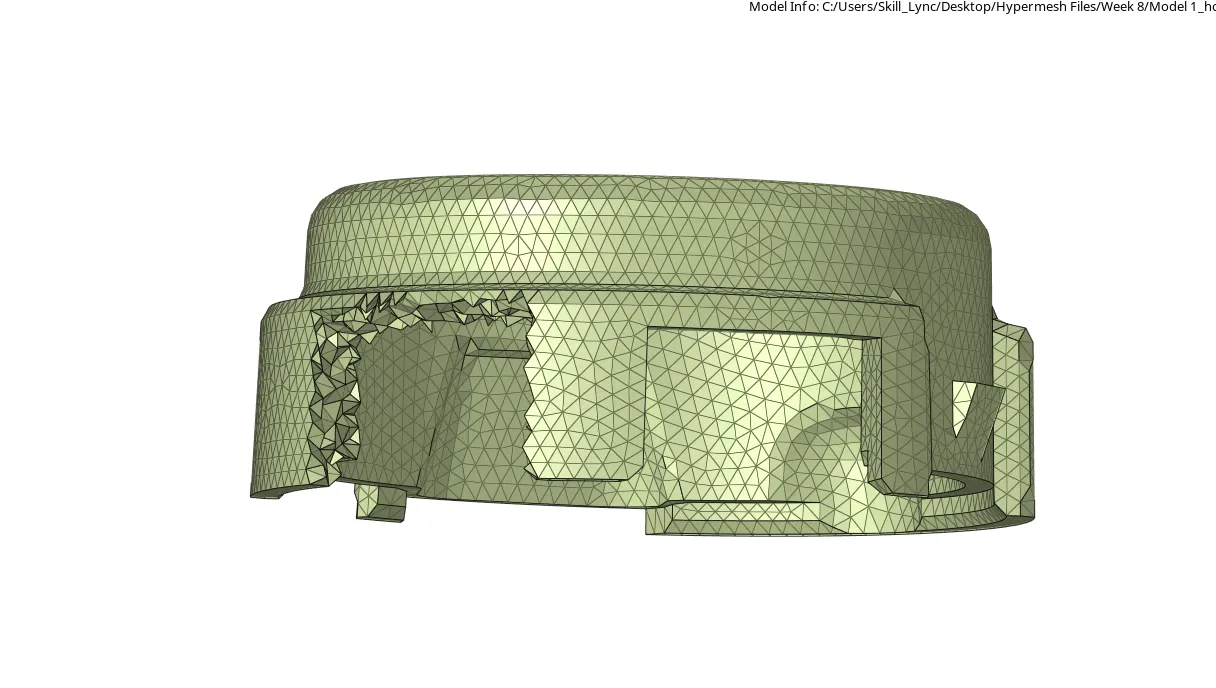
fig. After using mask option
d. check 3D quality errors - Now checks for tet collapse failure in volume mesh .if its occur then remesh the mesh or by eliminates the tets collapse manually.
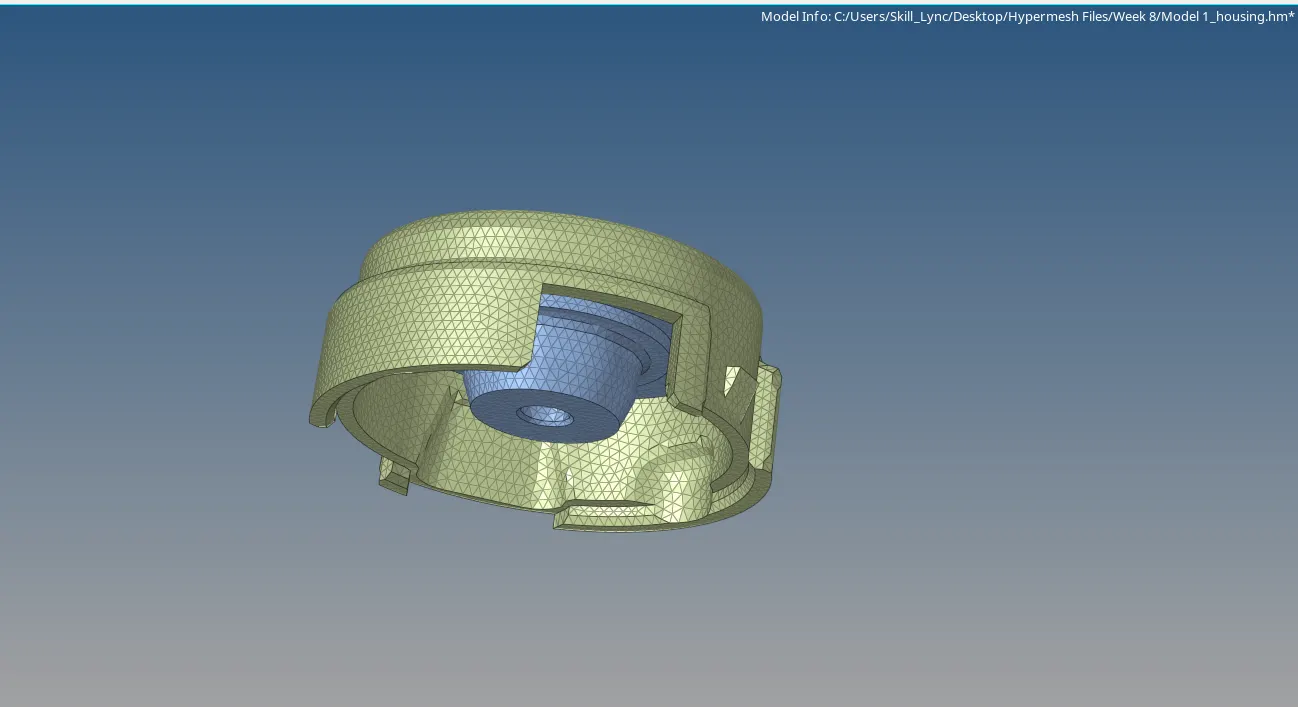
fig . final view
2. Quick tetra mesh and volume mesh for given model.
By Using the quick tetra - This is one of the approahes to perform automatic 3D meshing .The steps to perform are as follow -
- import the model and perform some geometry cleanup to remove some unnecessary lines by toggling them .
- Delete the solid geometry of model by using option Delete >> solids.
- then click on the view option >> browsers >> hypermesh >>utility. now we can see a utility tab in the tab bar.
- select the geometry/mesh from the utility menu and then select Quick tetra mesh.
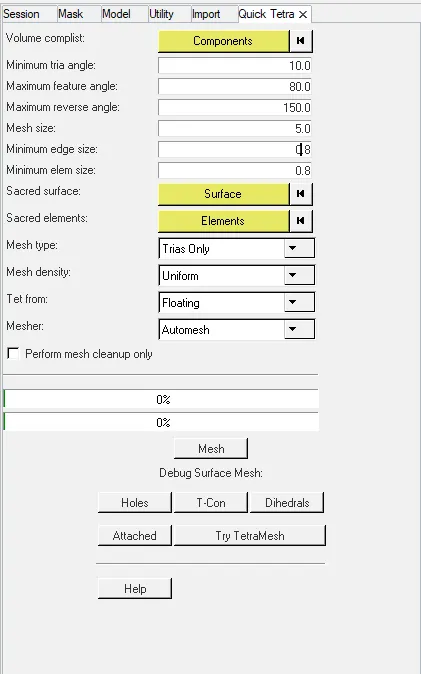
- A new sub panel opens for the quick mesh to input the parameters.
- now select the component and input the mesh size as 6 and select the element type as trias only and then mesh .
- now new tetra mesh model is saved under the names of quick tets.
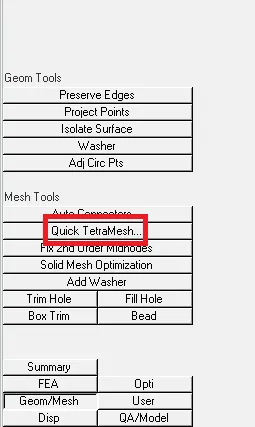
fig. 3D Quick tetra Mesh option
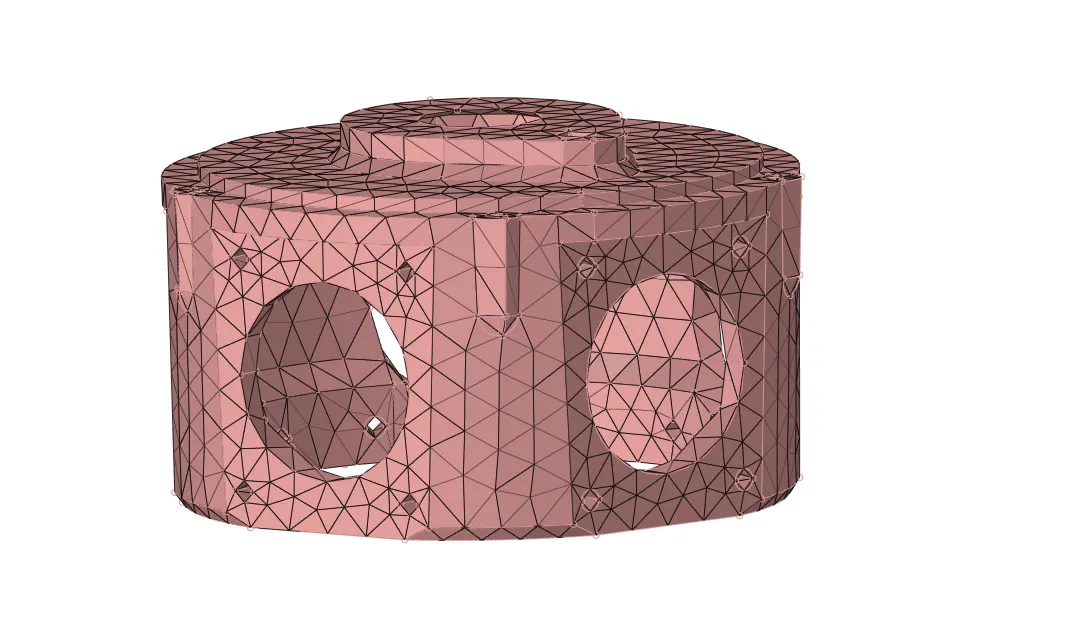
By using the volume tetra - This method is one of the quickest method to perform the tetra meshing .The step to perform the volume tetra are as followed.
- Import the model and the component is chasis here.
- The volume tetra require the solid model and so there is no need to delete the solid.
- Go to 3D >> tetramesh >> volume tetra >> select the solid >> element size 6 >> click on use curvature and use proximity and then mesh.
- Curvature and proximity option gives us to refine mesh in the region of curves or converging parts so that there is smooth transition of the elements.
- Now the final component will be obtained with the tetra mesh and then checks for the tet collapse and fixing by manually.

fig. volume mesh option
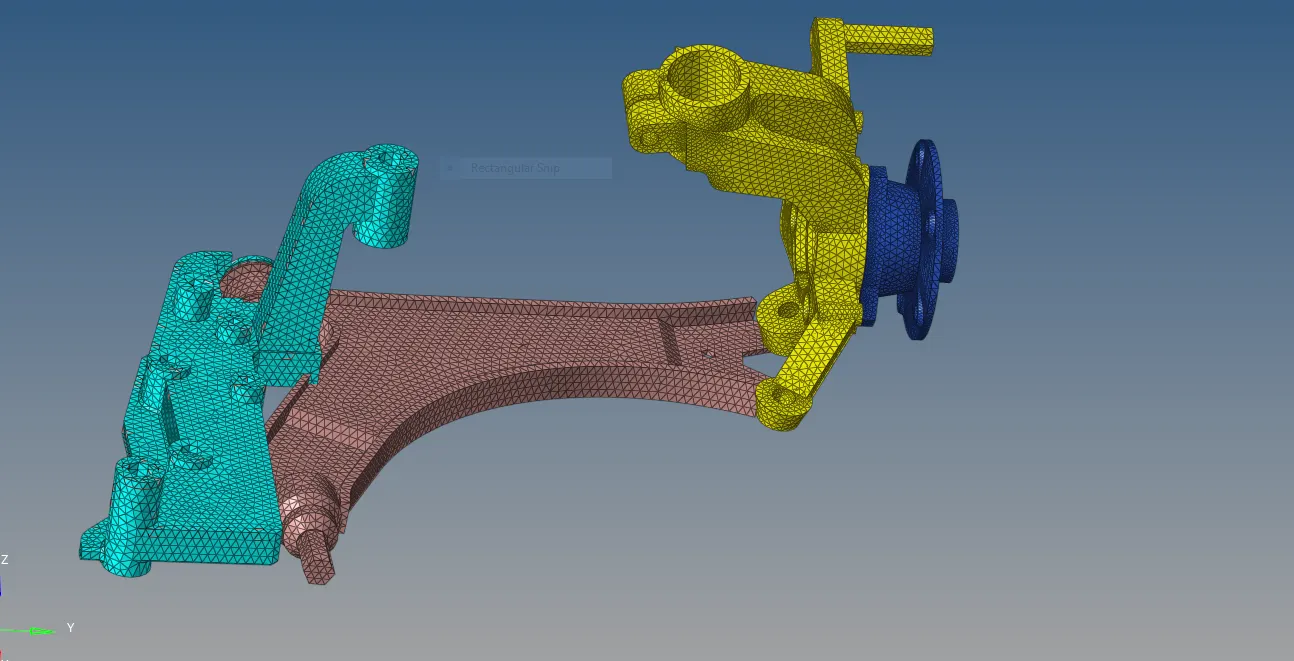
fig. final view volume mes
3. Removing of tet collapse - There are 2 method to solve the tets collapse are as
- Using the Translate option - This option is a manual method used to eliminate the tets collapse. Failed elements are separated by using the mask option .Now go to Tool >> Translate >> node selection and pick the node having minimum heigth and select the N1, N2, N3 . move nodes to certain value and then check again with the tet collapse.
- By using the Tetra Remesh - This is the automatic method to eliminate the tet collapse but its cannot removed all the tets collapse and remaining tet collapse is removed by manually. For this method first mask all the tet collapse and now go to 3D >> Tetra mesh >> Tetra parameters >> select the max. and min. values >> put the tet collapse value >> click on the fix voids, fix midnodes and smoothing >> now go to Tetra remesh >> select the 3d elements as the component. then click on remesh and check again for the te collapse.

fig. option of Cheking tet collapse

CONCLUSION - All the models were meshed in 3D by using 2D to 3D conversion , utility quick tetra mesh and by Volume tetra mesh along with the elimination of tet collapse and kinks. there were more tet collapse were found in volume tetra mesh method.